Pink Glitter Cat-Eye Ombre Nails
Rhinestone Charm
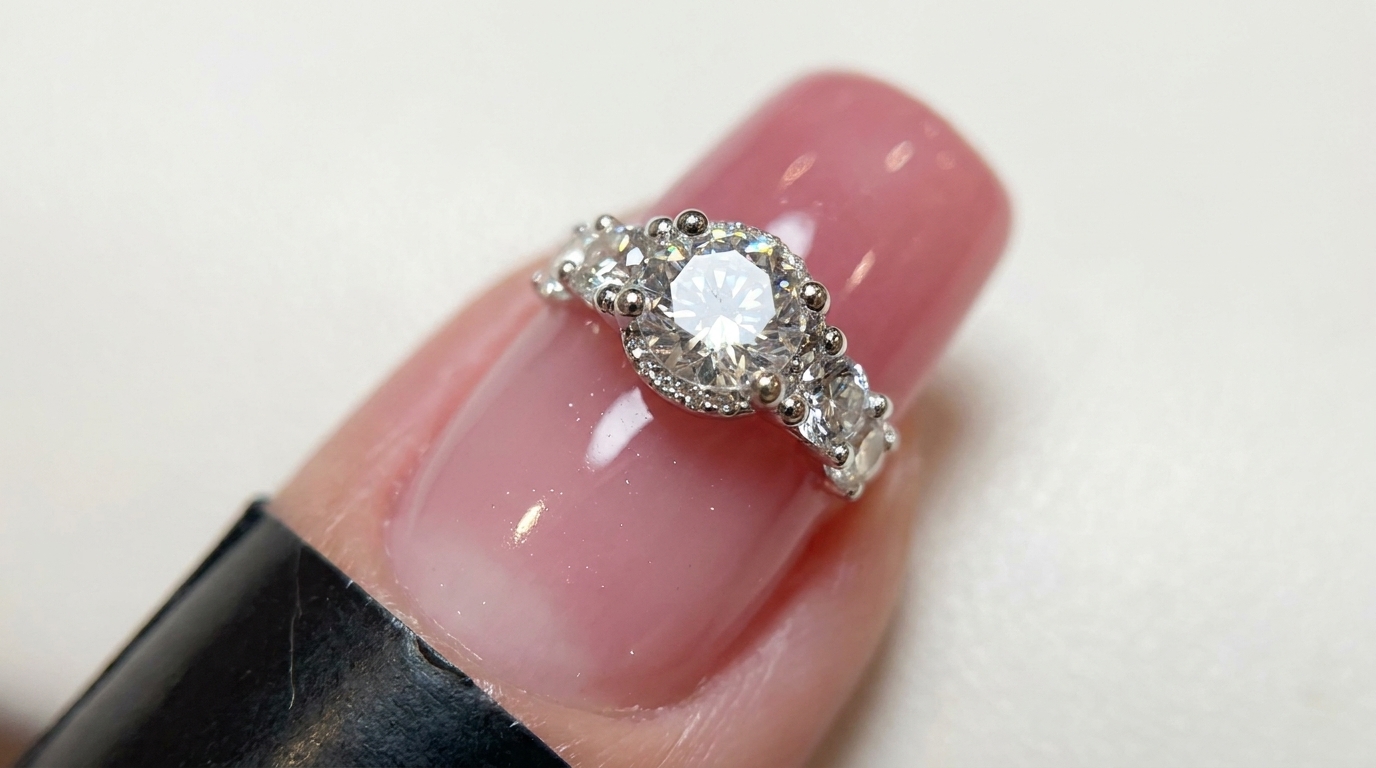
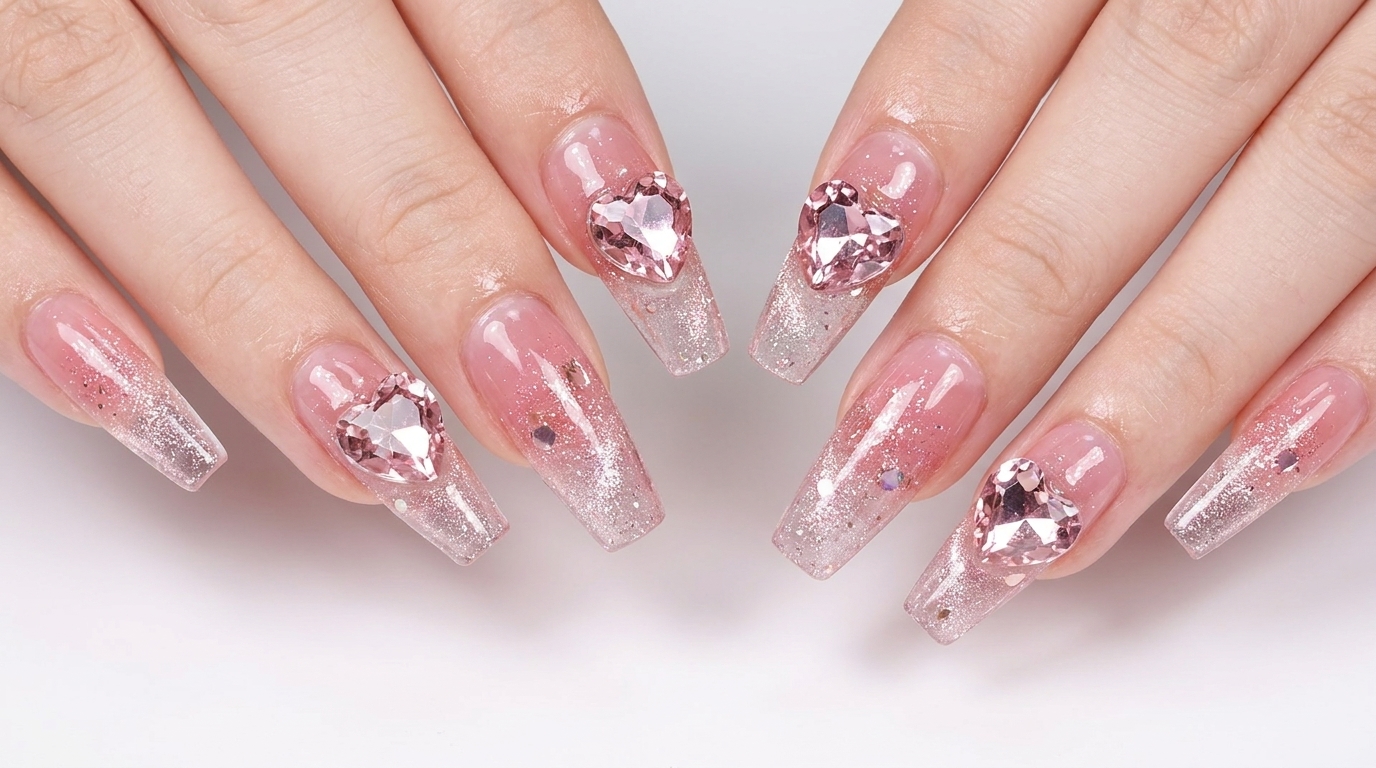
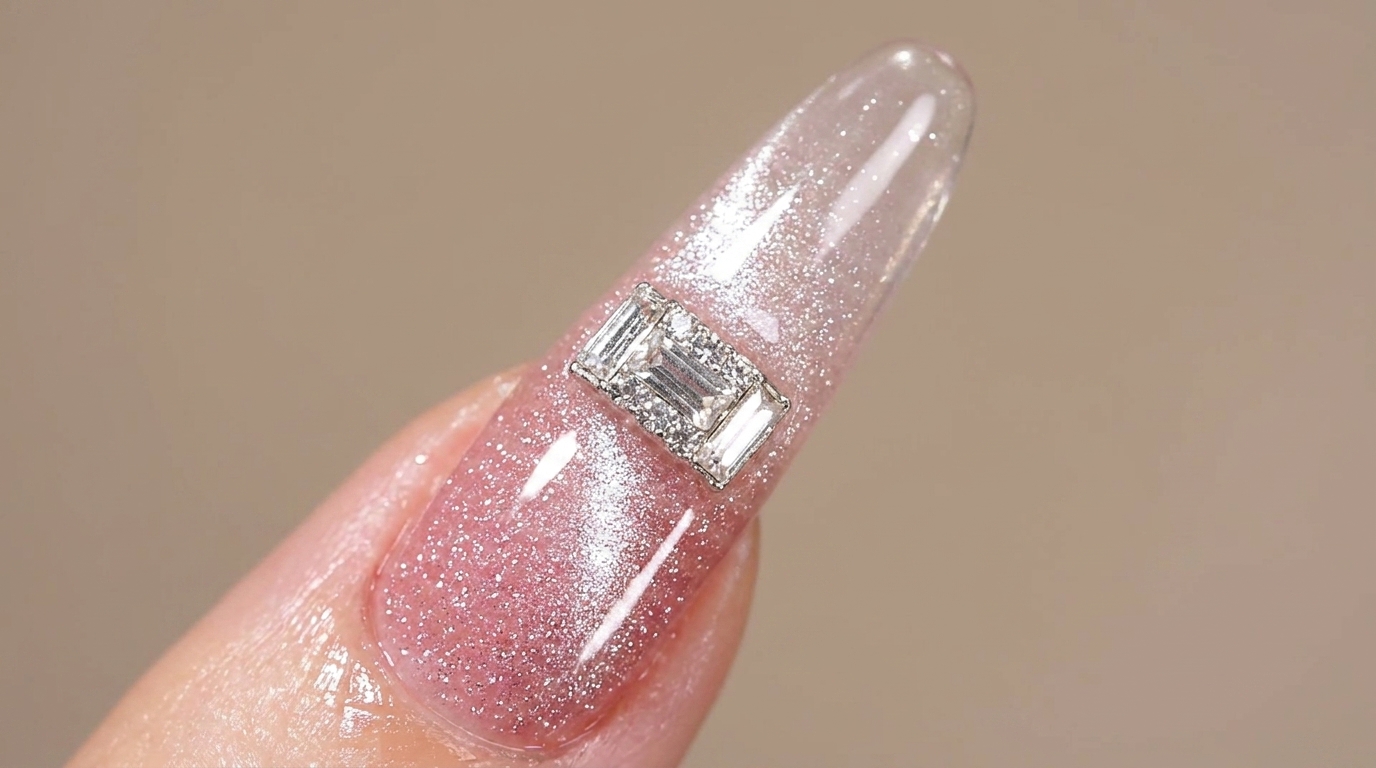
Elevate your manicure with this stunning pink glitter ombre and cat-eye combination, finished with a sophisticated rectangular rhinestone charm.
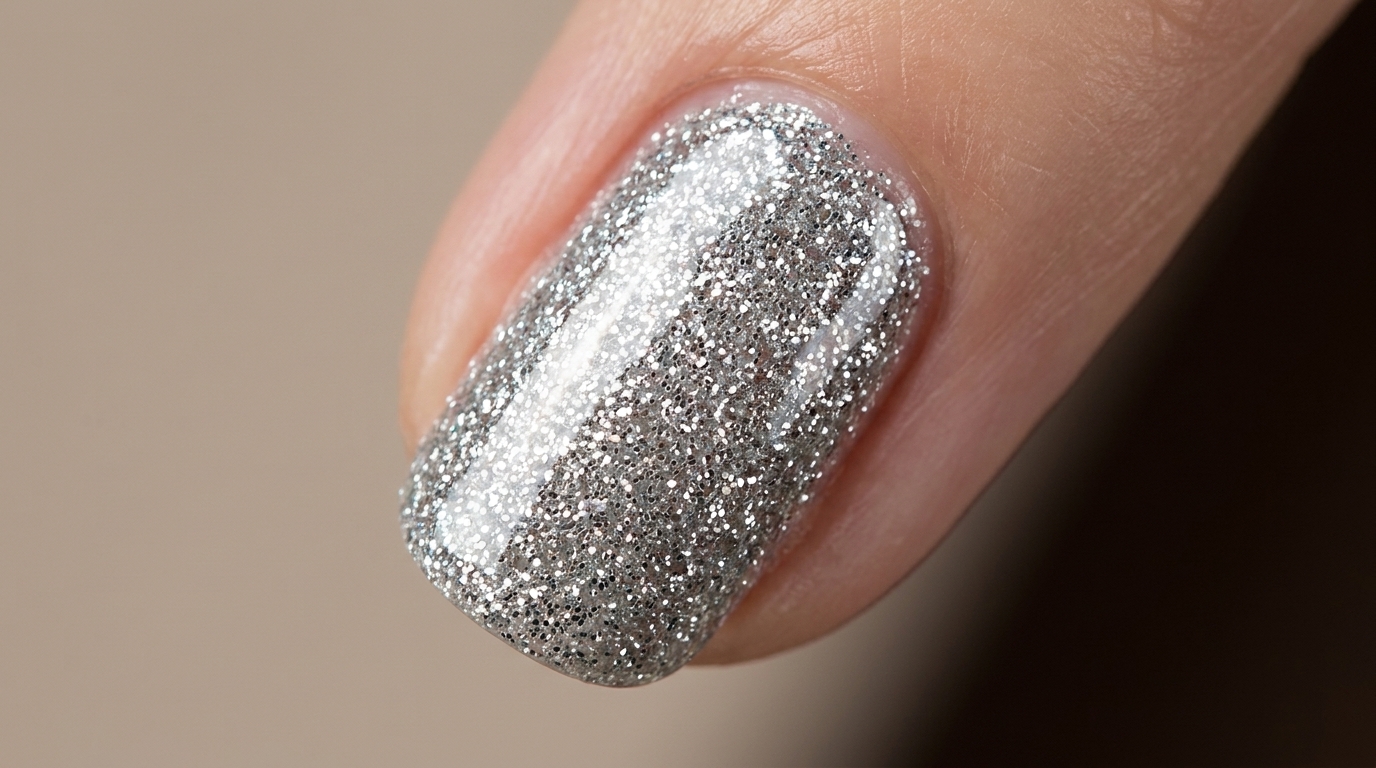
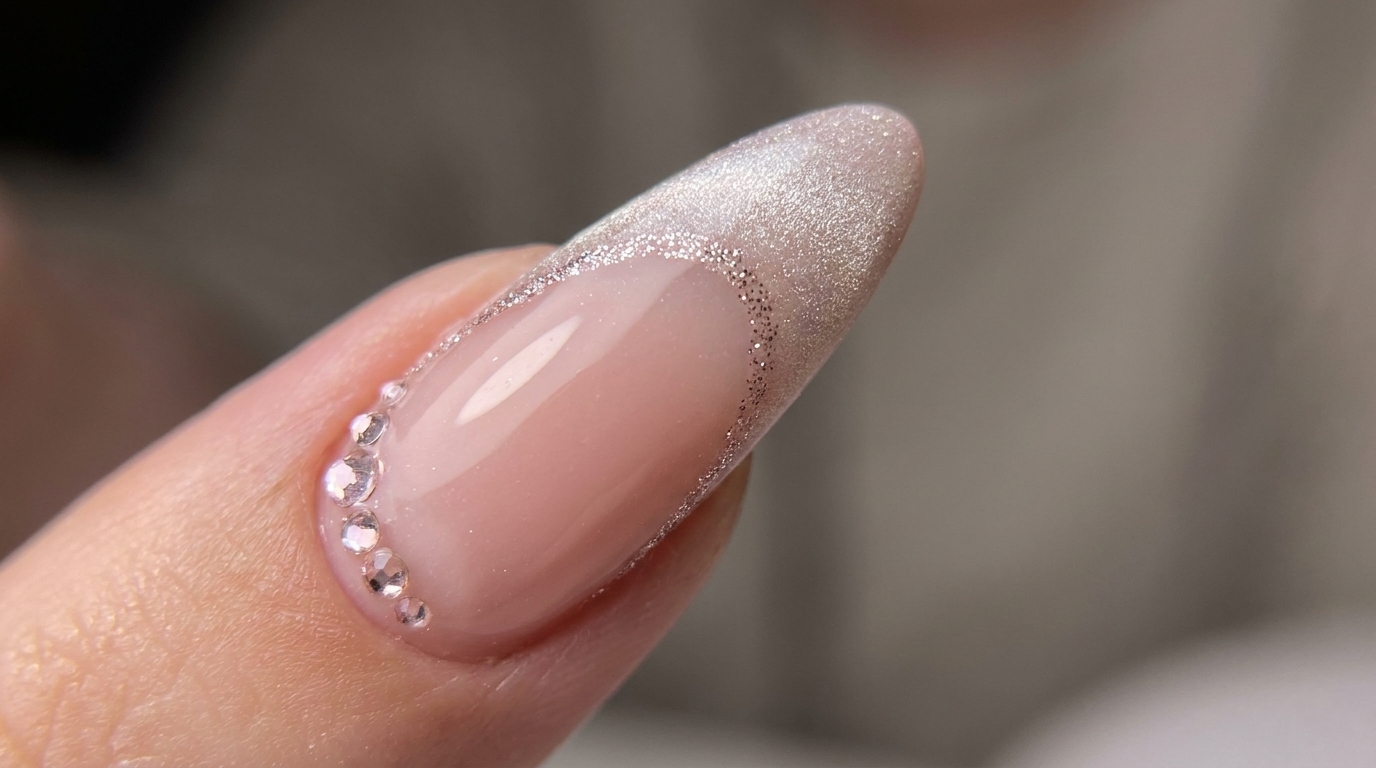
This look perfectly blends the soft, dreamy aesthetic of a pink glitter ombre with the modern, high-contrast shimmer of cat-eye gel. By layering these techniques, you create a dynamic depth that changes with the light. The addition of a rectangular rhinestone charm centered on the nail provides an elegant focal point that brings a touch of luxury to your everyday style.
Steps
- 1Apply pink glitter ombre
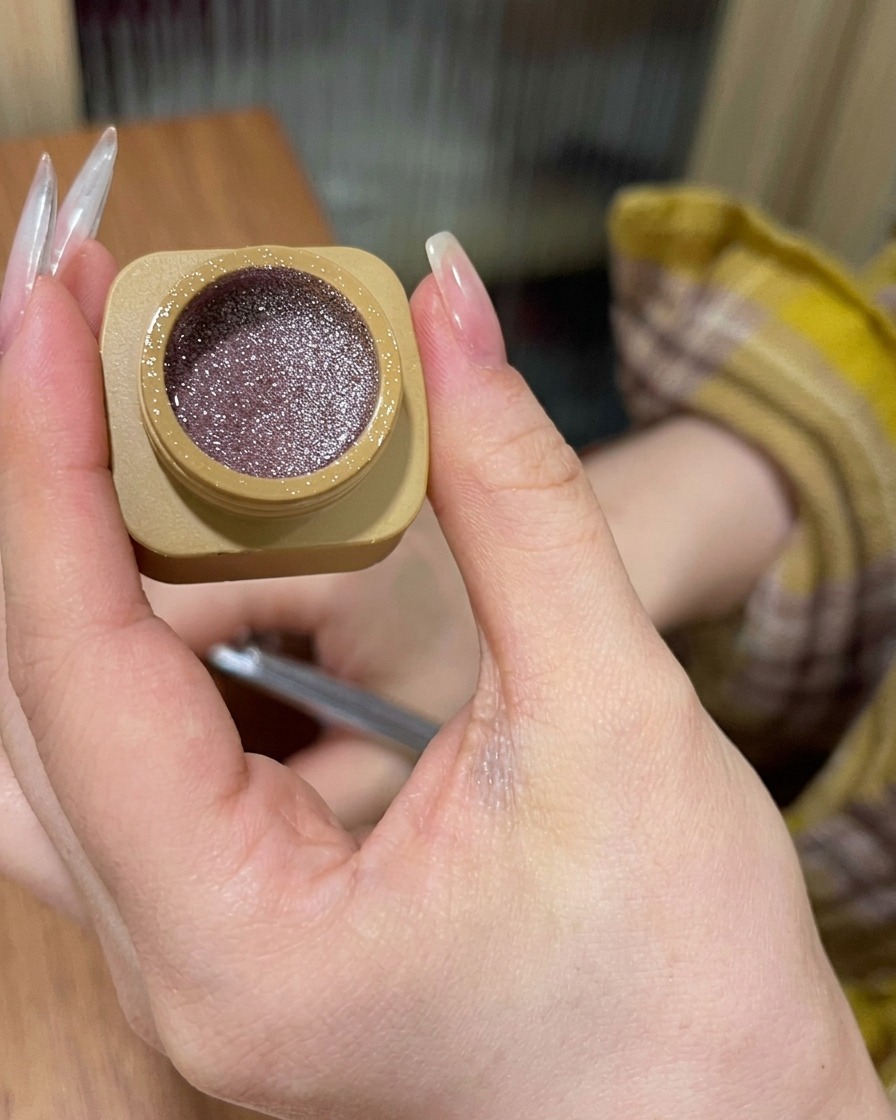
Apply your pink glitter gel to the back edge of the nail near the cuticle. Using a clean brush, gently blend the glitter downwards towards the tip to create a smooth, seamless gradient or ombre effect.
Tip: Work with a light touch to avoid removing too much product, ensuring the glitter remains concentrated at the back edge. - 2Cure the glitter ombre
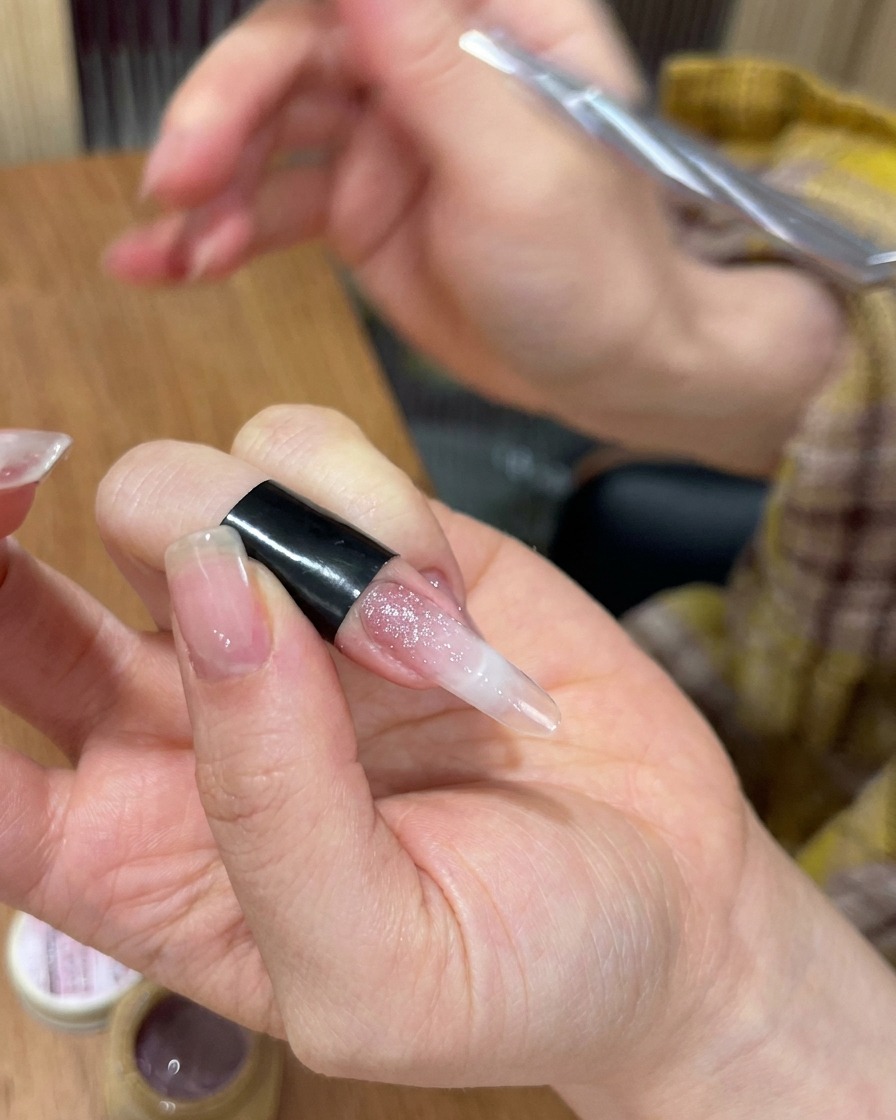
Place your finger inside the UV/LED lamp and cure for the full duration recommended by the product manufacturer to ensure the glitter layer is completely set.
Tip: Avoid moving your finger during the cure to prevent potential smudging of the ombre gradient. - 3Apply builder gel
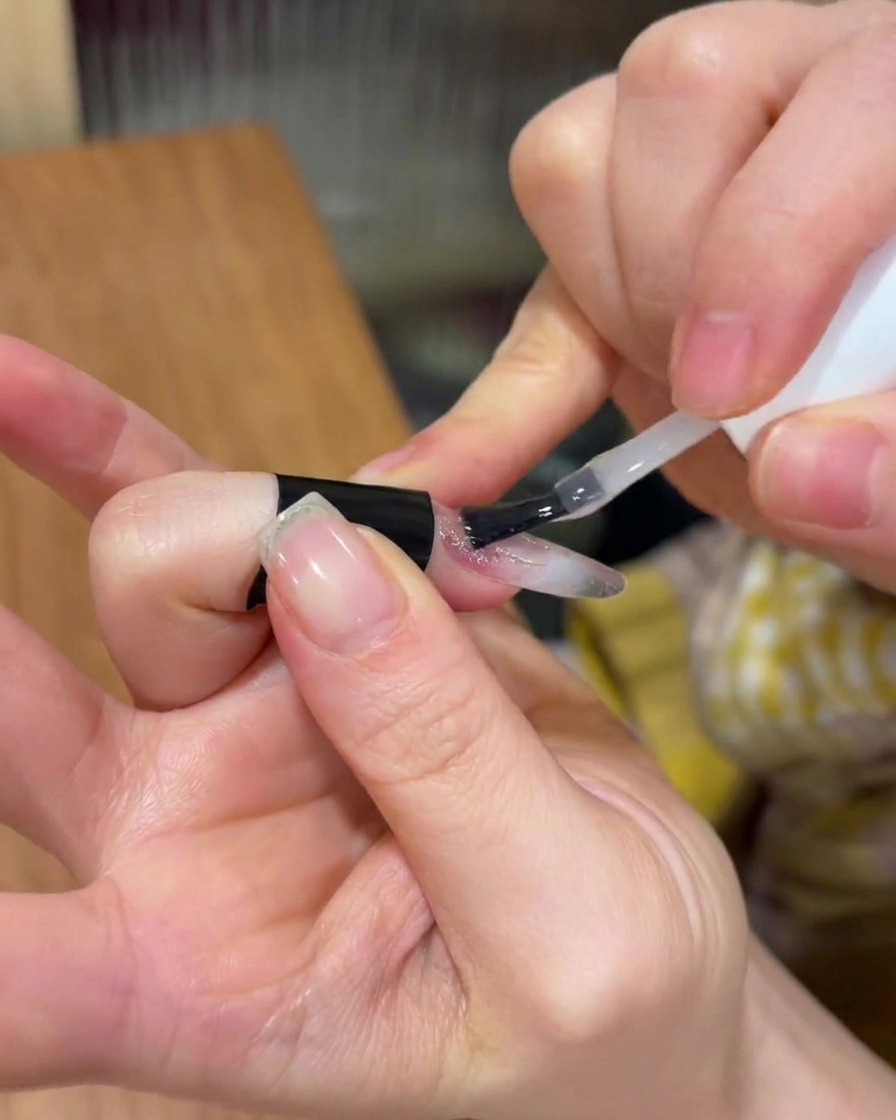
Apply a layer of builder gel over the entire nail surface. This provides reinforcement and structure, protecting the nail design beneath.
Tip: Ensure the builder gel is leveled across the nail before placing it in the lamp to prevent uneven bumps. - 4Cure the builder gel
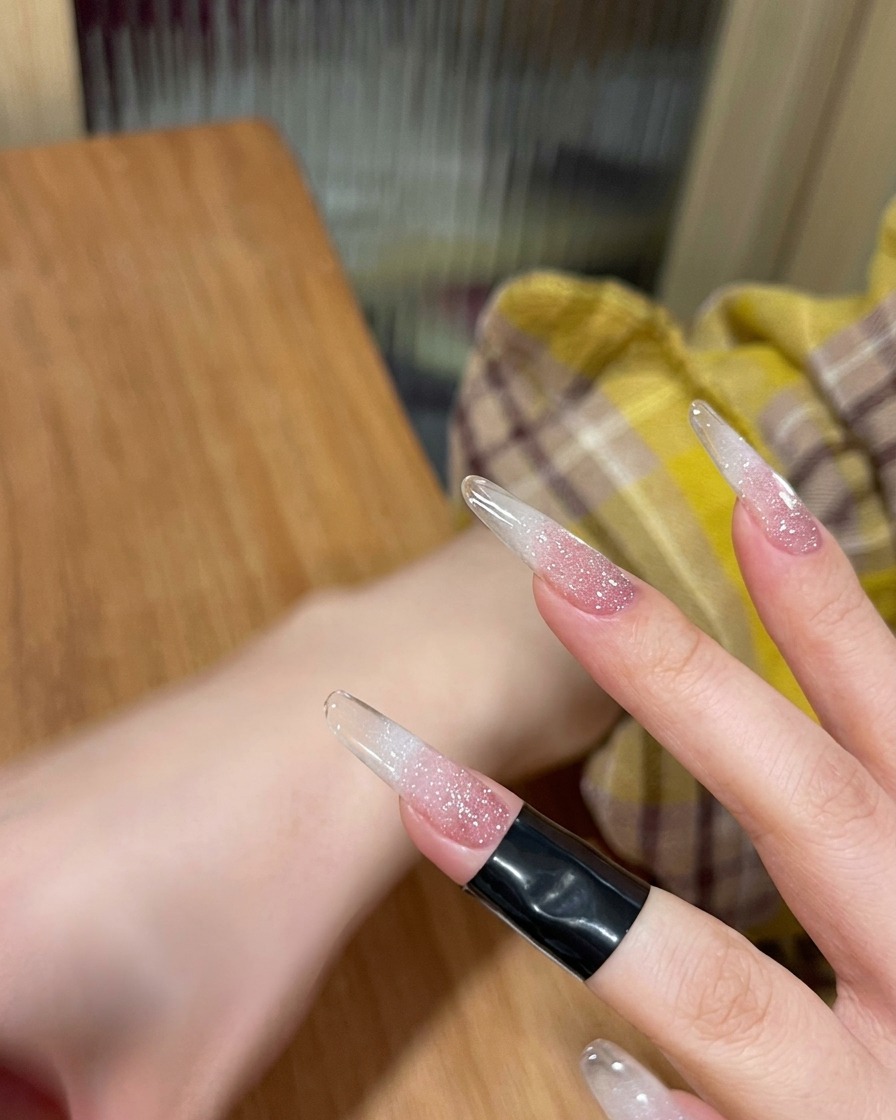
Place your finger into the UV/LED lamp to cure the builder gel layer. This step locks in the structure and prepares the nail for the next phase of the application.
Tip: Follow the specific curing time required for your builder gel to ensure maximum durability. - 5Apply cat-eye gel
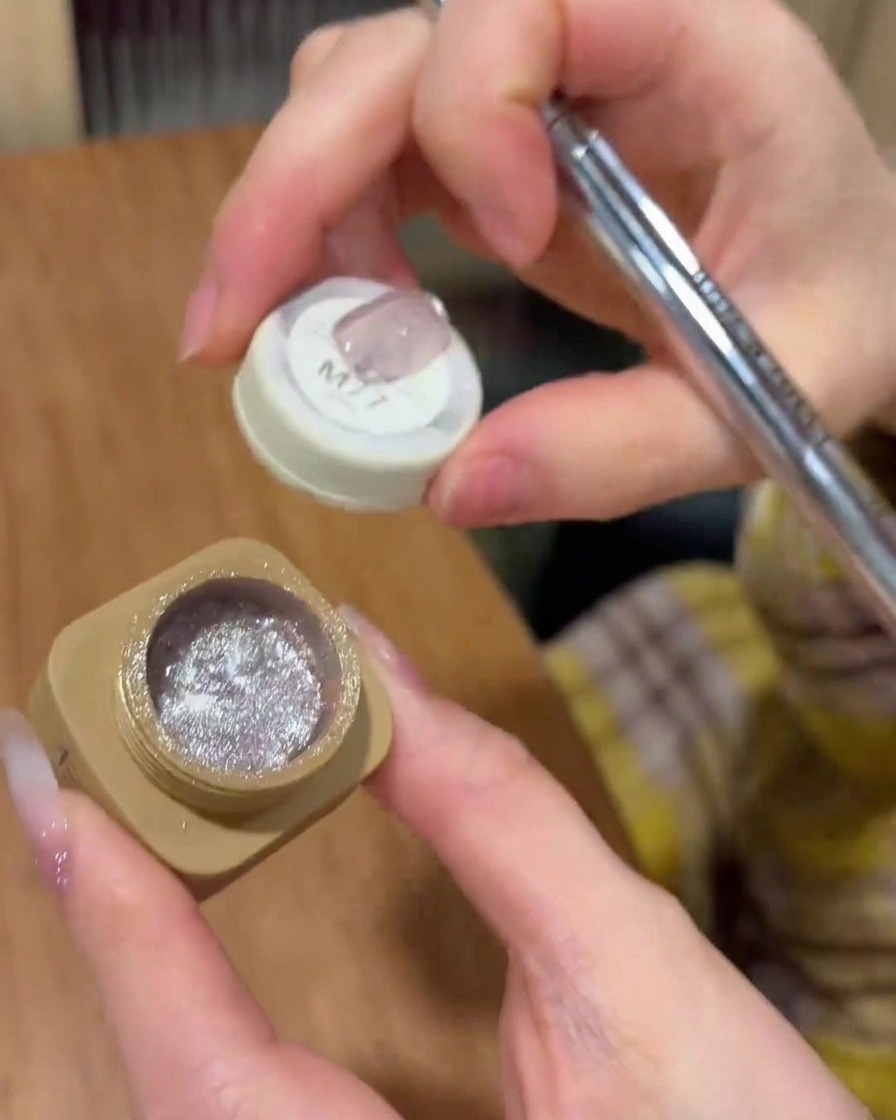
Apply an even, thin layer of cat-eye gel polish over the entire surface of the nail. Ensure full coverage without getting the product on the surrounding skin.
Tip: If the coat is too thick, the cat-eye pigment may not react correctly to the magnet. - 6Create cat-eye effect
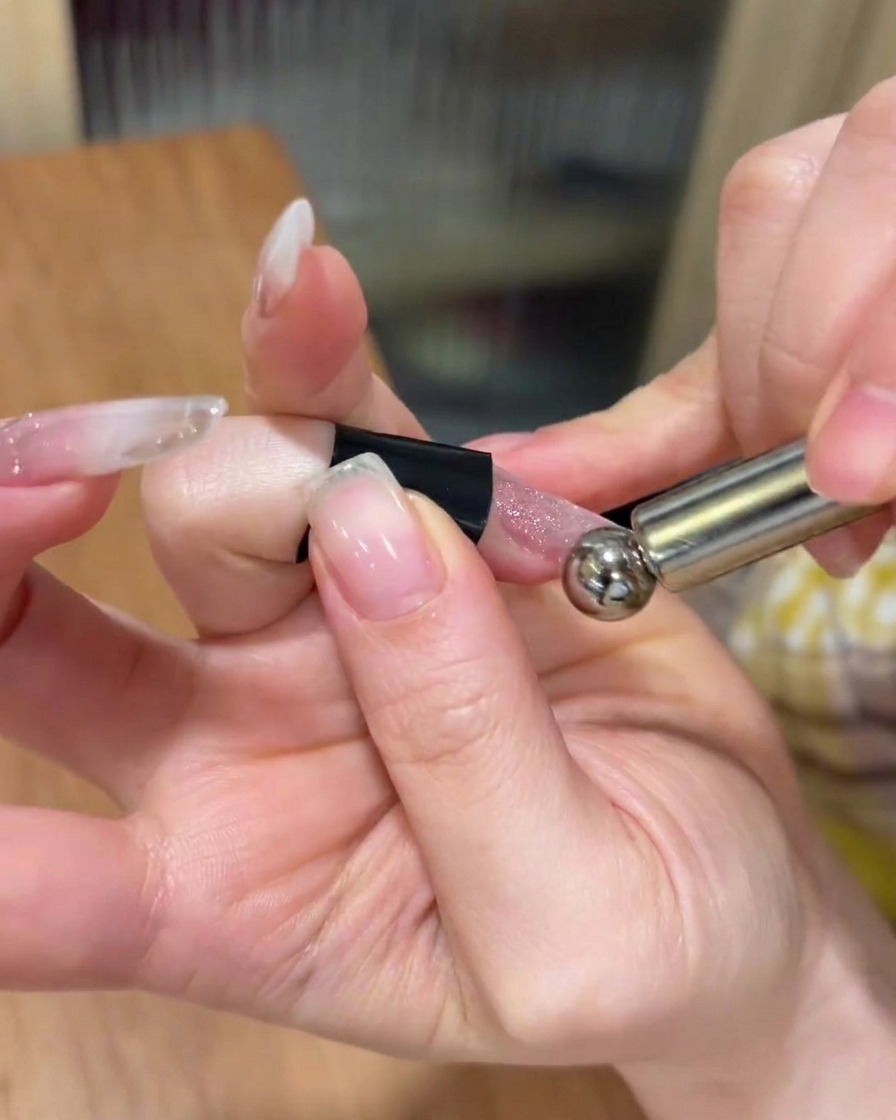
Hold the magnetic tool close to the nail surface without touching the wet polish. Use the magnet to push and pull the cat-eye pigment into the desired position, typically toward the center or tip, before curing.
Tip: Experiment with the angle of the magnet to achieve different depth effects in the cat-eye pigment. - 7Cure the cat-eye gel
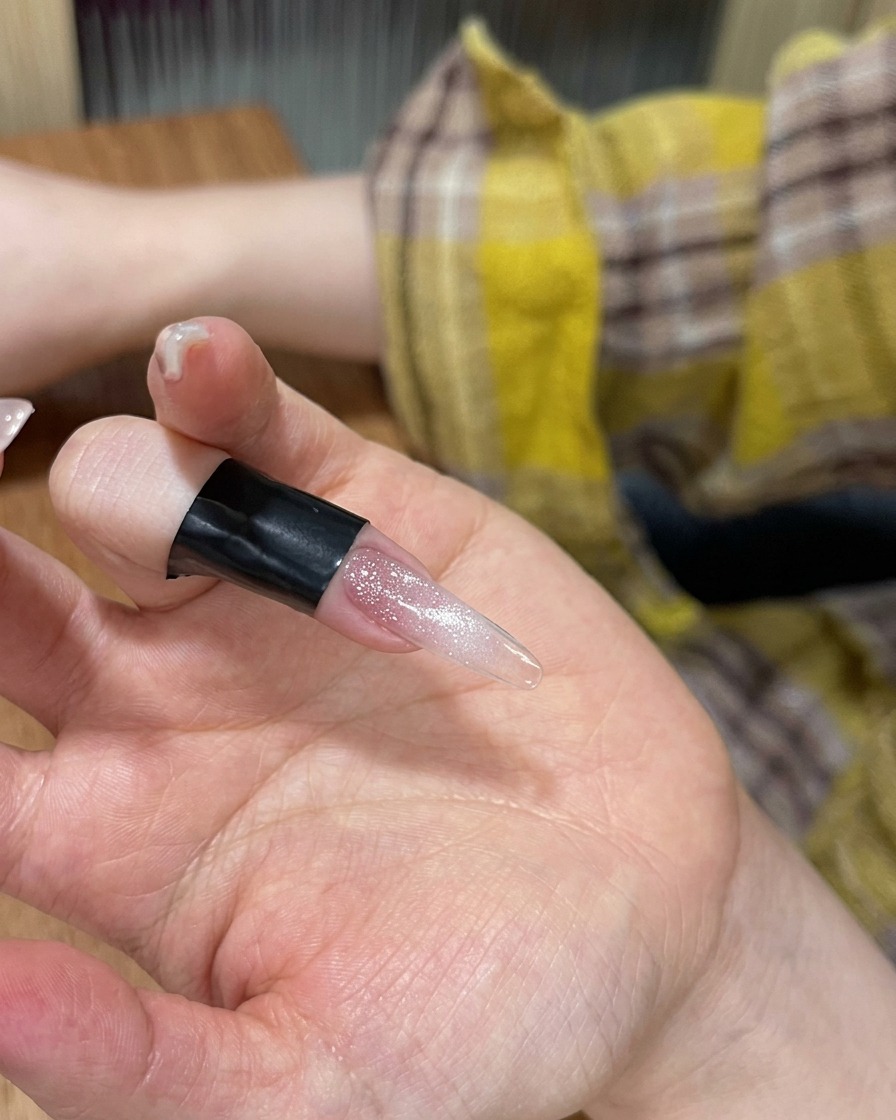
Once you have finished magnetizing your cat-eye gel, place your finger inside the UV or LED lamp. Ensure your hand is positioned correctly to allow the light to reach all areas of the nail evenly. Cure for the full duration specified by your gel polish manufacturer to ensure the design sets perfectly.
Tip: Keep your finger still inside the lamp during curing to prevent any shifting or smudging of the gel before it sets. - 8Apply top coat
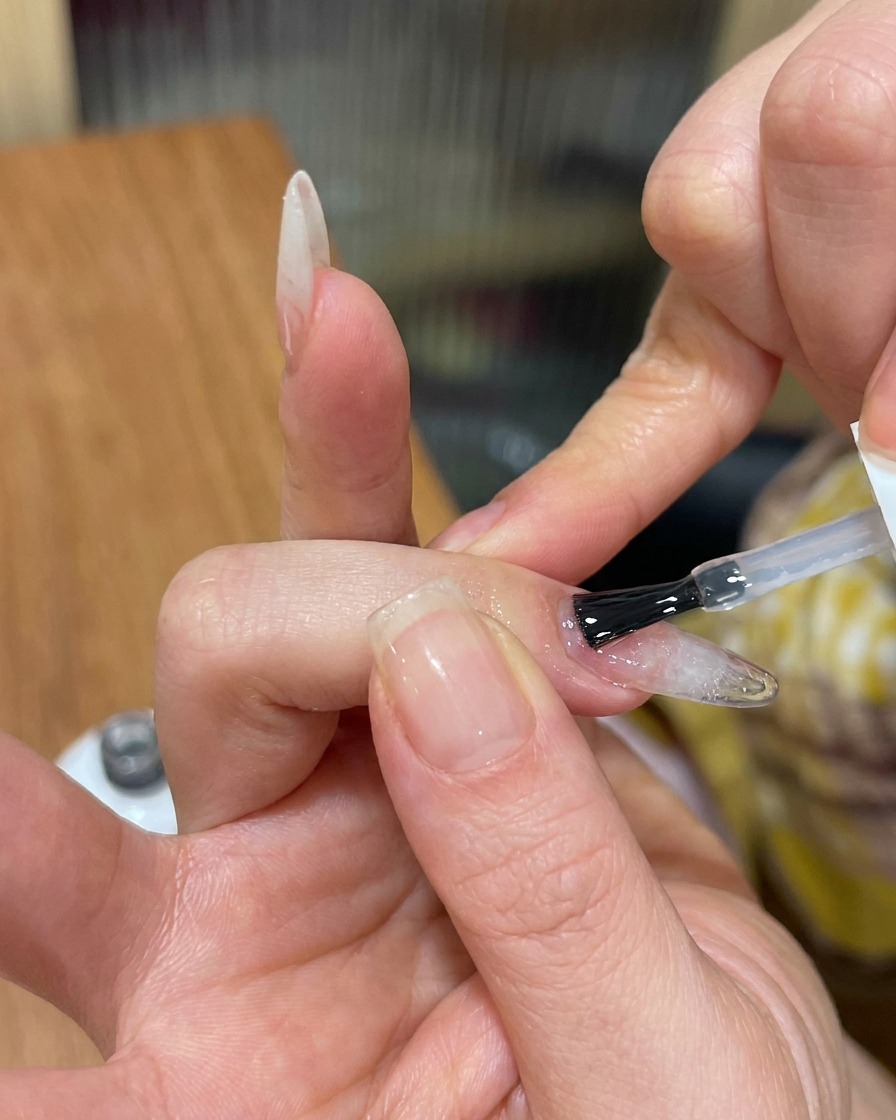
After curing the color layer, apply a thin, even layer of clear top coat over the entire surface of the nail. Be sure to cap the free edge to seal the manicure and protect the design from chipping. Ensure the layer is smooth and free of bubbles for a professional-looking finish.
Tip: Applying a top coat too thickly can lead to pooling around the cuticles; use a light touch to ensure an even, thin application. - 9Cure the top coat
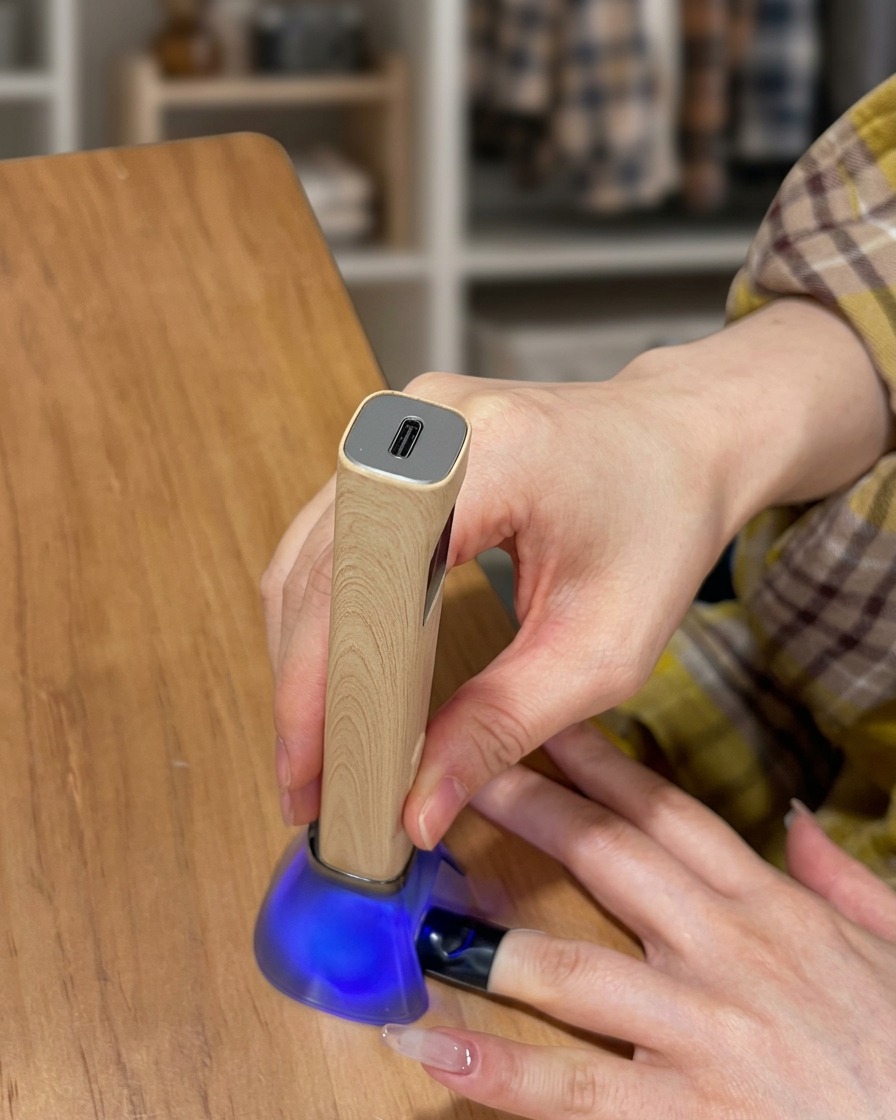
Place your finger into the UV or LED lamp to cure the freshly applied top coat. The top coat is essential for providing shine and durability to your manicure. Follow the manufacturers recommended curing time to achieve a fully hardened, high-gloss finish.
Tip: Do not rush the curing process, as an under-cured top coat may lose its shine or be more susceptible to scratching. - 10Apply adhesive gel for charm
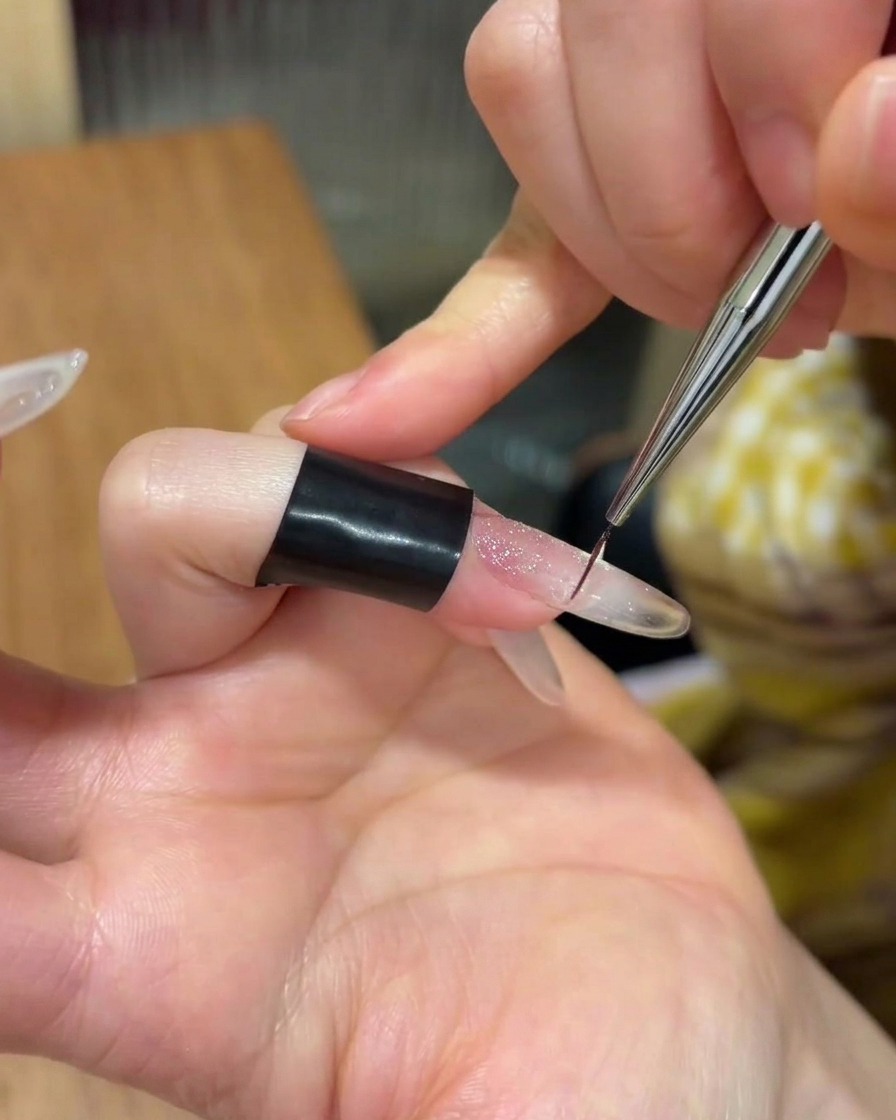
To secure your rhinestone charm, apply a small, controlled dot or line of thick adhesive gel (or gem glue) exactly where you want the embellishment to sit. This provides a strong foundation for the charm to adhere to without spreading too far across the nail surface.
Tip: Use a precision brush or a dotting tool to place the adhesive gel for maximum control over the amount used. - 11Place the rhinestone charm
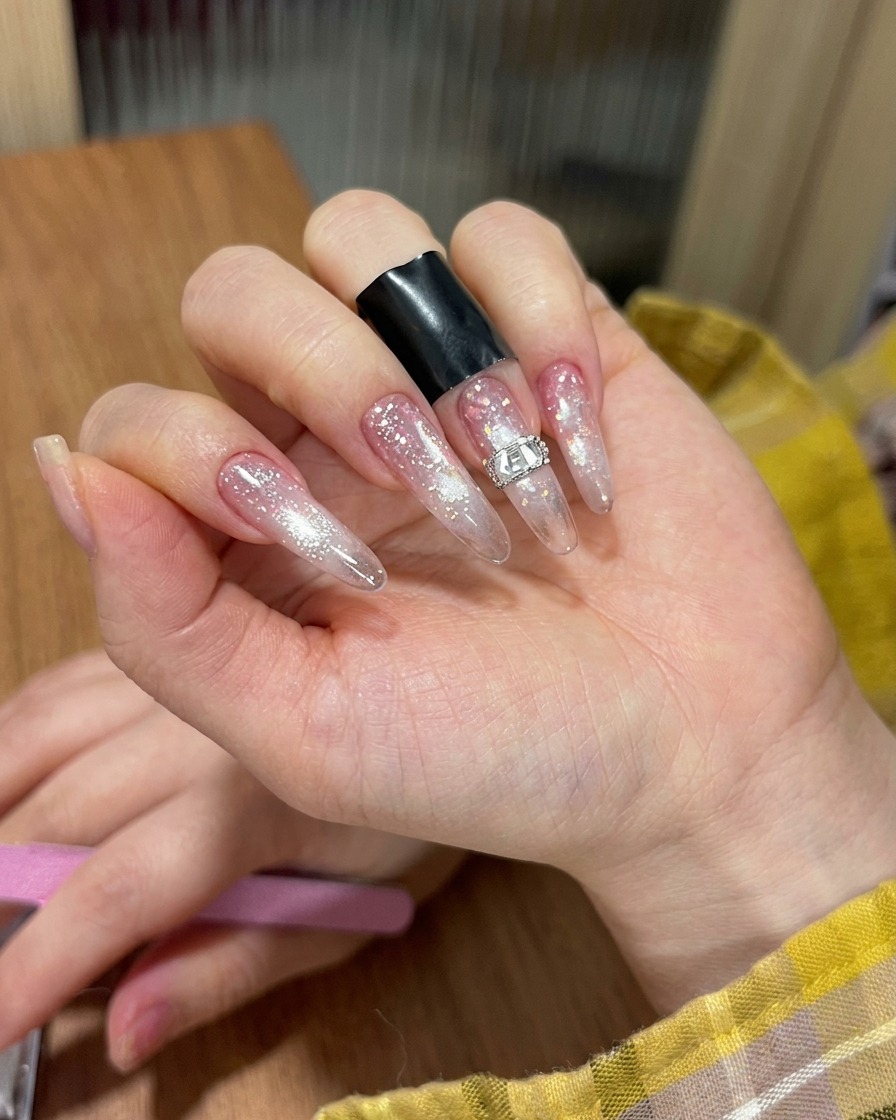
Using a pair of precision tweezers, gently pick up the rectangular rhinestone charm and carefully place it onto the previously applied adhesive gel. Press it down lightly to ensure it sits flat and is securely embedded in the glue before proceeding to cure.
Tip: If the charm isnt perfectly placed immediately, nudge it into the desired position while the adhesive gel is still wet. - 12Cure the adhesive gel
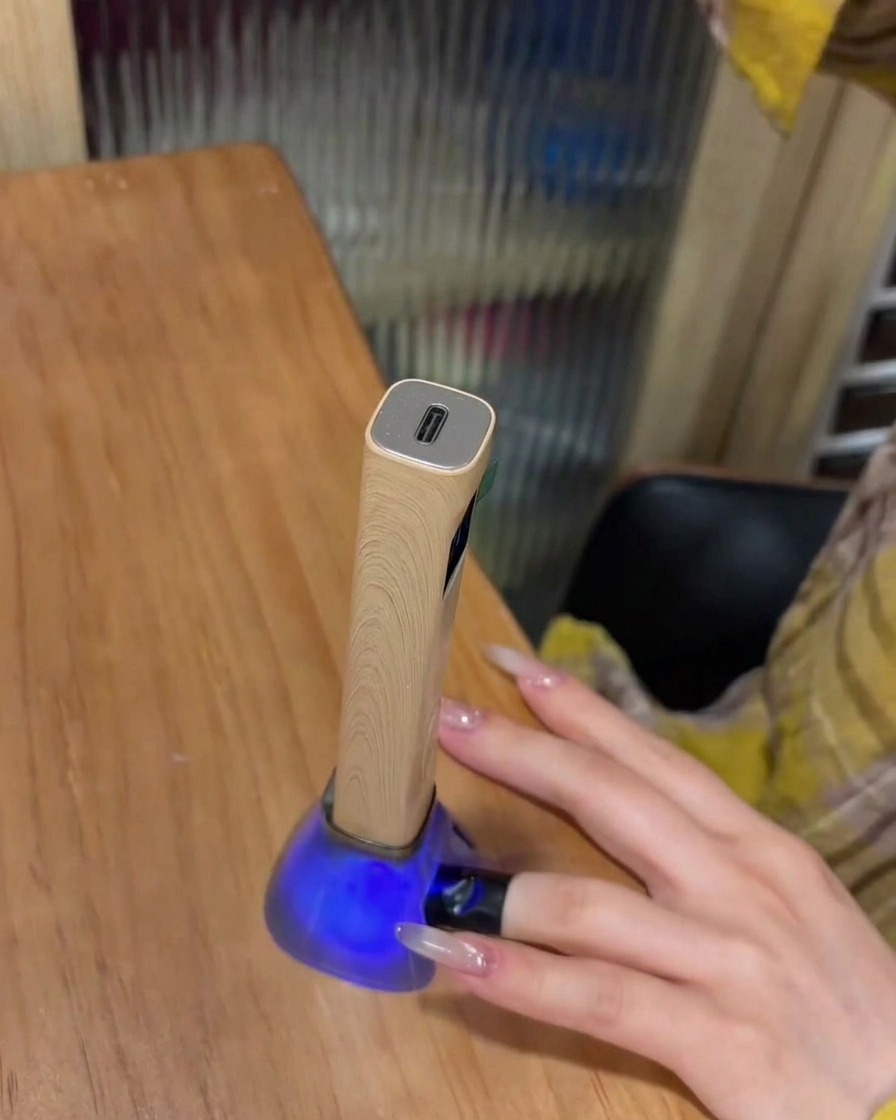
Once the charm is correctly positioned, place your finger into the UV or LED lamp to cure the adhesive gel. This final curing step ensures the rhinestone is firmly locked in place so it wont move or snag during daily activities.
Tip: Curing for the full recommended time is vital when securing charms, as you want the adhesive to be completely hardened underneath the metal piece. - 13Secure the rhinestone charm
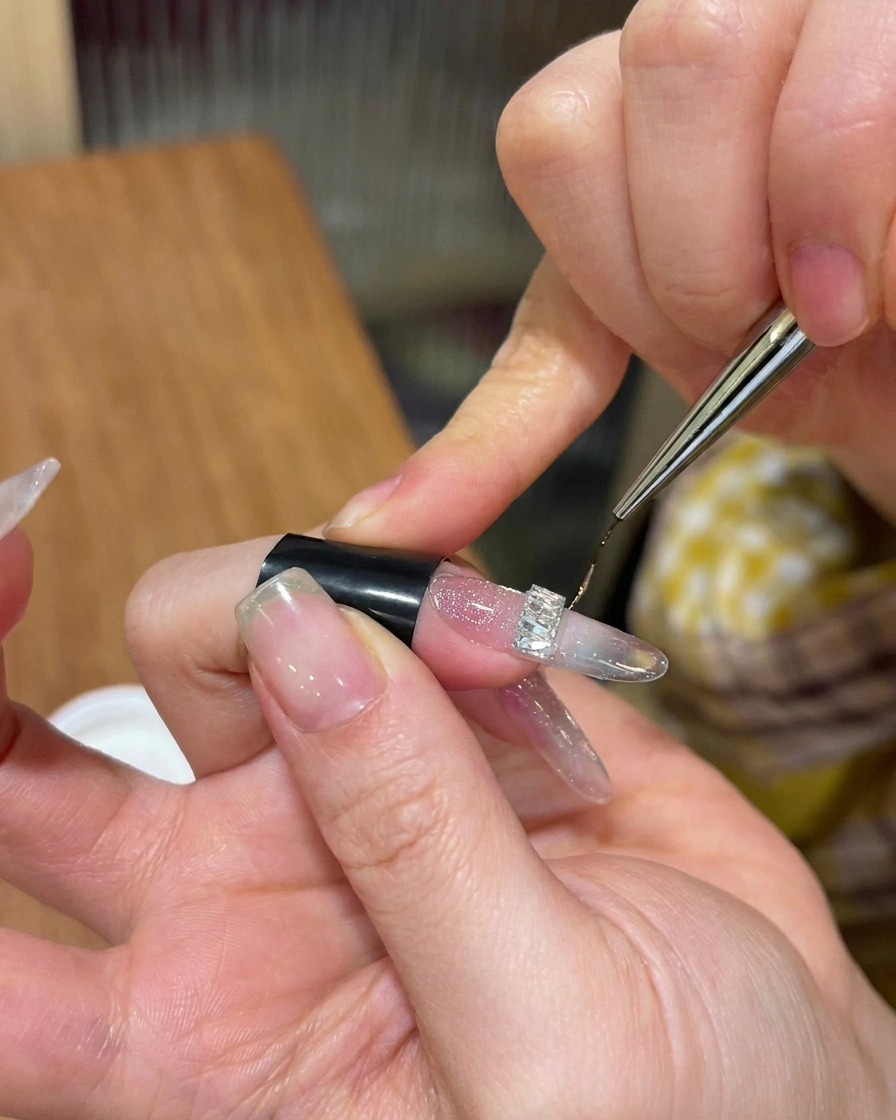
Using a fine liner brush, carefully apply a small amount of hard top coat around the base and edges of the rhinestone charm. This technique acts as a sealant, preventing the charm from catching on clothing or lifting prematurely. Ensure the gel is applied smoothly to maintain the overall finish of the manicure before the final cure.
Tip: Apply the hard top coat precisely around the perimeter of the charm without flooding it to keep the facets sparkling. - 14Perform final cure
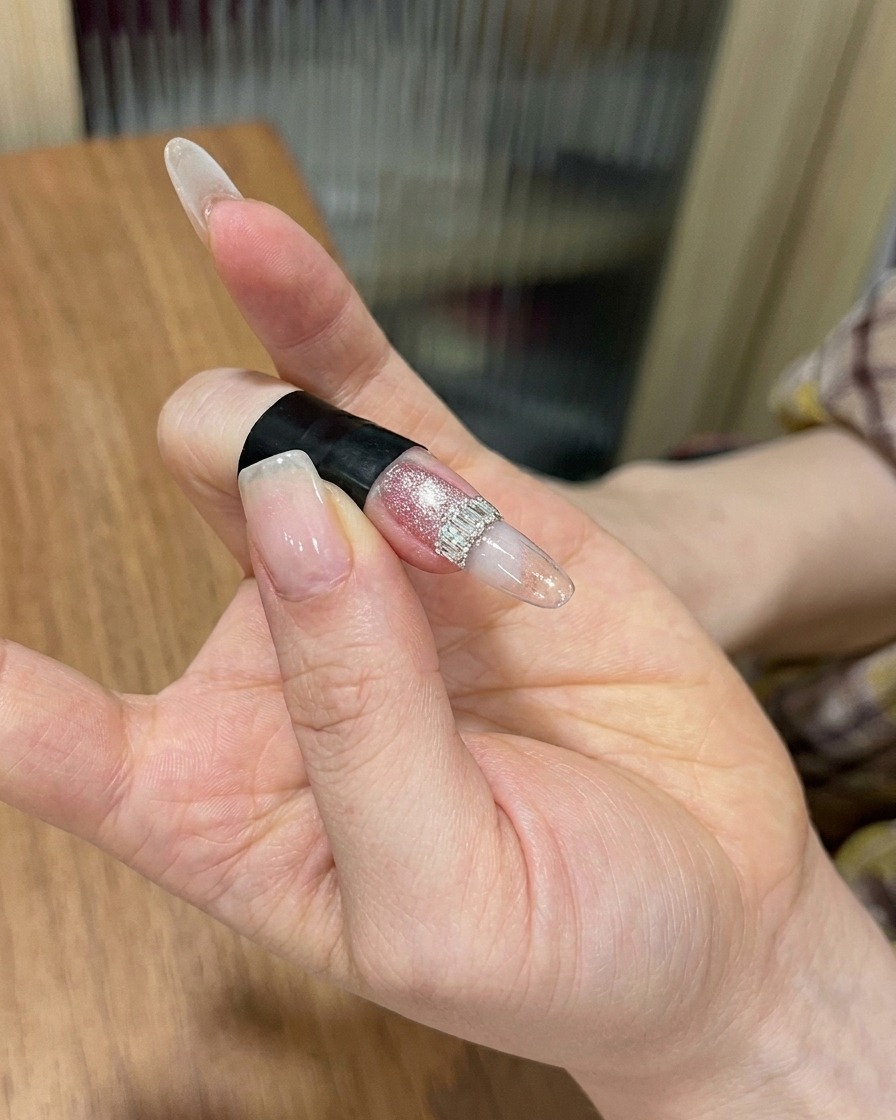
Place your finger inside the UV or LED lamp to perform the final cure of the hard top coat. Ensure your finger is positioned directly under the light source for the full recommended time to guarantee the charm is securely locked in place and the top coat is fully set.
Tip: Keep your hand still inside the lamp to ensure even curing and a flawless, durable finish.