Sophisticated Cat-Eye French Manicure
Glitter Accents
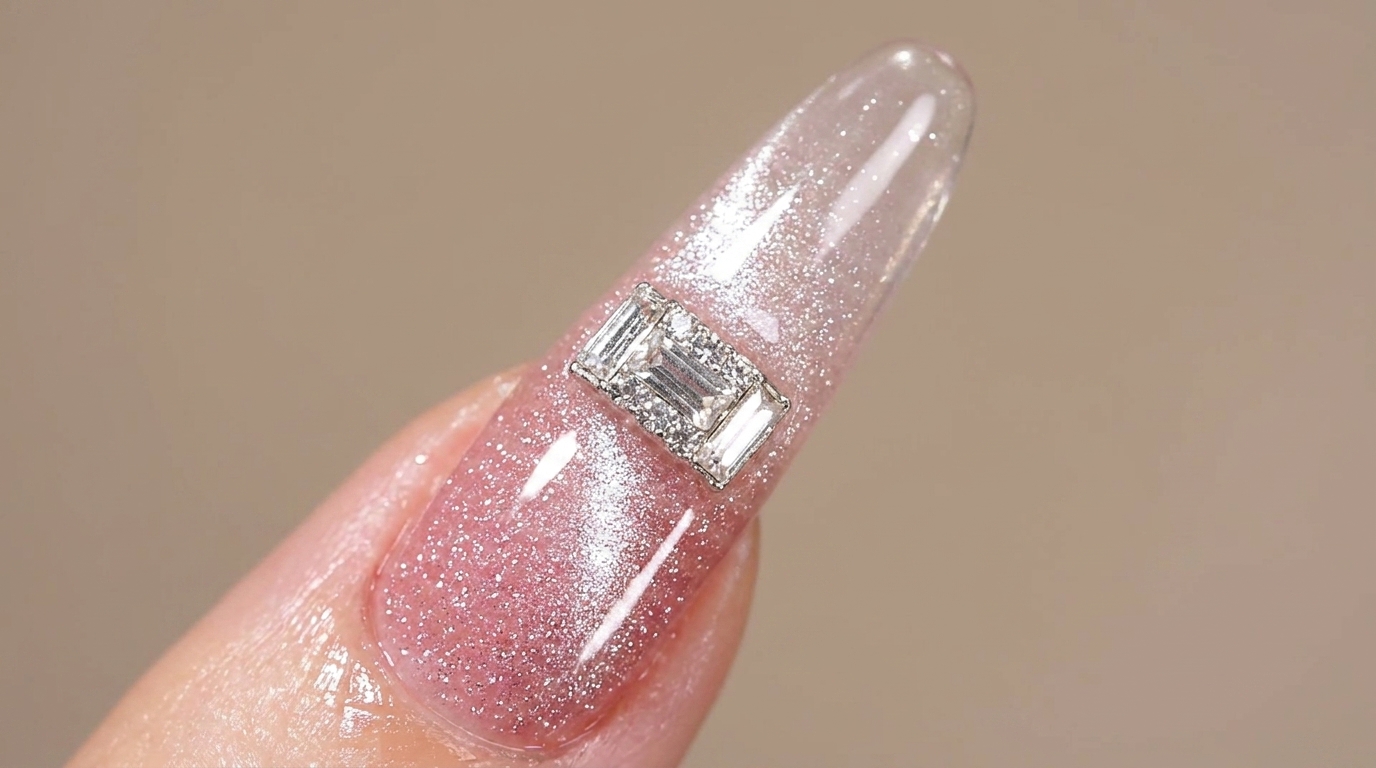
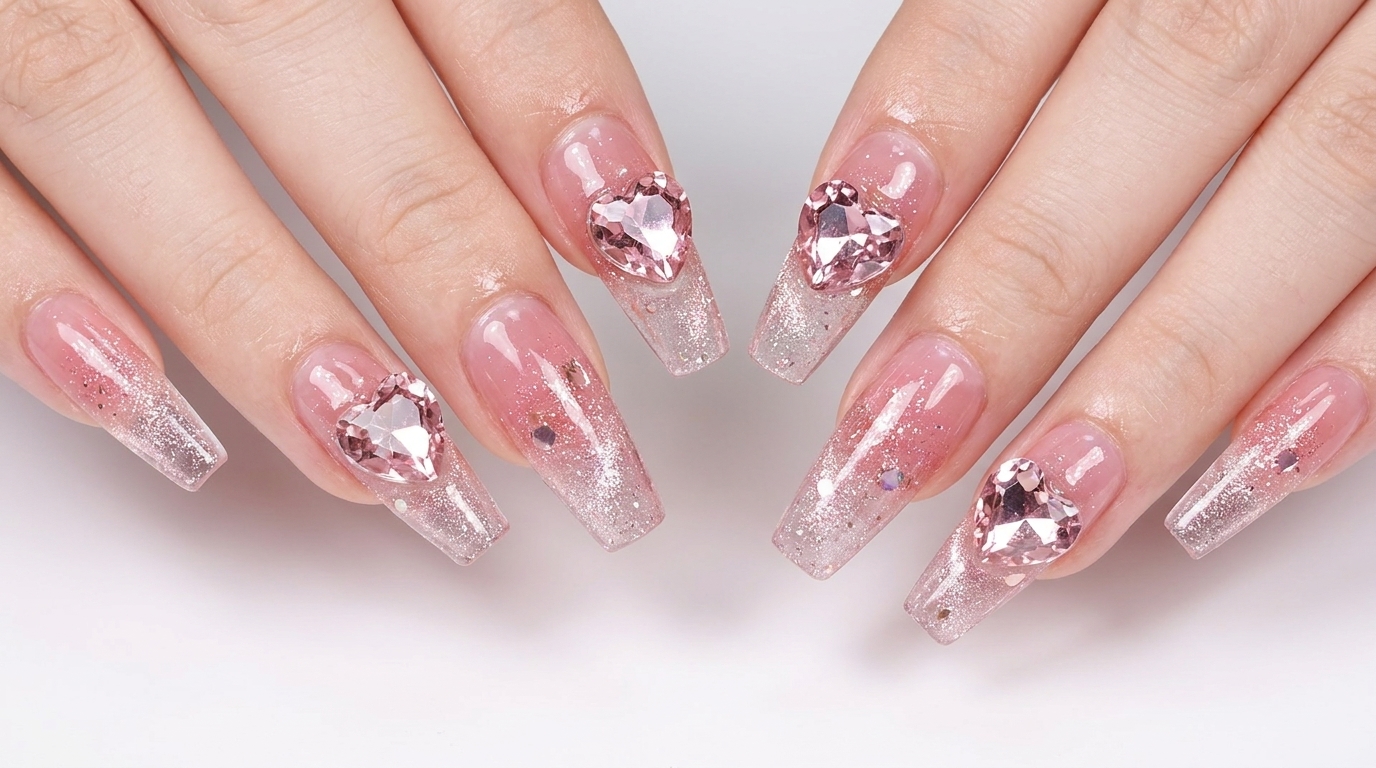
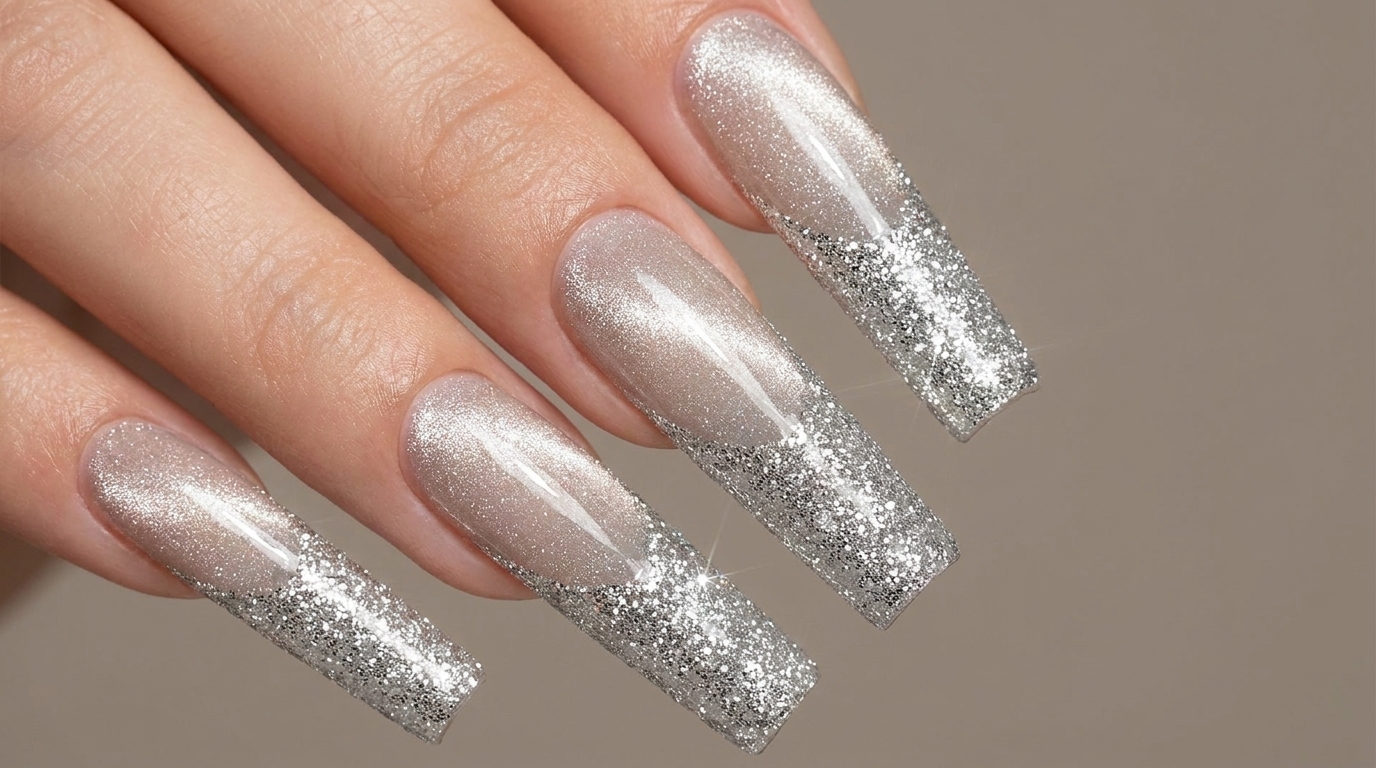
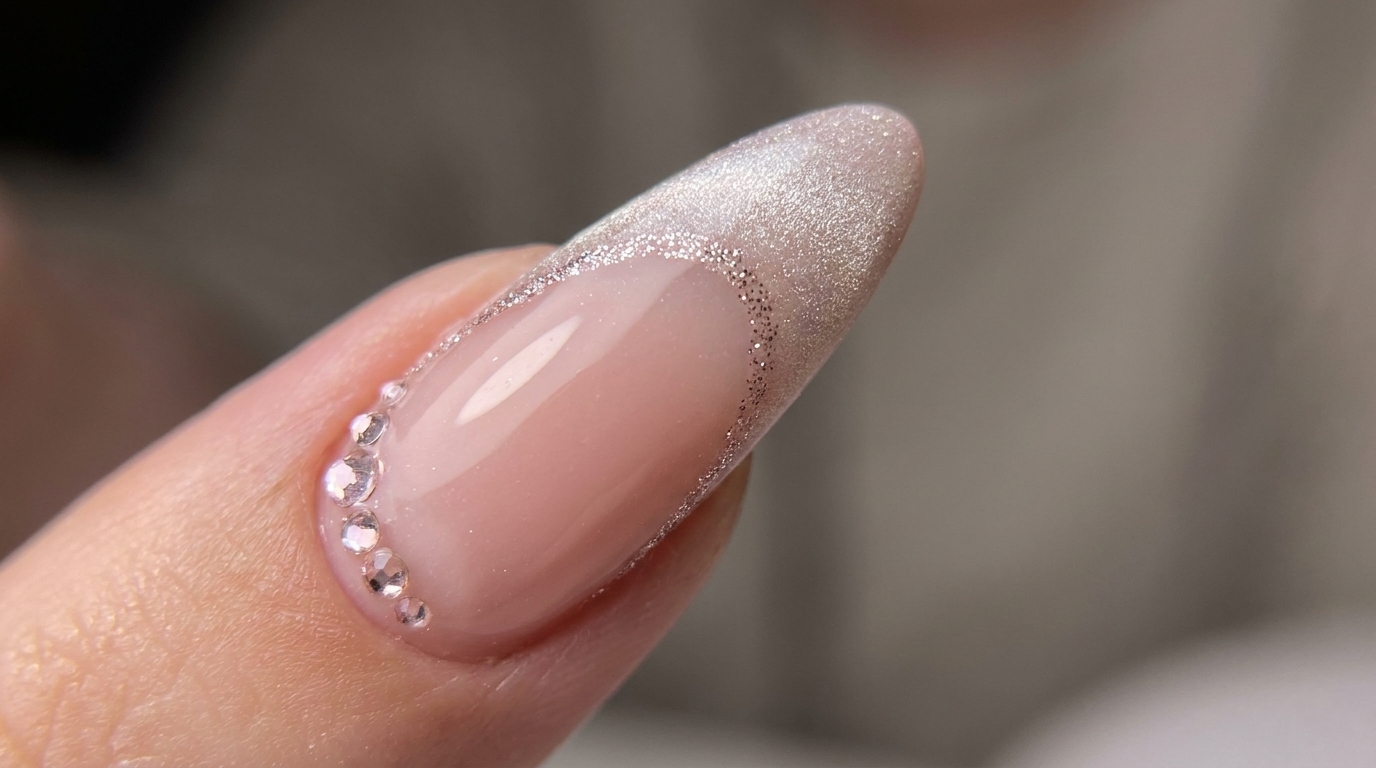
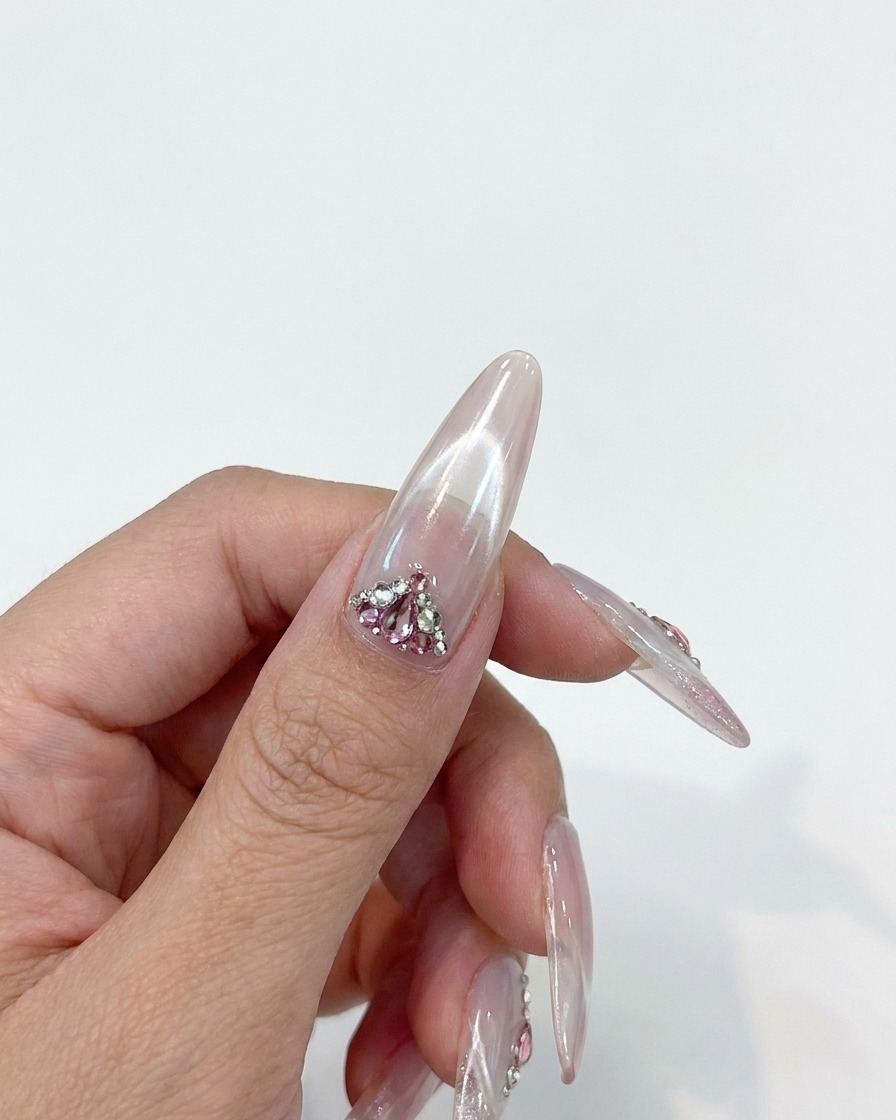
Elevate your classic French manicure with this shimmering cat-eye gel design, featuring sparkling glitter borders and delicate pink accent stones.
The cat-eye effect brings a modern, celestial dimension to the timeless elegance of a French manicure. By combining magnetic gel particles with precision-placed glitter lines and soft pink accents, this look achieves a perfect balance between professional polish and decorative flair. It is a stunning choice for anyone looking to add a touch of glamour to their everyday style.
Steps
- 1Apply cat-eye base gel
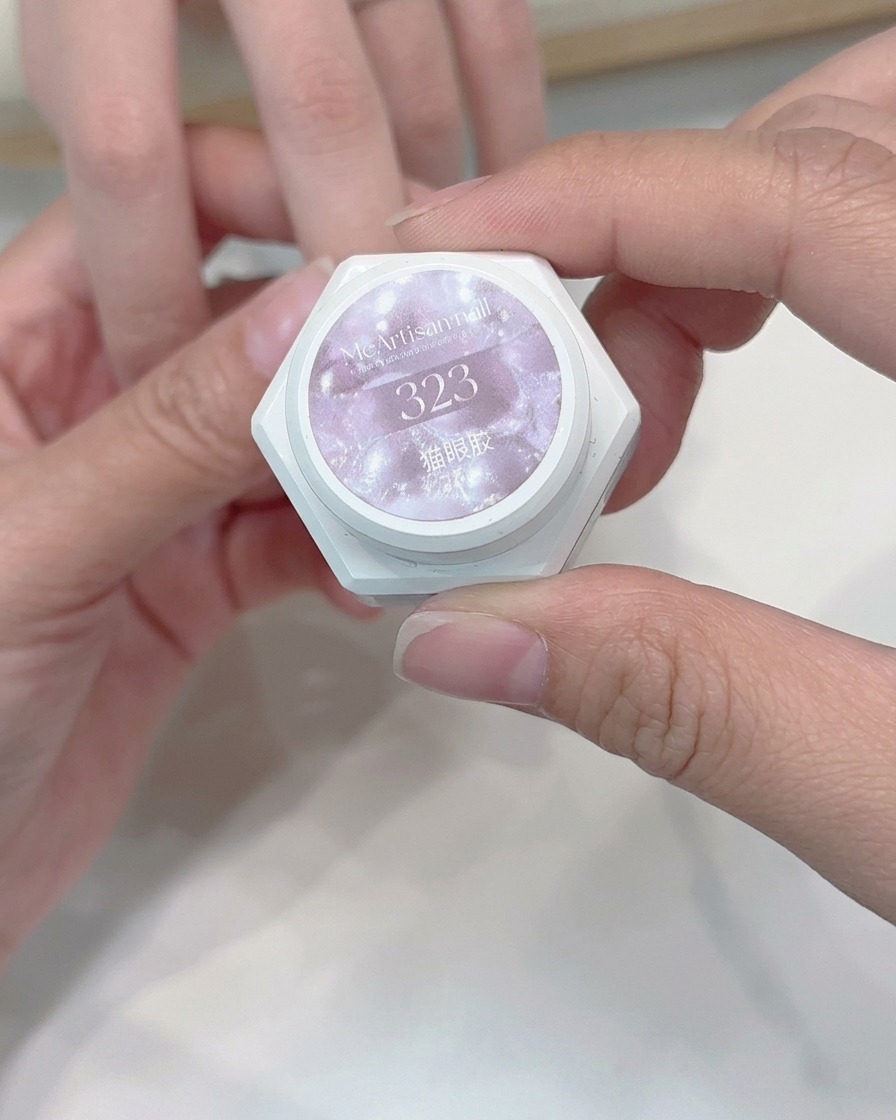
Apply a thin layer of cat-eye gel number 323 to the prepared nail. Ensure the coating is even and smooth, avoiding the skin around the cuticle area. Do not cure at this stage, as the magnet needs to be used while the gel is still wet.
Tip: Applying a consistent, thin layer ensures better cat-eye particle movement when using the magnet. - 2Activate cat-eye effect
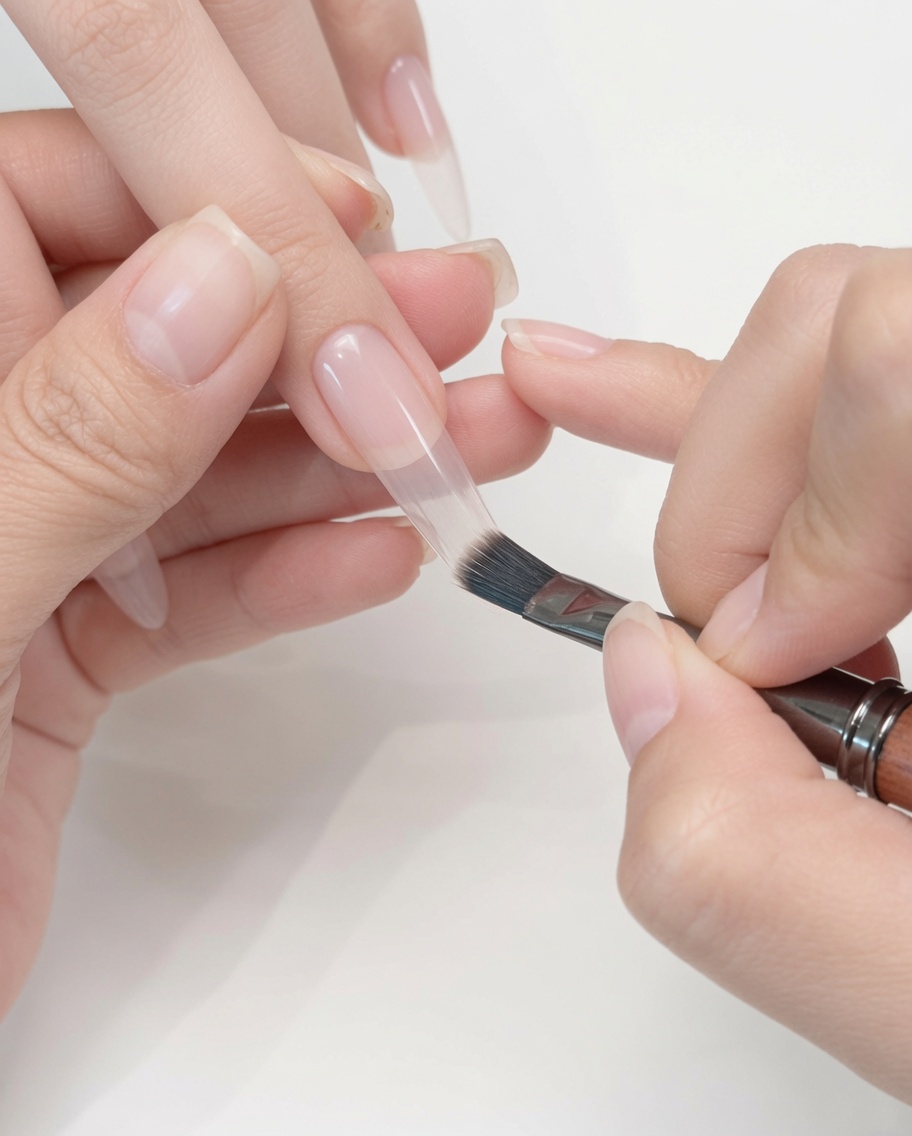
Before curing the gel, hold a cylindrical magnet near the surface of the nail. Move it slowly to manipulate the metallic particles within the gel until you achieve the desired cat-eye effect. Once the pattern is set, keep the magnet steady to ensure the particles do not shift before curing.
Tip: Keep the magnet close to the nail for the strongest and most defined effect, but be careful not to touch the wet gel surface. - 3Shape cat-eye into French arc
Use a specialized French-tip magnet tool to reshape the activated cat-eye particles into an arc, mimicking the look of a French manicure. This step requires precision to ensure the magnetic particles align into a sharp, clean curvature at the tip of the nail.
Tip: The shape of the magnet tool is crucial; keep it aligned with the curve of the nail tip to get a perfect arc. - 4Cure the design
Place your hand inside the UV/LED lamp to cure the shaped cat-eye French design. Ensure the nail is placed directly under the light for the manufacturers recommended time to lock the magnetic particles into their arc shape.
Tip: Ensure the hand is flat and fully under the light to prevent any shifting of the gel or uneven curing. - 5Add glitter French border
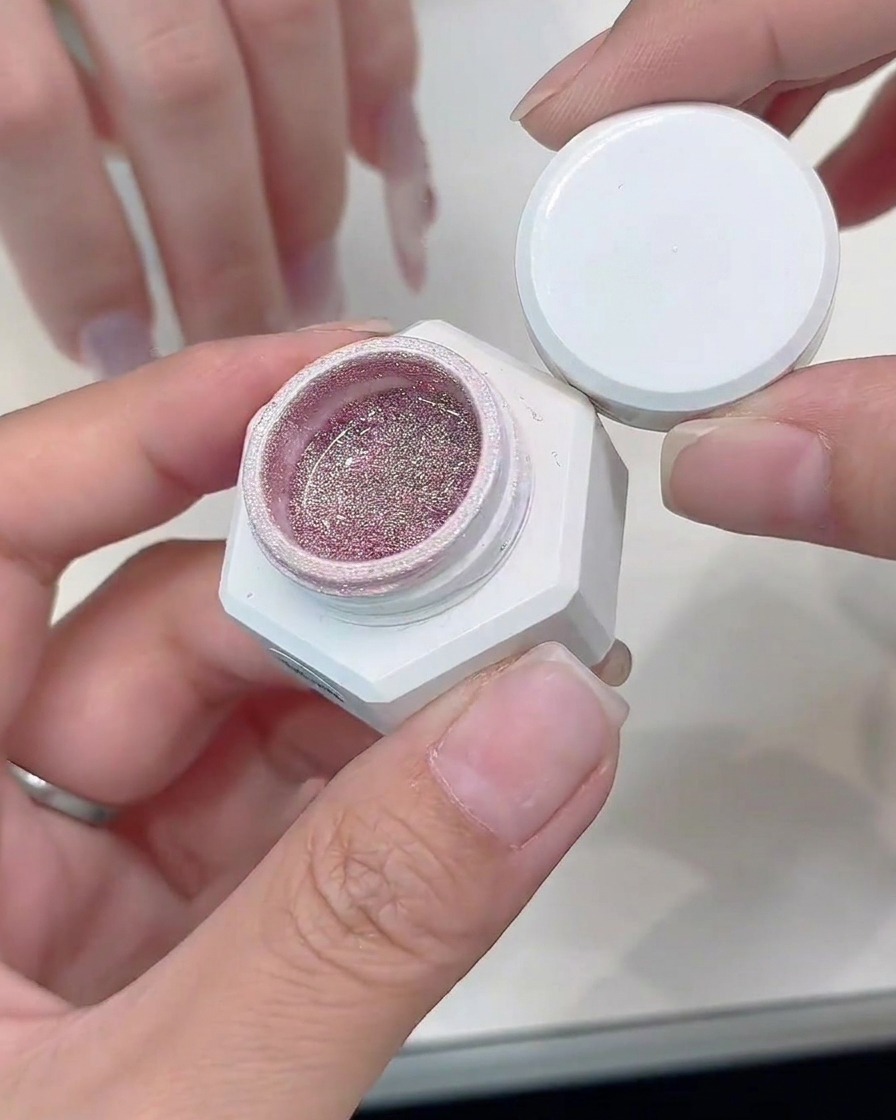
Using a fine detail brush, apply glitter gel number 434 along the French arc created previously. This adds a decorative shimmer and highlights the curvature of the French line. Use controlled strokes to keep the border clean and precise.
Tip: Wipe excess glitter gel from the brush before application to prevent flooding the line and losing the crisp edge. - 6Refine the French line
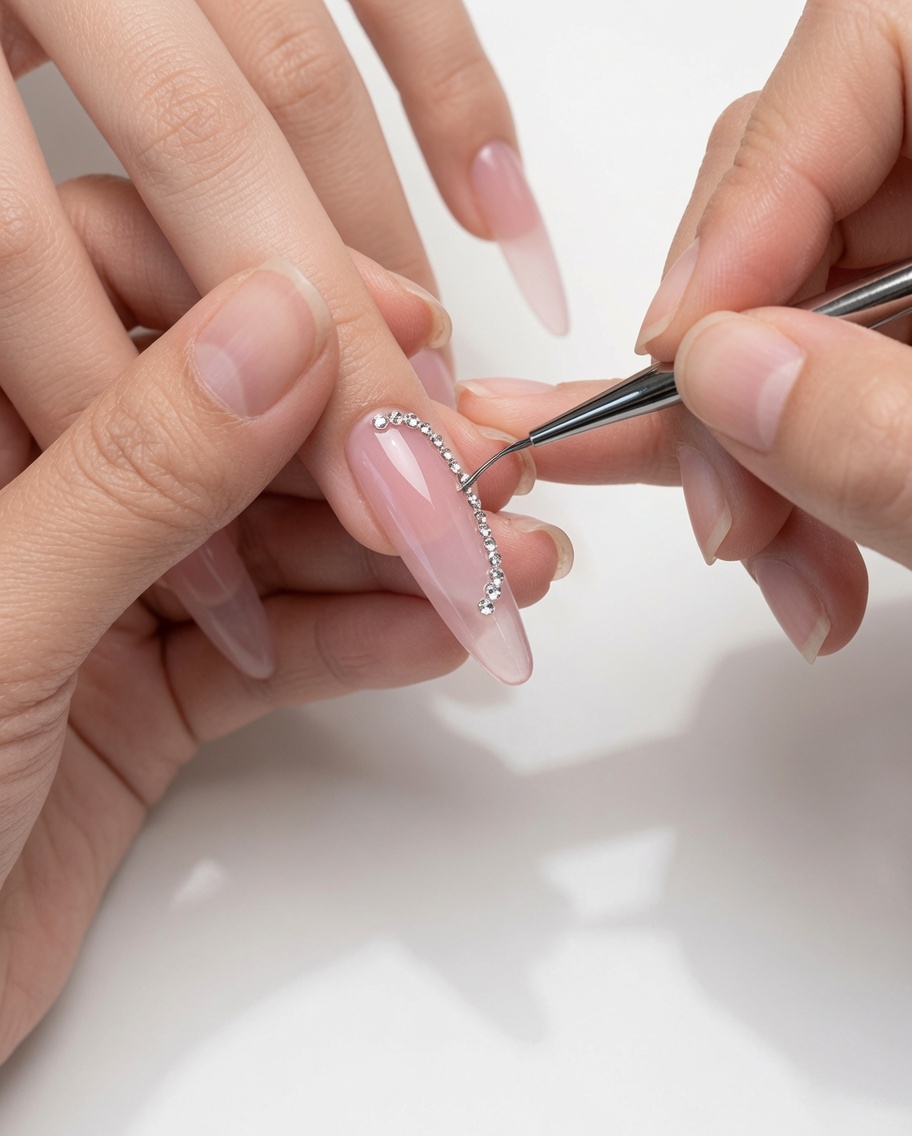
Using a thin liner brush, carefully trace along the edge of your glitter French line to perfect the curvature. This step ensures a crisp, professional look and allows you to fix any irregularities in the glitter application.
Tip: Work in small strokes and use the very tip of the brush to maintain a sharp, clean line. - 7Fill the glitter tip
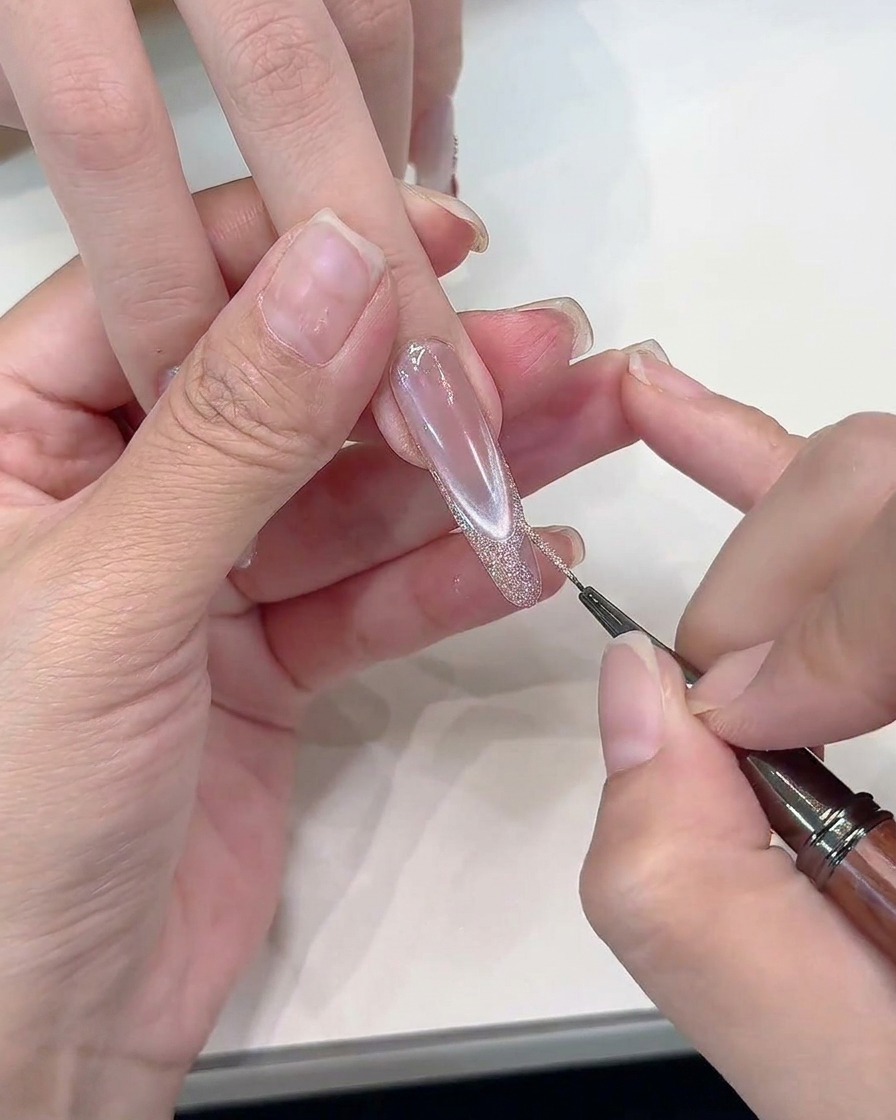
Apply additional glitter gel to the French tip area to ensure full, opaque coverage. Use the brush to gently spread the glitter evenly across the tip, ensuring there are no sparse spots.
Tip: Pat the glitter gel rather than dragging it to get a more saturated, dense layer. - 8Cure the design
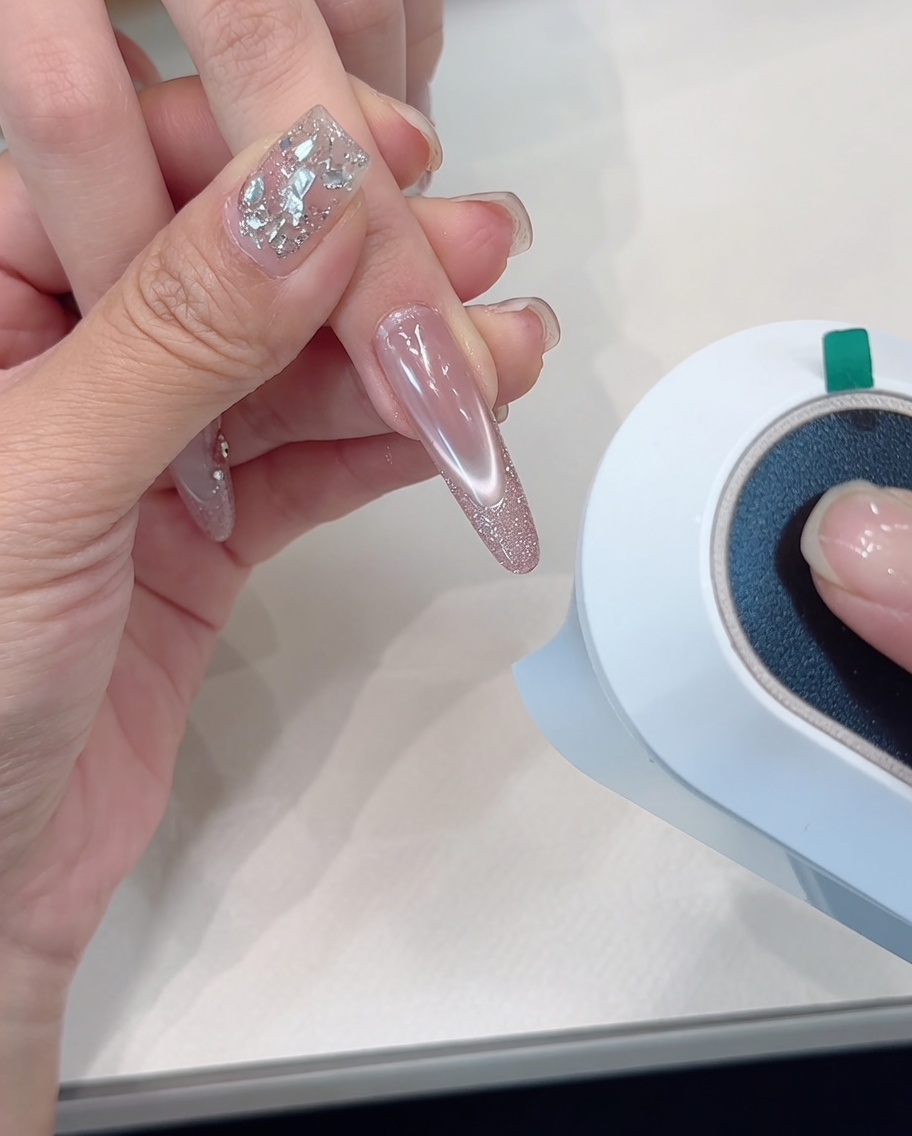
Place the hand under your UV or LED lamp and cure for the full manufacturer-recommended time. Proper curing is essential to ensure the glitter gel is fully hardened and durable.
Tip: Make sure the hand is positioned directly under the light for an even cure. - 9Apply top coat
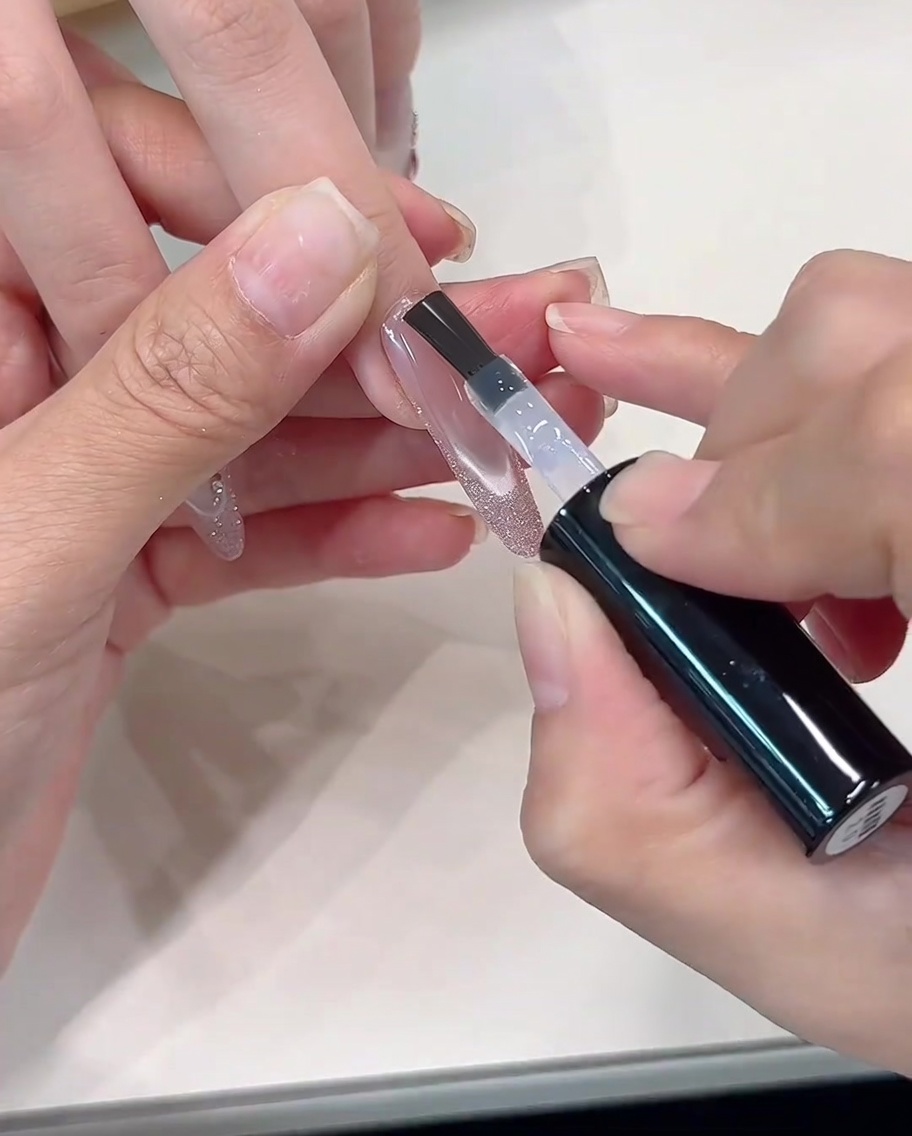
Apply a layer of builder or clear top gel over the entire nail to level the surface and seal the design. This creates a smooth finish and adds protection to the glitter and accent pieces.
Tip: Ensure you cap the free edge with the top coat to prevent chipping. - 10Add accent pieces
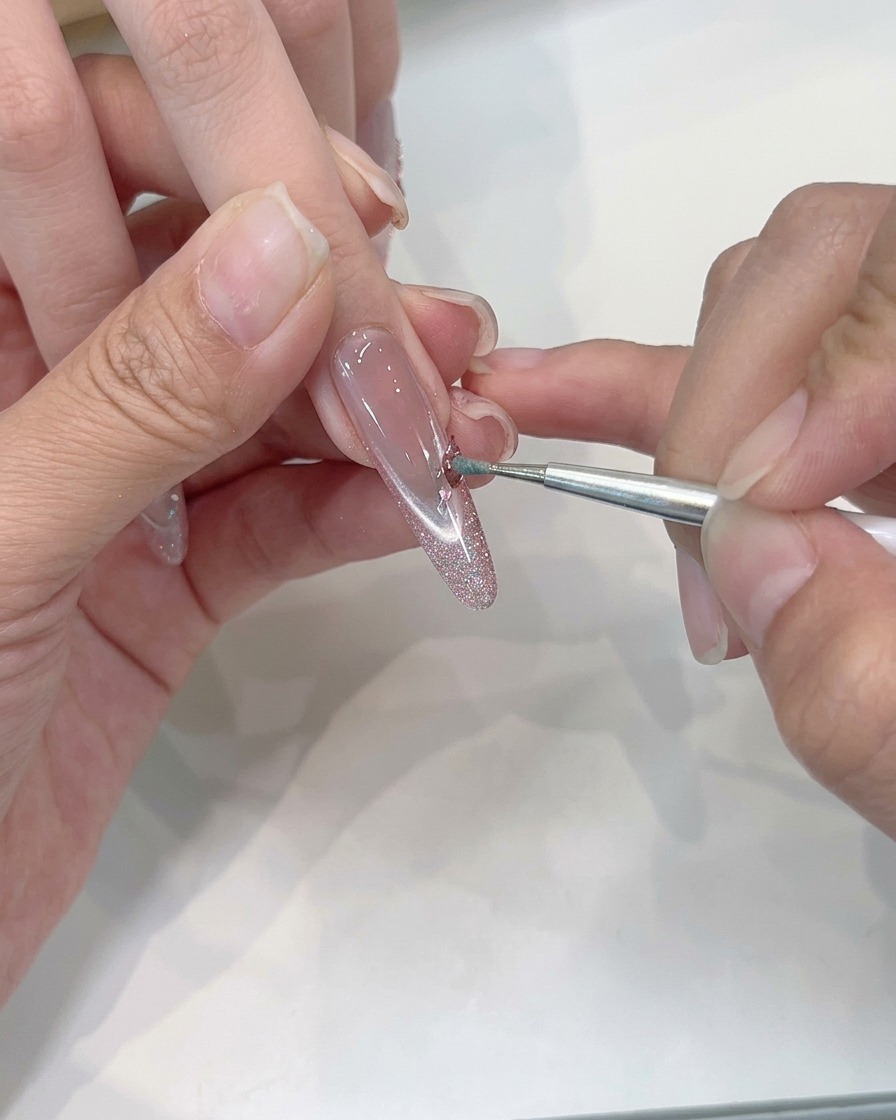
Carefully place small pink accent pieces onto the side of the nail while the top coat is still wet. Use a precision tool or tweezers to position them exactly where desired for a decorative touch.
Tip: Place the accents while the gel is slightly tacky so they adhere securely before curing.