Pink Glitter
Acetate Leopard Print Gel Nails — Luxury Tutorial
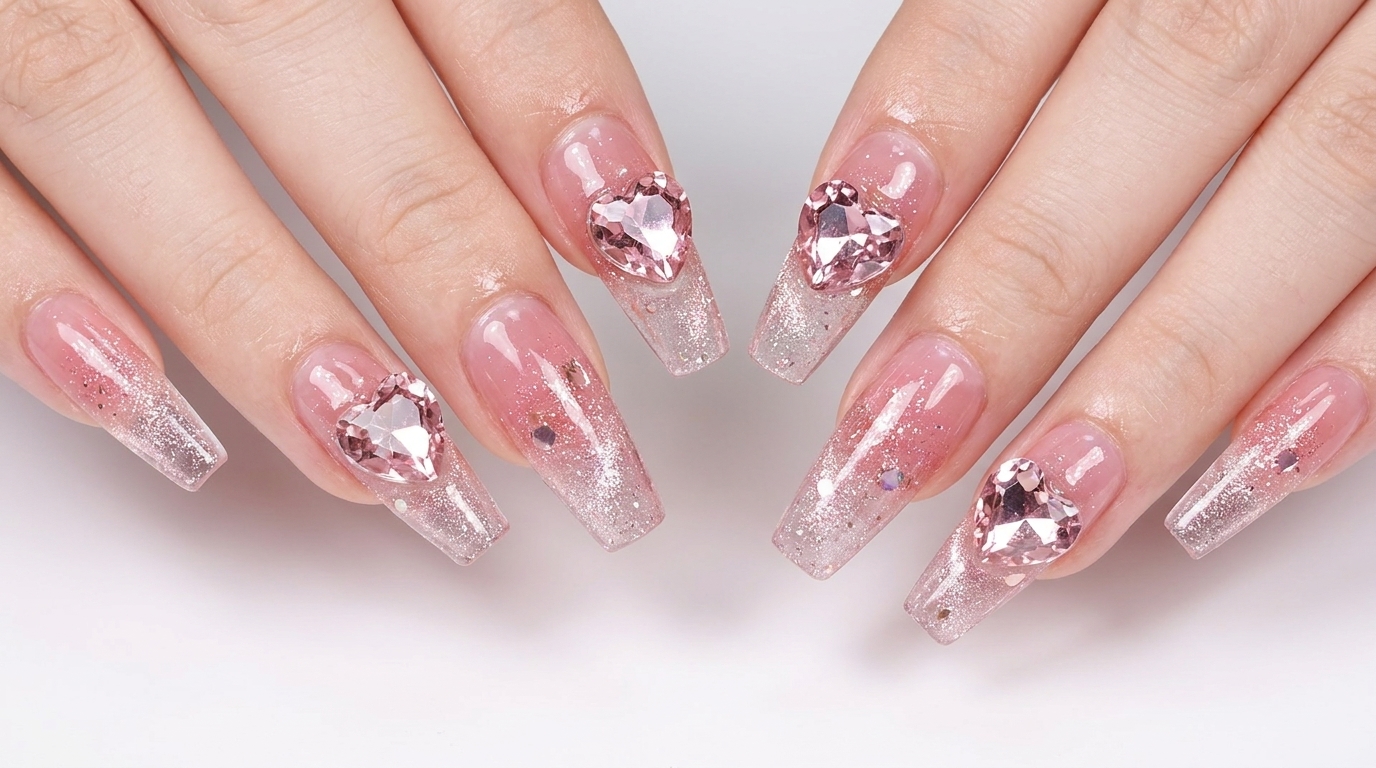
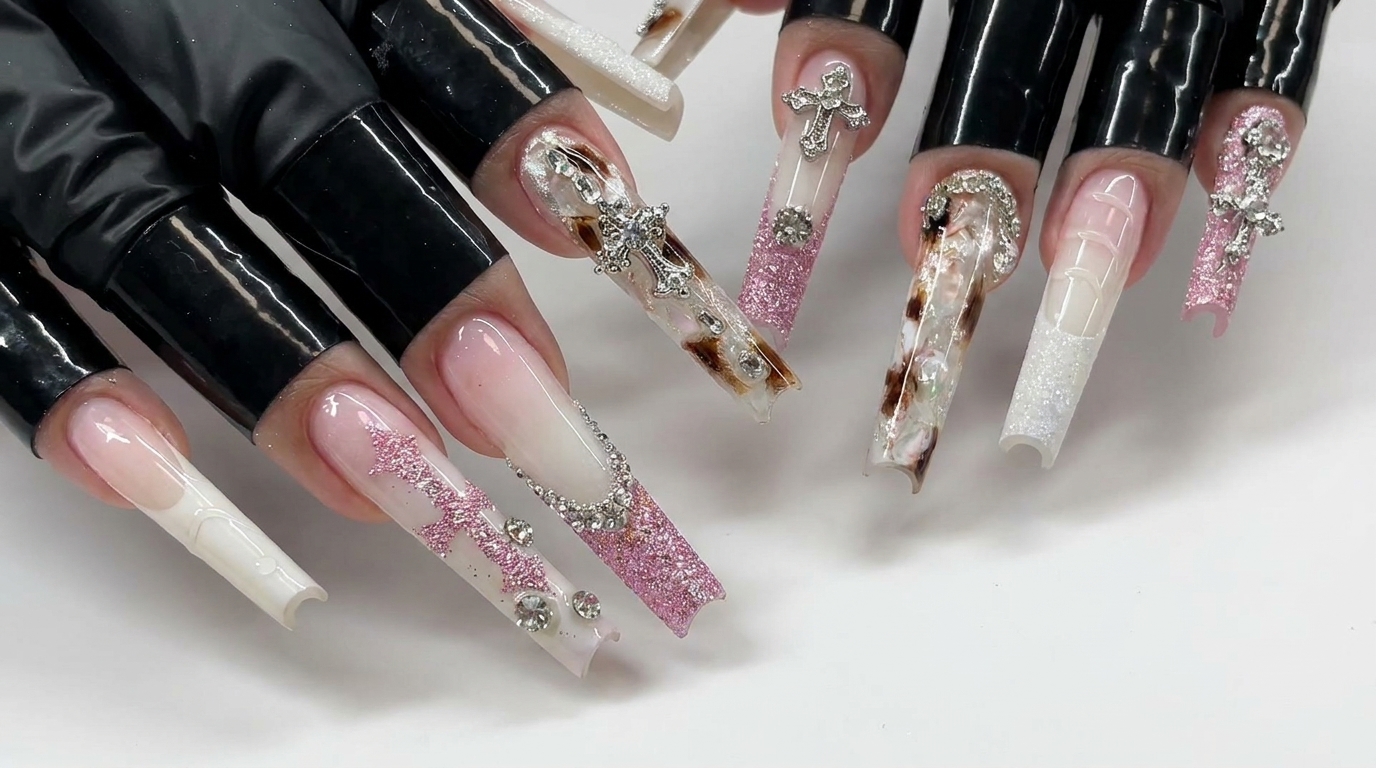
Create a high-end look with pink glitter, chic acetate-style leopard print, and ornate cross charms. This tutorial guides you through the luxe details.
Leopard print and metallic charms bring an edgy, luxurious flair to your manicure. This design balances soft pearlescent tones with bold patterns and textured accents, making it a perfect statement look that avoids snagging. Follow along to master this sophisticated and trendy acetate-inspired nail art.
Steps
- 1Apply adhesive glue
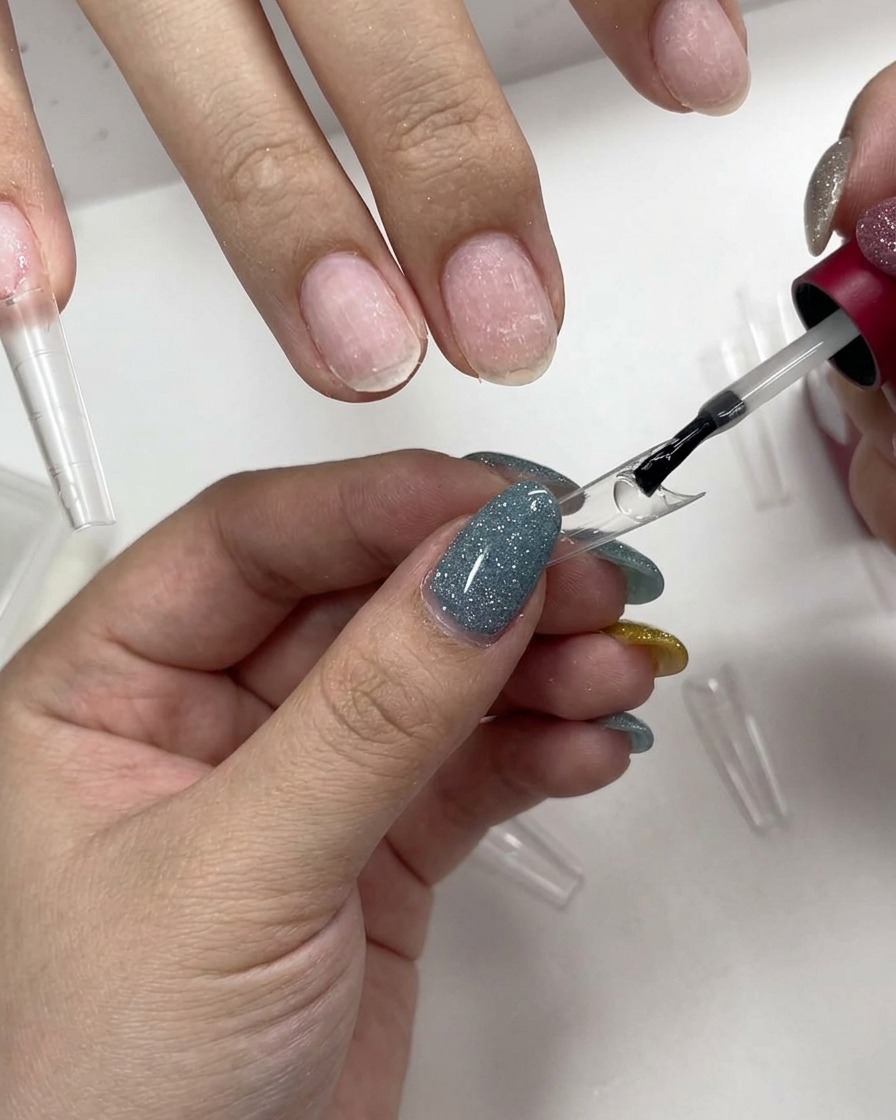
Apply a generous layer of clear adhesive gel glue to the back well area of the clear press-on nail tip. Ensure the gel is spread evenly so it fully covers the contact point and prevents air bubbles when pressed onto the natural nail.
Tip: Avoid applying too much glue, as the excess will seep out around the cuticle edges and cause messy cleanup or premature lifting. - 2Press the tip onto the nail
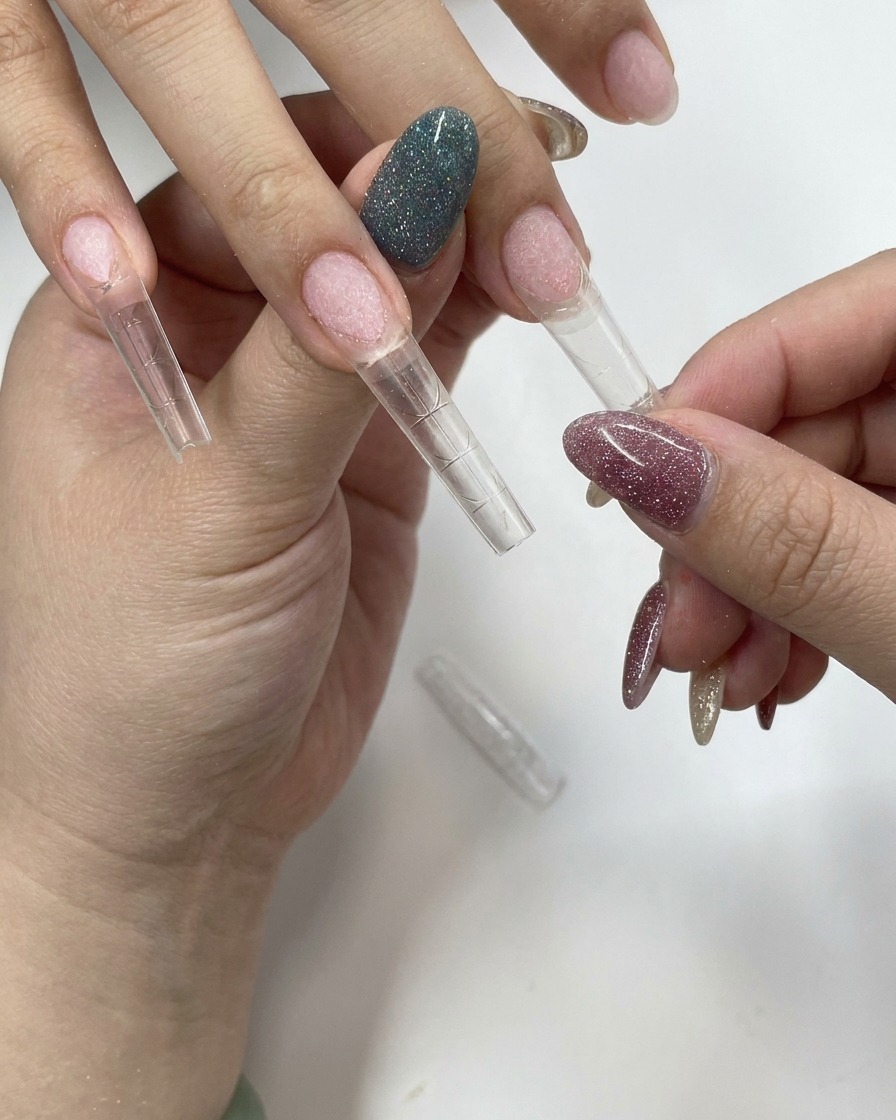
Place the glued nail tip at a 45-degree angle near the cuticle and slowly roll it forward over the natural nail plate. Press down firmly and evenly to ensure all trapped air bubbles are pushed out for a secure, flawless hold.
Tip: Hold the tip firmly in place with your thumb to ensure it doesnt shift or lift while you prepare to cure it. - 3Cure the adhesive
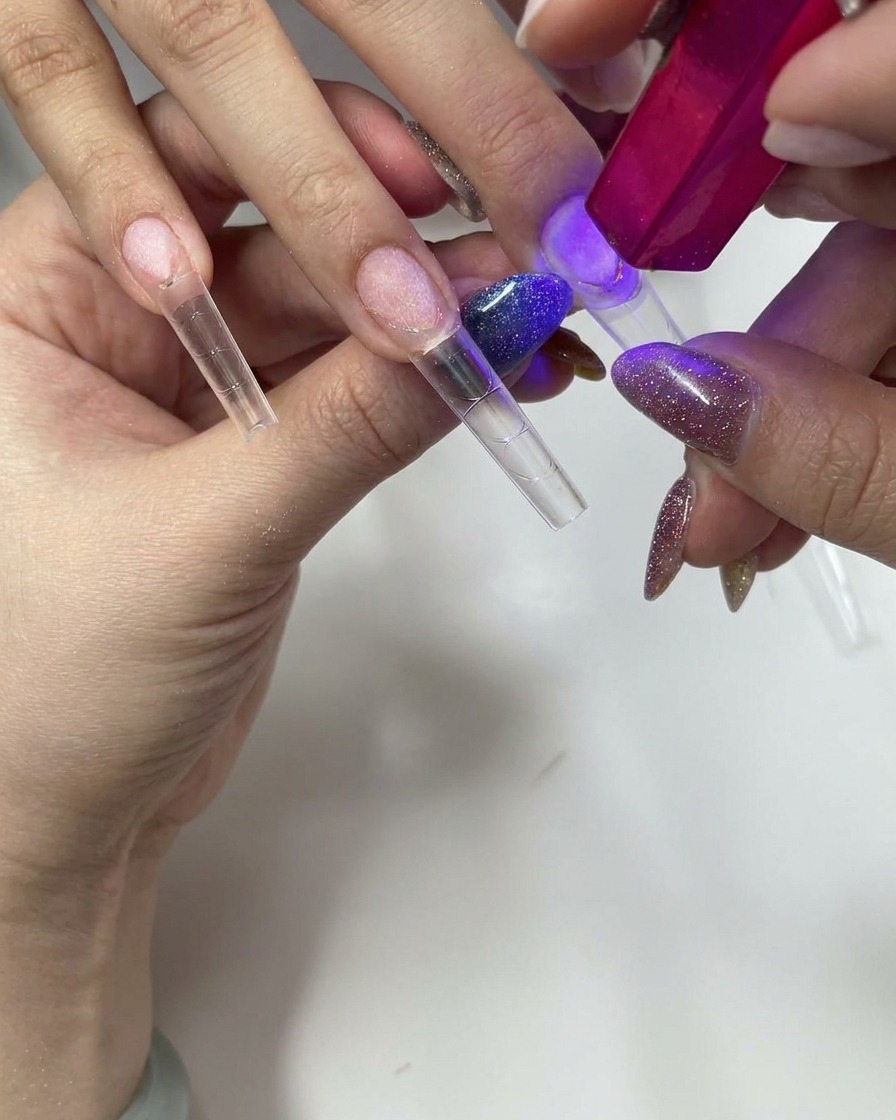
While firmly holding the nail tip in place, use a mini handheld UV or LED lamp to flash-cure the adhesive. Hold the light over the nail for about 10-15 seconds to lock the tip in place before proceeding to a full cure in a standard lamp.
Tip: A handheld flash-cure lamp is ideal here because it allows you to hold the nail down securely with one hand while curing with the other. - 4Smooth the nail surface
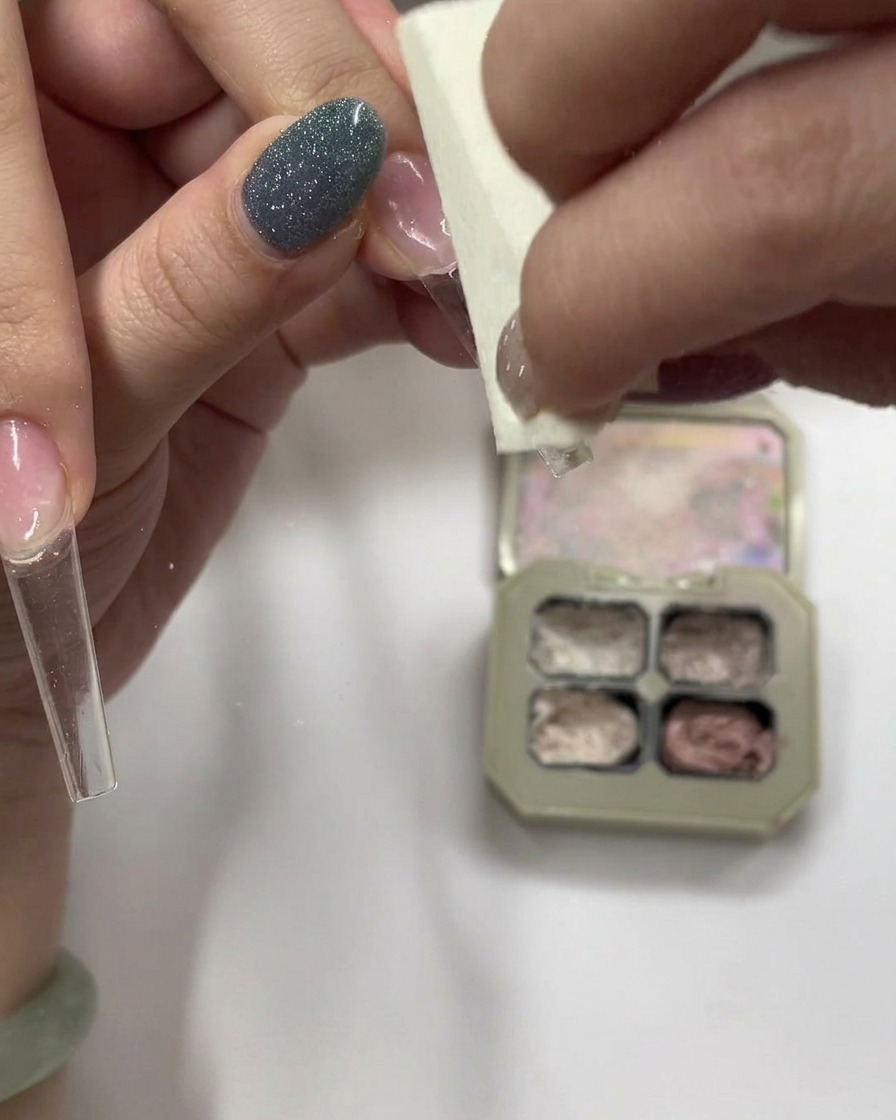
Using a fine-grit sponge buffer, gently smooth the surface of the nail tip. This step removes any rough edges and creates a uniform, matte texture that helps the upcoming decorative layers adhere smoothly and appear seamless.
Tip: Apply light pressure with the buffer to avoid thinning or damaging the structure of the nail tip. - 5Apply pearlescent base gel
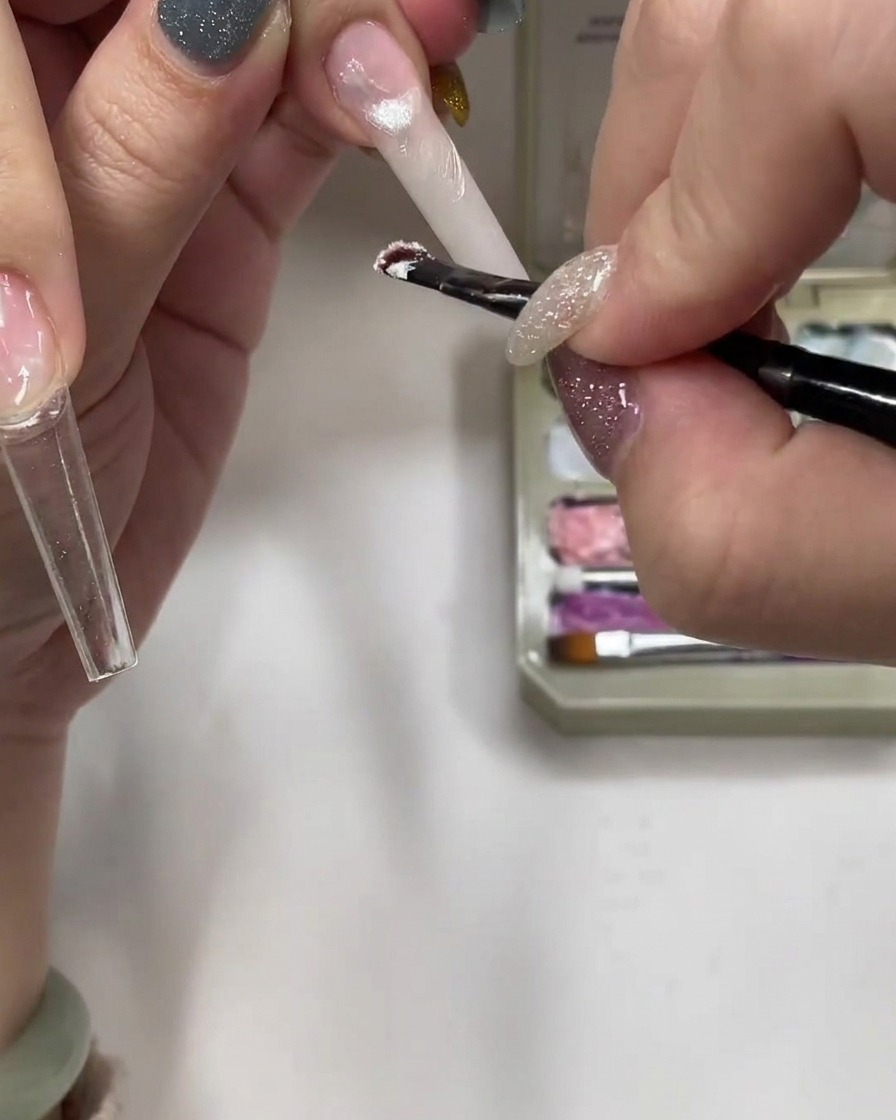
Use a flat gel brush to pick up your iridescent pearlescent base gel and apply it evenly across the prepped nail extension. Work the polish smoothly from the cuticle to the free edge, ensuring an opaque, shimmering layer.
Tip: Applying thin, even layers helps the pearlescent pigments distribute smoothly without streaking. - 6Apply builder gel
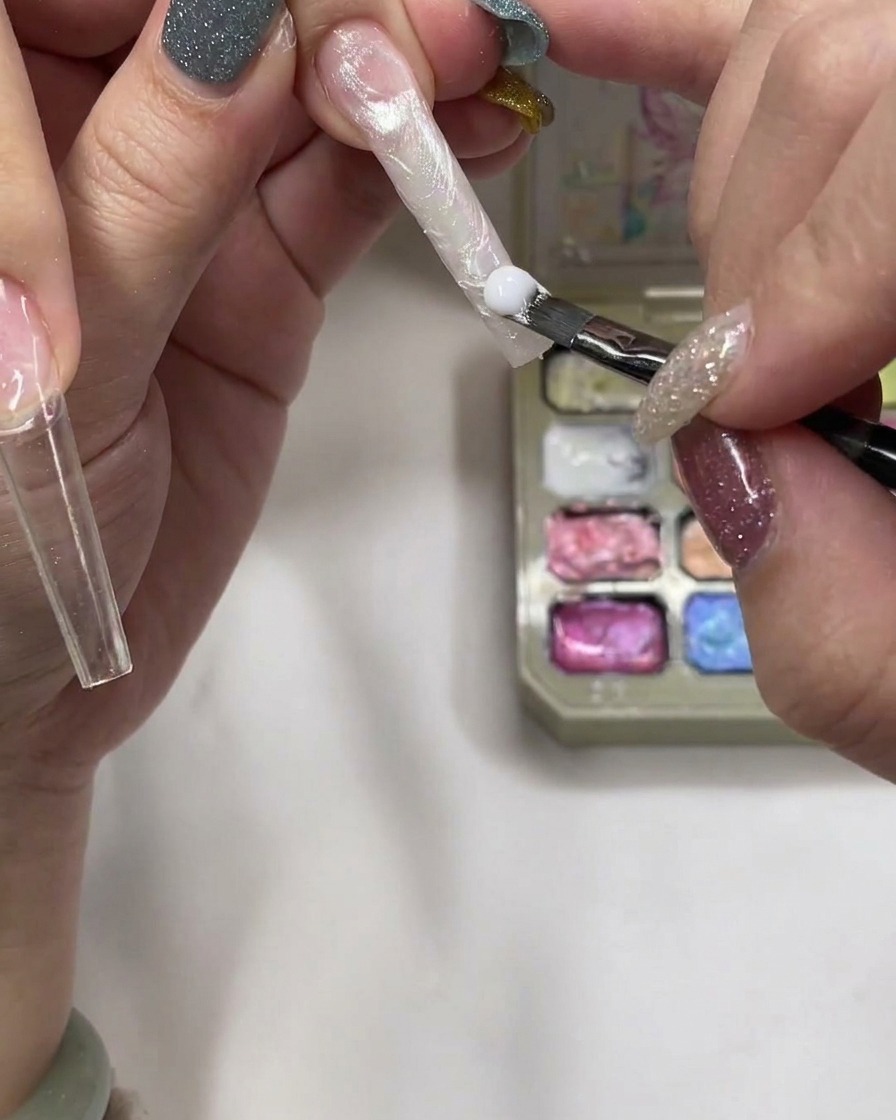
Place a bead of milky or clear builder gel near the cuticle and gently guide it down the nail to build an apex and add structural strength. This layer not only protects the nail but also encapsulates your base design to add beautiful depth.
Tip: Let the builder gel self-level for a few seconds before curing to achieve a perfectly smooth, even surface. - 7Place shell decorative pieces
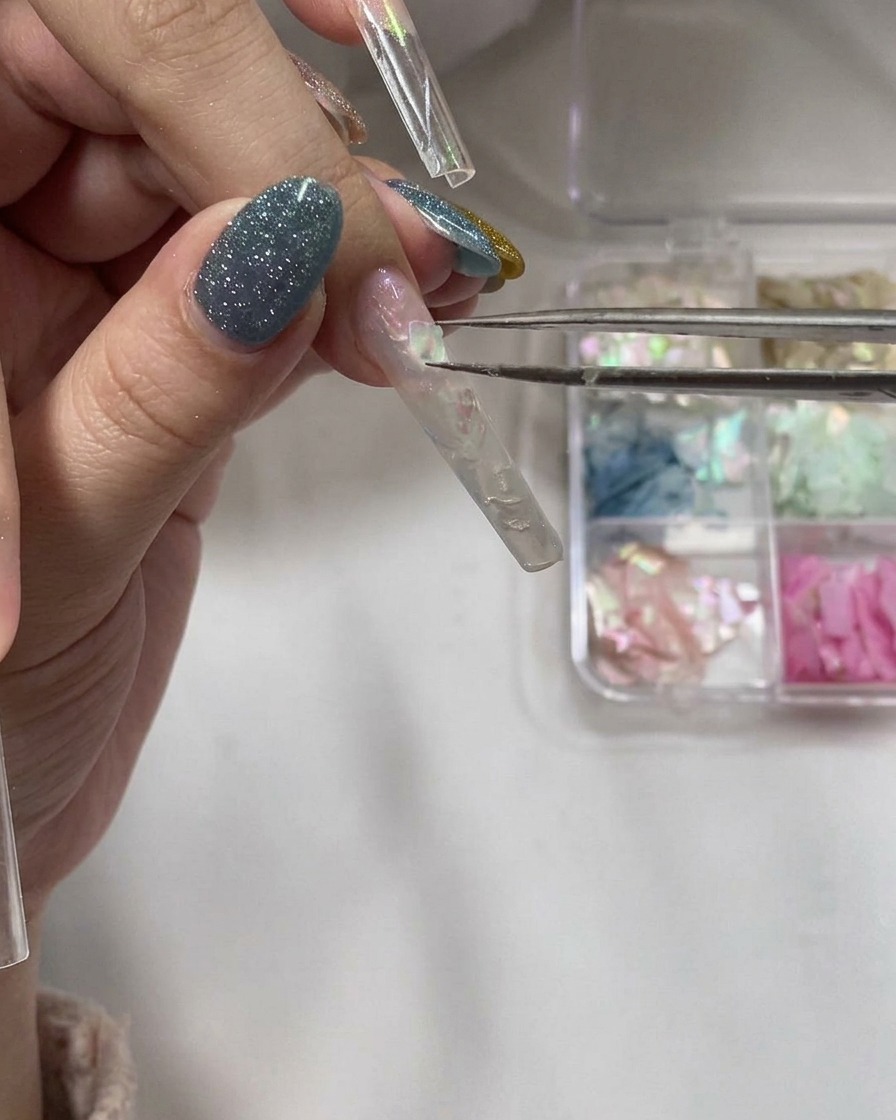
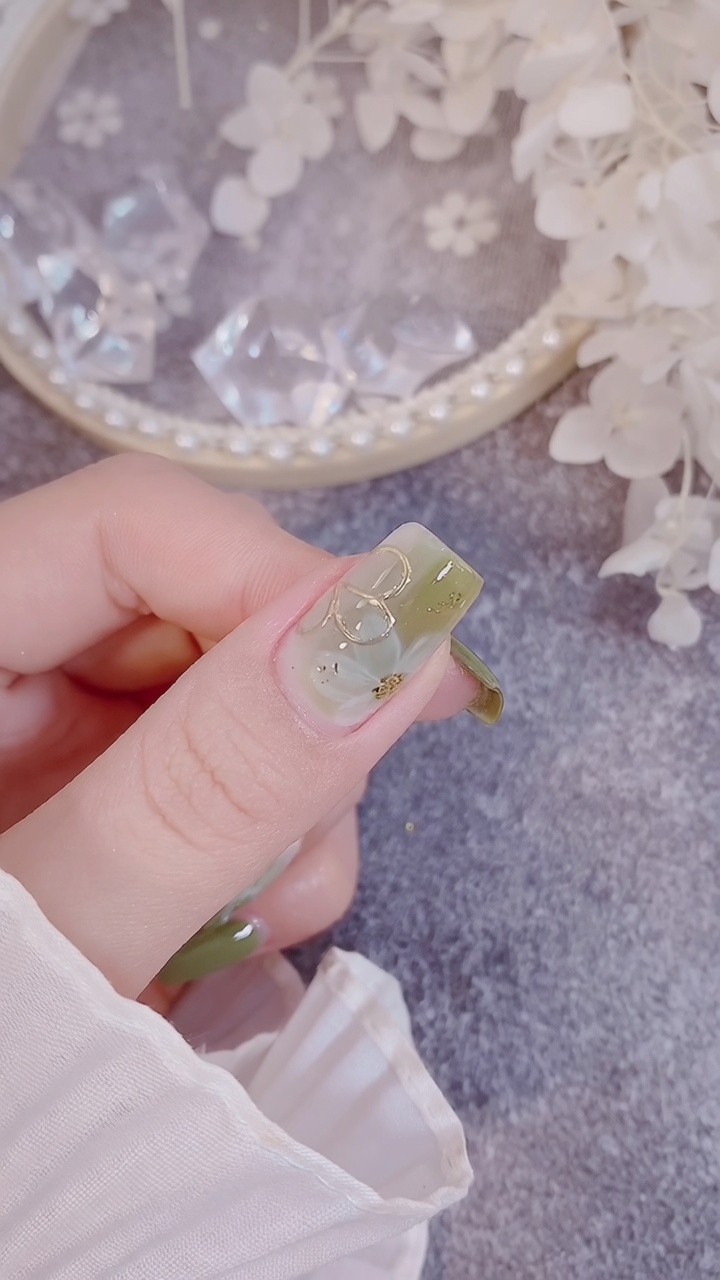
Apply a thin layer of clear gel to the nail, then use tweezers to strategically place your decorative shell pieces into the wet gel. These pieces create the characteristic textured, layered look of acetate-style nail art.
Tip: Place the shell pieces slightly apart to allow room for the gel to fill in and create a smooth encapsulation later. - 8Encapsulate and blend shell pieces
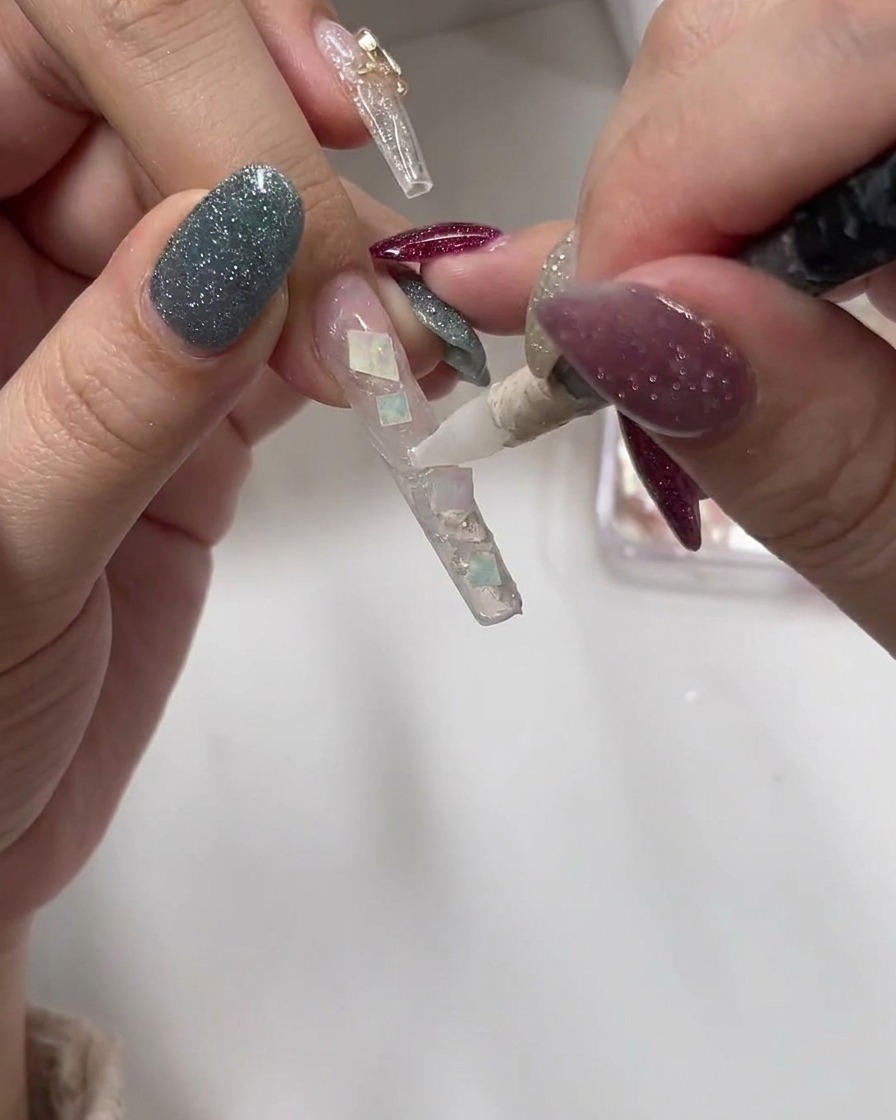
Apply a generous layer of clear gel over the placed shell pieces. Use a silicone tool or a brush to gently press down and move the pieces if needed, ensuring they are fully encapsulated and blended for a smooth, level surface.
Tip: Ensure the gel fills all gaps around the shell pieces to prevent air bubbles, which can create a cloudy look once cured. - 9Apply milky white base layer
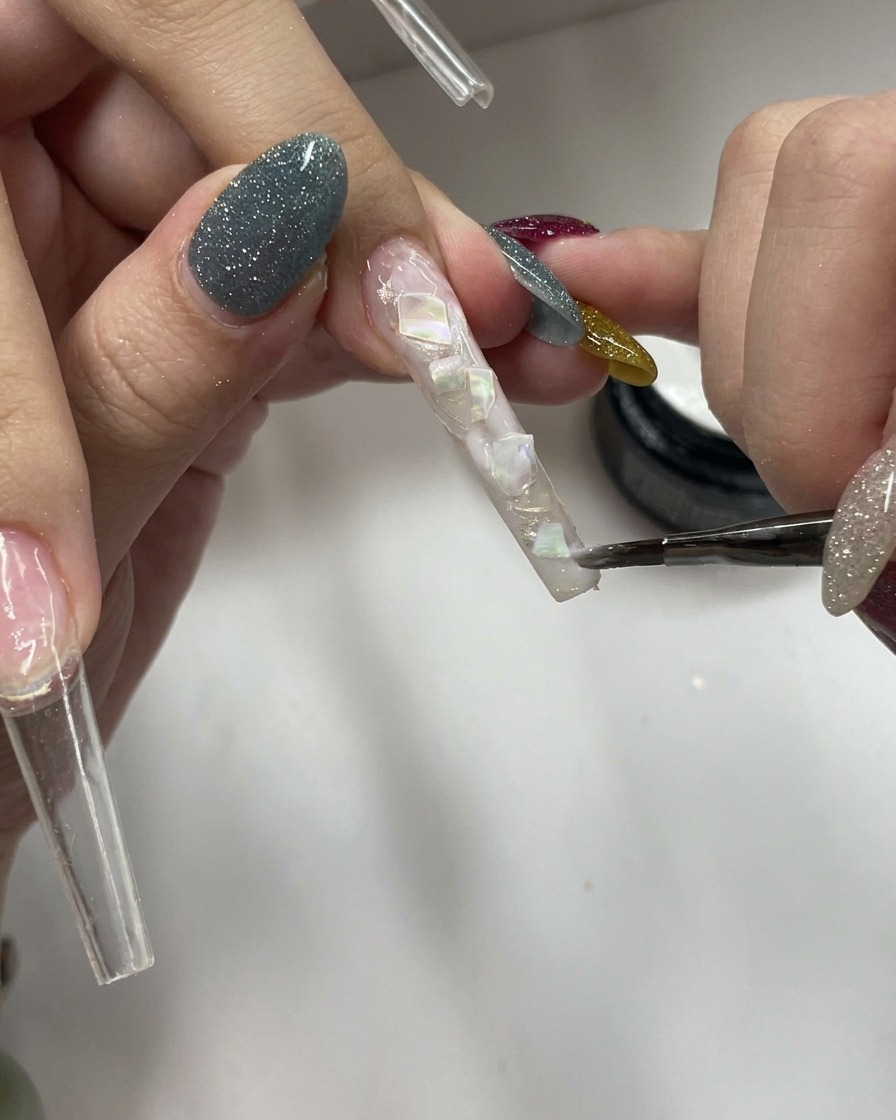
Apply a thin, even layer of milky white gel over the encapsulated shell design. This semi-sheer layer softens the look of the design underneath, providing the classic, elegant backdrop for the leopard print pattern.
Tip: Keep this layer thin to maintain the semi-transparent, milky effect that allows the underlying shell art to remain visible. - 10Add white glitter accents
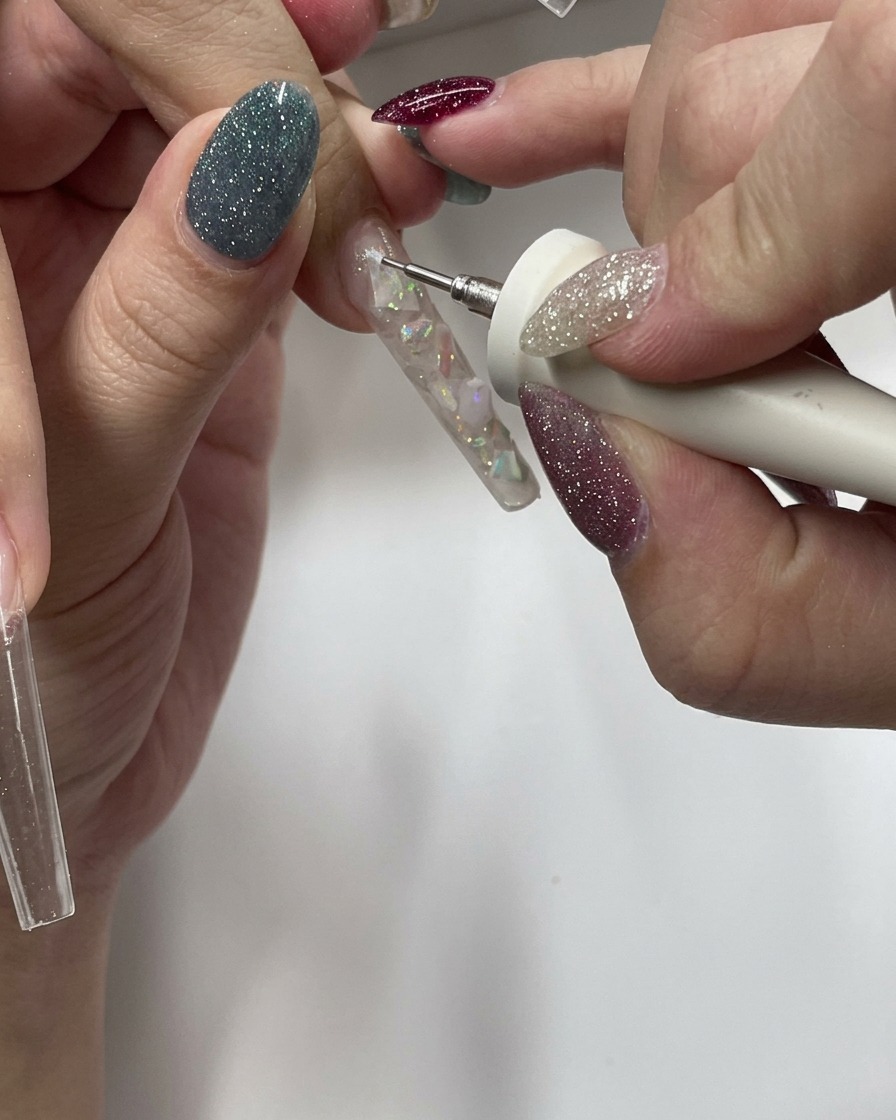
Using a fine-detail brush, apply tiny amounts of white glitter gel onto specific areas of the nail. This adds subtle dimension, catching the light and providing depth to the finished acetate effect.
Tip: Use a dabbing motion with the brush to disperse the glitter particles irregularly for a more natural, organic look. - 11Paint leopard print details
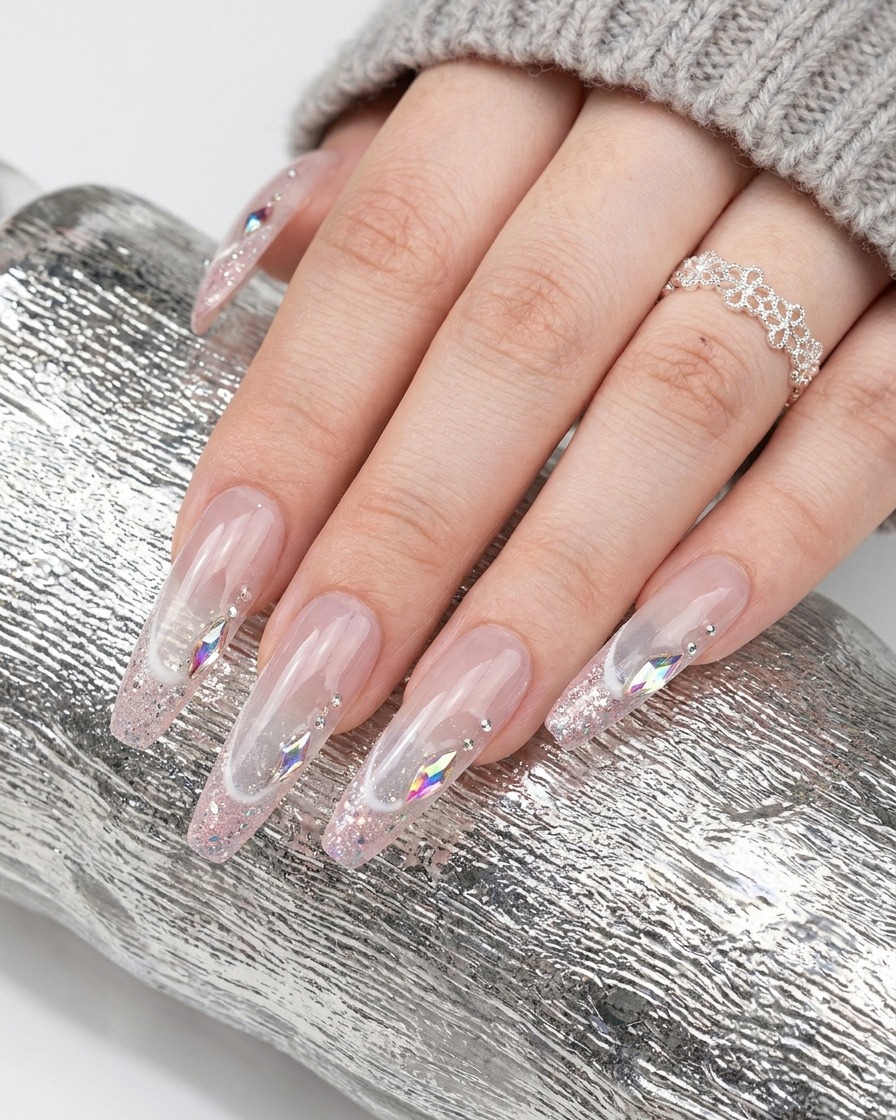
Using a thin liner brush and brown gel, carefully paint the C-shaped or broken outlines characteristic of a leopard print pattern. Vary the size and placement of these shapes to create an authentic, stylish look over the base.
Tip: Work in small sections and cure periodically if needed to prevent the design from smudging while you work. - 12Seal with a hard top coat
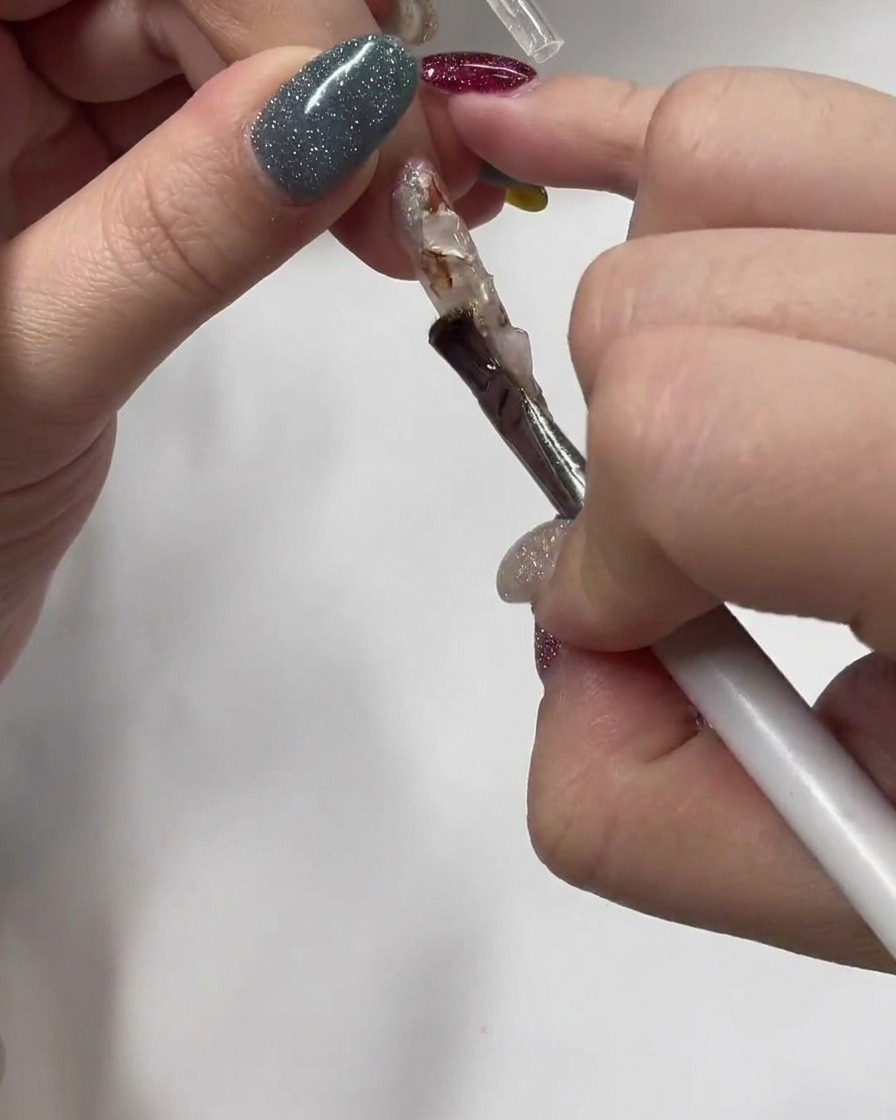
Apply a layer of hard top coat over the entire nail surface to encapsulate the nail art and provide a durable, protective finish. Ensure you cap the free edge to prevent chipping and ensure longevity. Cure under your UV or LED lamp as specified by the product instructions.
Tip: A hard top coat adds necessary strength to intricate designs, ensuring they remain smooth and snag-free. - 13Refine nail shape with pinching
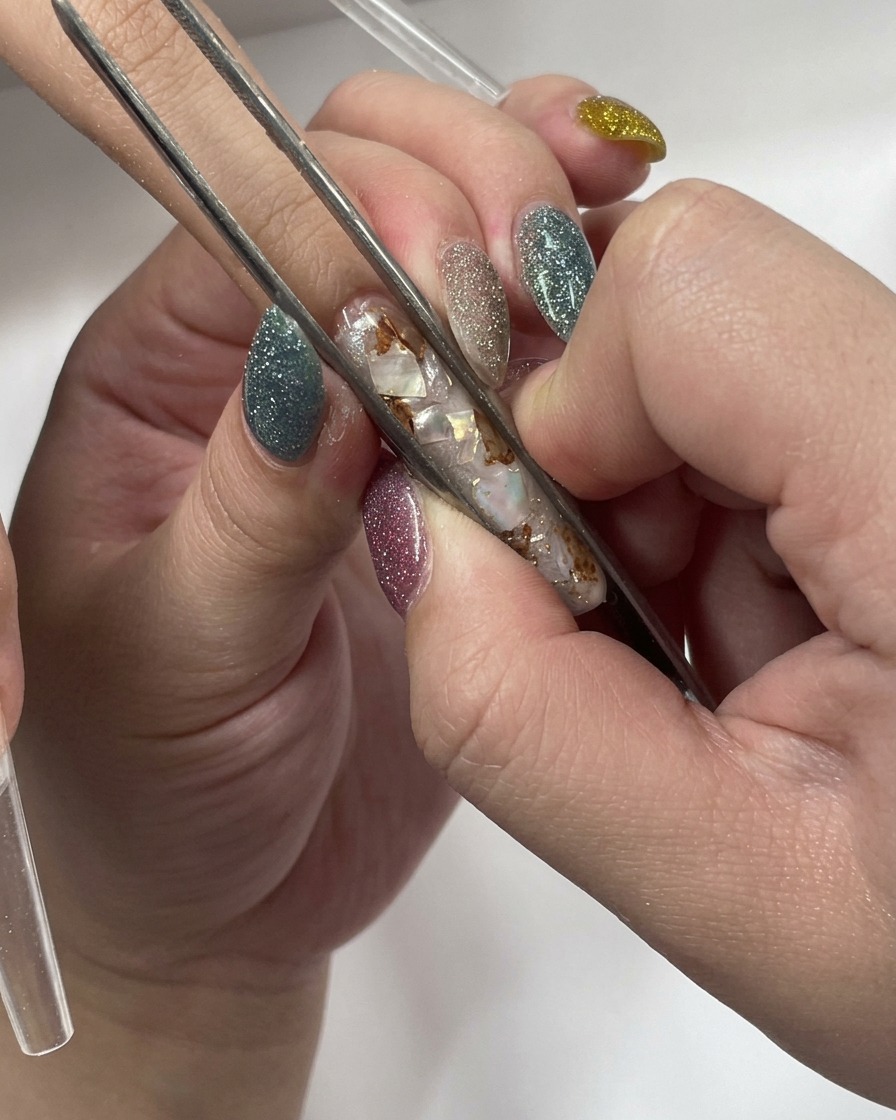
While the gel is curing in the lamp, use a pair of nail tweezers to gently pinch the sides of the free edge. This helps to create a slimmer, more refined C-curve and prevents the nail from looking too wide as it sets.
Tip: Do not squeeze too hard to avoid damaging the nail structure; a gentle pressure is sufficient to guide the shape. - 14Prepare nail for glitter
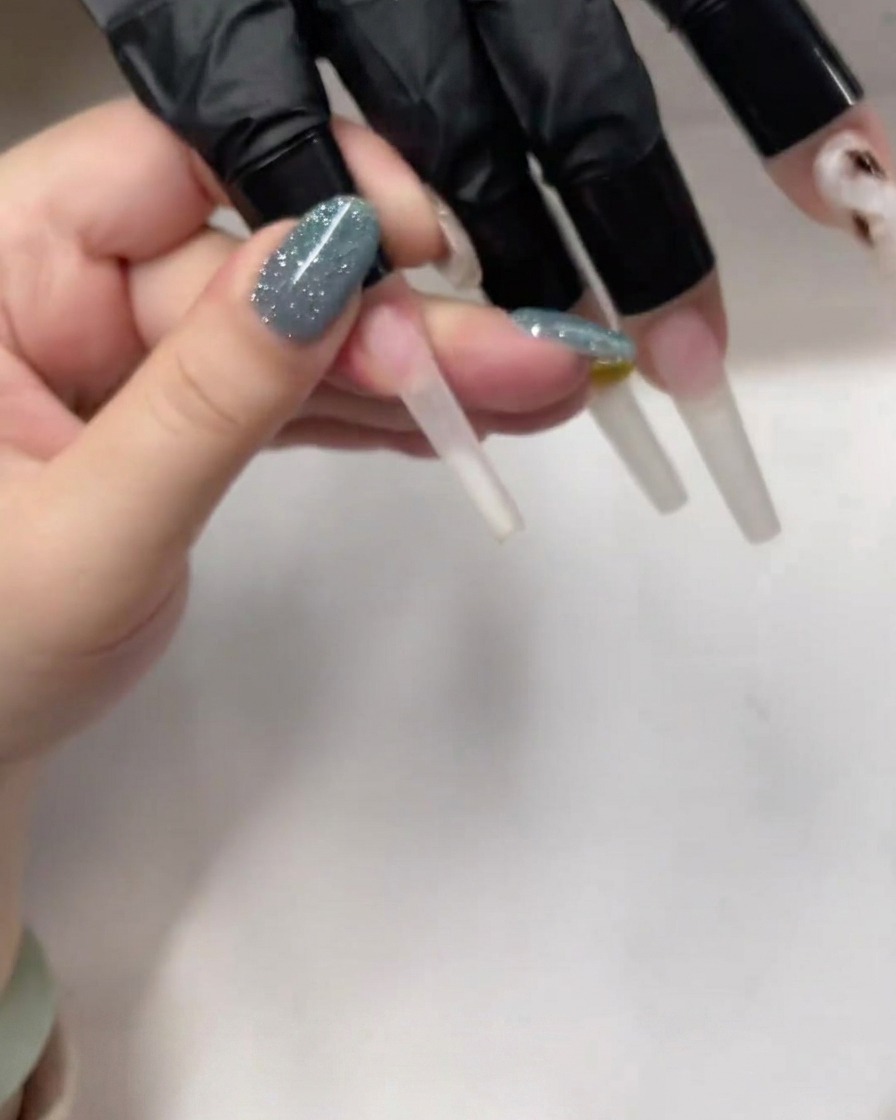
Apply an even, thin layer of base gel to the nail where the glitter will be placed. This acts as an adhesive base for the loose powder. Do not cure yet, as the wet gel is needed to hold the glitter in place during application.
Tip: Keep the layer thin to avoid bulkiness while still providing enough tackiness for the glitter to adhere uniformly. - 15Apply pink glitter
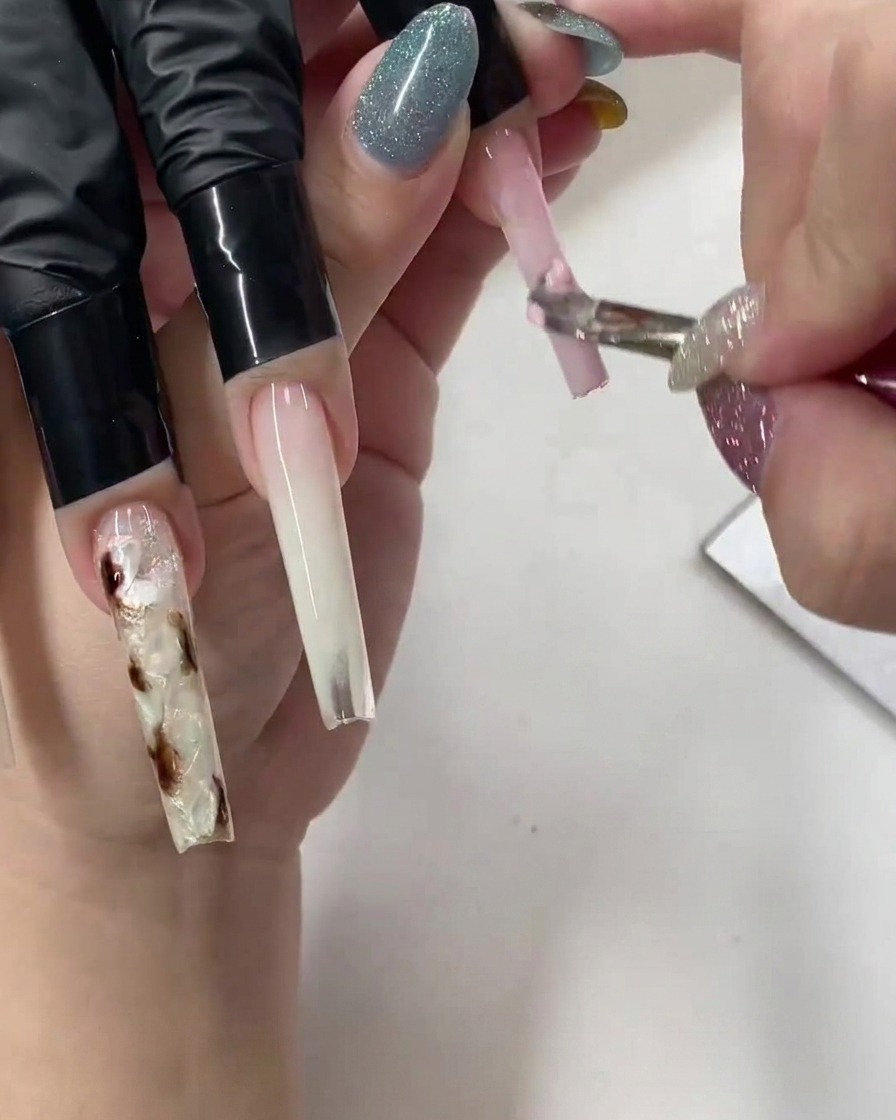
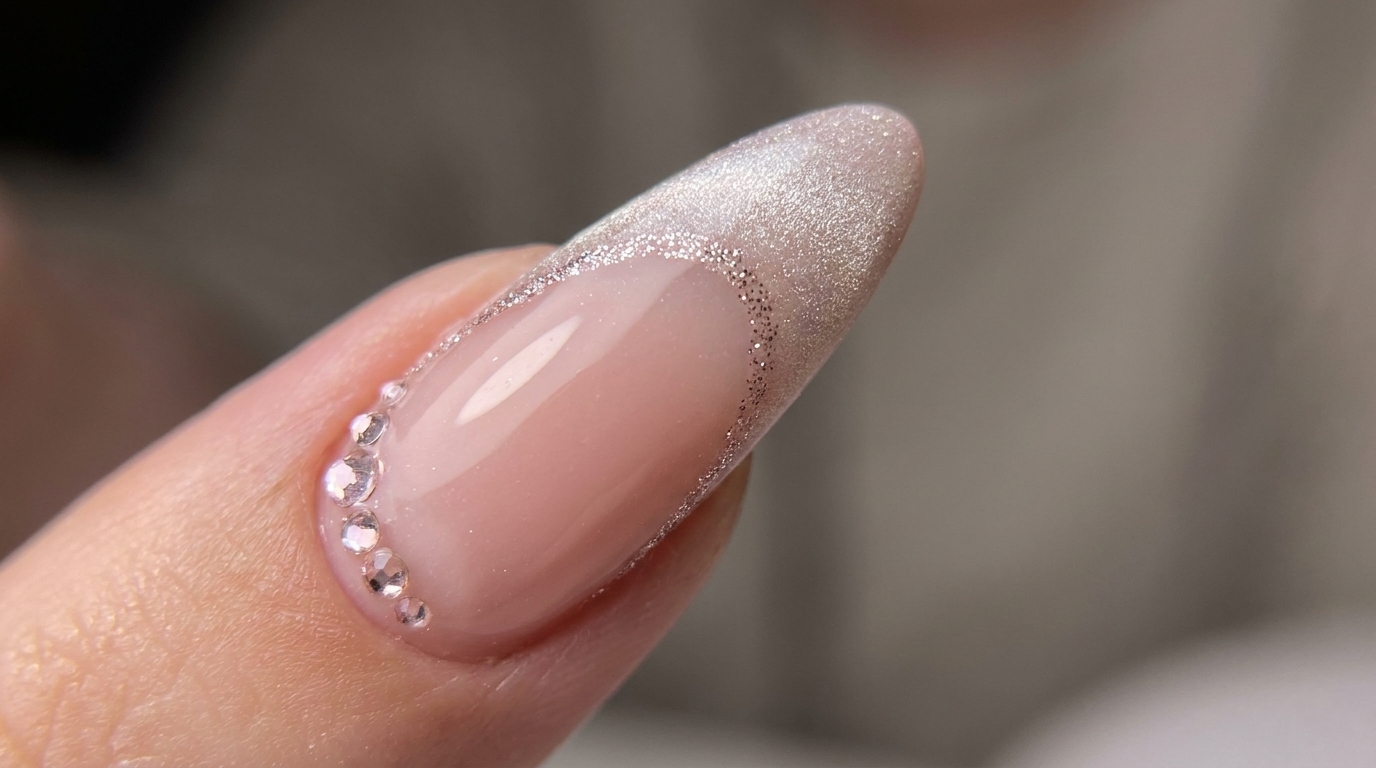
Using a small spatula or brush, gently press or tap the pink glitter powder onto the uncured base gel. Ensure full coverage across the desired area. Once the glitter is evenly distributed, cure the nail under your UV/LED lamp to set the base and lock the glitter in place.
Tip: Tapping the glitter lightly helps achieve a dense, even finish without disturbing the placement. - 16Paint French decorative lines
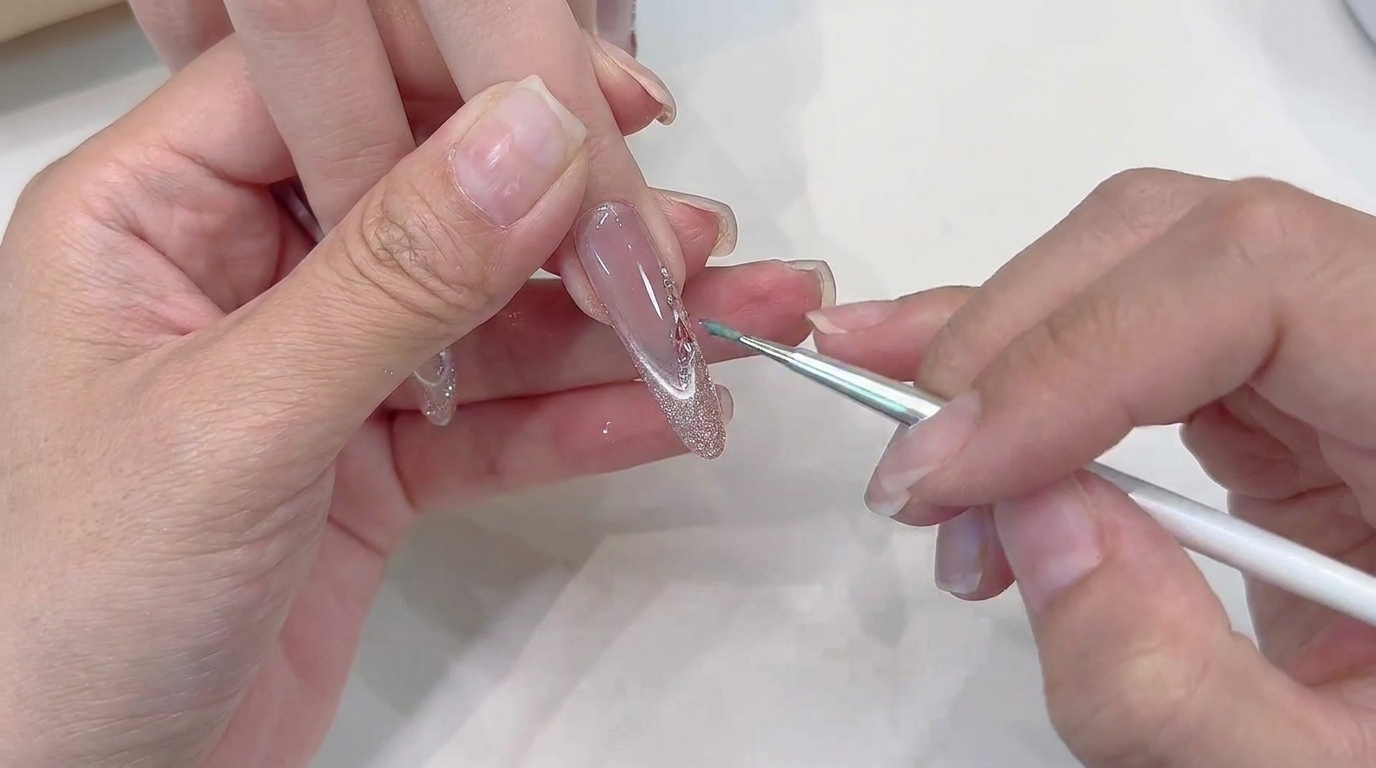
Using a fine liner brush dipped in gel, carefully draw precise French-style decorative lines across the nail. Take your time to ensure the lines are smooth and symmetrical, following the natural curve of the nail tip or desired design.
Tip: Keep a steady hand and use thin coats to ensure the lines dont spread or lose their crispness before curing. - 17Build glitter texture
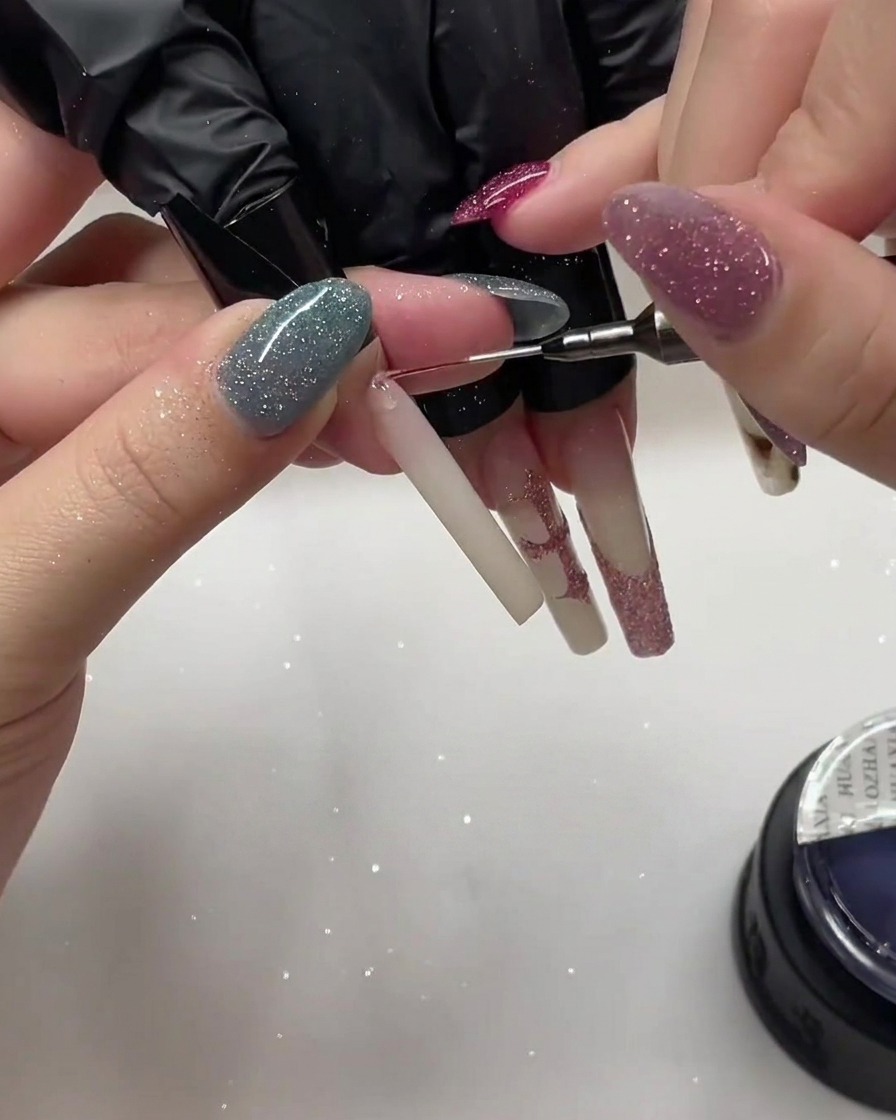
Apply a secondary thin layer of gel over the first glitter application, then add more pink glitter to build depth and saturation. This layering technique creates a more vibrant, dimensional sparkle. Cure the nail again to fully set the added texture.
Tip: Building in thin, multiple layers prevents the nail from looking too thick while maximizing the glitters sparkle. - 18Add intricate line art
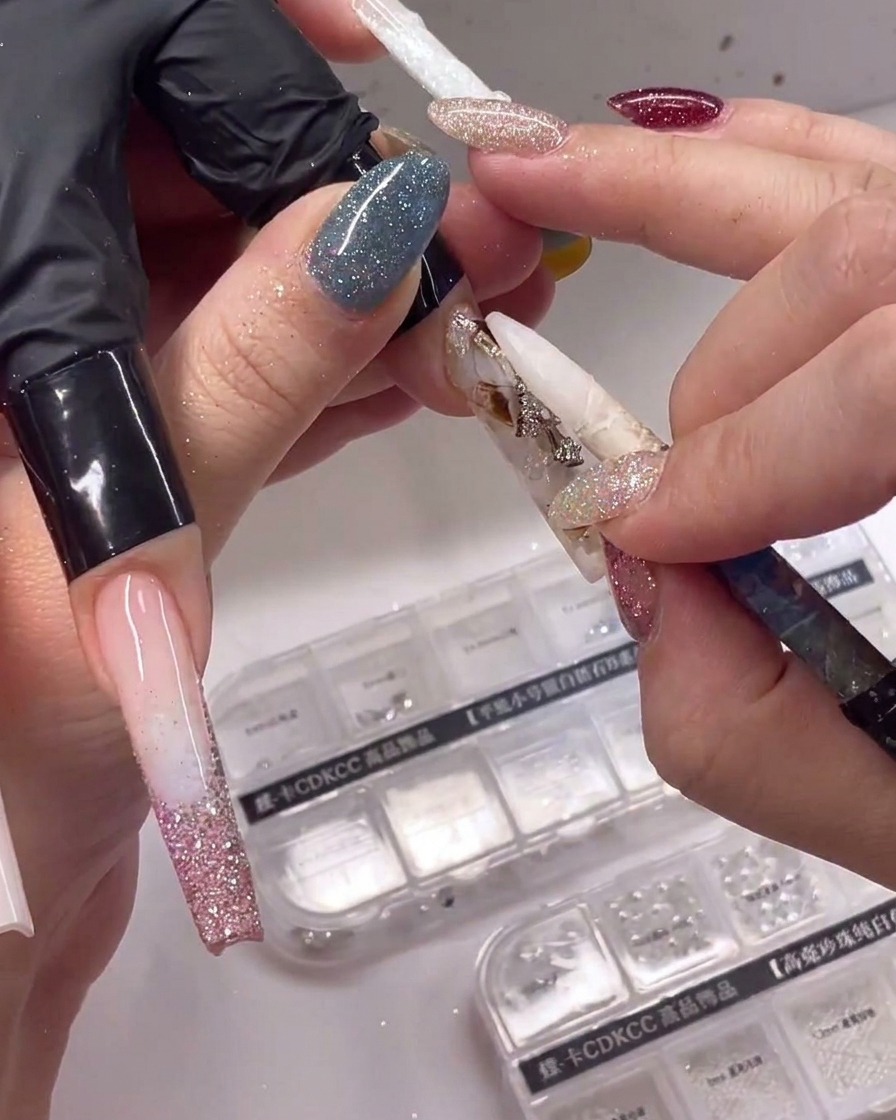
Using a fine liner brush and black gel, carefully draw intricate line details over the cured glitter base. Maintain a steady hand for precise, thin lines. Once the design is complete, cure the nails under your UV or LED lamp to set the detailed art.
Tip: Use a light touch to ensure your lines remain delicate and sharp, preventing the design from looking muddy. - 19Create white French tips
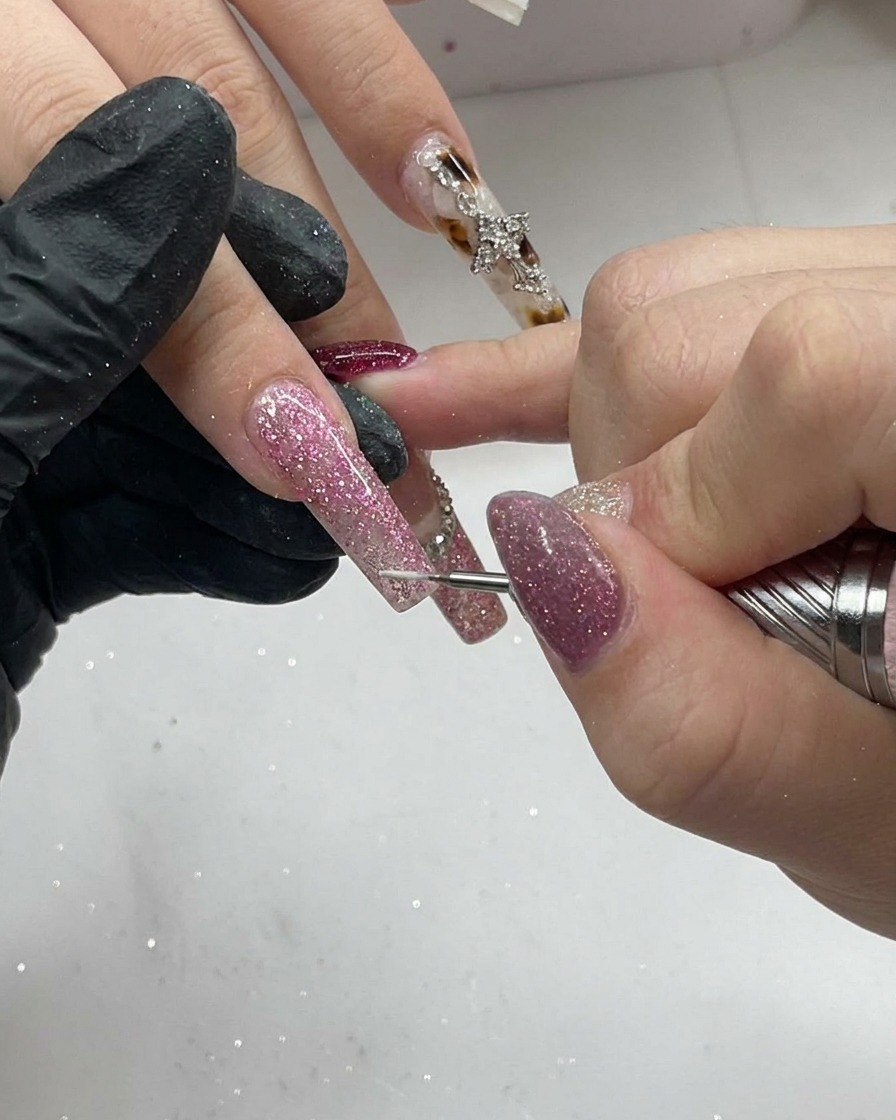
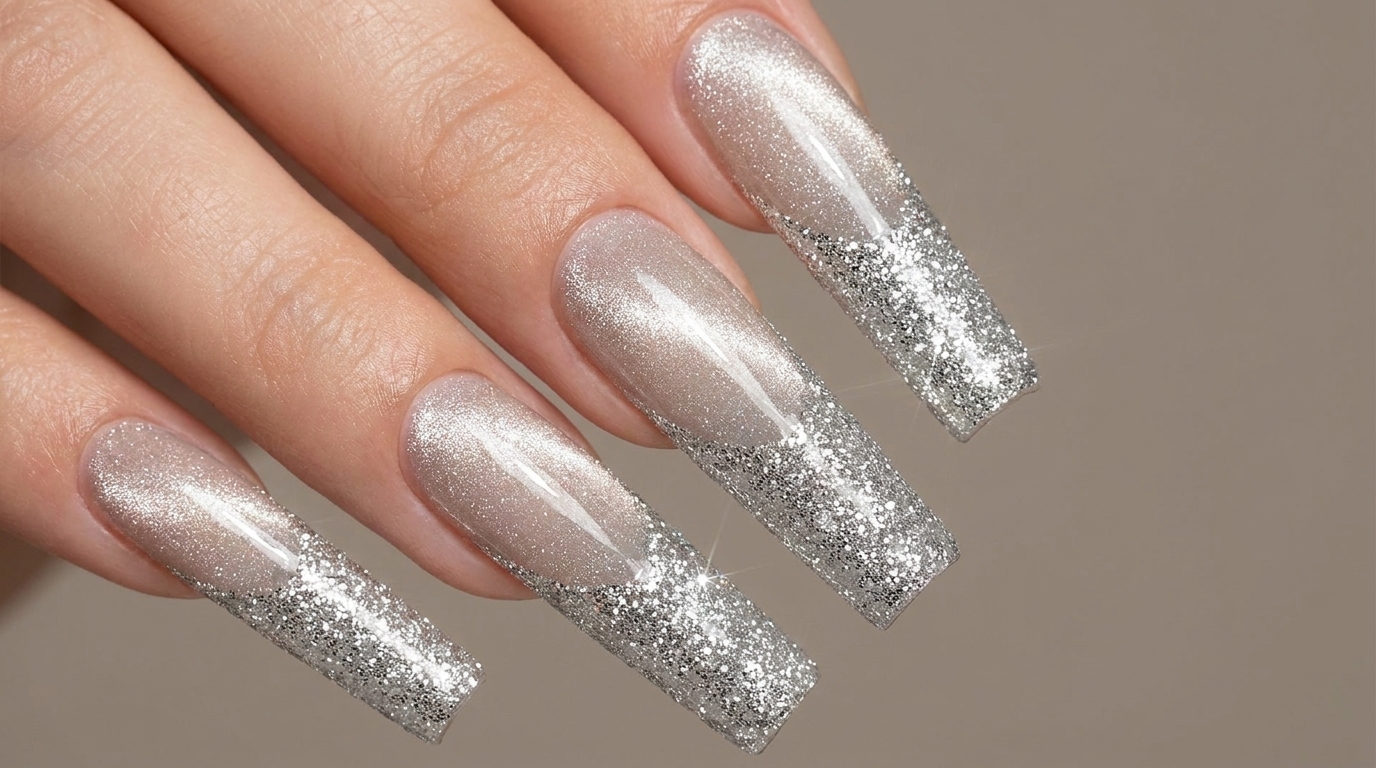
Using a white gel polish, create a clean French tip design on the thumb nail. Use a small brush to perfect the smile line for a crisp, professional edge. Cure under your UV or LED lamp to finalize the design.
Tip: Focus on creating a symmetrical smile line to ensure the French tip looks clean and balanced on the nail. - 20Apply glitter to French tip
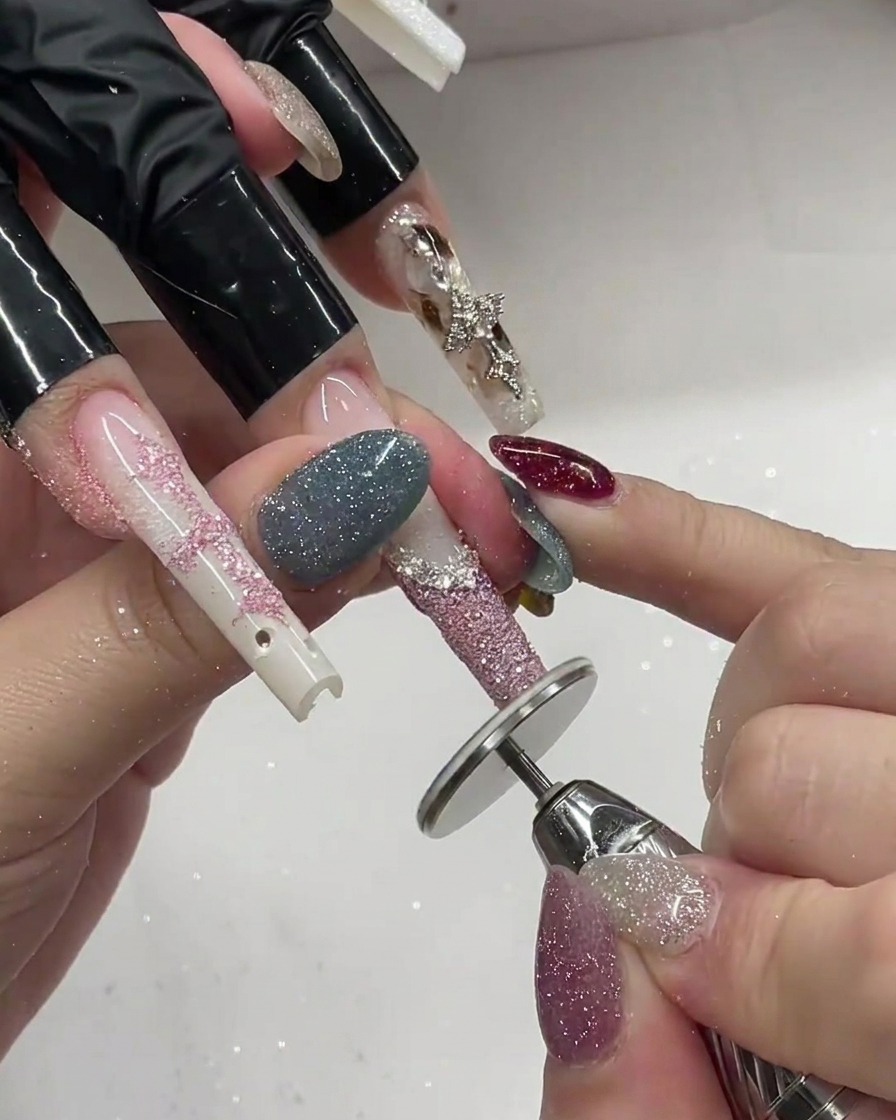
Using a small brush or applicator, carefully apply your chosen fine glitter powder over the uncured gel French tip area. Ensure even coverage across the tip before curing to lock the glitter into place.
Tip: Press the glitter gently into the wet gel to ensure it adheres smoothly without creating texture.