French Glitter Tip
Cat-Eye Base — Luxury Manicure Tutorial
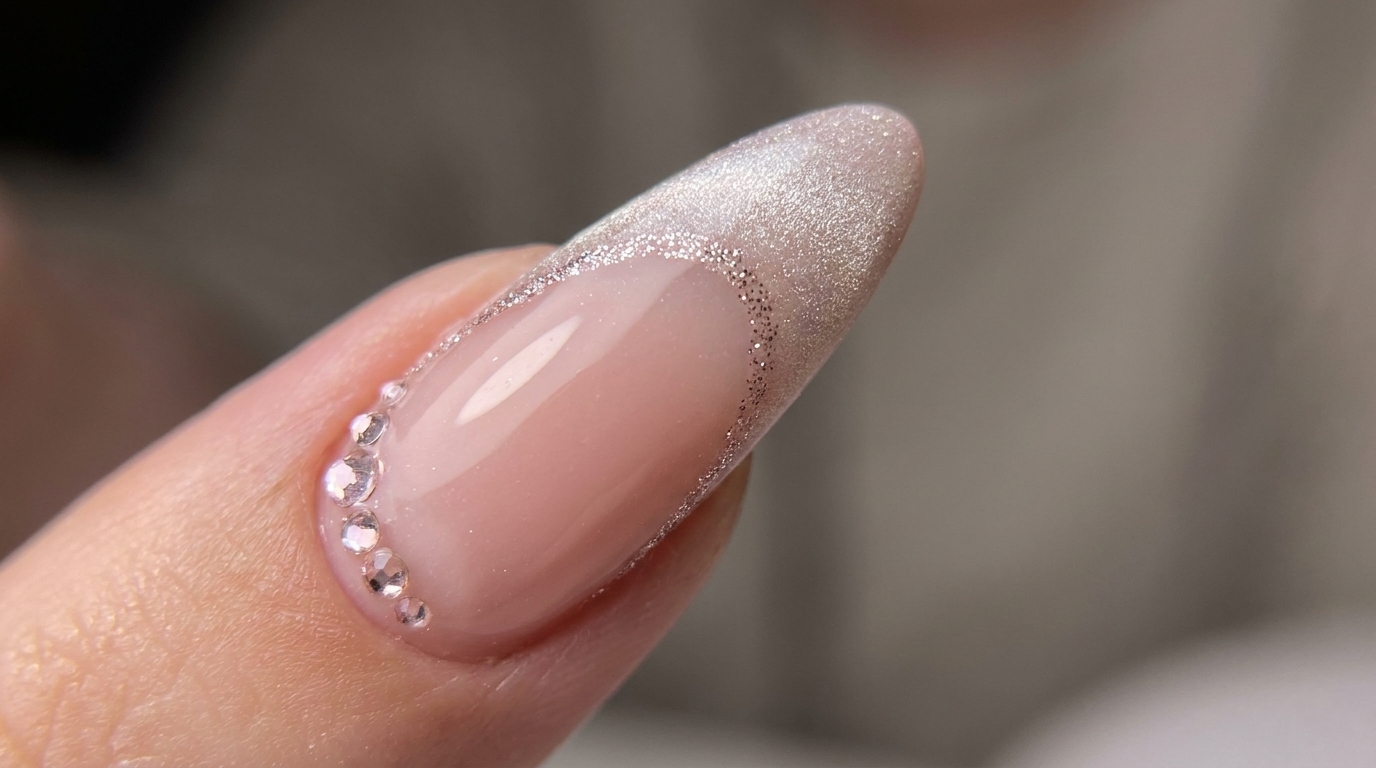
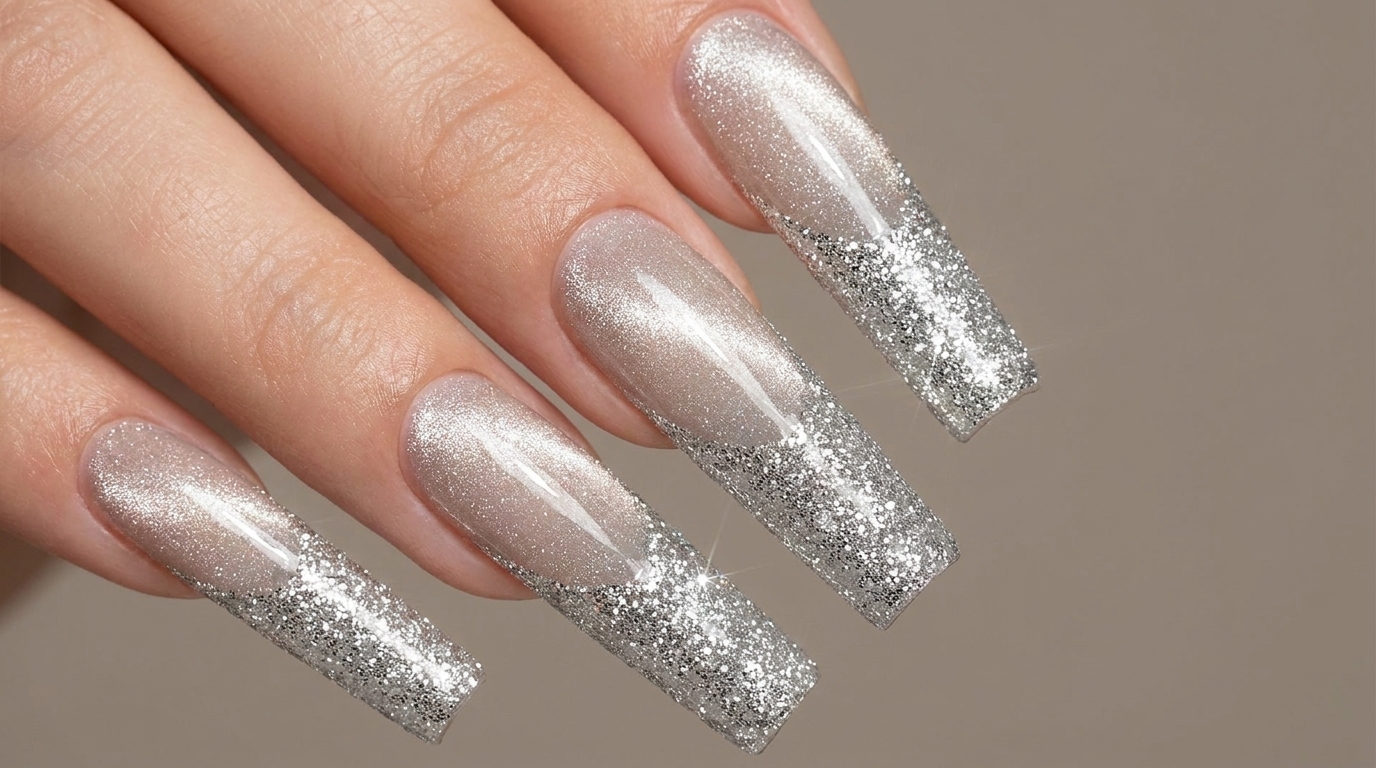
Elevate your manicure with this stunning diamond French tip look. Combine a shimmering cat-eye base with high-sparkle glitter for a sophisticated, luxury finish.
This French glitter tip look perfectly balances classic elegance with a modern, celestial shimmer. By layering intense silver diamond powder over a neutral cat-eye base, you create a manicure that catches the light from every angle. It is a fantastic way to upgrade a standard French manicure into something truly glamorous and eye-catching.
Steps
- 1Clean the nail surface
Wipe the surface of the clear nail extension thoroughly using an alcohol wipe or cleanser. This removes any dust, oils, or debris, creating a perfectly clean and prepped foundation for your gel application.
Tip: Ensure the nail is completely dry after cleaning before applying any product to prevent lifting. - 2Apply cat-eye gel base
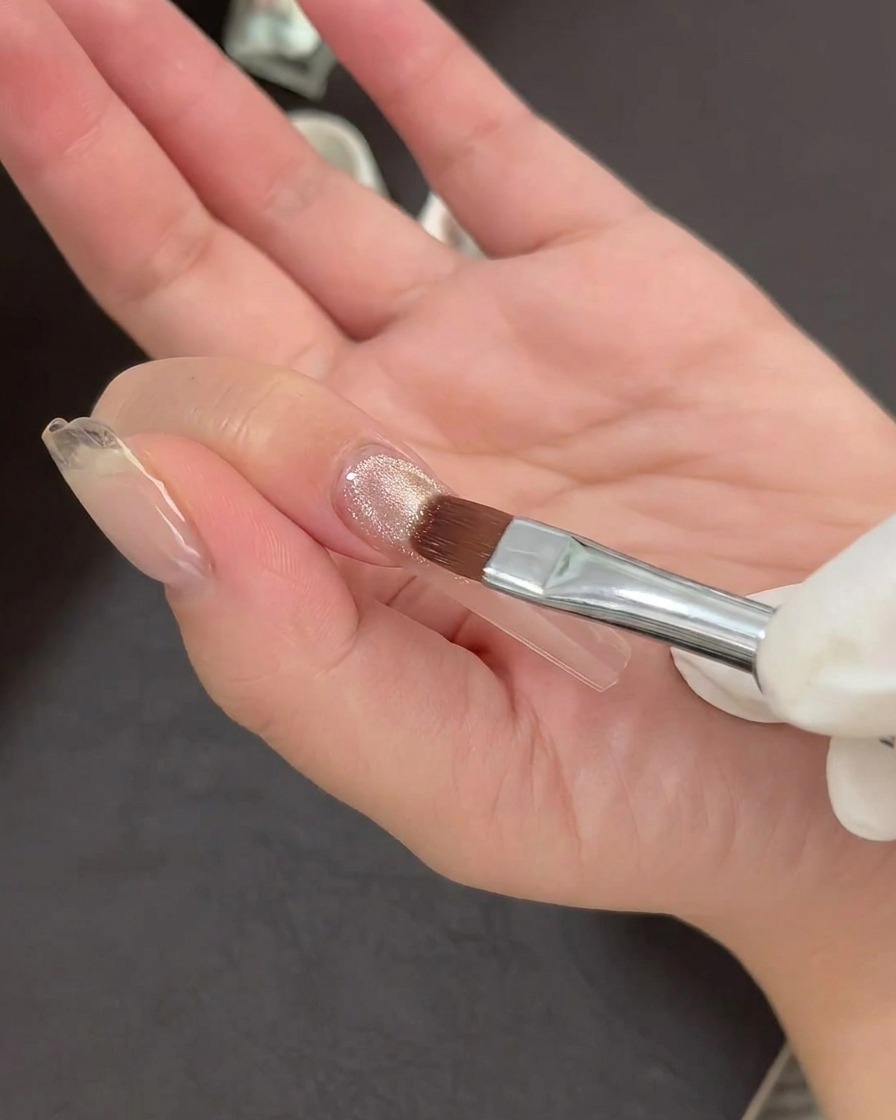
Apply an even layer of your chosen neutral cat-eye gel polish over the entire surface of the nail extension. Ensure the application is smooth and covers the edges completely for a professional foundation.
Tip: Keep your layer thin to ensure even curing and prevent the polish from pooling at the cuticles. - 3Create the cat-eye effect
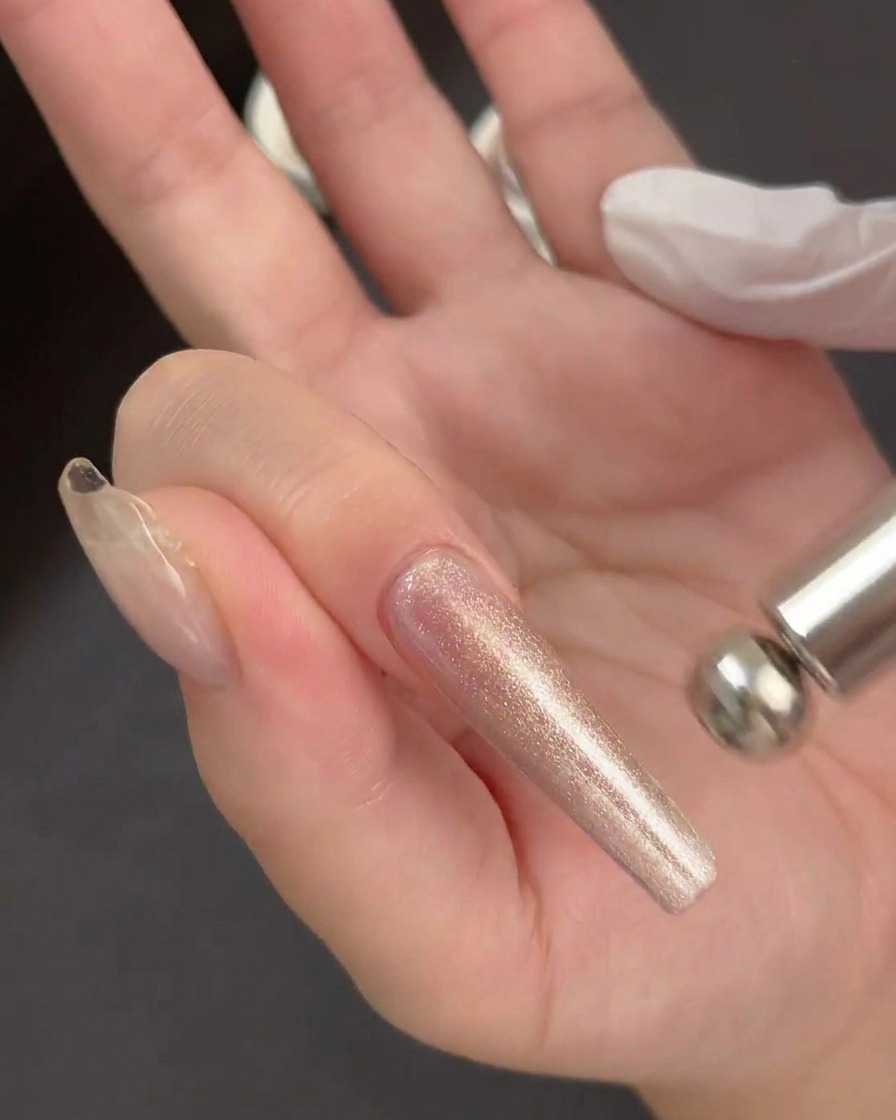
Hover a cylindrical magnetic tool closely over the wet cat-eye gel to manipulate the magnetic particles. Keep the tool steady for a few seconds to pull the shimmer into a sharp, brilliant line. Make sure not to let the magnet touch the actual gel surface.
Tip: If the magnetic line isnt exactly how you want it, simply brush over the wet gel to reset the particles and try again before curing. - 4Cure the cat-eye base
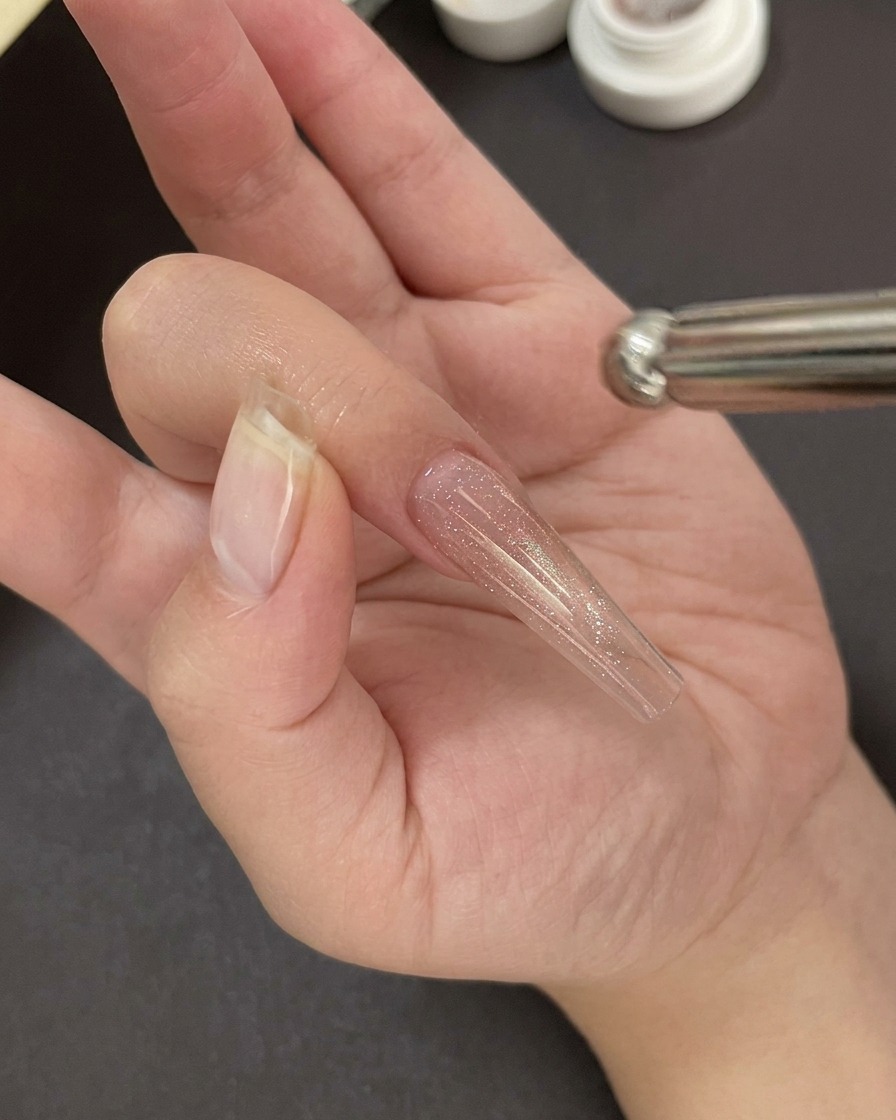
Place the nail under your UV/LED lamp to cure the cat-eye gel base coat. Ensure your hand is positioned correctly to allow for full, even exposure to the light source.
Tip: Follow the gel manufacturers instructions for exact curing times to ensure complete polymerization. - 5Apply glossy top coat
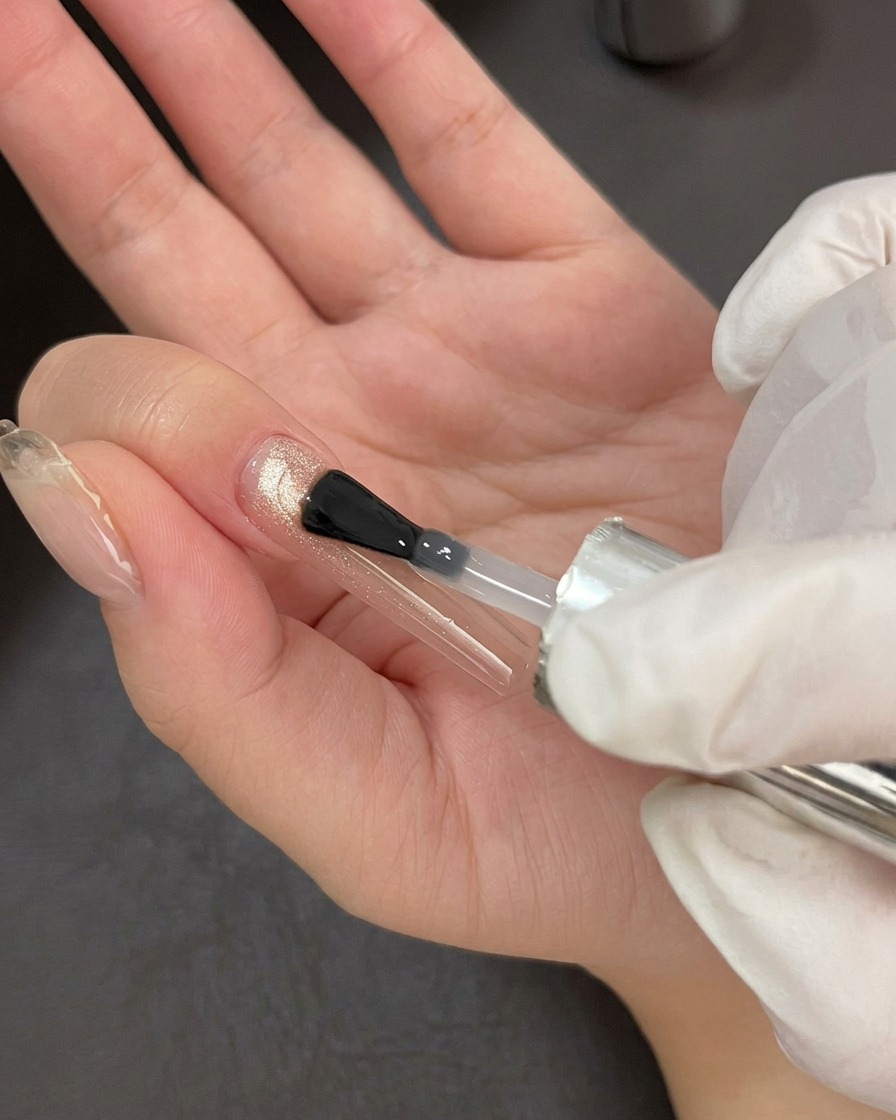
Apply a smooth, consistent layer of glossy top coat over the entire nail surface. This seals the cat-eye base and provides a perfect canvas for the upcoming French tip design.
Tip: Check for any streaks or bubbles before curing to ensure a flawless high-gloss finish. - 6Position French tip guide
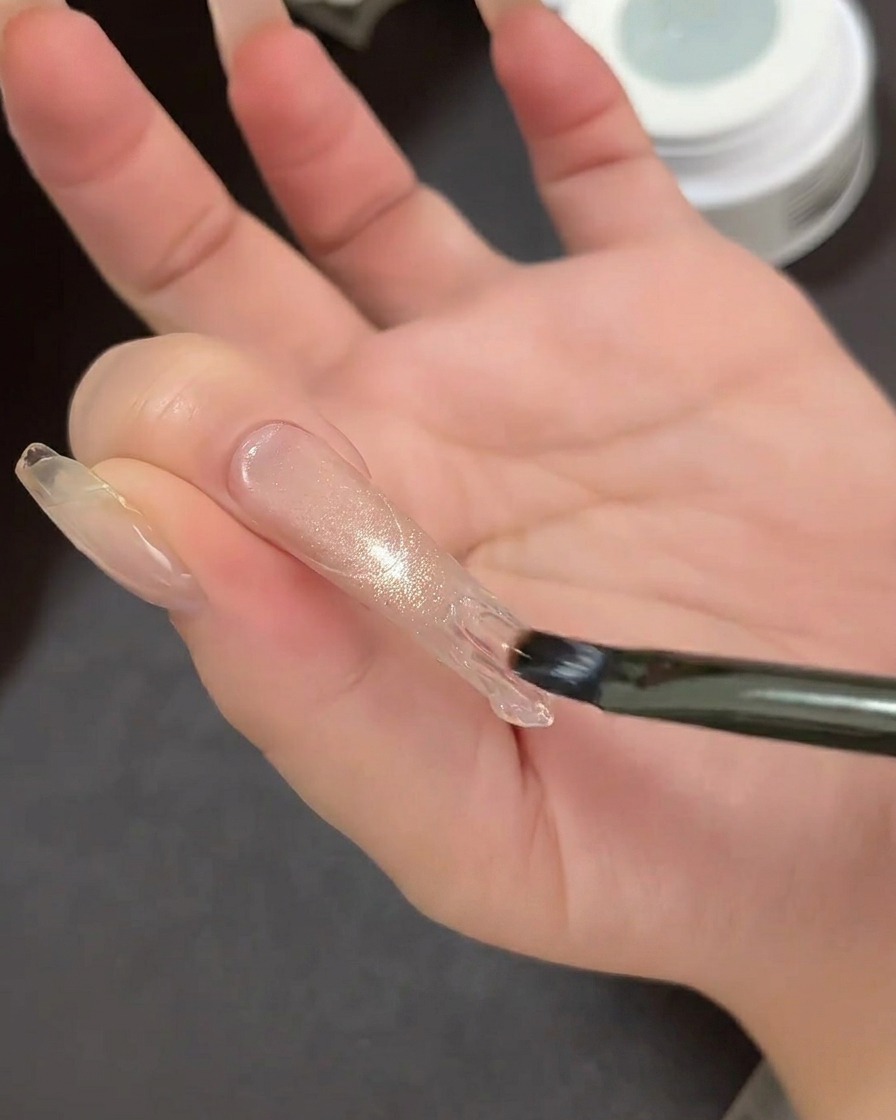
Carefully place a French tip guide sticker across the nail to create a clean, precise boundary for the tip design. Ensure the edges of the sticker are pressed down firmly to prevent any gel from seeping underneath.
Tip: Use tweezers to position the sticker for better accuracy and to avoid touching the adhesive with your fingers. - 7Apply sticky gel
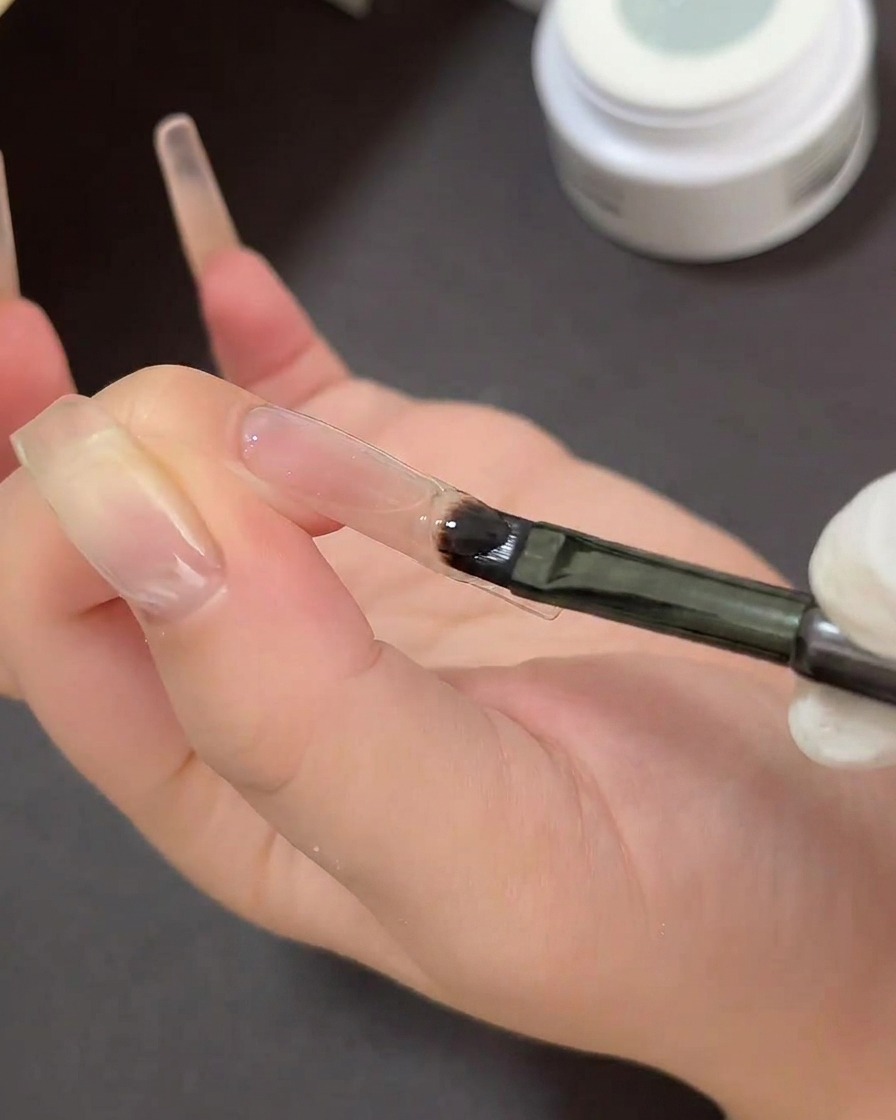
Once your French tip guide sticker is firmly placed, use a flat brush to paint a layer of clear, no-wipe sticky gel over the exposed tip area. Make sure to apply it evenly and cover all the edges up to the sticker line to ensure a perfectly crisp French smile line.
Tip: Avoid applying the sticky gel too thick, as it can cause the powder to look clumpy and ruin the sleekness of the French tip. - 8Apply the diamond powder
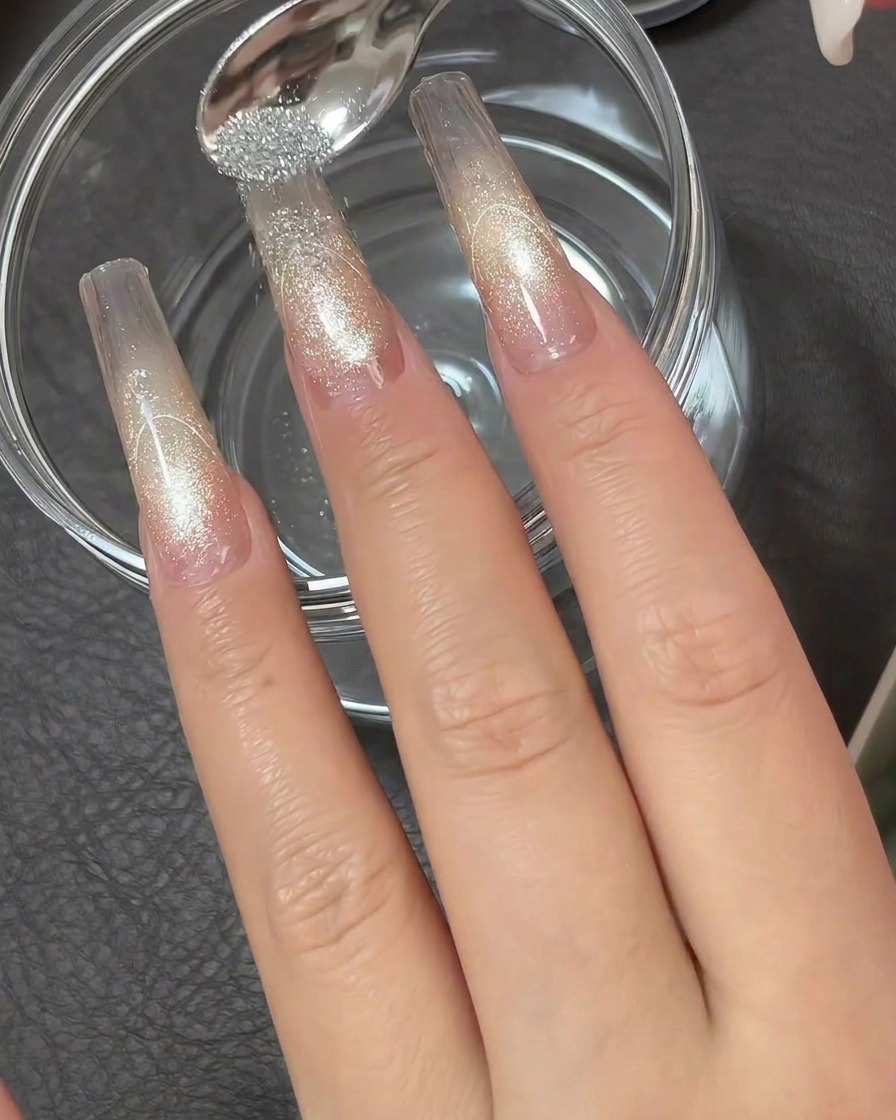
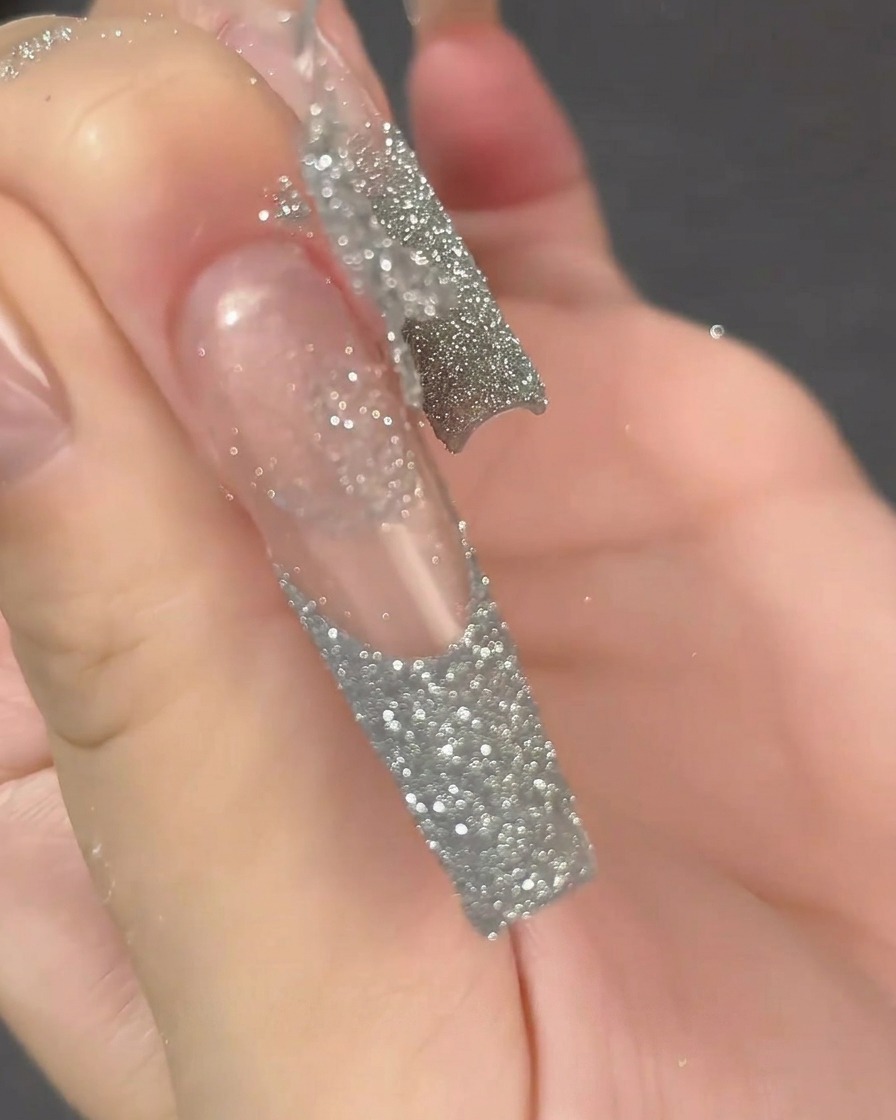
Hold your nail over a catch jar and generously sprinkle the loose silver diamond powder directly onto the wet sticky gel. Use a small spoon to shower the powder over the entire tip, making sure every part of the sticky gel is completely covered with sparkle.
Tip: Always work over a clean jar or piece of paper so you can easily catch and reuse any excess powder that falls off. - 9Remove excess powder
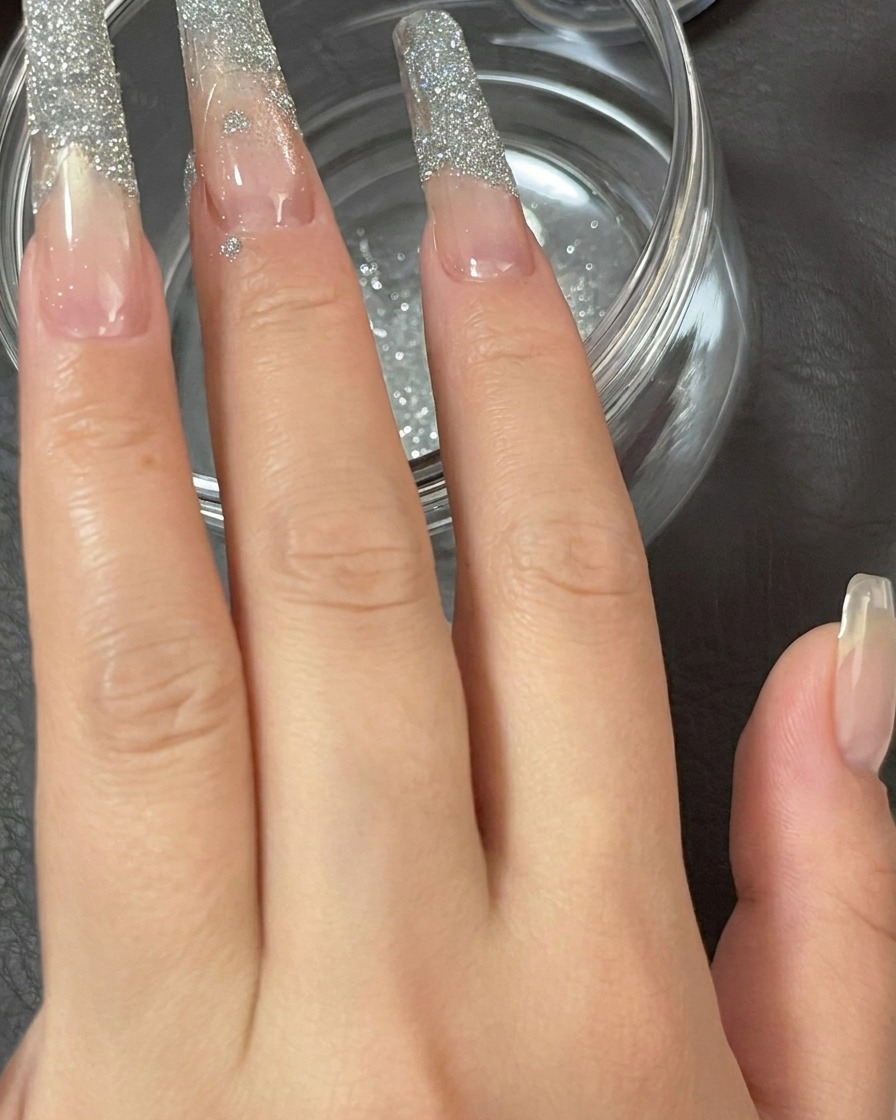
After applying the diamond powder to the sticky gel tip, gently tap your finger to dislodge and shake off any loose or excess particles. This helps ensure only the desired amount of glitter remains on the tip.
Tip: Do this over a tray or paper towel to catch the excess powder for easy cleanup. - 10Remove the tip guide
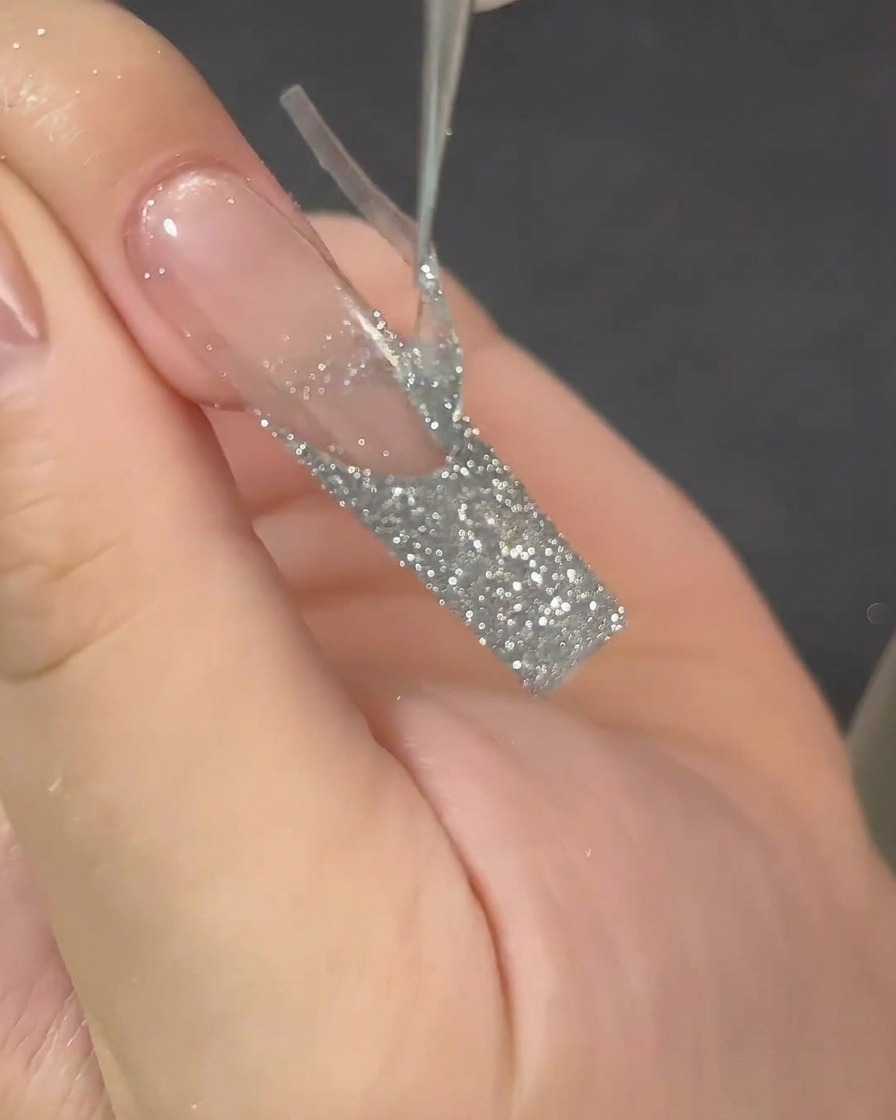
Slowly and carefully peel away the French tip sticker guide from the nail. Pull the sticker back at an angle to maintain a crisp, clean line between the diamond-dusted tip and the clear nail bed.
Tip: If the gel is still slightly tacky, be gentle so you do not smudge the clean line you have just created. - 11Clean the finished nail
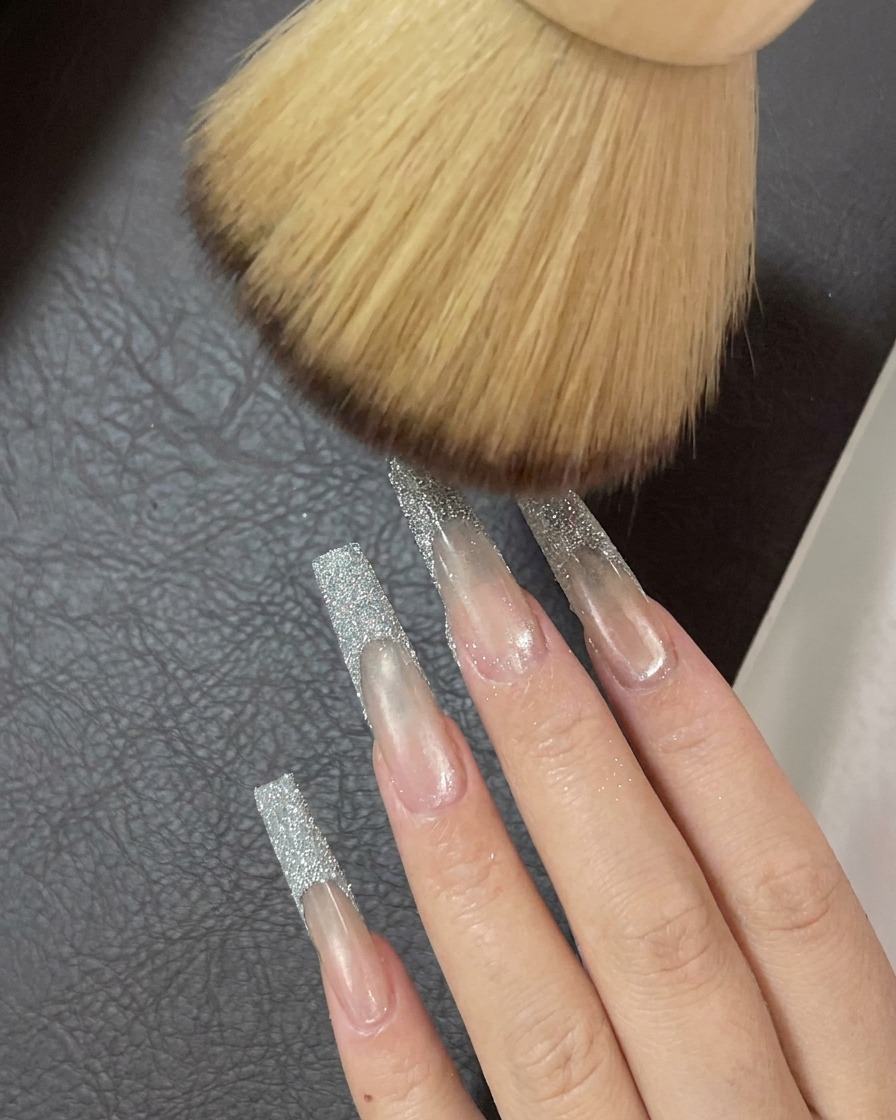
Use a soft, fluffy dust brush to gently sweep away any remaining loose powder particles from the surface of the nail. This final cleanup step reveals the crisp design and ensures the finish is smooth and debris-free.
Tip: Use light, sweeping motions to avoid dulling the shine of the diamond powder.