Milky Green Daisy Nail Art — Elegant Floral Gel Tutorial
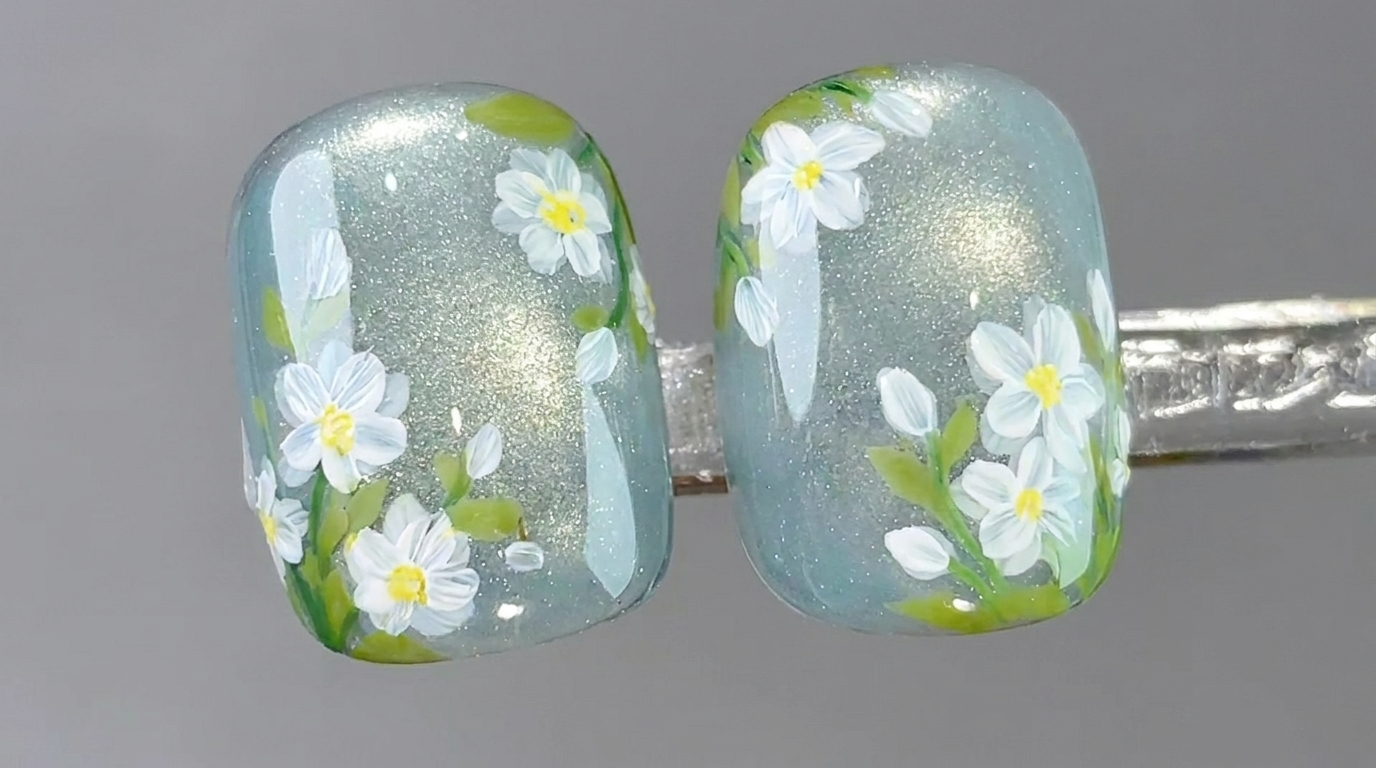
Create a dreamy manicure with this milky green daisy nail art tutorial. Featuring hand-painted floral details, gold foil, and a metallic chrome finish.
Embrace a fresh and botanical vibe with this milky green nail design. Combining the soft, airy look of a milky gradient with delicate daisy art and luxurious gold accents, this tutorial shows you how to achieve a professional-quality, layered look at home.
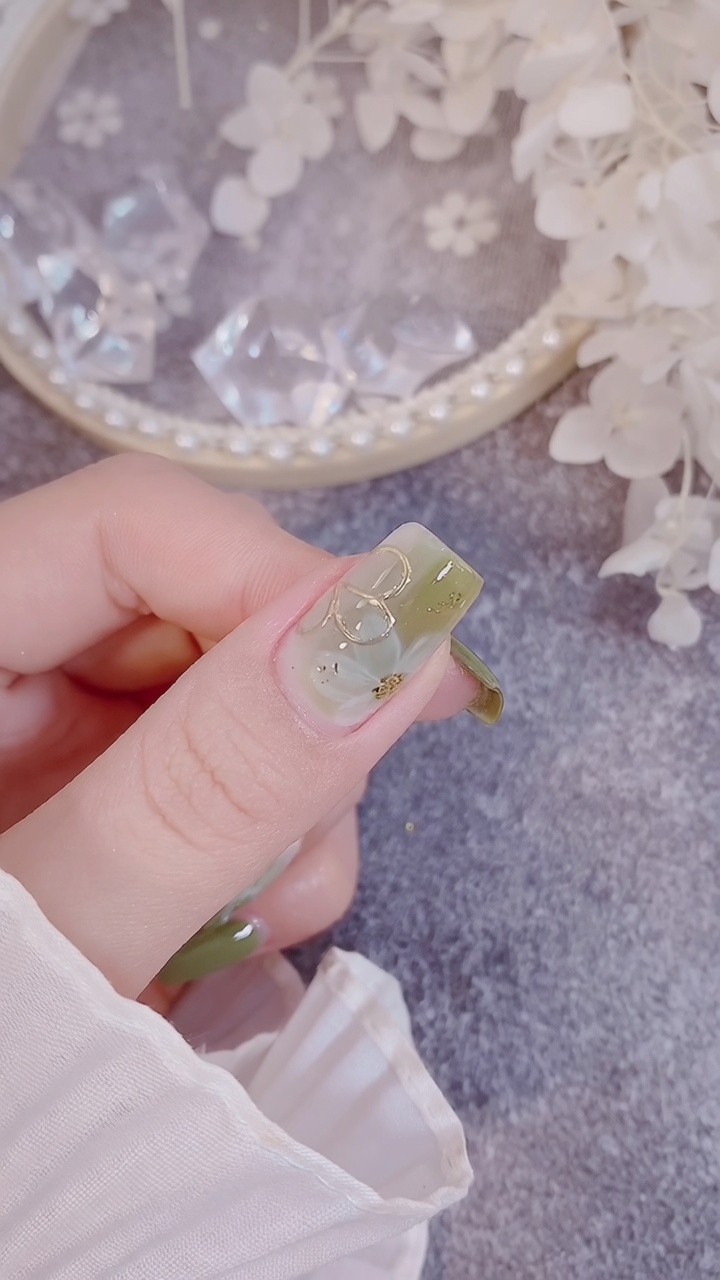
Steps
- 1Create a gradient transition
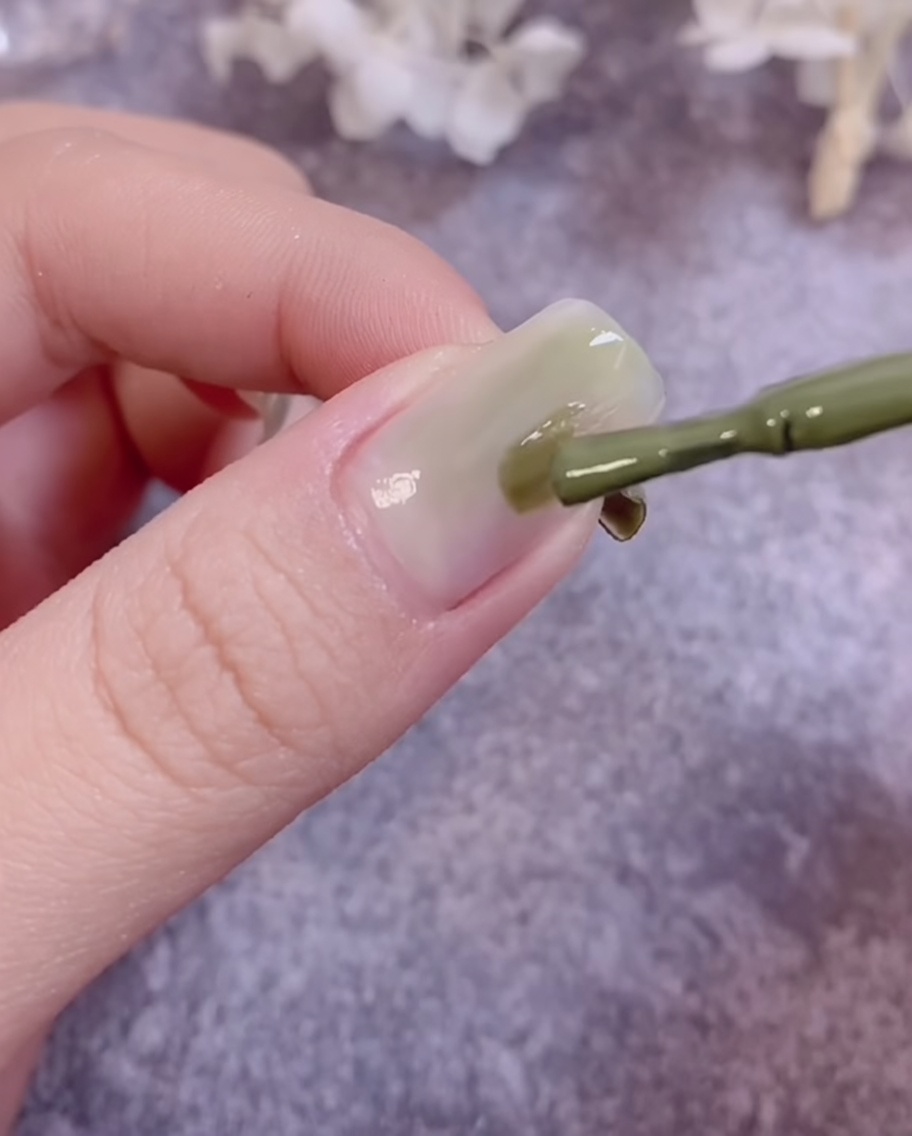
Using a clean top coat brush, gently blend the edges of the green gel while it is still uncured to create a soft, gradient effect across the nail surface. Work with light strokes to achieve a seamless transition without removing too much product.
Tip: Work in thin layers and keep your brush clean to ensure smooth blending and avoid muddy colors. - 2Paint the daisy petals
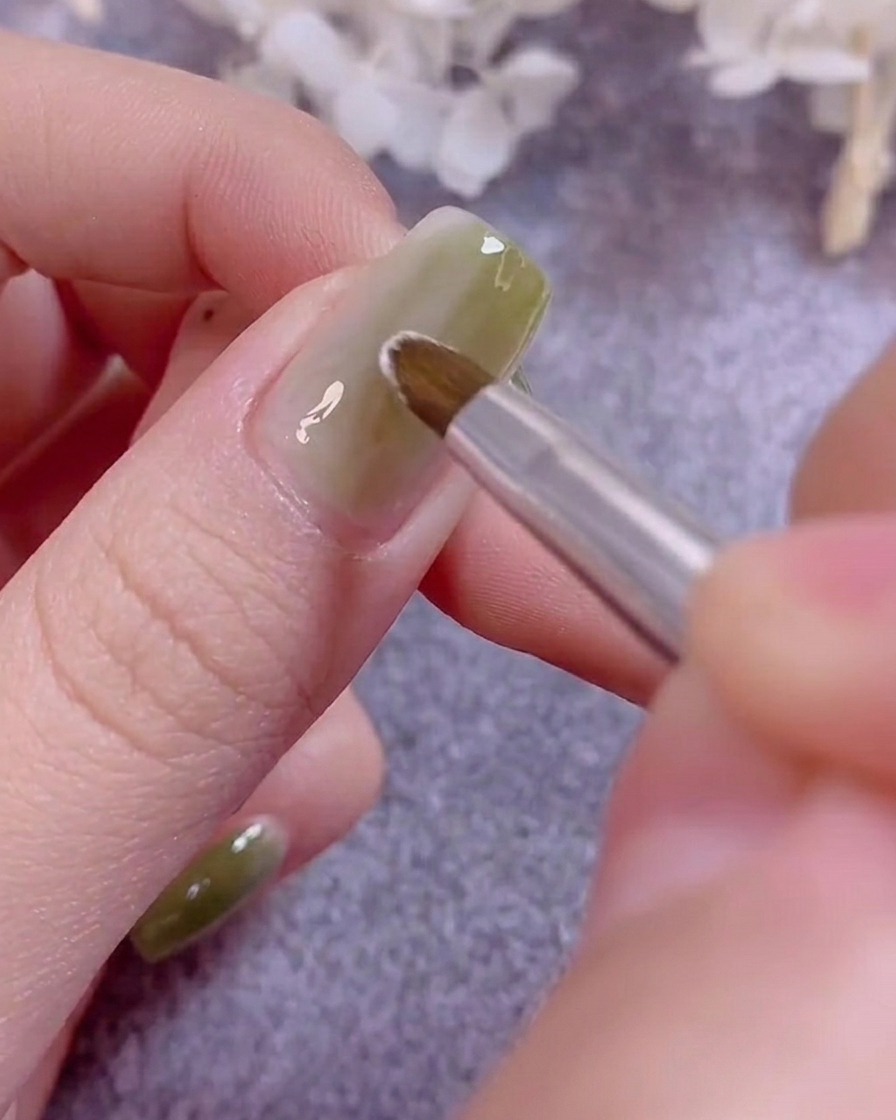
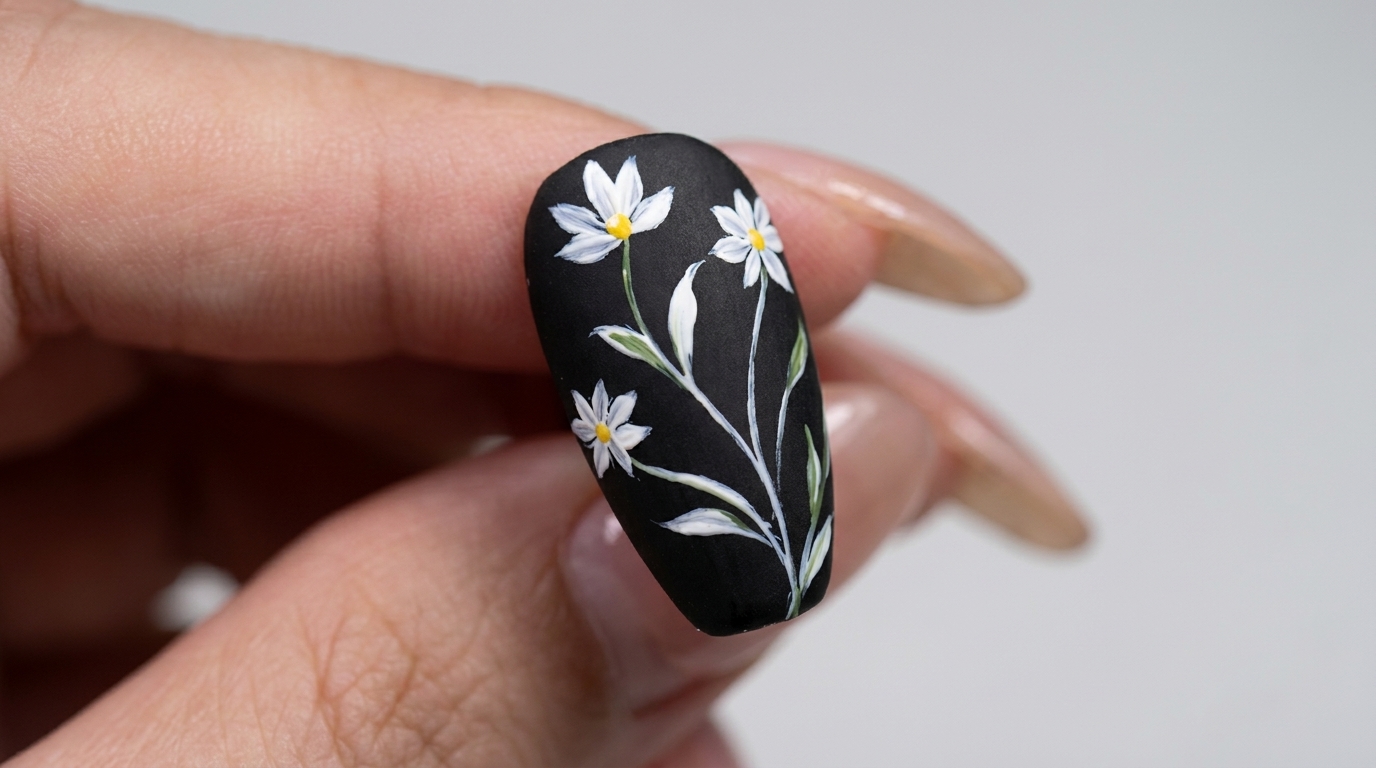
Using a fine-detail nail art brush, paint delicate white petals to form a daisy design on the nail. Carefully place each petal around a central point, keeping the lines thin and clean for a polished look.
Tip: Use a very thin liner brush for the best control when painting fine, detailed petals. - 3Apply hard top coat
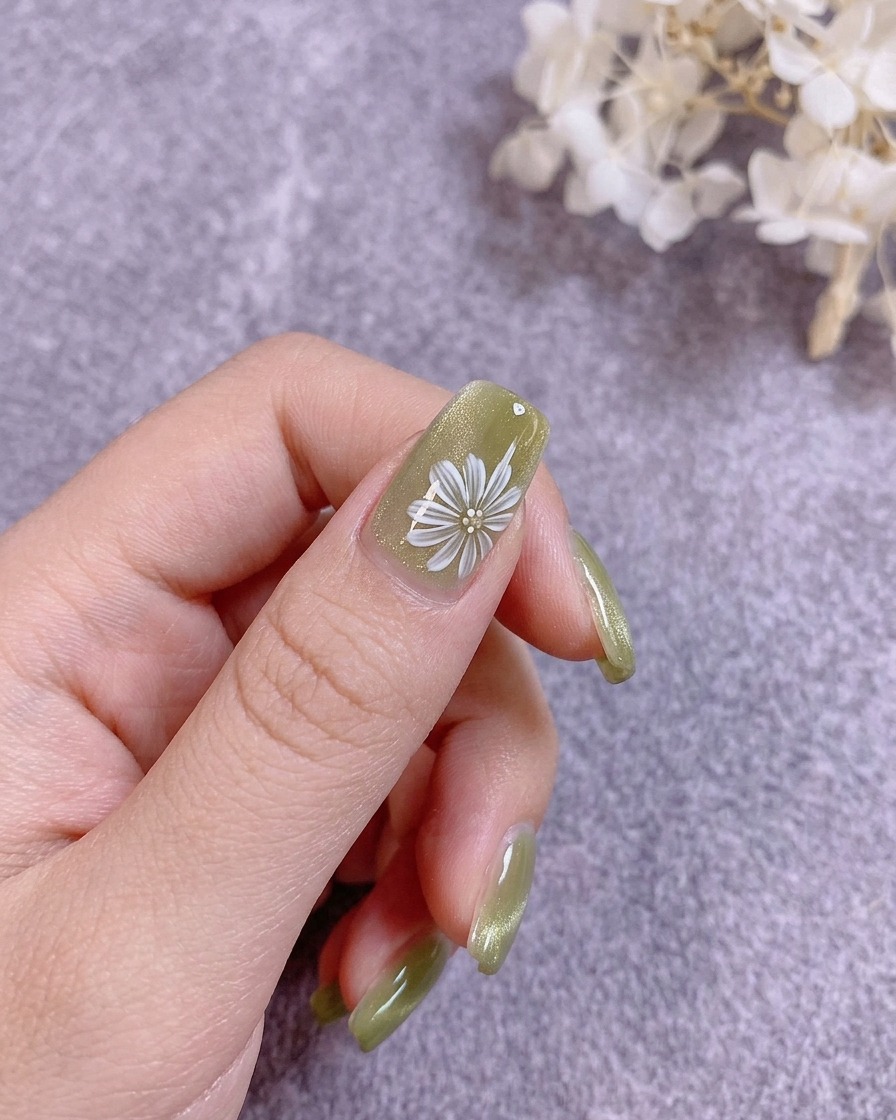
Once your design is set, apply a layer of hard top coat over the entire nail to protect the daisy art. Ensure you cap the free edge to enhance durability and prevent chipping.
Tip: Applying a hard top coat adds strength to your design and provides a smooth surface for subsequent steps like chrome application. - 4Cure the top coat
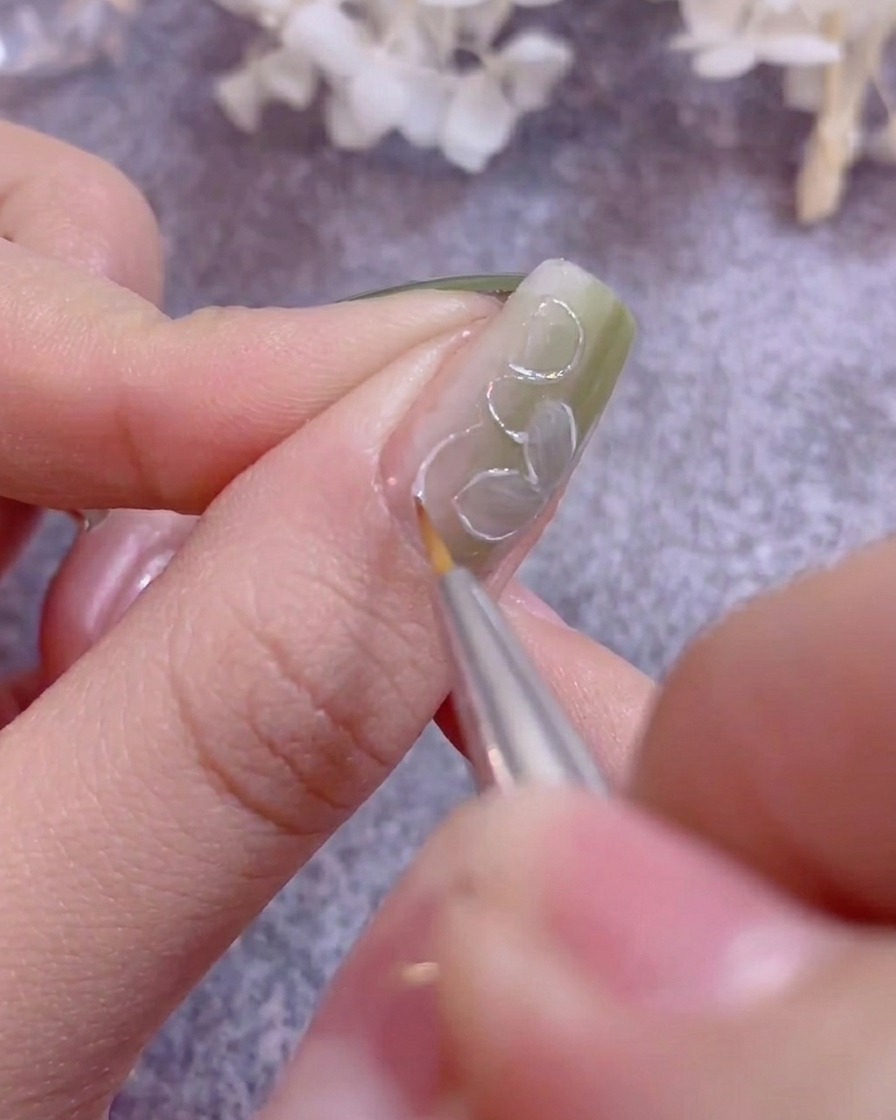
Place your hand into a UV or LED nail lamp and cure the hard top coat for the full duration recommended by the product manufacturer. This ensures the design is fully hardened and protected.
Tip: Keep your hand flat inside the lamp to ensure even light distribution across all nails. - 5Apply chrome powder
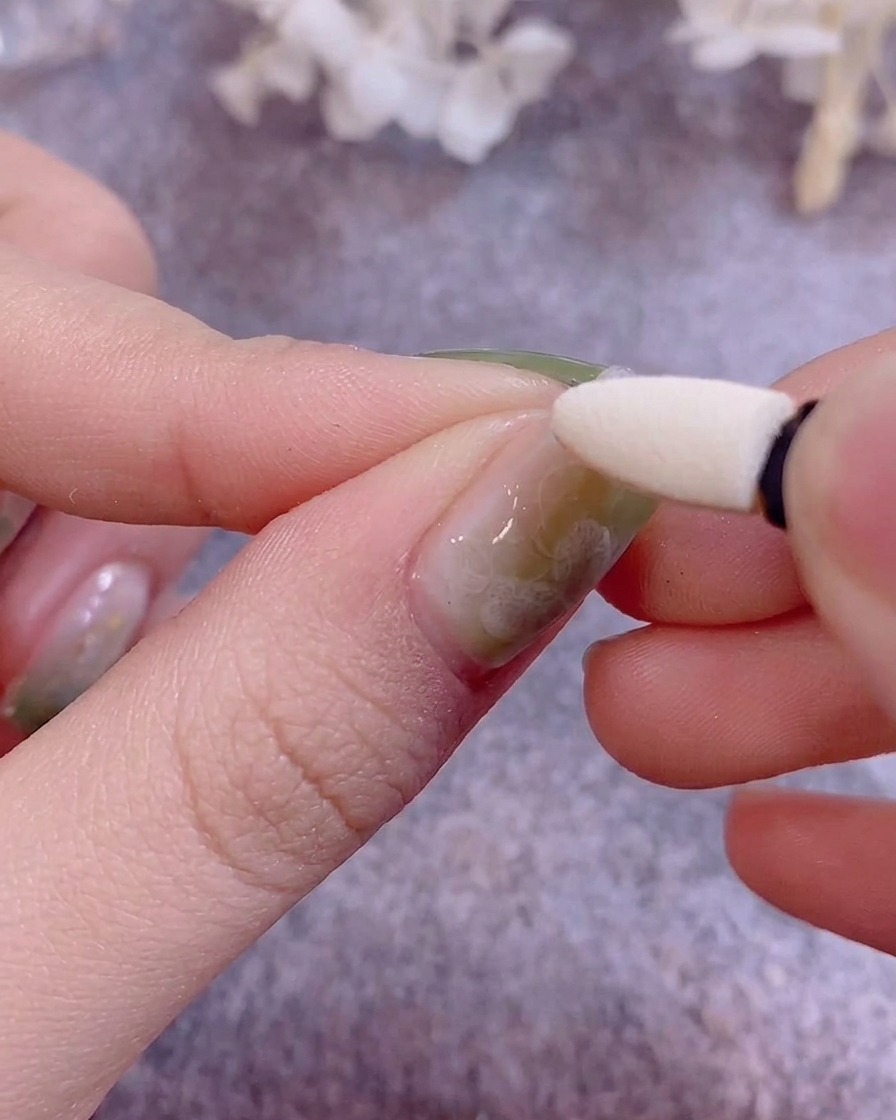
Using a small silicone applicator, gently buff chrome powder over the cured surface of the nail. Use light, circular motions to achieve an even, metallic finish, ensuring the powder adheres well to the cured top coat.
Tip: Apply the powder while the nail is still slightly warm from the lamp for better adhesion and a smoother, more reflective finish. - 6Apply gold foil accents
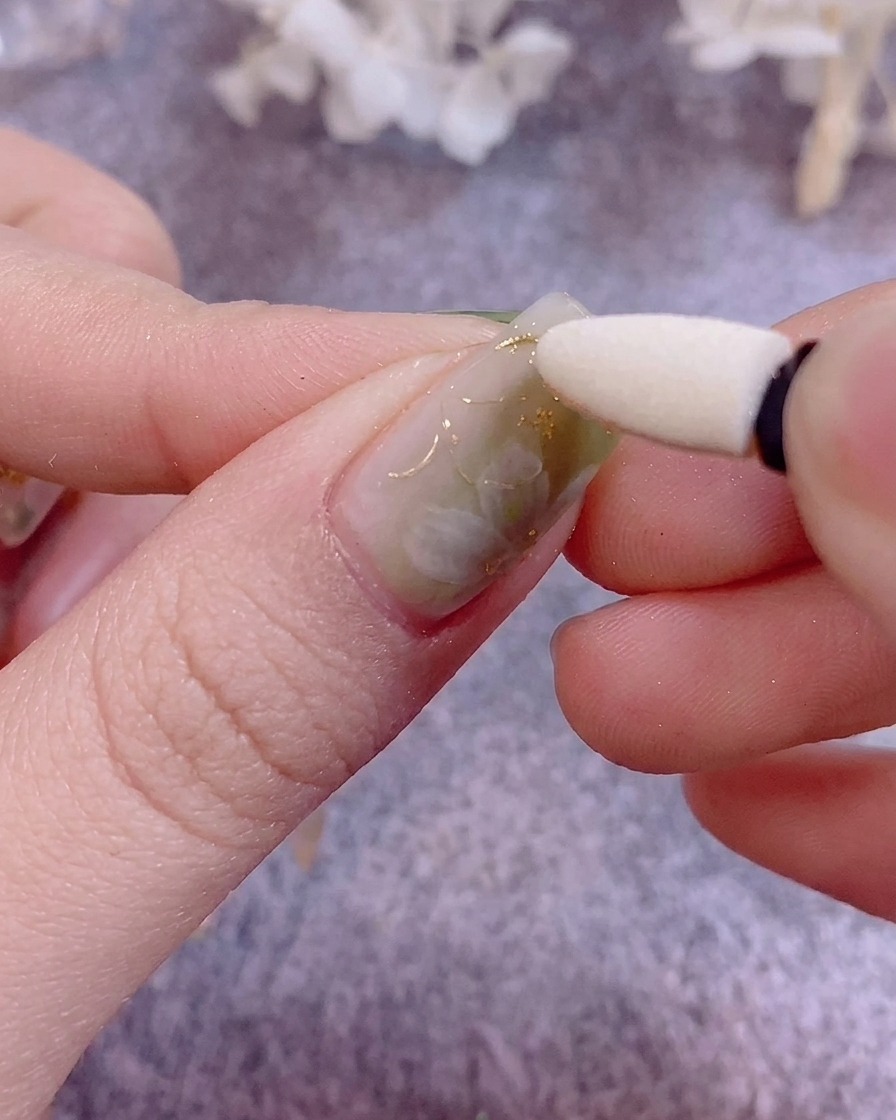
Using tweezers or a fine detail brush, carefully place small pieces of gold foil onto the nail surface over the uncured or sticky layer. Position them strategically to enhance your design, then gently press them down so they lie flat against the nail.
Tip: If the foil is stubborn, a tiny dab of base coat or top coat can act as a glue to hold it in place before sealing. - 7Paint green leaf details
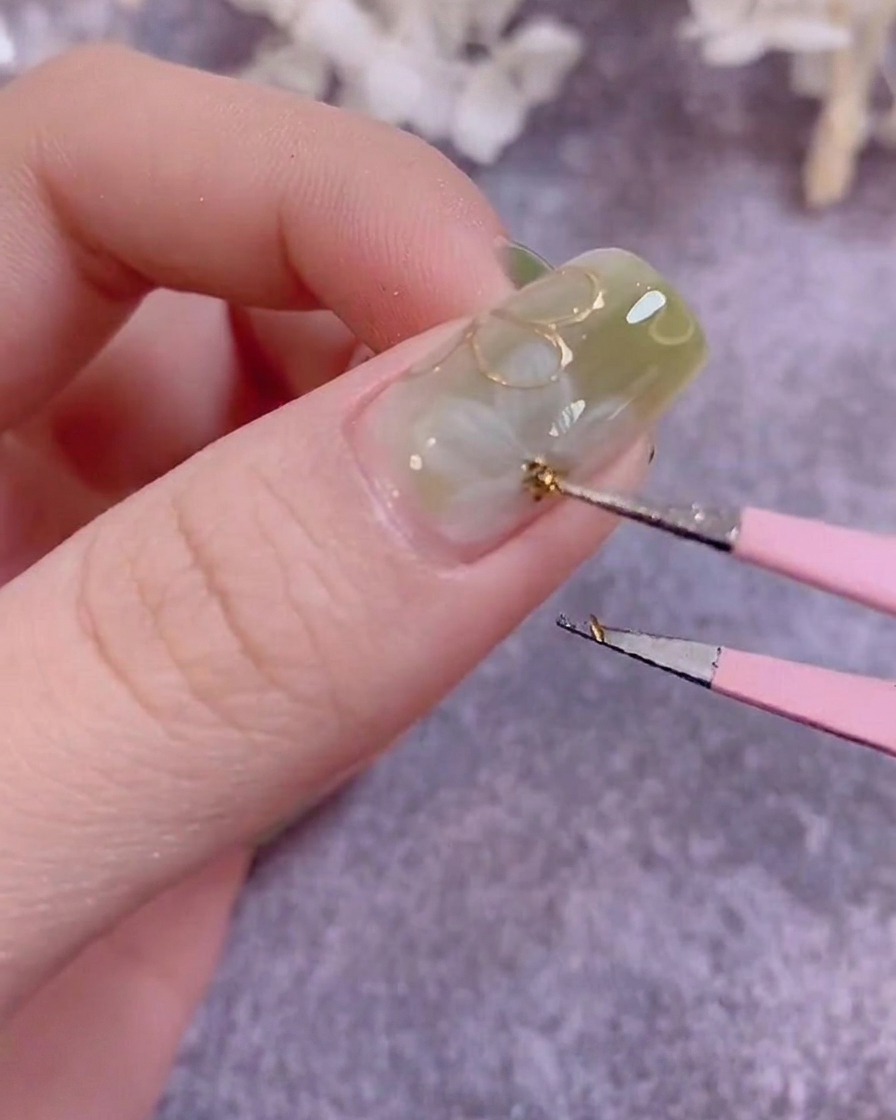
Using a fine liner brush and green gel polish, paint delicate leaf shapes onto the nail. Start with a thin stem and pull the brush slightly to create the tapered leaf form, applying light pressure for precision.
Tip: Keep your brush strokes light and steady. If you make a mistake, you can quickly wipe it away with a lint-free wipe dampened with cleanser before curing. - 8Highlight and define leaves
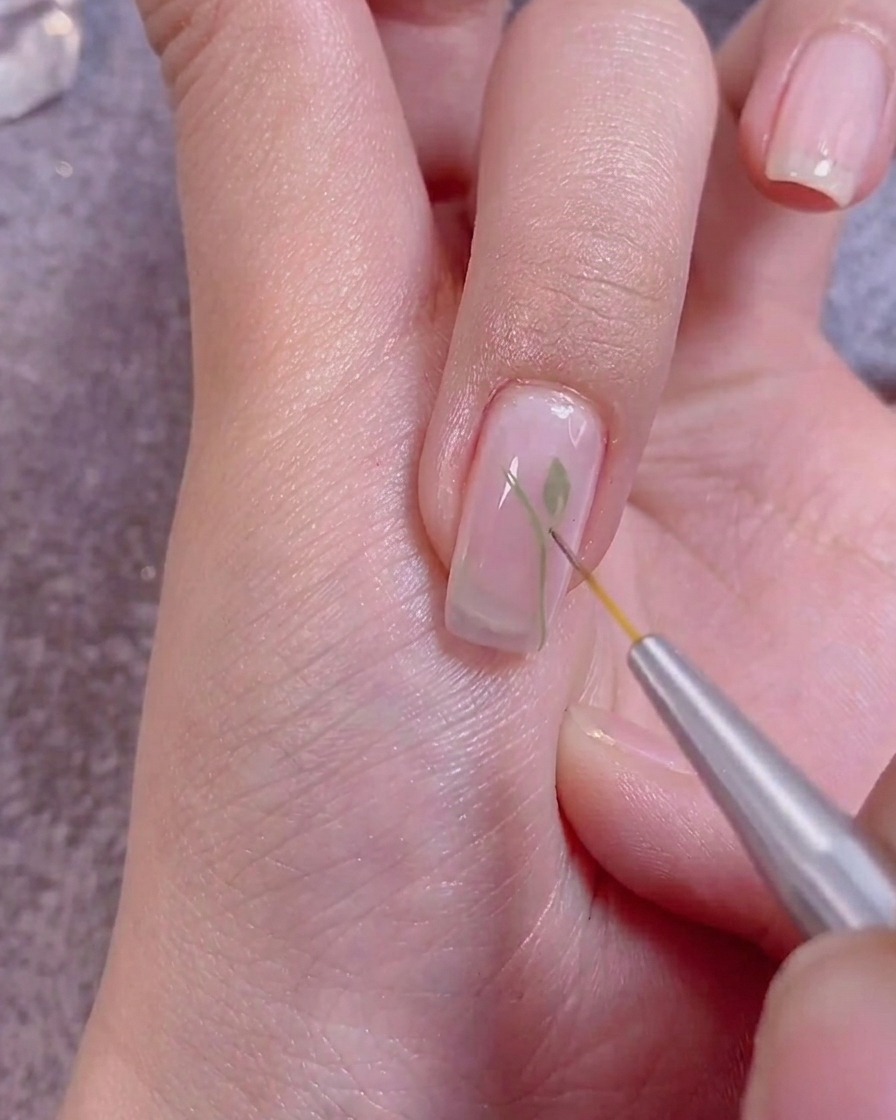
With a thin liner brush and white gel, add subtle highlights and sharpen the edges of your previously painted green leaves. This creates depth and makes the nail art pop against the background.
Tip: Use a very small amount of white gel to maintain the delicate look of the highlights. - 9Apply final top coat
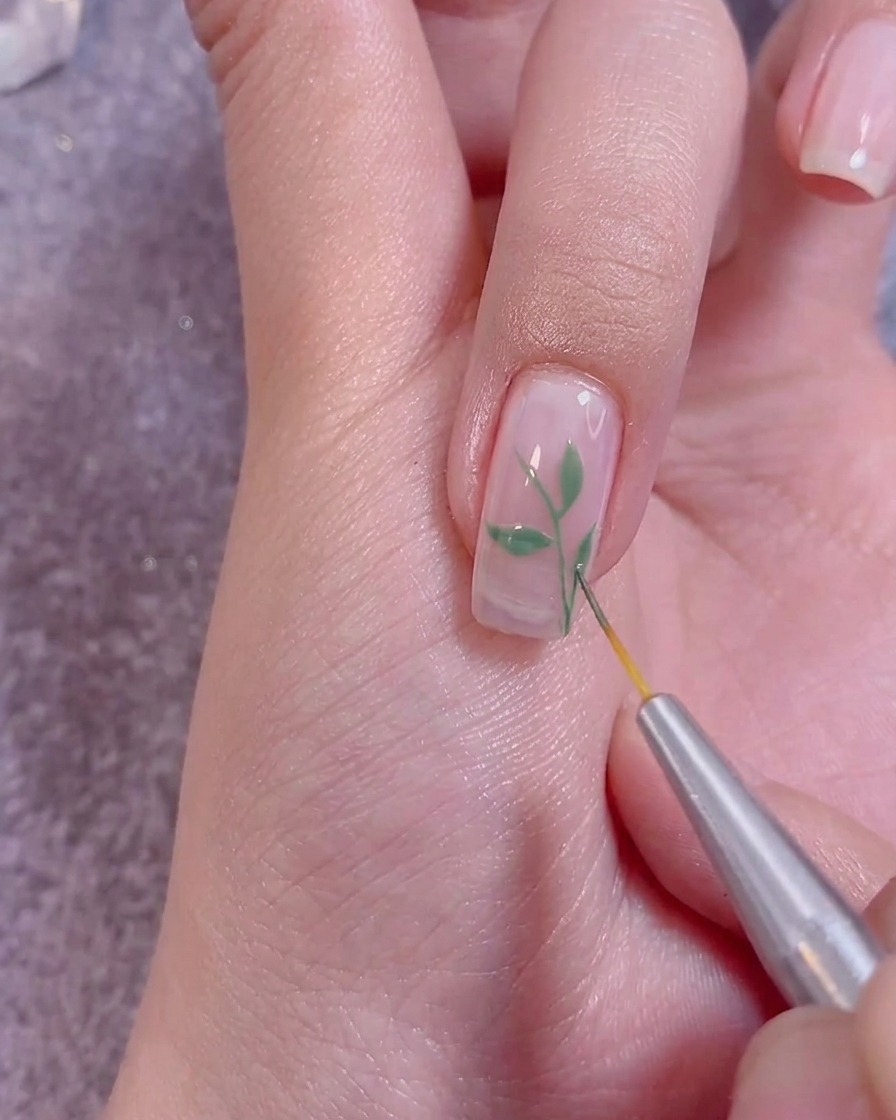
Apply a generous, even layer of top coat over the entire nail to seal your design and add a high-gloss finish. Be sure to cap the free edge to ensure longevity and prevent chipping.
Tip: Floating the top coat over the nail art without pressing too hard will prevent smudging your fine details.