Clear Cat-Eye Daisy Nail Art — Step-by-Step Tutorial
Discover how to create dreamy clear cat-eye nails with delicate hand-painted daisy accents. This tutorial makes professional-looking floral nail art easy.
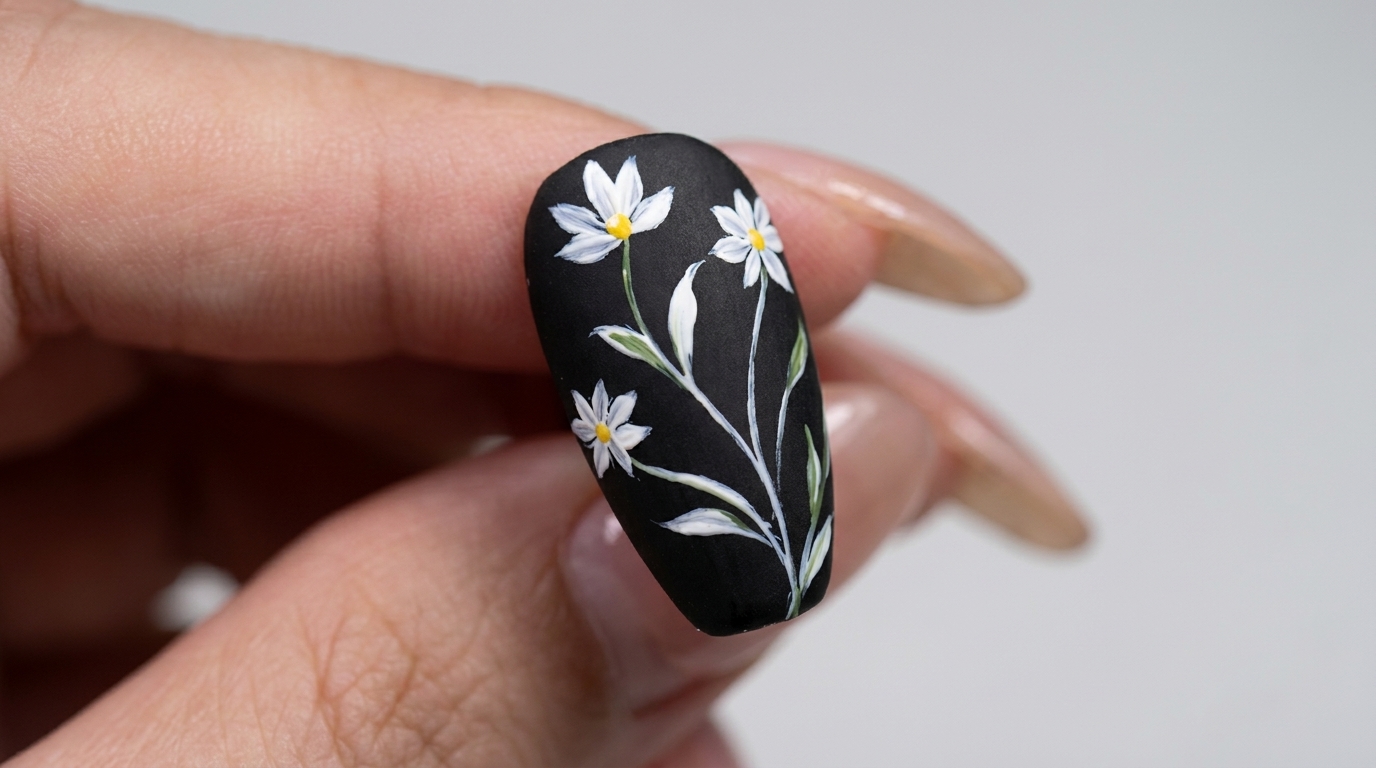
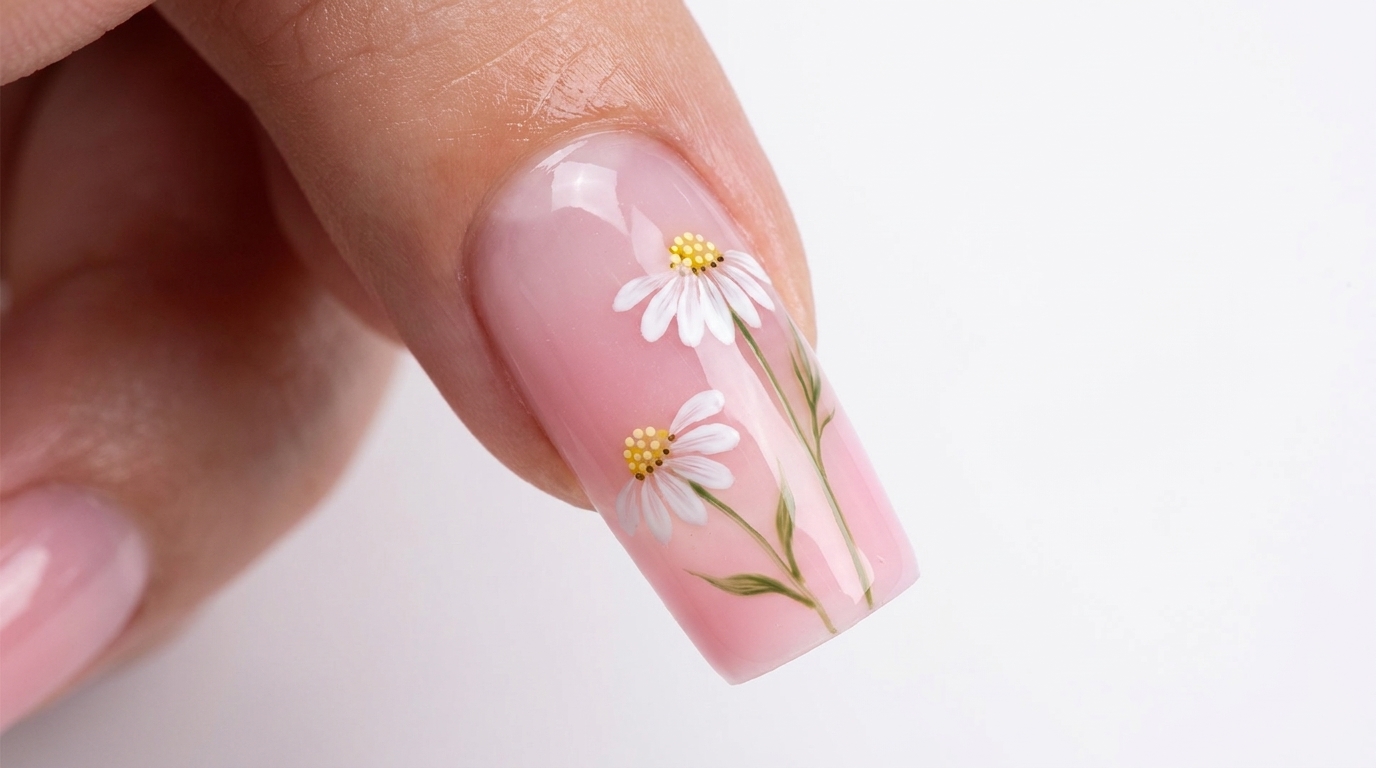
This clear cat-eye daisy design combines the ethereal shimmer of magnetic gel with the timeless charm of hand-painted floral art. The translucent, glossy base provides a perfect, modern backdrop for the soft white petals and vibrant yellow centers. It is an ideal look for anyone wanting a sophisticated yet playful botanical aesthetic.
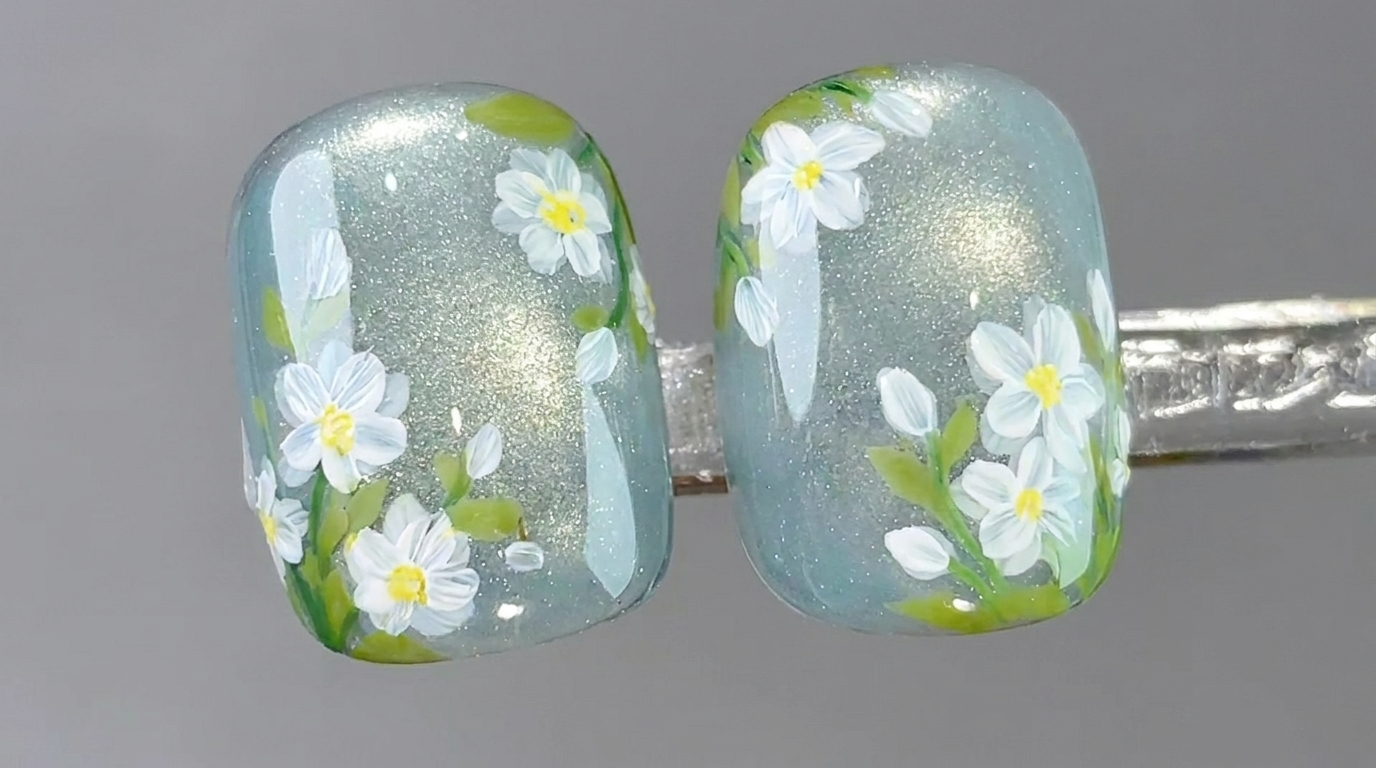
Steps
- 1Apply cat-eye base gel
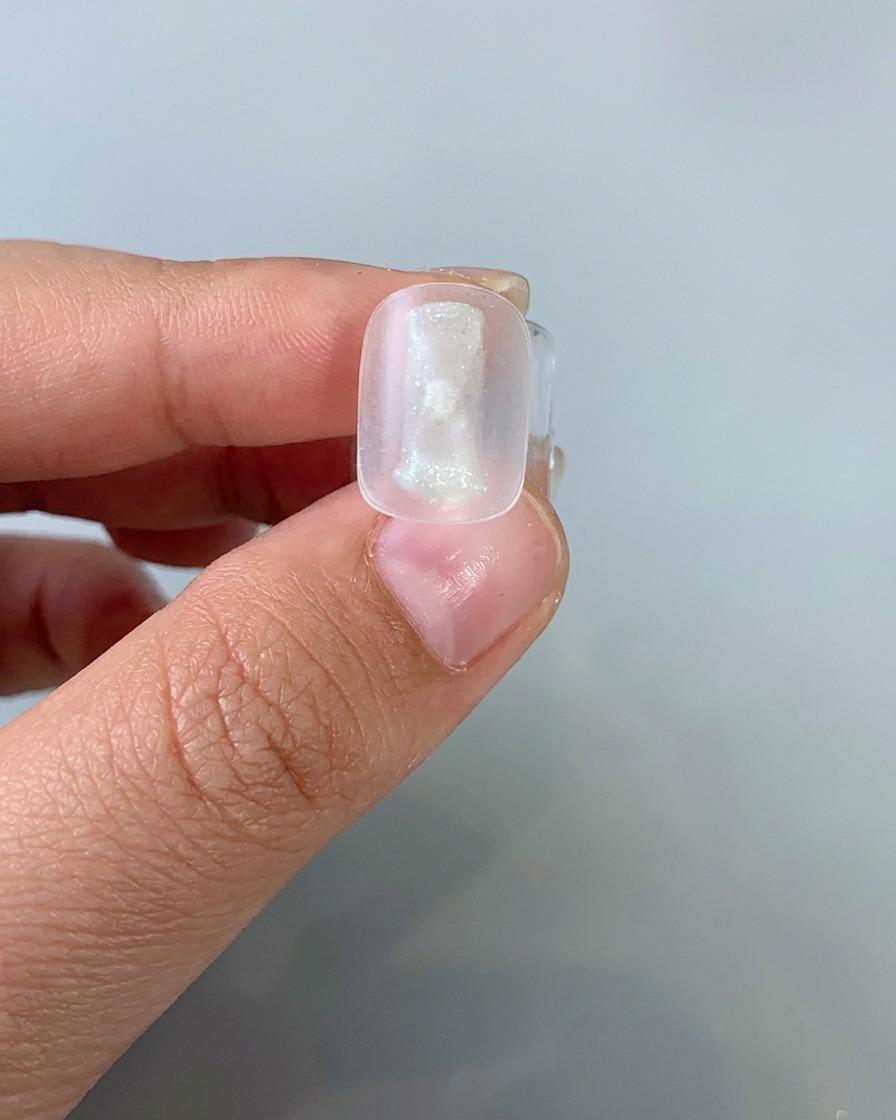
Apply a thin, even layer of Style Valley 05 cat-eye gel to the nail. Ensure full coverage without flooding the cuticles. This gel creates the base for the shimmer effect.
Tip: Work in thin layers to ensure proper curing and prevent the gel from pooling at the edges. - 2Create cat-eye shimmer
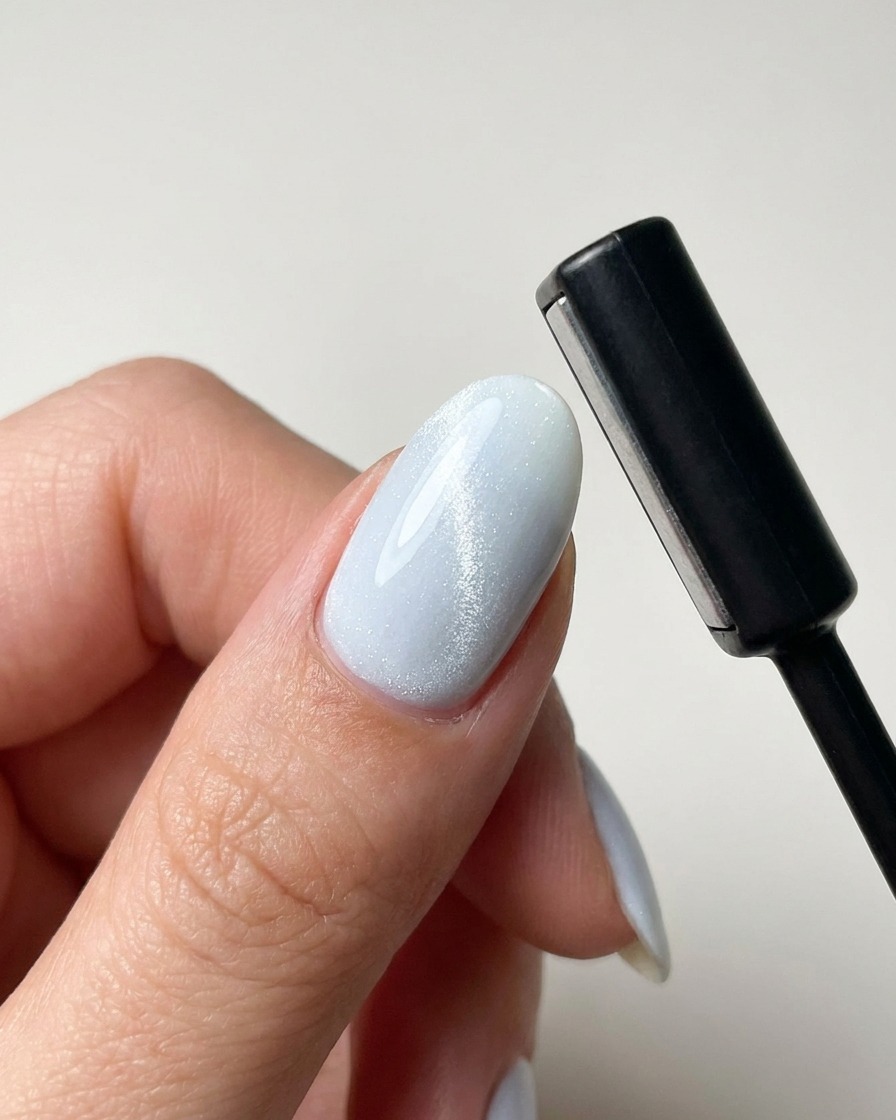
Hold the magnet tool closely over the uncured gel surface. Move the magnet to manipulate the magnetic particles within the gel until you achieve the desired shimmer pattern. Cure immediately after achieving the look.
Tip: Keep the magnet steady to avoid distorting the shimmer once you have the desired effect. - 3Paint daisy petals
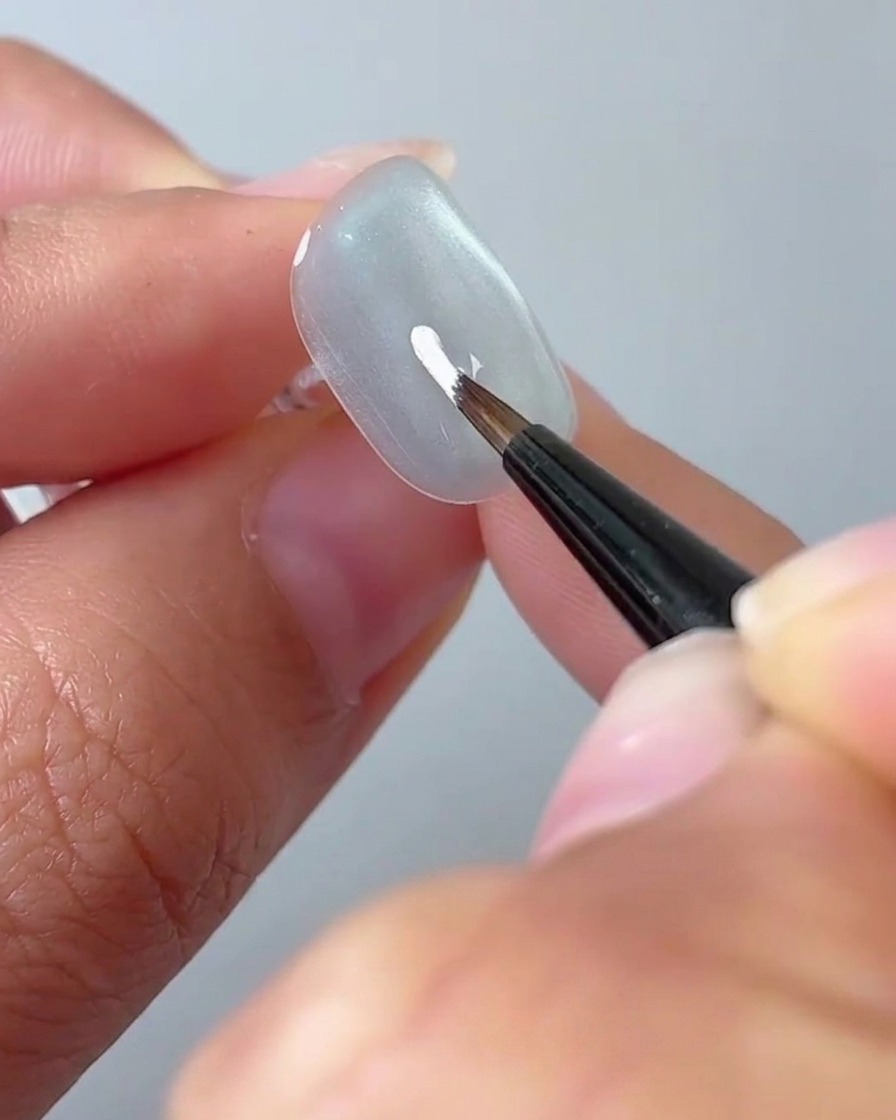
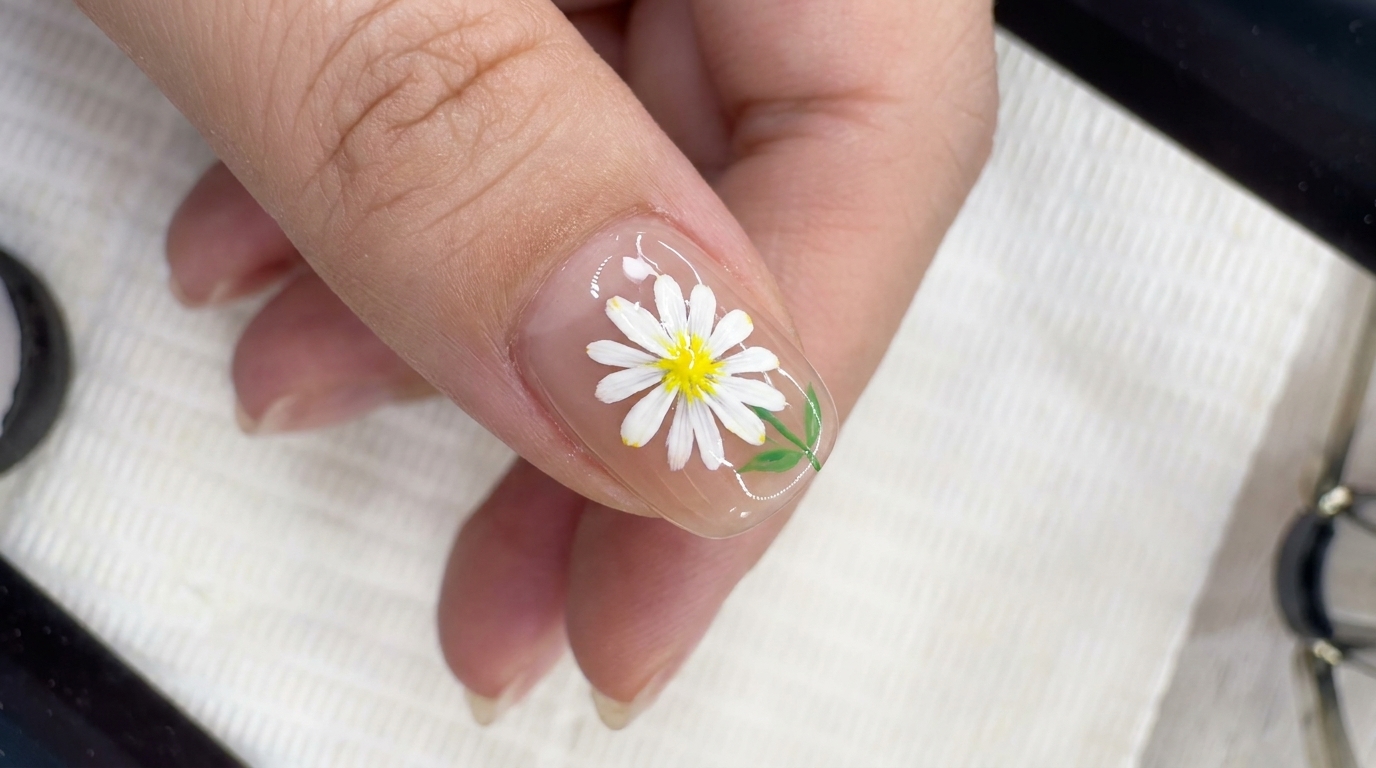
Using a fine liner brush and white gel paint, draw small, delicate petal shapes onto the cured nail. Distribute them to form the base of your daisy design.
Tip: Use light pressure on the liner brush to keep the petals small and uniform. - 4Layer daisy petals
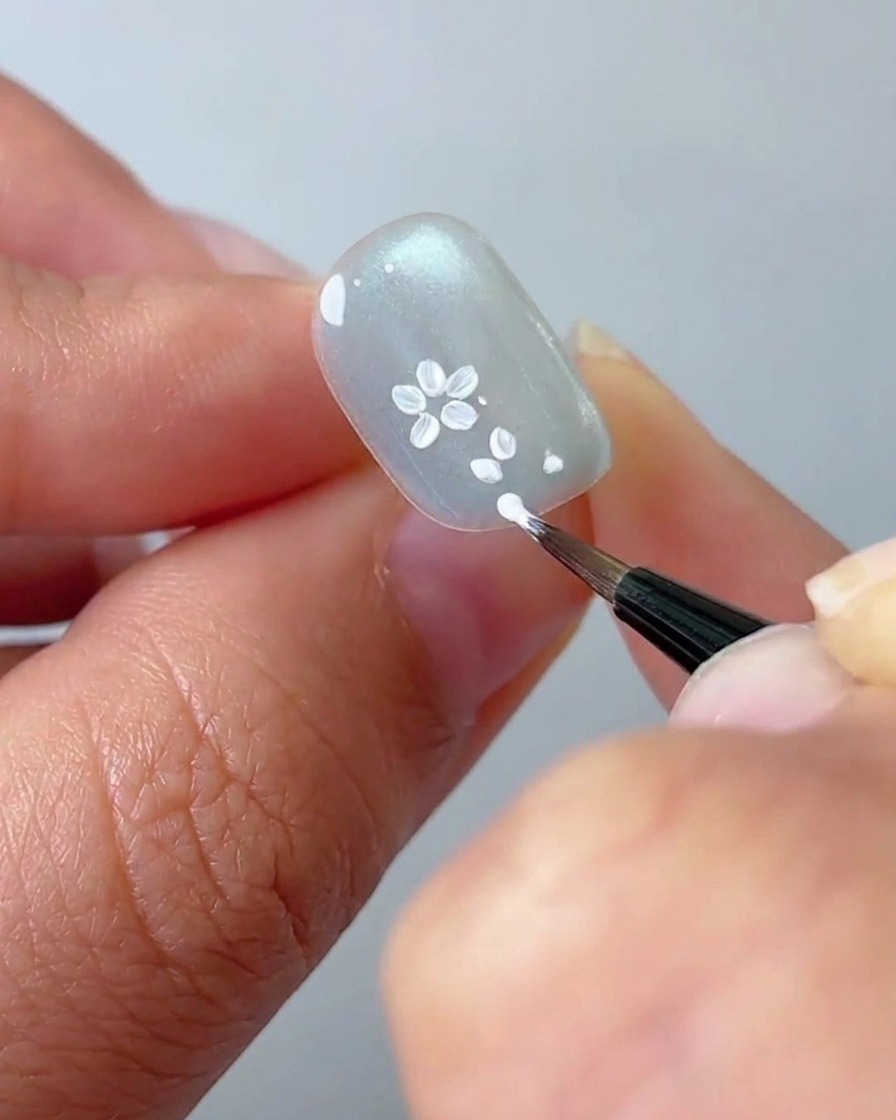
Apply extra white petals to the flowers you have already started. This overlapping technique adds depth and makes the floral design appear more realistic.
Tip: Ensure the first layer of petals is cured before adding the second layer to prevent smearing. - 5Expand floral design
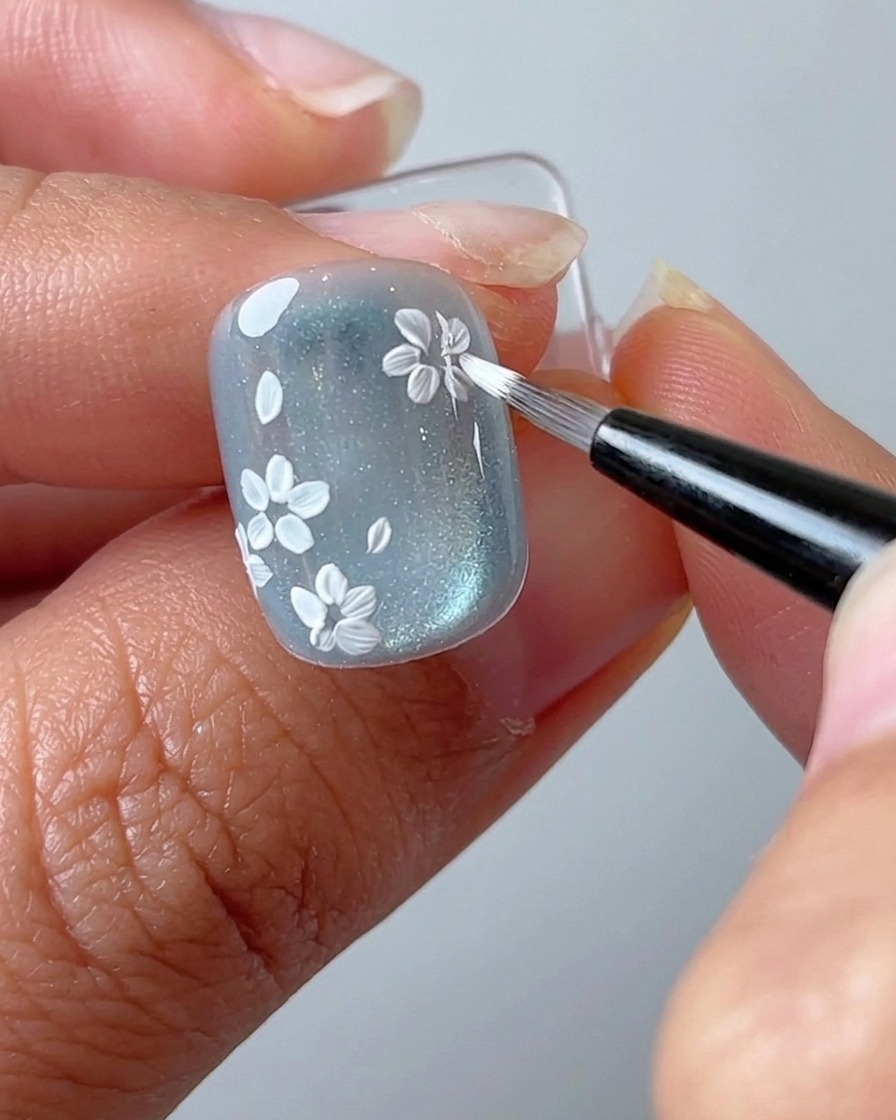
Continue using the white liner brush to create additional flower clusters across the nail. Vary the placement and size to create a balanced, organic look.
Tip: Maintain a light touch to ensure all flowers have a delicate, consistent style. - 6Add daisy centers
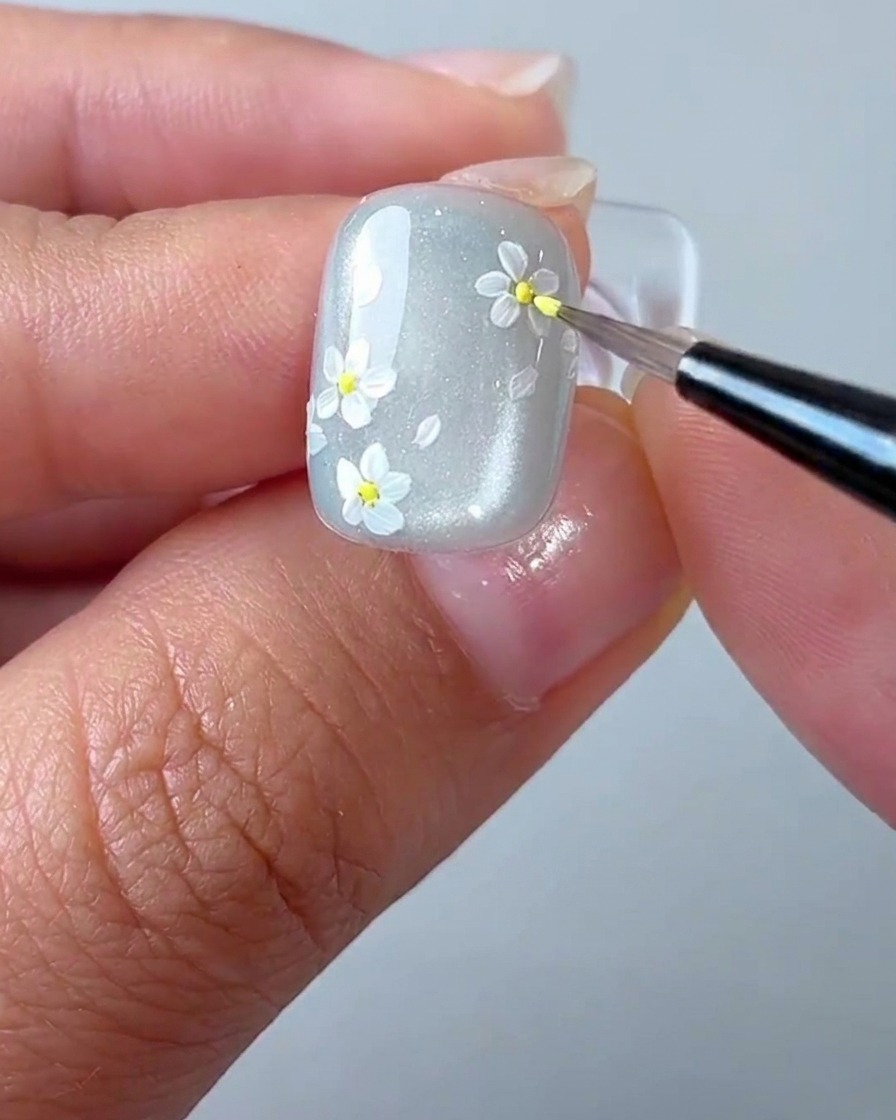
Using a dotting tool or a fine brush with yellow gel, place a small dot in the center of each white daisy you have painted. This adds the finishing touch to the flower design.
Tip: Use a small amount of yellow gel to ensure the center dot stays proportional to the petal size. - 7Draw delicate flower stems
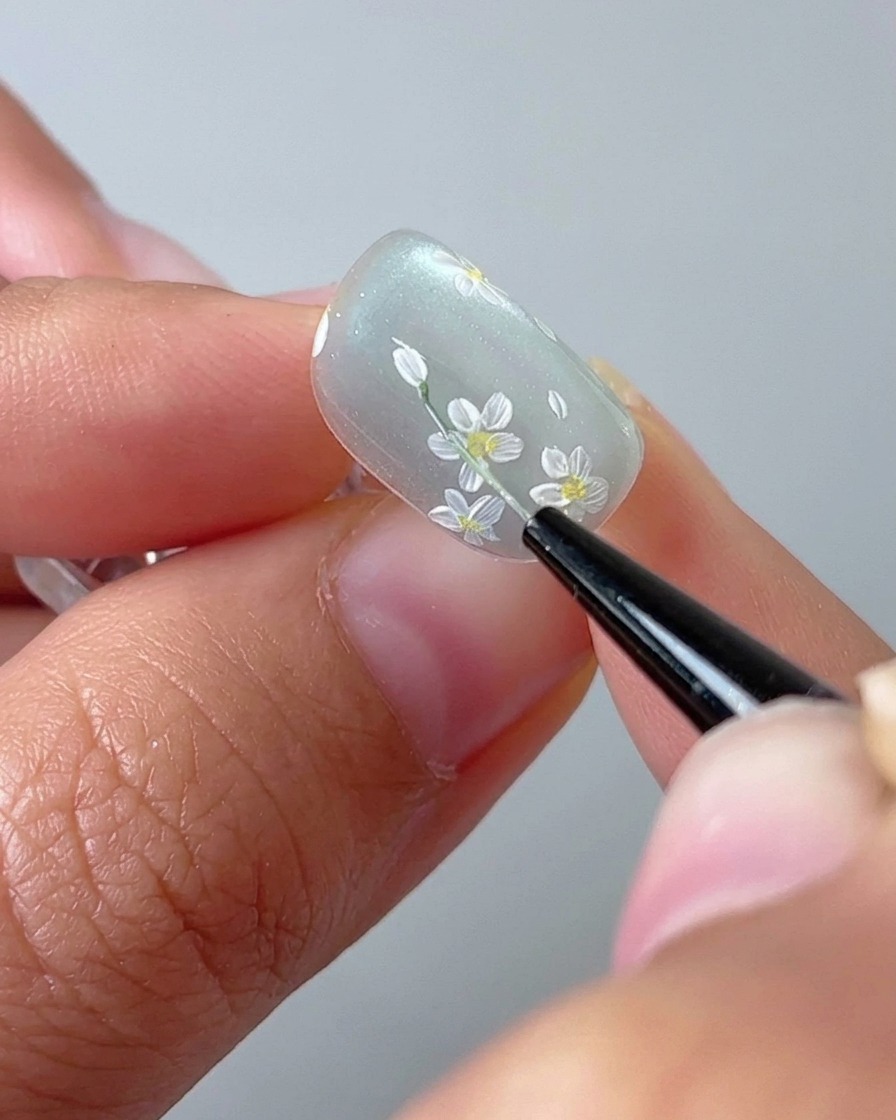
Using a fine liner brush and green gel paint, carefully draw thin, graceful stems to connect your daisy designs. Start from the base of the nail and extend the lines to meet the flowers for a cohesive botanical look.
Tip: Keep your pressure very light to ensure the stems remain thin and delicate. - 8Add green leaves
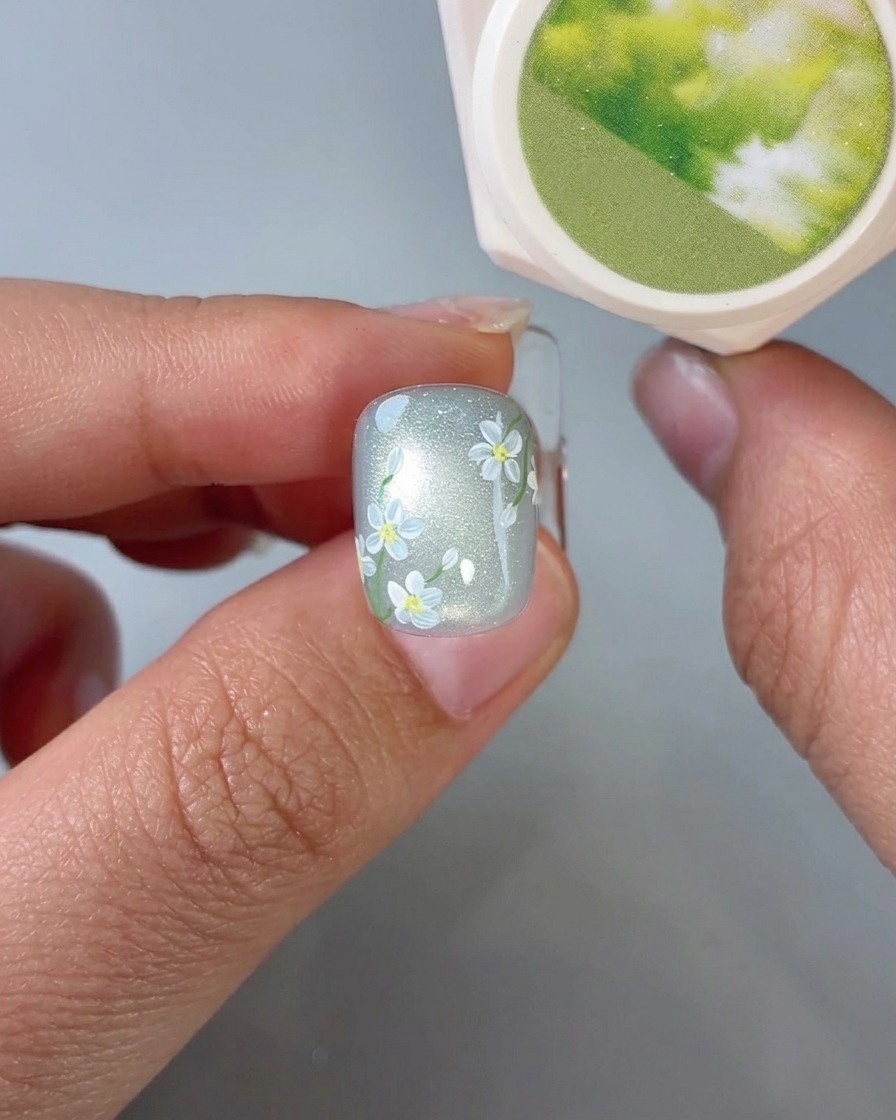
With your fine liner brush and green gel, paint tiny, pointed leaves at intervals along the stems you just created. Add these leaves sparingly to complement the daisies without overcrowding the nail.
Tip: Vary the size of the leaves slightly for a more natural, organic appearance. - 9Apply glossy top coat
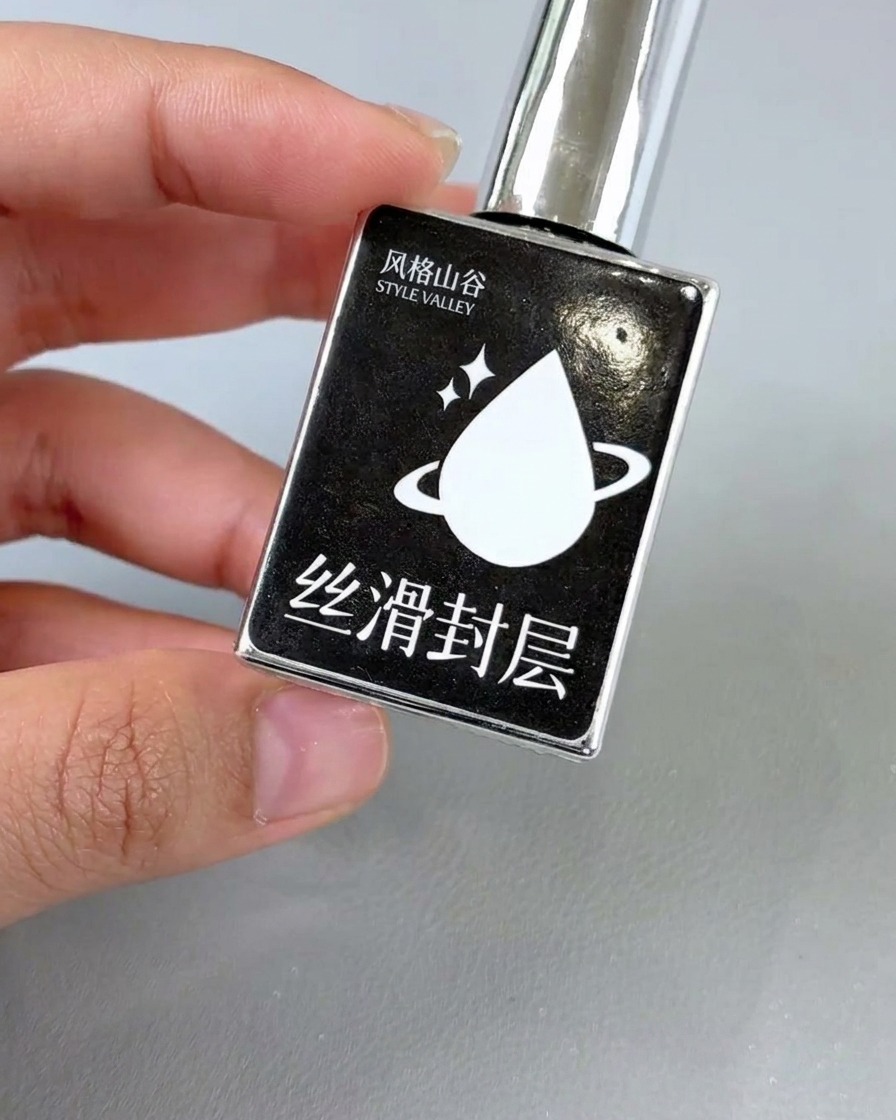
Apply a final layer of glossy top coat over the entire nail to seal in your artwork and provide a high-shine finish. Ensure the product covers the entire surface and cap the free edge to enhance durability.
Tip: Apply the top coat smoothly to avoid streaking the delicate nail art underneath. - 10Brighten and layer daisy petals
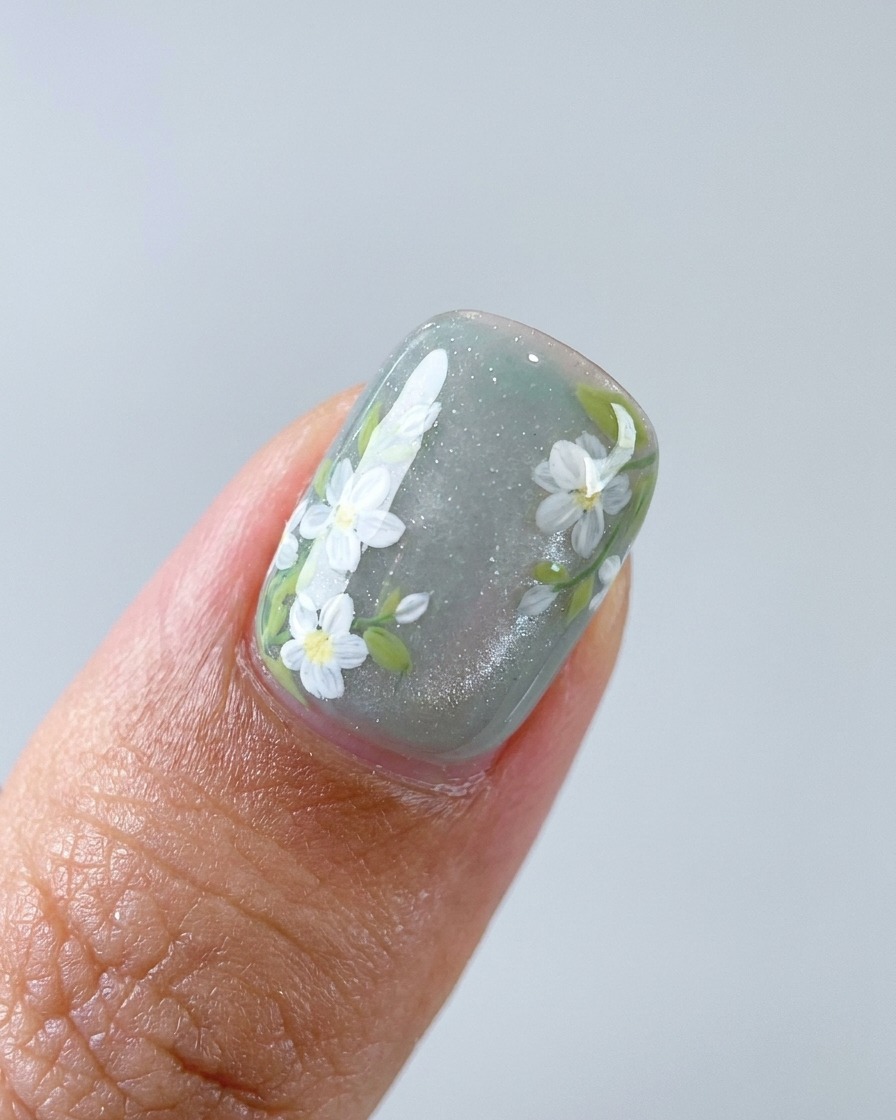
Using a thin brush and white gel paint, re-trace the outlines and details of your daisy petals to make them stand out. This layering technique adds depth and makes the flowers look more dimensional and vibrant.
Tip: Focus on the petal edges to create a crisp, defined appearance against the cat-eye base. - 11Highlight flower centers
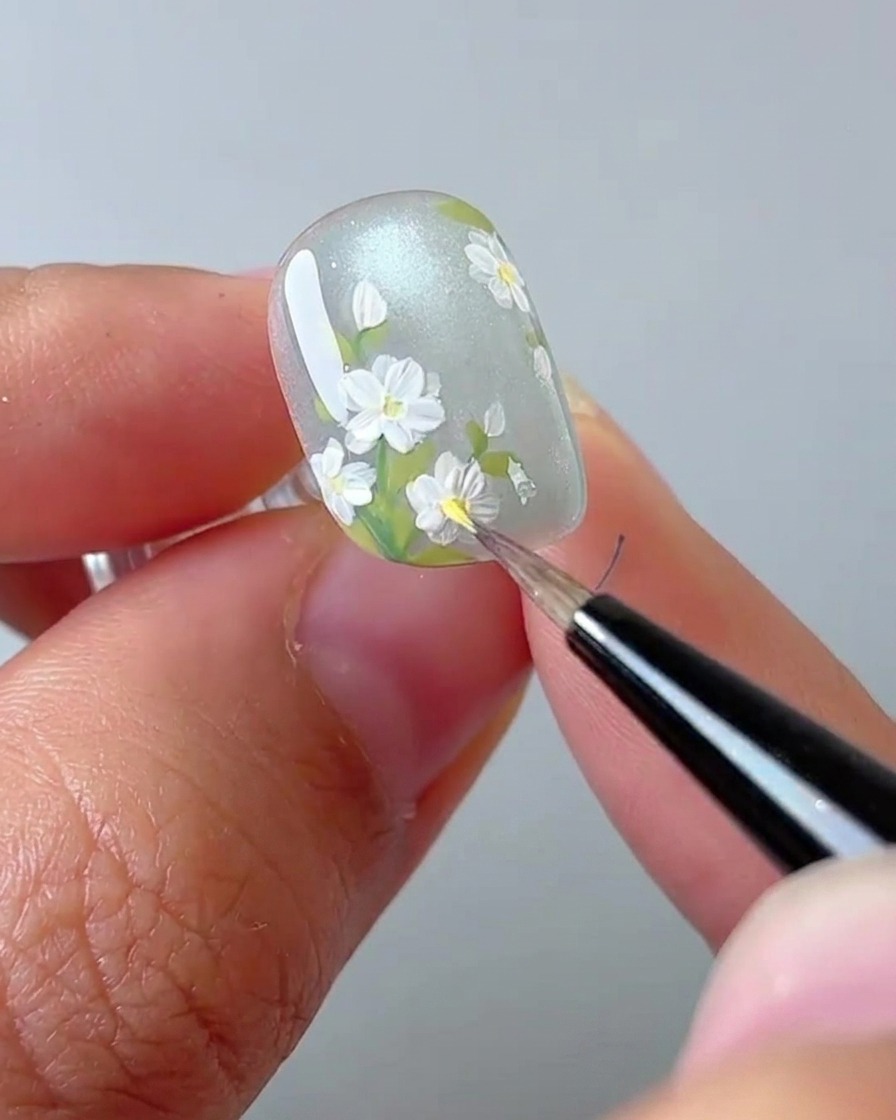
Using a small dotting tool or the tip of a fine liner brush, add a fresh dot of yellow gel to the center of each daisy. This simple step adds a bright pop of color and completes the floral aesthetic.
Tip: Place the dot directly in the center for a clean and professional look. - 12Final UV cure
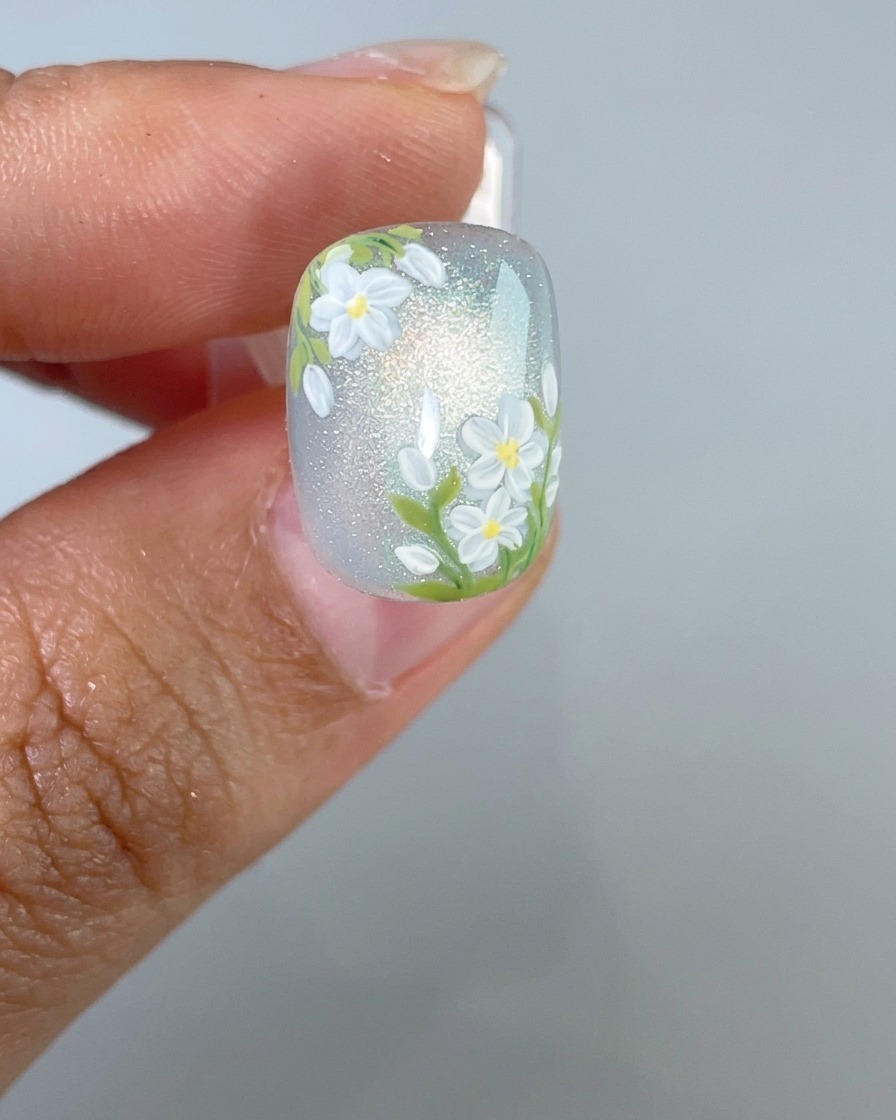
Place your nail under the UV/LED lamp to fully cure the final layers. Ensure your hand is positioned correctly inside the lamp for the duration recommended by your gel products instructions to ensure a long-lasting finish.
Tip: Do not remove your hand early; a full cure is essential for the durability of your nail art.