Hand-Painted Daisy Garden Gel Nails — Step-by-Step Tutorial
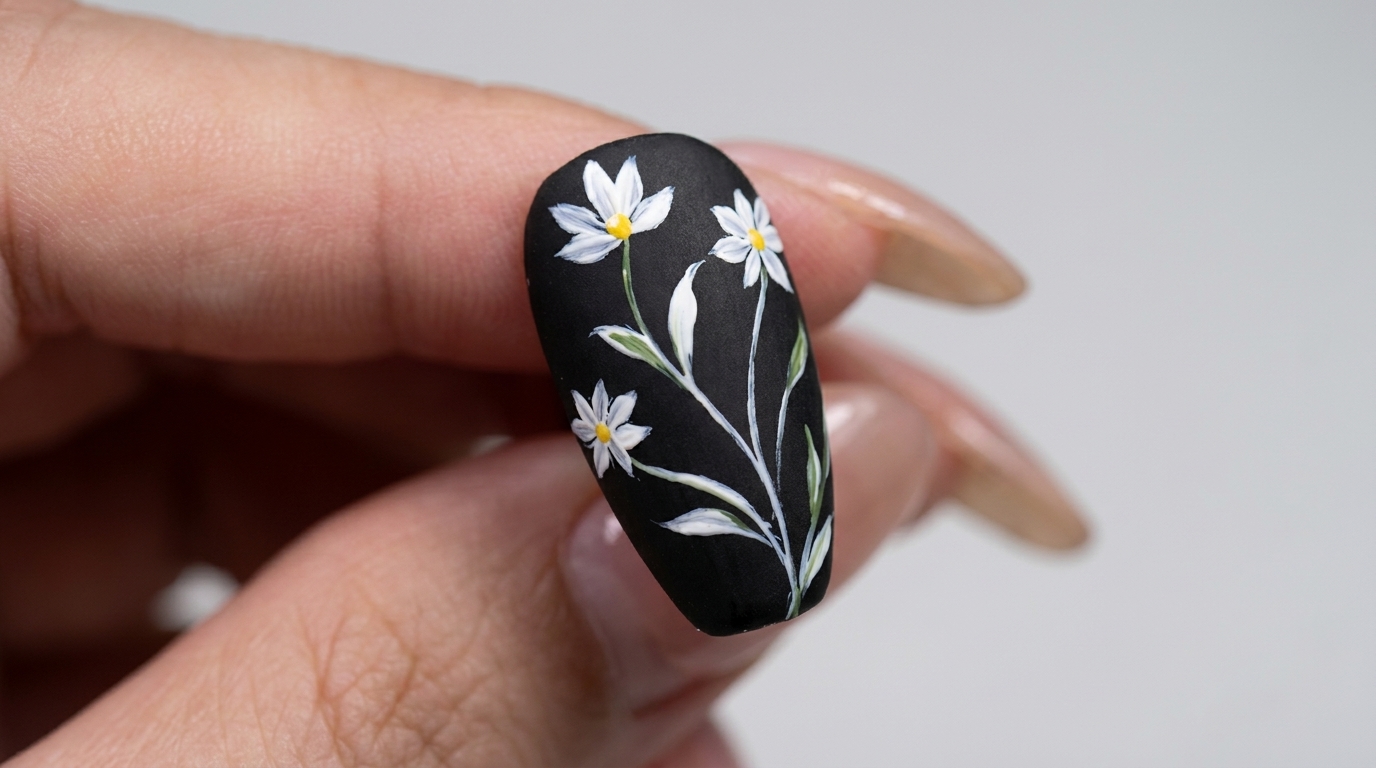
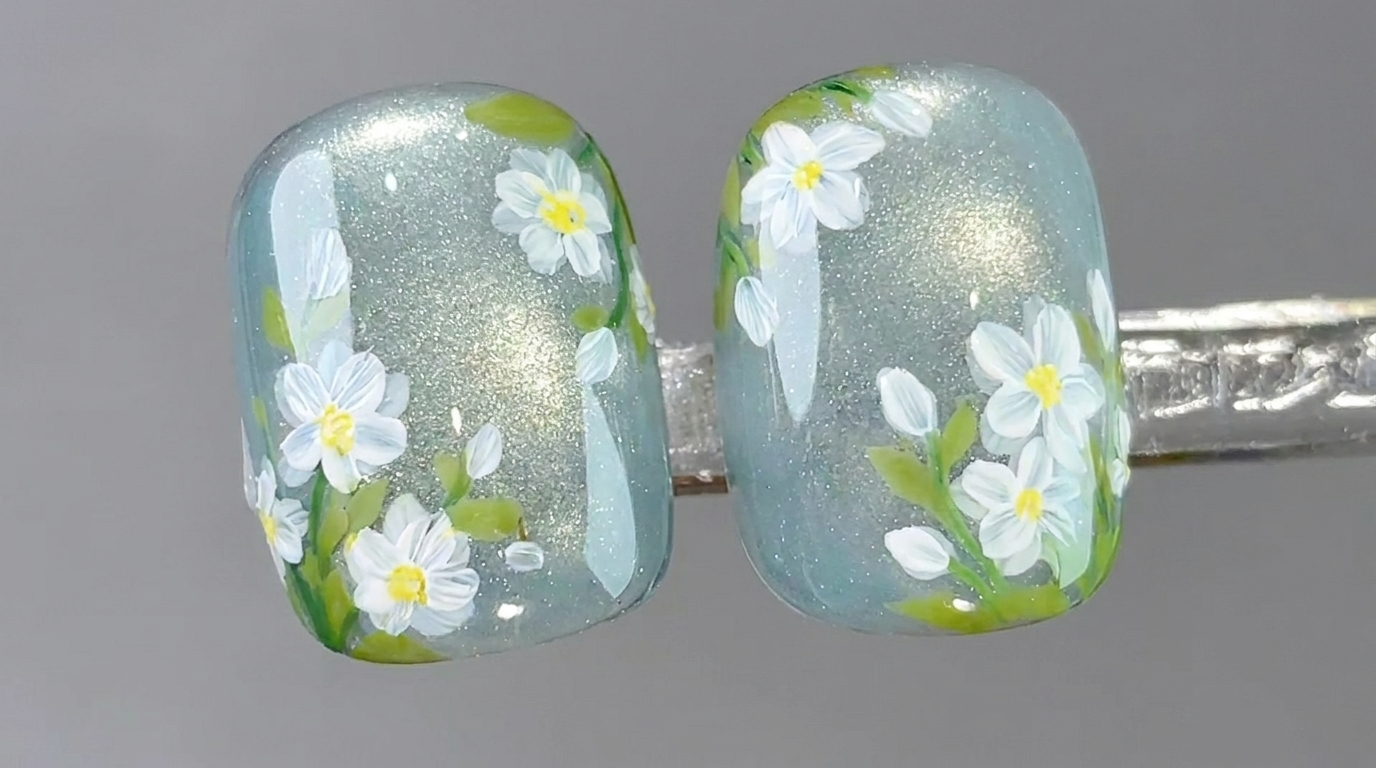
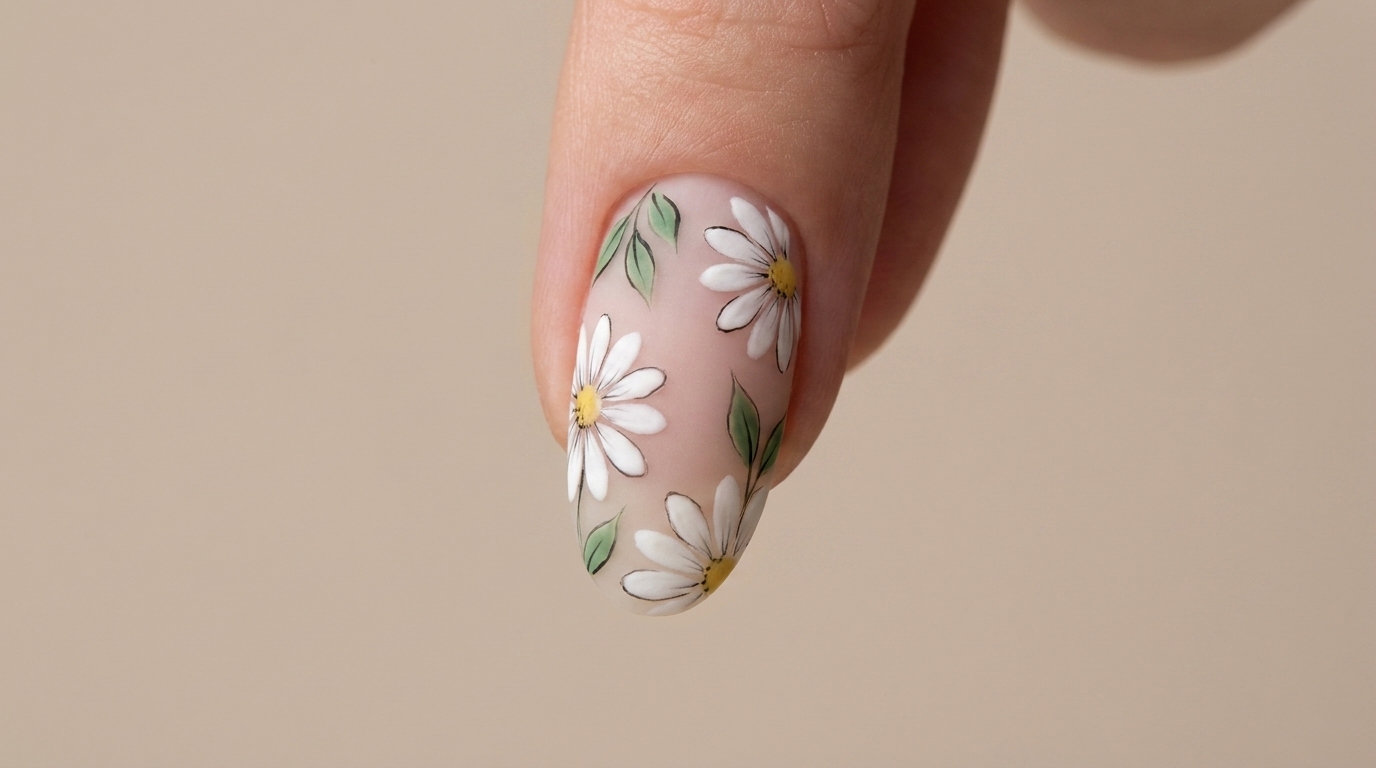
Bring a touch of spring to your fingertips with this delicate daisy garden nail art. Learn how to master floral details using simple guide-line techniques.
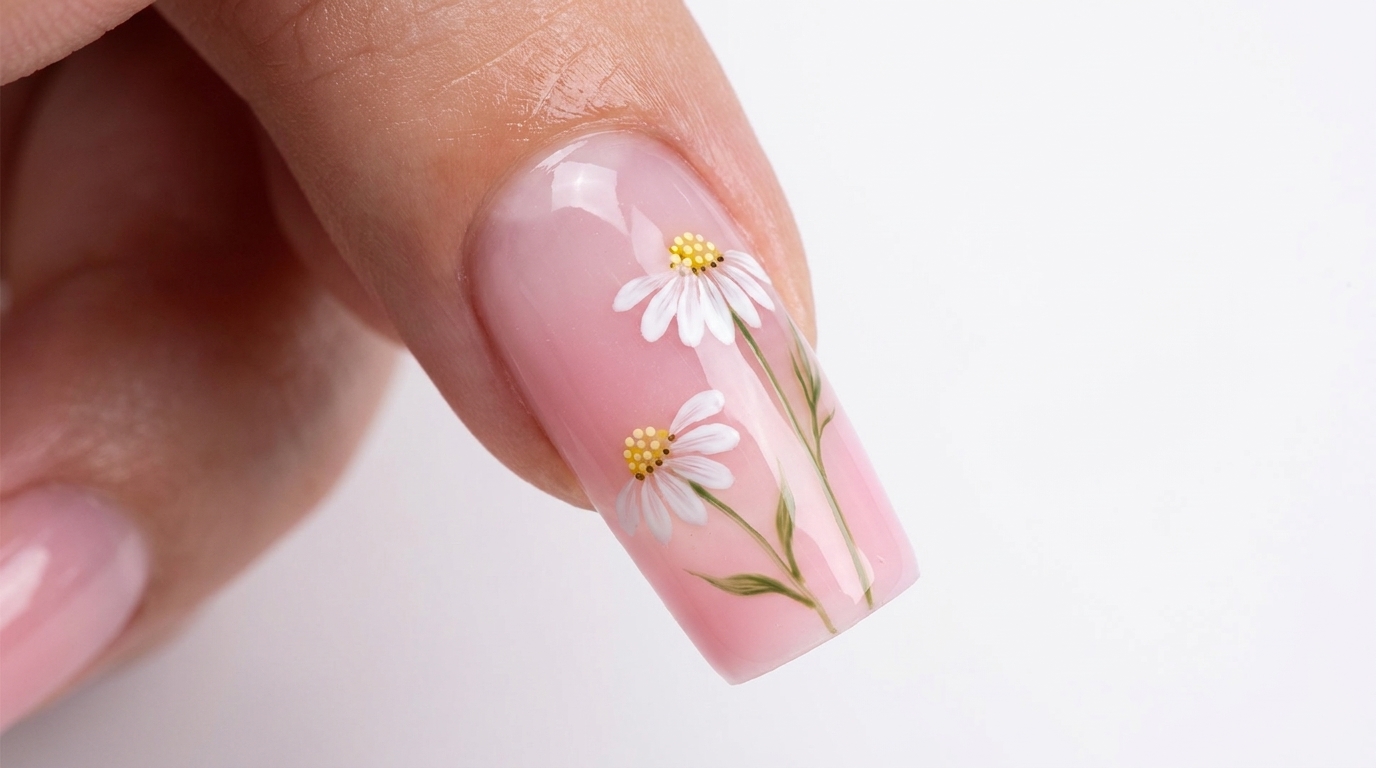
Floral nail art is a timeless choice, and this daisy design is perfect for those who love a fresh, feminine look. By using a clever star-shaped guide, you can ensure perfectly spaced petals every time, making professional-looking results achievable right at home.
Steps
- 1Apply a gradient base
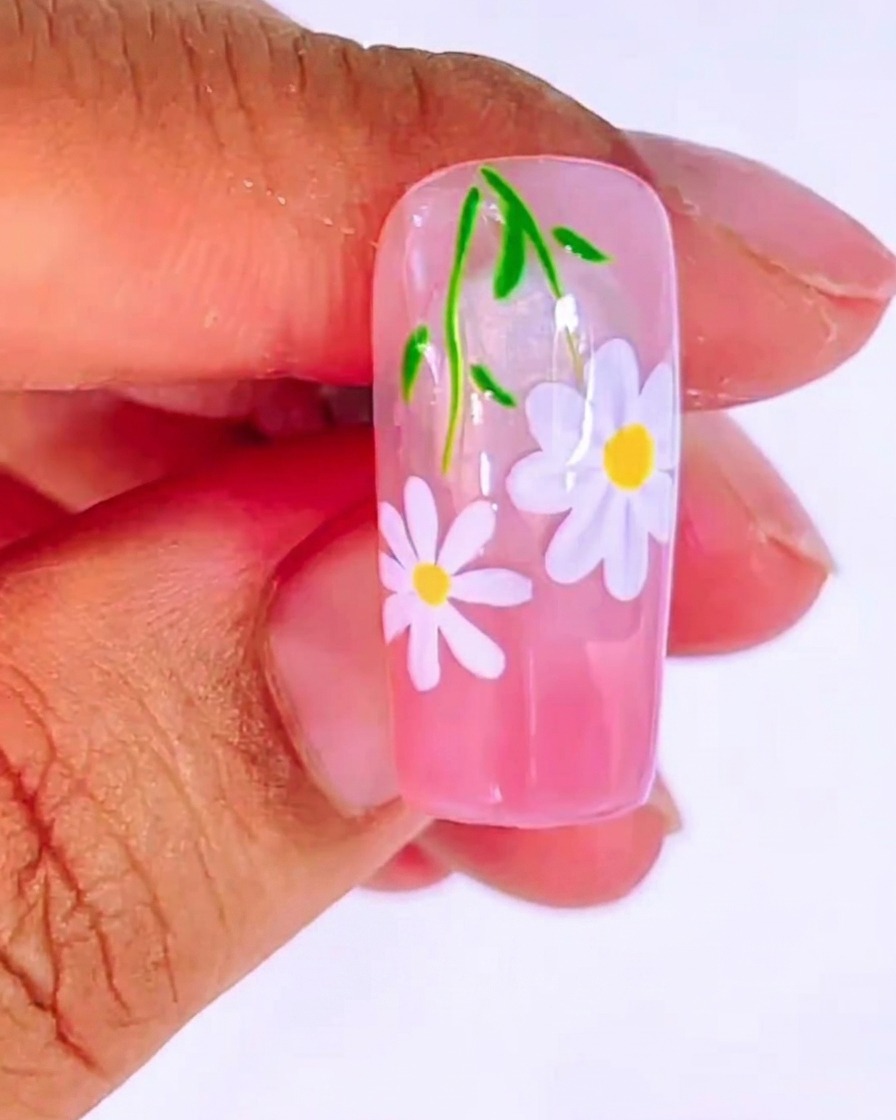
Begin by applying your chosen pink gradient base coat to the nail tip. Ensure the color is blended smoothly to create a soft, even background for your floral design, then cure as required.
Tip: Keep the base layer thin to ensure it cures properly and provides a smooth surface for painting. - 2Create a guide for the daisy
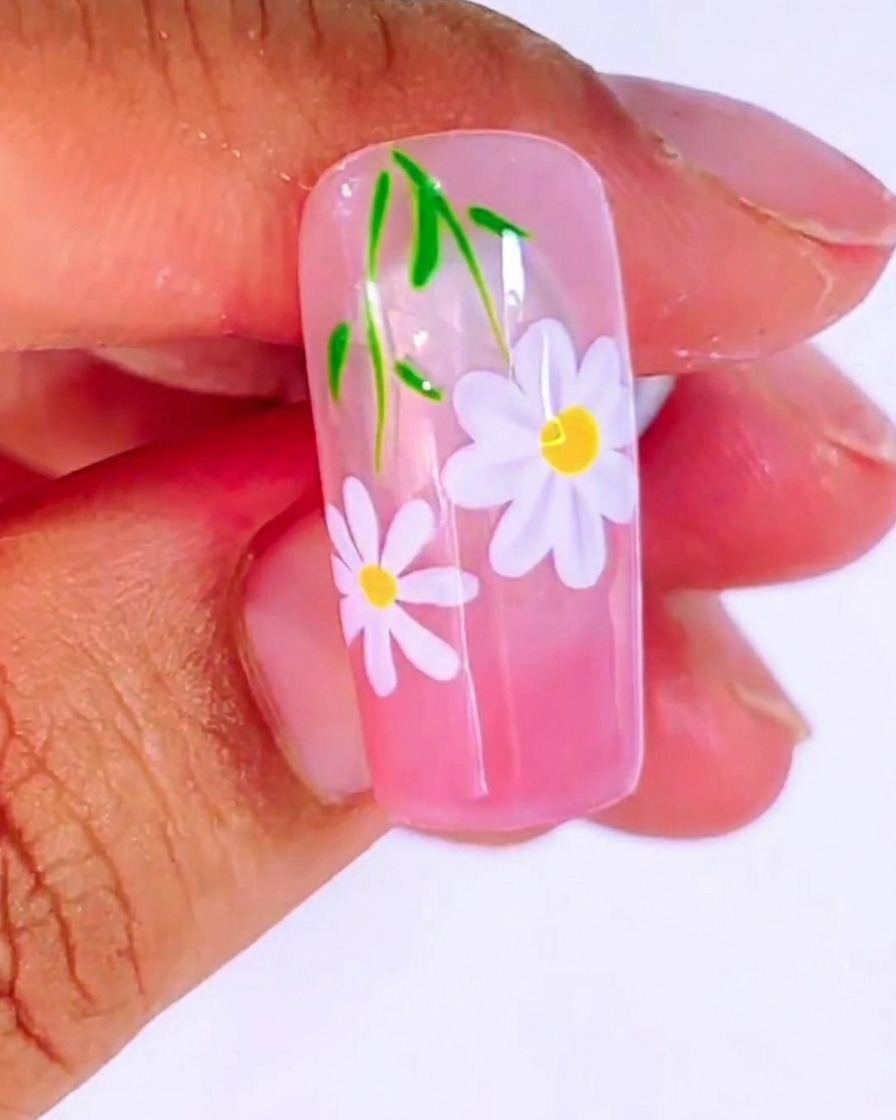
Using a thin liner brush and white gel, paint a small star or asterisk (米 shape) on the nail. This will act as a structural guide to ensure your daisy petals are evenly spaced and perfectly centered.
Tip: Use a light touch with your liner brush to keep the guide lines delicate and easy to cover later. - 3Paint the daisy petals
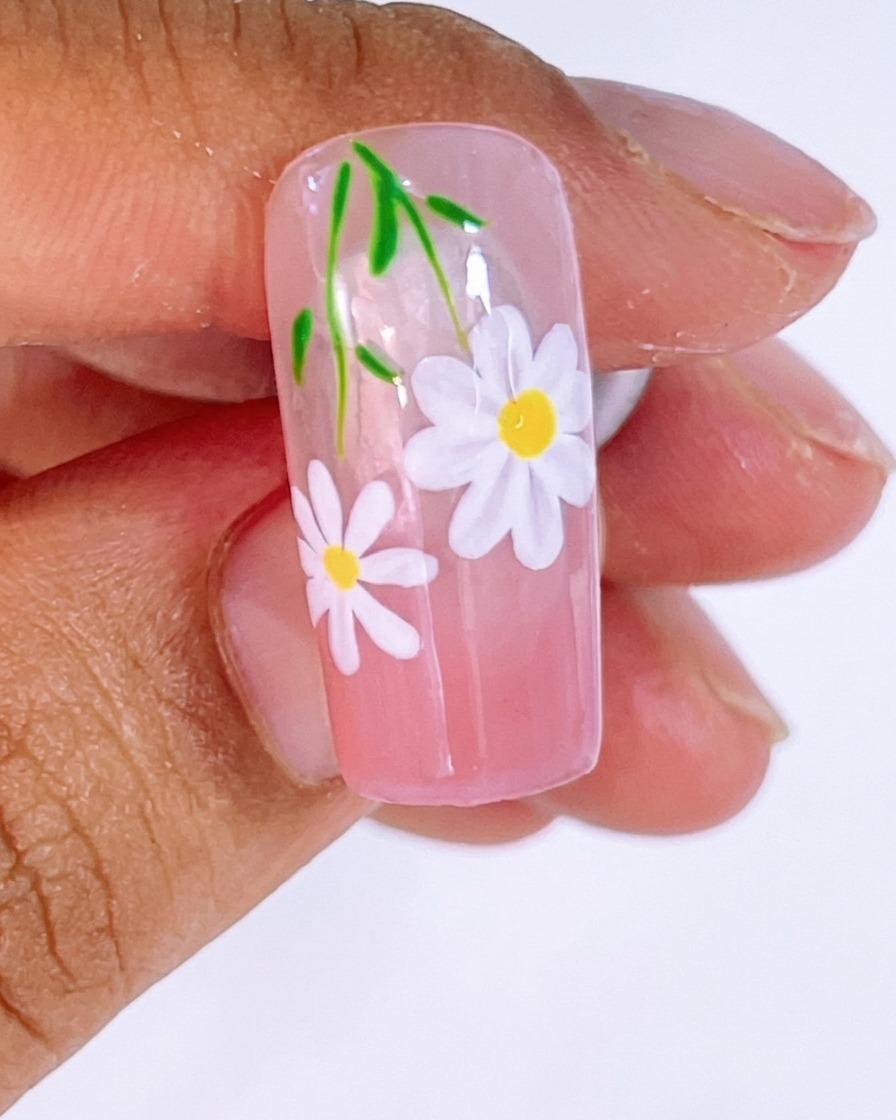
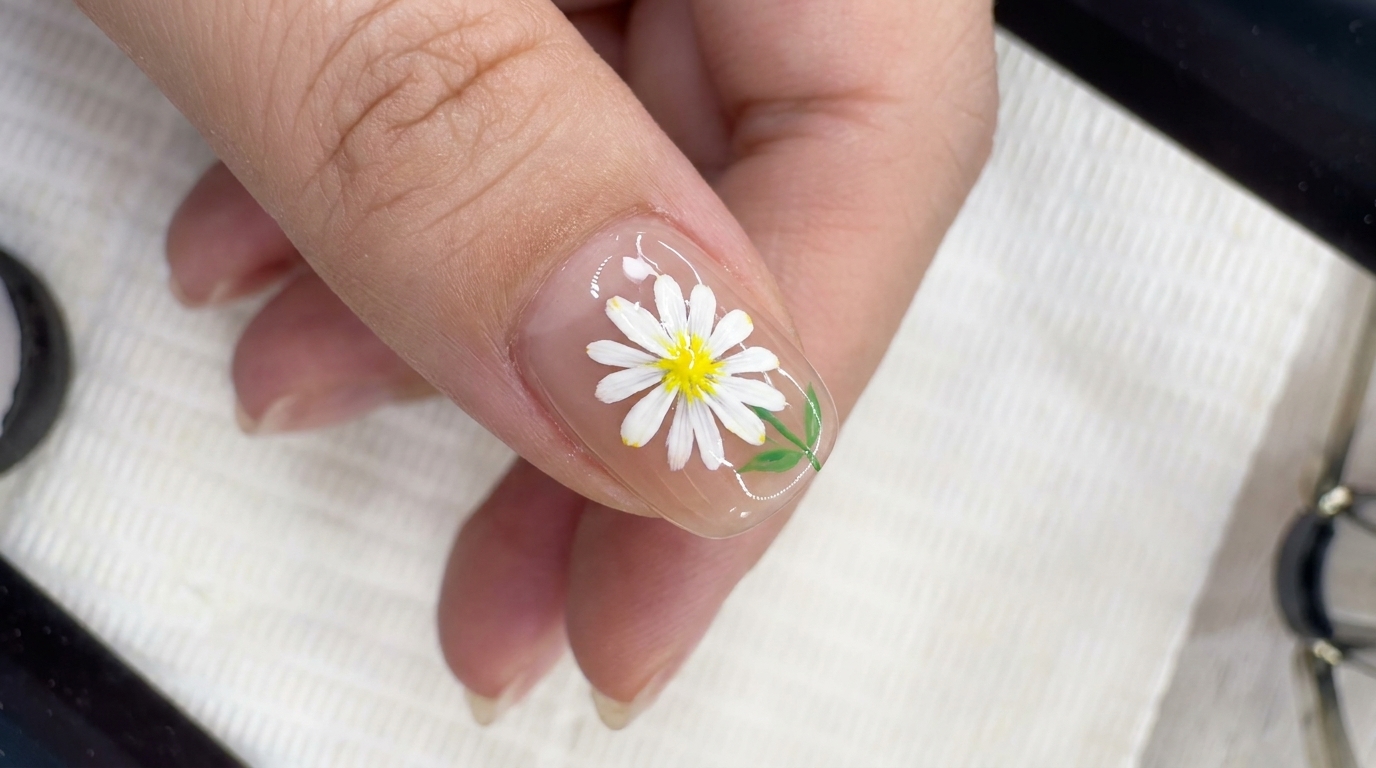
Using your liner brush and white gel, carefully draw petals following the 米 guide you previously created. Focus on pressing and lifting the brush to create each petal, ensuring they all meet at the center point.
Tip: Rotate the nail tip as you work to reach the best angles for each petal. - 4Cure the petals
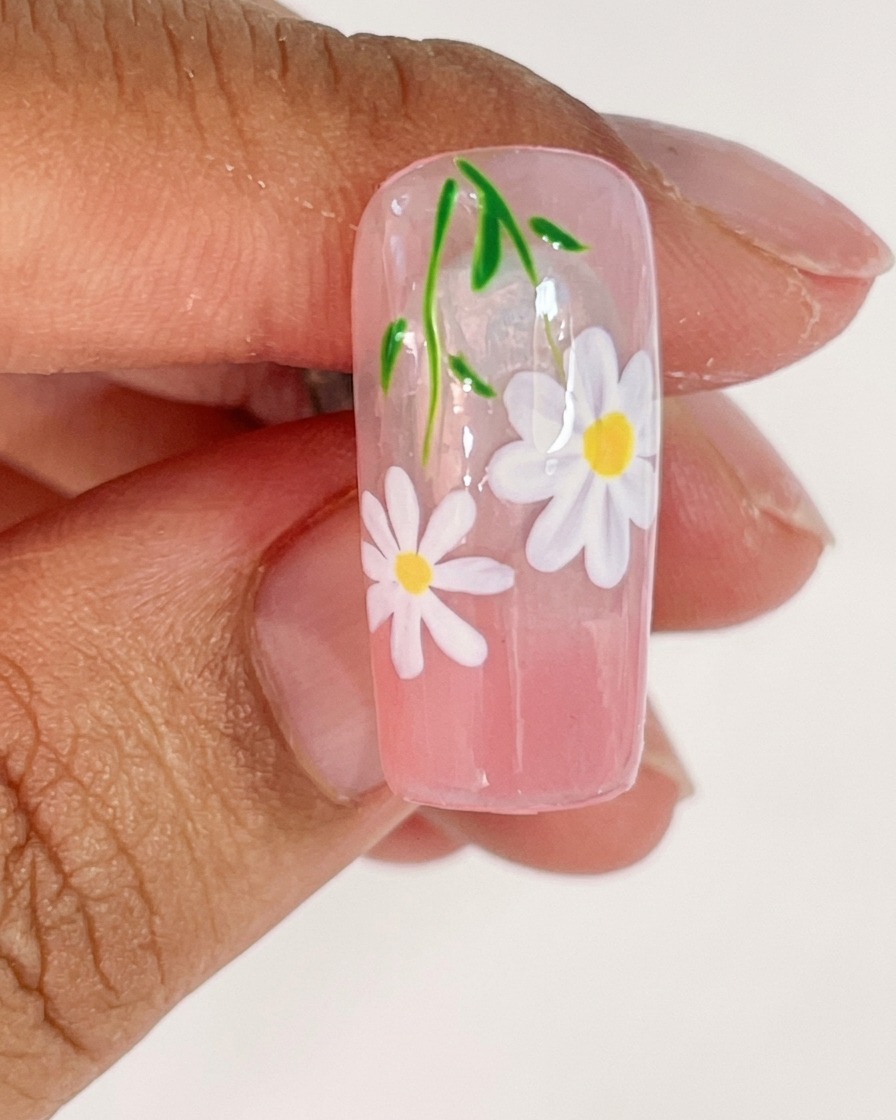
Once you are satisfied with the shape and placement of the daisy petals, place the nail tip under your UV lamp. Cure for the recommended time to ensure the gel is fully set before proceeding to the next step.
Tip: Ensure the nail is positioned directly under the light for an even cure. - 5Add the daisy center
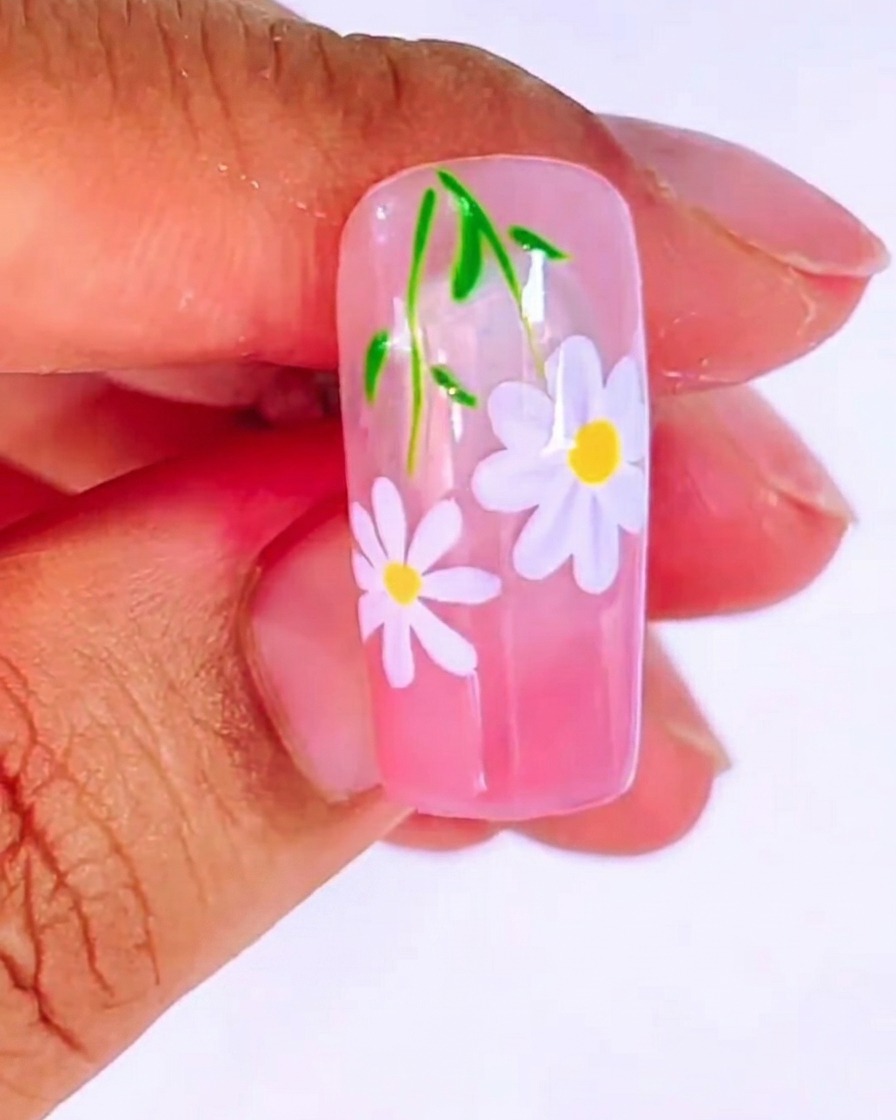
Take a dotting tool and a small amount of yellow gel to place a dot directly in the center of your daisy. This adds the finishing touch to the flower design.
Tip: Use a small dotting tool for more control over the size of the center. - 6Prepare for a second flower
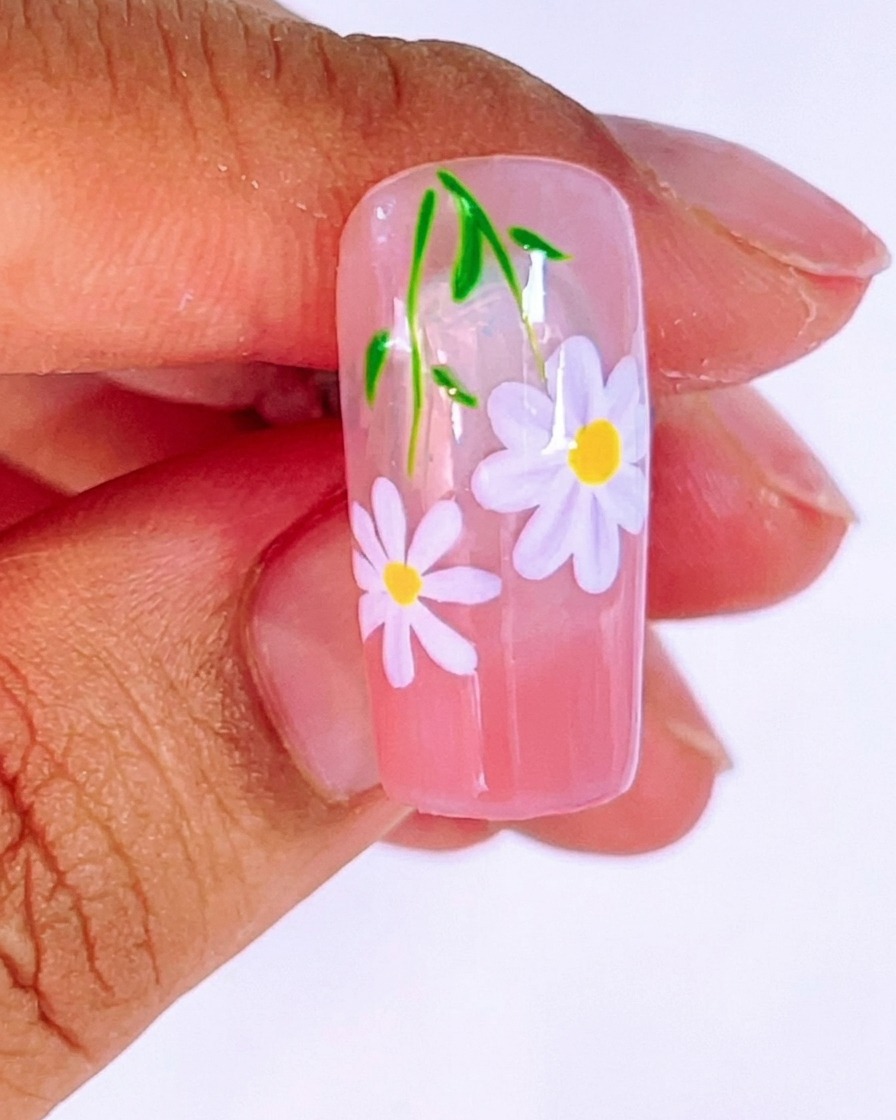
Repeat the initial process by painting a new 米 guide for a second, smaller daisy on the lower portion of the nail. Follow this by applying the petals and center as you did for the first flower.
Tip: Varying the size of your flowers adds dimension and visual interest to the design. - 7Paint the second daisy
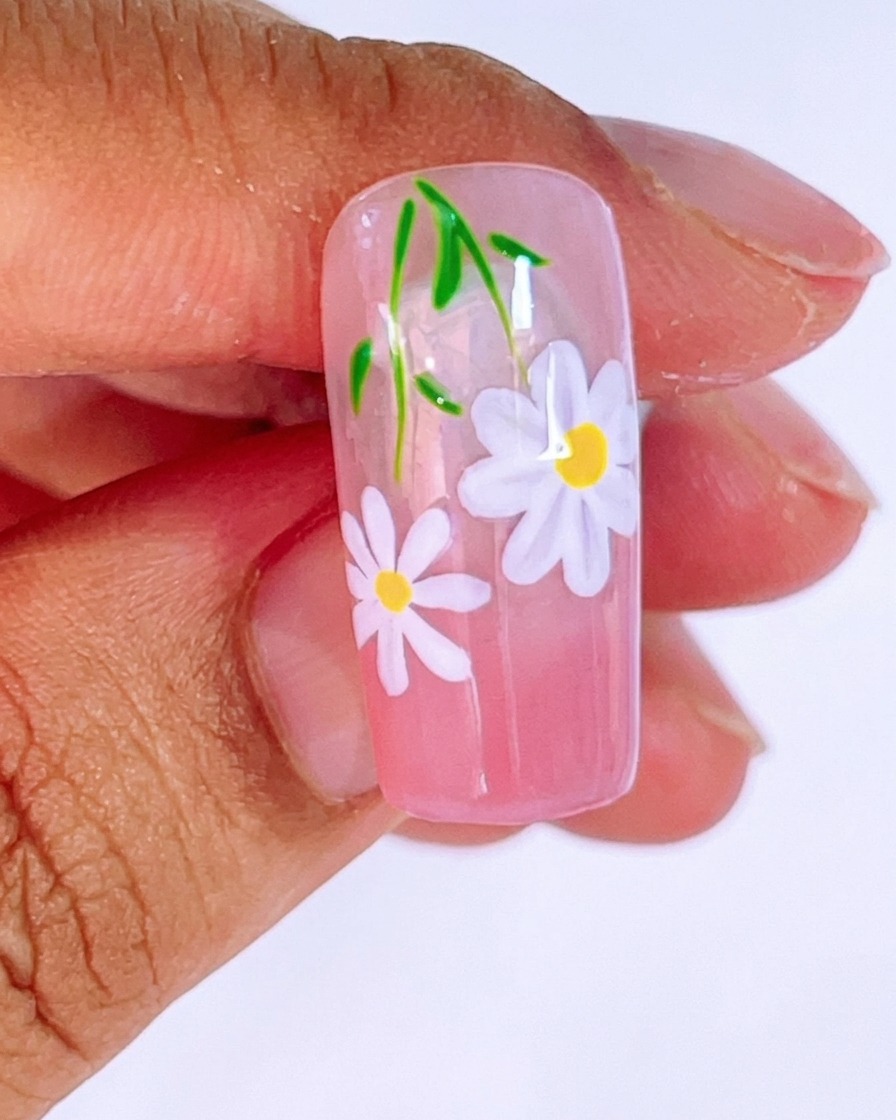
Using your liner brush and white color gel, paint the petals for the smaller daisy nearby. Follow the same technique of pressing and lifting the brush so that each petal point converges at a single center point. This smaller flower adds balance to the overall design.
Tip: Vary the size of your daisies to create a more natural and artistic composition on the nail. - 8Cure and add center dot
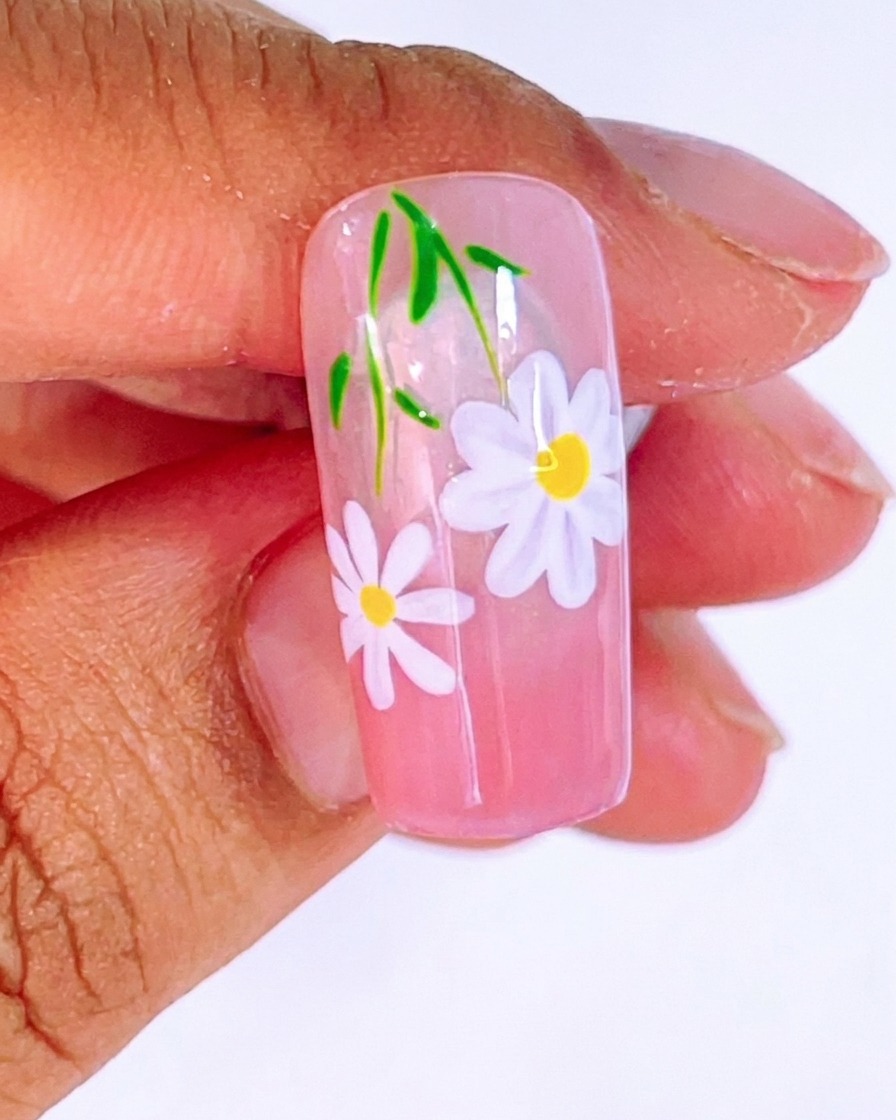
Once the petals for the second daisy are painted, cure the nails briefly under the UV lamp to set the gel. Use a dotting tool with yellow gel to create a bright center for the flower, then cure again to ensure all layers are fully set.
Tip: Ensure the yellow dot is perfectly centered between the petals for a clean, professional finish. - 9Paint stems and leaves
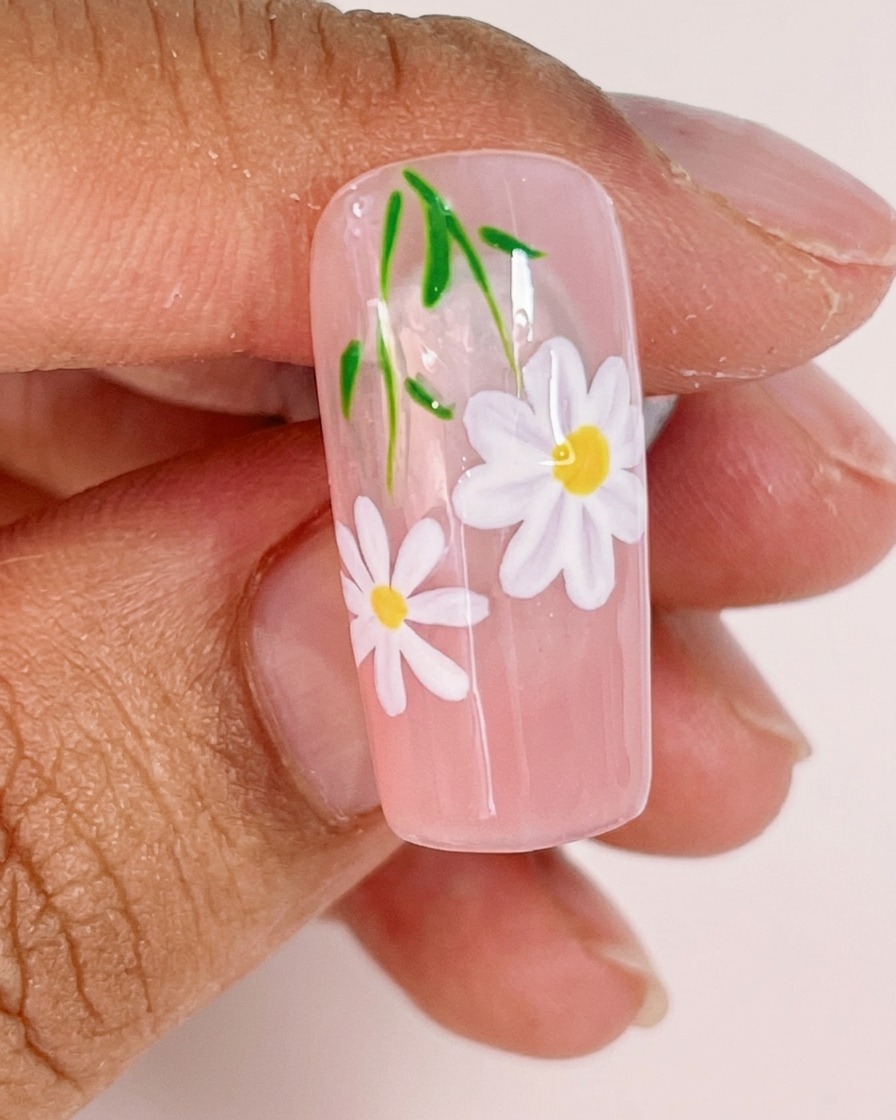
Using a thin liner brush and green gel, draw delicate stems connecting your daisies. You can begin the stem directly from the cuticle area. Add small, thin leaves along the stems to enhance the floral look.
Tip: Keep your green lines very thin to ensure the design looks delicate and intricate rather than bulky. - 10Cure stems and leaves
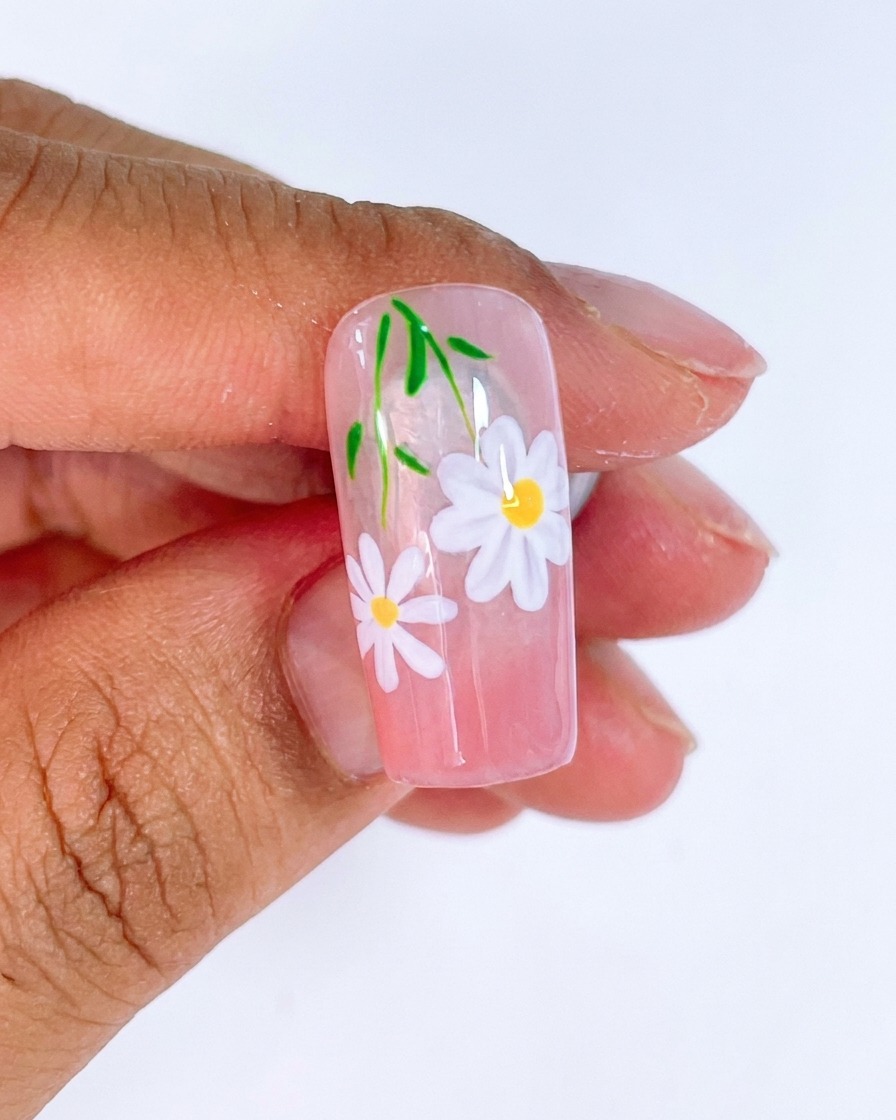
Place your nails under the UV lamp to cure the freshly painted green stems and leaves. Proper curing at this stage ensures that the fine details of your artwork remain crisp and do not smudge before the top coat application.
Tip: Even though these are thin lines, ensure they are fully cured to prevent any color bleeding when applying the top coat. - 11Apply top coat
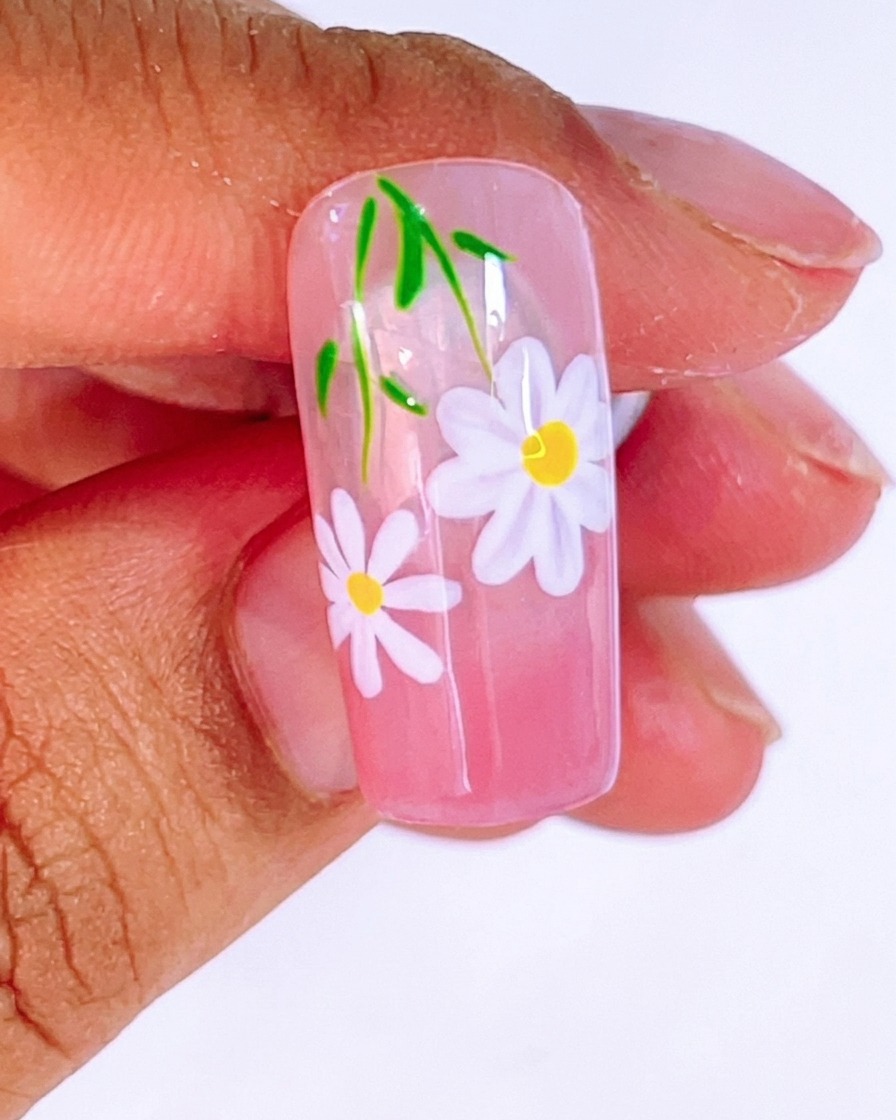
Apply a generous layer of clear top coat over the entire nail design. This step seals your artwork, protects the paint from chipping, and provides a smooth, glossy finish that makes the colors pop.
Tip: Be careful not to overwork the top coat over the painted details to avoid smearing your design. - 12Final cure
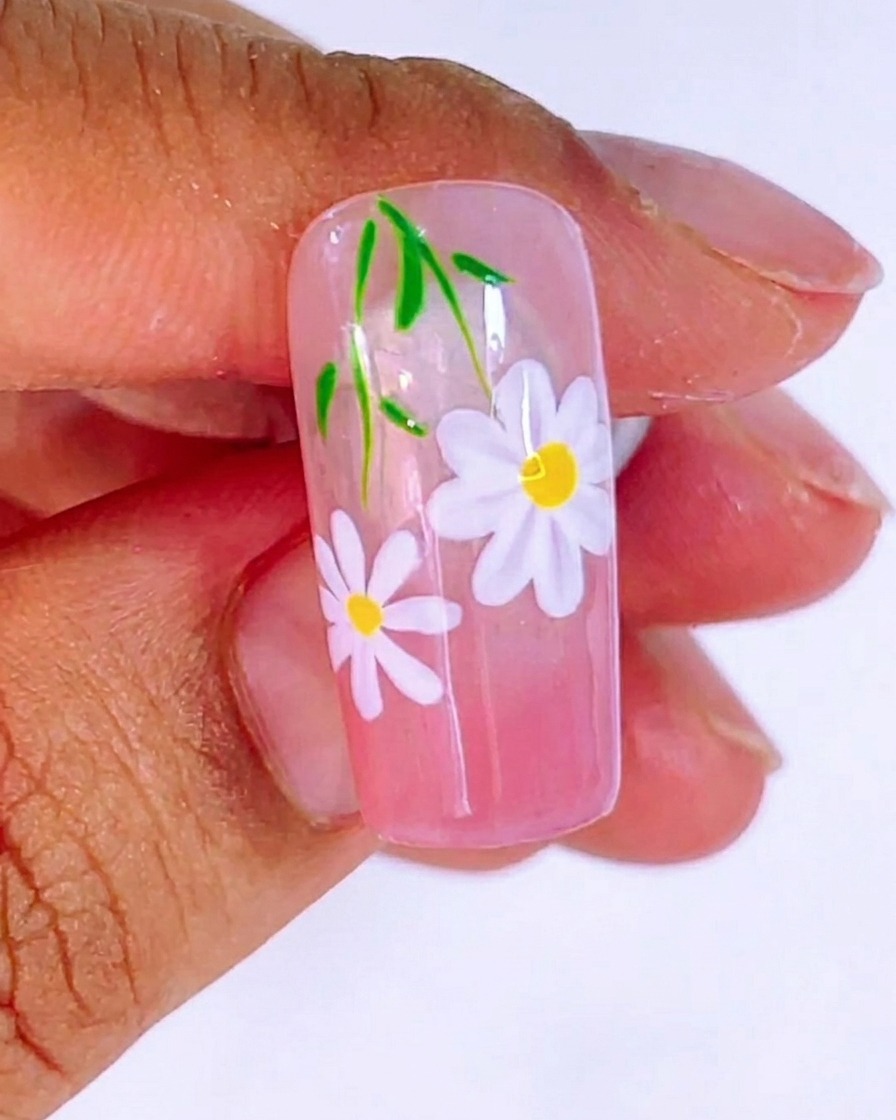
Place the nail in the UV lamp and cure for a full 120 seconds. This final, extended cure time ensures the top coat is completely hardened and that your beautiful daisy nail art is durable and ready to wear.
Tip: Do not rush this final cure; a full 120 seconds is necessary for most top coats to reach maximum hardness and shine.