Floral Daisy Gel Nail Art — Step-by-Step Tutorial
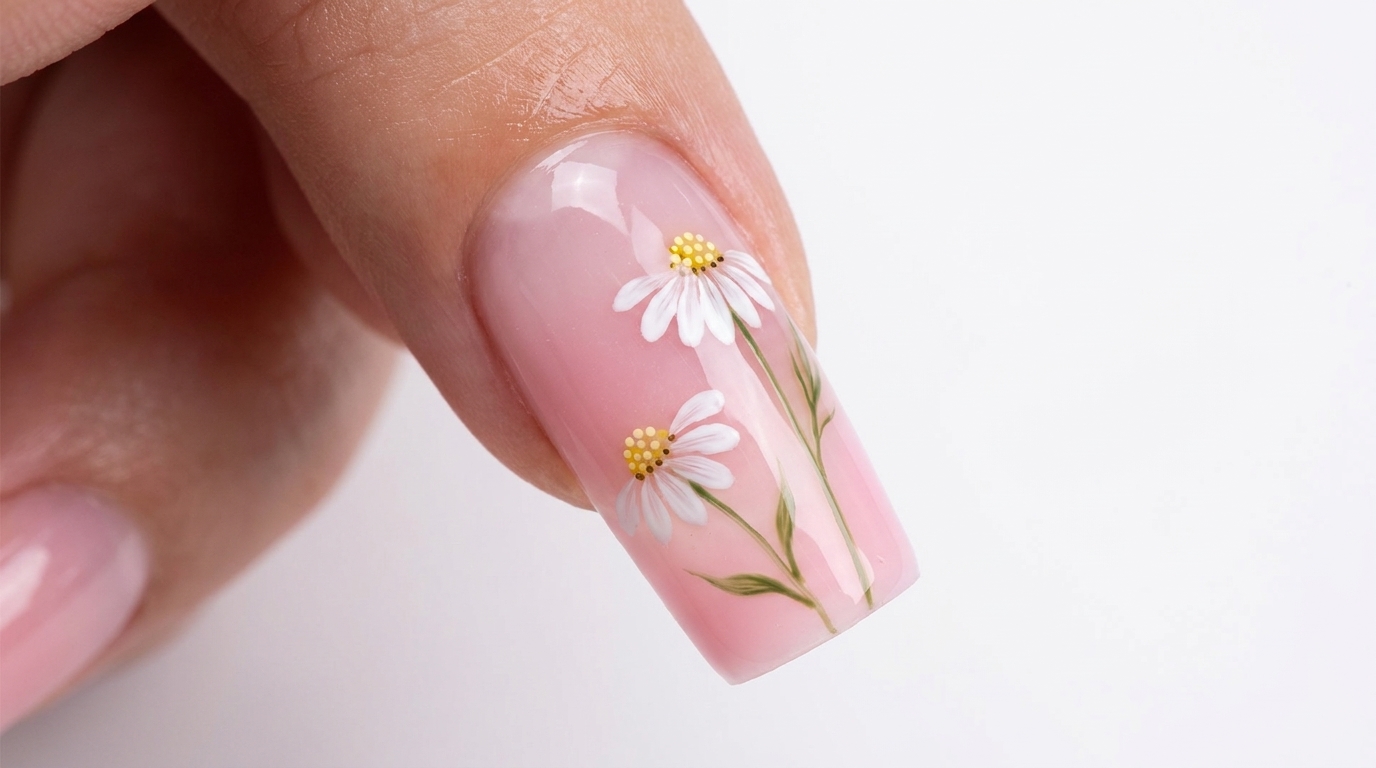
Create a charming, fresh look with our daisy floral nail art tutorial. Learn to layer petals and add delicate leaves for a professional 3D-inspired finish.
Floral designs are a timeless choice that brings a touch of nature to your manicure. This daisy-inspired look combines clean white petals with subtle green accents, creating a fresh and sophisticated aesthetic. Perfect for those who love detailed yet soft nail art, this tutorial will guide you through the process of layering and defining each element for a beautiful result.
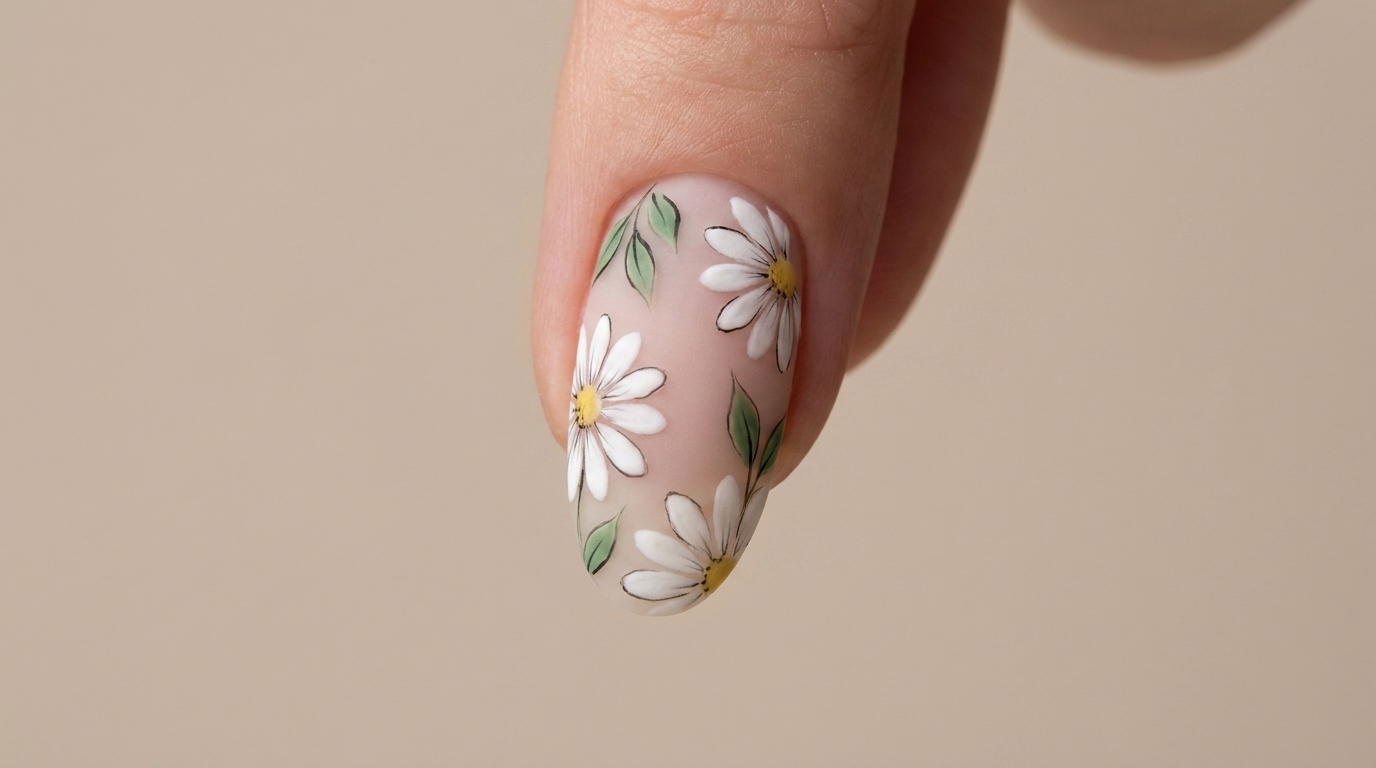
Steps
- 1Apply first layer of daisy petals
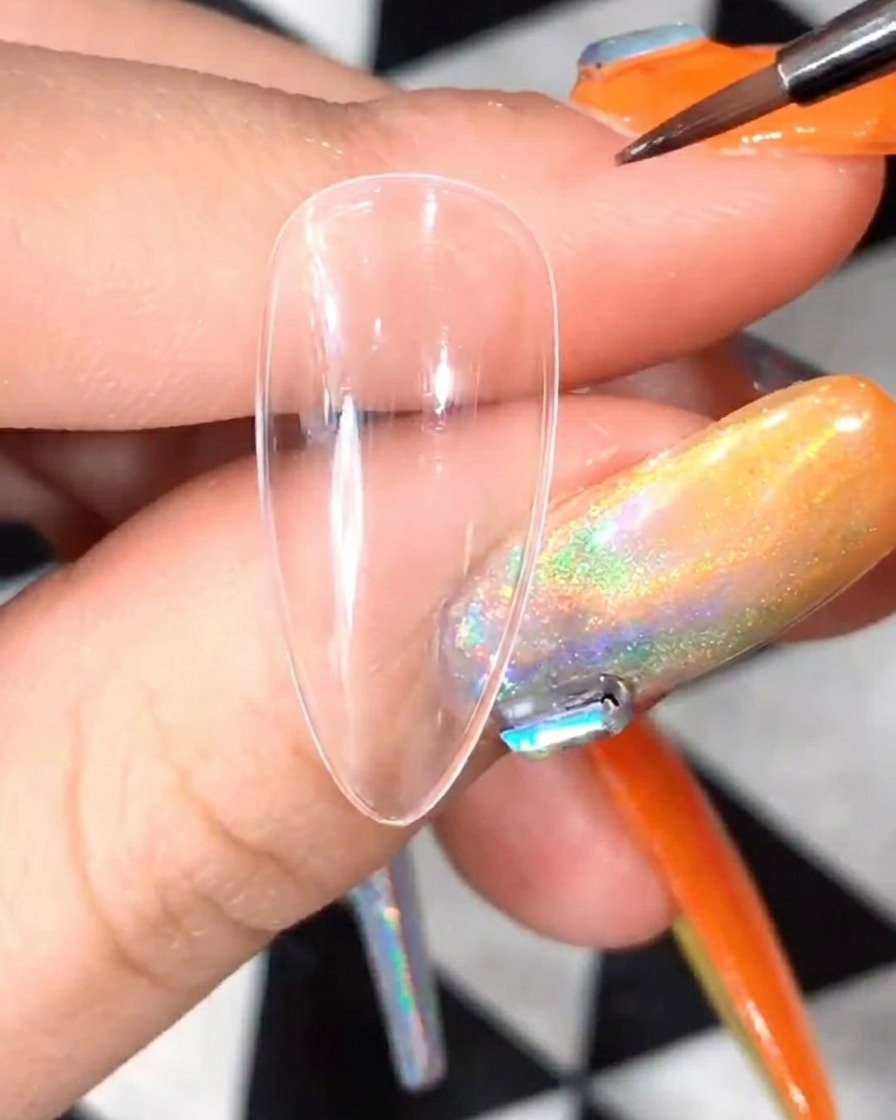
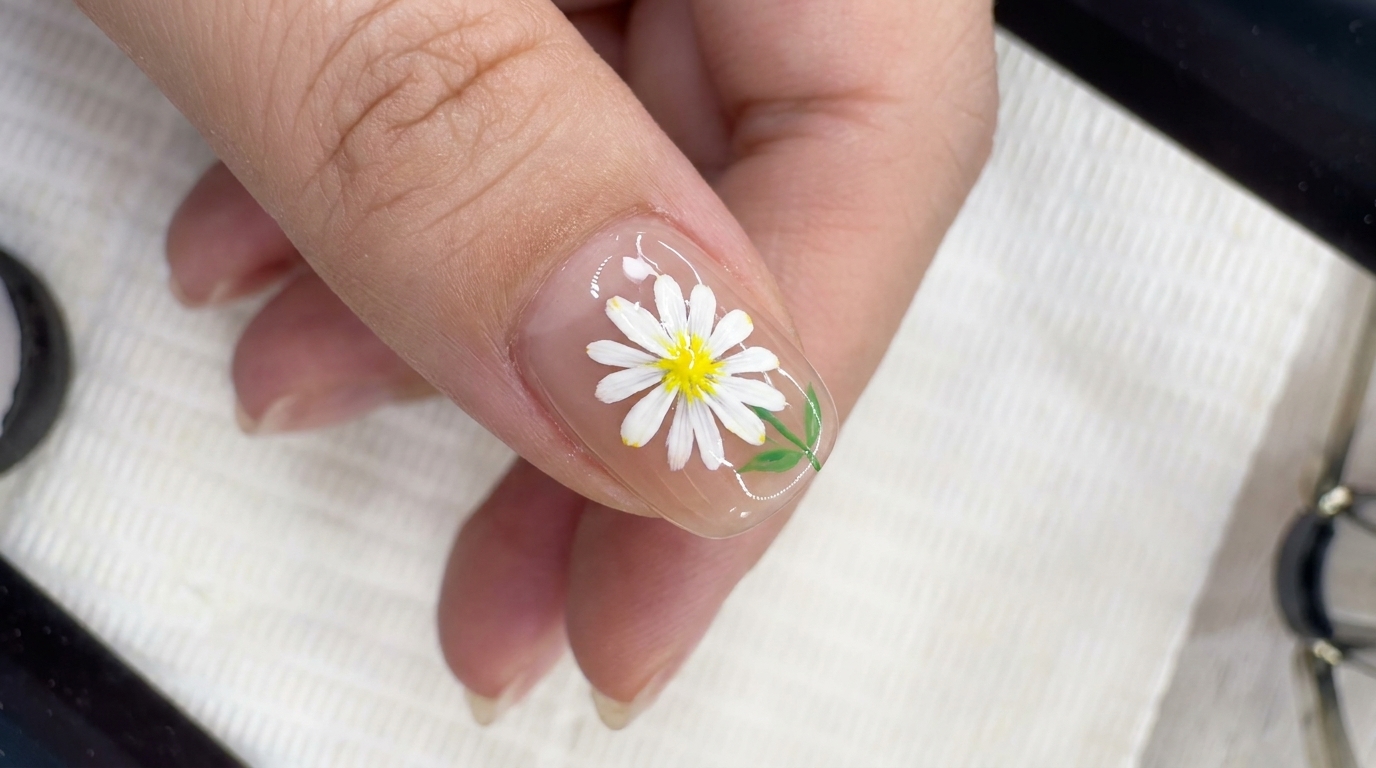
Using a detail brush and white gel, paint the first set of daisy petals onto the nail. Carefully form the petals by pulling the gel from the center outwards to create a natural, delicate shape. Ensure the strokes are smooth to prepare for a clean, professional design.
Tip: Keep your brush strokes light and steady to ensure the petals look soft and consistent. - 2Cure the first layer
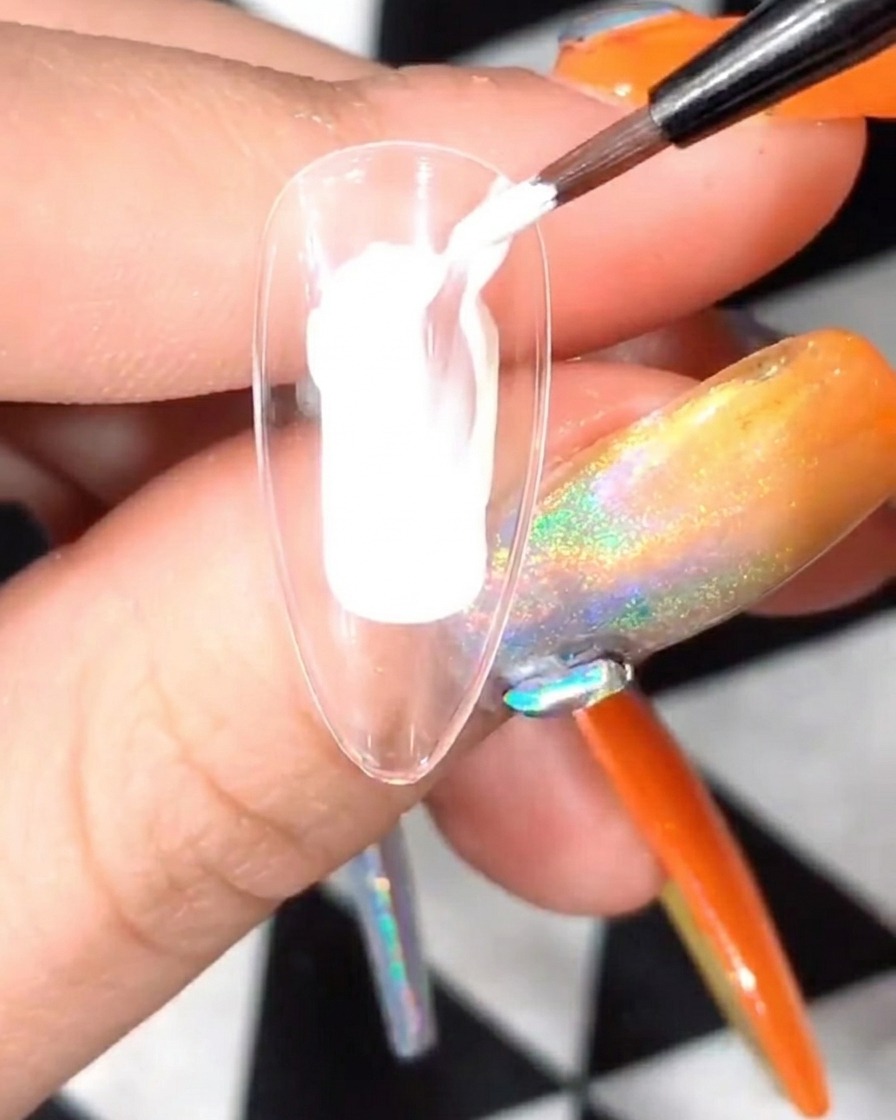
Place the nail under a UV/LED lamp to cure the first layer of white petals. Follow the recommended curing time for your specific gel product to ensure the design is fully set and ready for the next layer.
Tip: Make sure the nail is placed directly under the lamps light source for an even cure. - 3Apply clear gel for depth
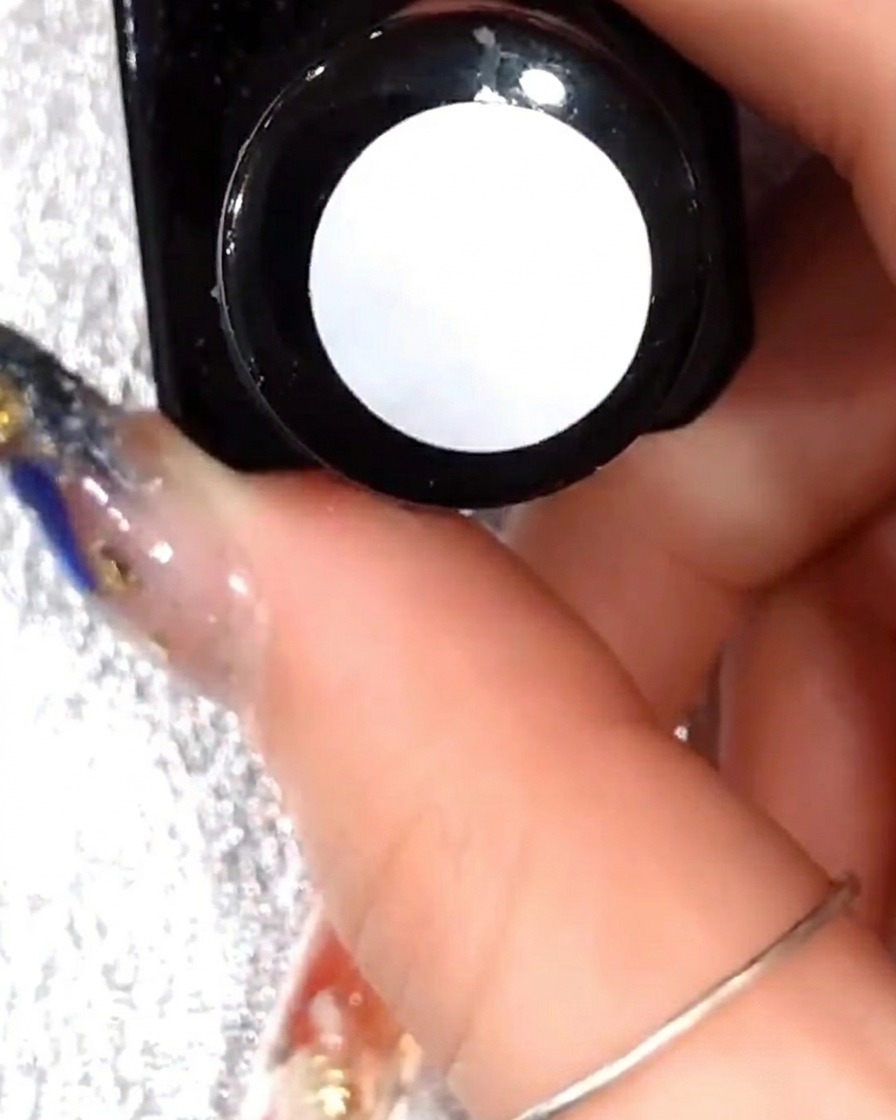
After the first layer of petals is cured, apply a thin layer of clear gel over the entire design. This adds dimension and depth to the daisy art, making the final look more realistic and layered.
Tip: Use a light hand to avoid creating bubbles in the clear gel layer. - 4Paint the second layer of petals
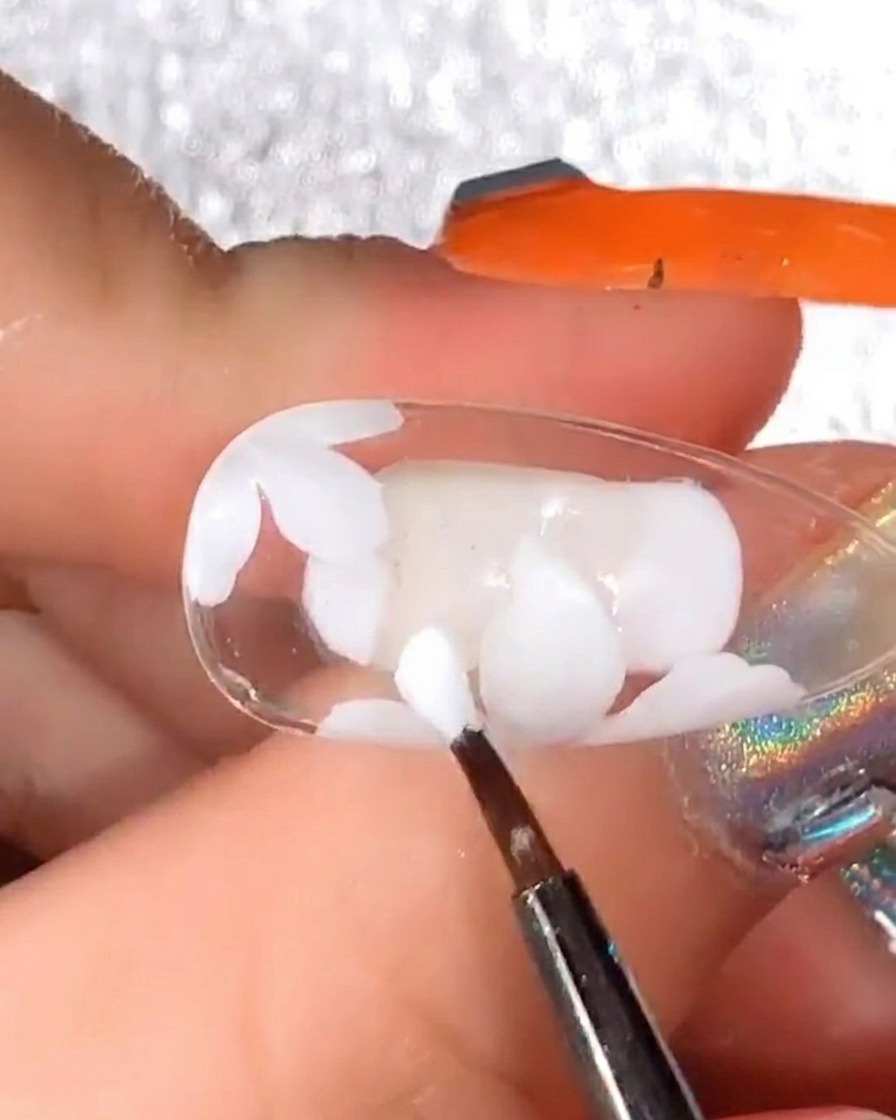
Using the same white gel, paint a second layer of petals directly over the previous ones. This layering technique enhances the white color and adds volume to the daisy, creating a beautiful 3D effect.
Tip: Slightly offset the second layer of petals from the first to create more complexity and a fuller flower look. - 5Add green leaves
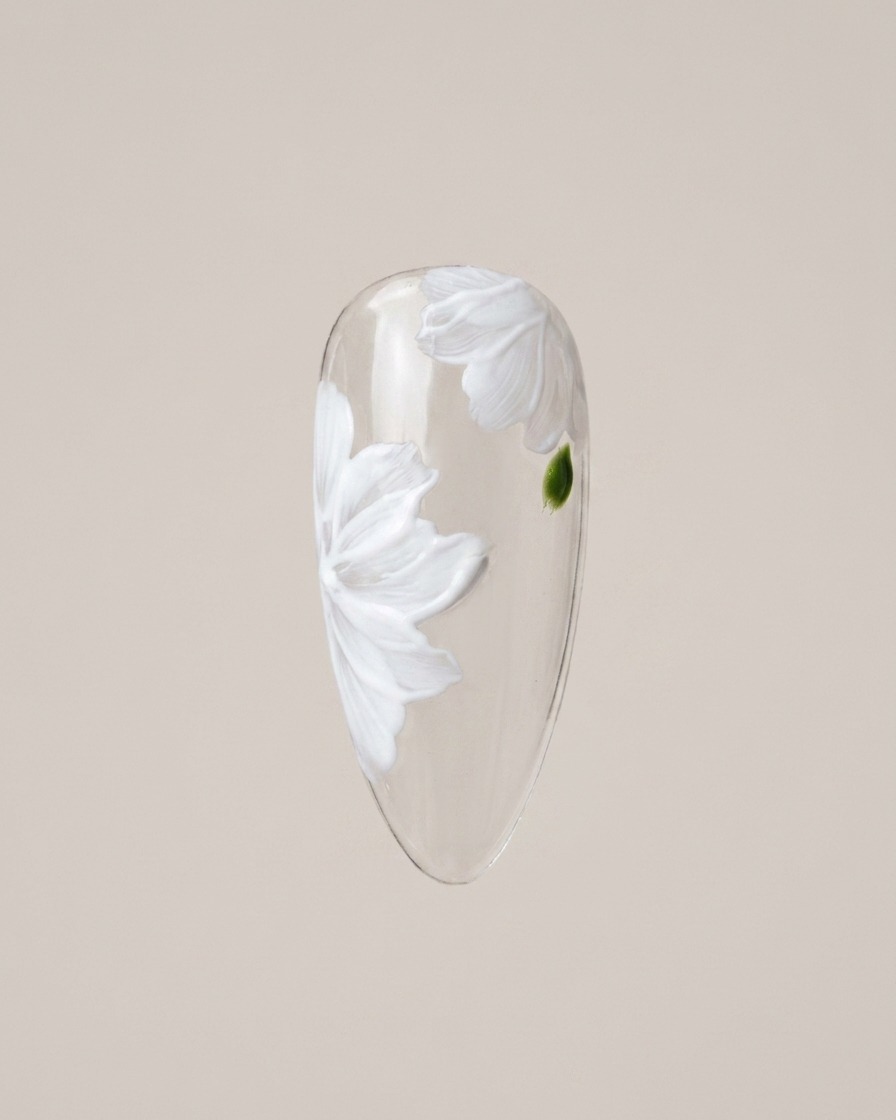
With a fine detail brush and green gel, paint small leaves nestled between the white petals. These green accents add a fresh, natural touch to the daisy design.
Tip: Keep the leaves small to ensure they complement rather than overpower the daisy petals. - 6Add the daisy center
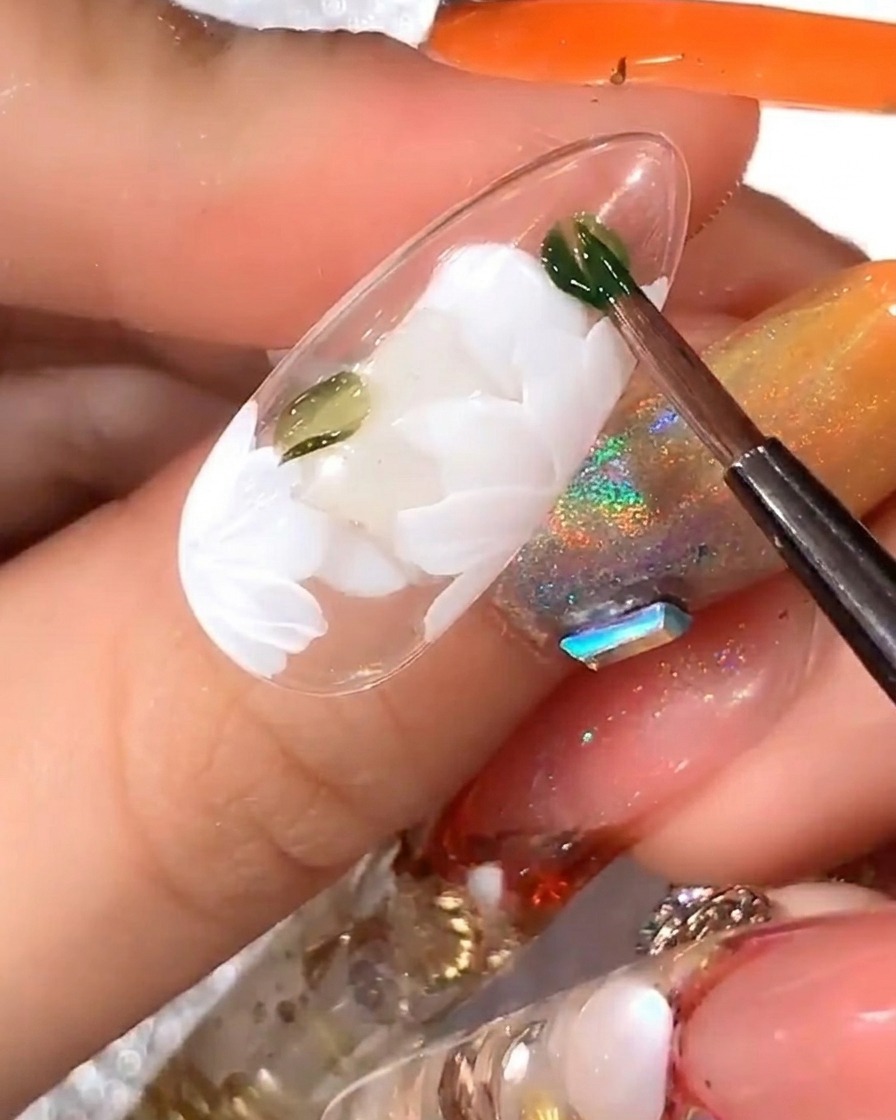
Finish the design by placing a small, precise yellow dot right at the center of your daisy petals. This creates the classic look of a fresh flower and completes the nail art.
Tip: Use a dotting tool or the tip of a fine brush for maximum precision when placing the center dot. - 7Outline the daisy petals
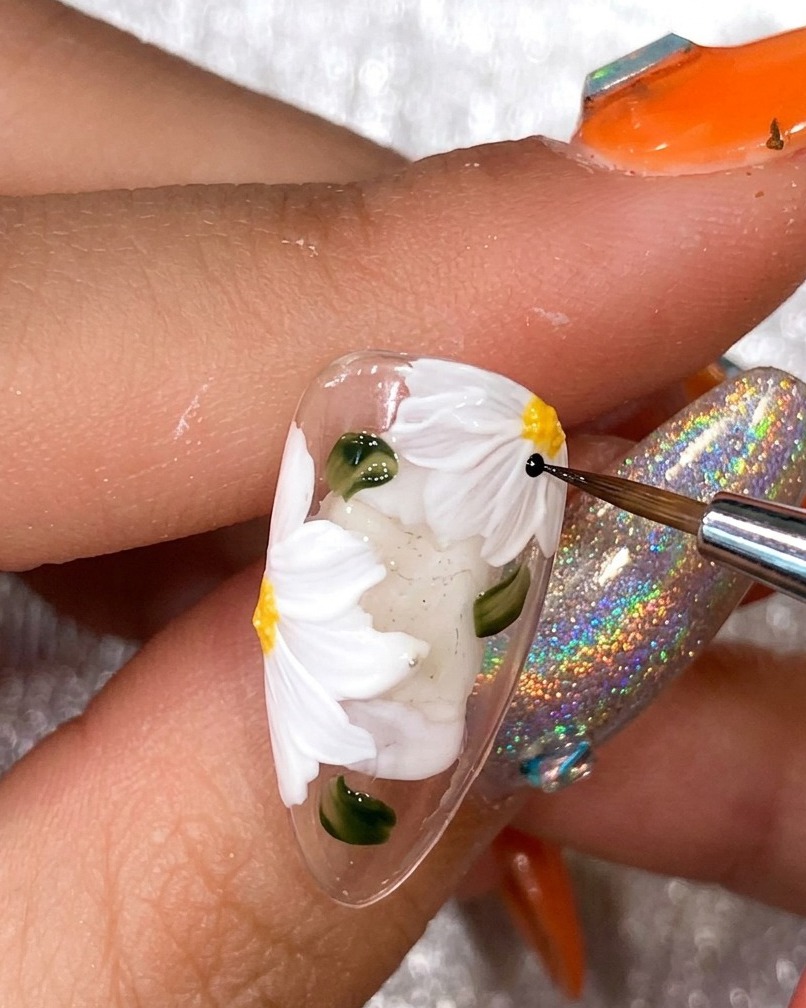
Using a thin liner brush with black gel, carefully outline the white daisy petals to add depth and definition. Work slowly to keep the lines clean and consistent around the edges of each petal. Cure briefly if needed to lock in the fine details before moving to the next step.
Tip: Keep your hand steady by resting your pinky on the table, and use a very light touch to prevent the lines from becoming too thick. - 8Apply yellow nail border
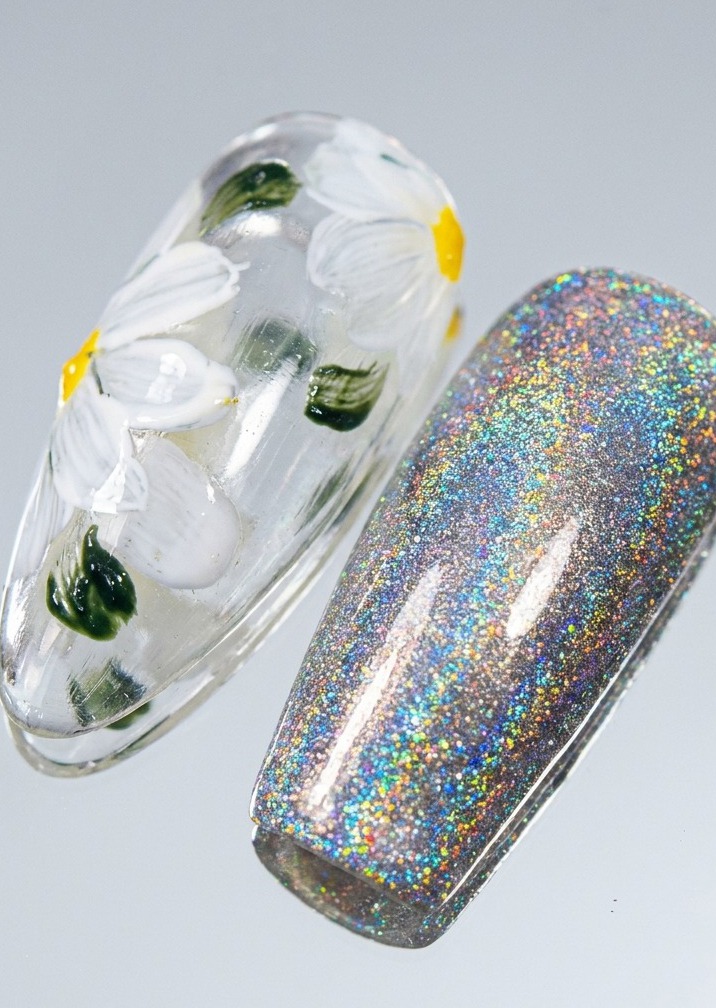
Using a thin brush, apply a delicate yellow line along the outer edge of the nail to frame the design. This creates a fresh, cohesive look that complements the floral elements. Ensure the line is even and follows the natural contour of the nail shape.
Tip: Use a highly pigmented yellow gel for a single-stroke, opaque line that doesnt require layering. - 9Apply matte top coat
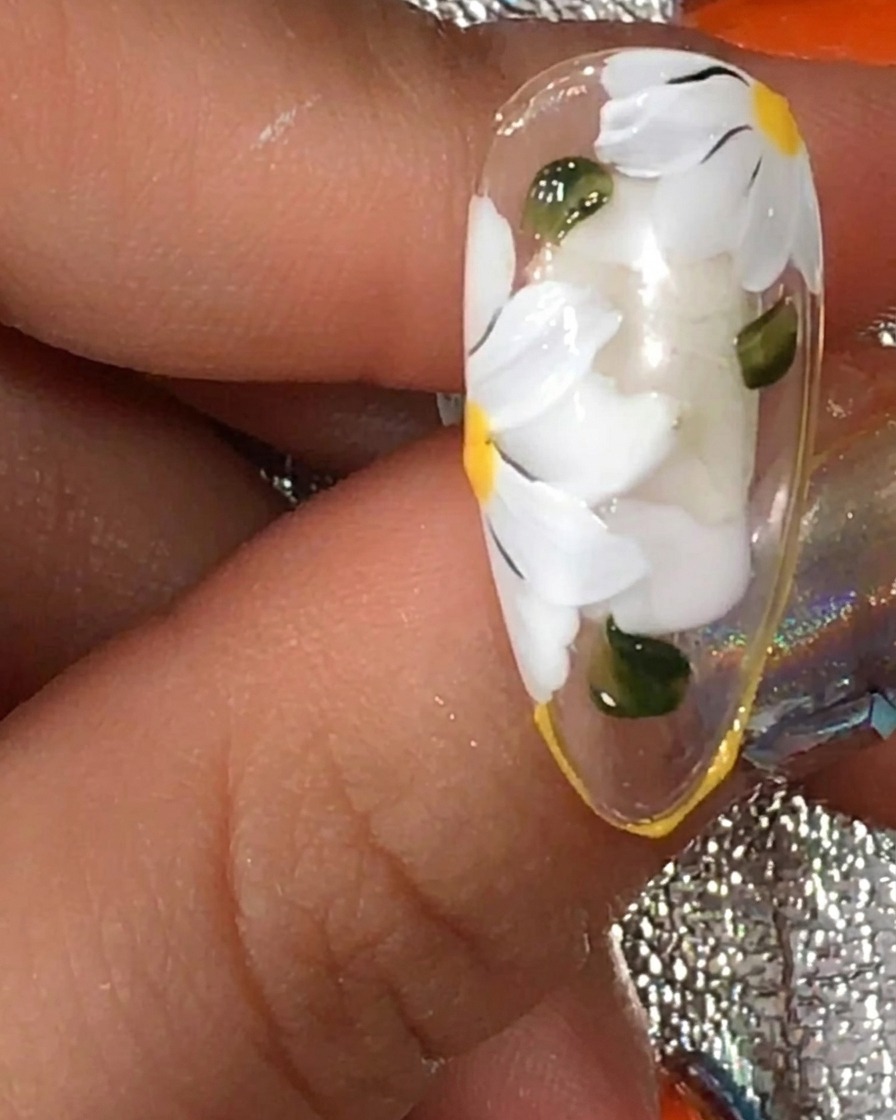
Apply an even layer of matte top coat over the entire nail to seal your daisy design. Ensure you cap the free edge for long-lasting wear and a smooth, professional finish. Cure under your UV or LED lamp as specified by the product instructions.
Tip: For a smooth matte finish, ensure you apply the top coat in a thin, controlled layer to avoid any streaks. - 10Add highlights to flower centers
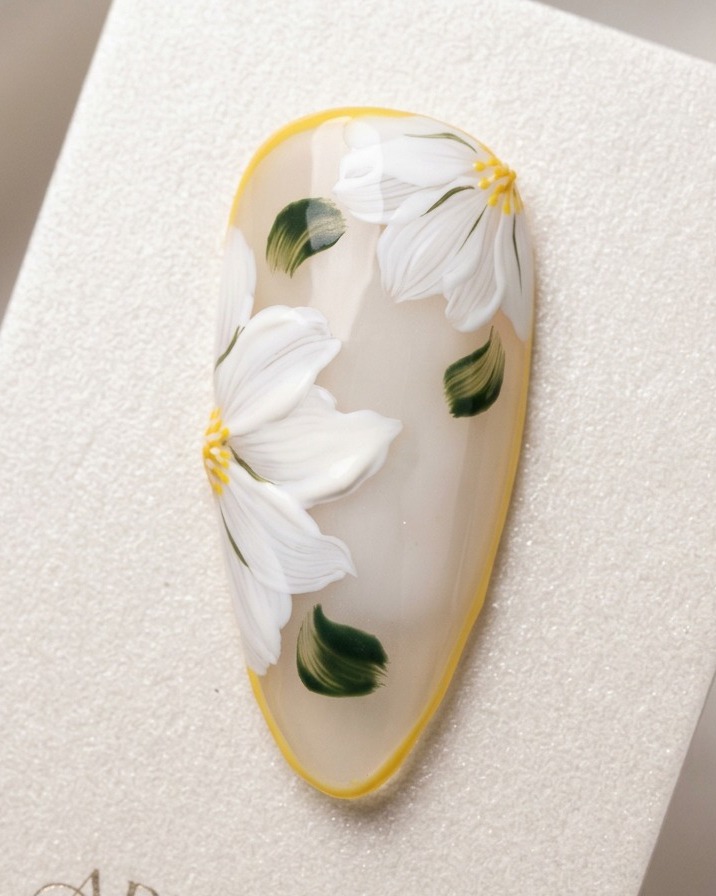
Using a dotting tool or the tip of a fine brush, apply a small, precise white dot to the center of each yellow flower core. This highlight adds a realistic dimension to the daisy centers. Take care to keep the dots uniform and centered for a polished look.
Tip: If the dot is too large, use a clean, dry brush to gently soften the edges before curing. - 11Final cure
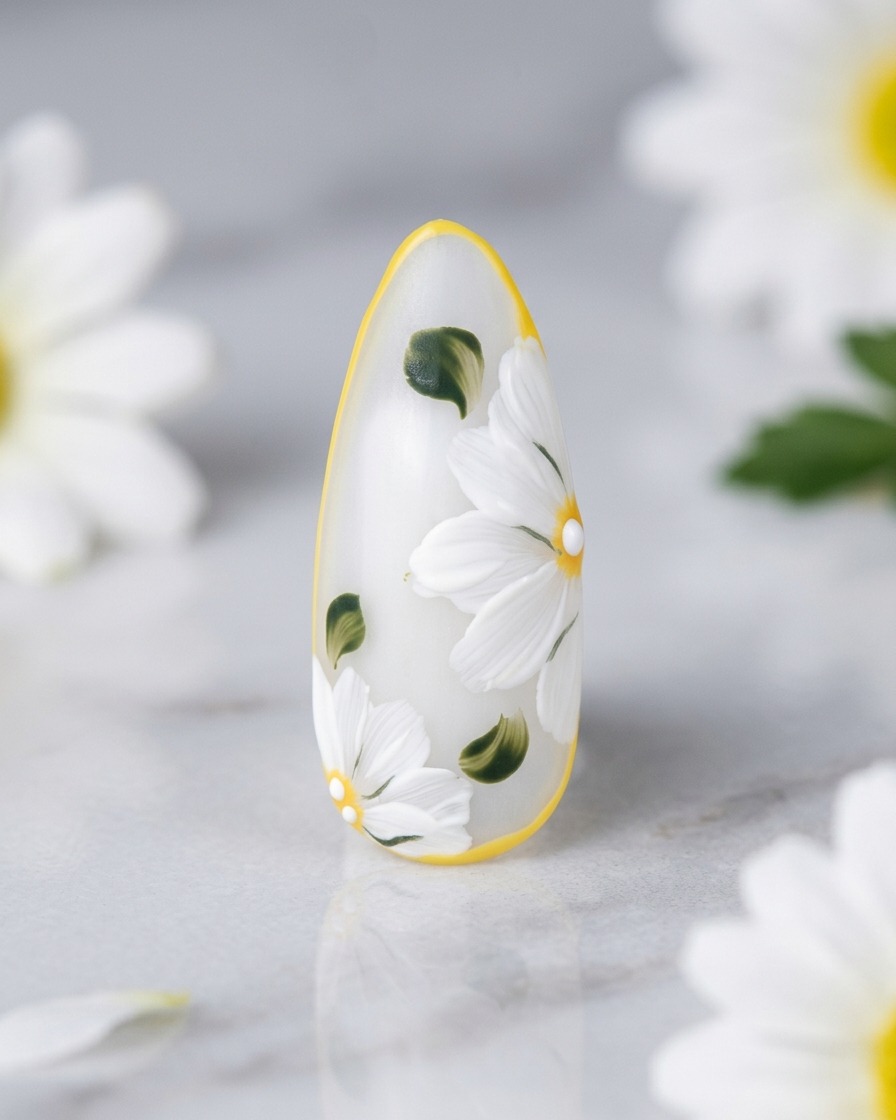
Place the nail under the UV or LED lamp for a final full cure. This ensures the matte top coat is completely set and provides a durable, long-lasting finish to the entire design.
Tip: Follow the curing time recommended by the manufacturer to ensure the matte finish is fully hardened and non-tacky.