How to Paint a Delicate Daisy
Your Nails — Step-by-Step Tutorial
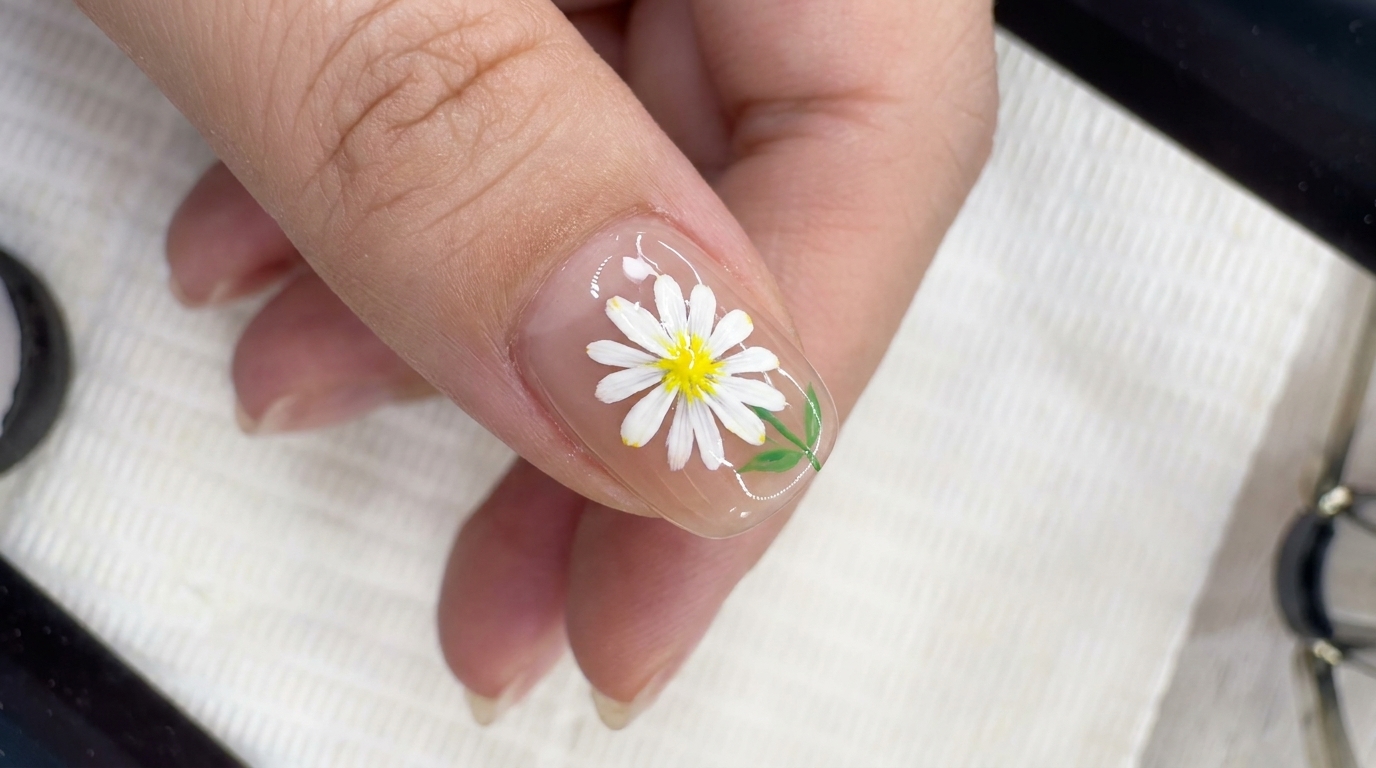
Master the art of the perfect daisy with this easy hand-painted gel tutorial. Learn the professional touch-press-lift technique for beautiful floral nails.
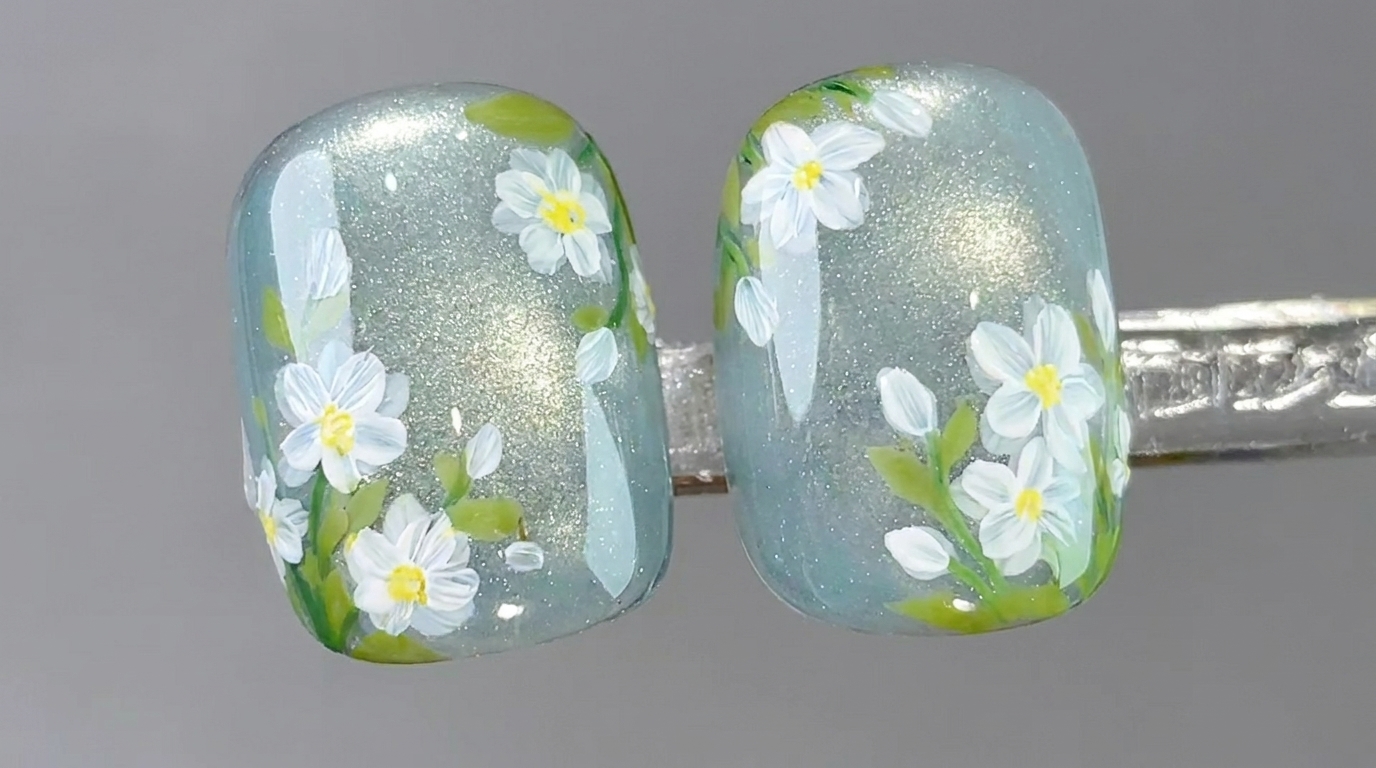
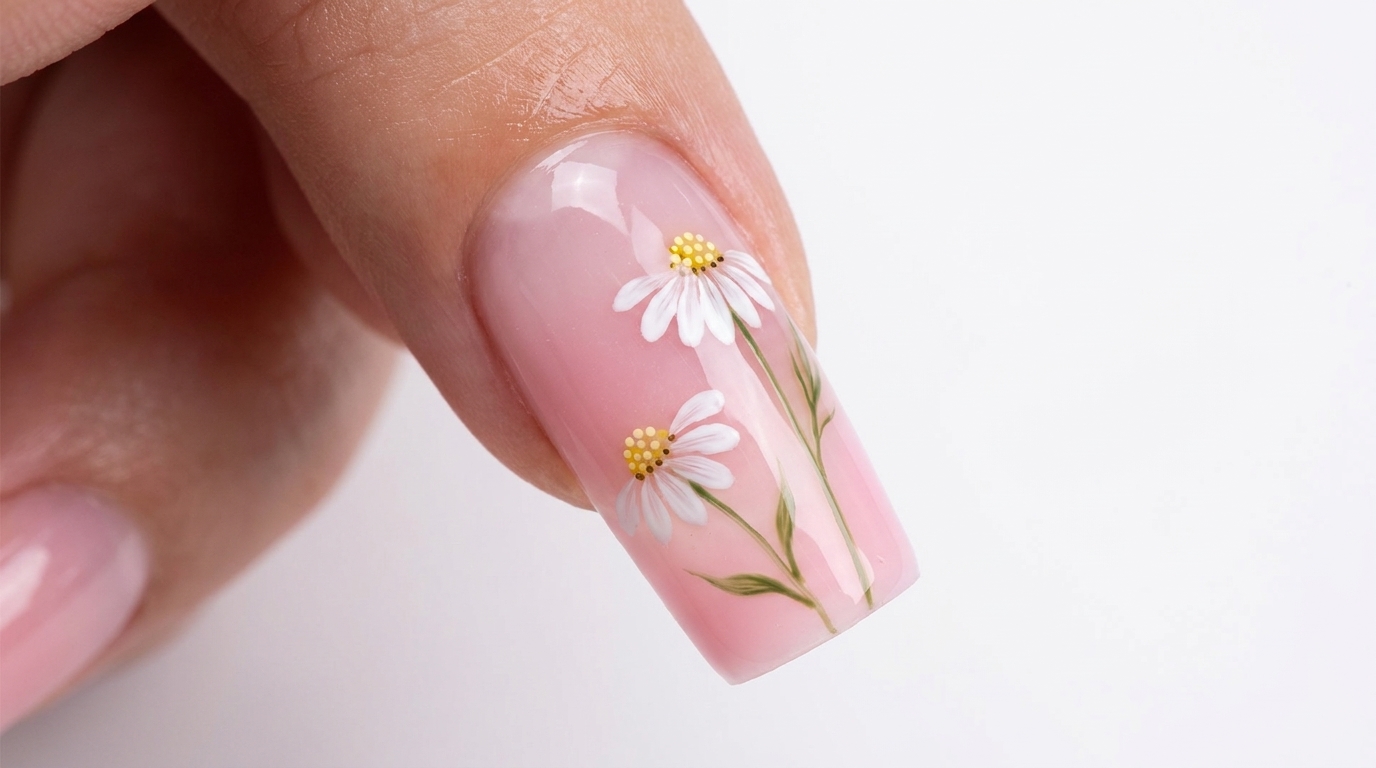
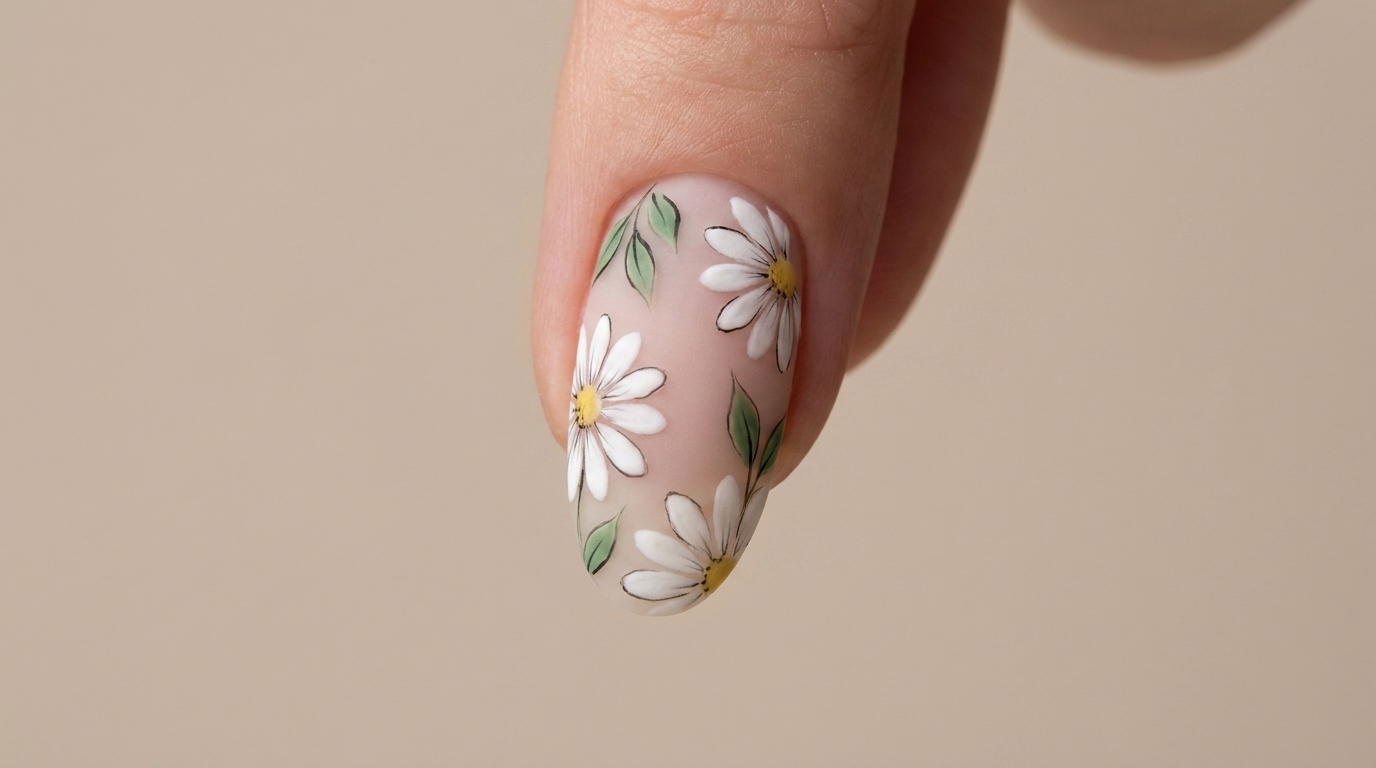
Floral nail art is a timeless choice, and a hand-painted daisy design brings a fresh, botanical charm to any manicure. This tutorial guides you through creating a delicate, professional-looking daisy using simple brush techniques that are perfect for both beginners and experienced nail enthusiasts.
Steps
- 1Guide the daisy placement
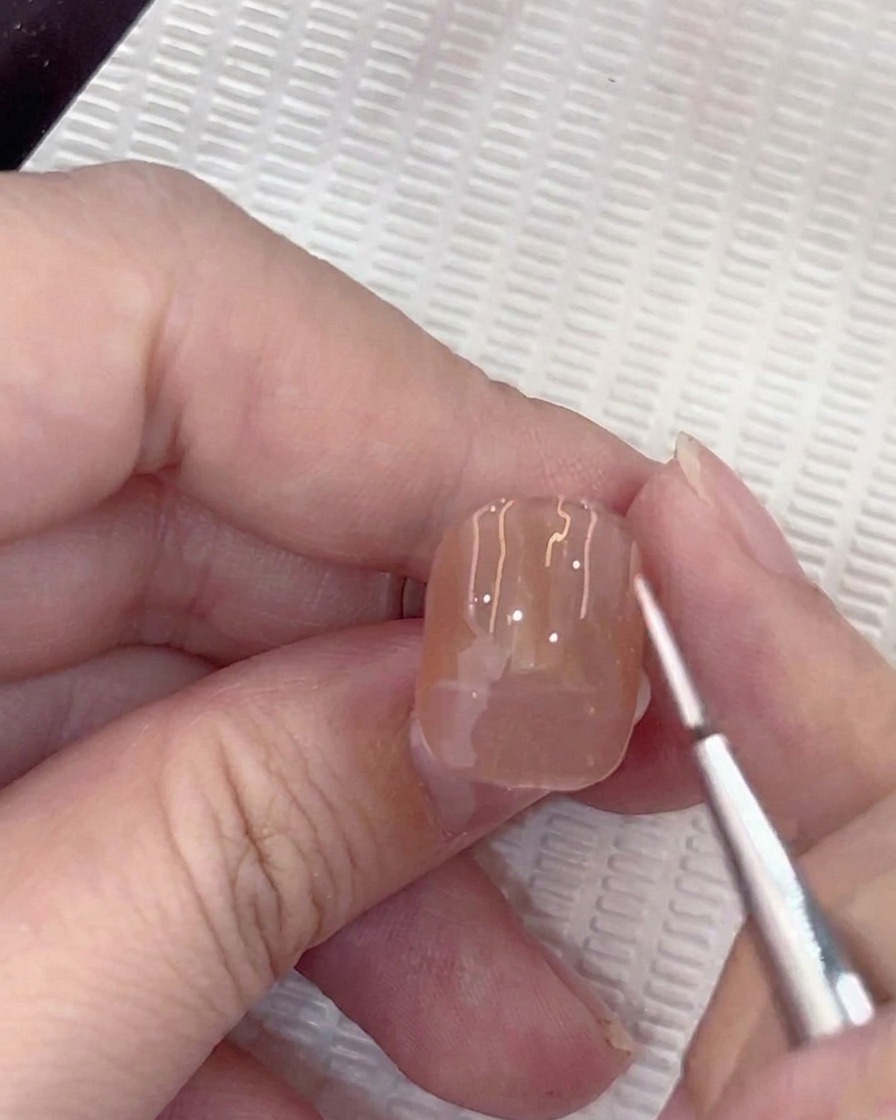
Using a liner brush, place a small white dot in the center of the nude-colored gel nail. This acts as a central guide, ensuring your daisy will be perfectly positioned before you begin painting the individual petals.
Tip: Keep the dot small and light; it will eventually be covered by the flower center, so there is no need for it to be heavy. - 2Paint the first petal
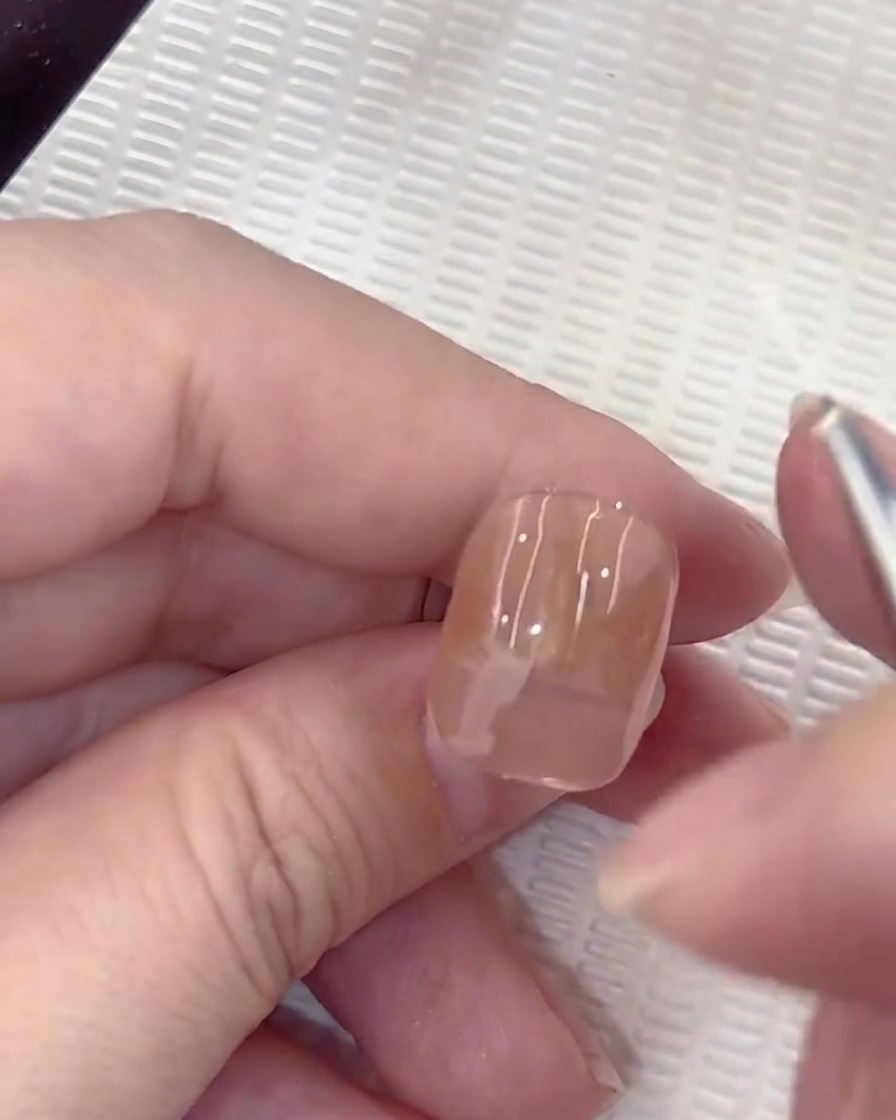
Load your small round brush with white gel. Place the tip of the brush near the center dot, press down gently to expand the stroke, and then lift as you pull outward to create a petal shape that is rounded at the tip and thinner at the base.
Tip: Focus on the touch-press-lift motion; this technique creates the characteristic teardrop shape of a daisy petal. - 3Paint the second petal
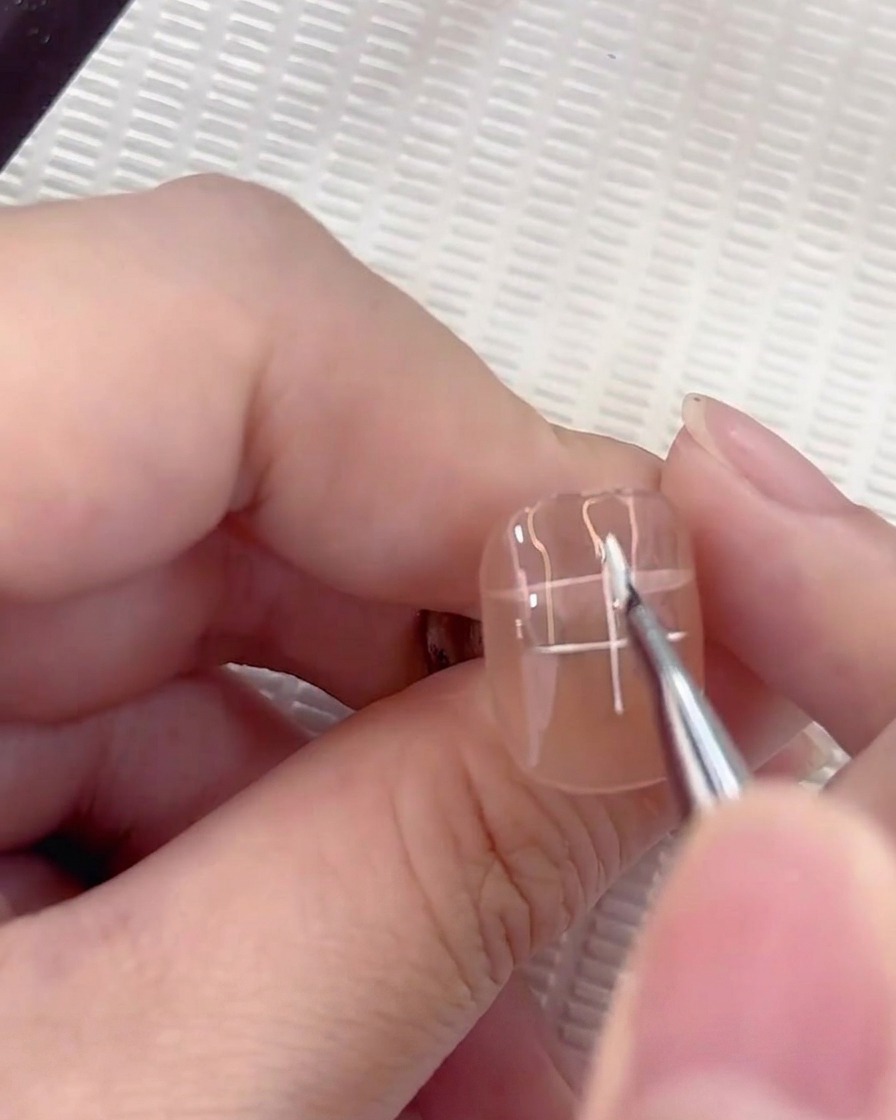
Paint the second petal directly opposite the first one, maintaining the same touch-press-lift technique. Ensure the base of the petal aligns closely with the central guide dot for a symmetrical flower base.
Tip: Symmetry is key at this stage. Keep your petals consistent in size and pressure to ensure the daisy looks balanced. - 4Paint the third petal
Position your third petal at a 90-degree angle relative to the first two petals. Use the same press-and-lift motion, keeping the base of the petal close to the center point to maintain a cohesive flower shape.
Tip: Working in a cross pattern helps keep the flower evenly spaced around the center point. - 5Paint the fourth petal
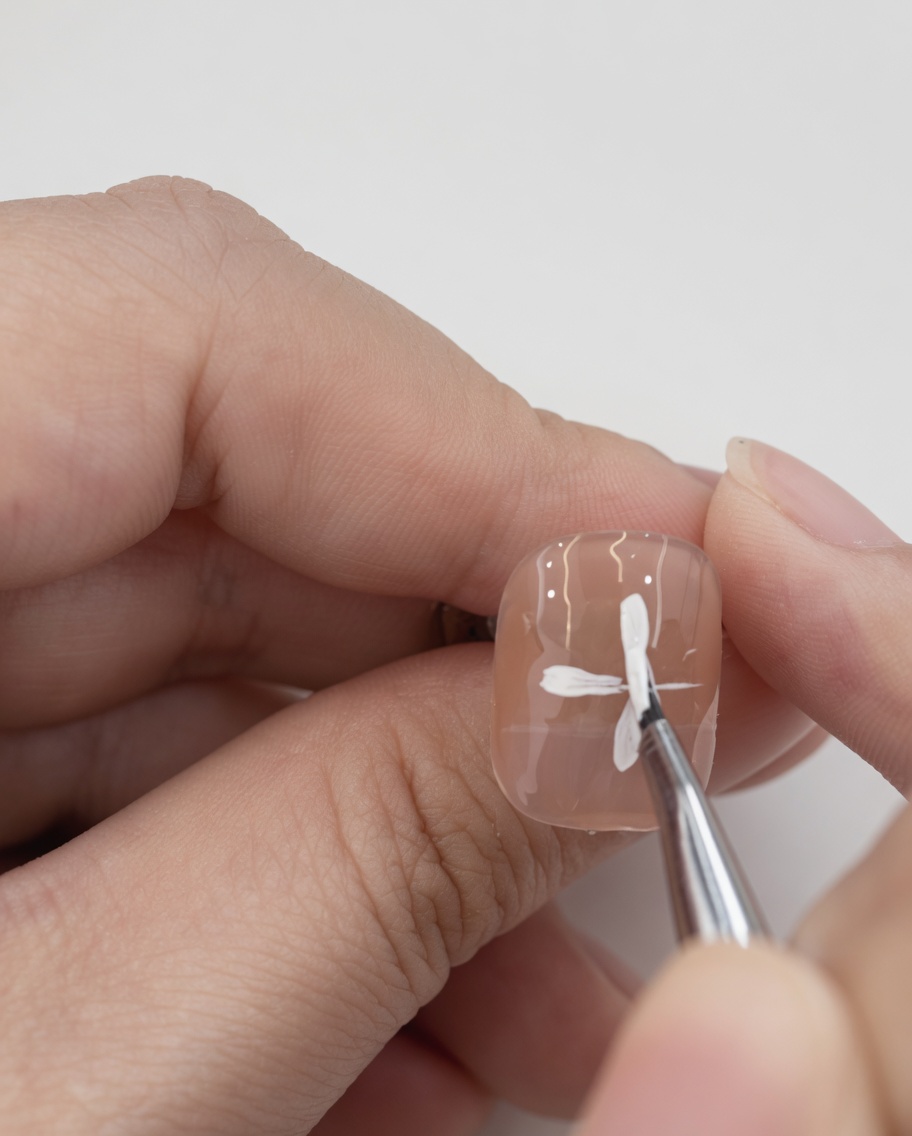
Complete the cross shape by painting the fourth petal opposite the third one. Ensure all four petals are uniformly sized and connected near the center guide dot.
Tip: If the petals are not perfectly aligned, you can gently nudge the wet gel with your brush before curing. - 6Fill in with more petals
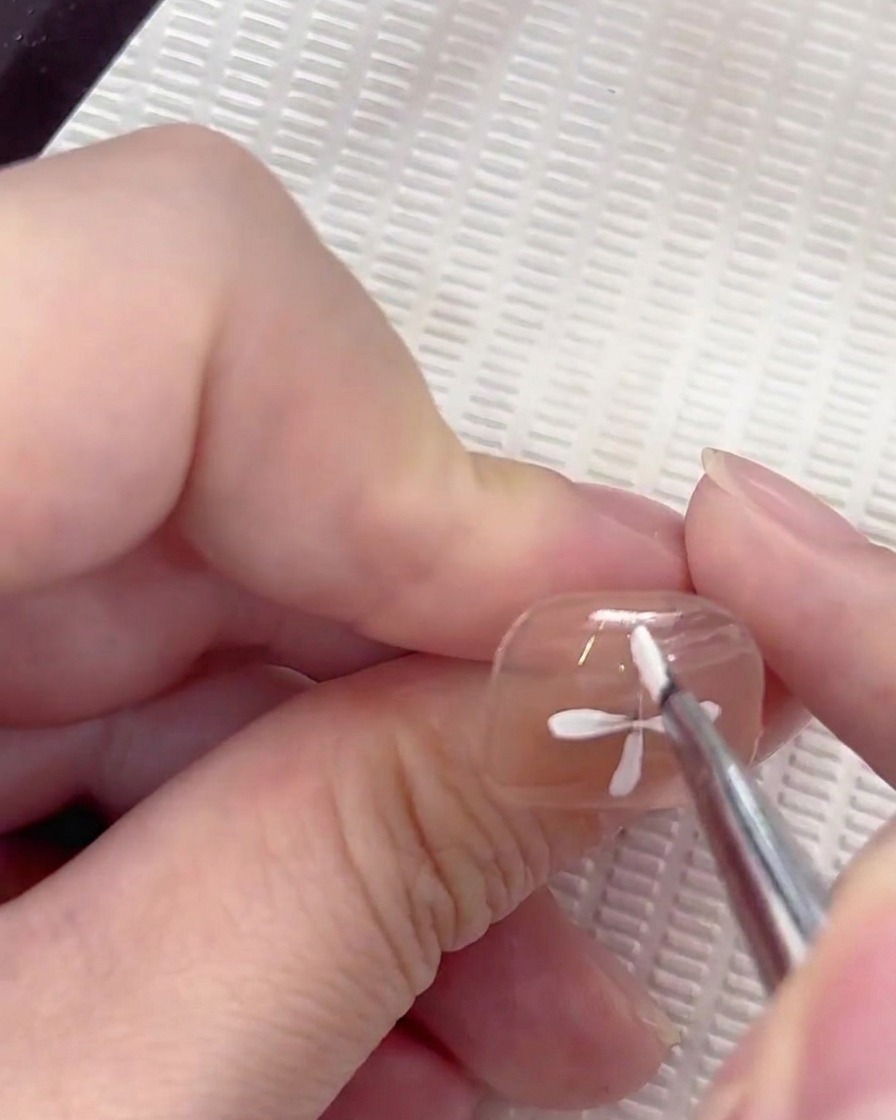
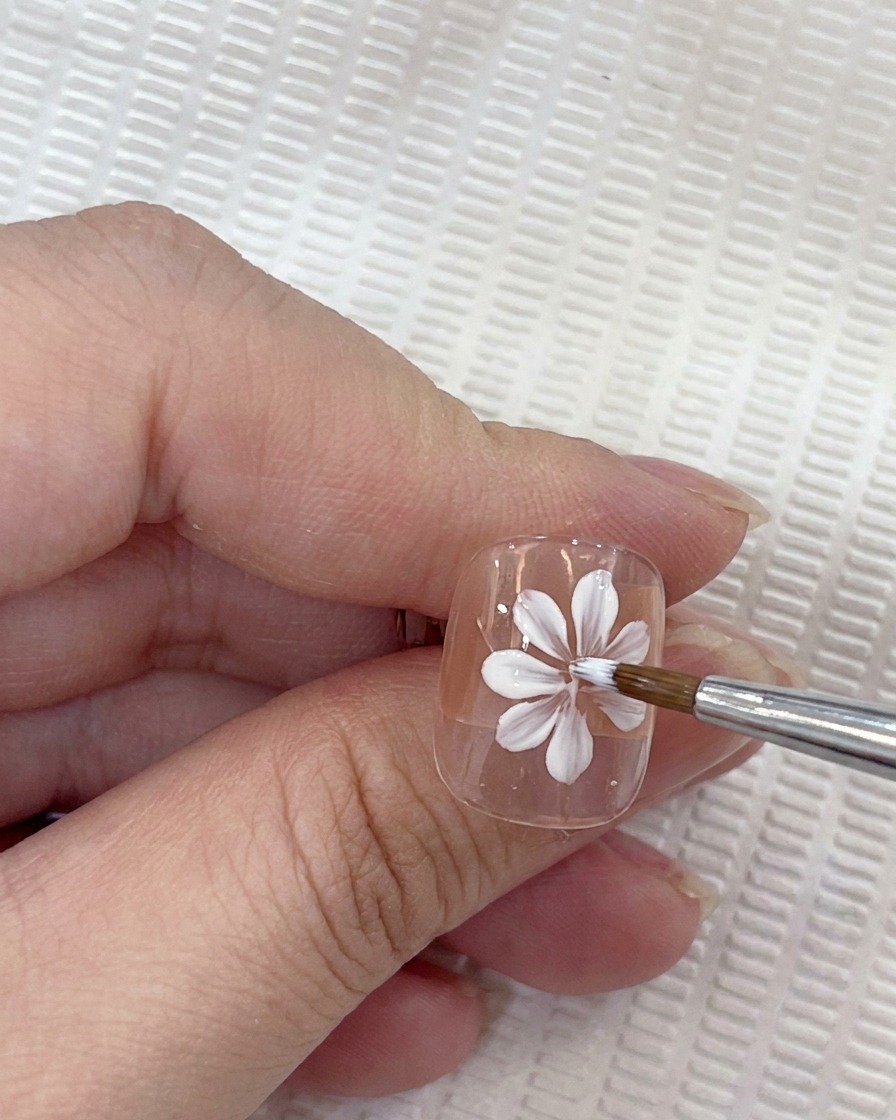
Begin adding additional petals in the spaces between your initial four. This will start to give the daisy its full, layered look. Continue using the consistent touch-press-lift motion for every petal.
Tip: Layering petals slightly overlapping makes the flower look more natural and dimensional. - 7Add the sixth petal
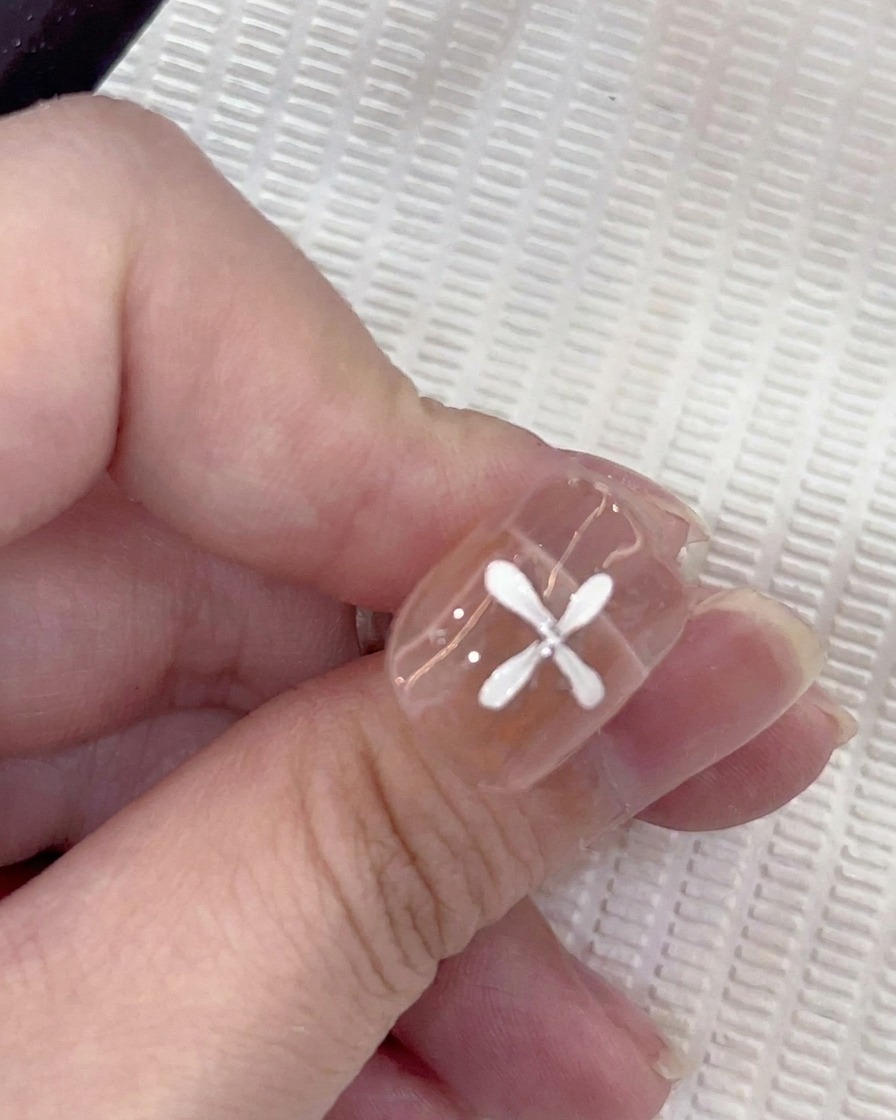
Continue the daisy design by adding the sixth petal. Using a small round brush, maintain the touch, press, and lift technique to ensure the petal is rounded at the tip and thinner at the base. Place it strategically to fill in the remaining gaps in the flower circumference.
Tip: Focus on consistent pressure to keep the petal shapes uniform as you fill out the flower. - 8Add the seventh petal
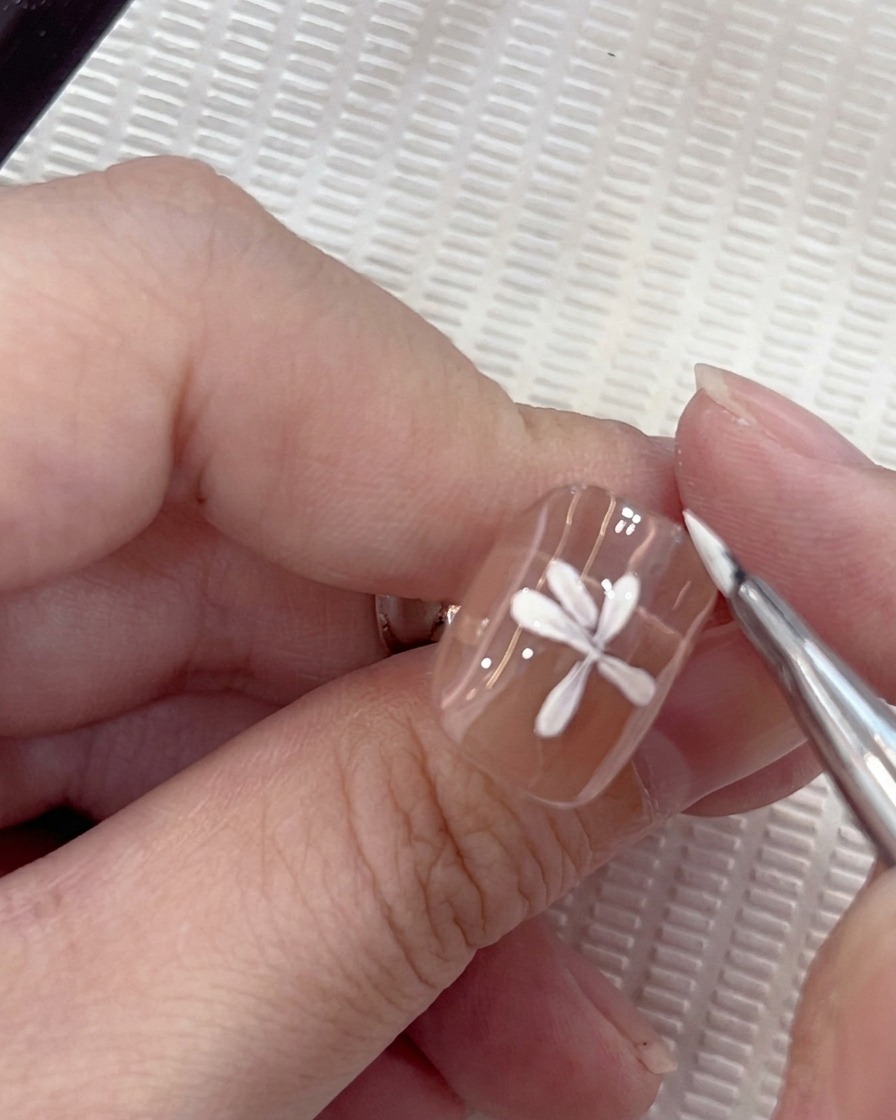
Add the seventh petal to the daisy design using the small round brush. Following the established technique, press and lift the brush to create a petal that is rounded at the outer edge and tapers towards the center of the flower.
Tip: Overlap the petals slightly at the base if needed to maintain a natural look. - 9Add the eighth petal
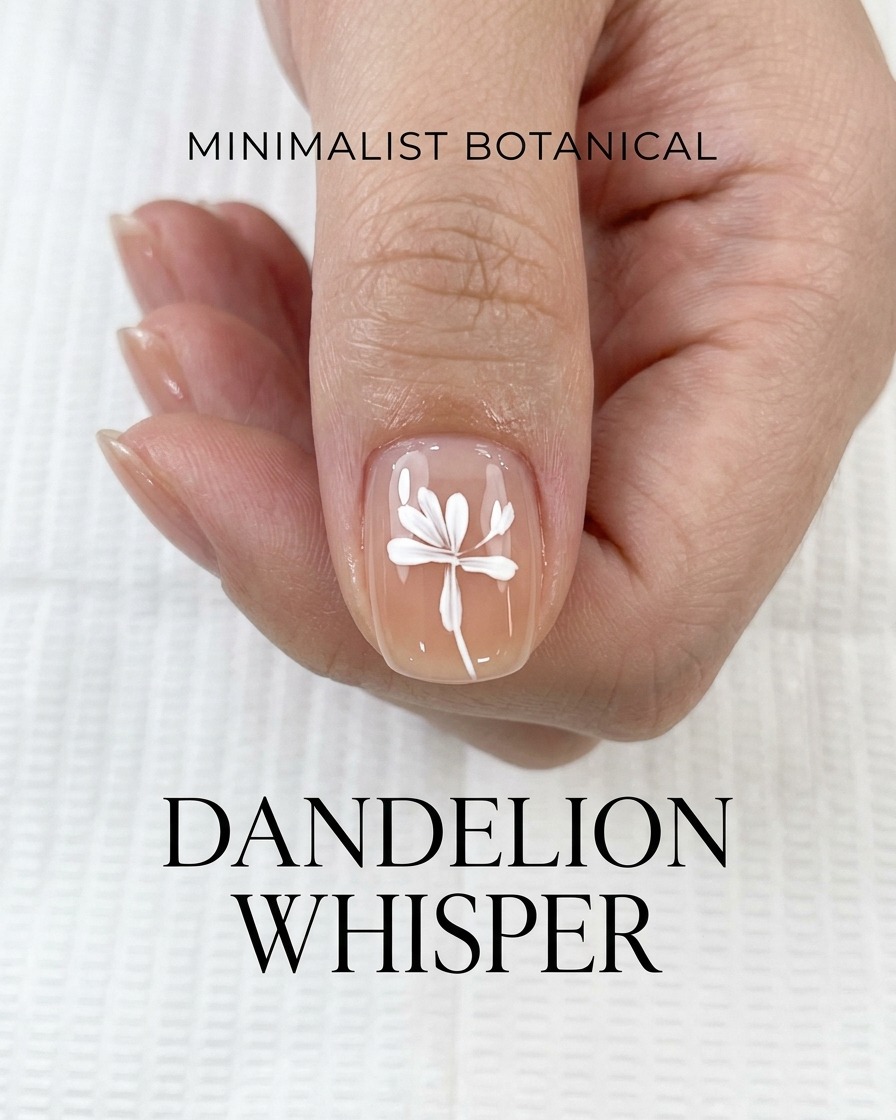
Apply the eighth petal to complete the circular shape of the daisy. Use the same touch, press, and lift motion to ensure the final petal matches the size and shape of the others, finalizing the flowers structure.
Tip: Ensure the petals are evenly spaced around the center point. - 10Paint the flower center
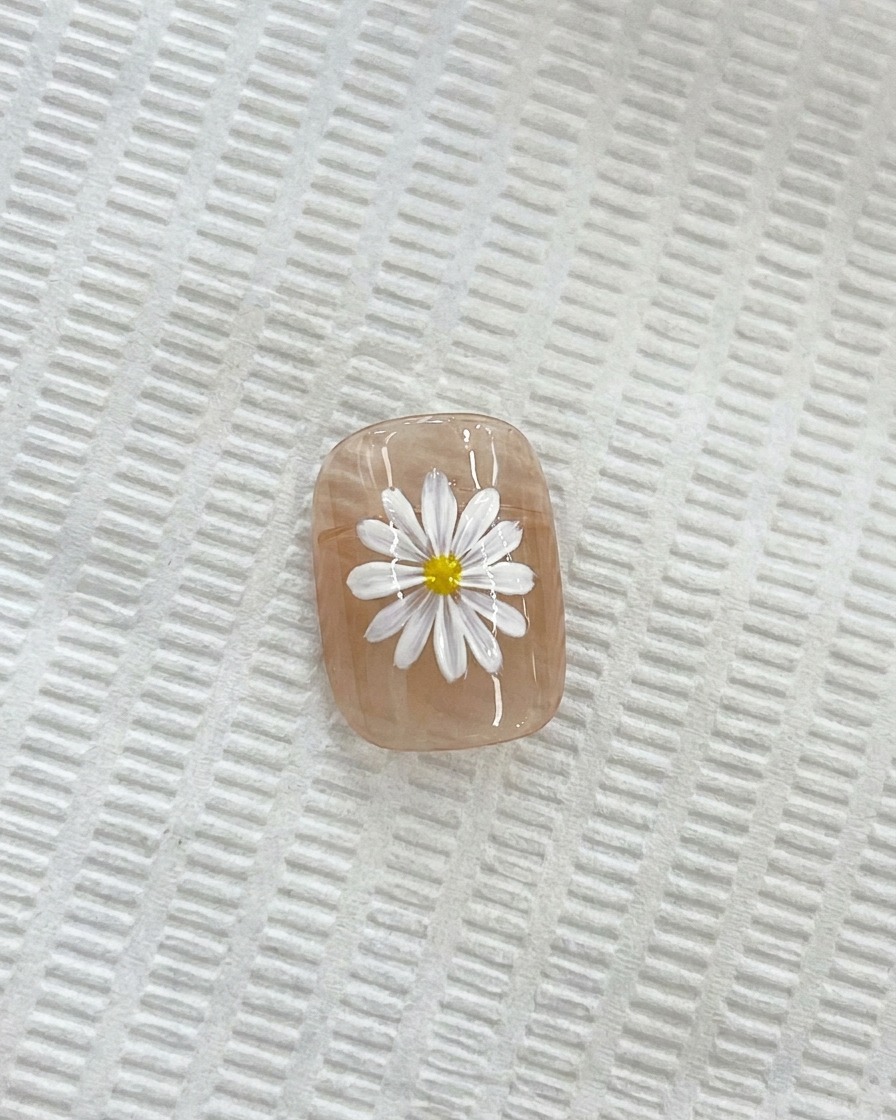
Using a fine detail brush, take a small amount of yellow gel and apply it to the center of the daisy. Create a neat, rounded dot to serve as the flowers eye.
Tip: Use a light touch to keep the center perfectly circular and proportional to the petals. - 11Paint the stem
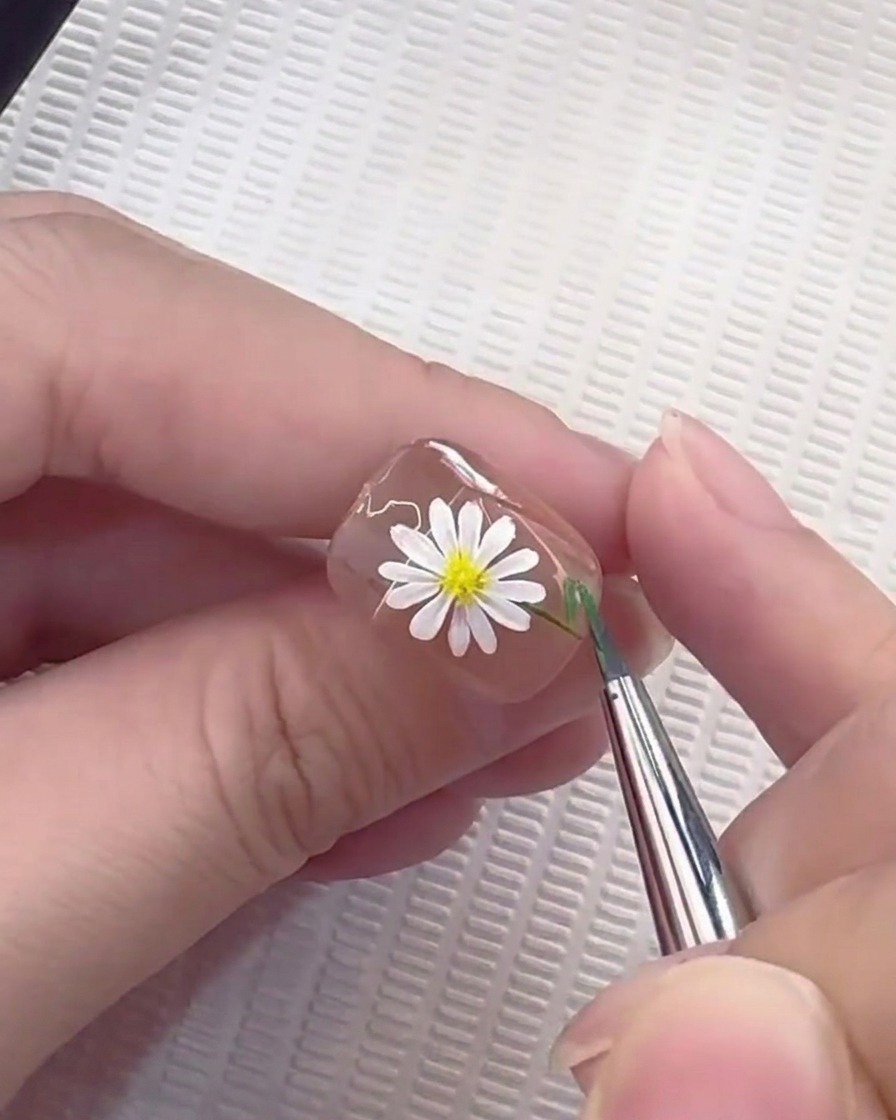
Using a liner brush and green gel, carefully paint a thin, delicate stem extending downwards from the base of the daisy. Keep the line steady for a clean, professional finish.
Tip: Hold the liner brush at a slight angle for better control over the thickness of the stem. - 12Add leaves to the stem
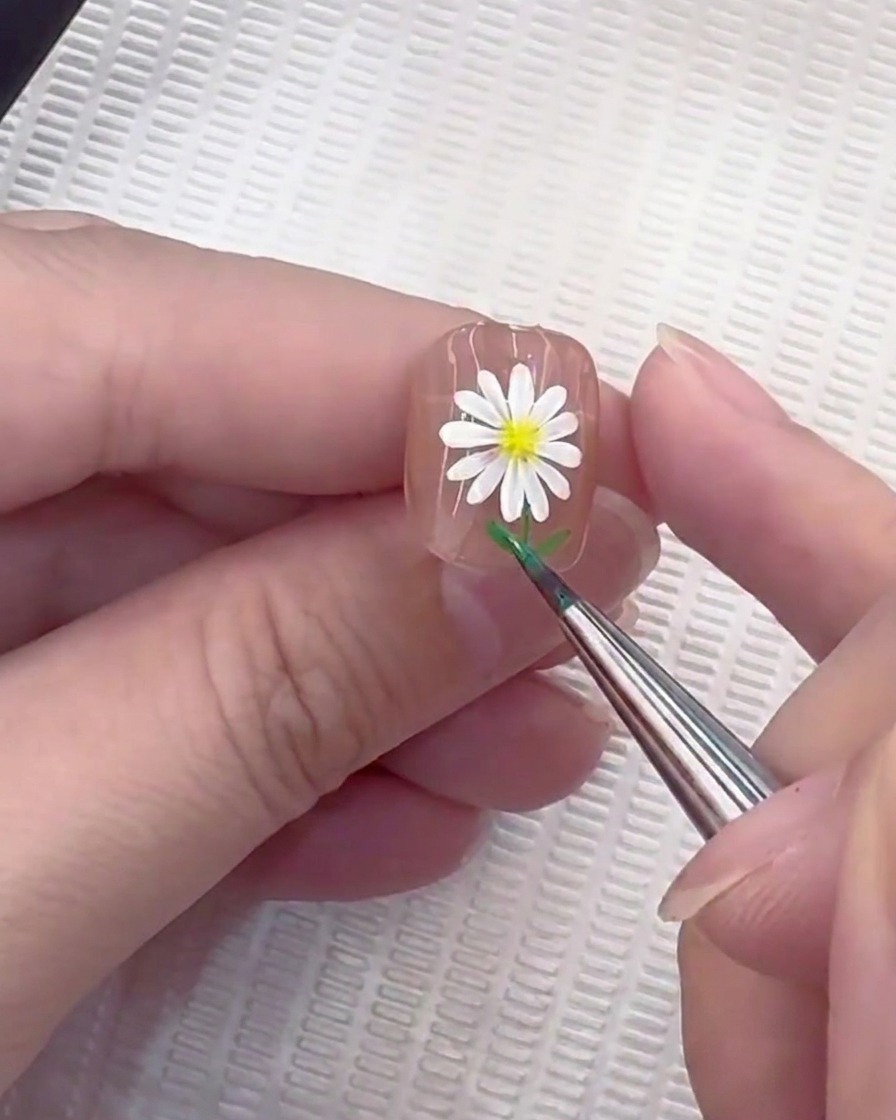
Using the same green gel and your brush, add small, delicate leaves at the base of the stem. Use light, flicking motions to create tapered, natural-looking leaves.
Tip: Keep the leaves small to maintain the minimalist botanical aesthetic of the design. - 13Apply glossy top coat
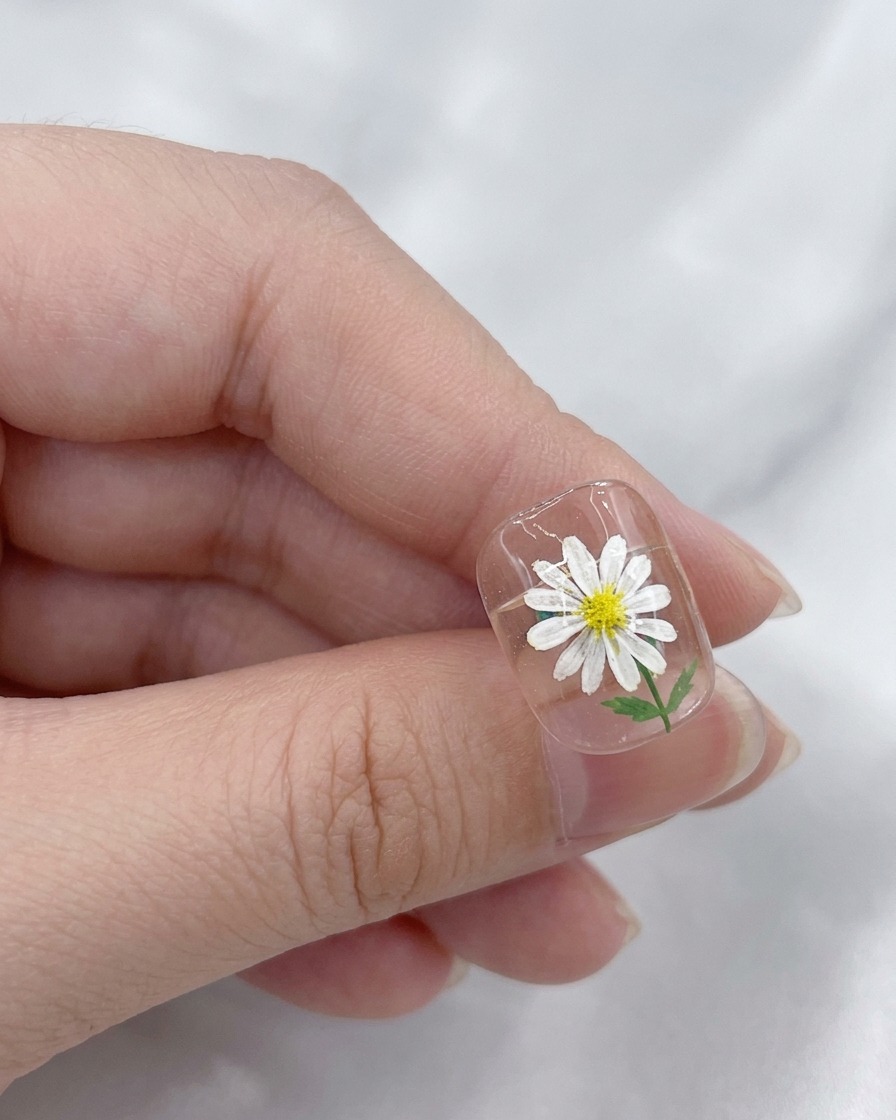
Apply a generous, even layer of glossy top coat over the entire nail to seal and protect your daisy design. Ensure you cap the free edge to prevent chipping and ensure longevity. Cure under your UV or LED lamp for the full recommended time to achieve a high-shine finish.
Tip: Check the surface for any unevenness or missed spots before curing; a smooth, consistent top coat application is key to a professional, long-lasting look.