Spring Daisy Floral Nail Art — Simple Step-by-Step Tutorial
Create charming spring daisy nail art with this easy beginner-friendly tutorial. Learn to layer sugar gel, hand-paint floral details, and add delicate accents.
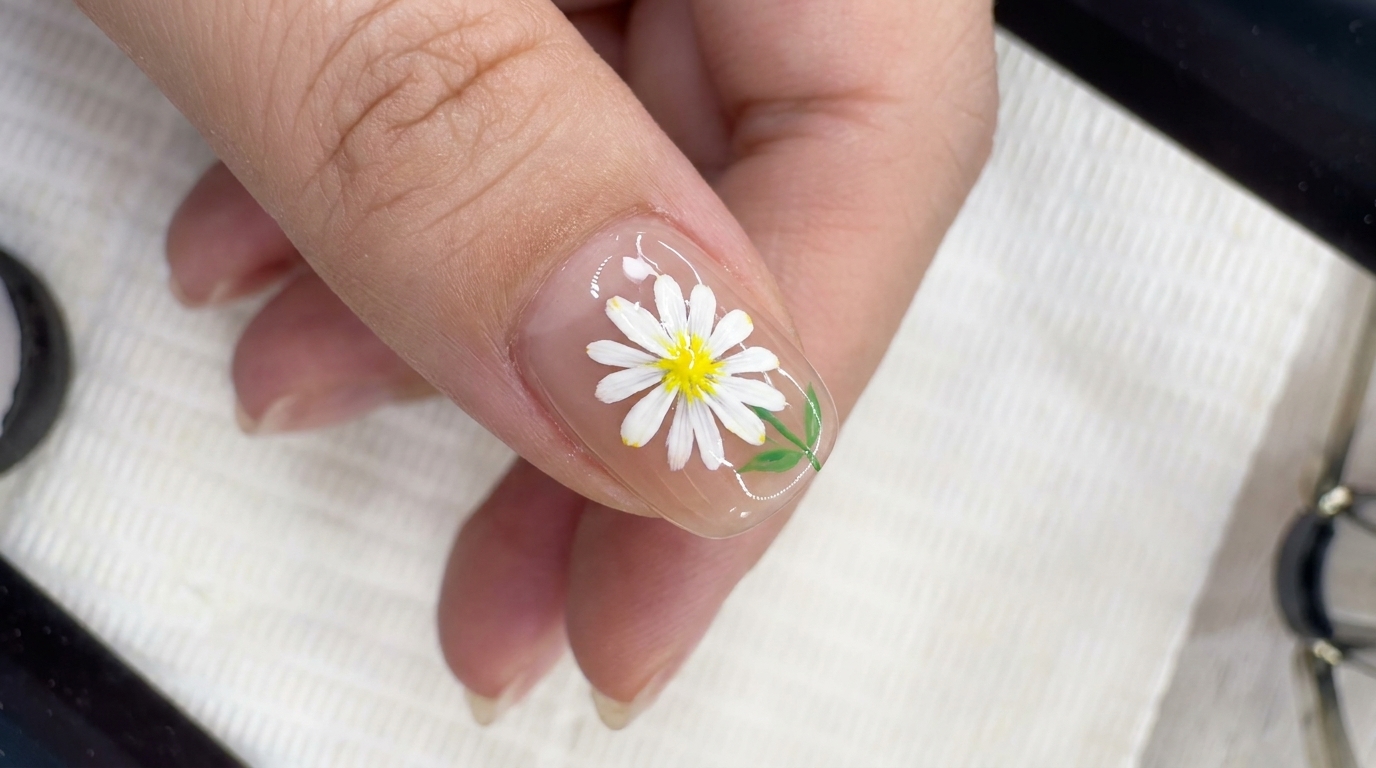
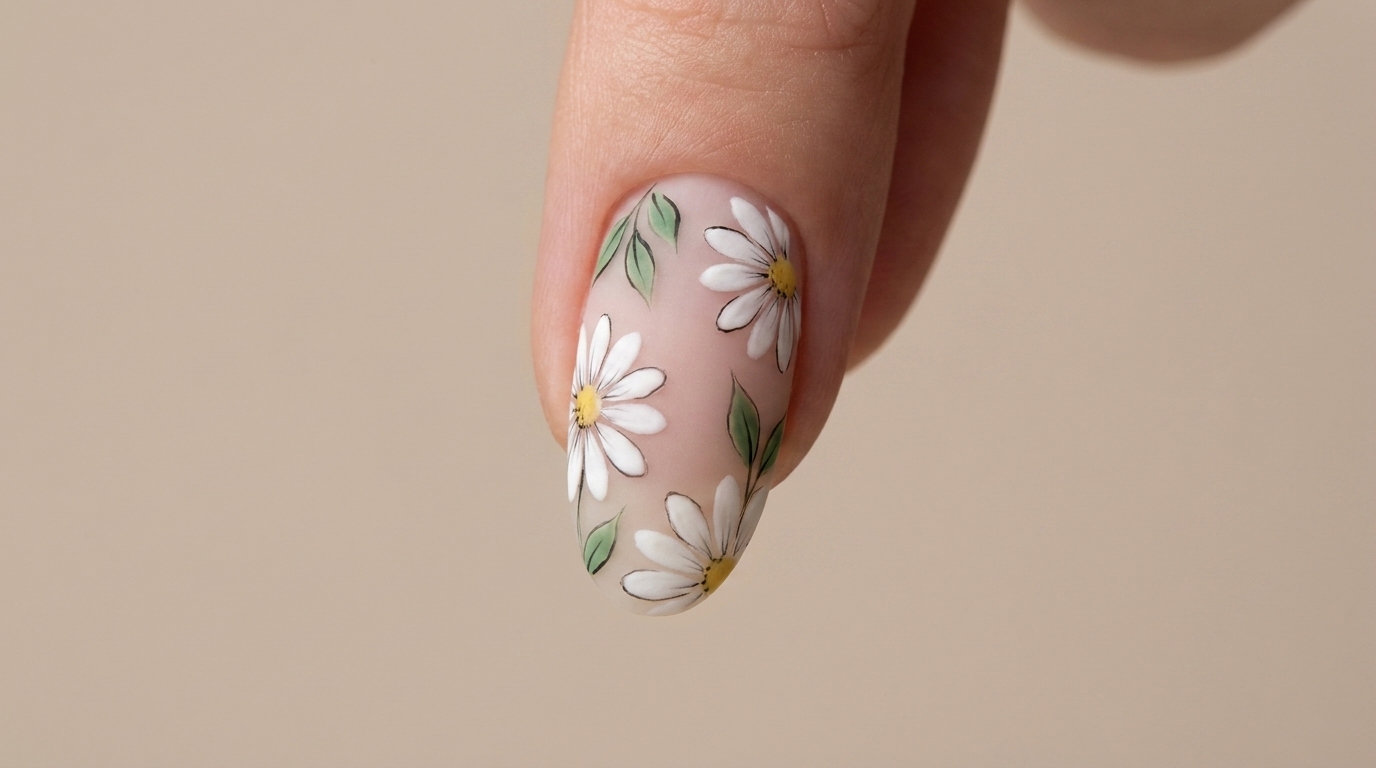
Embrace the fresh vibes of the season with this sweet daisy-inspired manicure. This look combines the unique, tactile finish of sugar gel with delicate, hand-painted floral motifs to create a sophisticated yet playful aesthetic that is perfect for any skill level.
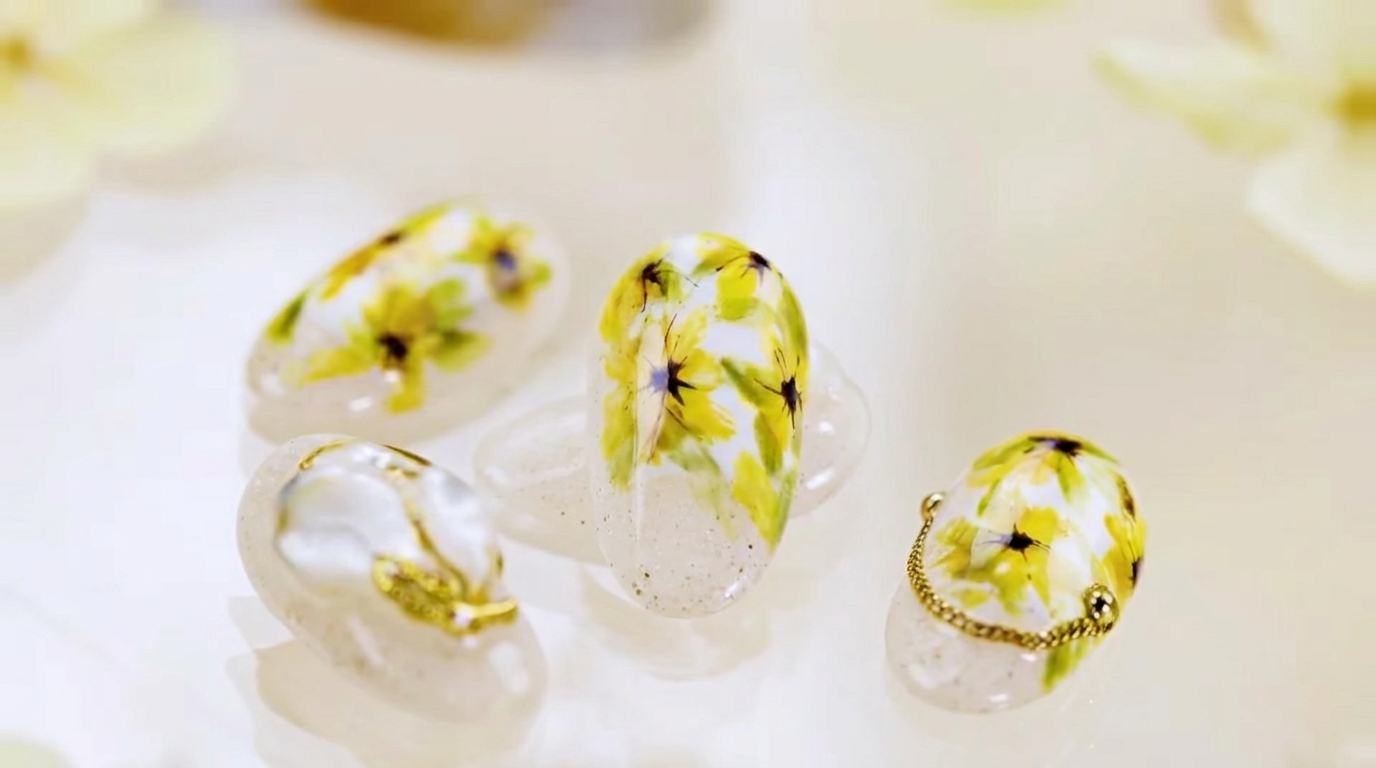
Steps
- 1Apply sugar gel base
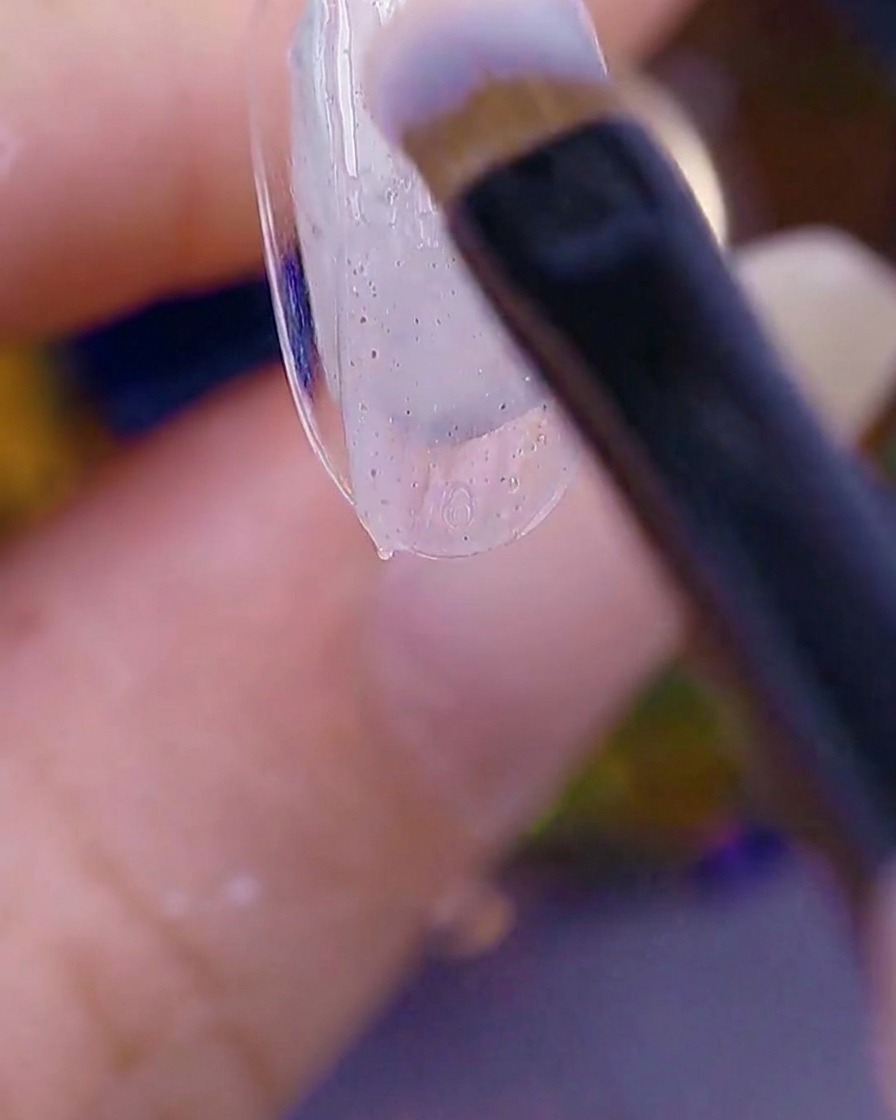
Apply an even, thin first layer of sugar-textured gel to the nail tip. Ensure smooth coverage across the surface before proceeding to the next layer.
Tip: Work in thin layers to ensure the texture of the sugar gel settles properly without becoming too bulky. - 2Apply second coat and cure
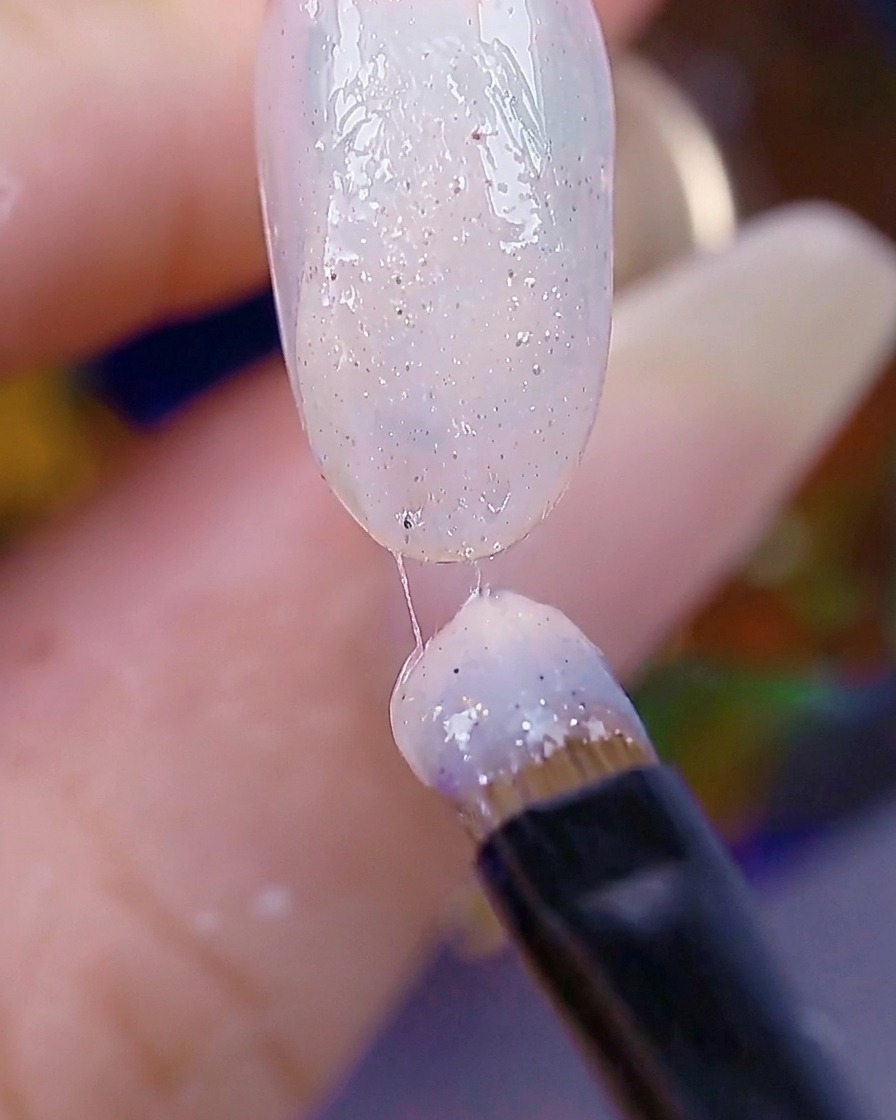
Apply a second layer of sugar-textured gel to build opacity and texture. Once applied, cure the nail under your UV or LED lamp for 30 seconds to ensure the base is fully set.
Tip: Make sure to cover the entire surface evenly to maintain the consistency of the sugar texture. - 3Create white border
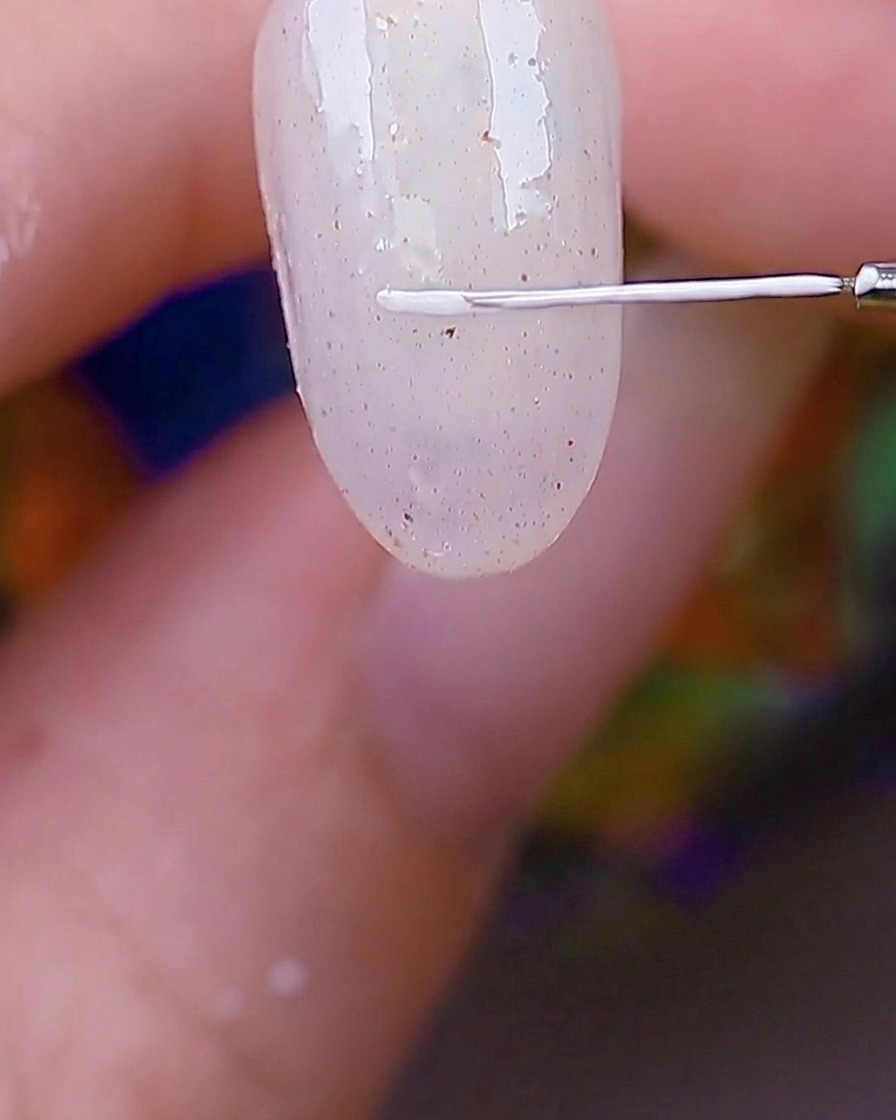
Using a fine liner brush, carefully draw a white border frame on the top right corner of the nail. Keep the lines clean and steady to create a defined area for your design.
Tip: Use a light touch with the liner brush to achieve crisp, thin lines for the border. - 4Fill the white frame
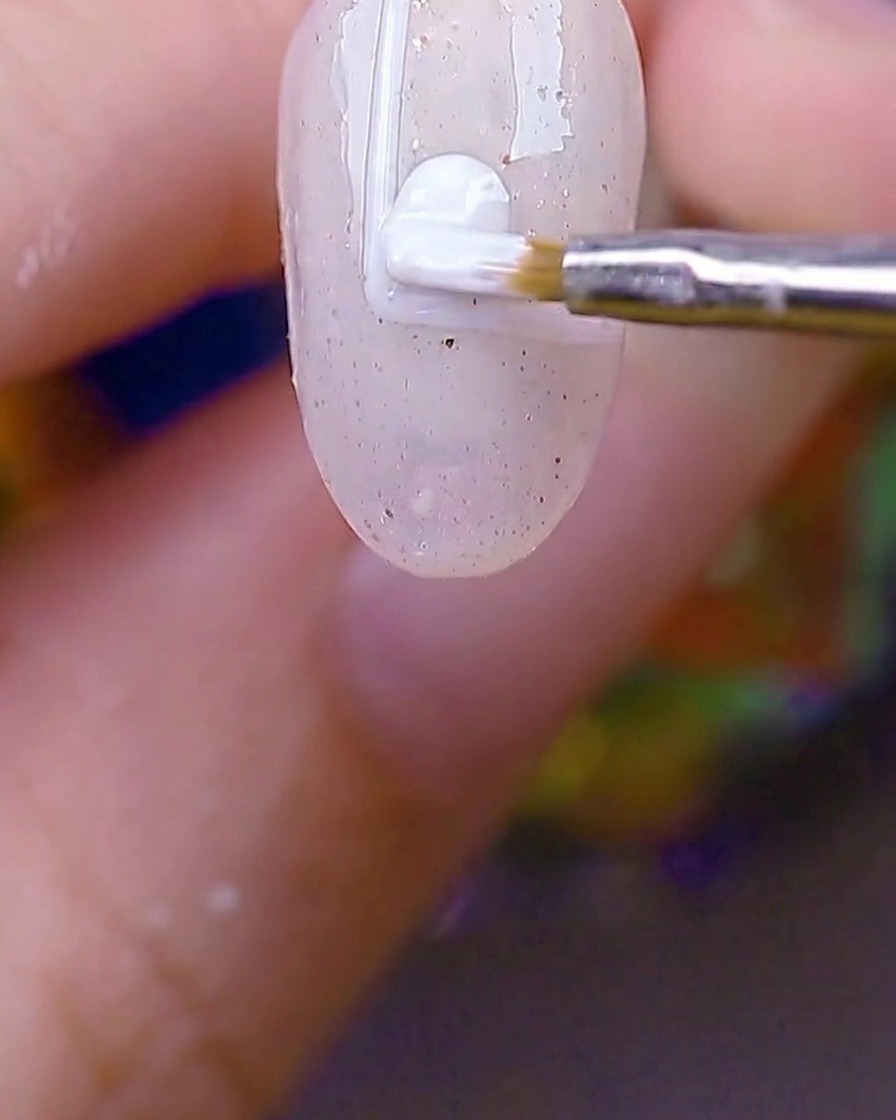
Using a small round brush, fill in the white border you created with white gel. Ensure the gel is leveled within the frame, then cure under the lamp for 30 seconds.
Tip: Ensure the gel is applied uniformly within the border to create a smooth, solid white background. - 5Paint leaves
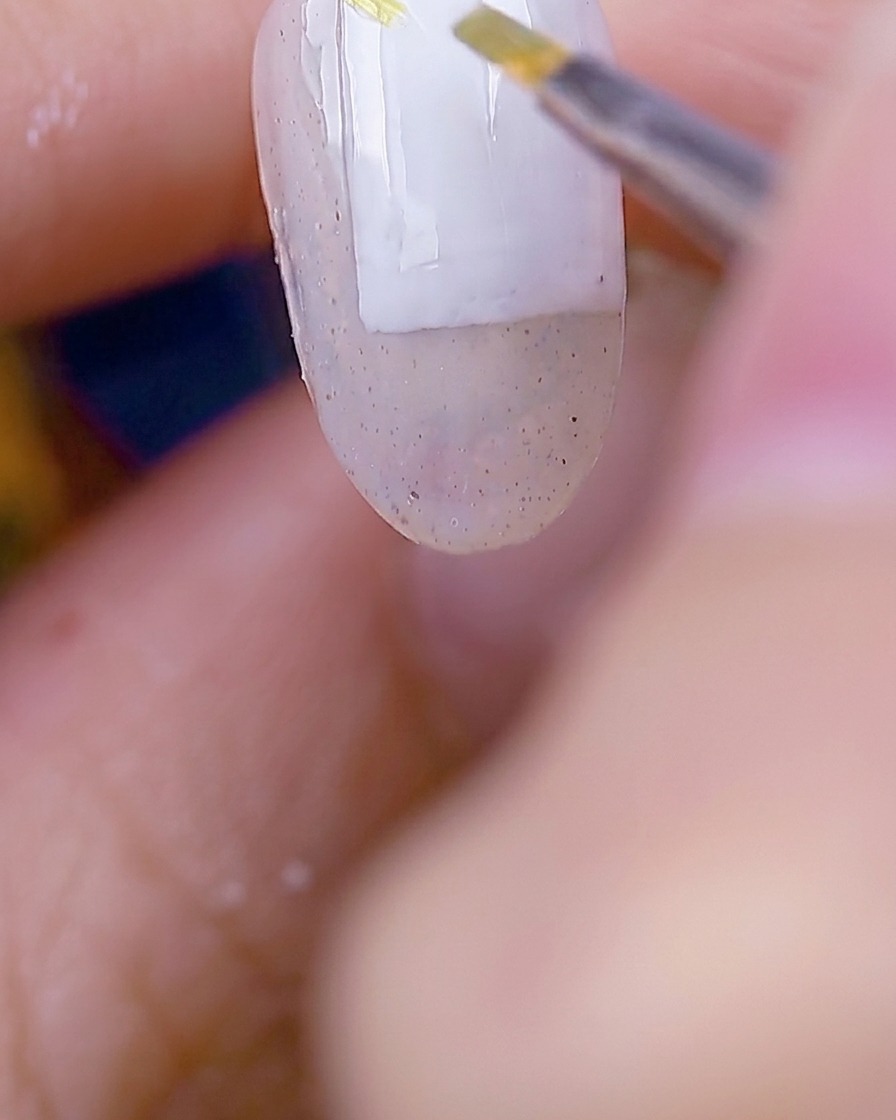
Using a moss green gel, paint leaf shapes over the nail surface. You can place these near the white frame to build the floral composition.
Tip: Keep the leaf shapes organic and varied in size to look more natural. - 6Cure the leaves
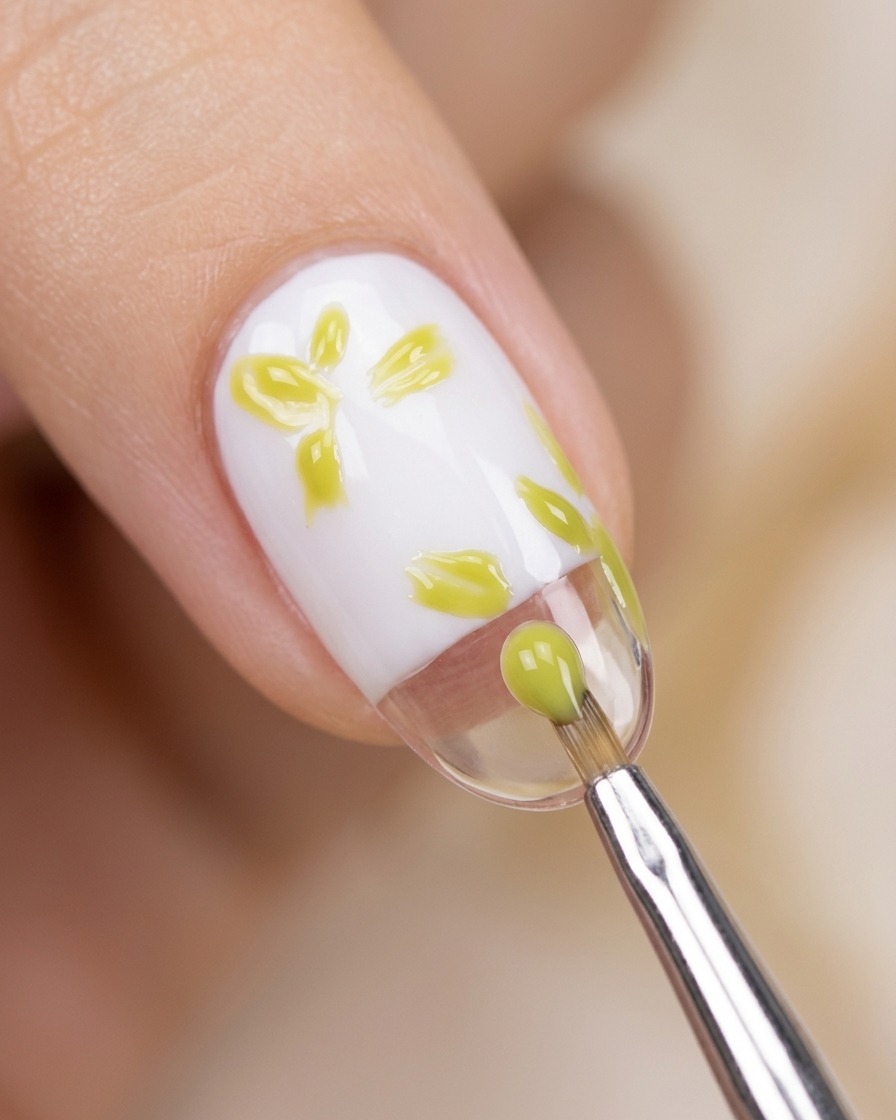
Once the green leaf design is mapped out to your satisfaction, place the nail under the UV or LED lamp and cure for 30 seconds.
Tip: Ensure all parts of the leaf design are fully exposed to the lamp light to prevent uncured gel. - 7Paint the daisy petals
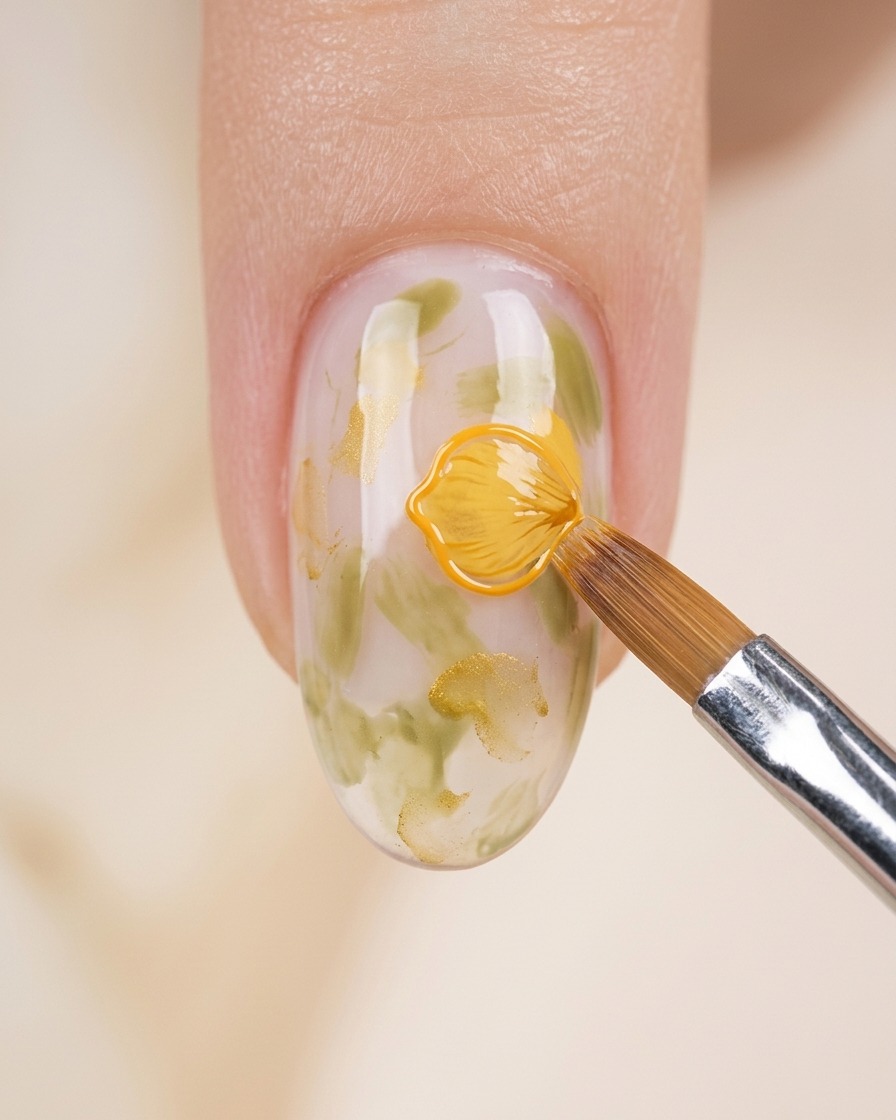
Using the orange-yellow gel, carefully draw the daisy petals. You can start from the center and pull the color outward, or work from the outer edge inward to create the petal shape. Ensure you create a consistent floral pattern on the nail.
Tip: Keep your brush strokes light and steady to ensure the petals have a clean, defined shape. - 8Finish the flower petal outlines
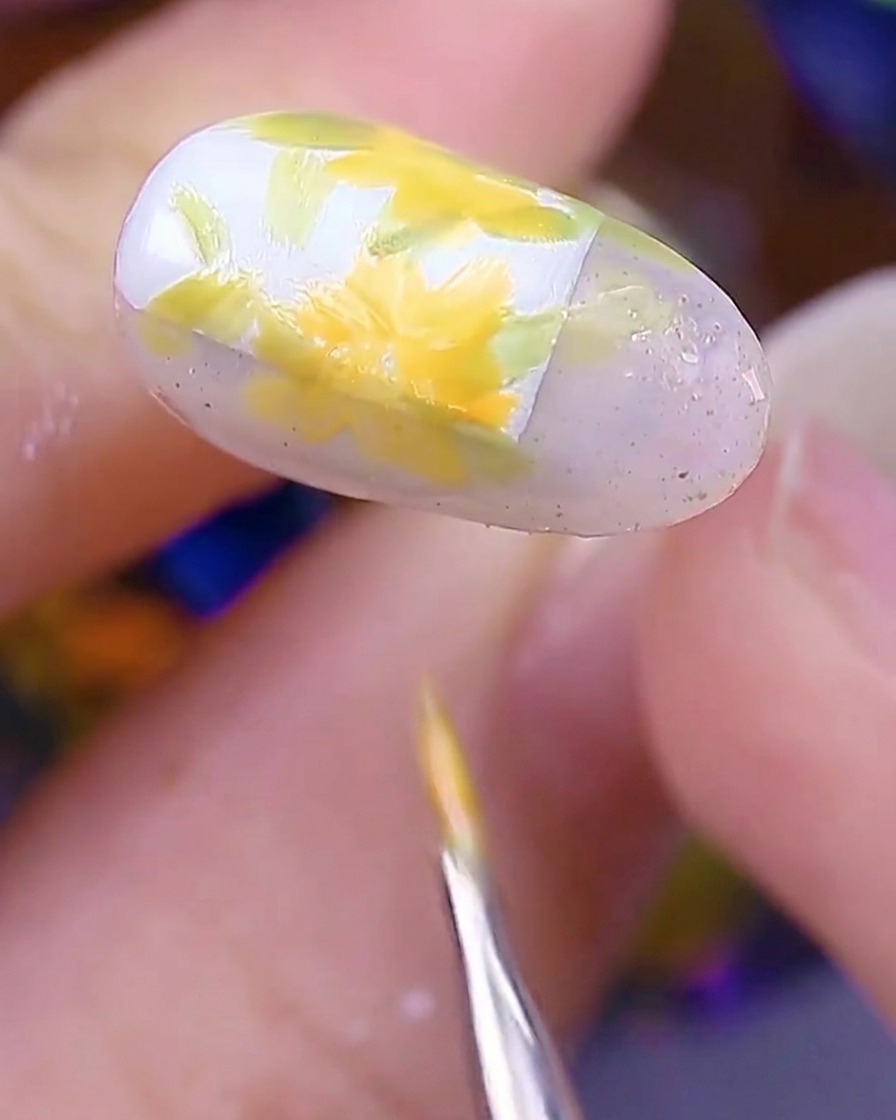
Continue using the yellow gel to complete the petals for the floral design. Ensure the petals are well-defined and spread evenly around the center area of the flowers.
Tip: Make sure to layer the gel thinly so it cures properly without bubbling. - 9Add flower centers
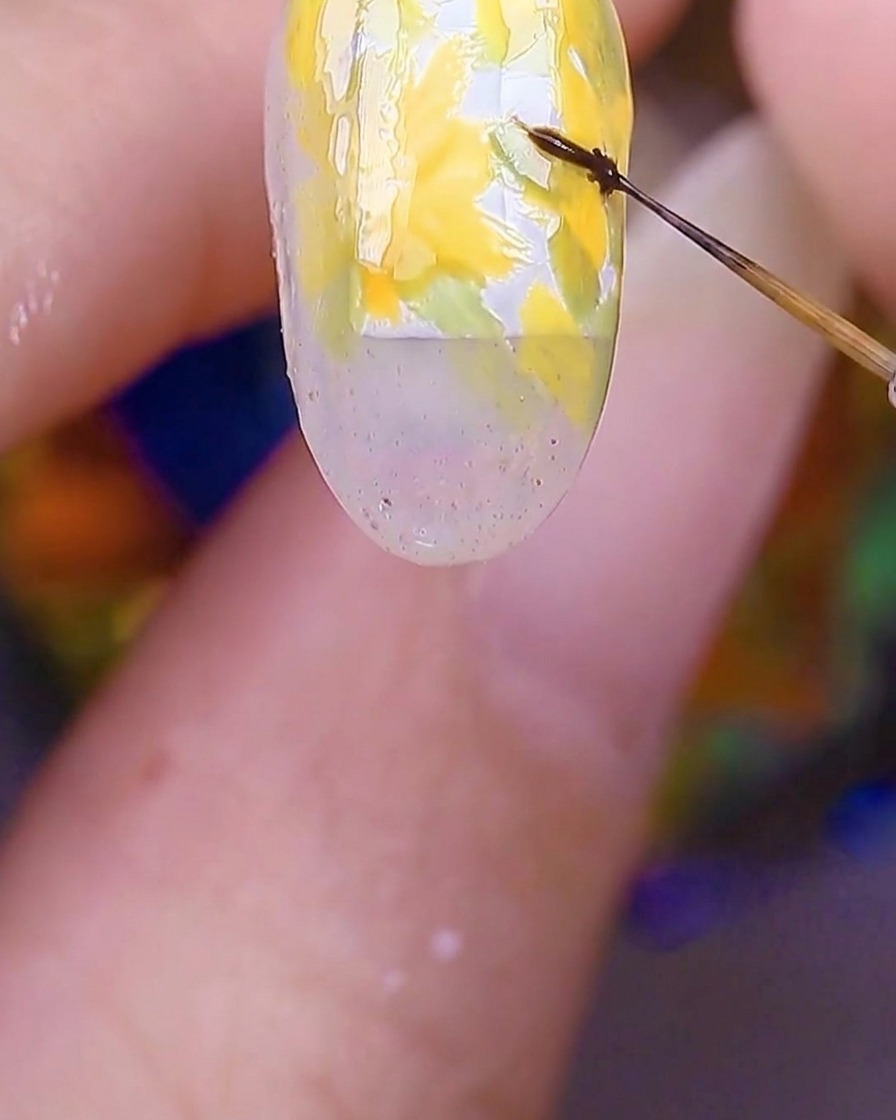
Using a fine liner brush and deep brown gel, place small dots in the center of each daisy. This adds contrast and dimension to the floral design.
Tip: Use a light touch to keep the centers small and precise. - 10Draw delicate flower threads
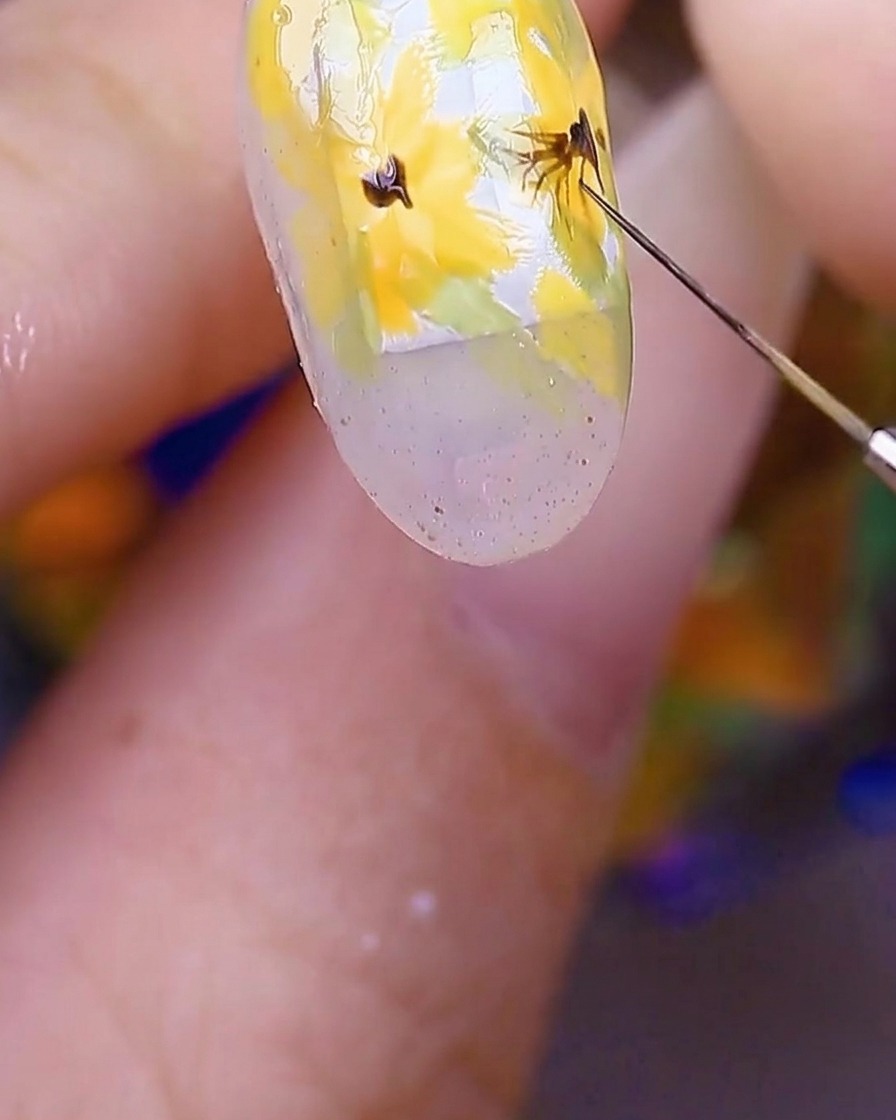
With the deep brown gel still on your brush, draw thin, delicate lines outward from the brown centers you just created. These represent the flowers threads or stamens. Vary the length of these lines for a natural look.
Tip: Use a very light pressure to create thin, wispy lines. - 11Cure the design
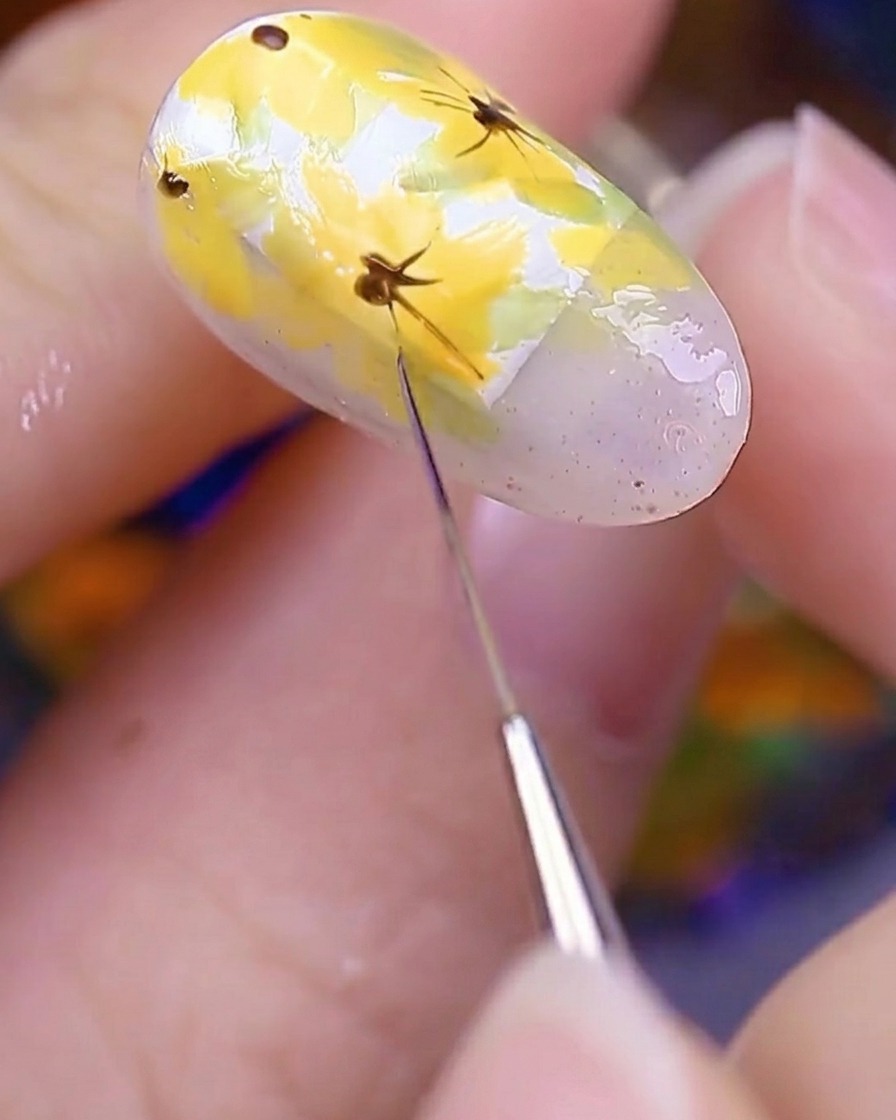
Once the floral design and the fine thread details are complete, place the nail under your UV or LED lamp and cure for 30 seconds to lock in the artwork.
Tip: Ensure the nail is positioned directly under the light for an even cure. - 12Apply top coat
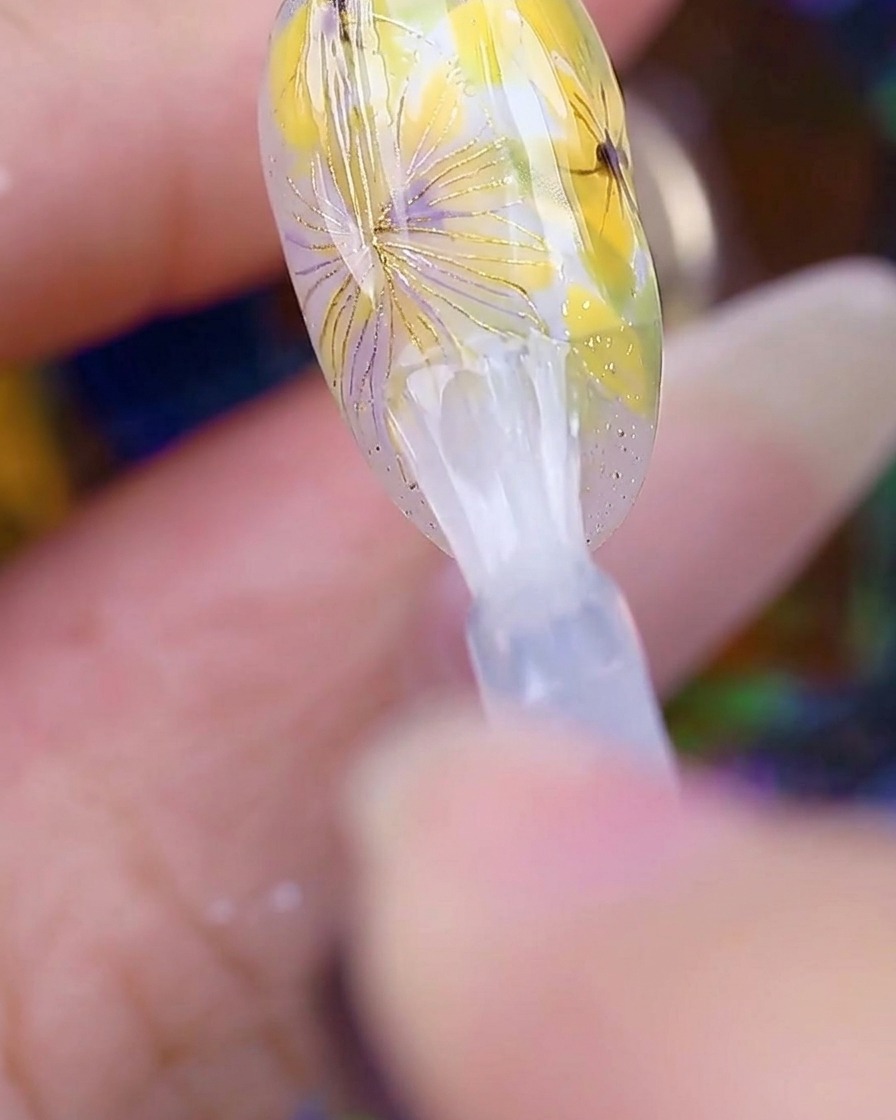
Finally, apply a generous, even layer of no-wipe top coat over the entire nail to protect the design and provide a glossy finish. Cure until the gel is completely dry and set.
Tip: Capping the free edge with top coat helps prevent chipping and extends the life of your manicure. - 13Cure the top coat
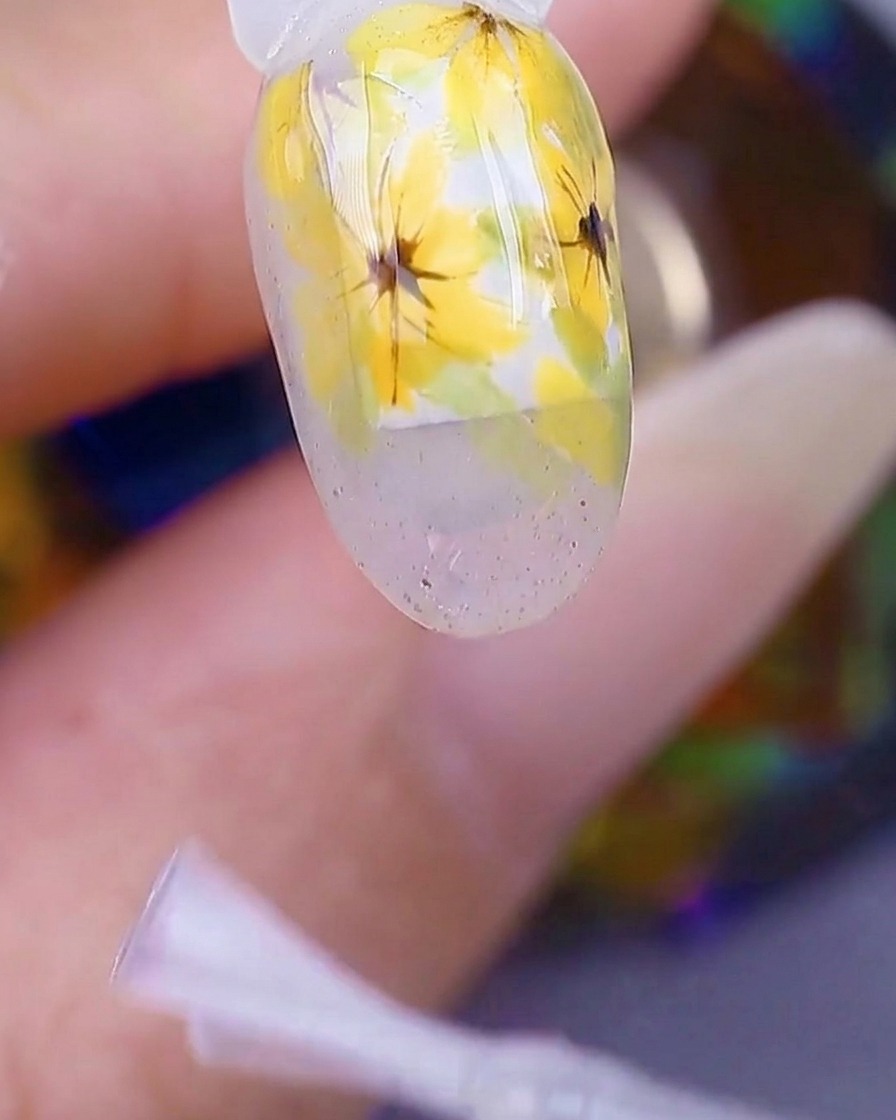
Apply a generous layer of no-wipe top coat over the entire nail to seal in the floral design and provide a high-gloss finish. Ensure the entire nail surface is covered, including the free edge, then cure under your UV or LED lamp until the gel is completely dry and set.
Tip: Check for even coverage before curing to ensure a smooth, professional shine and prevent any sticky spots.