Laser Chrome Powder Nails — Professional Mirror Finish Tutorial
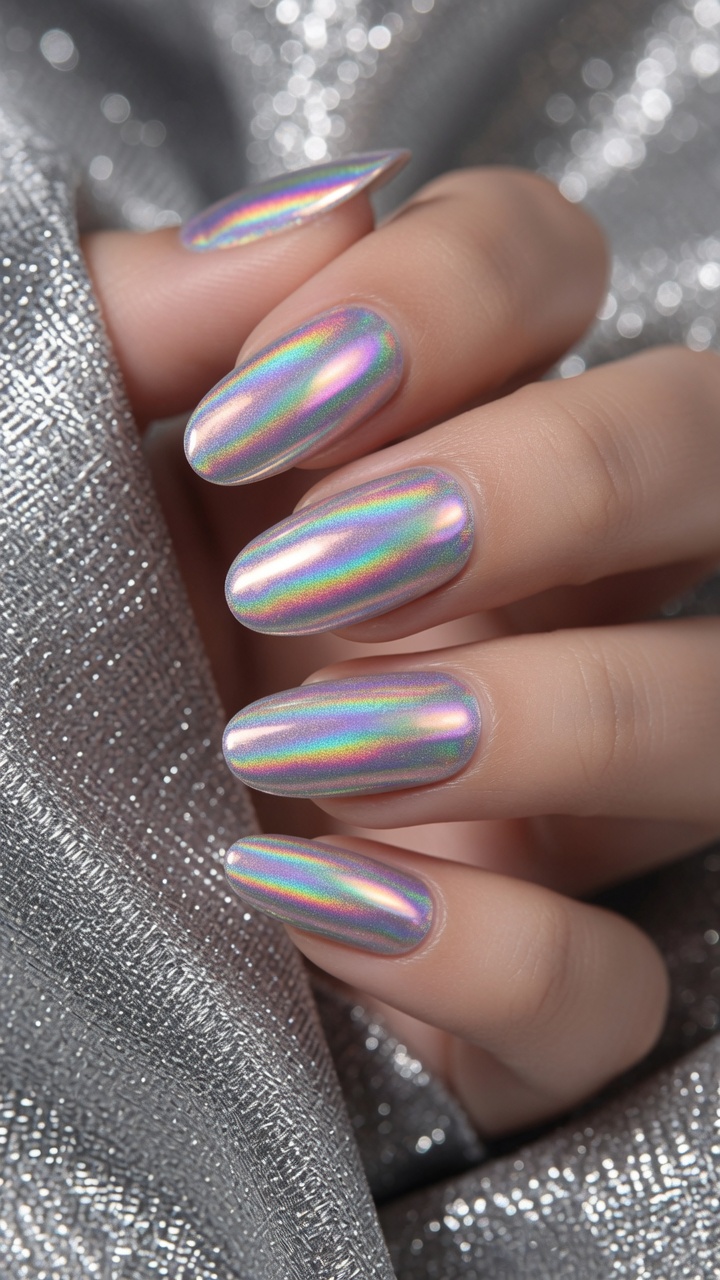
Achieve a stunning, high-shine holographic look with our easy laser chrome powder nail guide. Perfect for a futuristic, iridescent finish at home.
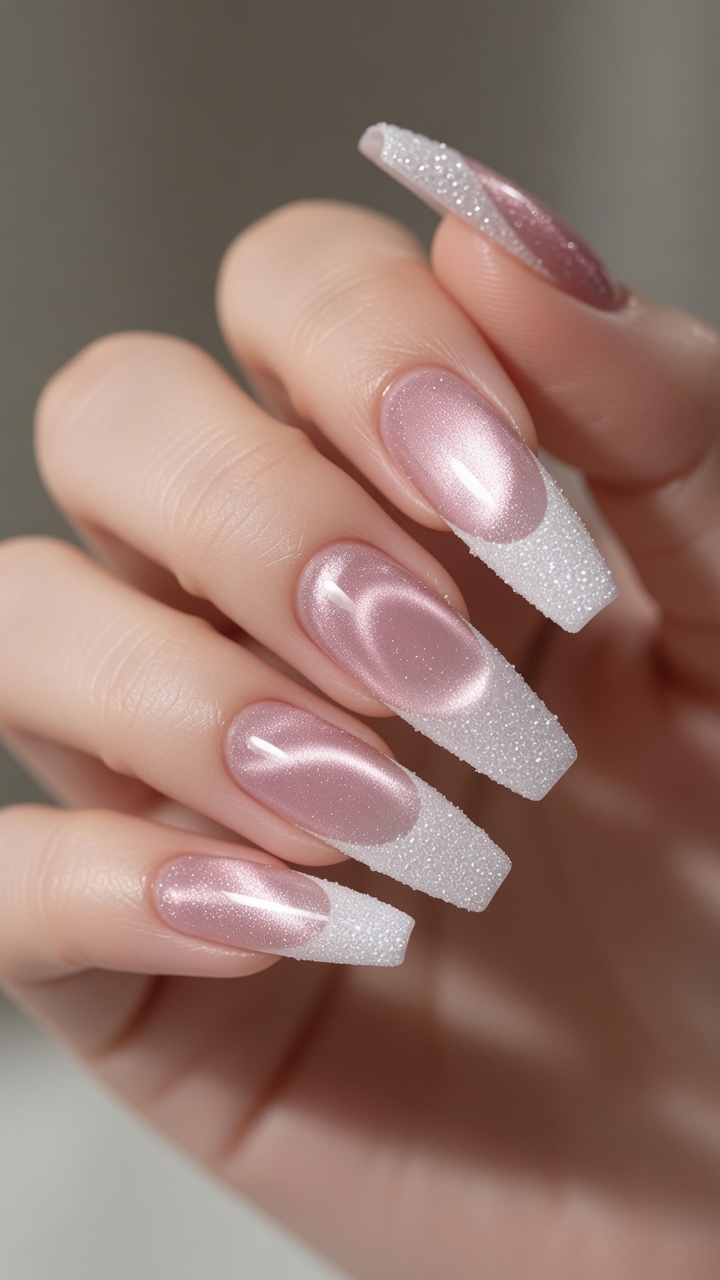
The laser chrome effect is a trend that transforms any standard manicure into a dazzling, mirror-like masterpiece. By carefully applying specialized chrome powder over a mirror-finish top coat, you can capture a brilliant holographic shift that catches the light from every angle. This technique is surprisingly accessible once you master the timing of your lamp cure.
Steps
- 1Buff the nail surface
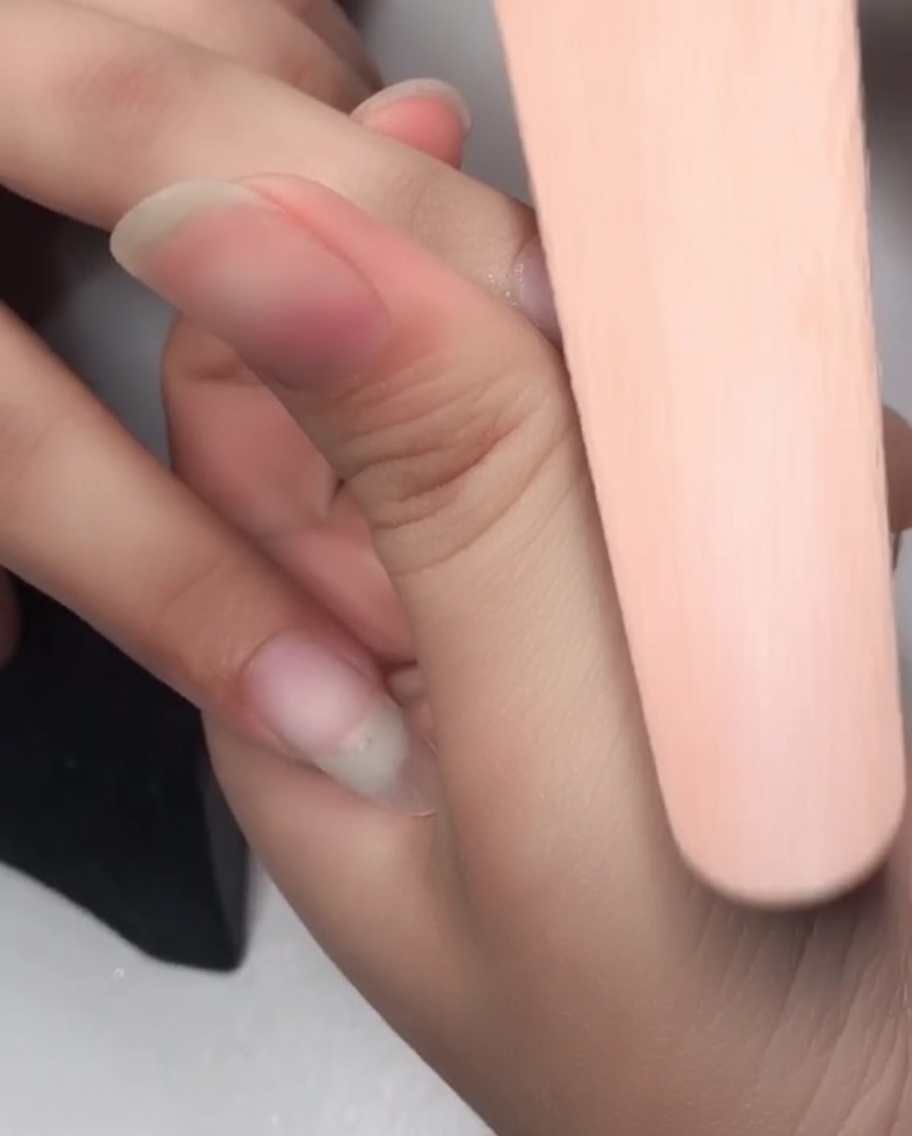
Using a sponge buffer, gently buff the surface of your extended nails. This creates a slightly textured surface that helps the gel base coat adhere better, ensuring your manicure lasts longer without lifting.
Tip: Use gentle pressure and focus on removing the shine from the entire nail surface, especially near the cuticle and side walls. - 2Apply base coat
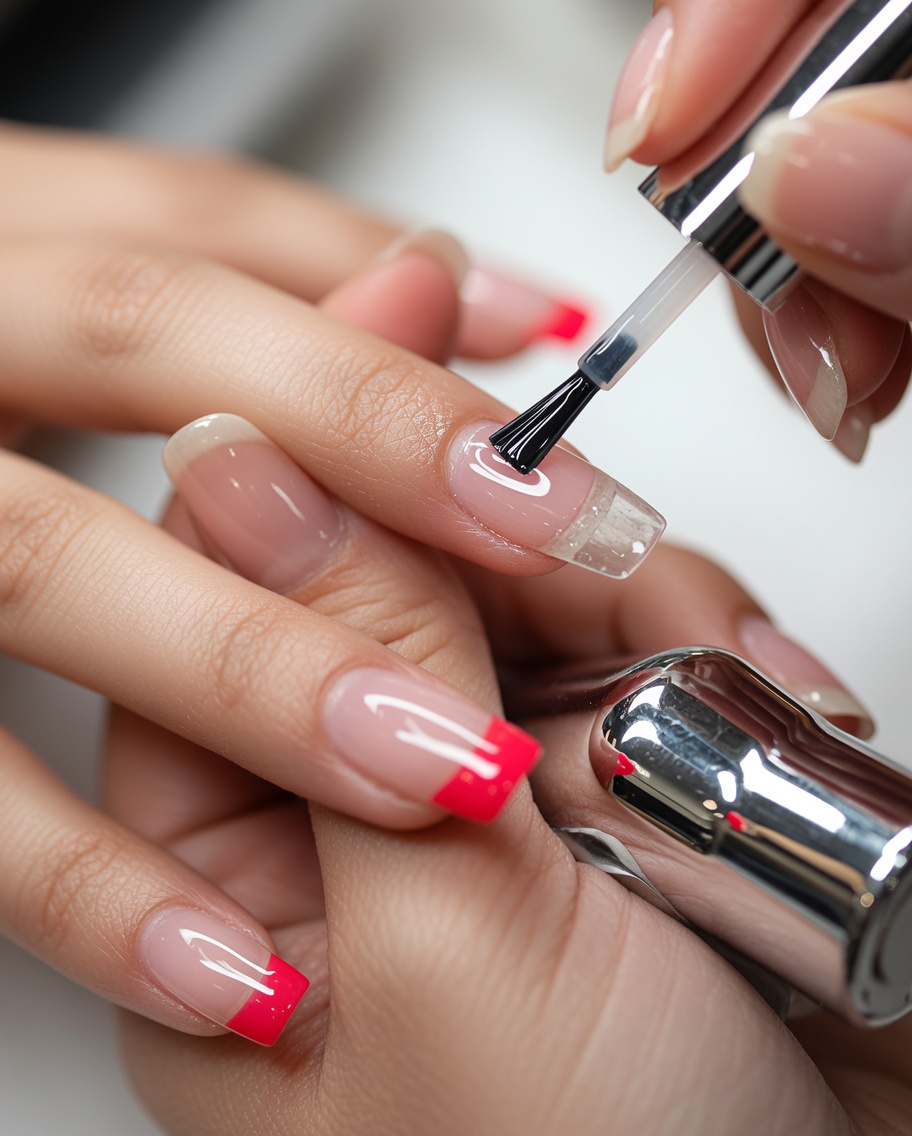
Apply a thin, even layer of base coat to the prepared nail. Ensure you cover the nail plate thoroughly while avoiding the skin around the cuticle. This provides the necessary foundation for the subsequent gel layers.
Tip: Keep the layer thin to prevent pooling around the cuticles and ensure a smooth, durable finish. - 3Cure the base coat
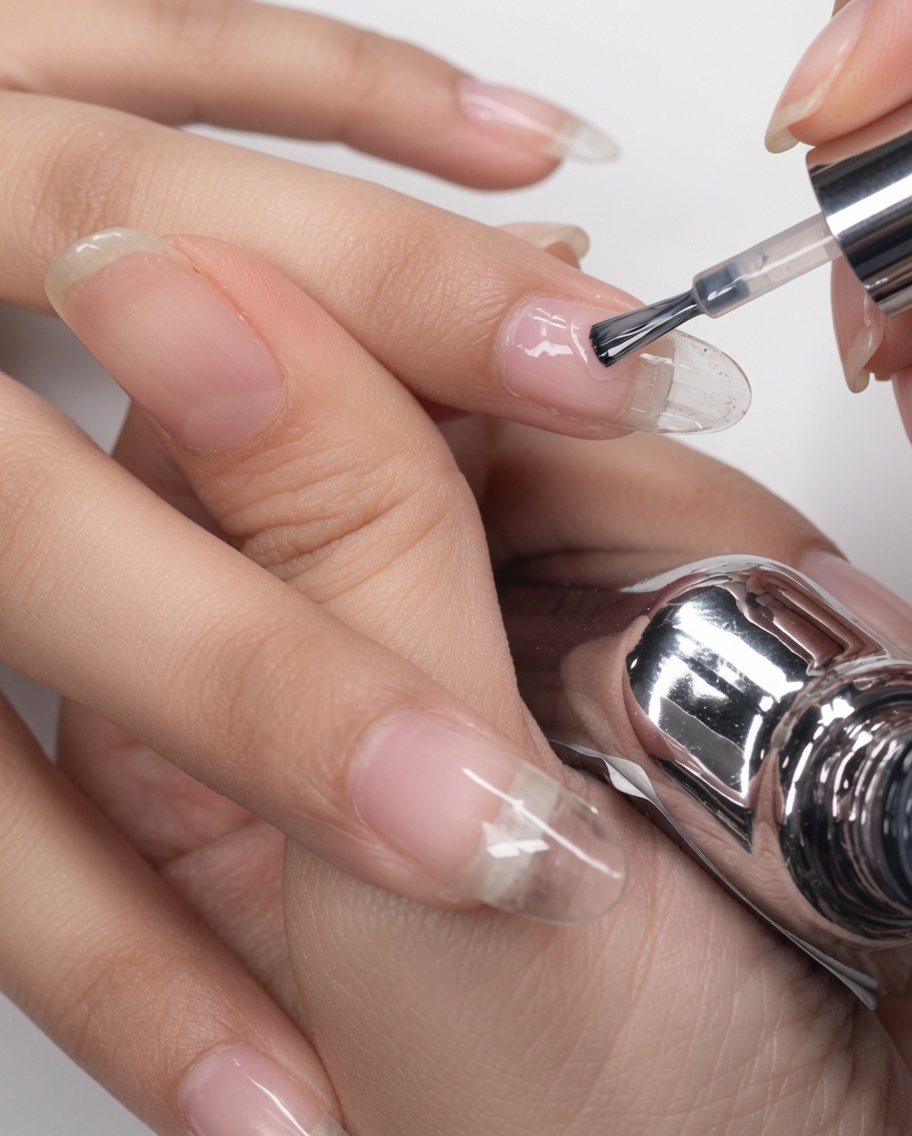
Place your nails under an LED nail lamp and cure for 30 seconds. This step sets the base coat and prepares the nail for the color or mirror-finish application.
Tip: Ensure your fingers are positioned comfortably inside the lamp to get even light distribution for a proper cure. - 4Apply mirror top coat
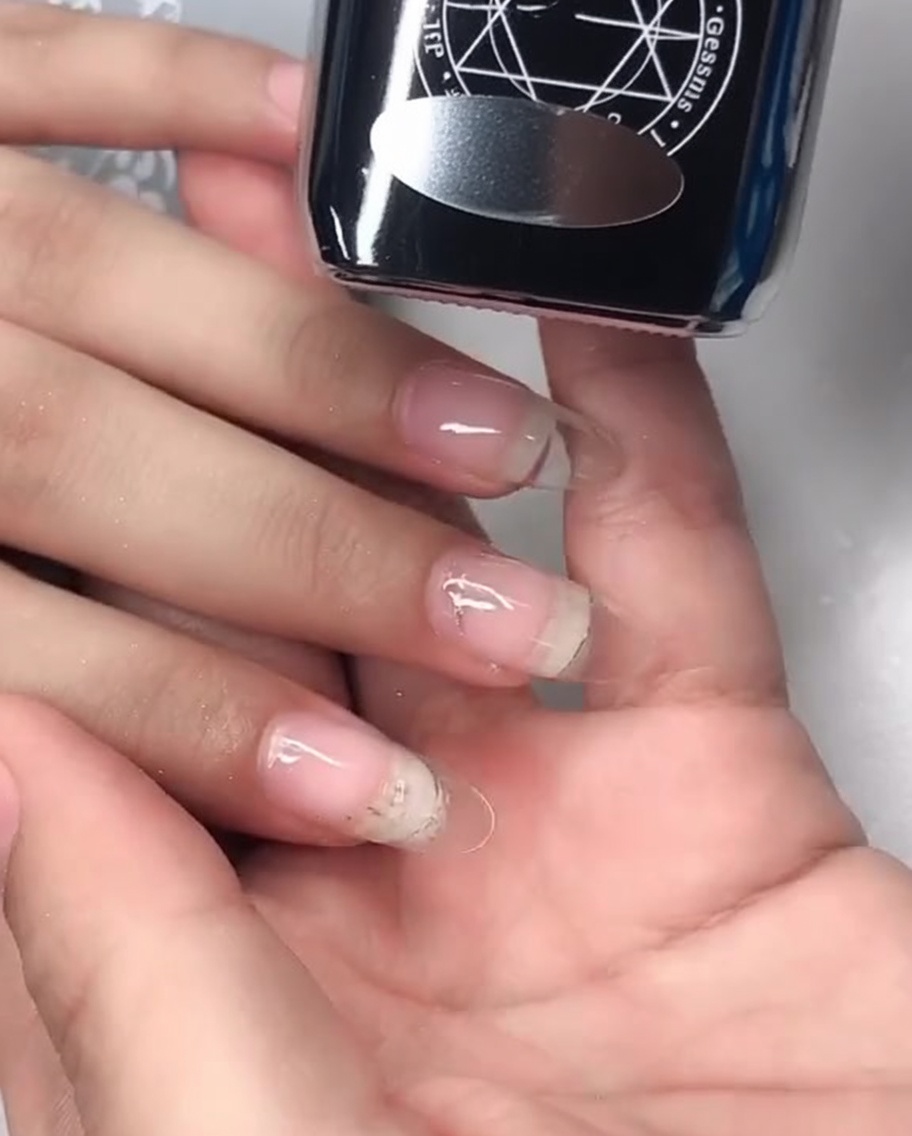
Apply a layer of the mirror-finish top coat gel over the cured base. This special top coat is designed to create the ideal surface for the chrome powder to adhere to.
Tip: Apply the gel smoothly and check for any gaps to ensure an even application of the mirror effect later. - 5Cure the top coat
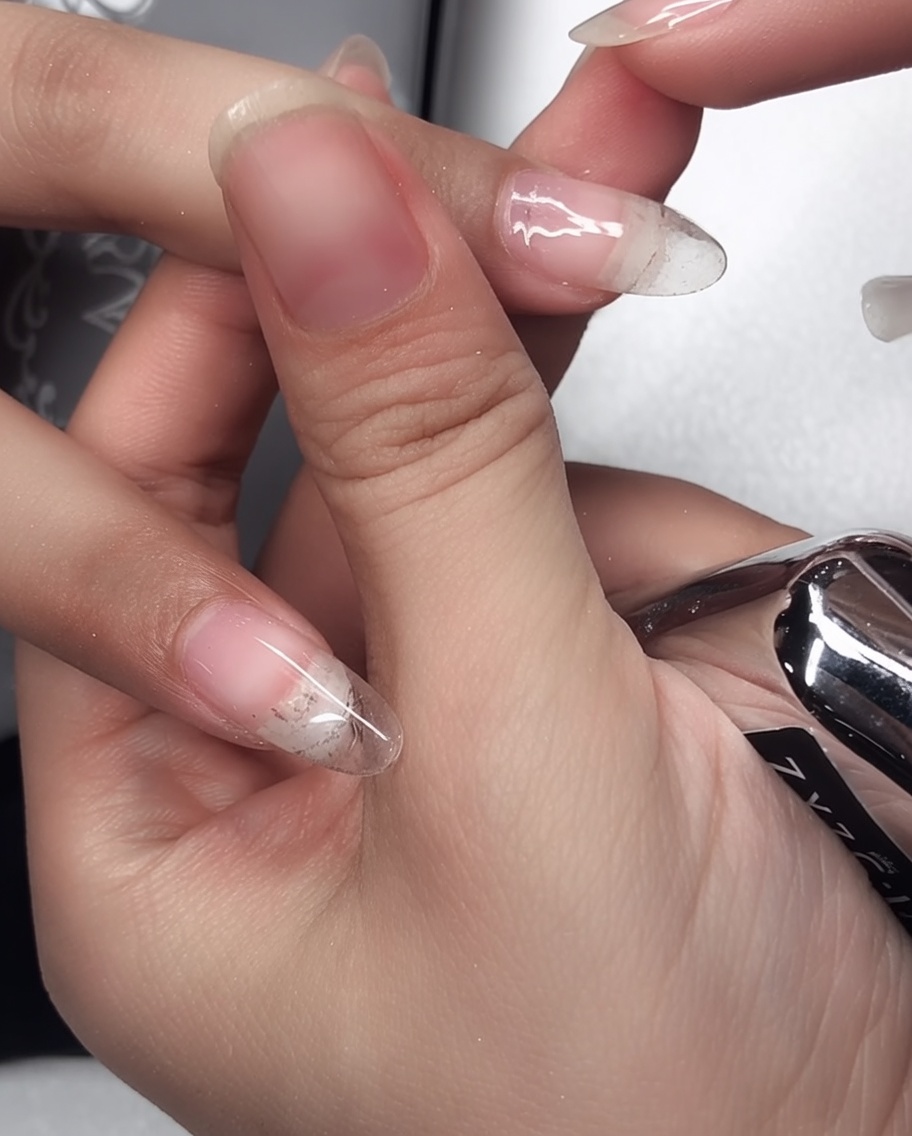
Cure the mirror-finish top coat under the LED lamp for 15 seconds. This short cure time is essential to leave the surface slightly tacky, which helps the laser powder stick perfectly.
Tip: Set a timer to ensure you dont over-cure, which would prevent the chrome powder from bonding correctly. - 6Apply laser chrome powder
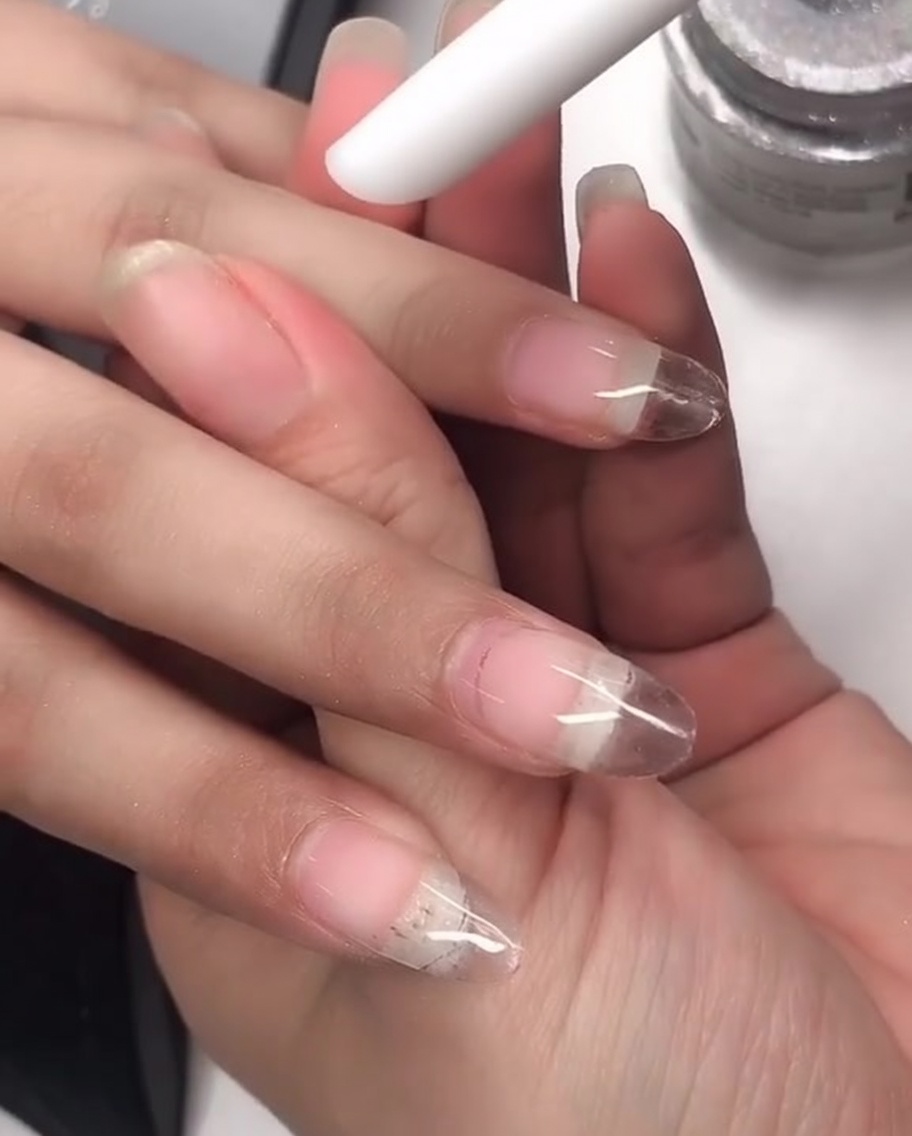
Using a silicone pen, pick up a small amount of laser chrome powder and rub it onto the nail surface. Apply moderate pressure to ensure the powder is evenly distributed and burnished into the cured top coat.
Tip: Pay close attention to the cuticle area and the side edges to achieve a complete, high-shine mirror finish. - 7Remove excess laser powder
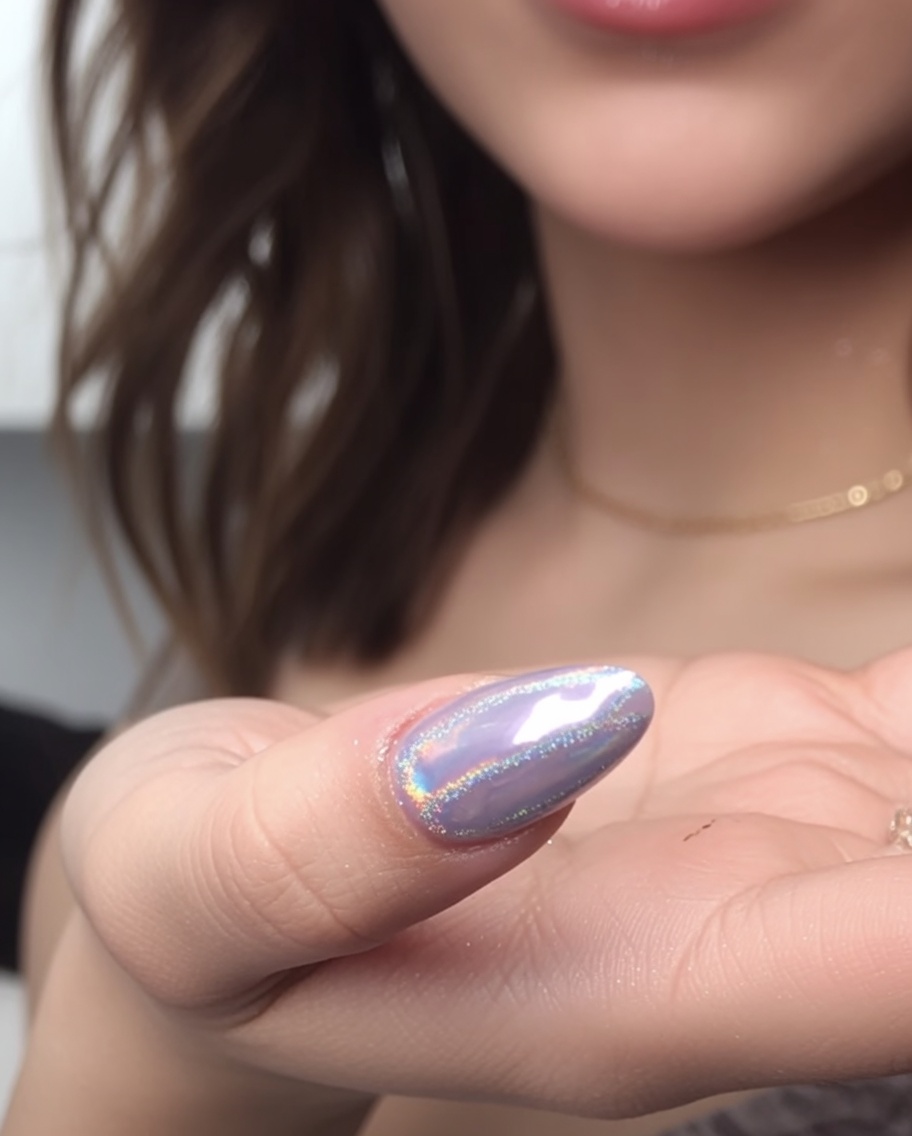
Gently use a soft dust brush to sweep away any loose laser powder from the nail surface and surrounding skin. Ensure all excess particles are removed to prevent contamination when applying the subsequent gel layers, which helps achieve a clean and uniform mirror-like finish.
Tip: Be thorough but gentle to avoid scratching the freshly applied powder. - 8Apply reinforcing gel
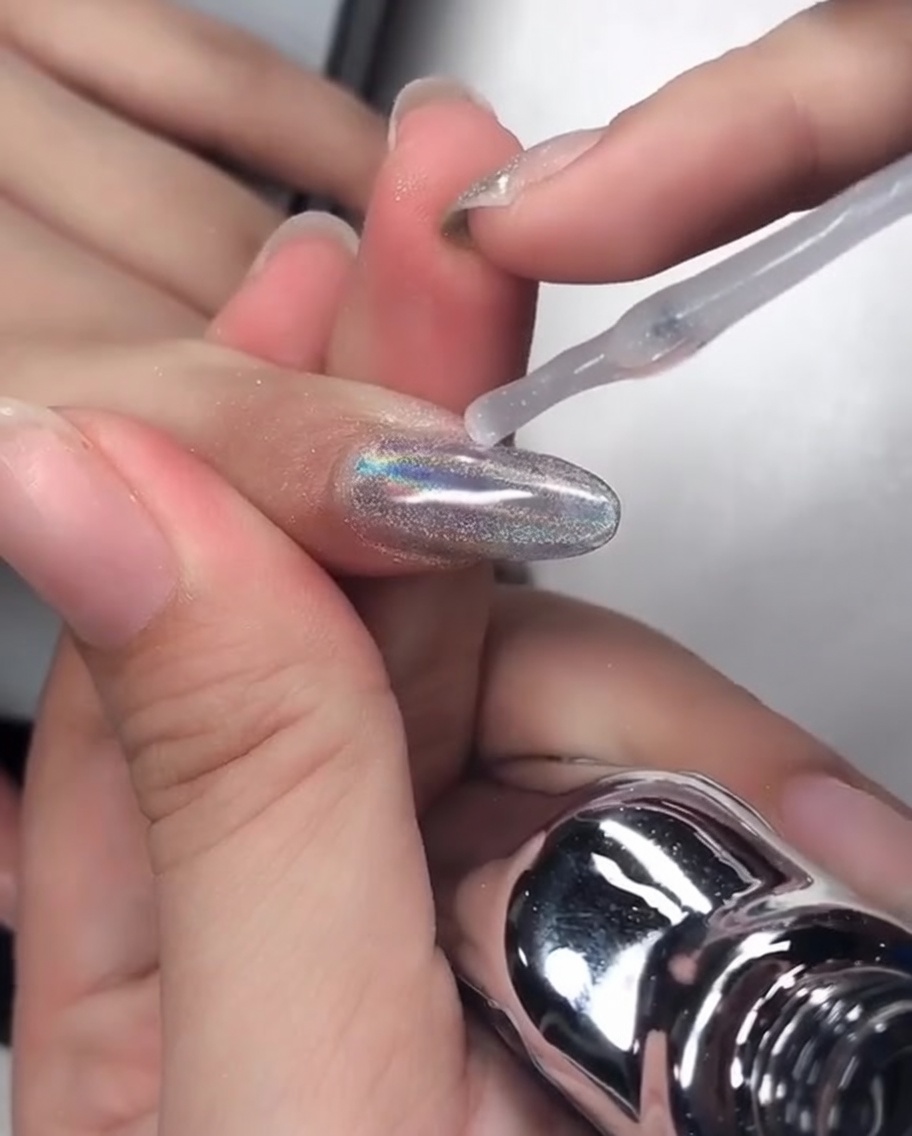
Apply a layer of reinforcing gel over the powder-coated nail to add strength and durability. Pay close attention to capping the free edge, as this seals the powder and prevents chipping or lifting of the design.
Tip: Applying reinforcing gel is crucial to protect the delicate chrome powder effect from wearing away at the tips. - 9Cure the reinforcing gel
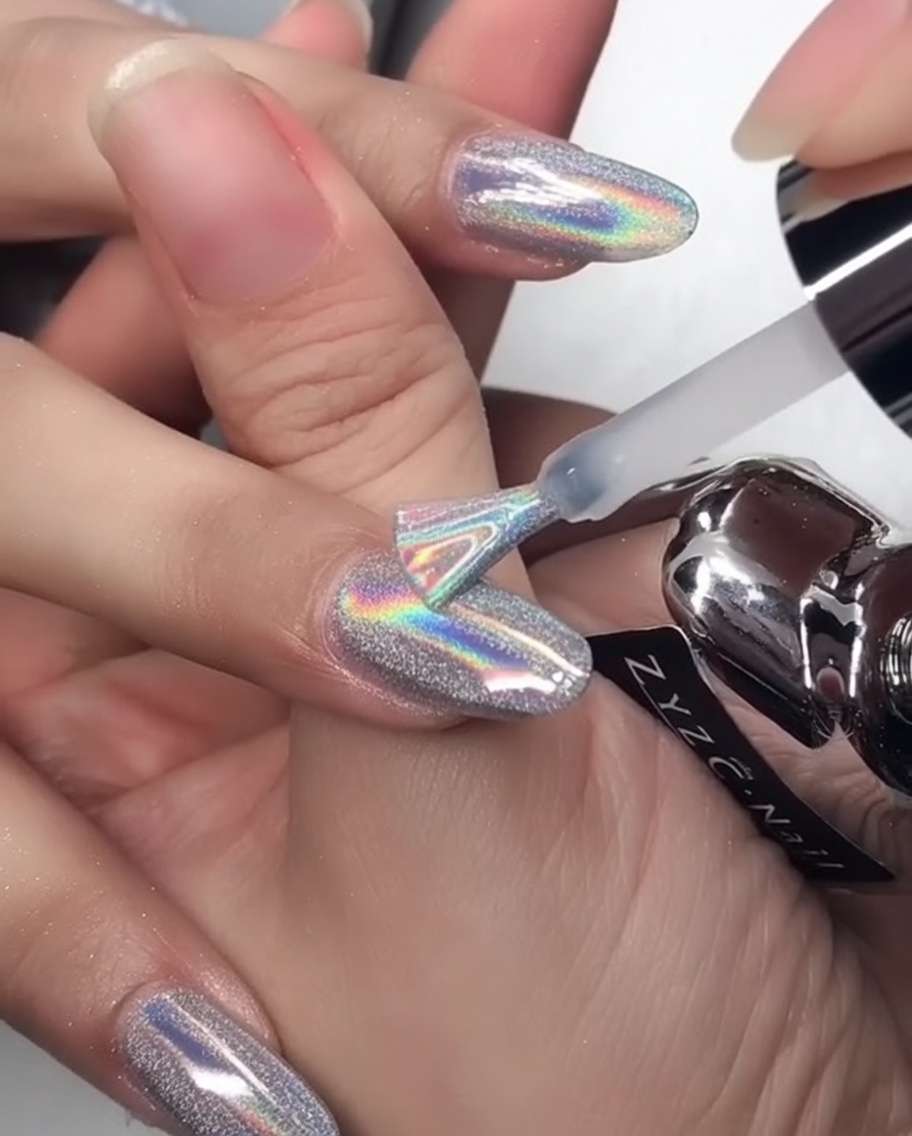
Place your nails under the UV or LED lamp and cure the reinforcing gel for 30 seconds. This step sets the reinforcement layer, securing the powder underneath and preparing the nail for the final top coat application.
Tip: Ensure your hand is positioned correctly inside the lamp for an even, full-cure coverage. - 10Apply final top coat
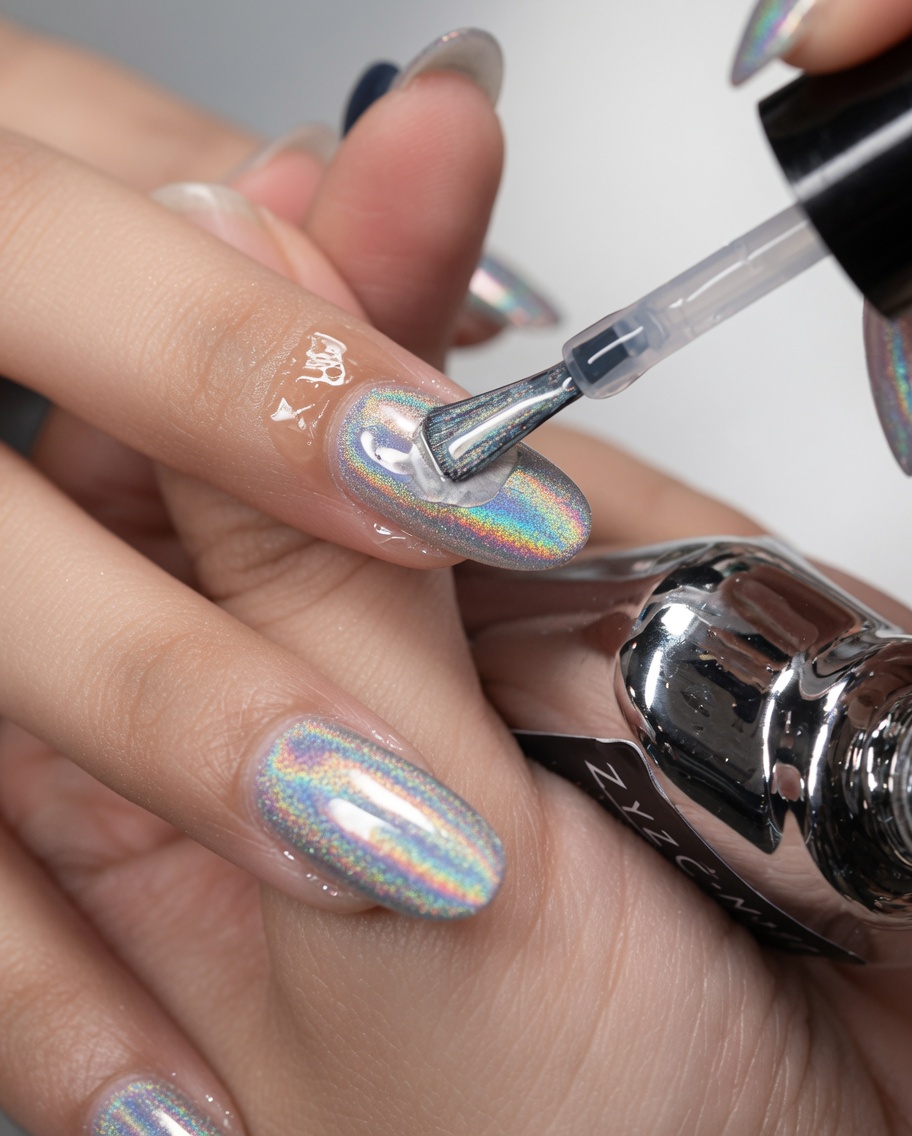
Finish the nail design by applying a high-shine top coat gel over the entire surface. Ensure smooth, even strokes and cap the free edge once more to lock in the chrome effect and provide a long-lasting, glossy finish.
Tip: A high-quality shiny top coat will enhance the reflective mirror properties of the laser powder.