Nude Pink French Laser Cat-Eye Nails — Step-by-Step Tutorial
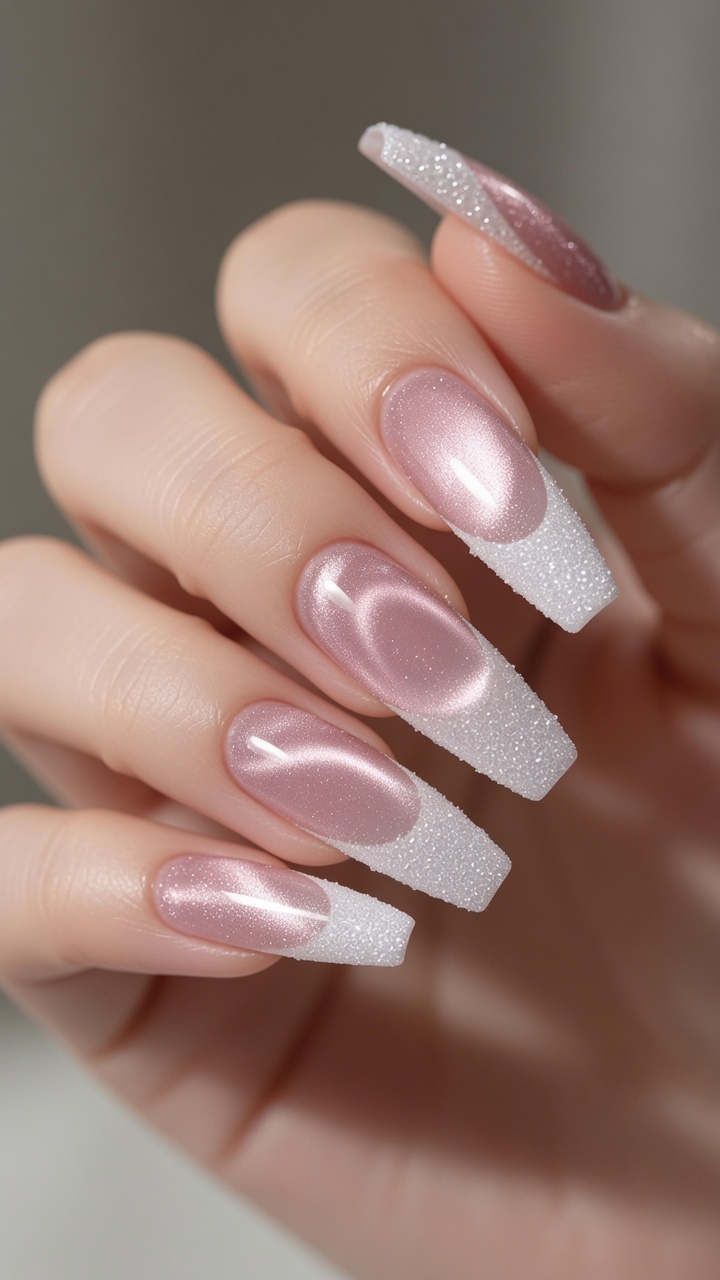
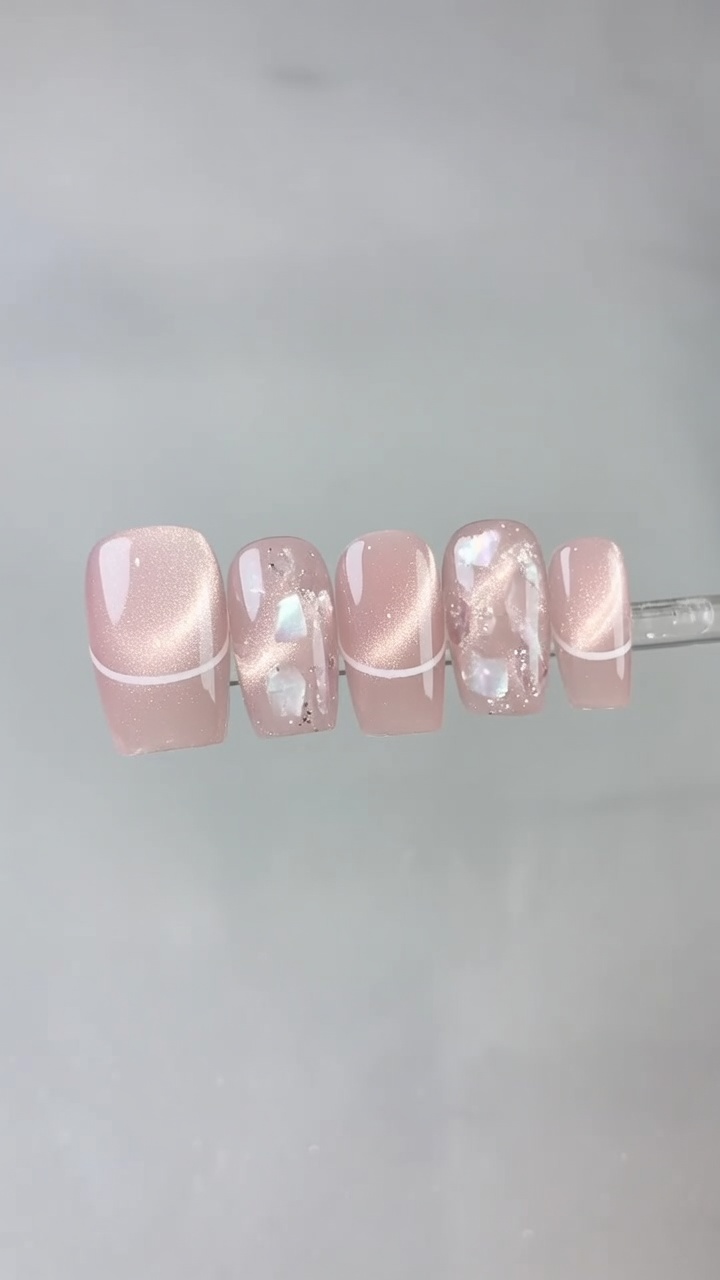
Learn how to create a stunning nude pink French laser cat-eye nail design featuring magnetic effects, encapsulated glass paper, and delicate shell accents.
The laser cat-eye look is taking salon requests by storm, blending traditional elegance with mesmerizing optical depth. This nude pink French variation incorporates hidden laser glass paper and delicate shell fragments to create a multi-dimensional glass ball effect. By layering sheer gels and mastering magnetic manipulation, you can achieve an ethereal, trendy aesthetic that catches the light beautifully from every angle.
Steps
- 1Flip the nail tip
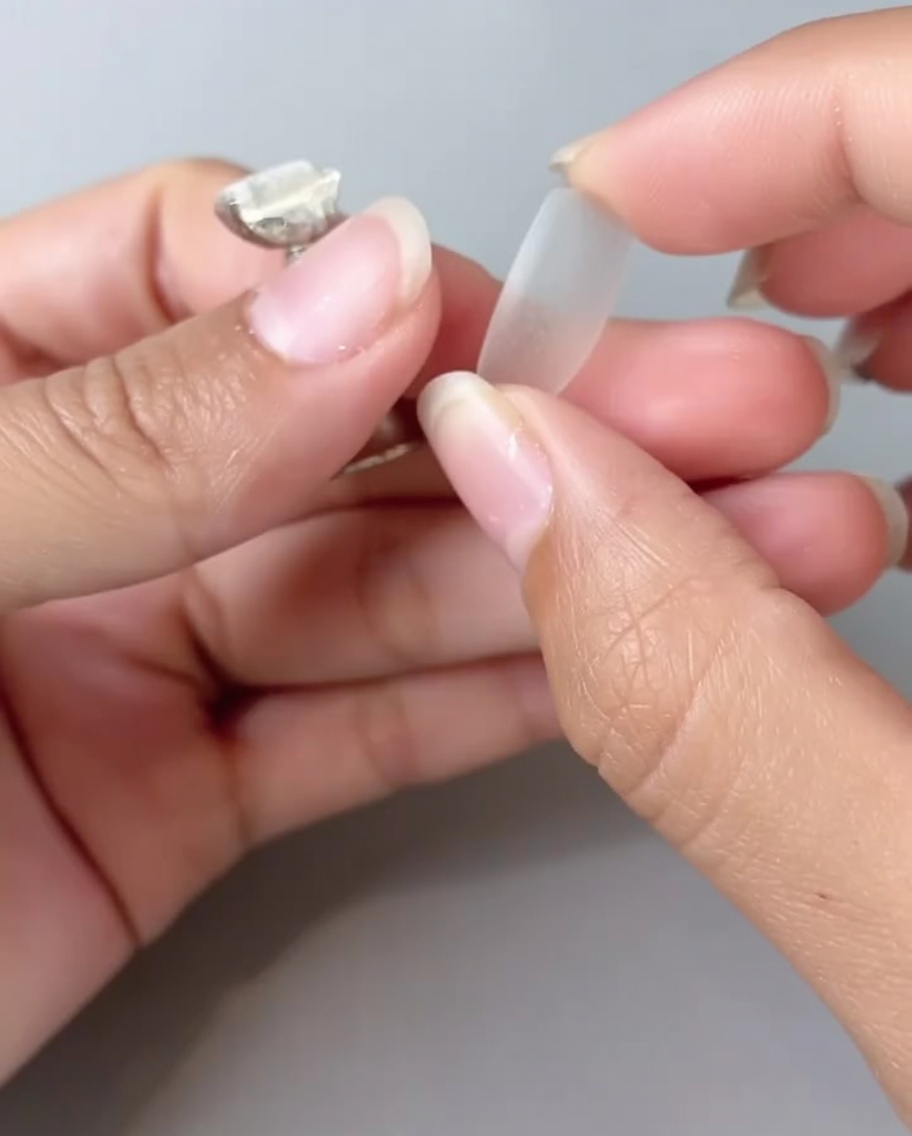
Take the nail tip and carefully flip it over to expose the reverse side. This allows you to prepare the underside for the custom glass paper application, which creates the unique depth for the cat-eye style.
Tip: Hold the sides of the tip firmly to keep it steady while flipping to avoid dropping it. - 2Apply soft adhesive
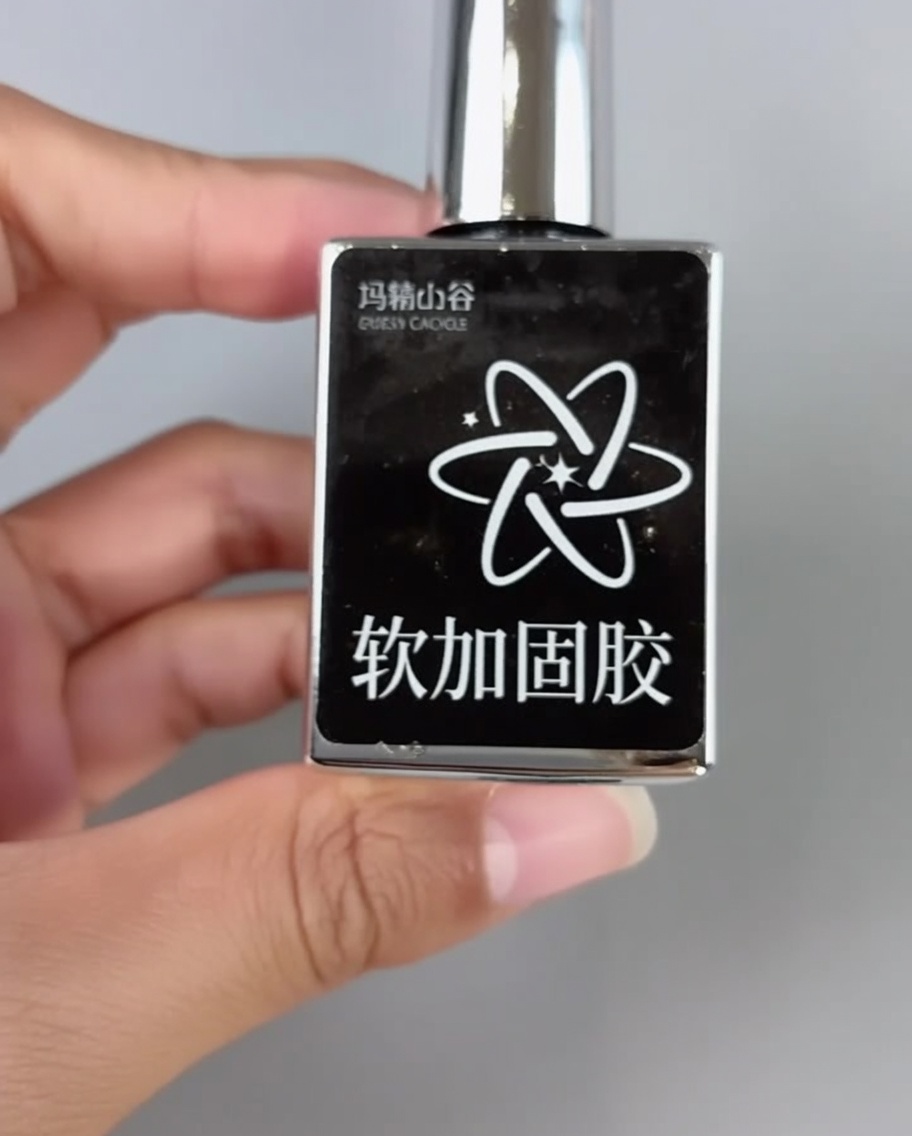
Using the brush from the soft adhesive bottle, apply a controlled amount to the front edge of the reverse side of the nail tip. This adhesive will secure the laser glass paper in place.
Tip: Apply a thin, even layer so the adhesive does not spill over the sides of the nail tip. - 3Position laser glass paper
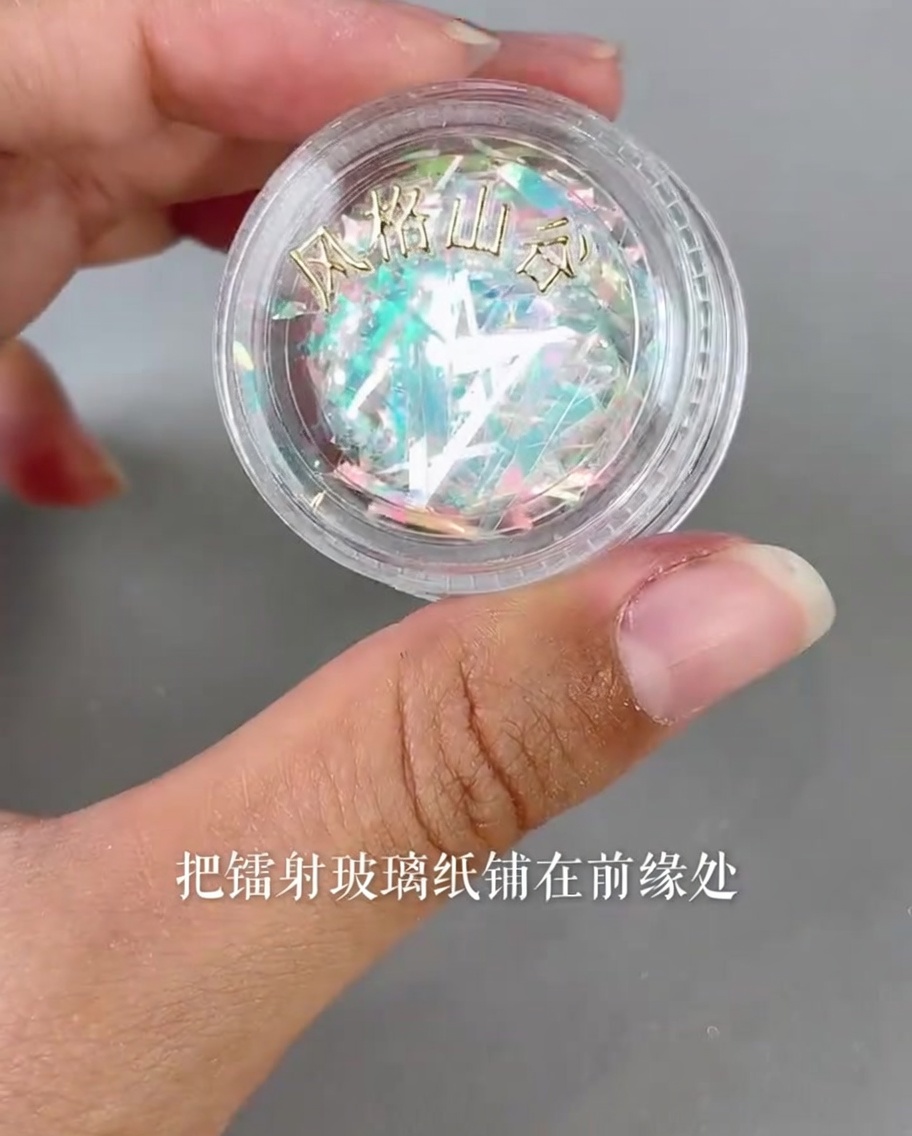
Using tweezers or a small tool, pick up pieces of the laser glass paper and place them onto the wet adhesive on the front edge of the nail tip. Arrange them neatly to ensure the laser effect covers the desired area.
Tip: Work quickly before the adhesive sets to ensure you have enough time to position the paper pieces perfectly. - 4Seal with top coat
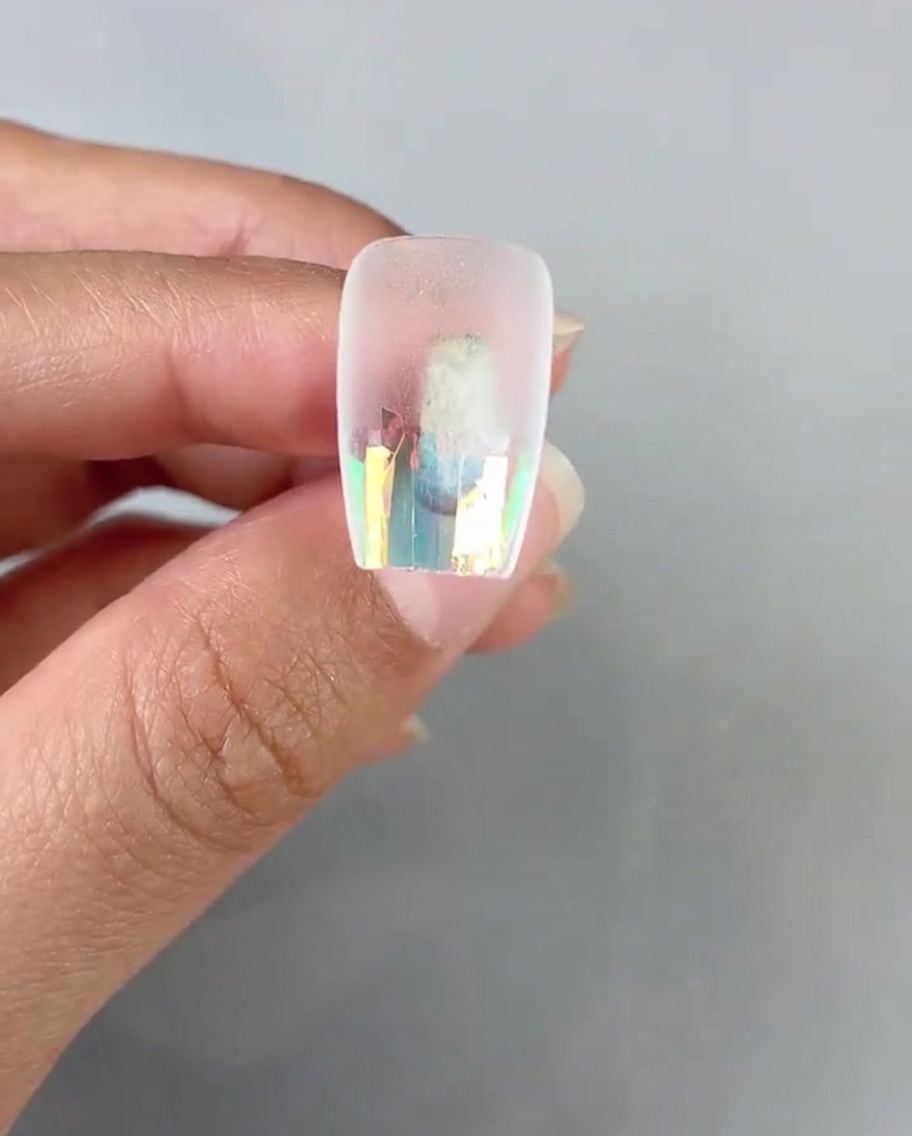
Apply a layer of smooth top coat over the positioned glass paper to lock it in place. Cure under the lamp to ensure a durable seal before proceeding to the next step.
Tip: Ensure the top coat covers all edges of the glass paper so it stays smooth and secure. - 5Apply pink color gel
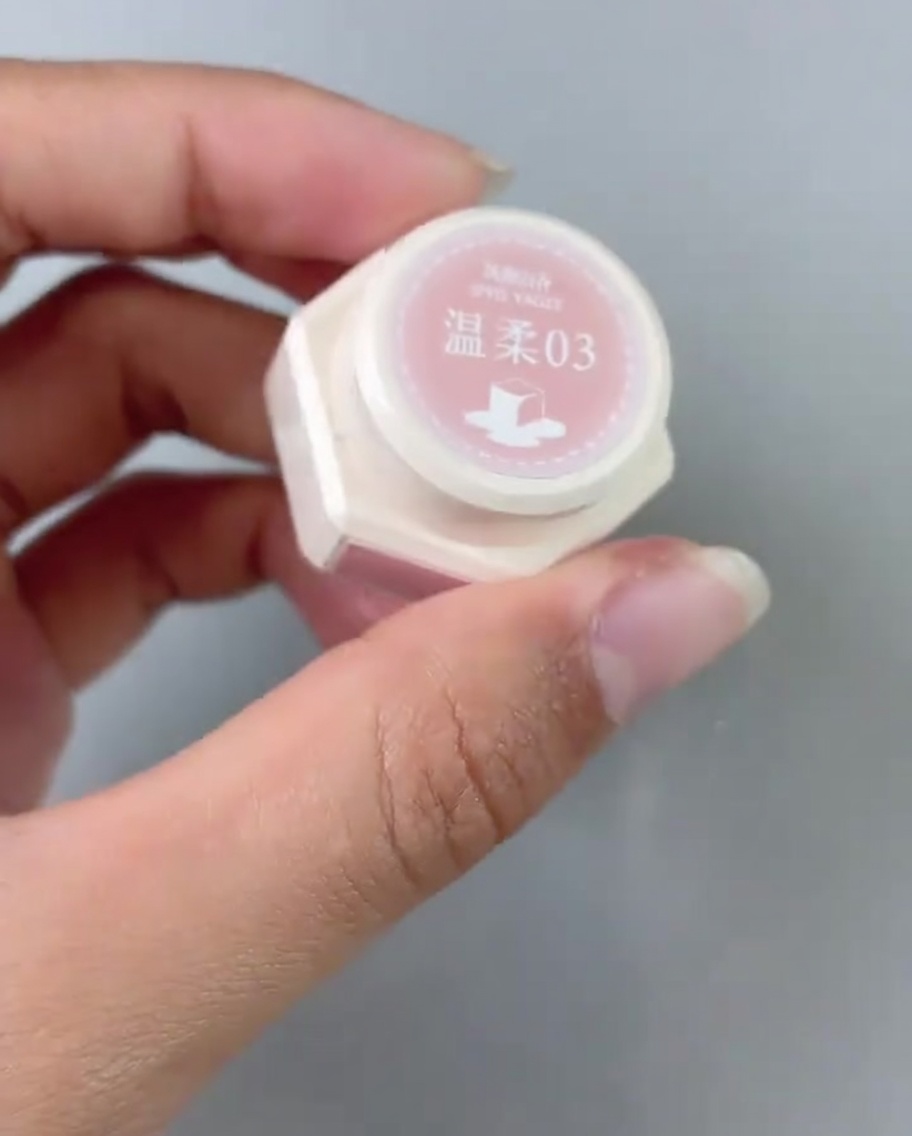
Turn the nail tip back over to the front side. Apply the number 03 pink polish gel to the posterior (back) edge of the nail, creating a solid base for the color gradient.
Tip: Apply a thin layer to maintain a natural look and prevent bulkiness. - 6Apply sheer pink gel
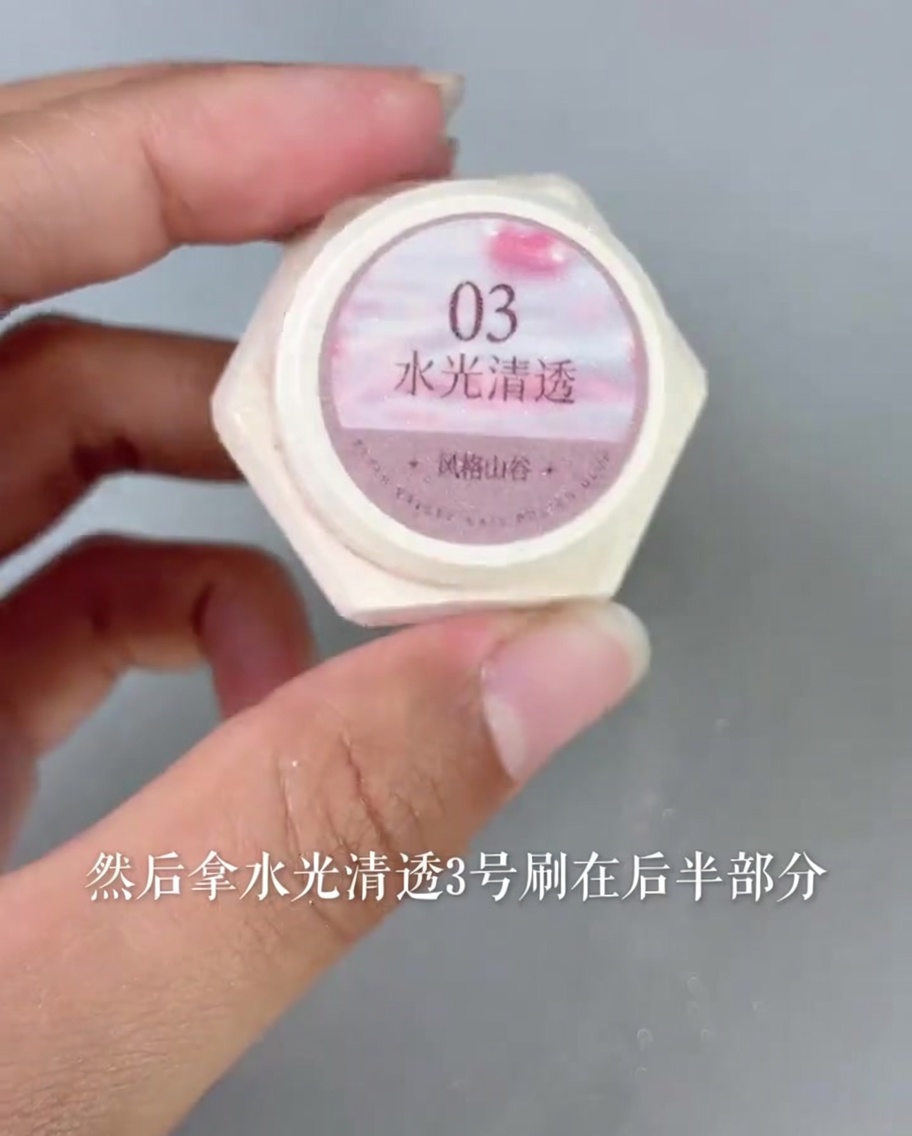
Apply the number 03 water-gloss sheer gel over the back half of the nail. This sheer layer adds dimension and prepares the nail for the blending process.
Tip: Use light, sweeping motions to avoid streaking the previously applied pink color gel. - 7Blend the sheer gel
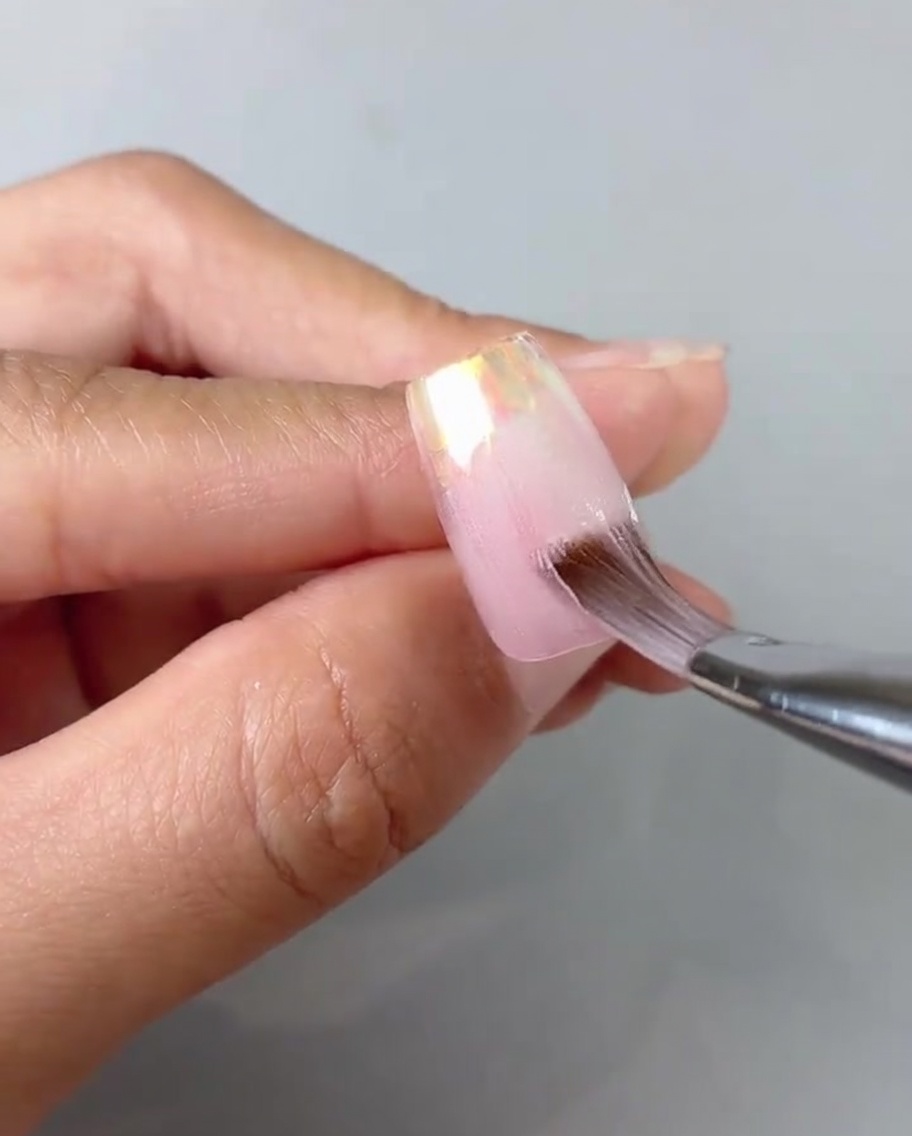
Using a clean brush, gently blend the sheer pink gel on the nail surface to ensure a smooth, natural transition. Soften any harsh lines to create a seamless gradient effect before curing.
Tip: Keep the brush clean throughout the blending process to avoid muddying the colors. - 8Create wide cat-eye effect
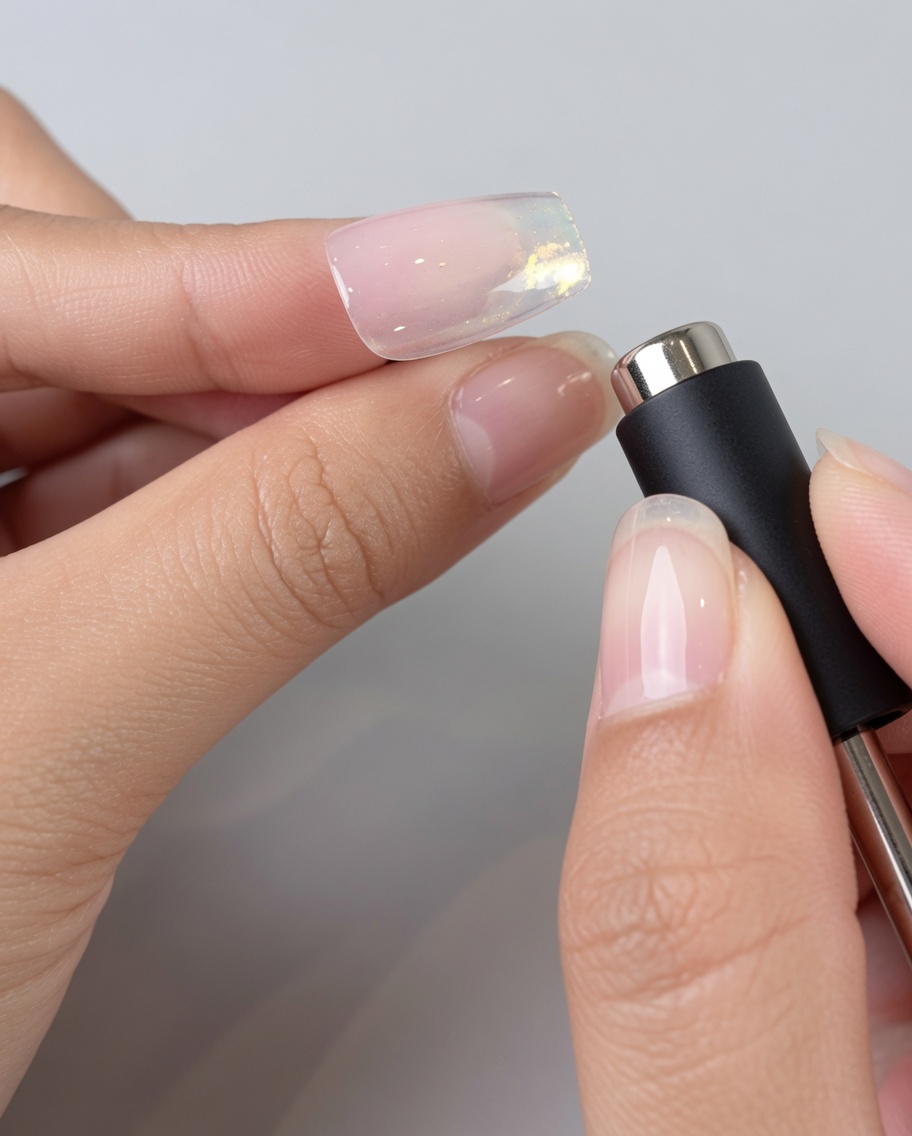
Position the magnet near the nail and move it back and forth to manipulate the magnetic particles. This motion creates a wide, soft light reflection characteristic of the cat-eye style.
Tip: Move the magnet slowly and consistently to achieve a smooth, wide band of light. - 9Create glass ball cat-eye
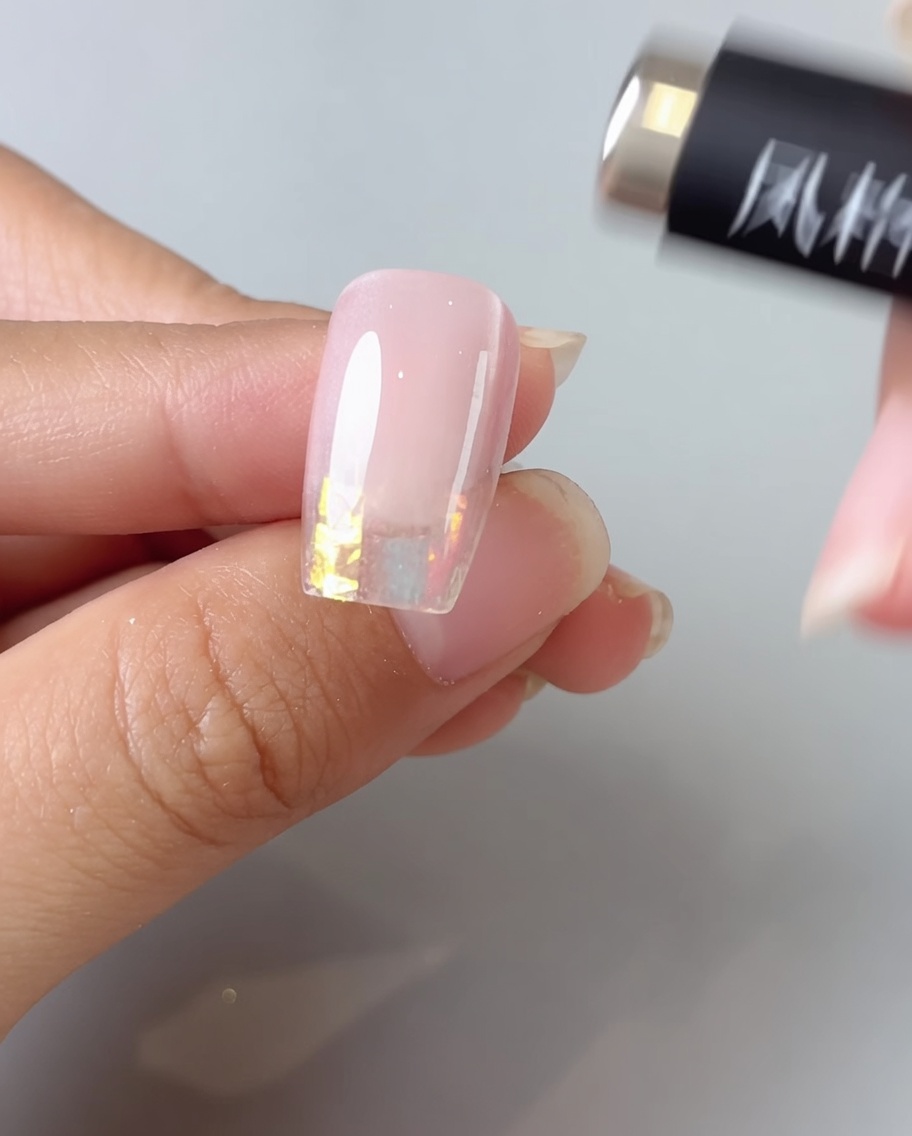
Using the tip of the magnet, create a swirling motion over the wet gel. This concentrates the magnetic particles into a round, glass-like ball effect in the center of the light reflection.
Tip: A small, precise circular motion helps define the center point of the glass ball effect. - 10Draw the French line
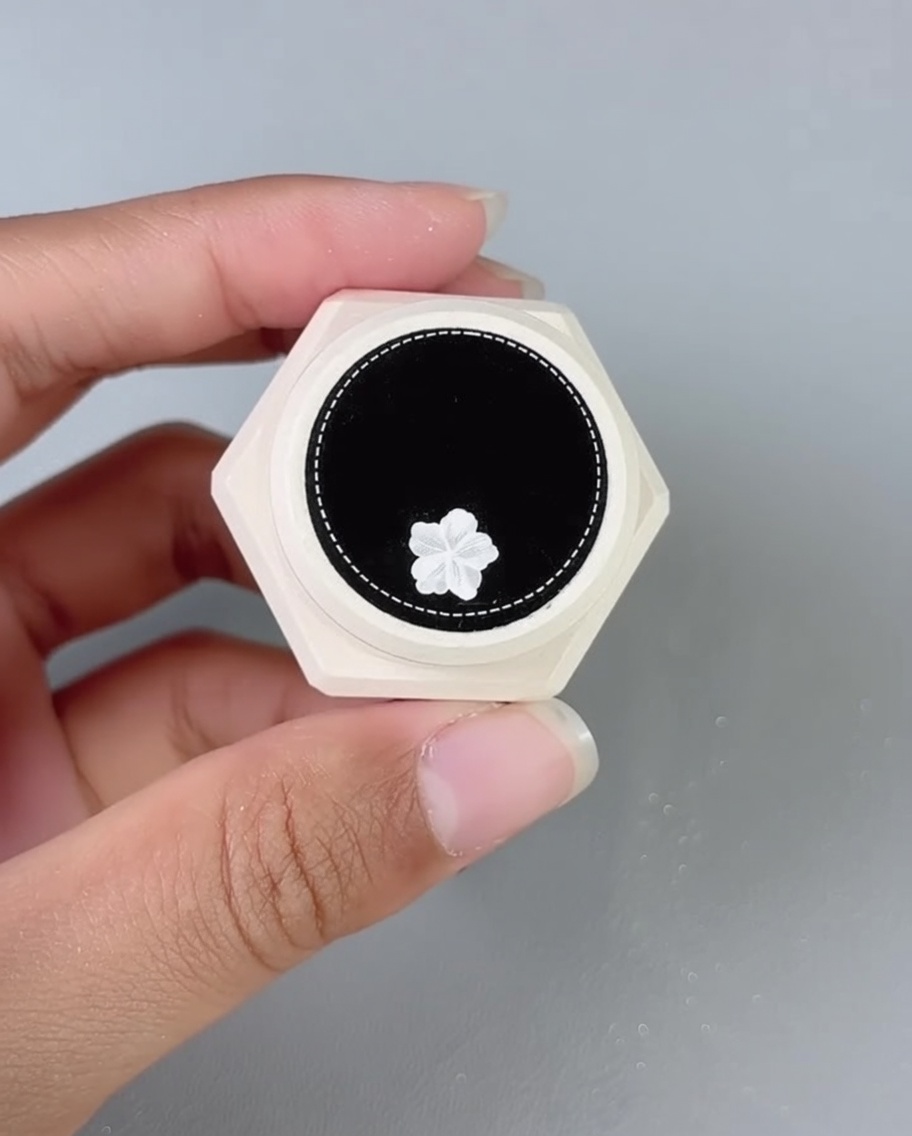
With a fine liner brush and white nail paint, carefully outline a French tip on the front edge of the nail. Use steady, light pressure to create a crisp and clean smile line.
Tip: If you make a mistake, wipe it clean with a brush dipped in a tiny amount of remover before curing. - 11Apply shell fragments
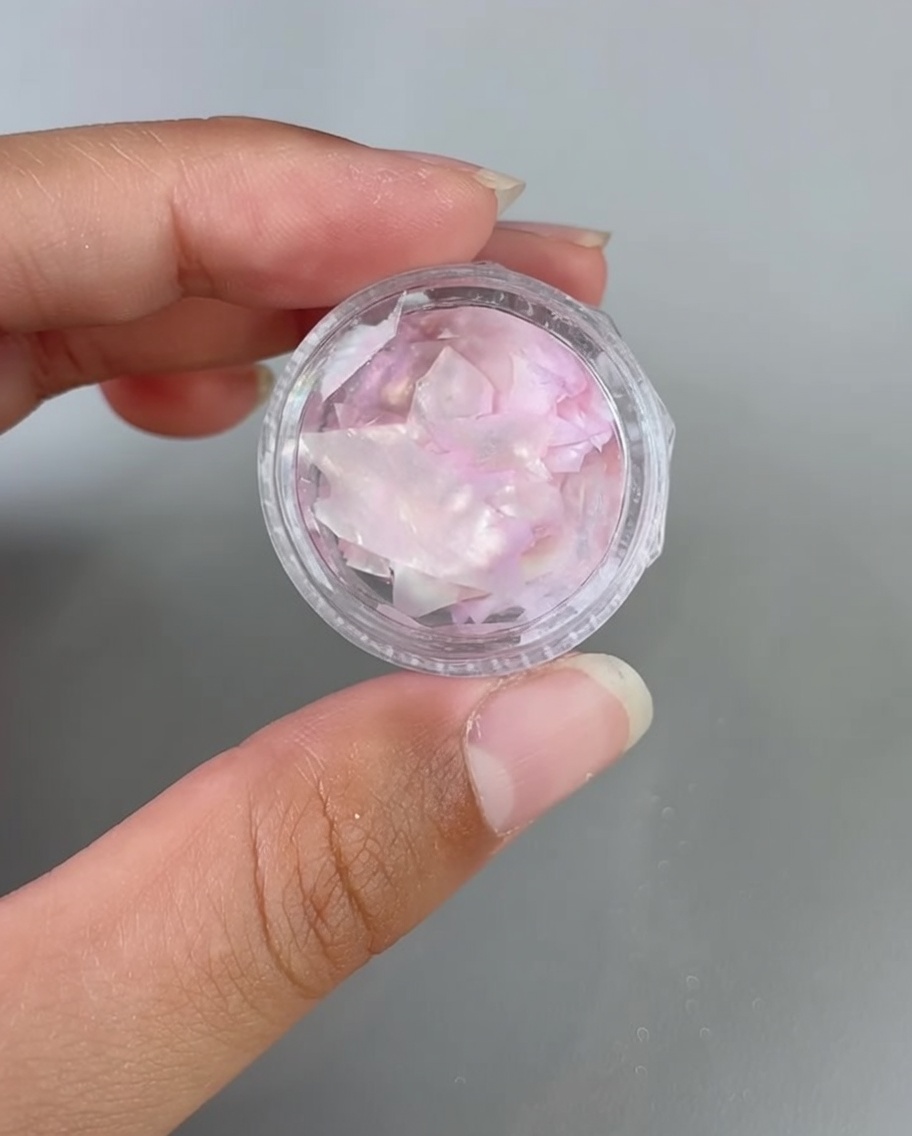
Apply small amounts of soft adhesive to the desired areas on the nail. Carefully place shell fragment pieces into the adhesive, pressing down to ensure they lie flat.
Tip: Use tweezers for better precision when placing delicate shell fragments. - 12Apply milky flow gel
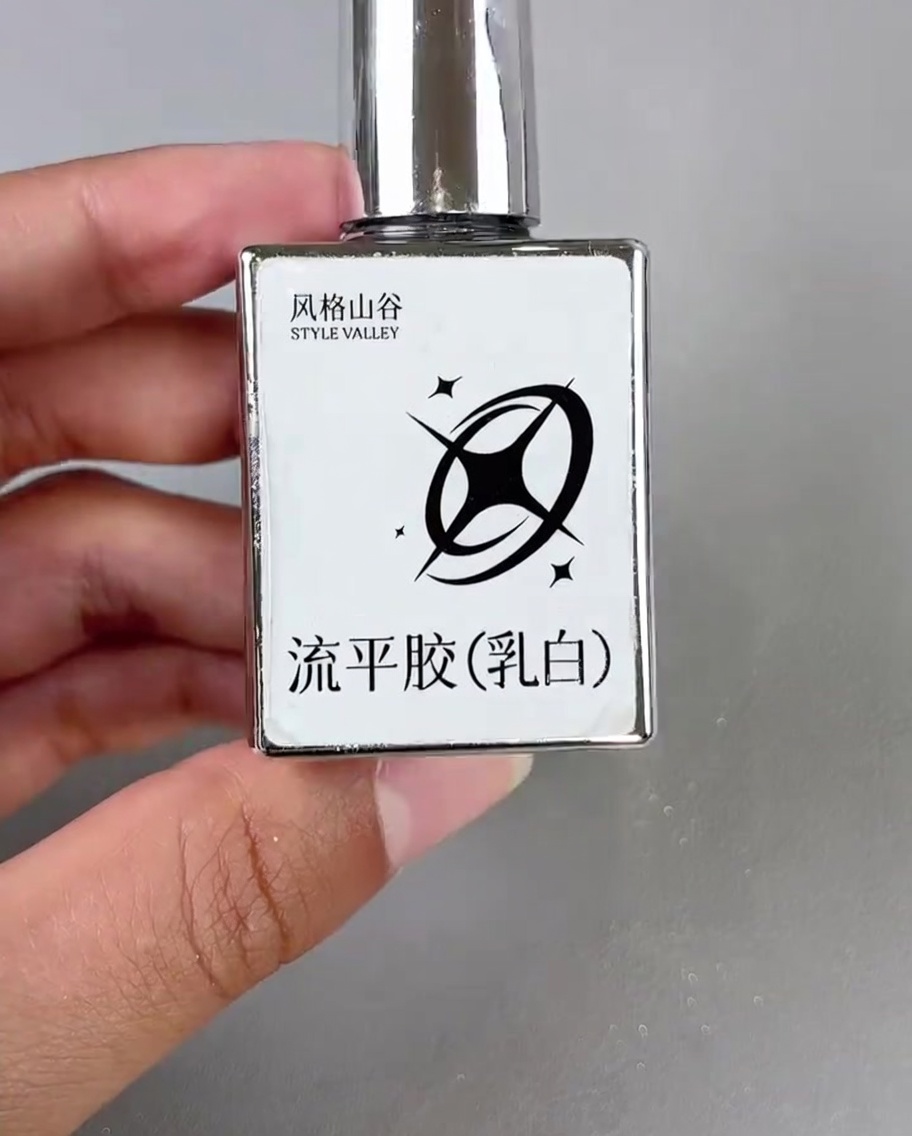
Apply a small amount of milky flow gel to the corners of the nail. This helps soften the edges and adds depth to the design by layering the colors.
Tip: Work in small amounts to control the flow and placement of the milky gel. - 13Blend milky flow gel
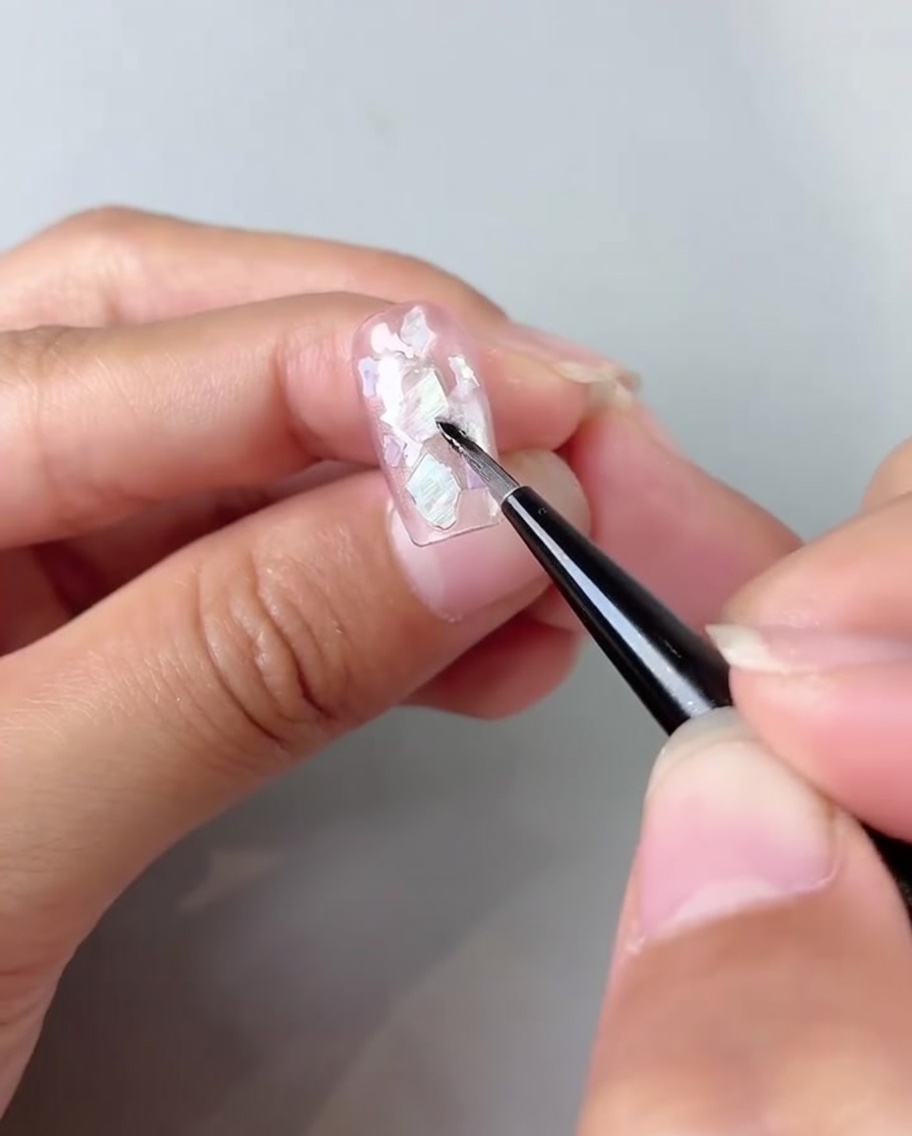
Apply a small amount of milky flow gel to the diagonal corners of the nail. Use a fine brush to gently blend the gel inward to create a soft, layered, and deep effect at the corners.
Tip: Work in small amounts to maintain control and avoid over-saturating the design. - 14Add silver glitter accents
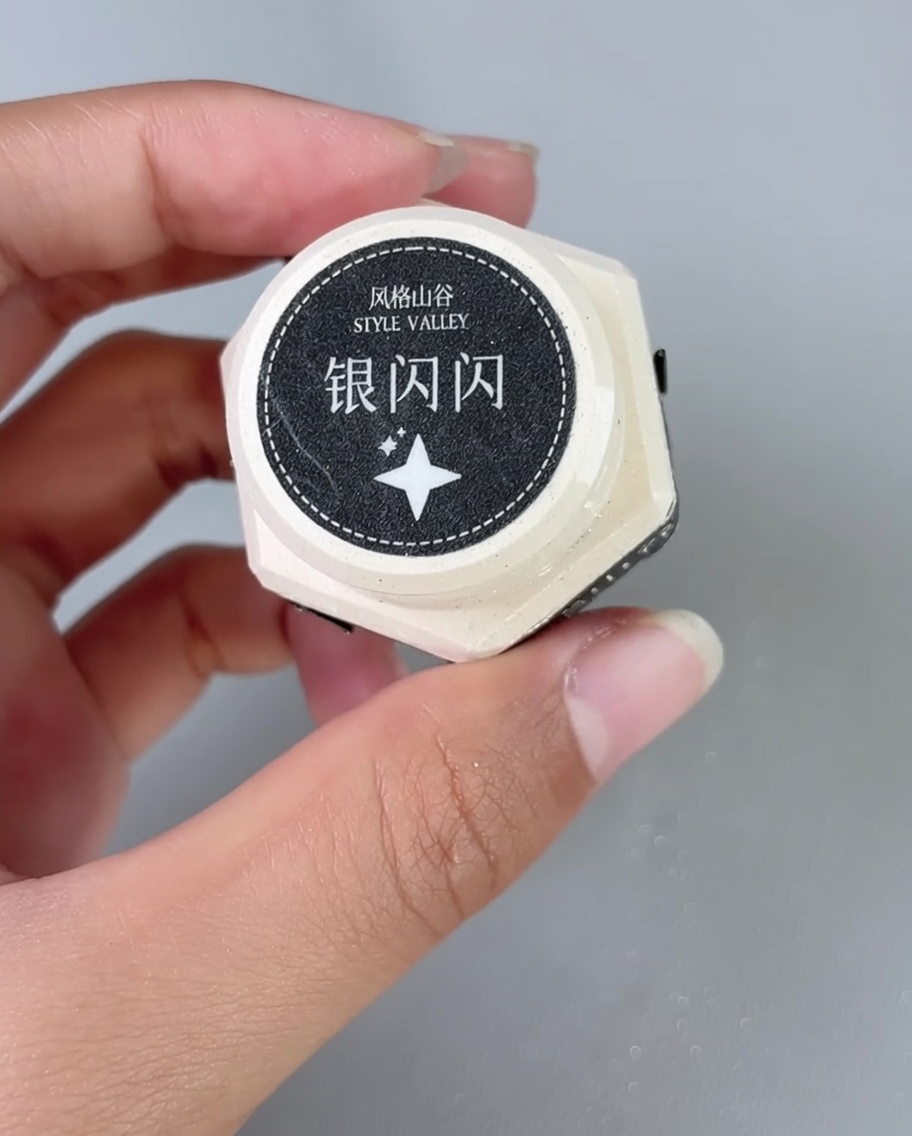
Using a fine liner brush, carefully apply silver glitter to the corners where you just blended the milky gel. This adds a subtle, shimmering highlight that enhances the dimension of the cat-eye design.
Tip: Concentrate the glitter on the very edges of the corners for a precise, sparkling effect. - 15Apply final top coat
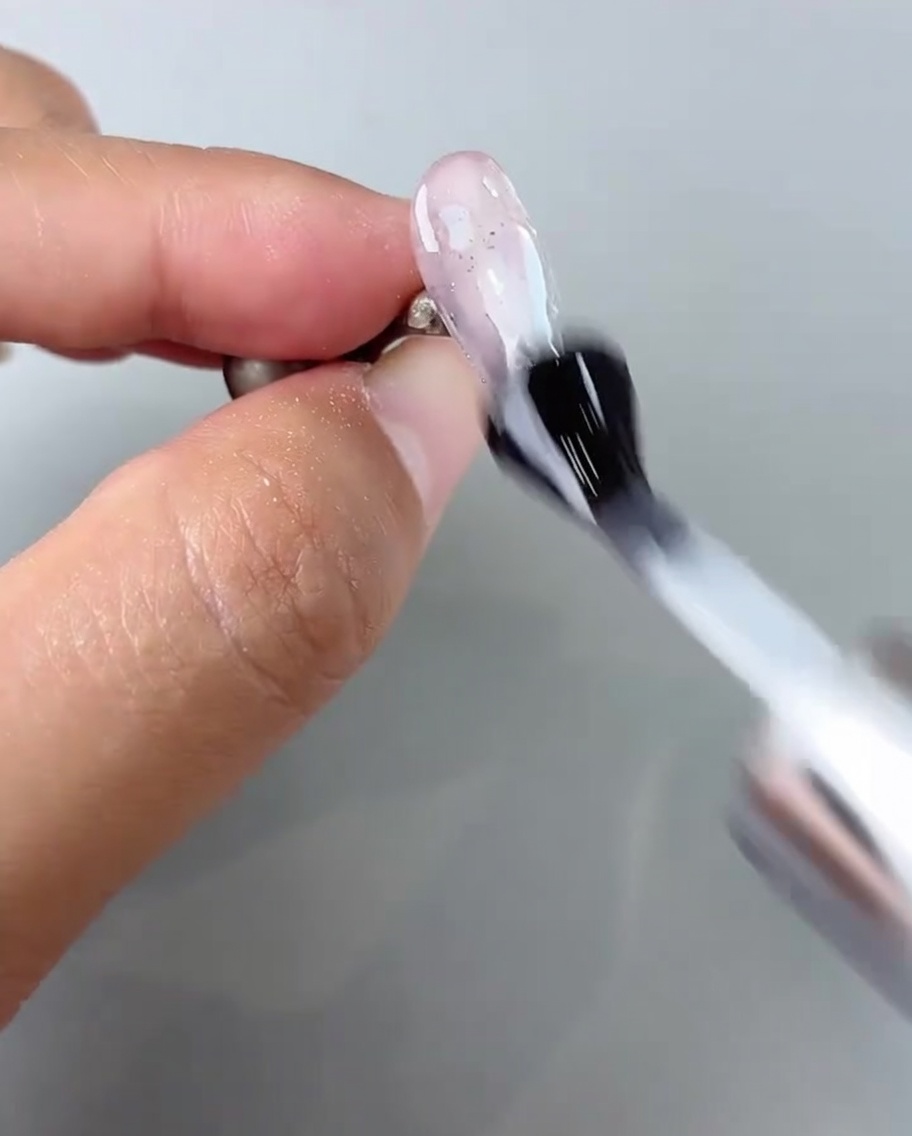
Apply a final, generous layer of smooth top coat over the entire nail to seal the glitter and milky gel layers. Ensure you cap the free edge to protect the manicure, then cure thoroughly under the lamp.
Tip: Floating the top coat over the design will help create a perfectly smooth, glass-like finish.