French Cat Eye Nails
Sugar Powder Finish — Step-by-Step Tutorial
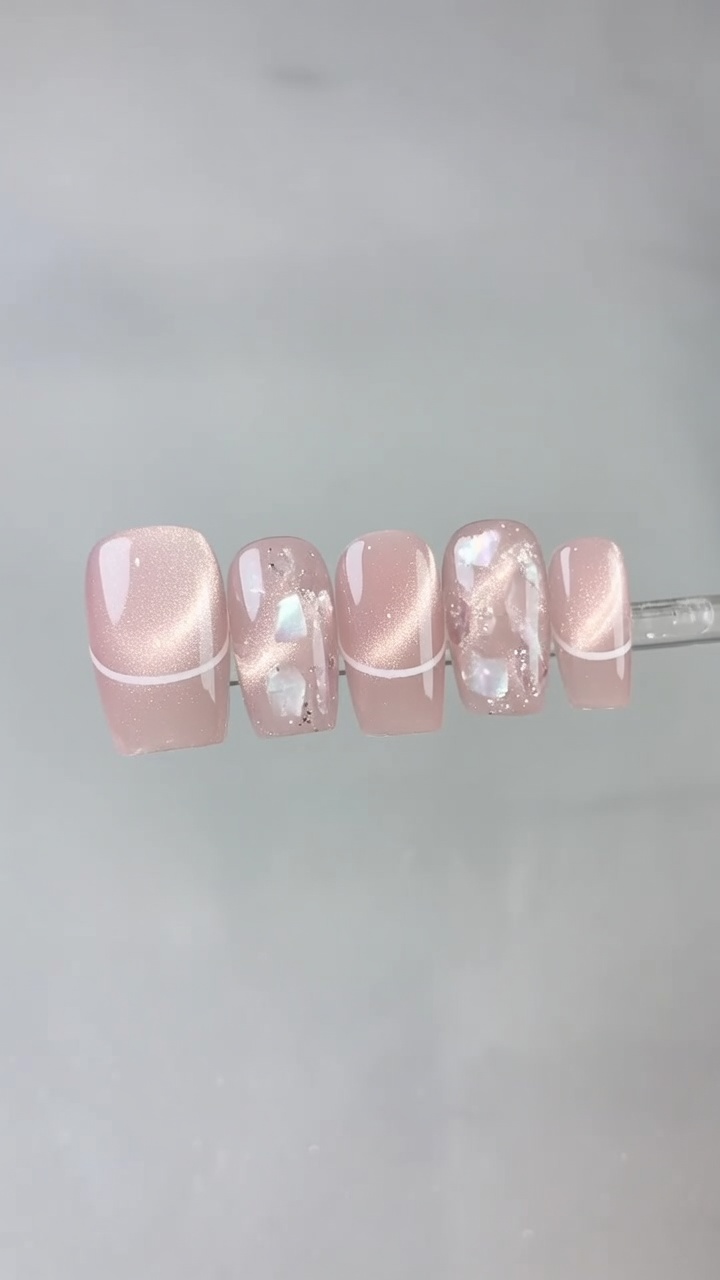
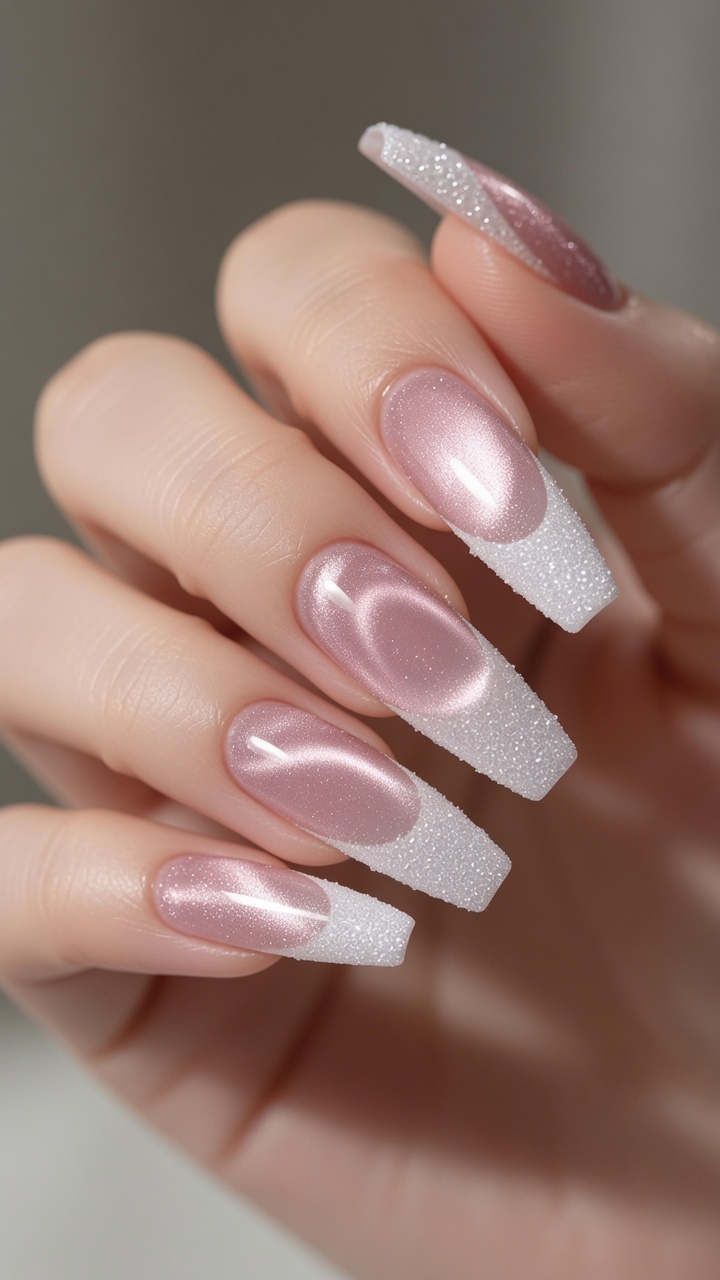
Elevate your manicure with this stunning fusion of magnetic cat eye gel and a textured sugar powder French tip.
This unique design blends the ethereal, velvet-like depth of cat eye magnetic gel with the modern, tactile contrast of a sugar powder finish. Perfect for those who want a sophisticated look that plays beautifully with light and texture. It is a striking combination that elevates a classic French manicure into something truly contemporary and eye-catching.
Steps
- 1Pick up the gel polish
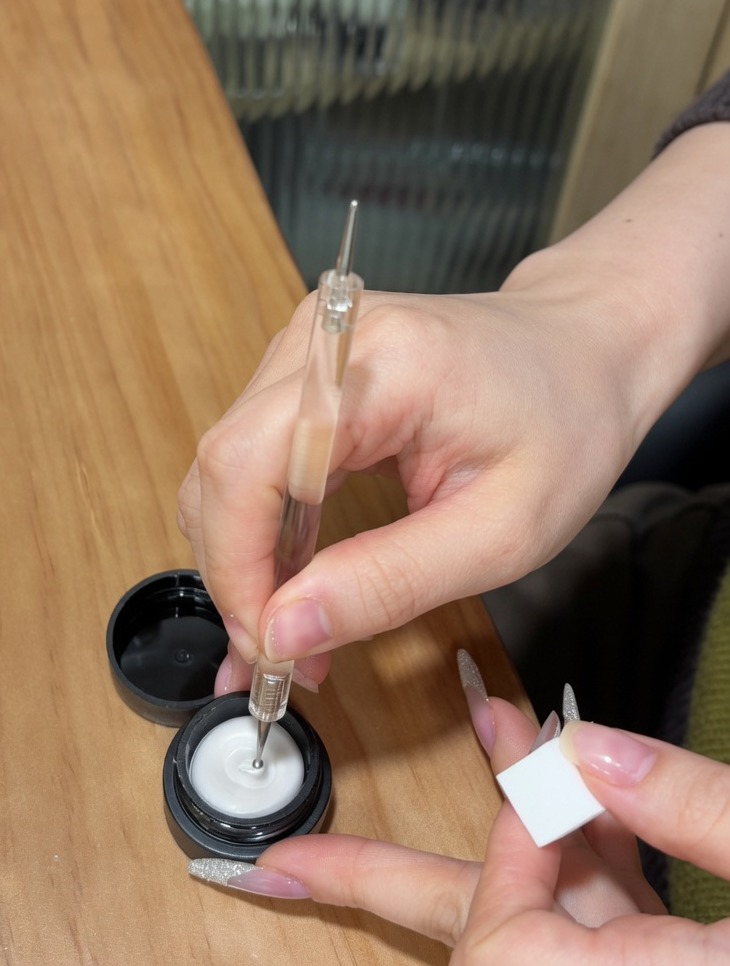
Use a fine dotting tool to pick up a small bead of white gel polish from the pot. This gel will be transferred to a makeup sponge to build the gradient ombre effect on the nail.
Tip: Pick up only a small amount of gel at a time to maintain better control over the gradients shape and opacity. - 2Create gradient effect
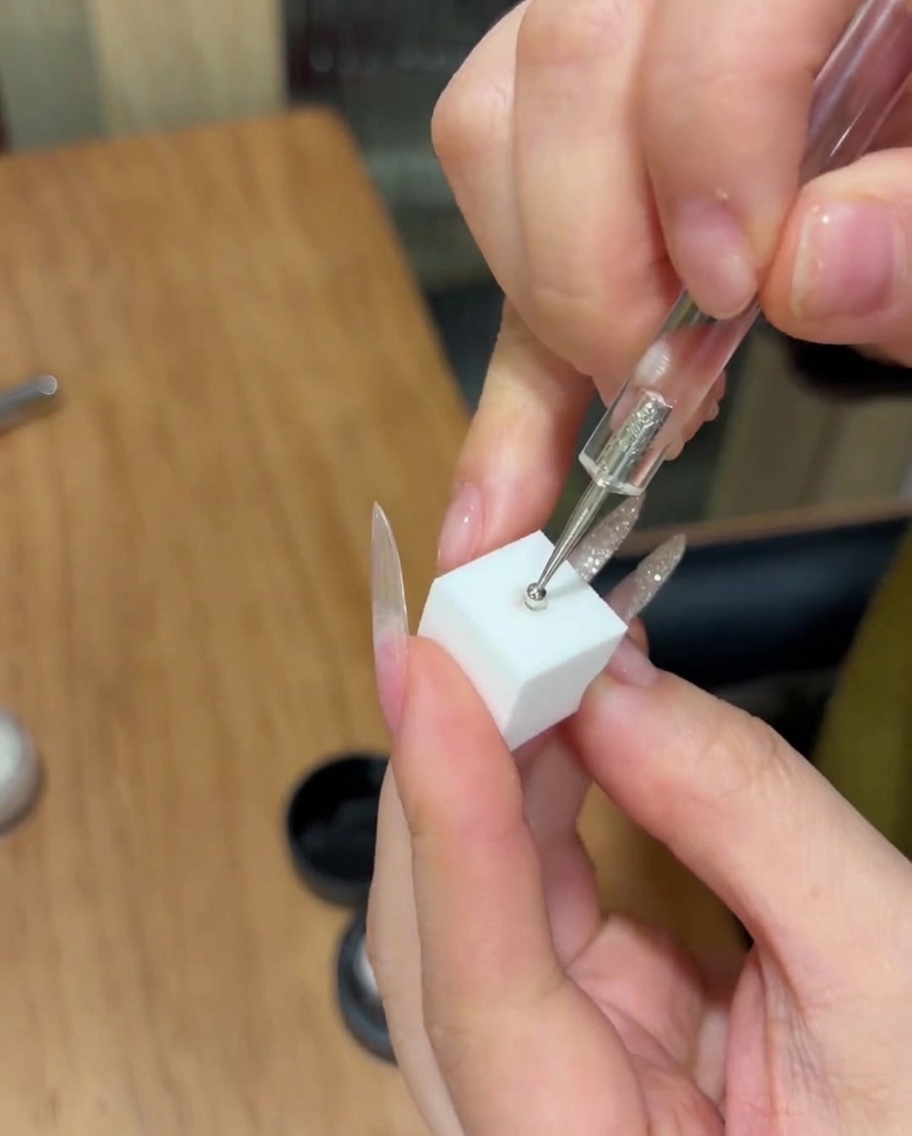
Using a dotting tool, pick up a small amount of gel and dab it onto a makeup sponge. Gently press the sponge into the center of the nail to transfer the product and create a smooth ombre gradient. Repeat until you achieve the desired color intensity.
Tip: Pressing the sponge lightly and multiple times helps blend the colors seamlessly without harsh lines. - 3Cure the gradient base
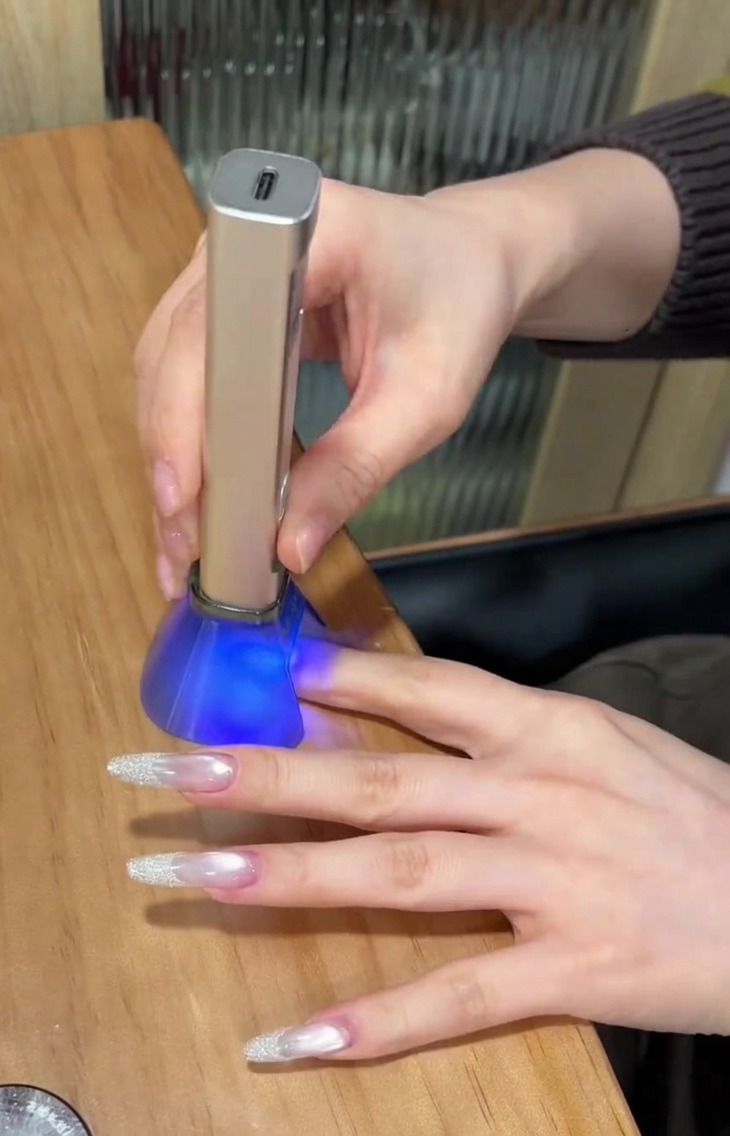
Place the nail under a small handheld LED or UV lamp to flash cure the gradient gel layer. Hold the lamp steady over the nail and cure until the gel is fully set in place.
Tip: A handheld lamp is excellent for flash-curing individual nails to prevent the polish from running or shifting before the final full cure. - 4Apply cat eye gel
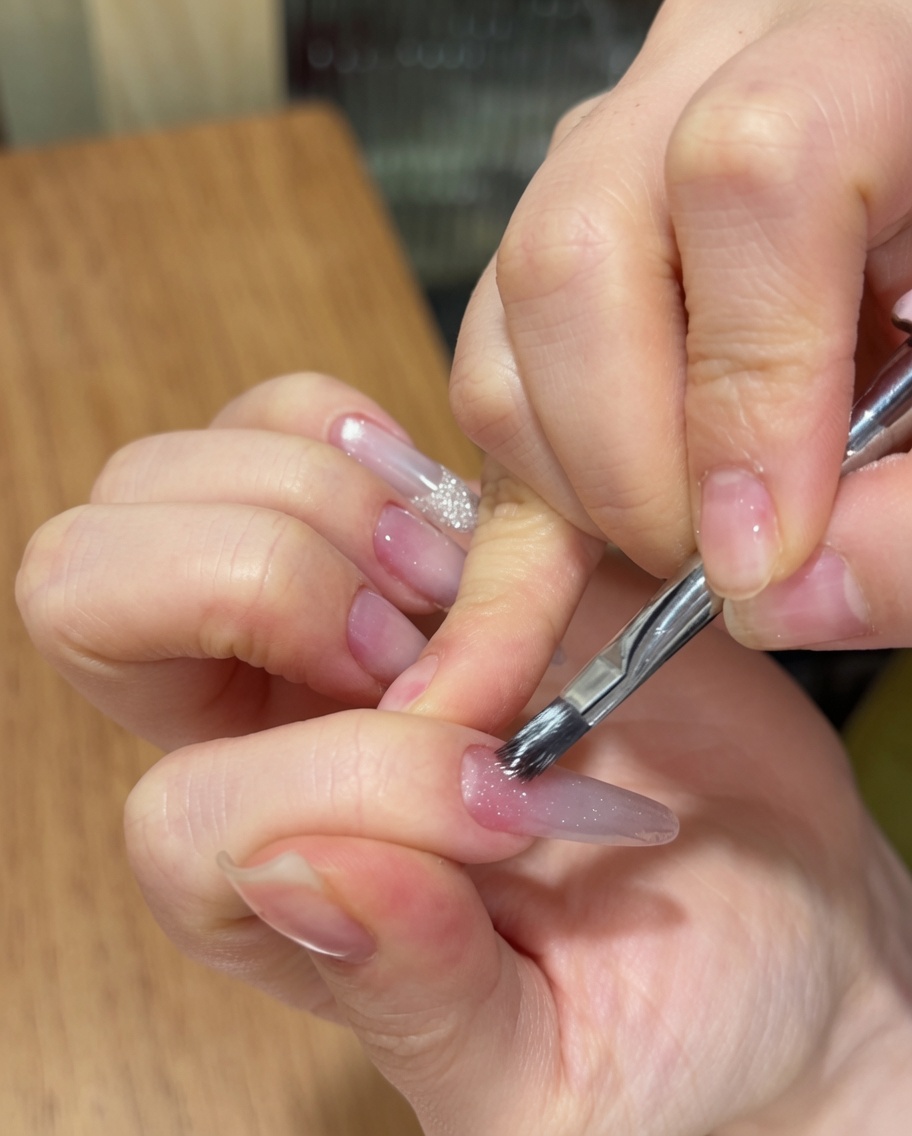
Using a nail brush, apply a thin, even layer of magnetic cat eye gel over the entire surface of the cured gradient base. Ensure smooth coverage without making the gel layer too thick.
Tip: Do not cure this layer yet; the gel must remain completely wet to manipulate the magnetic particles in the next step. - 5Shape the magnetic effect
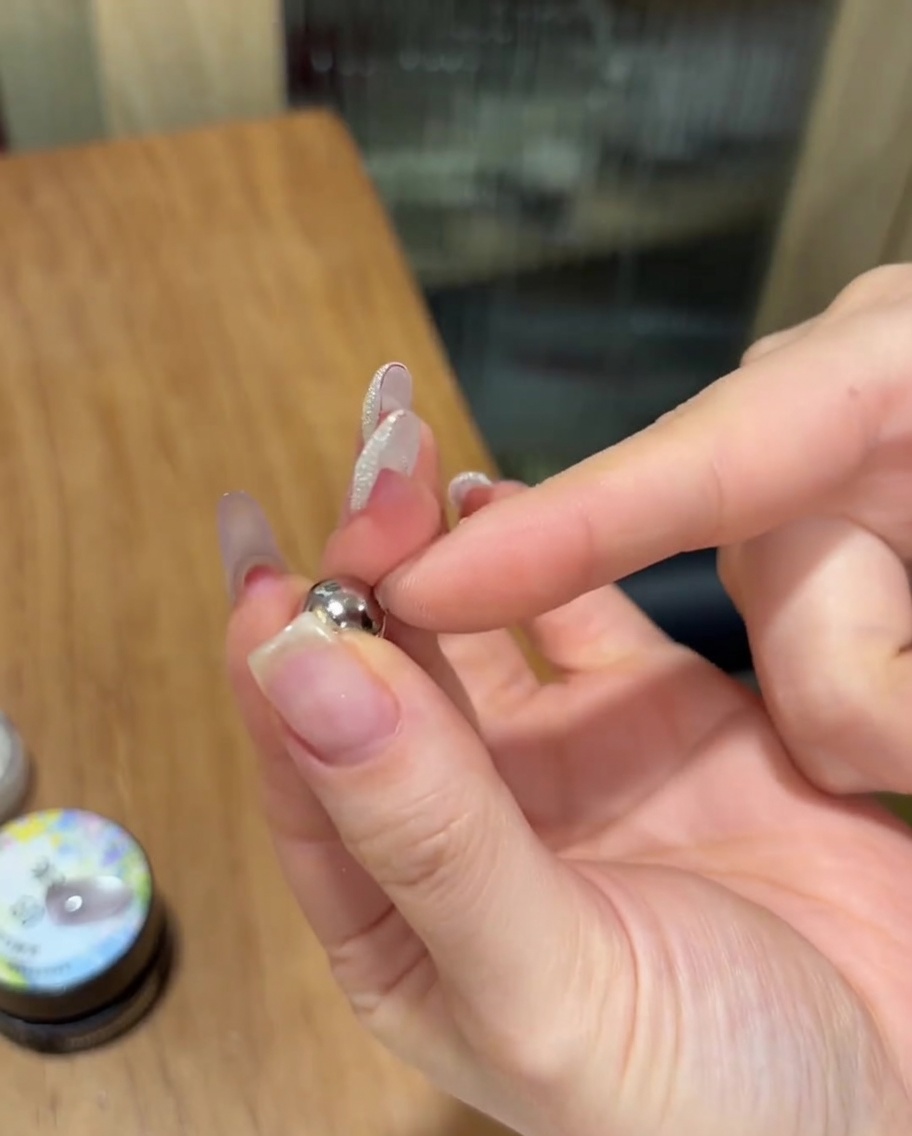
Hold a small spherical magnet close to the wet cat eye gel to attract and shift the metallic particles. Hover the magnet gently over the center and edges to concentrate the shimmer and create a glowing, velvet-like effect.
Tip: Keep the magnet as close to the nail as possible for the strongest magnetic pull, being very careful not to touch the wet gel surface. - 6Cure cat eye gel
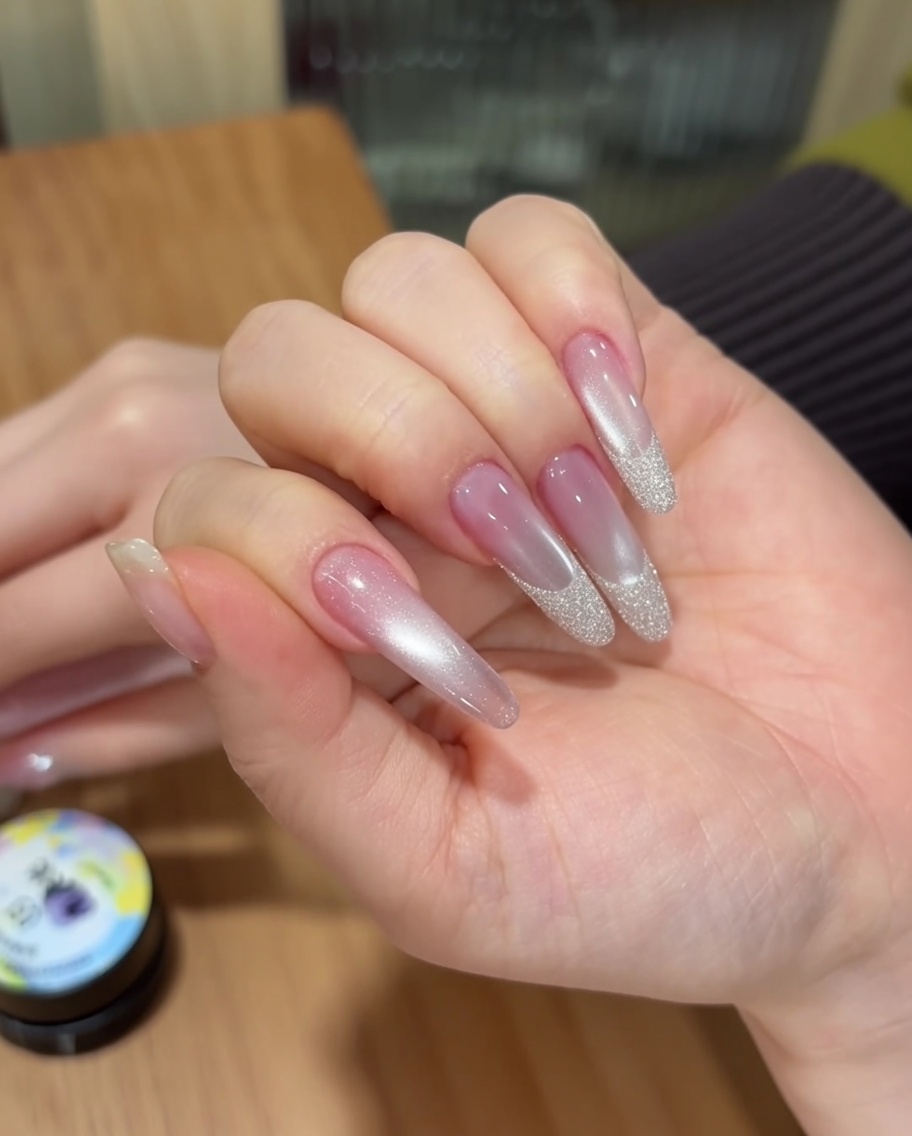
Place the nails under your UV or LED lamp to cure the freshly applied cat eye gel. Follow the specific curing time recommended by your gel polish manufacturer to ensure the product is fully set and the magnetic particles are locked in place.
Tip: Ensure your fingers are positioned directly under the light source for an even cure across all nails. - 7Apply top coat
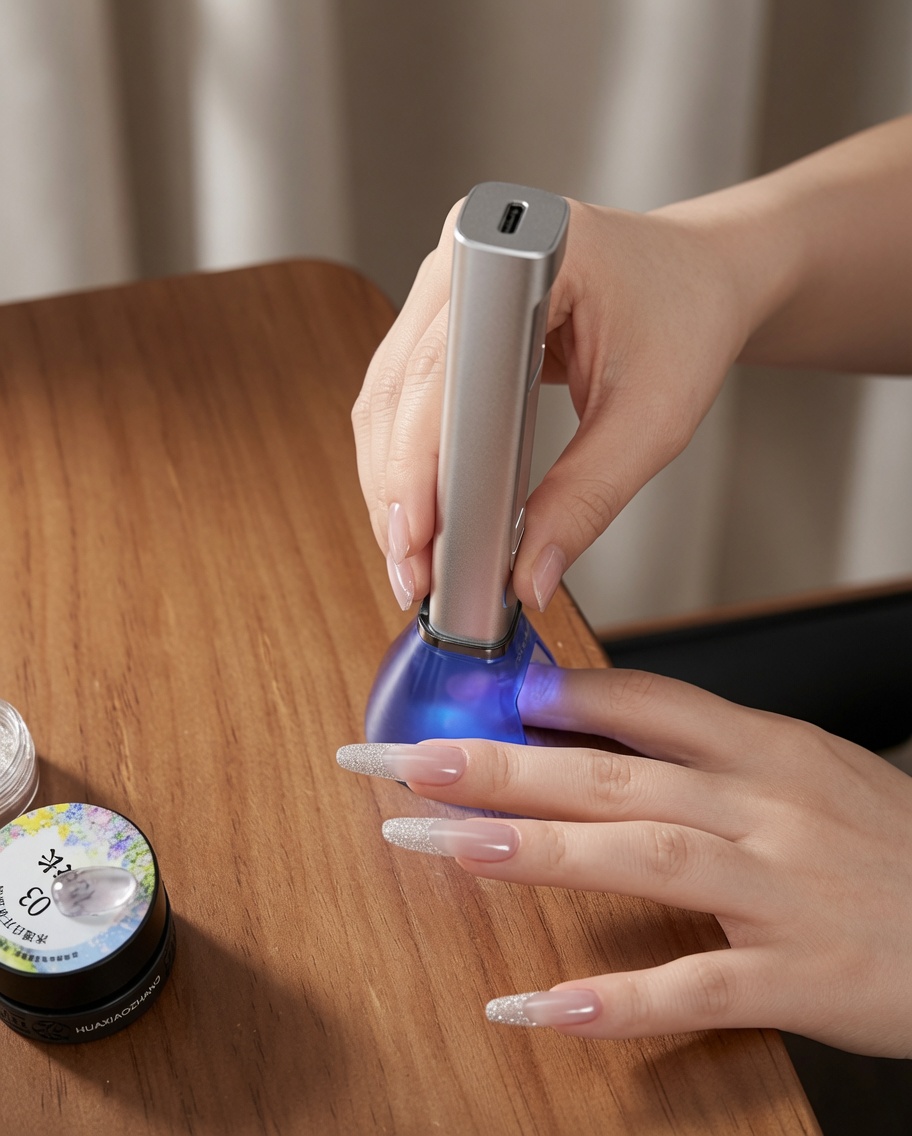
After the cat eye design is cured, apply a thin, even layer of top coat over the entire nail surface. This seals the design, protects the nail art, and provides a high-gloss finish. Cure under the lamp for the final time.
Tip: Cap the free edge with the top coat to prevent chipping and extend the wear of your manicure. - 8Position French guide
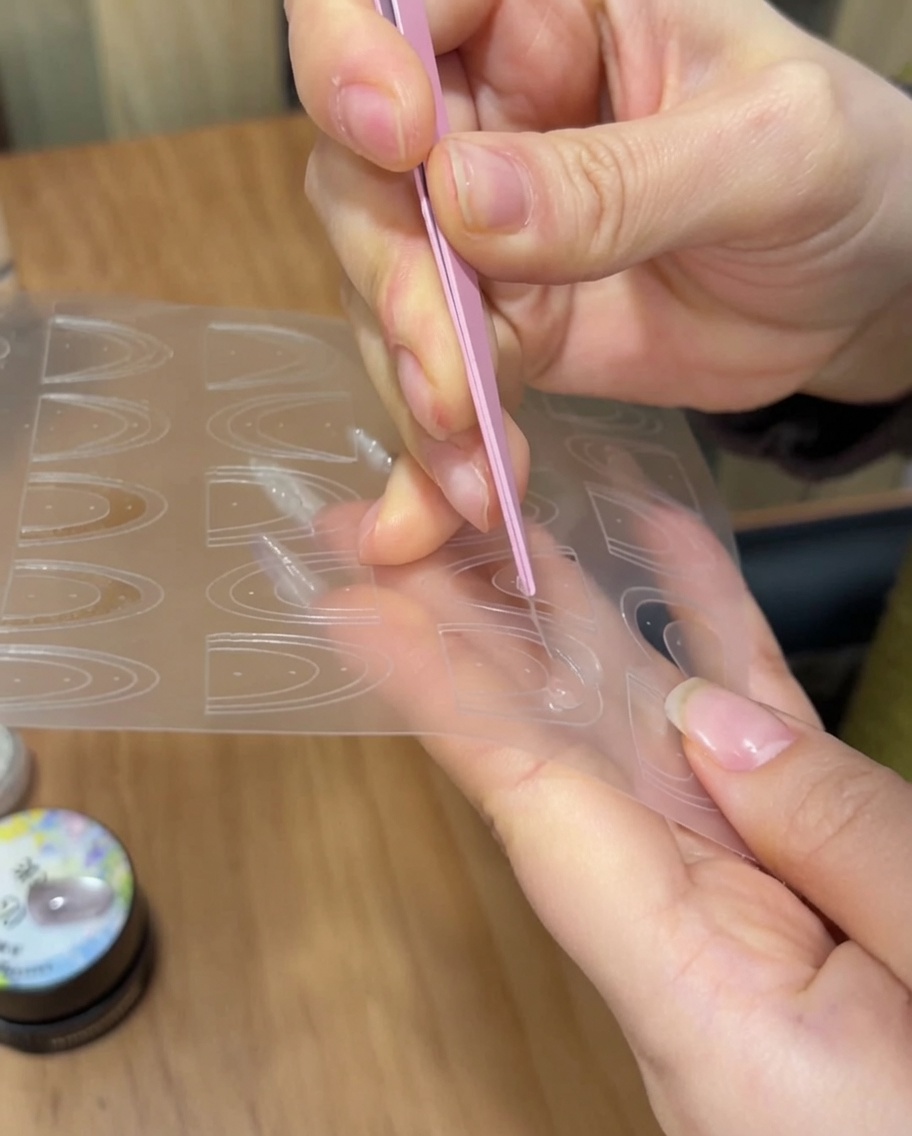
Carefully place a French manicure sticker guide across the tip of the nail. Use tweezers for precise placement to ensure a clean, curved line for your French tip design. Press down firmly to ensure the sticker is flat and adhered well to the nail surface.
Tip: If the sticker is not perfectly placed, lift it gently and reapply before adding any product. - 9Apply builder gel
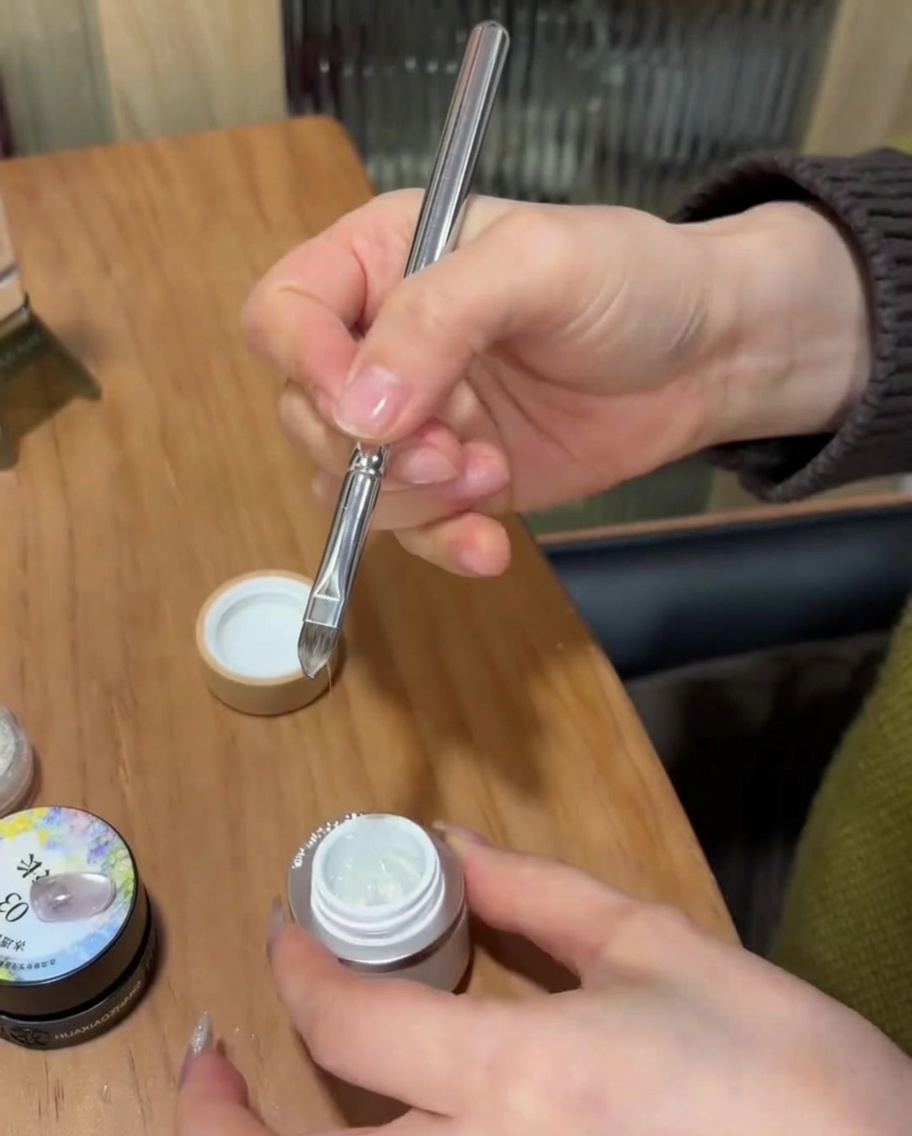
Using a detail brush, apply a layer of transparent builder gel over the French tip area defined by the sticker. Ensure the gel is applied evenly. If using a patterned gel, ensure the design is placed clearly within the bordered area.
Tip: Use a light hand to avoid pushing excess gel under the edge of the sticker guide. - 10Remove sticker
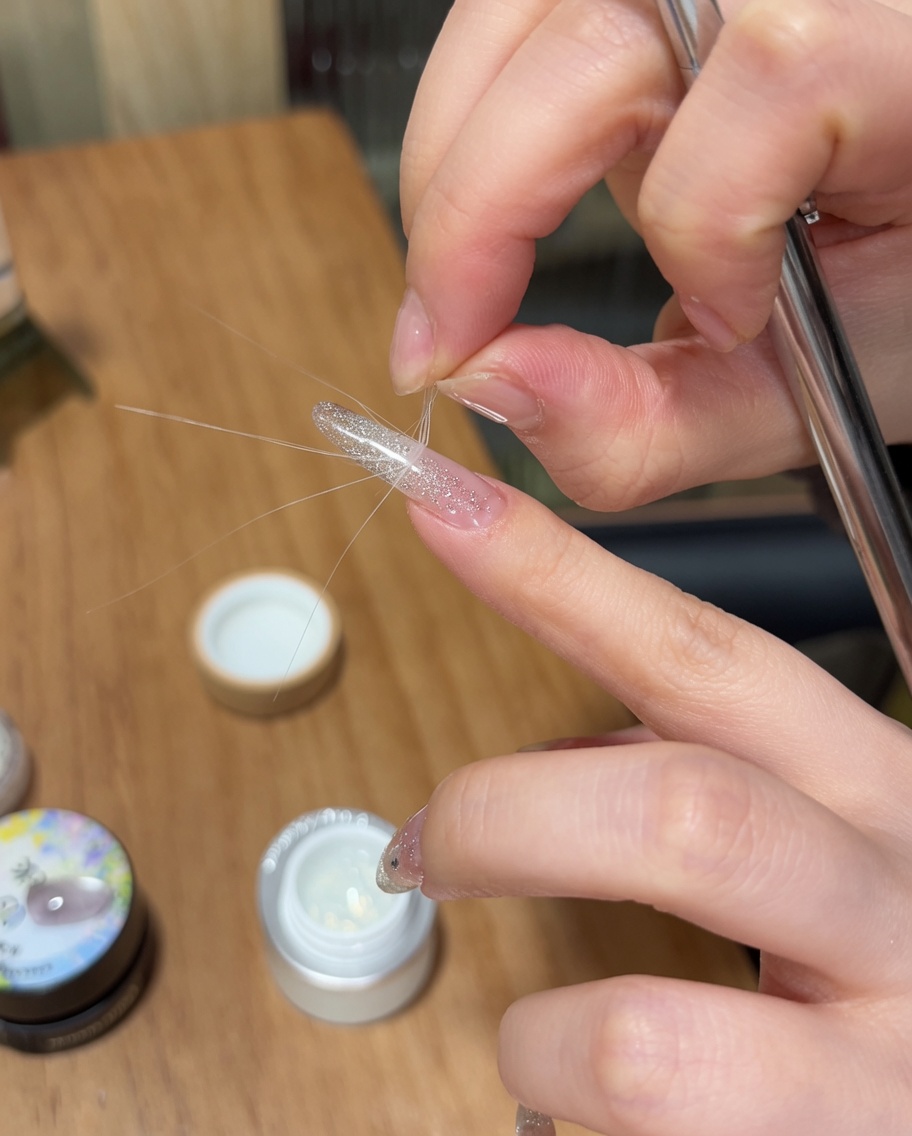
Once the product is applied, use tweezers to slowly and carefully peel off the French manicure sticker. Pull it back gently at an angle to reveal a sharp, crisp line for your French tip.
Tip: Remove the sticker while the gel is still uncured to prevent dragging or smudging the crisp edge. - 11Apply sugar powder
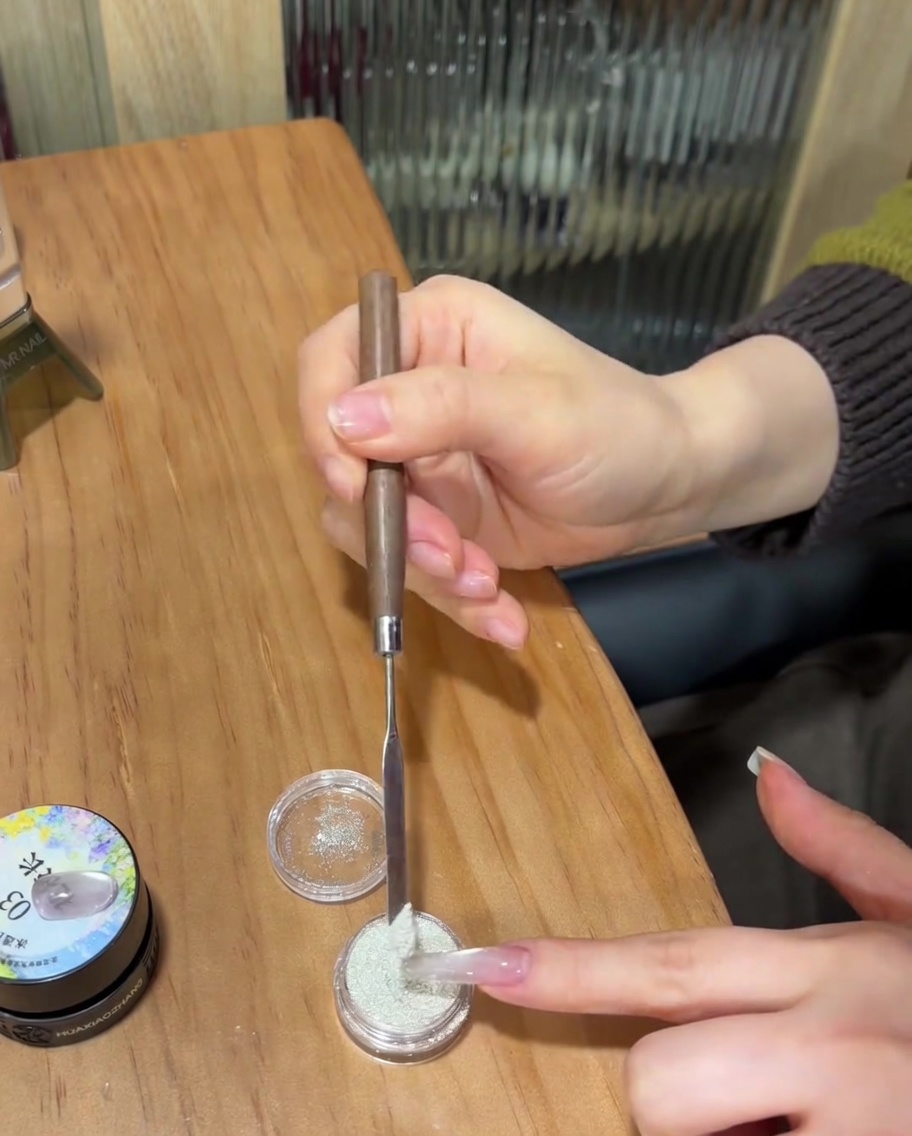
While the builder gel is still uncured and tacky, generously sprinkle fine sugar powder over the nail surface, ensuring even coverage. Once the nail is coated, place it under the UV or LED lamp to cure the gel and set the powder texture in place.
Tip: Apply the powder over a small tray or piece of paper to easily collect and reuse the excess. - 12Remove excess powder
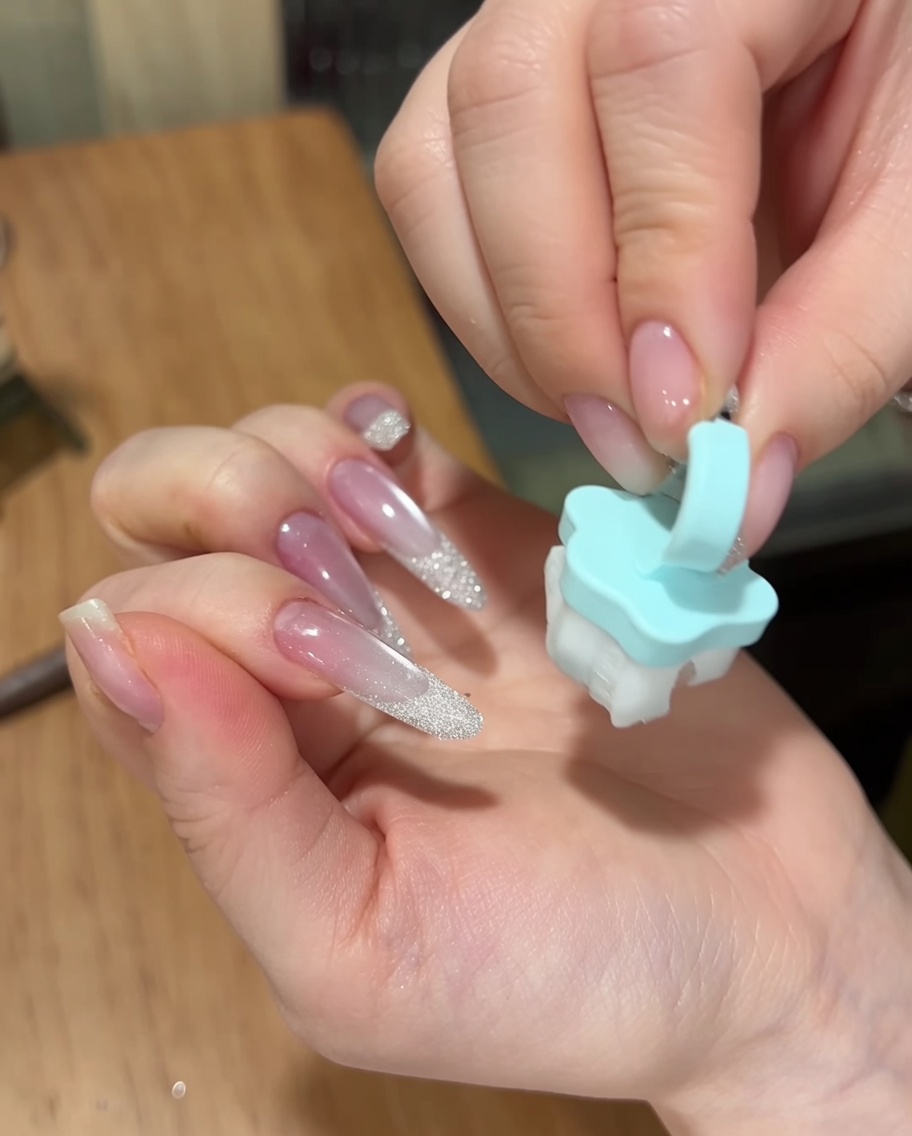
After the gel has fully cured, use a small, soft-bristled brush to gently sweep away any loose sugar powder that did not adhere to the surface. Clean the entire nail area to reveal the textured sugar effect.
Tip: Use a firm brush for more thorough cleaning, but be gentle enough to avoid scratching the cured gel finish.