Nude Pink Butterfly Cat-Eye Nail Art — Elegant 3D Tutorial
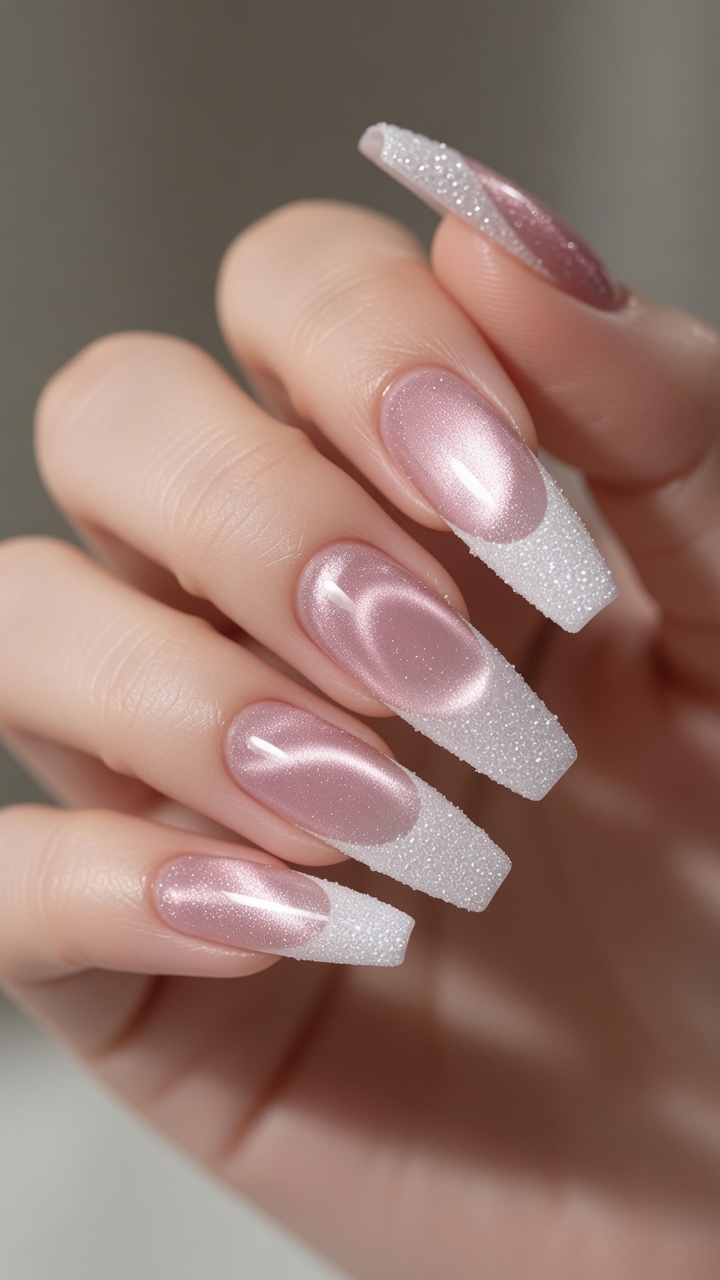
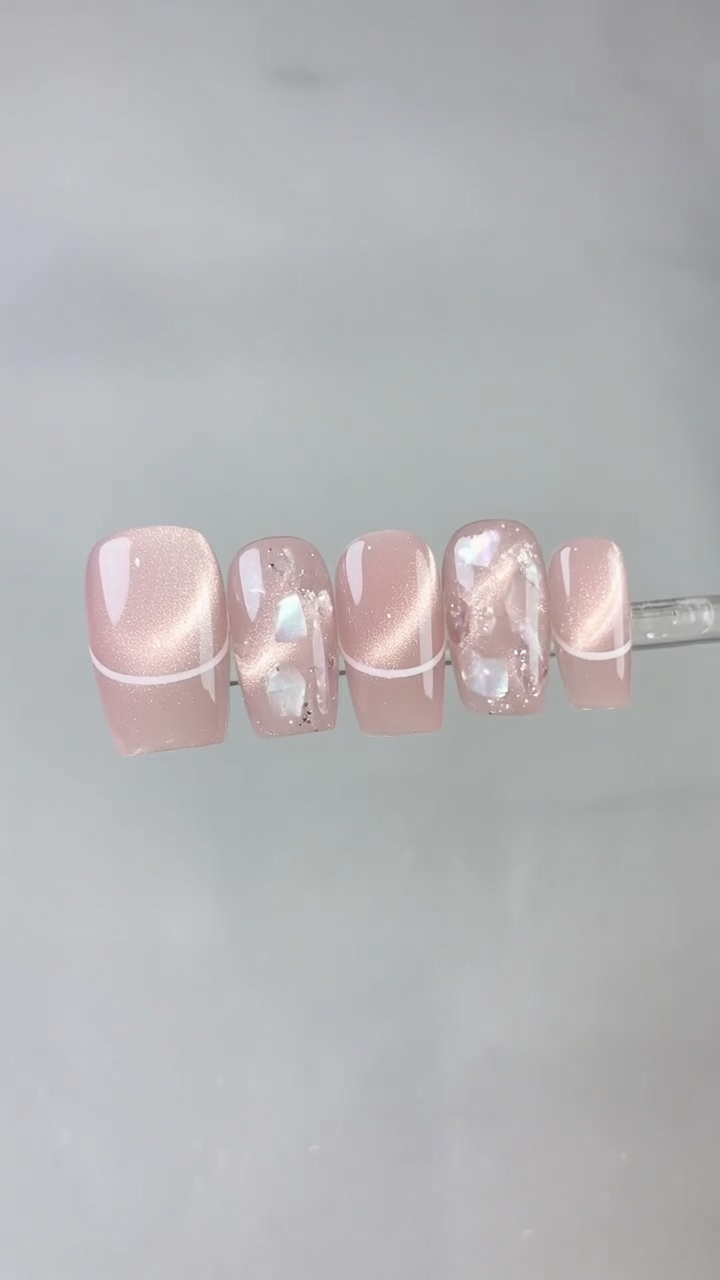
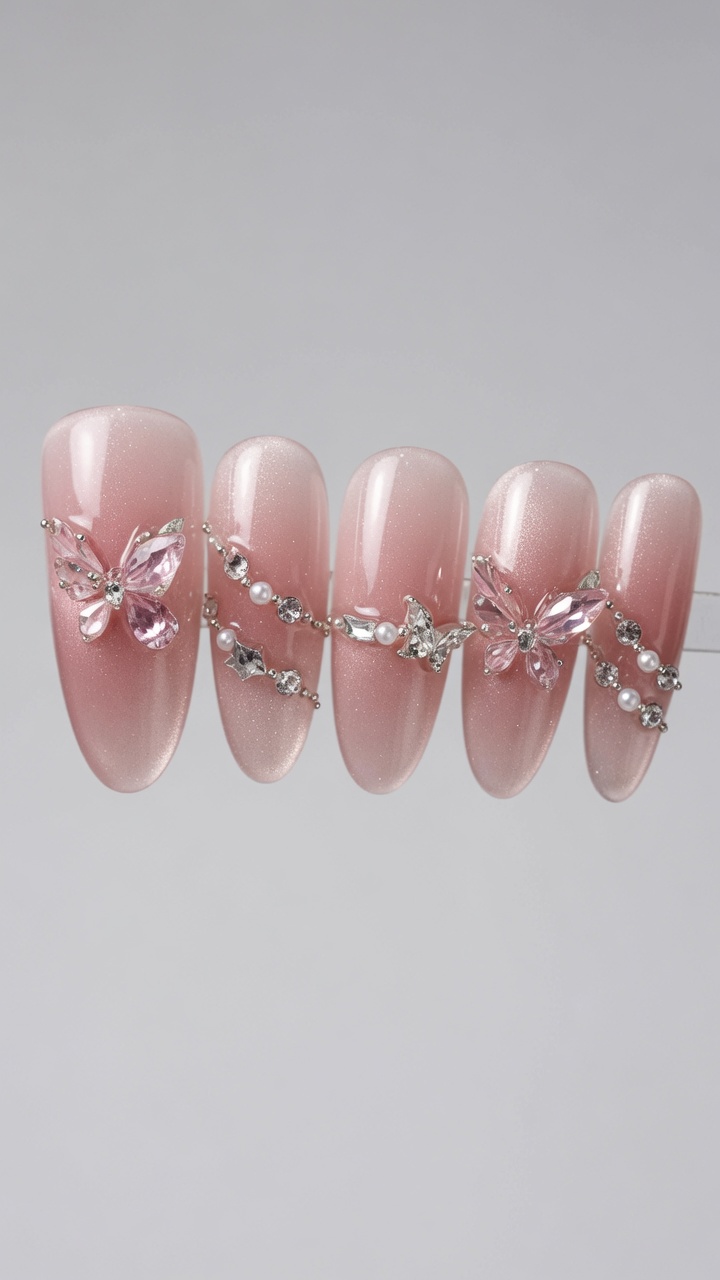
Elevate your manicure with this stunning nude pink cat-eye look. Learn how to combine magnetic shimmer, delicate blush effects, and intricate 3D butterfly charms.
This sophisticated butterfly nail design masterfully blends the ethereal glow of magnetic cat-eye polish with the intricate detail of 3D jewelry accents. Perfect for those who love a mix of soft, romantic tones and bold, structural nail art, this look creates a necklace-inspired effect right on your fingertips. Whether you are prepping for a special occasion or just want an elevated everyday look, these techniques will help you achieve a polished, professional finish at home.
Steps
- 1Dab blush color
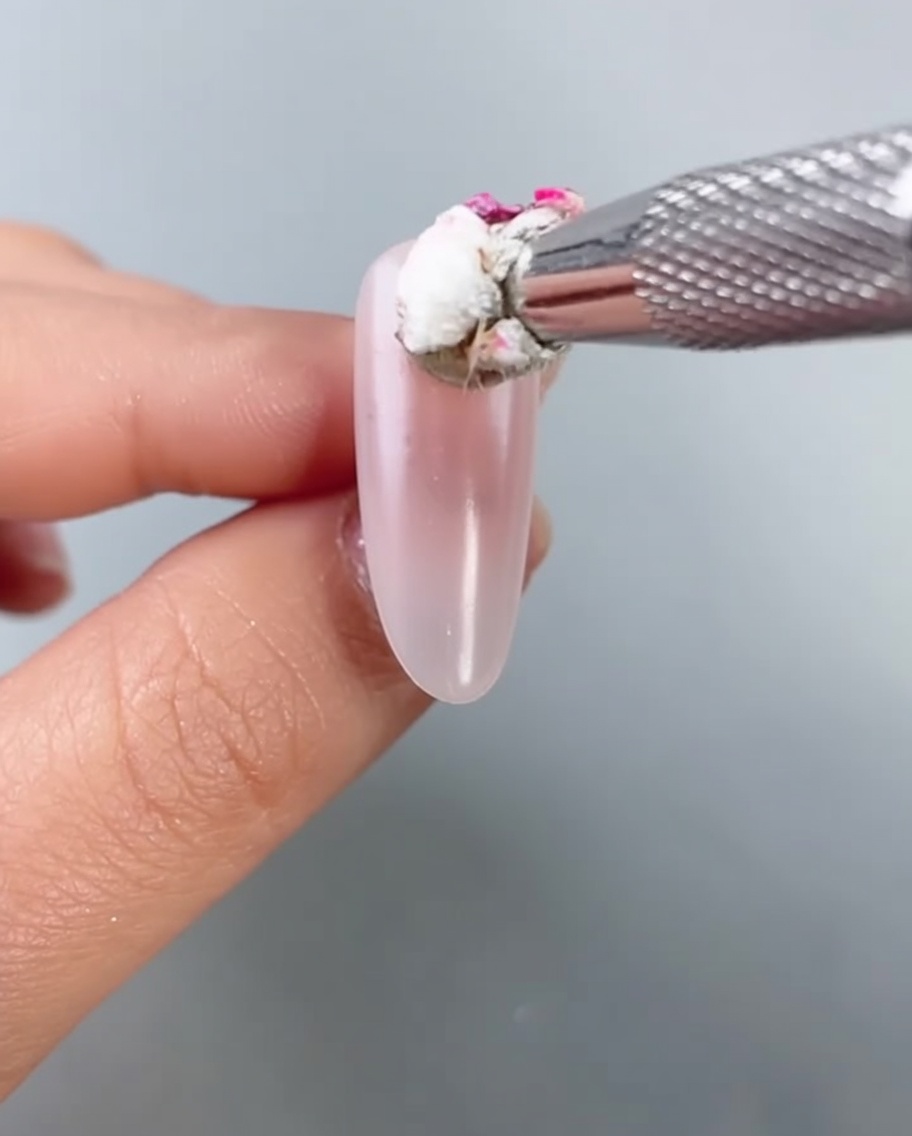
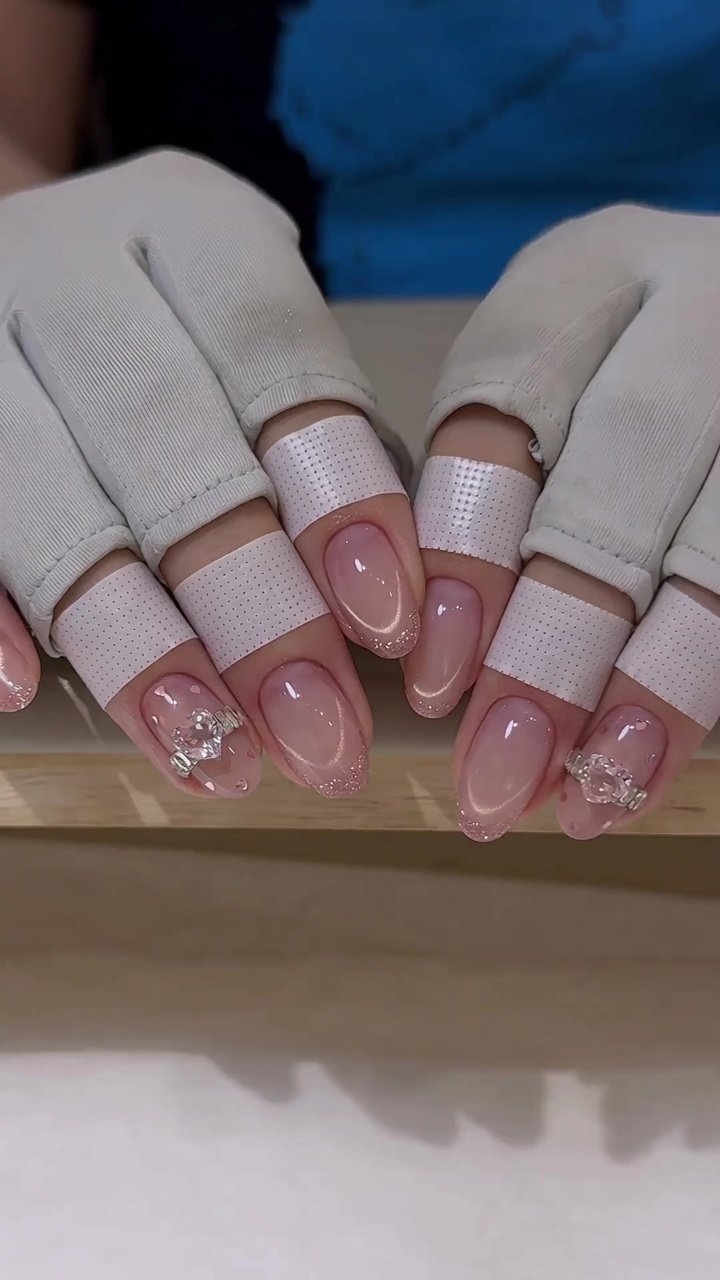
Using a small sponge tool or dabber, pick up a gentle pink shade and lightly dab it onto the center of the nail. Blend the edges outward gently to create a seamless, diffused blush effect over the base color. This adds a soft, flushed dimension to the center of the nail before adding other effects.
Tip: Build the color gradually. It is easier to add more pigment than to remove it if the blush effect becomes too harsh. - 2Apply cat-eye gel
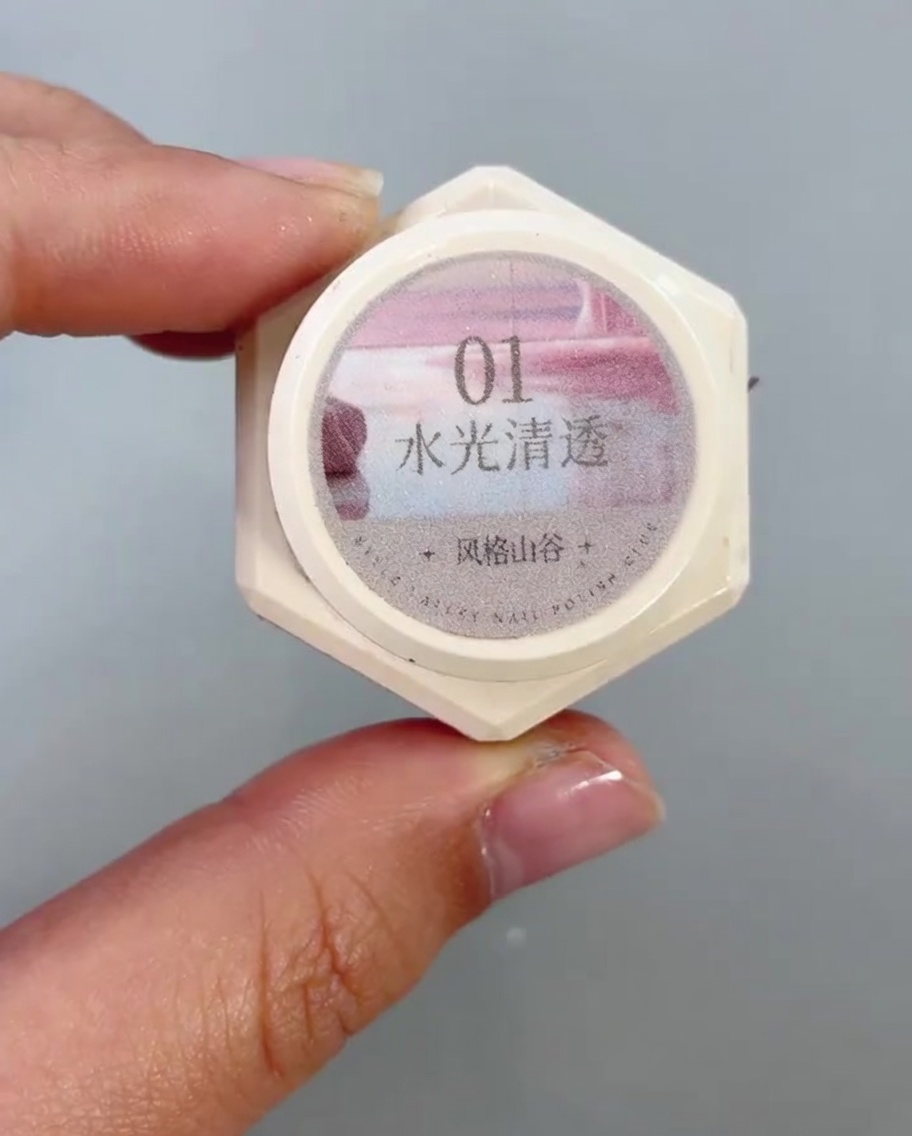
Apply the Water Light Clear 1-number cat-eye gel starting from the middle of the nail and brushing downwards towards the free edge. Ensure an even coat is applied across the surface to prepare for the cat-eye effect creation.
Tip: Work in thin, controlled strokes to prevent pooling at the free edge. - 3Create gradient effect
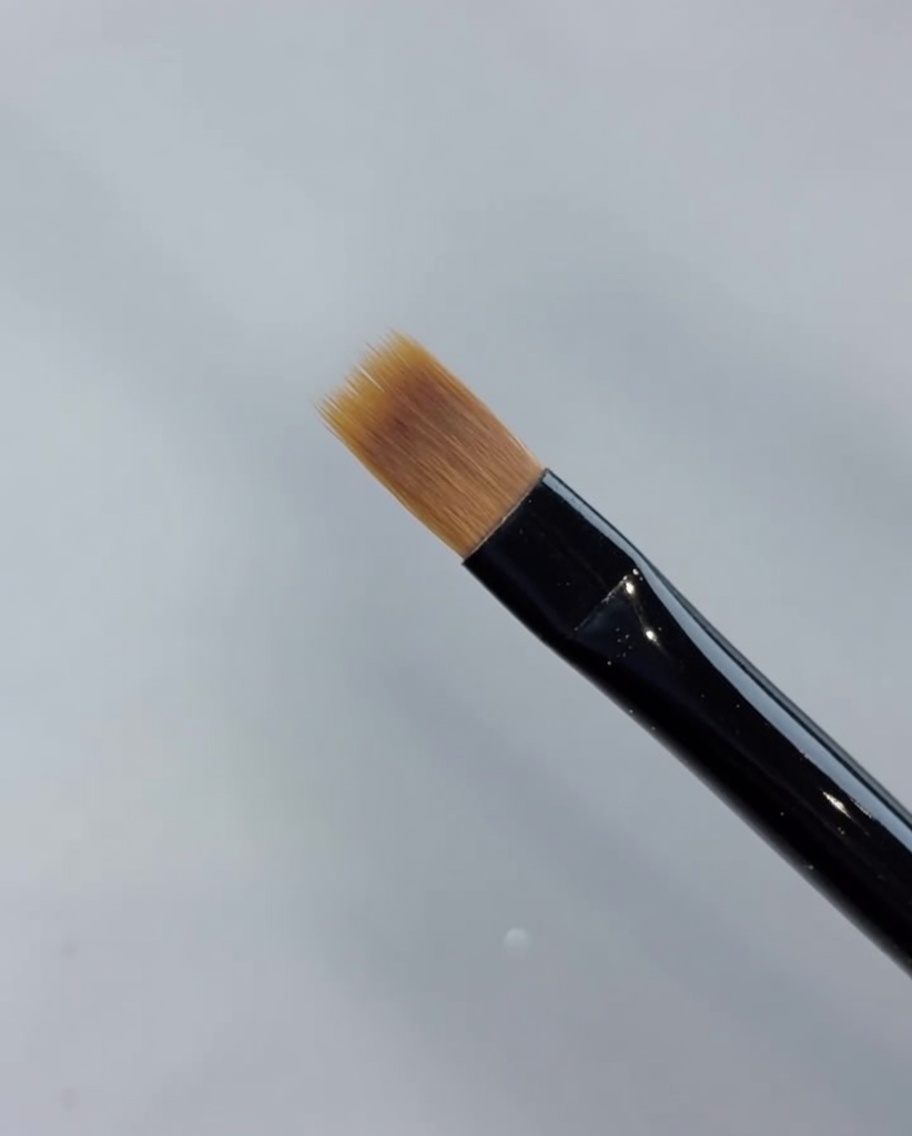
Using a Style Valley sweep brush, gently pull the previously applied cat-eye gel forward from the middle of the nail. This movement creates a soft, natural gradient effect rather than a harsh line.
Tip: Use a very light touch to avoid removing too much product. - 4Activate cat-eye effect
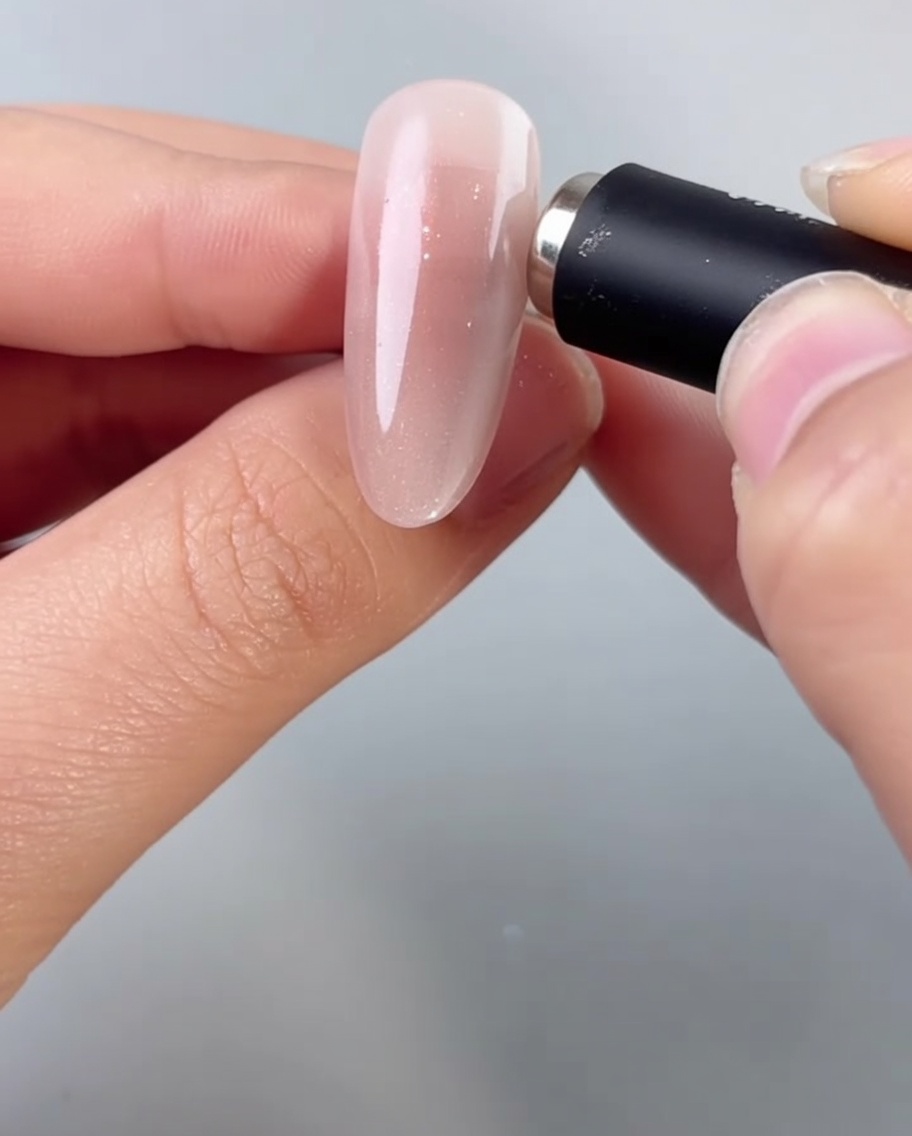
Hold a strong cylindrical magnet close to the nail surface, hovering it near the edges or directly over the cat-eye gel. Watch as the magnetic particles react and shift, creating a bright, concentrated band of shimmering light. Adjust the magnets angle and position until you achieve the desired luminous effect.
Tip: Keep your hand very steady and hold the magnet as close to the nail as possible without touching the wet gel for the sharpest, brightest effect. - 5Apply butterfly sticker
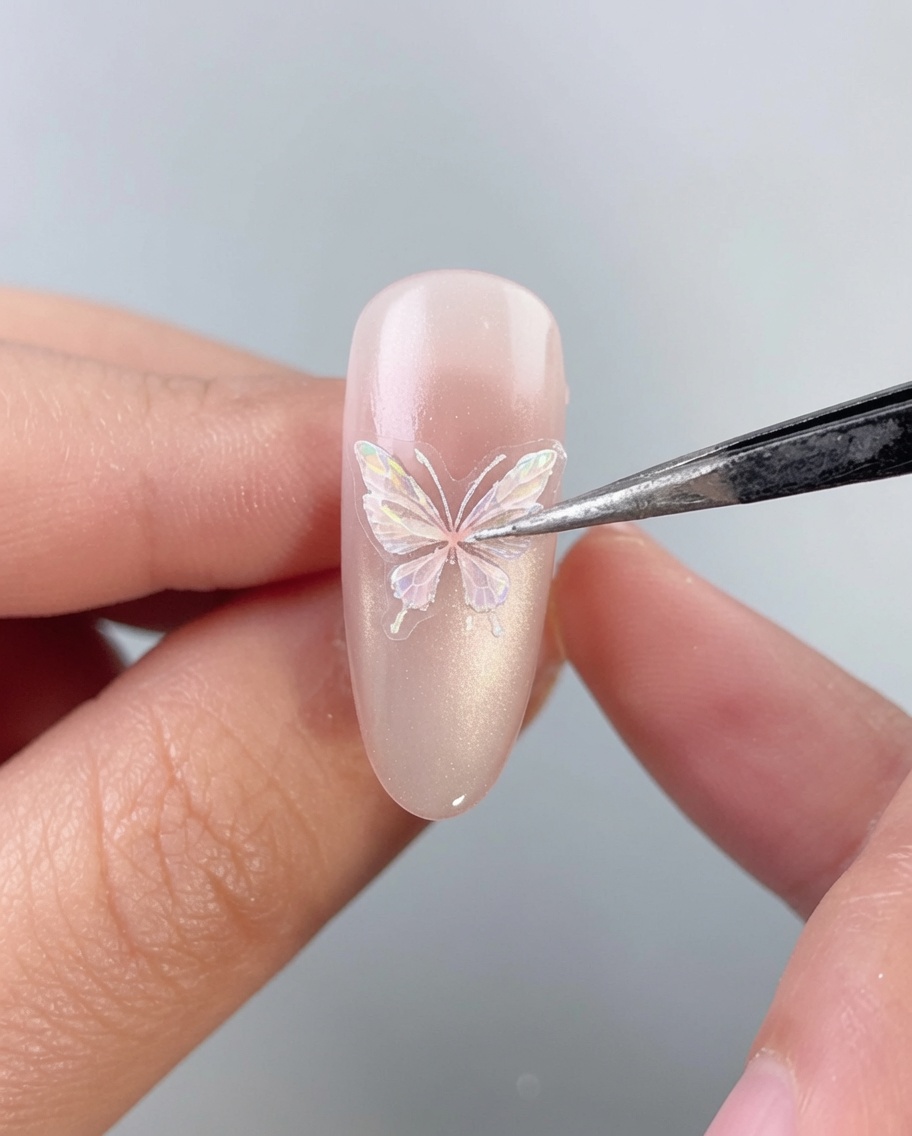
Using precision tweezers, carefully lift a holographic laser butterfly sticker from its backing and place it directly onto the center of the nail. Gently press down on the wings and body of the butterfly to ensure it lays completely flat against the curved nail surface, preventing any edges from lifting.
Tip: If the sticker is stiff, you can gently bend it around a curved tool before application so it hugs the natural C-curve of the nail better. - 6Apply diamond glue
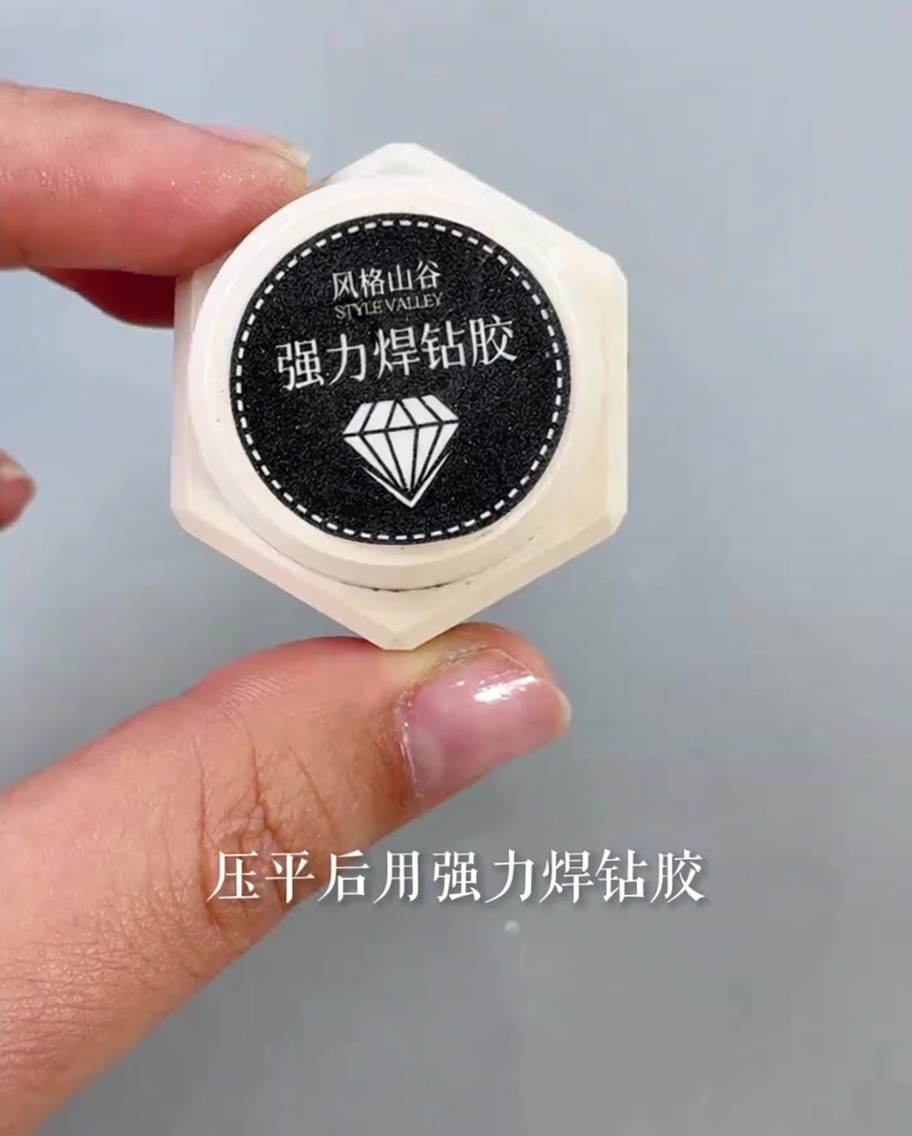
Apply a precise amount of strong welding diamond glue onto the butterfly body and the areas on the wings where you plan to place the embellishments. This adhesive is essential for securing heavy decorations like diamonds and beads.
Tip: Apply just enough glue to secure the gems without letting it overflow onto the nail surface. - 7Decorate butterfly
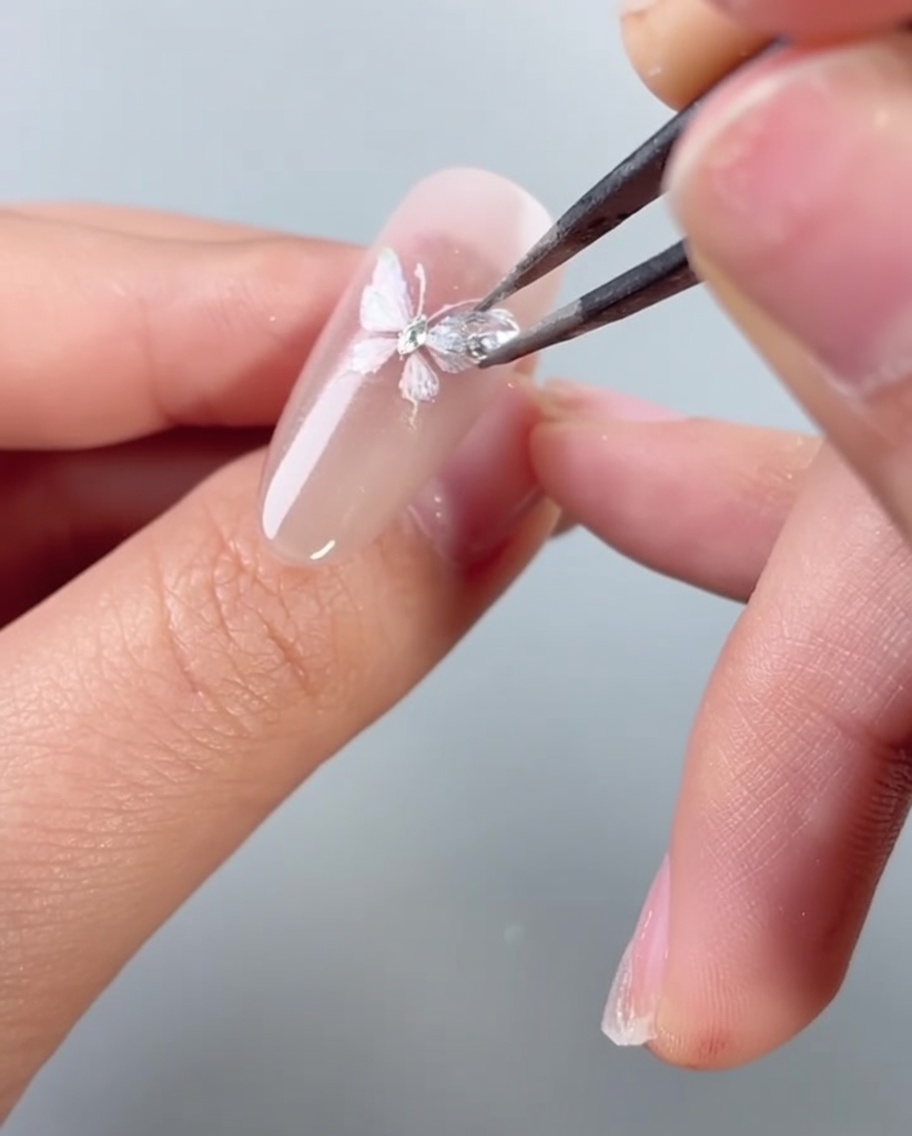
Using tweezers, carefully place small broken diamonds onto the adhesive on the butterflys body and left wings. Arrange them precisely to enhance the intricate look of the butterfly.
Tip: Tweezers allow for better control when placing small embellishments. - 8Secure edges
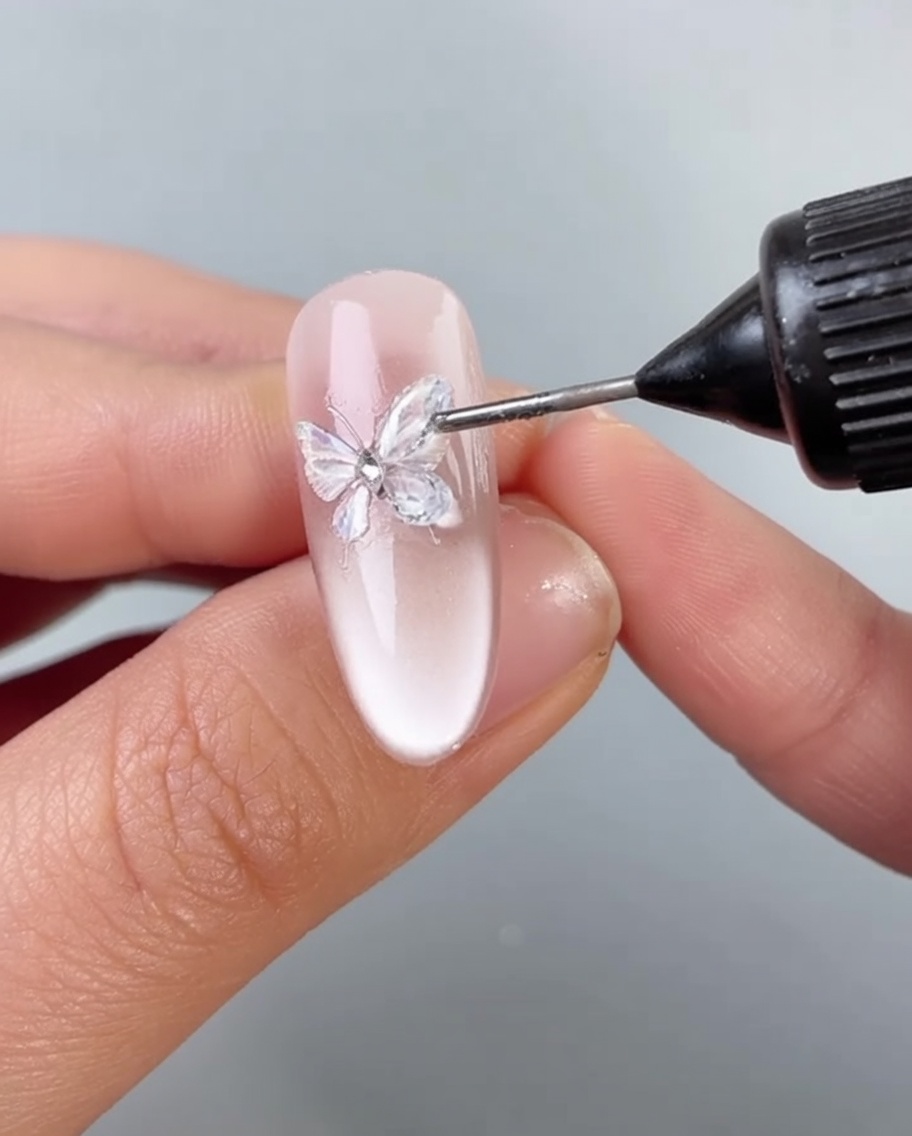
Apply a layer of no-wash filling glue around the edges of the butterfly decoration. This seals the gems and ensures the 3D element remains secure and smooth.
Tip: Filling glue helps bridge the gap between the gems and the nail, creating a seamless finish. - 9Seal with top coat
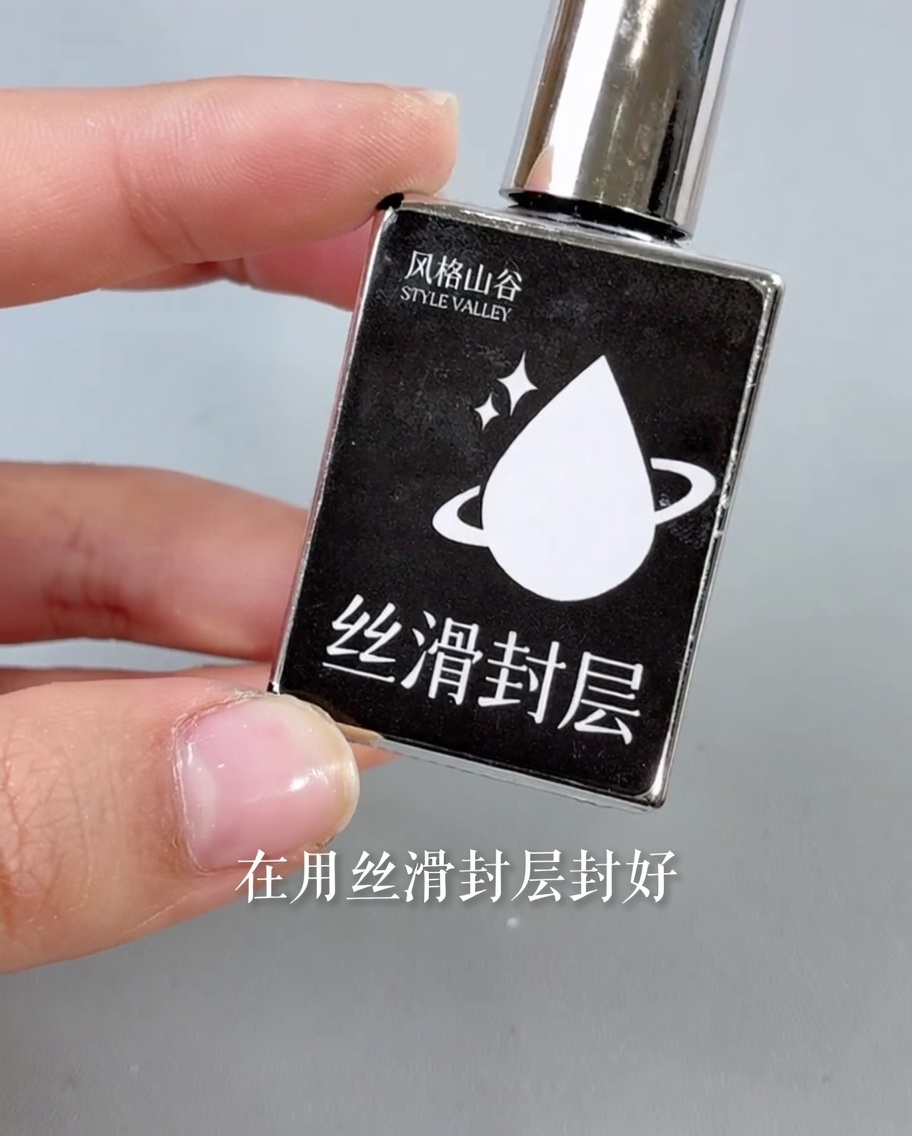
Apply a layer of silky top coat over the entire nail to seal in the design and provide a glossy, protective finish. Ensure you cap the free edge for longevity.
Tip: A high-quality top coat will prevent the design from dulling and protect the diamonds. - 10Create 3D butterfly wing effect
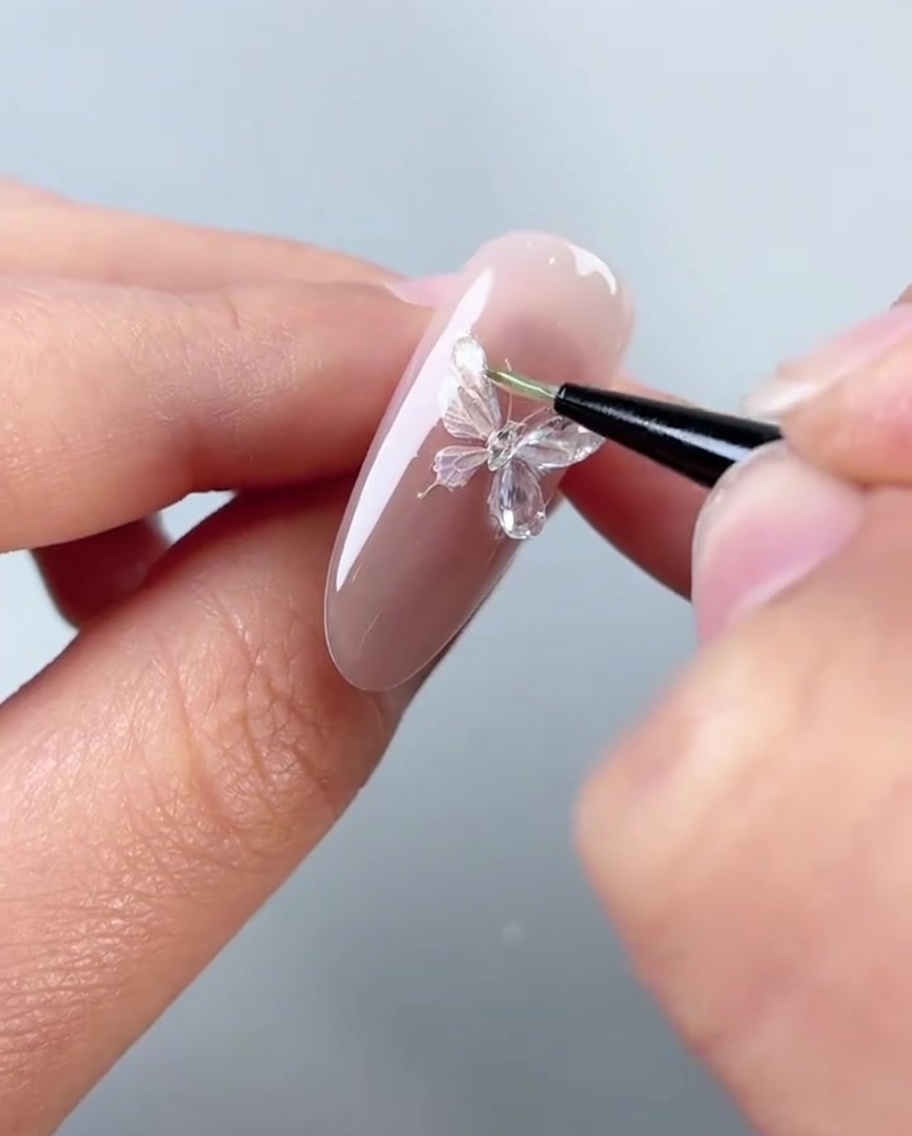
Apply puffy styling glue to the left wings of the butterfly sticker to create a raised, 3D shape. Use the brush to sculpt the glue into a smooth, elevated contour that holds its form without collapsing.
Tip: The puffy styling glue is designed for structural 3D nail art; ensure you apply enough volume to get the raised effect, but keep the edges smooth. - 11Adorn with steel beads
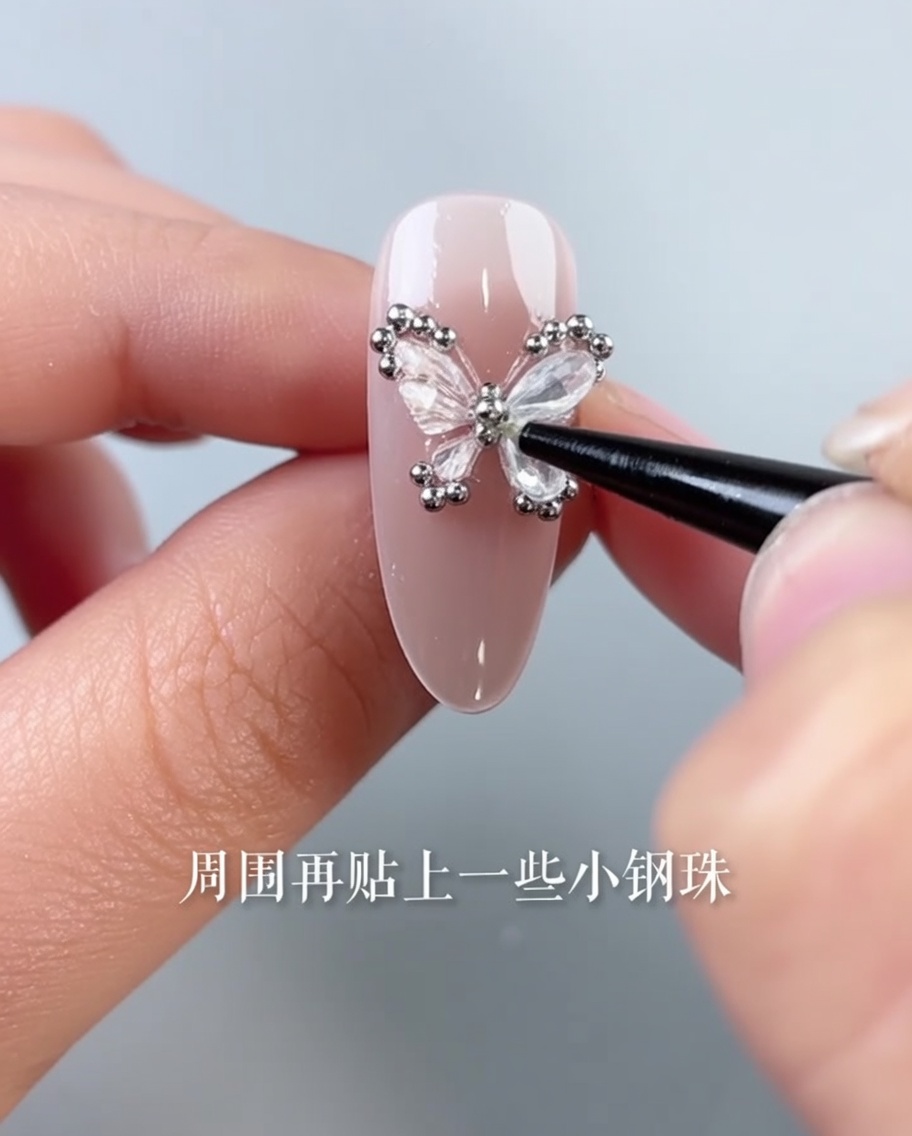
Carefully place small steel beads around the perimeter of the butterfly design. These accents help frame the butterfly and enhance the overall atmospheric detail of the nail art.
Tip: Use a wax pencil or fine-tipped tweezers to place the tiny beads precisely into the wet glue. - 12Secure edges and cure
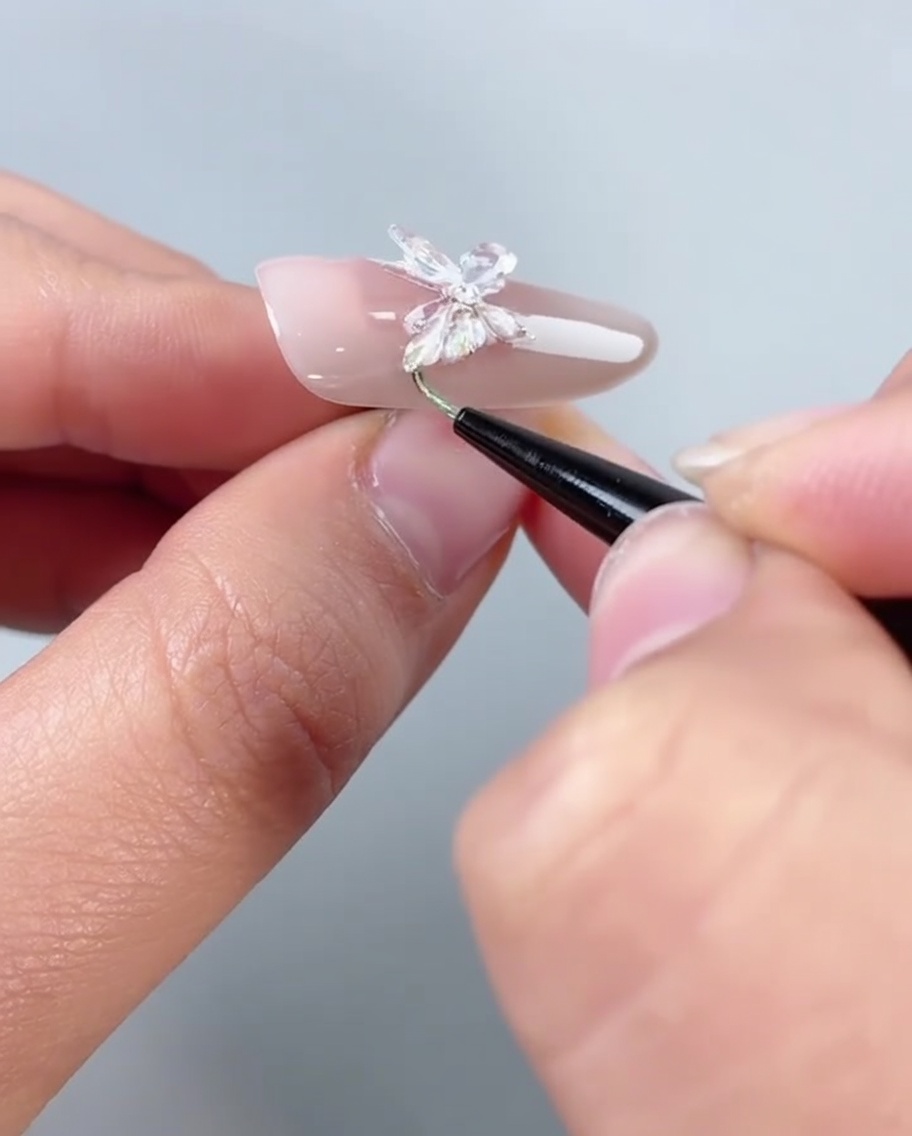
Apply a final layer of filling glue around the edges of the nail art to encapsulate and secure all elements. Once the edges are sealed, place the nail under a UV/LED lamp to fully cure.
Tip: Ensure the filling glue covers the entire perimeter of the added charms to prevent catching or lifting. - 13Prepare lines for accent
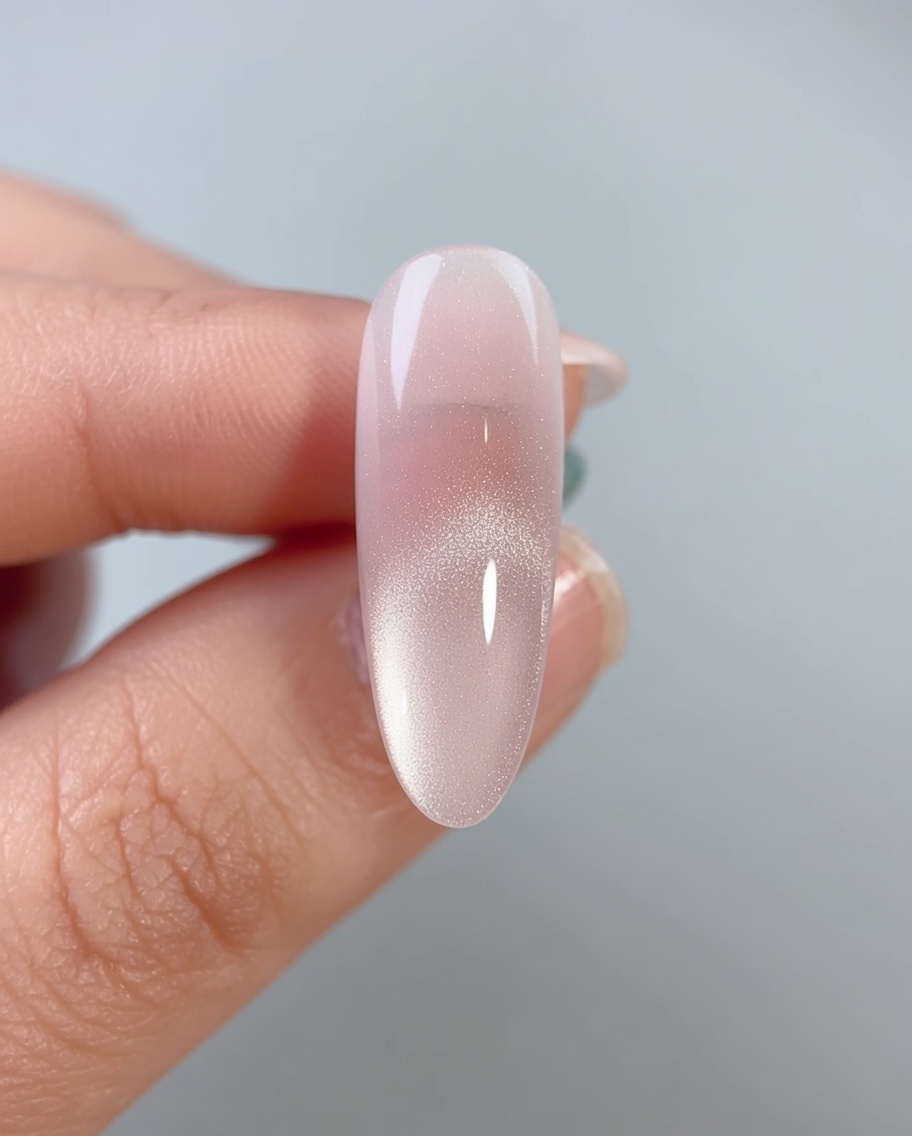
Using strong welding diamond glue, draw two slightly curved, diagonal lines across the second nail. These lines serve as the foundation for attaching the decorative beads and charms.
Tip: Keep the glue lines thin and precise to ensure the subsequent gems and beads look neat and intentional. - 14Add decorative accents
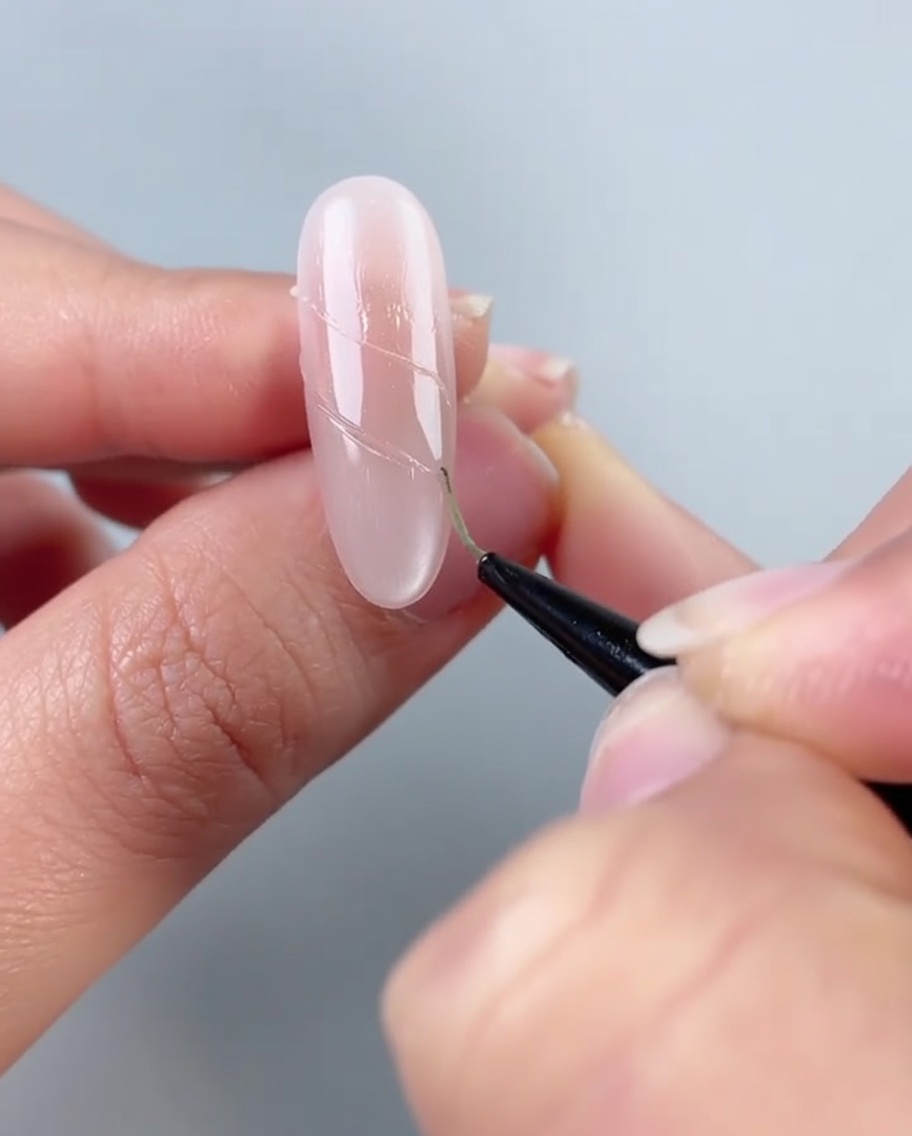
Carefully attach small pearls, broken diamonds, and steel beads along the adhesive lines created on the second nail. This creates a textured, jewelry-like effect across the surface.
Tip: Alternate between the different sizes and types of embellishments for a balanced, sophisticated look. - 15Place pentagram charm
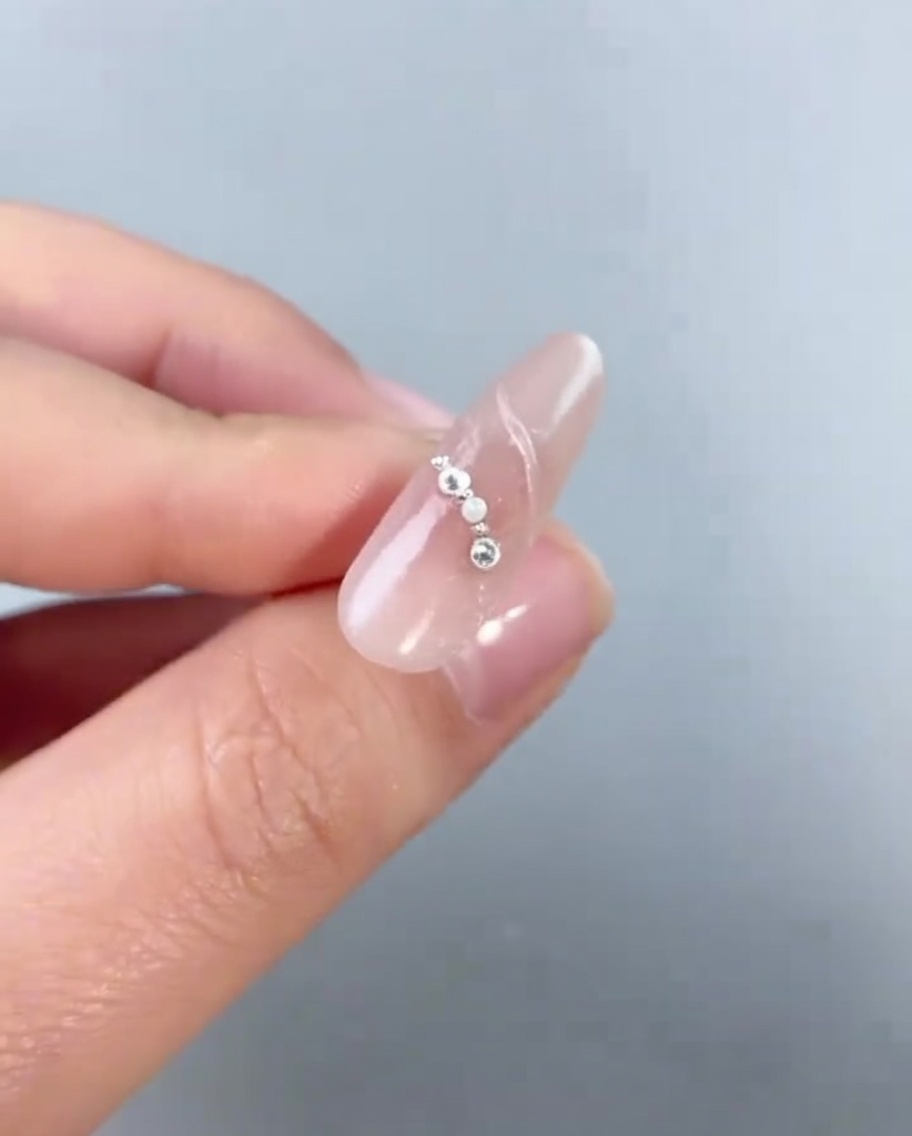
Position a small pentagram charm in the center of one of the decorative lines to complete the necklace-inspired effect. Press it firmly into the glue to ensure it adheres correctly.
Tip: Make sure the charm is centered correctly between the beads to maintain symmetry. - 16Seal the second nail
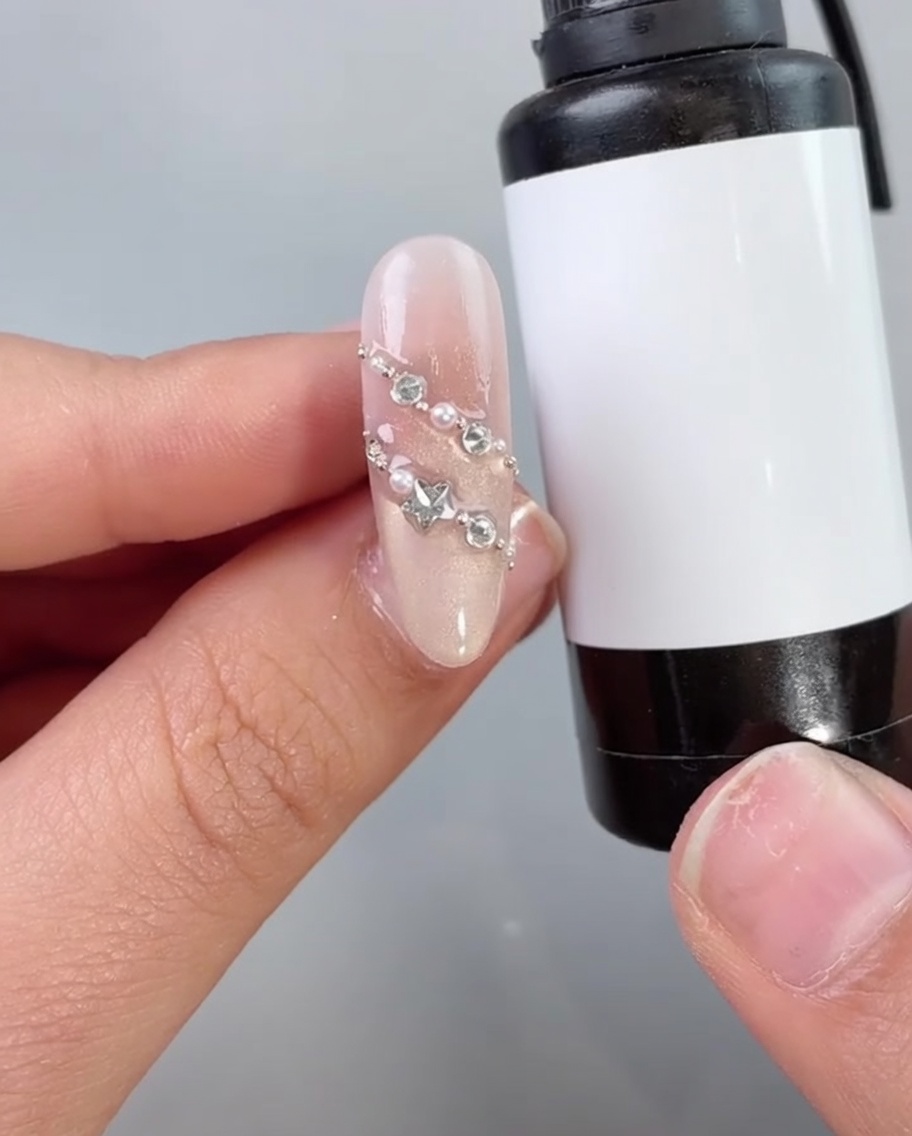
Using no-wash filling glue, carefully wrap the edges of the nail art on the second finger to secure the embellishments. Follow this with a final coat of silky top coat to seal the design and provide a high-gloss finish. Cure under an LED lamp until fully set.
Tip: Ensure the edges are fully encapsulated with the filling glue to prevent any snagging or lifting of the beads and diamonds. - 17Apply cat-eye gel to the third nail
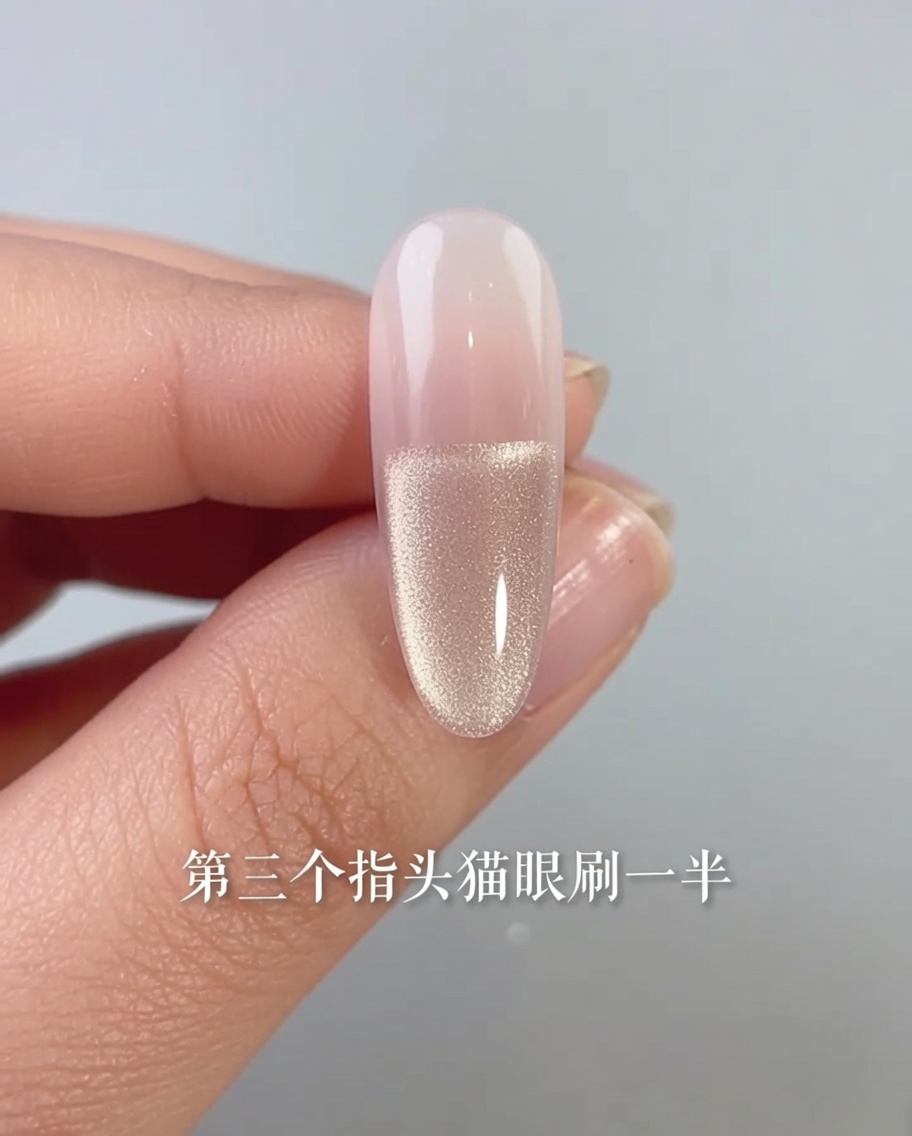
Apply the cat-eye gel polish to the bottom half of the third nail. Unlike the previous nails, do not create a gradient; leave the upper half clear or with the base color as shown. Use the magnet to create the desired cat-eye effect before curing.
Tip: Keep the line of the cat-eye gel clean and straight where it meets the clear section to ensure a crisp, professional look. - 18Decorate the third nail
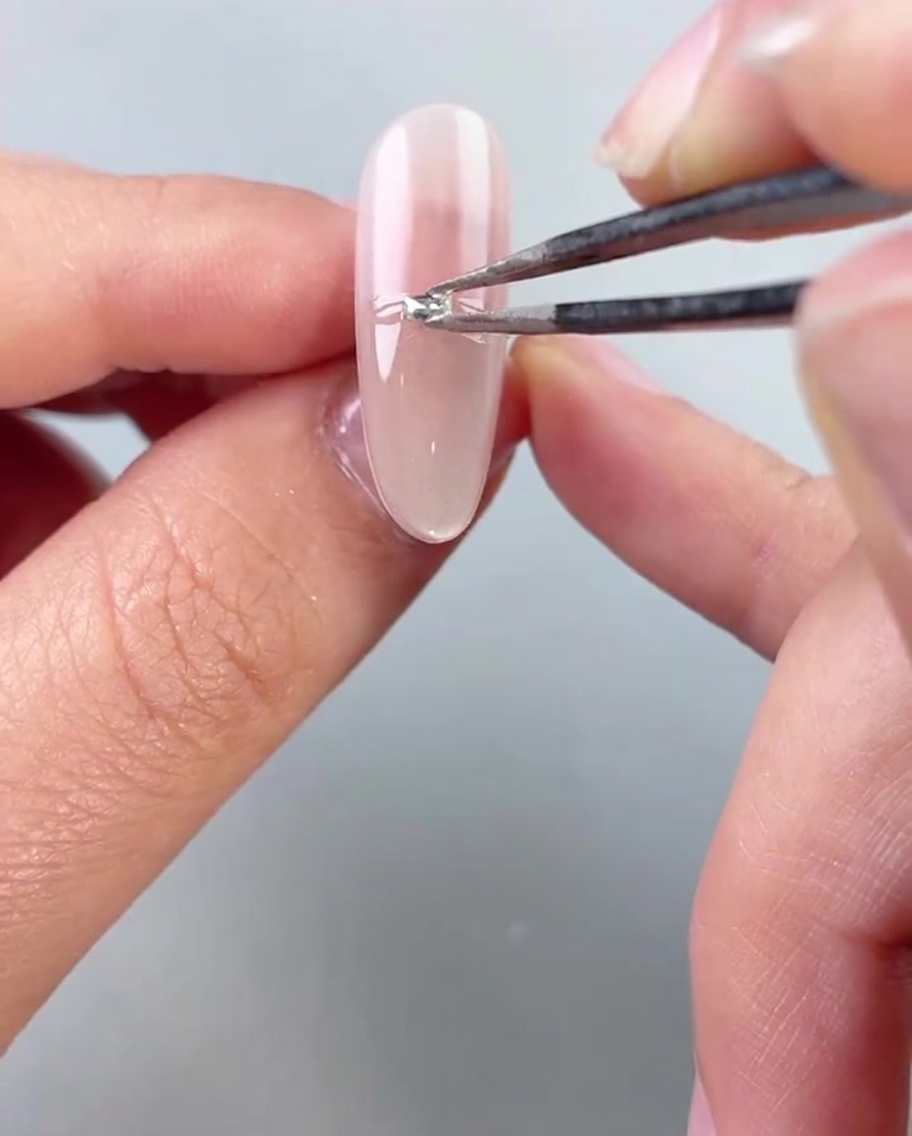
On the third nail, place broken diamonds and small pearls in a horizontal line across the cat-eye gel area. Use precision tweezers to arrange them neatly, ensuring they are securely set into the gel before curing.
Tip: Work with a small amount of diamond glue to ensure the pieces stay exactly where you place them without the gel spreading. - 19Add butterfly charm to the third nail
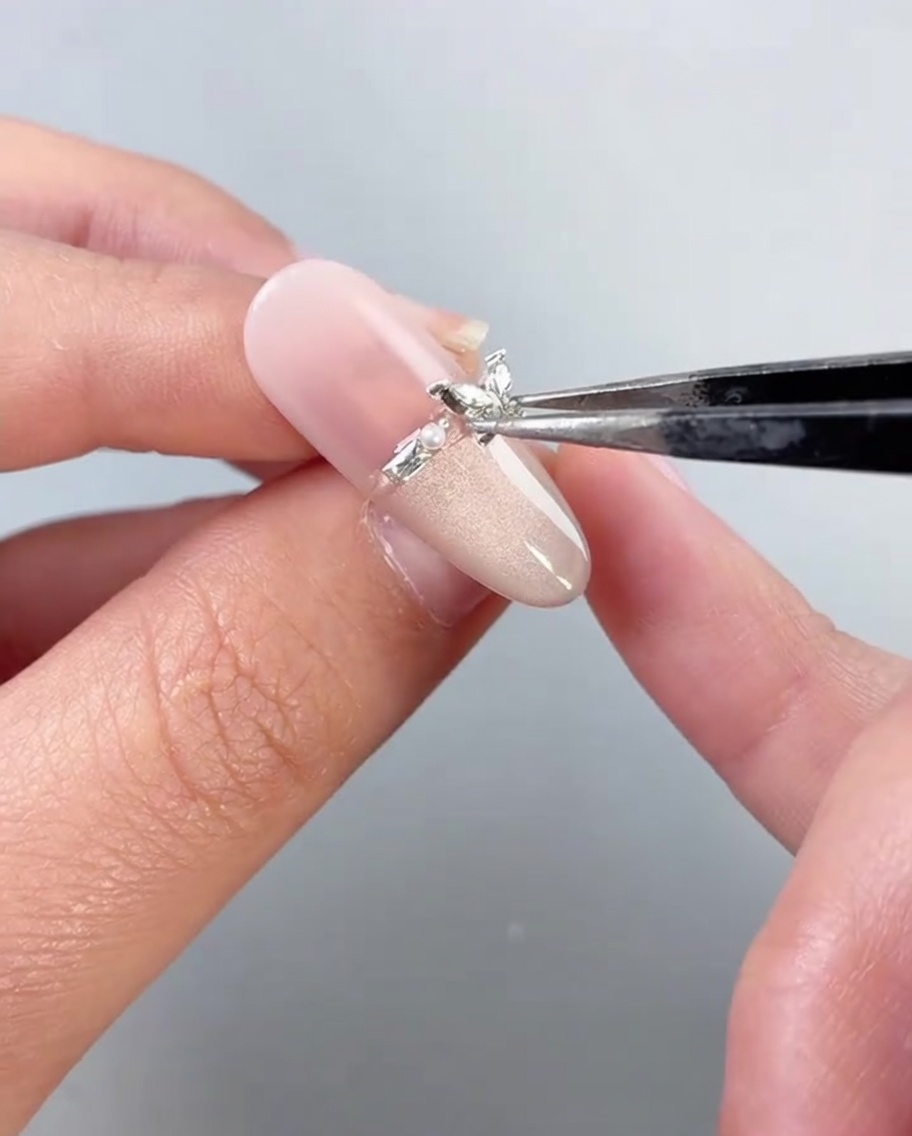
Carefully place the Style Valley broken diamond butterfly charm onto the third nail, positioning it over the previously placed diamonds and pearls. Ensure the charm is centered and firmly pressed into the adhesive glue.
Tip: Apply extra pressure to the butterfly charm to ensure it bonds securely to the curved surface of the nail. - 20Final seal for the third nail
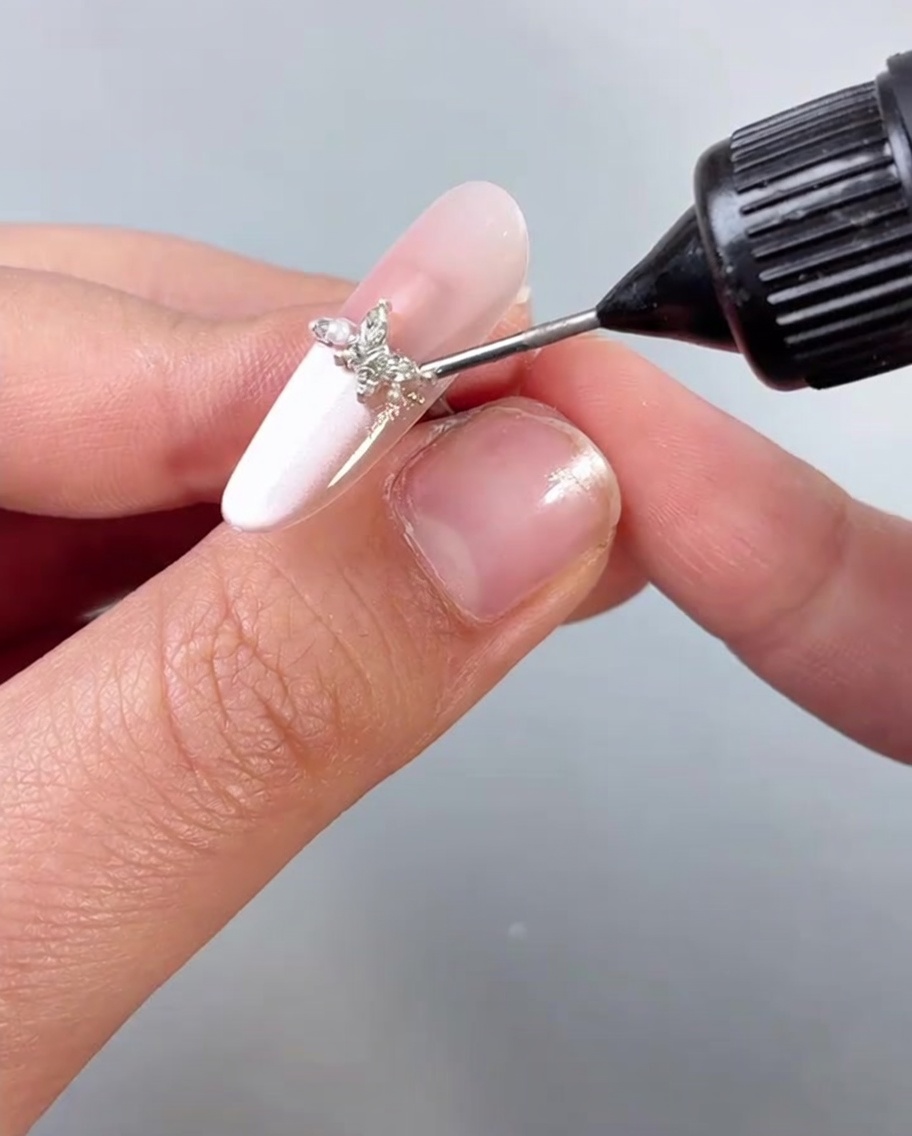
Apply no-wash filling glue around the edges of the butterfly charm and the base of the nail to secure all embellishments. Seal the entire third nail with a layer of silky top coat to finish the look and add durability. Cure under an LED lamp.
Tip: Check for any exposed edges around the charm and cover them with a small amount of filling glue to prevent snagging.