Colorful Aurora Chrome Gradient Nails — Professional Art Tutorial
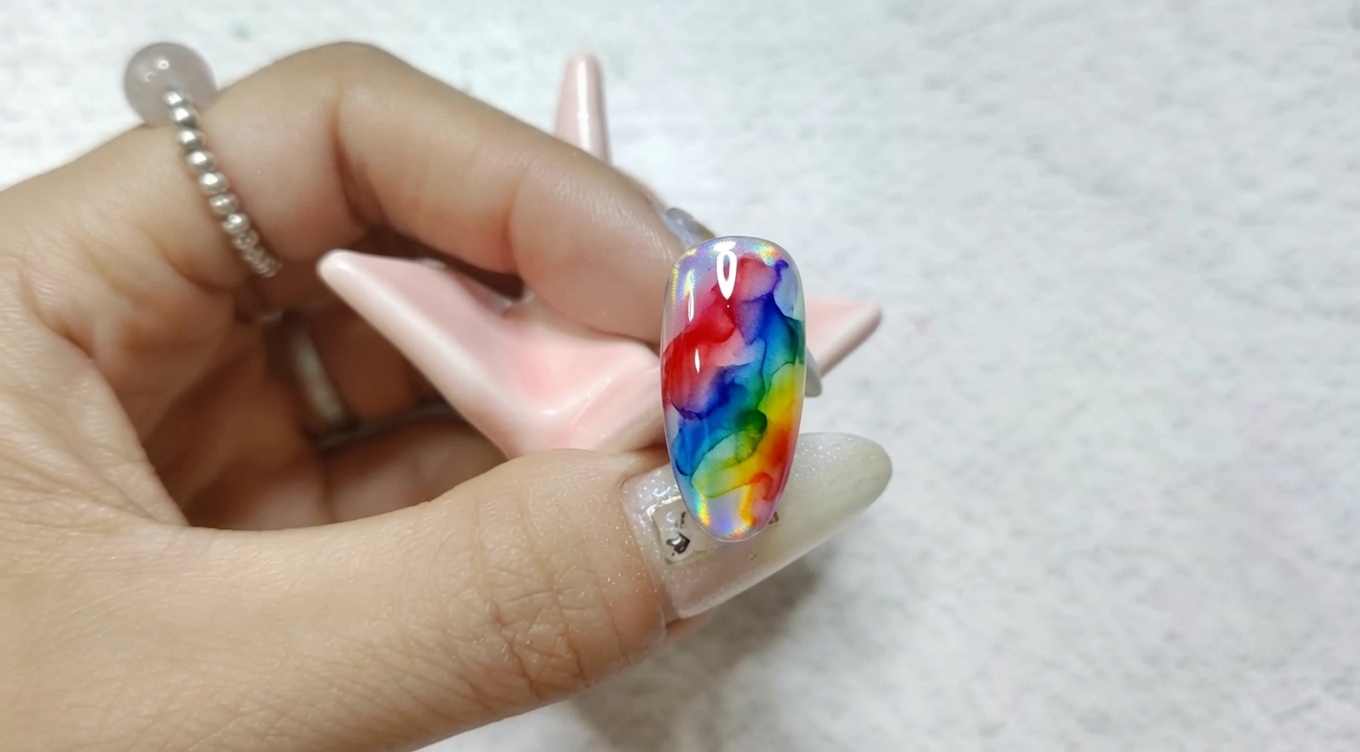
Create a stunning, mirror-like finish with this colorful aurora chrome and watercolor ink gradient tutorial designed for salon-quality results.
Combining the ethereal glow of aurora chrome with the artistic flair of watercolor inks creates a multidimensional manicure that stands out. This technique utilizes a matte barrier to allow for fluid ink blending over a reflective base, resulting in a vibrant, artistic gradient. It is a fantastic way to elevate a standard chrome look into a customized, gallery-worthy nail design.
Steps
- 1Apply no-wipe top coat
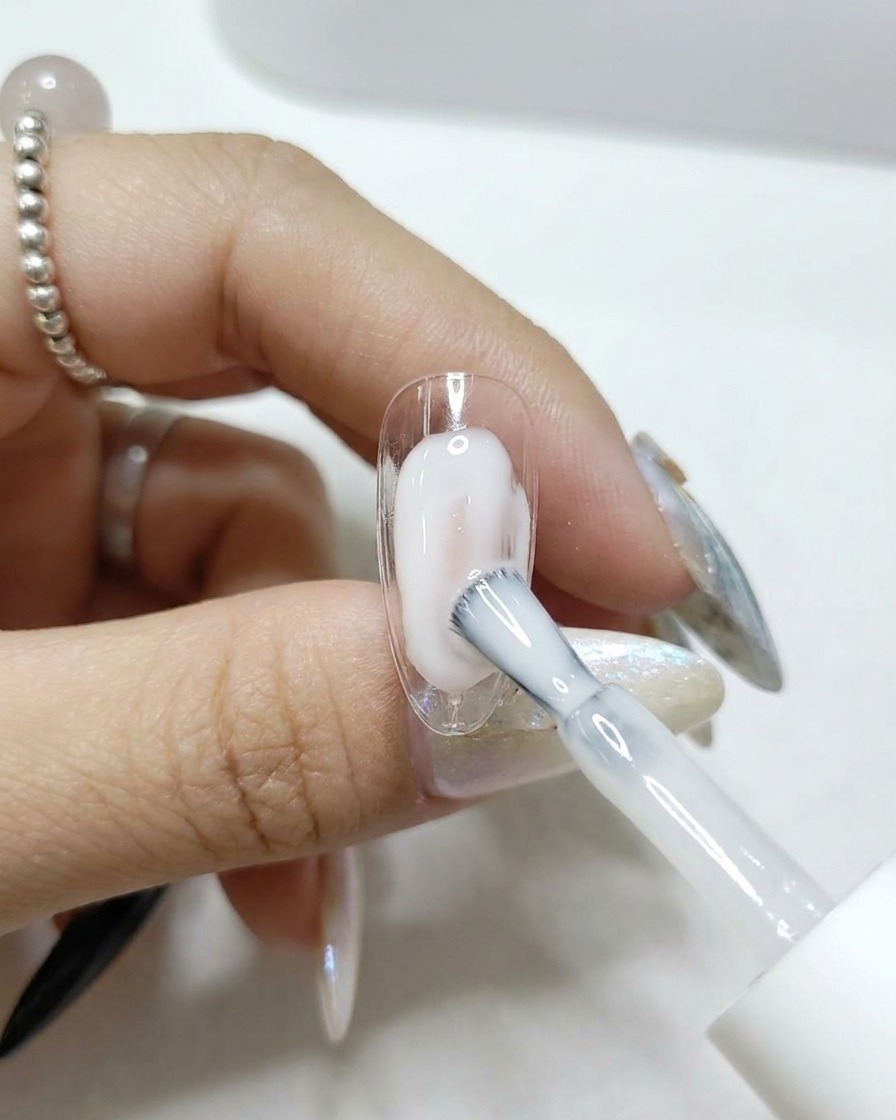
Apply a thin, even layer of no-wipe top coat over the entire nail surface, ensuring you cap the free edge. This creates a smooth, glossy base layer that is essential for the chrome powder to adhere properly and achieve a mirror-like finish. Avoid letting the polish pool at the cuticle or sidewalls.
Tip: Be thorough with the application to ensure the chrome powder sticks evenly across the entire nail. - 2Cure the top coat
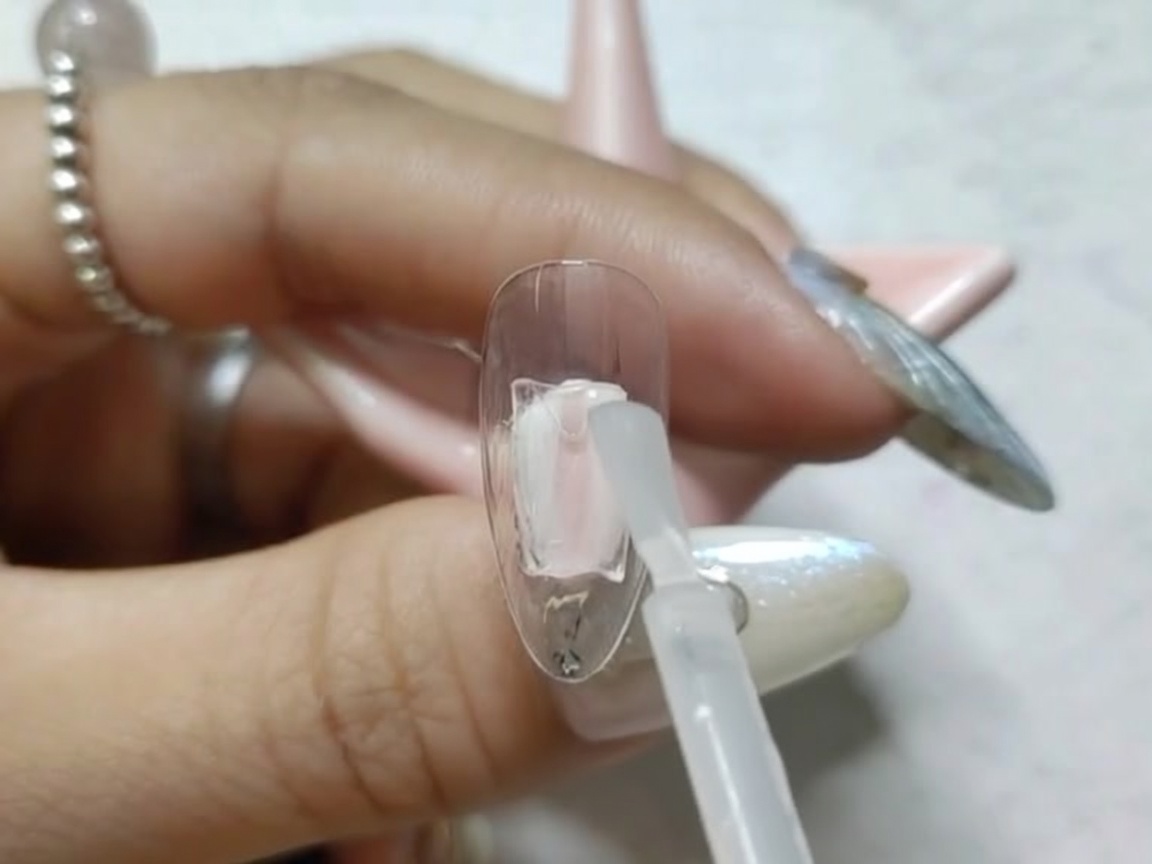
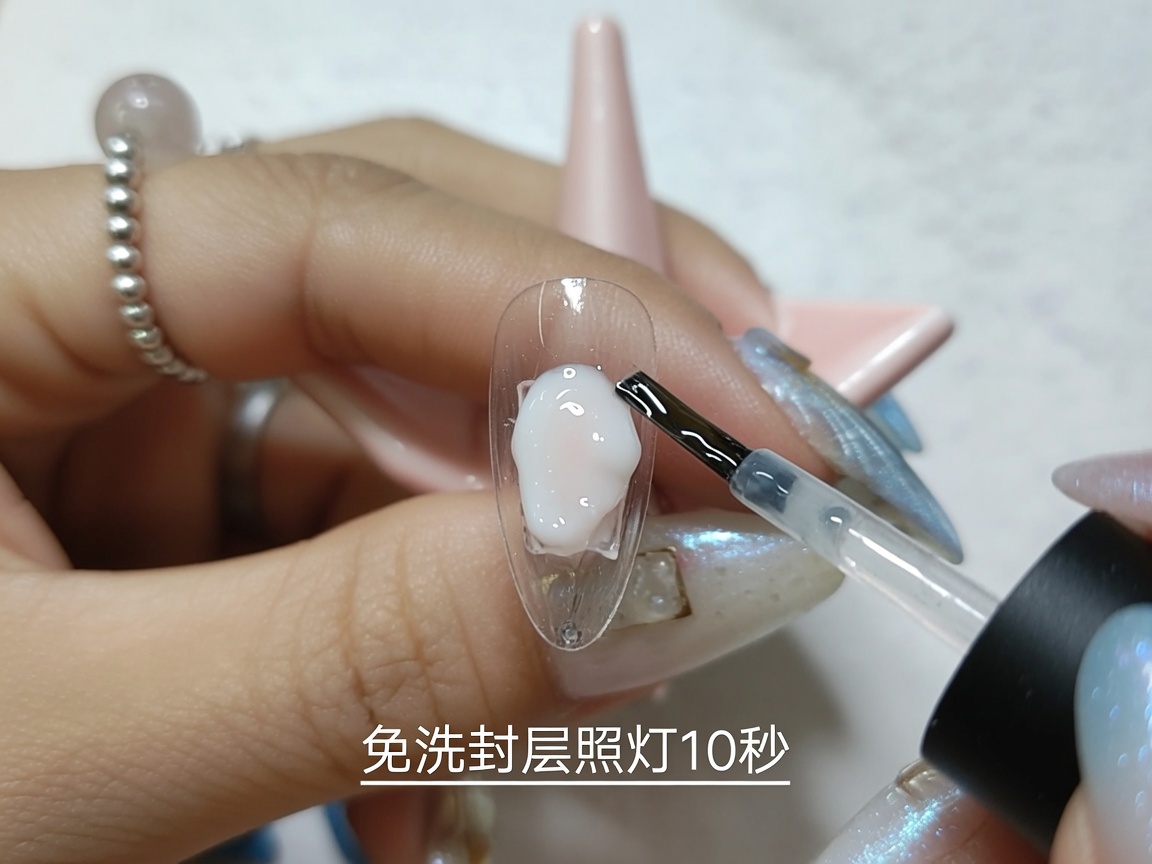
Place the nail tip inside your UV/LED lamp and cure for 10 seconds. This short curing cycle ensures the top coat is tacky enough to hold the chrome powder while being set enough to maintain its shape.
Tip: Do not over-cure, as the surface needs to remain slightly tacky for the chrome powder to grip effectively. - 3Prepare chrome powder
Using a small sponge eyeshadow applicator, pick up a generous amount of the iridescent laser chrome powder. Ensure the sponge is evenly coated to allow for a smooth and consistent application onto the nail.
Tip: A little powder goes a long way, but ensure you have enough on the sponge for full coverage. - 4Apply chrome powder
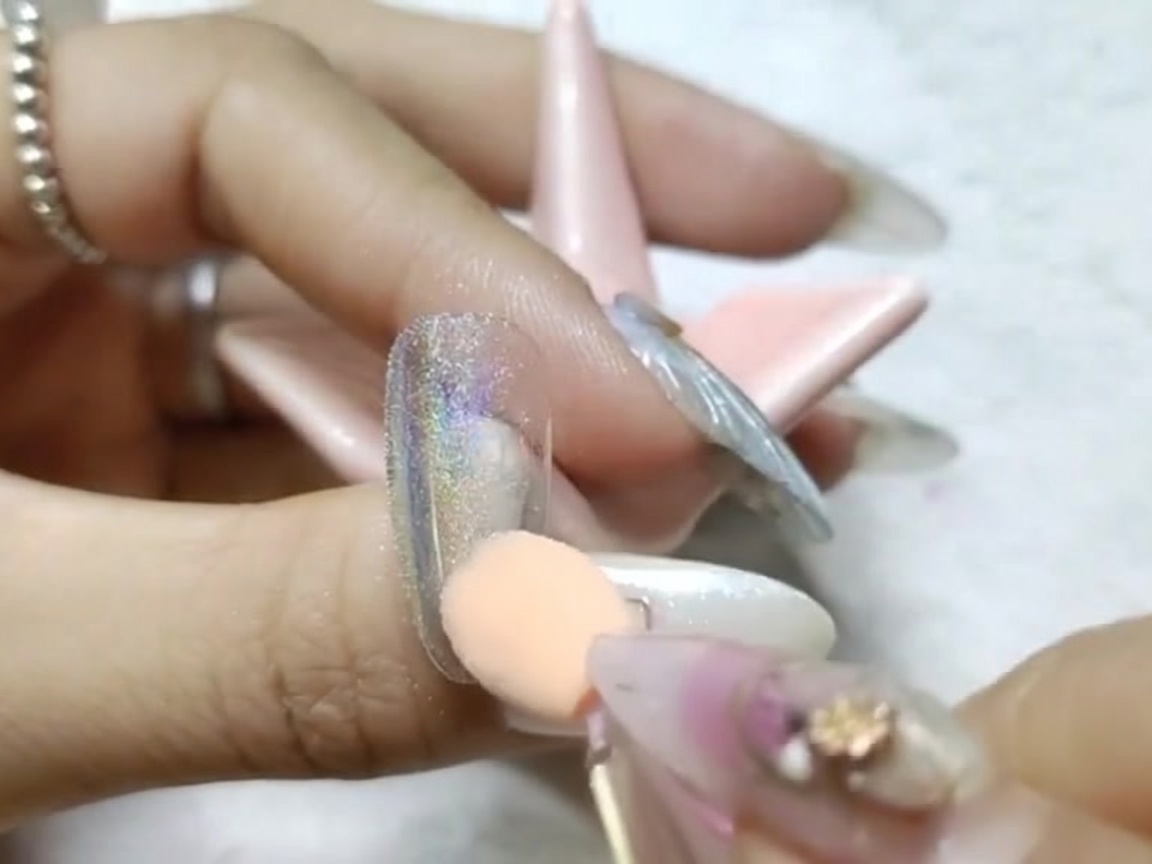
Gently rub the chrome powder onto the cured top coat using circular motions. Continue buffing the surface until the powder transforms into a smooth, reflective mirror finish across the entire nail.
Tip: Apply firm, even pressure to ensure a uniform mirror effect without any patches or missed spots. - 5Apply matte top coat
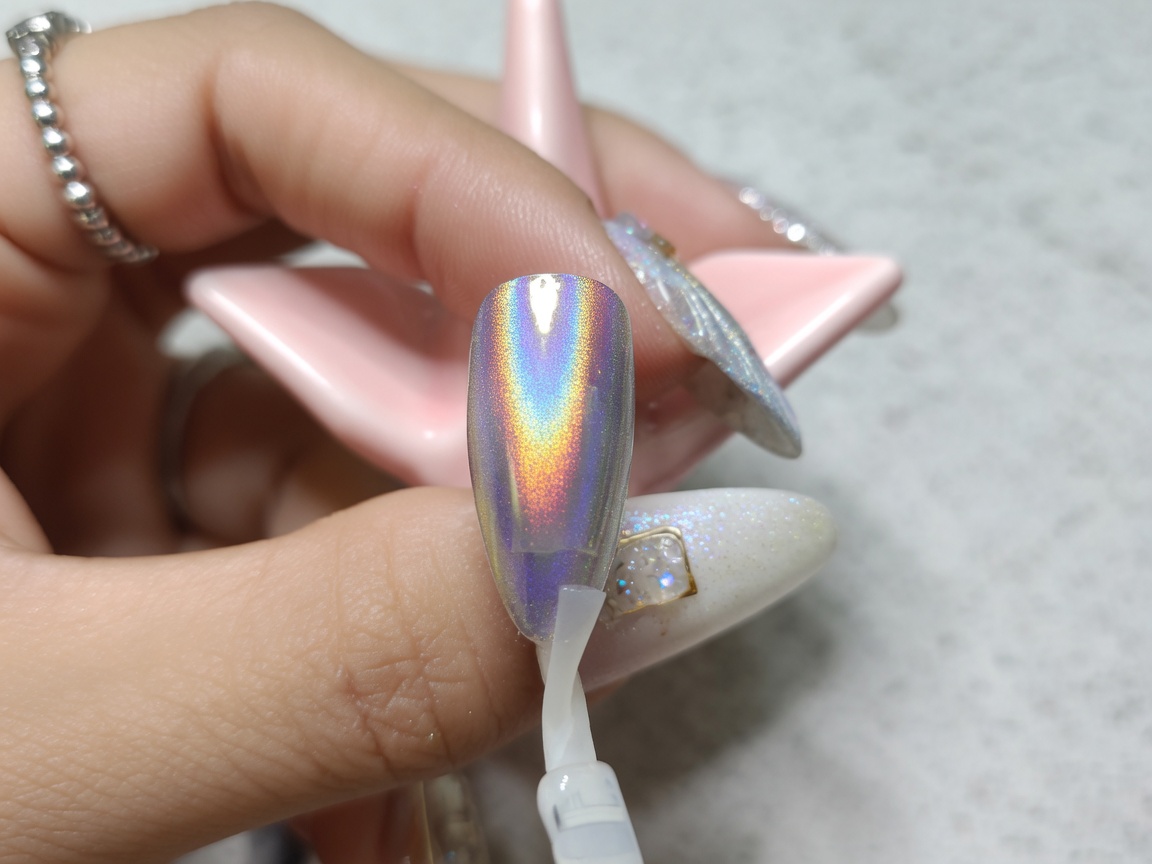
Apply a layer of matte top coat over the chrome-finished nail. This layer locks in the chrome and provides a smooth, non-shiny surface that is ready for the upcoming watercolor ink application.
Tip: Make sure the chrome is fully buffed and excess dust is removed before applying the matte coat to prevent streaks. - 6Cure the matte layer
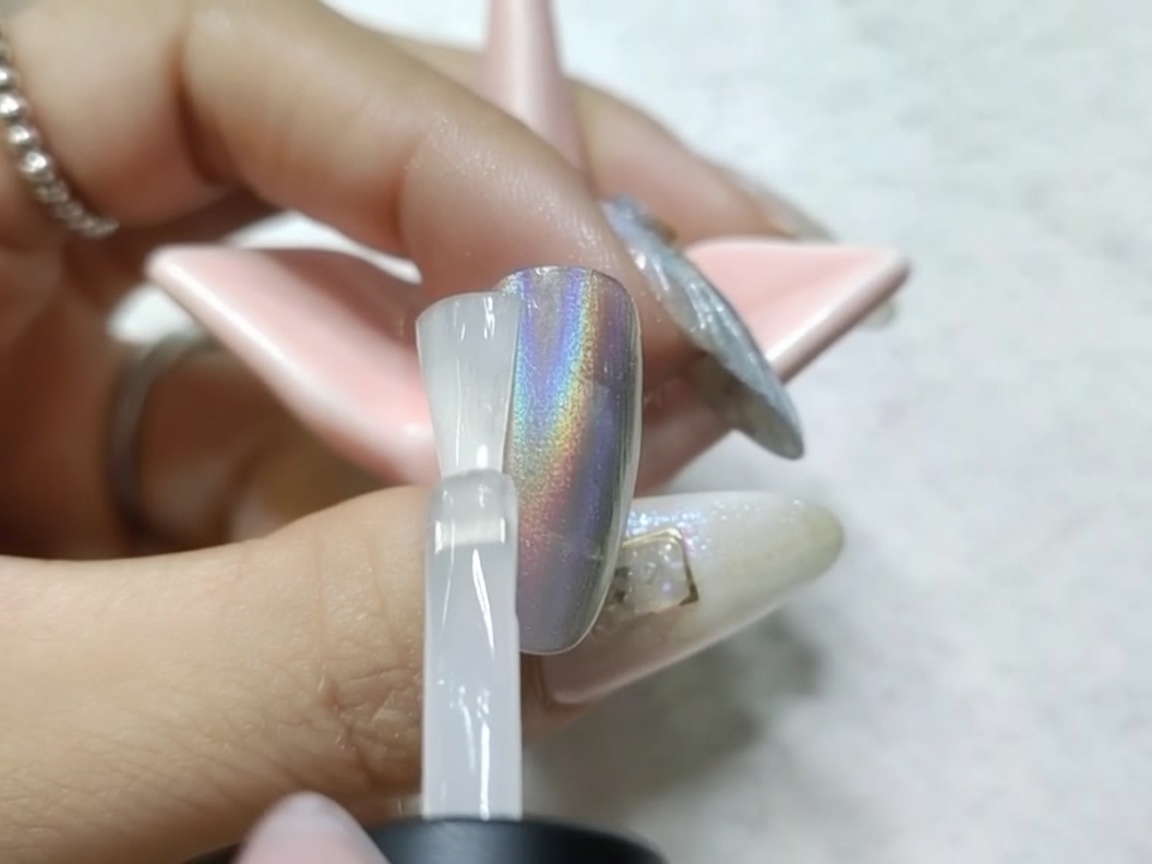
Cure the matte top coat layer under your UV/LED lamp to fully set the surface. Ensure the layer is completely dry before proceeding to the next step, which involves decorative ink application.
Tip: Ensure the nail is fully placed under the light to guarantee an even, streak-free matte finish. - 7Apply red watercolor ink
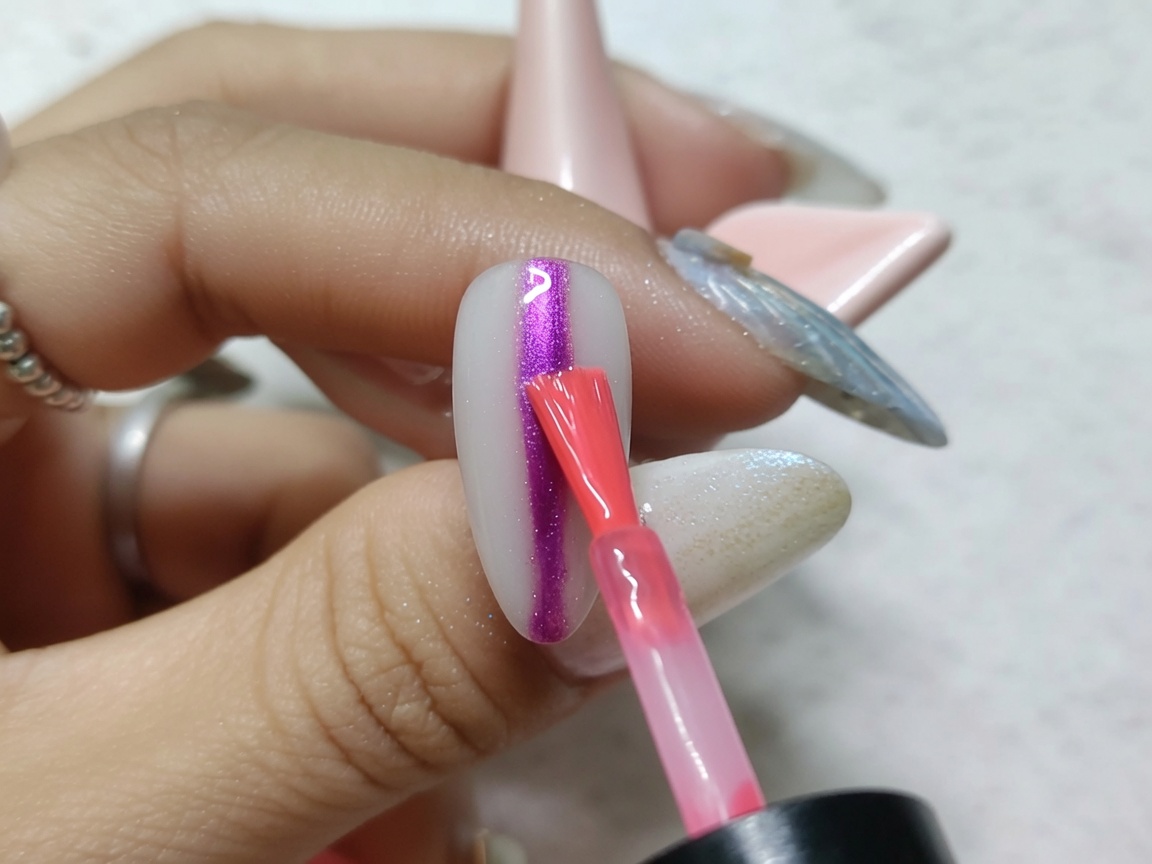
Apply a vertical stripe of red watercolor ink down the center of your prepared chrome-finished nail. This creates the first layer of your gradient design, setting the base for the color blend.
Tip: Keep the stripe straight and centered for a balanced look. - 8Apply blue watercolor ink
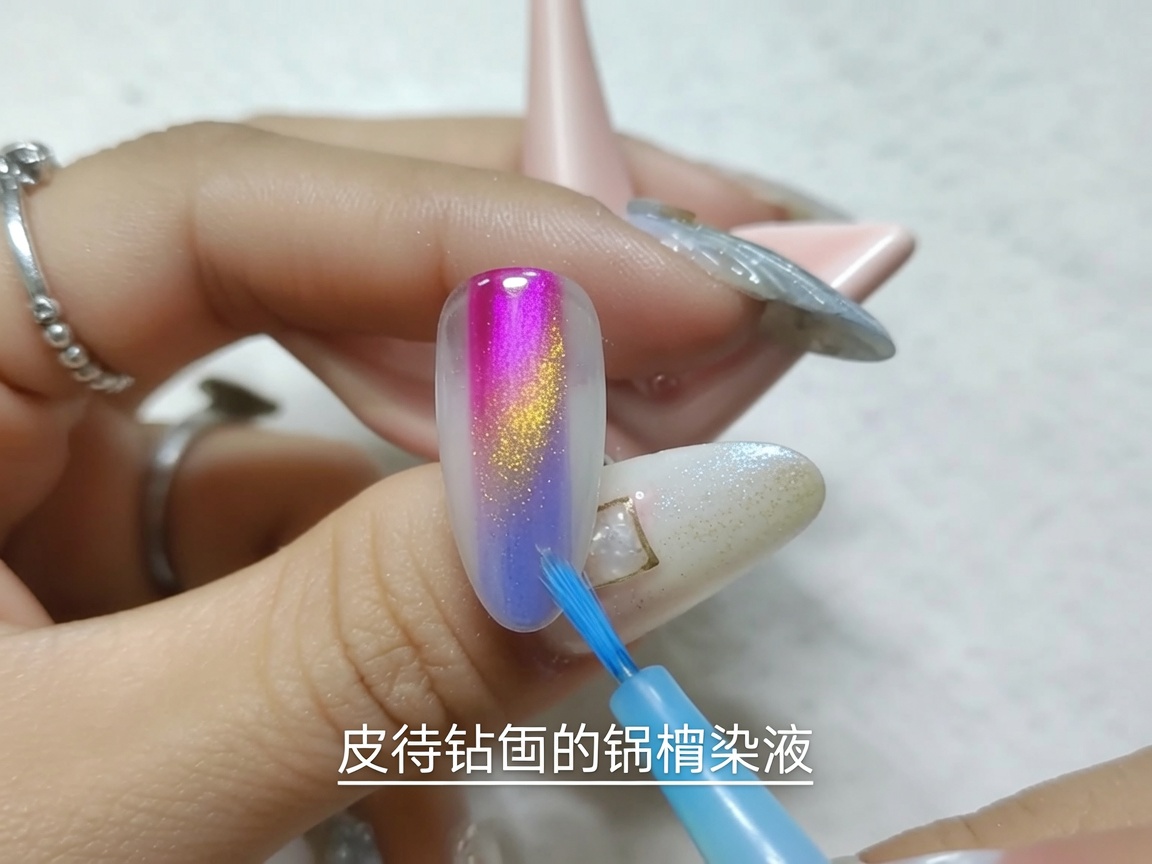
Apply a vertical stripe of blue watercolor ink directly next to the red stripe. Ensure the edges of the two colors meet, allowing them to begin overlapping for a smooth transition.
Tip: Work quickly to apply the colors while the ink is still wet for the best blending results. - 9Blend the ink gradient
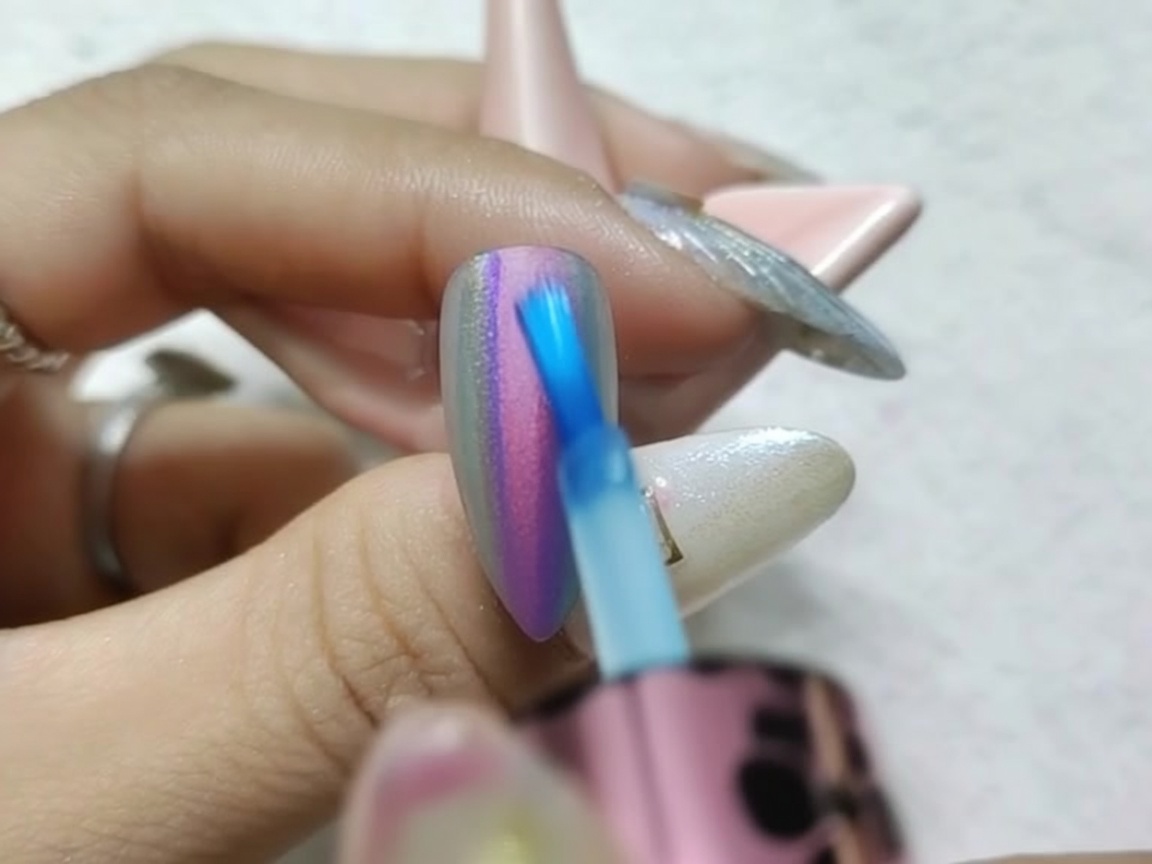
Using a clean, damp brush, gently blend the edges where the red and blue inks meet. Use soft, sweeping motions to diffuse the pigments, creating a seamless gradient effect across the nail.
Tip: Do not over-blend, or you may muddy the colors; use light pressure to keep the hues distinct yet soft. - 10Apply yellow watercolor ink
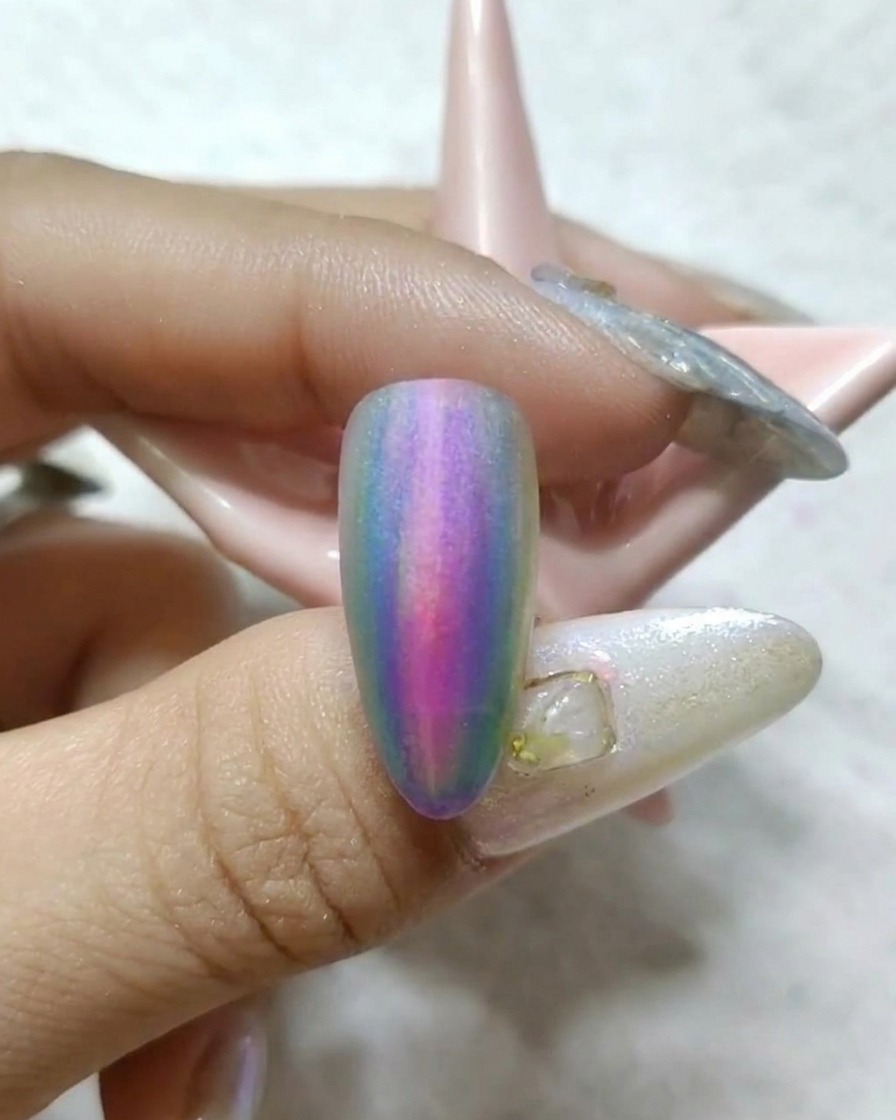
Apply a final vertical stripe of yellow watercolor ink to the side of the nail. Blend this into the existing gradient to complete the multi-colored effect.
Tip: Ensure the yellow color is light enough to transition well with the blue and red for a vibrant, harmonious look. - 11Apply glossy top coat
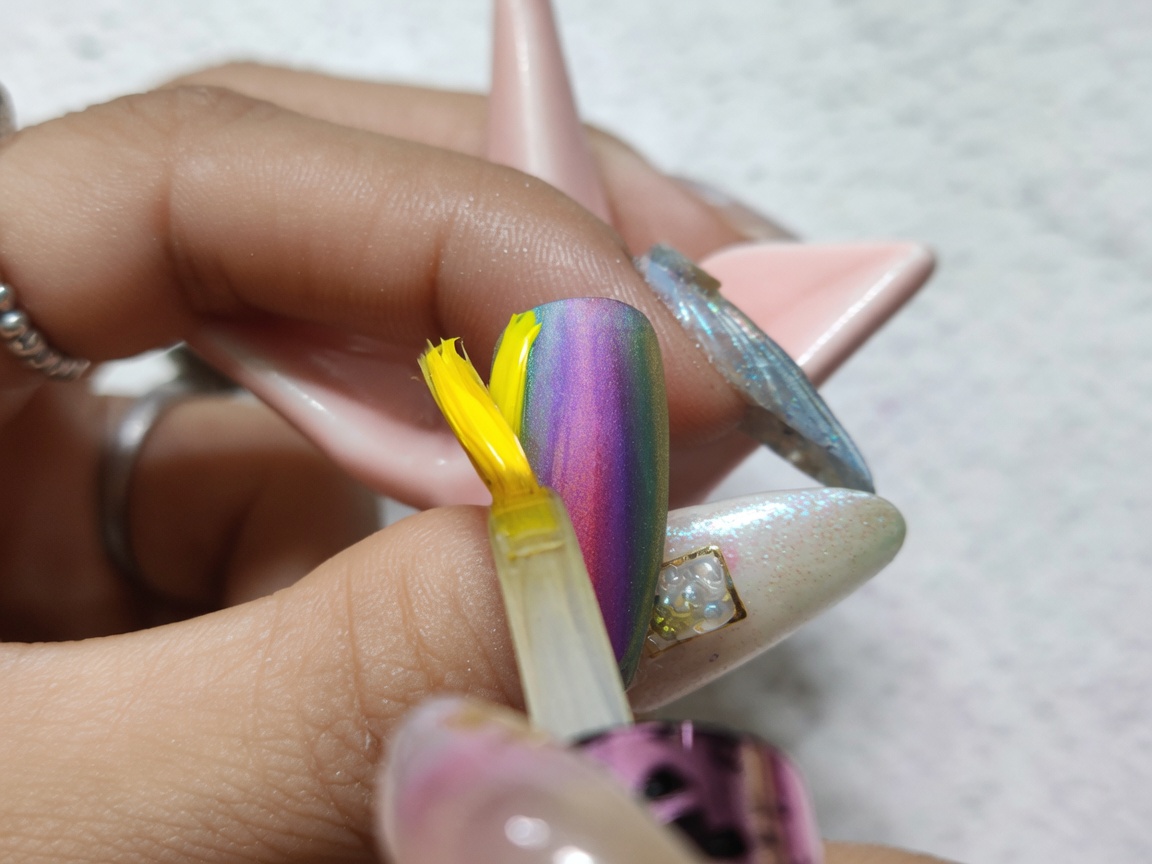
Apply a generous, even layer of high-gloss top coat over the entire nail to seal in your watercolor gradient. This protects the art and adds a brilliant, glass-like shine.
Tip: Cap the free edge carefully to prevent the top coat from chipping and to ensure the longevity of your nail art. - 12Cure the design
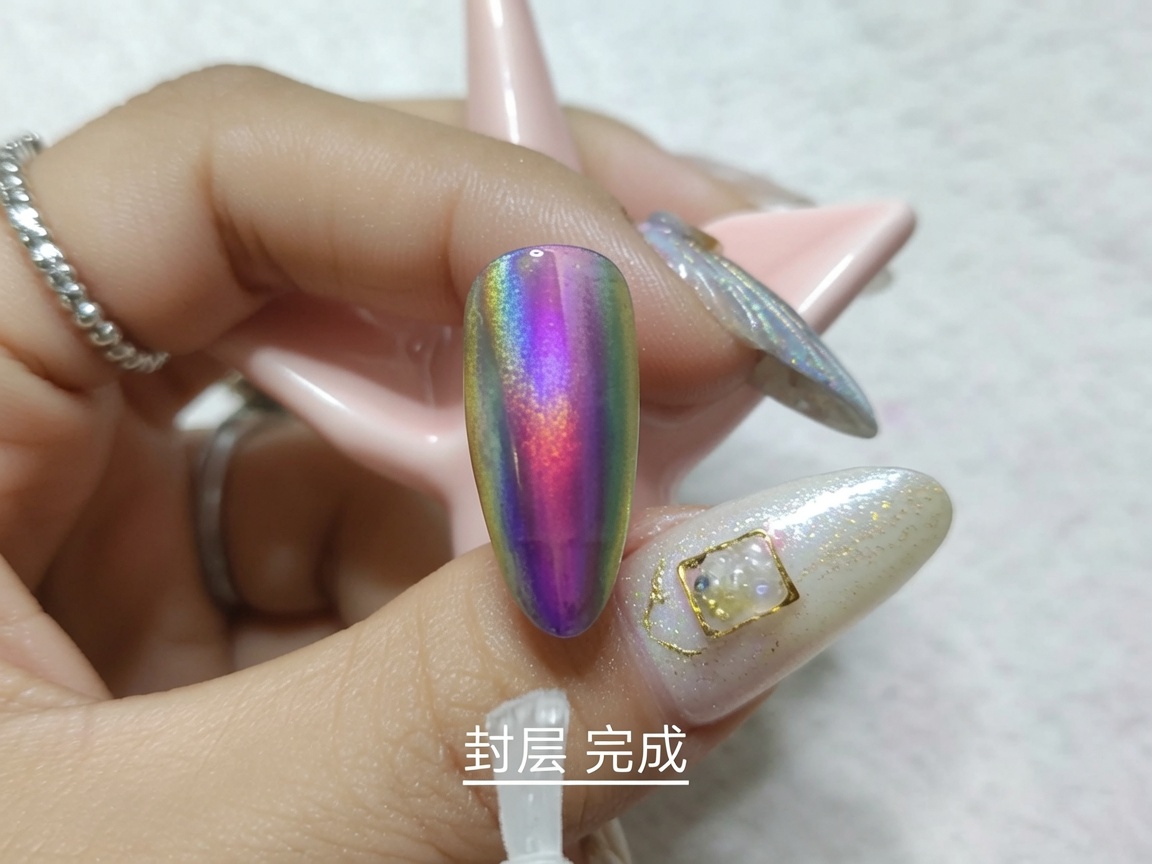
Place your nails under a UV or LED lamp and cure for the recommended time to fully set the top coat. This final step locks the design and ensures a durable, long-lasting finish.
Tip: Ensure your fingers are positioned correctly under the lamp to get full, even coverage on all areas of the nail.