Satin Glitter French Manicure — Sophisticated Nail Art Tutorial
Elevate your classic French manicure with a luxurious satin nude base and sparkling diamond glitter tips in this easy step-by-step guide.
The timeless French manicure gets a modern, glamorous twist with this satin glitter design. By pairing a smooth, pink-tinted nude base with textured, diamond-dusted tips, you achieve a look that is both sophisticated and perfect for any special occasion. This technique uses a builder gel base for added strength, ensuring your sparkle stays perfectly in place with a high-shine finish.
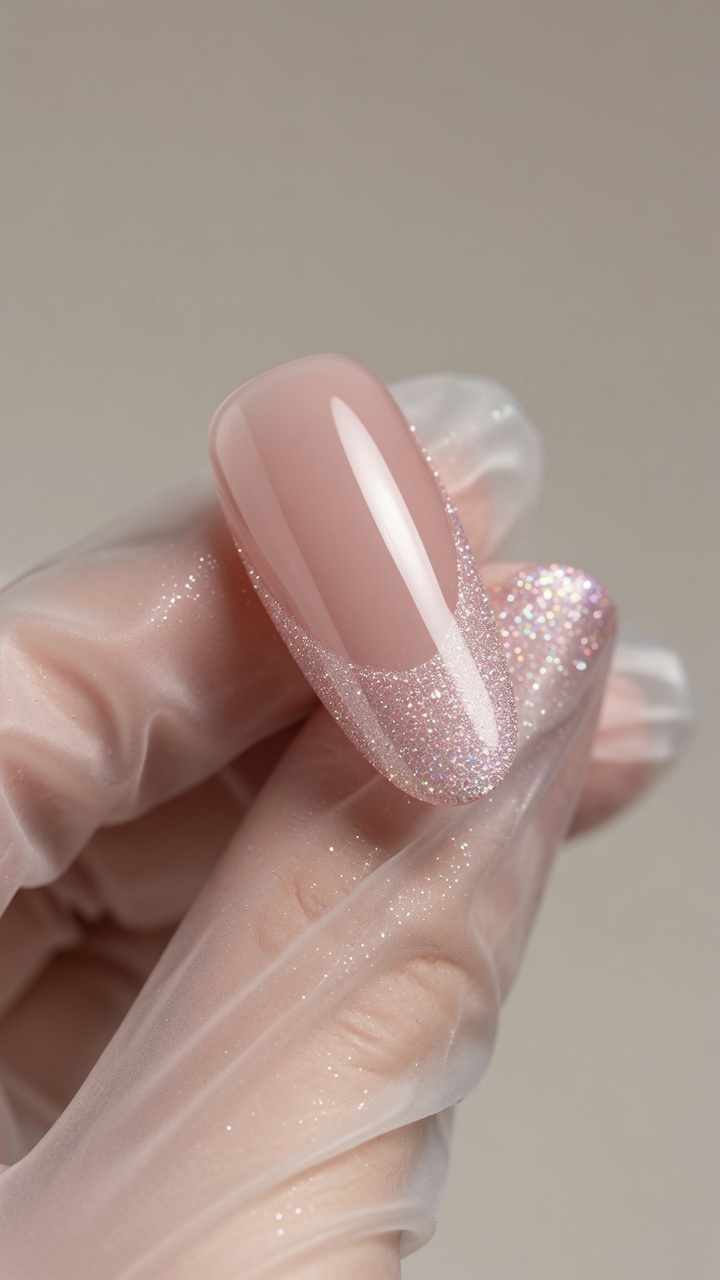
Steps
- 1Apply thin base color layer
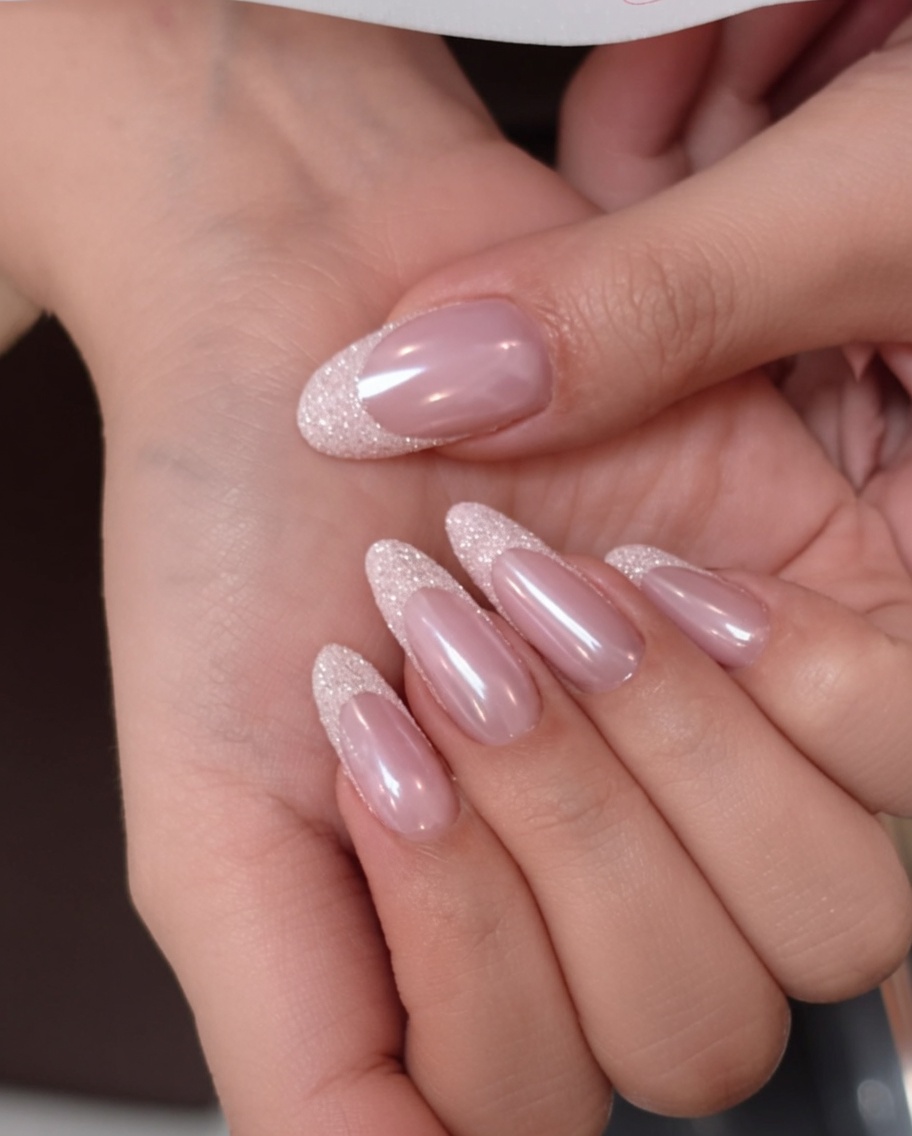
Apply a thin first coat of pink-tinted nude gel polish to the entire nail surface. Ensure even coverage while keeping the layer thin to prevent pooling or thick spots. Cure under your lamp as recommended by the gel manufacturer.
Tip: Applying a thin initial coat ensures a smooth foundation for subsequent layers and helps prevent the gel from running into the cuticles. - 2Apply builder gel layer
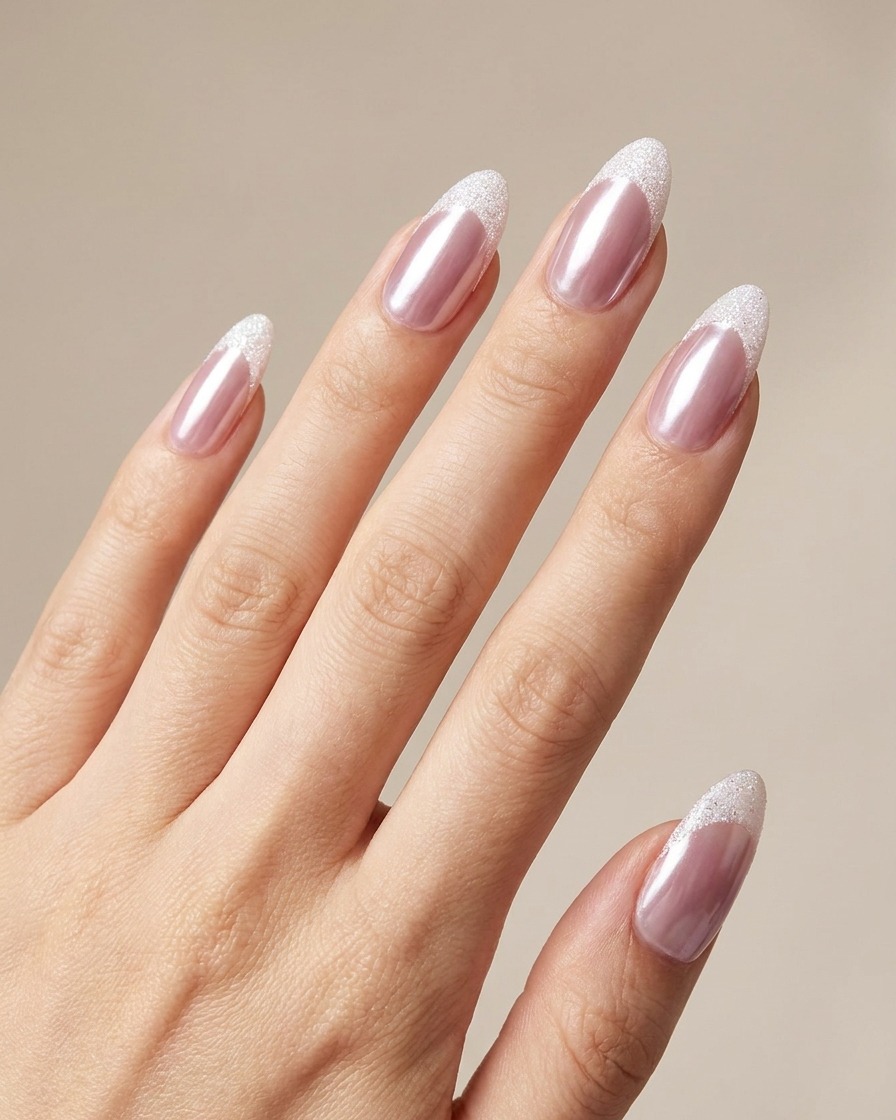
Apply a second, slightly thicker layer of the nude gel. Use a builder gel technique by floating a bead of product over the nail. Turn the finger upside down for a few seconds to allow the gel to self-level and create a smooth, apex-forming curve before curing.
Tip: Inverting the finger helps the builder gel settle into the center of the nail, creating a natural-looking apex and a smooth, even surface. - 3Apply matte top coat
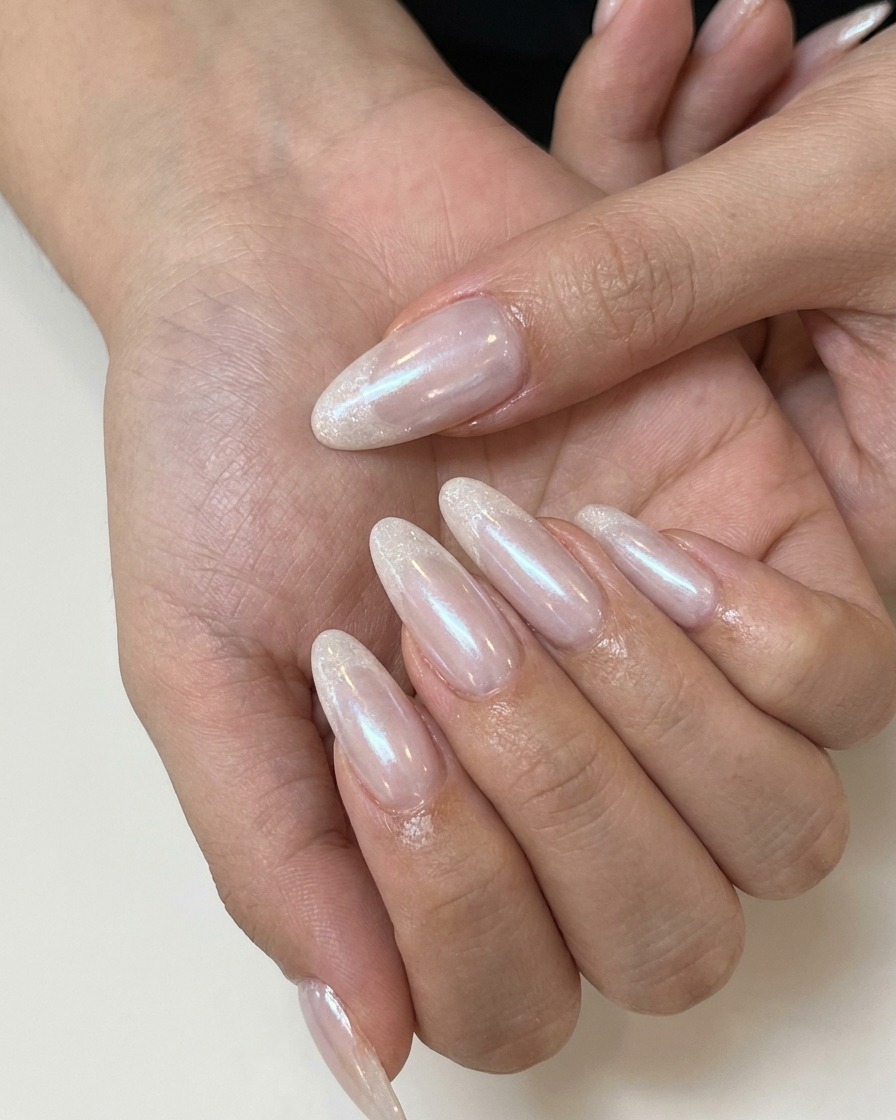
Apply a high quality matte top coat over the entire nail surface to create a smooth satin finish on the nude base before moving on to the tip design.
Tip: Ensure the matte top coat is applied evenly to prevent any shiny patches on your satin base. - 4Cure the base layer
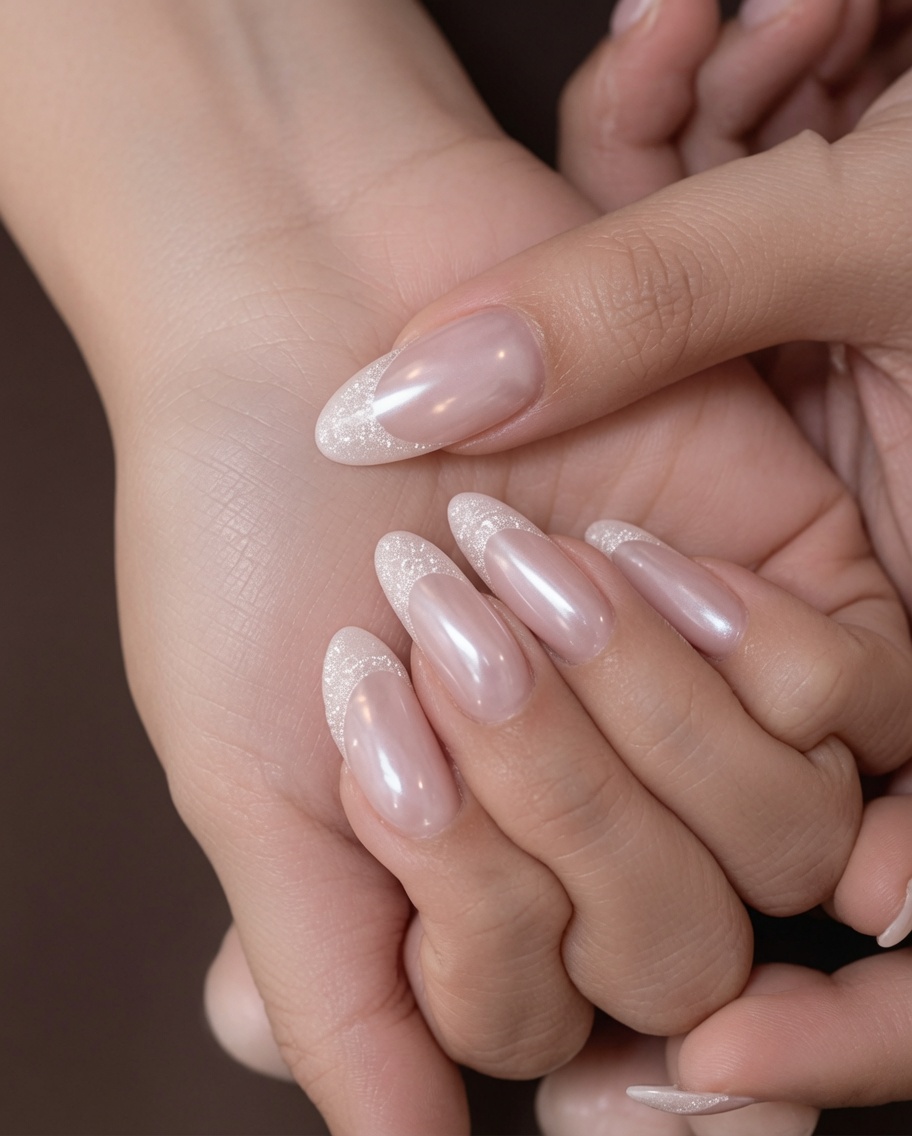
Place the nails under your LED lamp and cure for exactly 30 seconds. This sets the sticky layer to the correct consistency to receive the diamond-effect powder without shifting.
Tip: Ensure the entire hand is positioned well within the lamps light field to guarantee even curing across all fingers. - 5Wipe nail surface
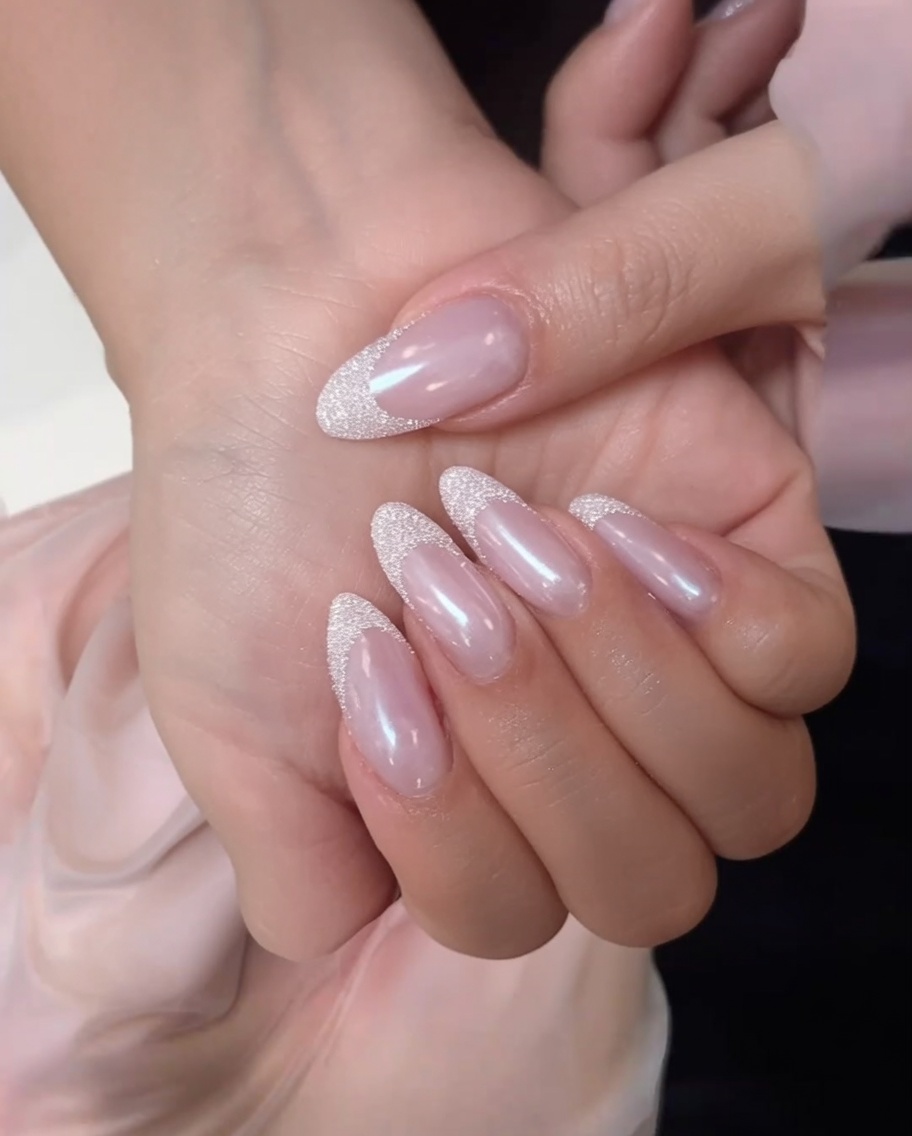
Wipe the cured nail with a lint free wipe soaked in isopropyl alcohol to remove any tacky residue and reveal the true satin finish across the entire nail plate.
Tip: A completely dry and oil free surface is necessary so the French tip guide adheres properly in the next steps. - 6Prepare tip area
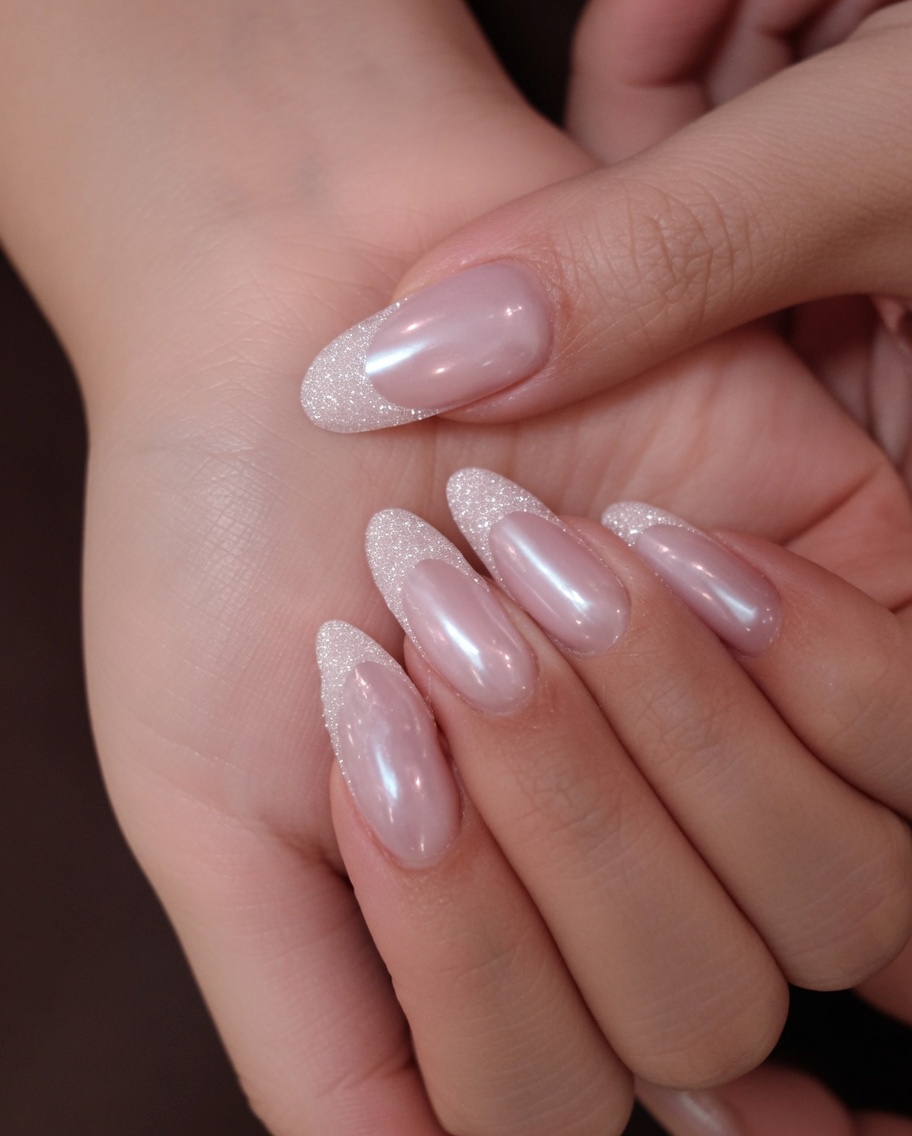
Ensure the nail is completely free of dust and moisture before applying any further products to the tip area to guarantee proper adhesion for the final design.
Tip: A clean surface prevents peeling and ensures the French tip design will last as long as possible. - 7Position the French sticker
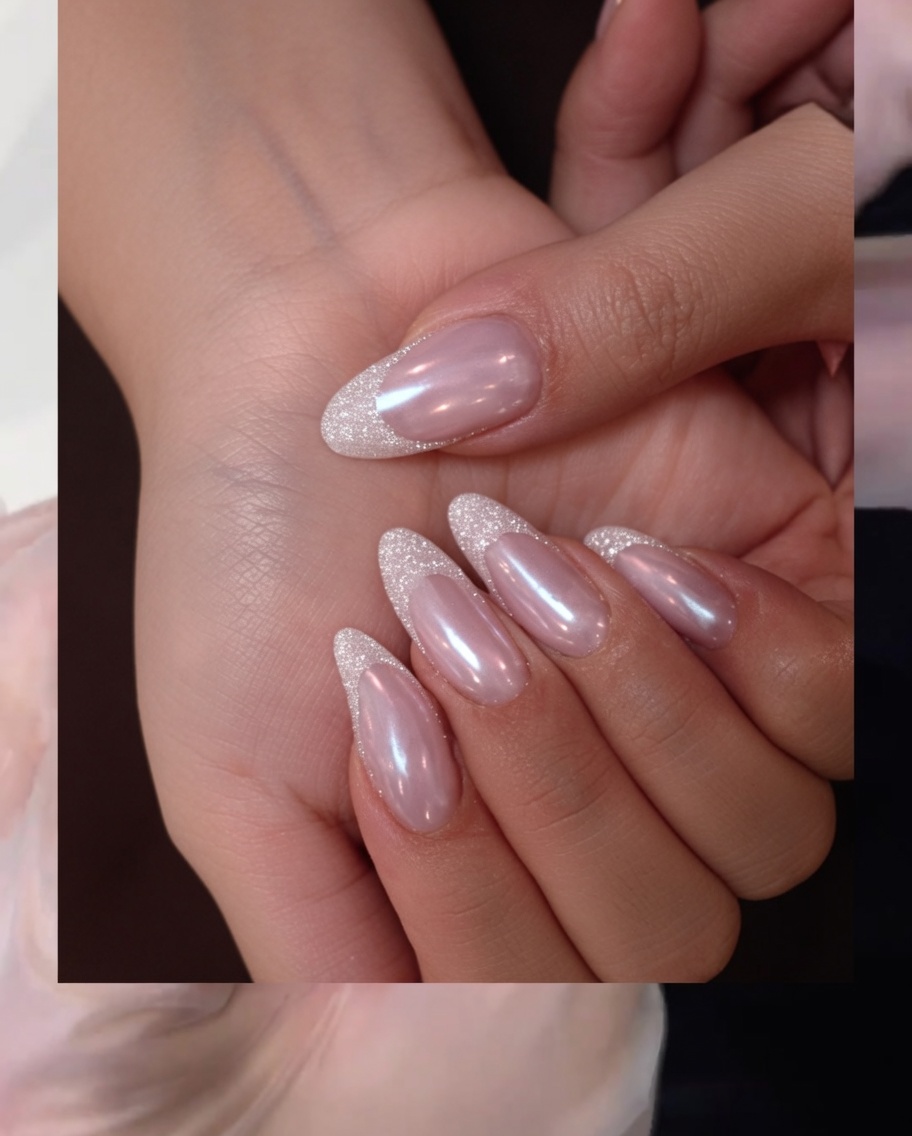
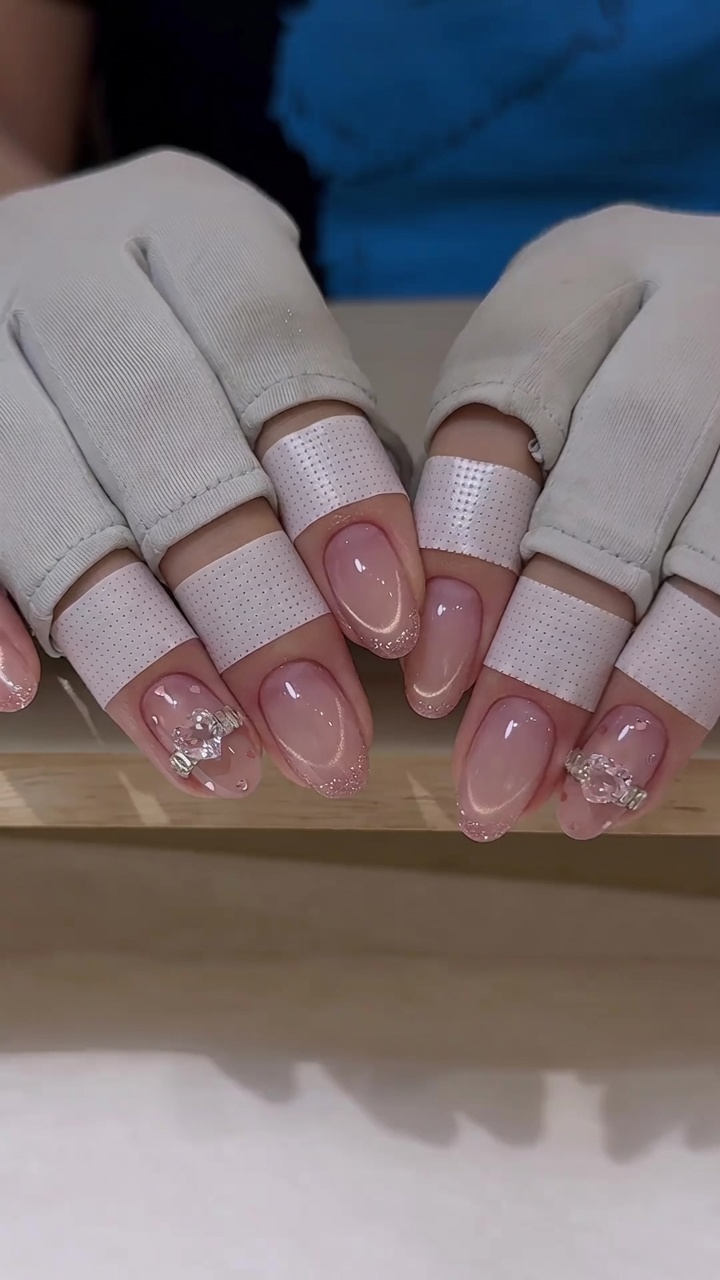
Take your French tip nail sticker and carefully apply it across the nail to create the desired French tip arch. Ensure the sticker is pressed down firmly at the edges to create a clean, crisp line for the color application, preventing any gel polish from bleeding underneath.
Tip: Apply the sticker after the base layer is fully cured to ensure it sticks well and wont lift any product when removed. - 8Apply sticky base to tip
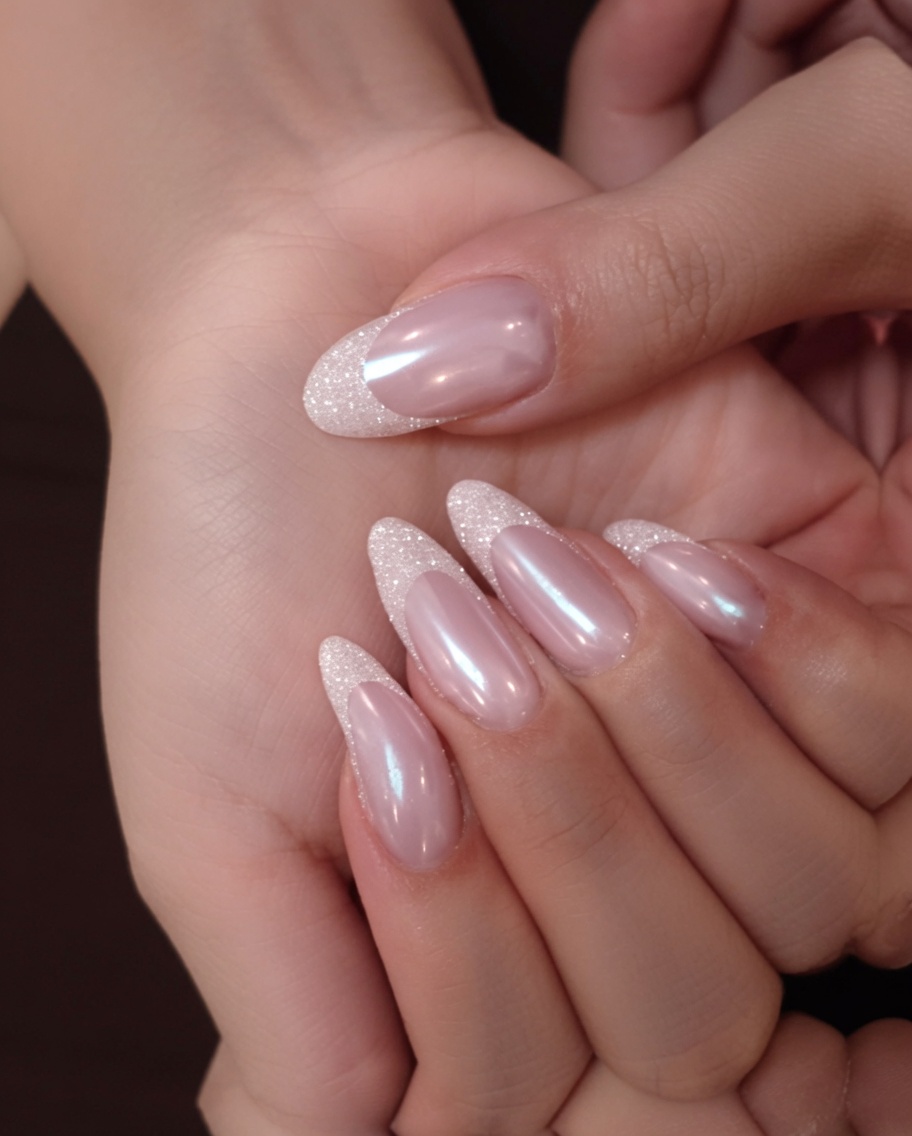
Paint a thin layer of clear sticky gel base solely on the exposed tip area above the sticker guide. Keep the application even to ensure the glitter adheres perfectly without creating a bulky edge.
Tip: Keep the layer thin to prevent a bulky tip while ensuring enough grip for the diamond powder. - 9Add diamond glitter
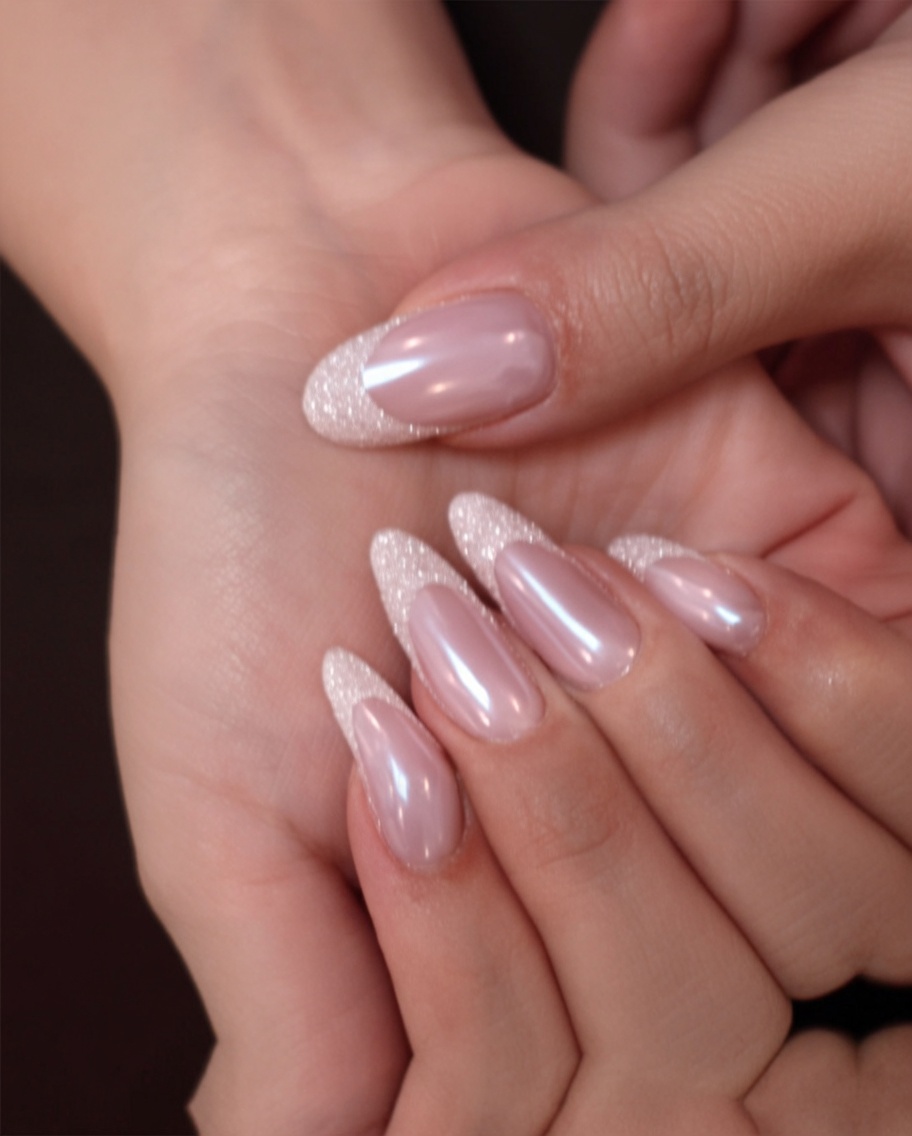
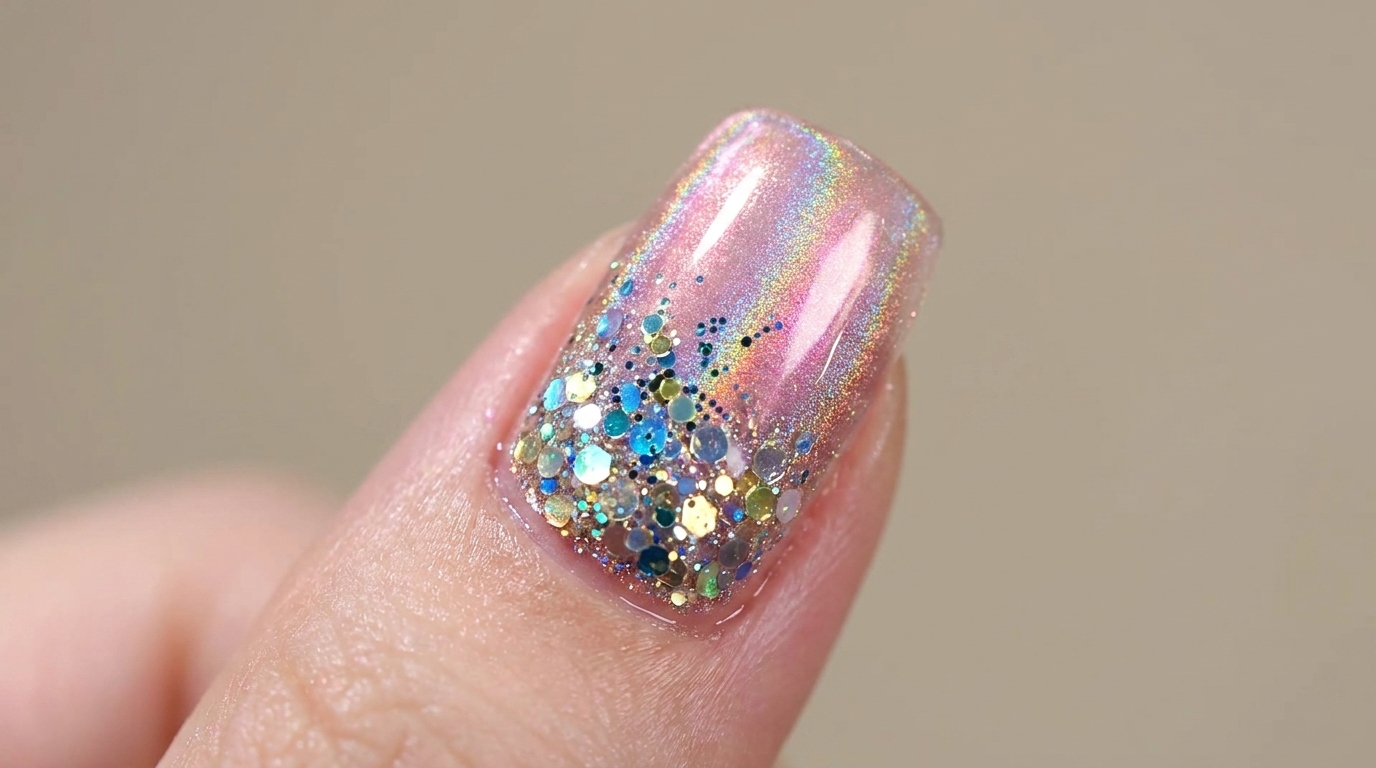
While the sticky base on the tip is still uncured and wet, gently pat the diamond glitter powder over the area. The glitter will adhere to the wet gel to create a sparkling and textured French tip effect.
Tip: Use a small sponge applicator to press the glitter into the gel ensuring maximum sparkle and even coverage. - 10Remove excess glitter
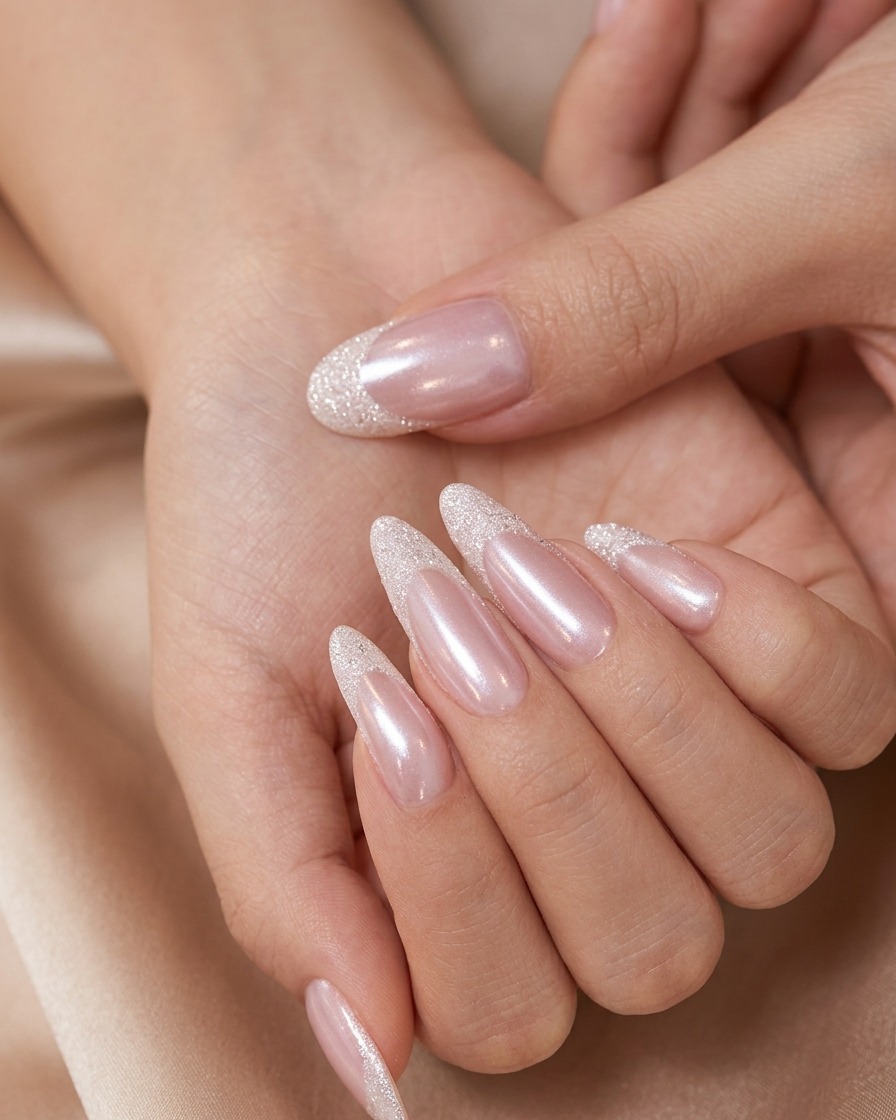
Once the glitter is applied and the nail is cured, use a soft, clean nail brush to gently sweep away any loose glitter particles from the nail surface and cuticle area. This step ensures a clean transition before sealing the design.
Tip: Hold your hand upside down while brushing off the excess so the dust falls away from the nail instead of sticking to it. - 11Apply top coat
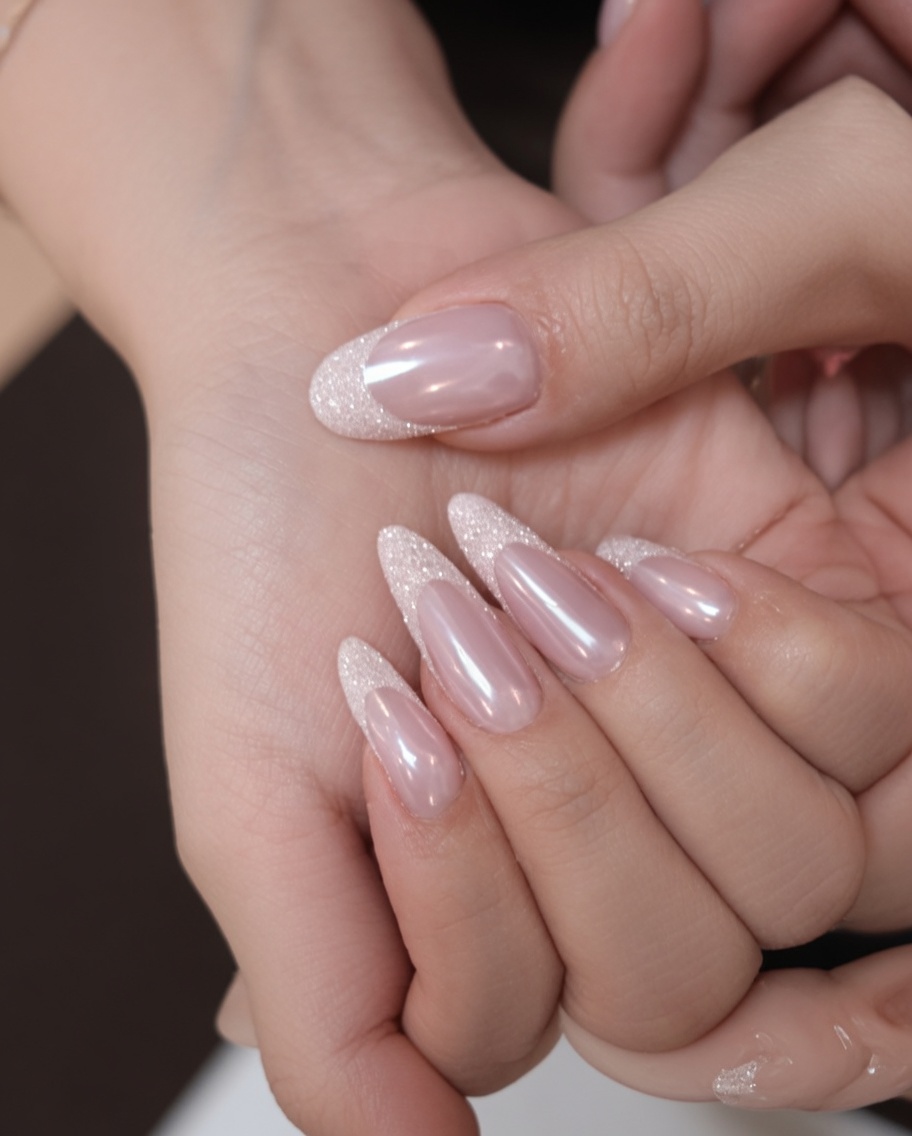
Apply a final layer of high-shine, oil-resistant top coat over the entire nail, including the French tip area. This seals the glitter and the design, providing durability and a smooth, glossy finish.
Tip: Cap the free edge by running the brush horizontally across the tip to prevent chipping and ensure longevity.