Pink Nude Gel Manicure
Rhinestone Embellishments — Step-by-Step Tutorial
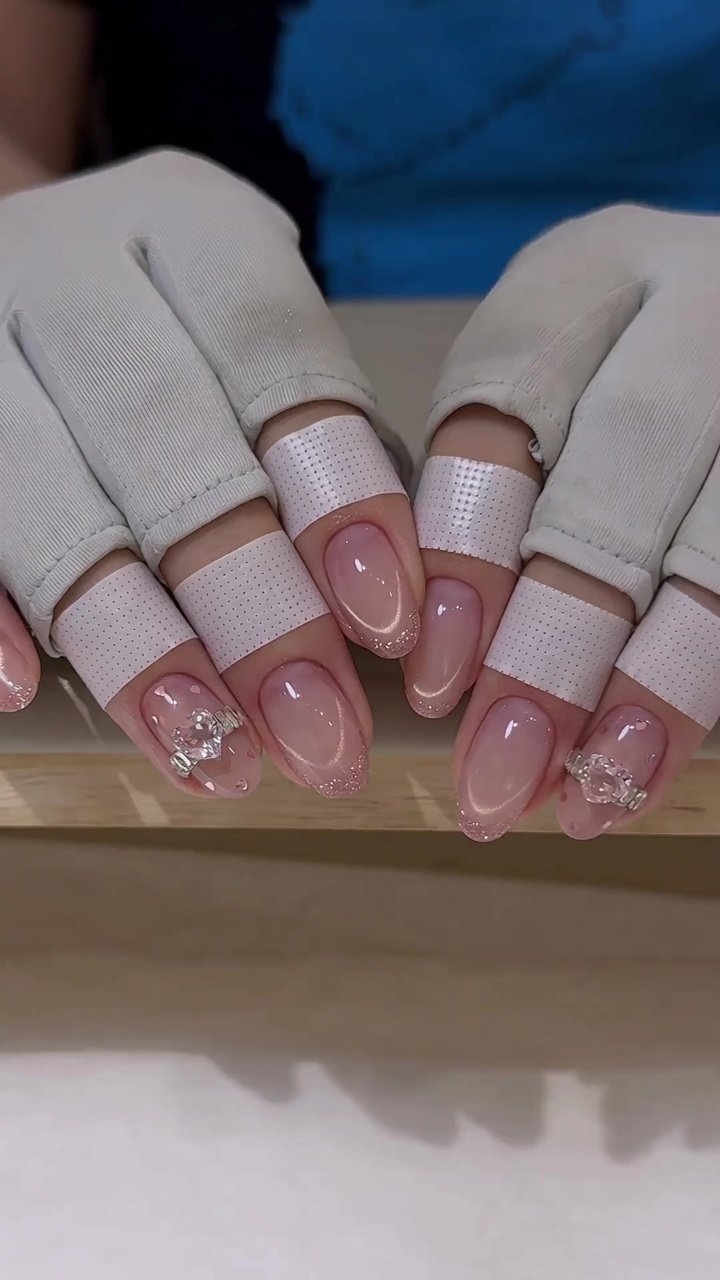
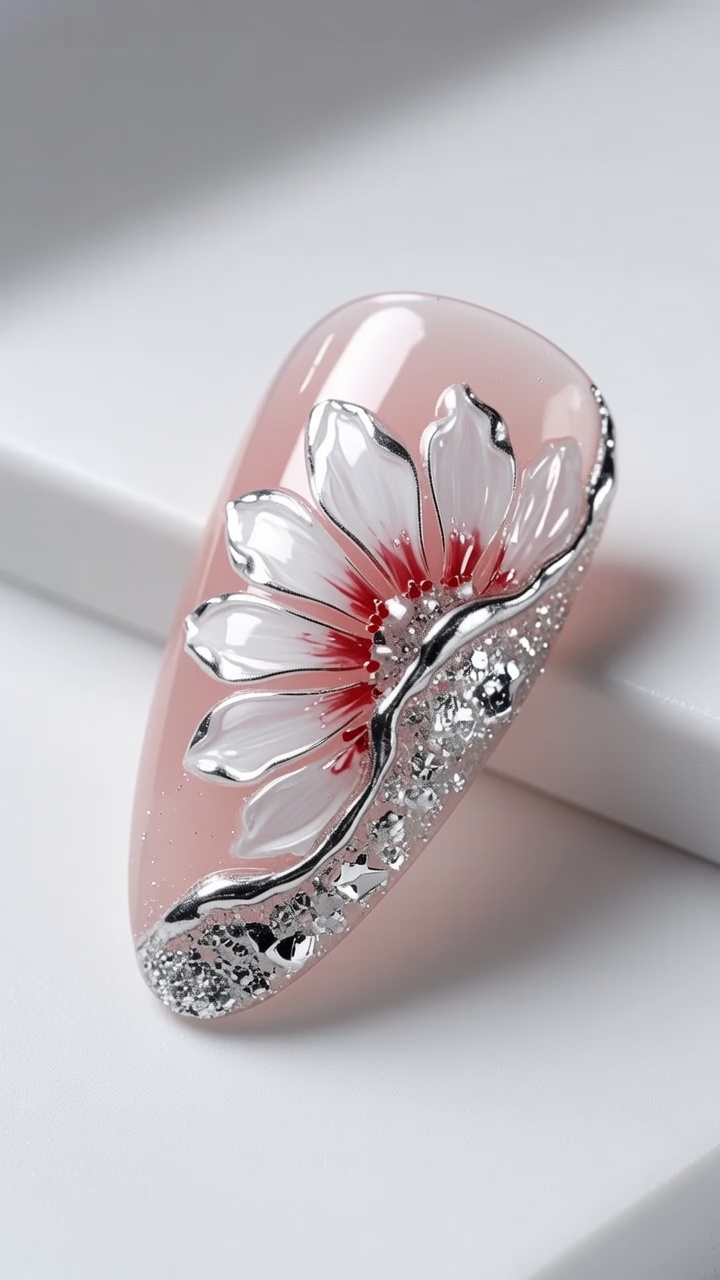
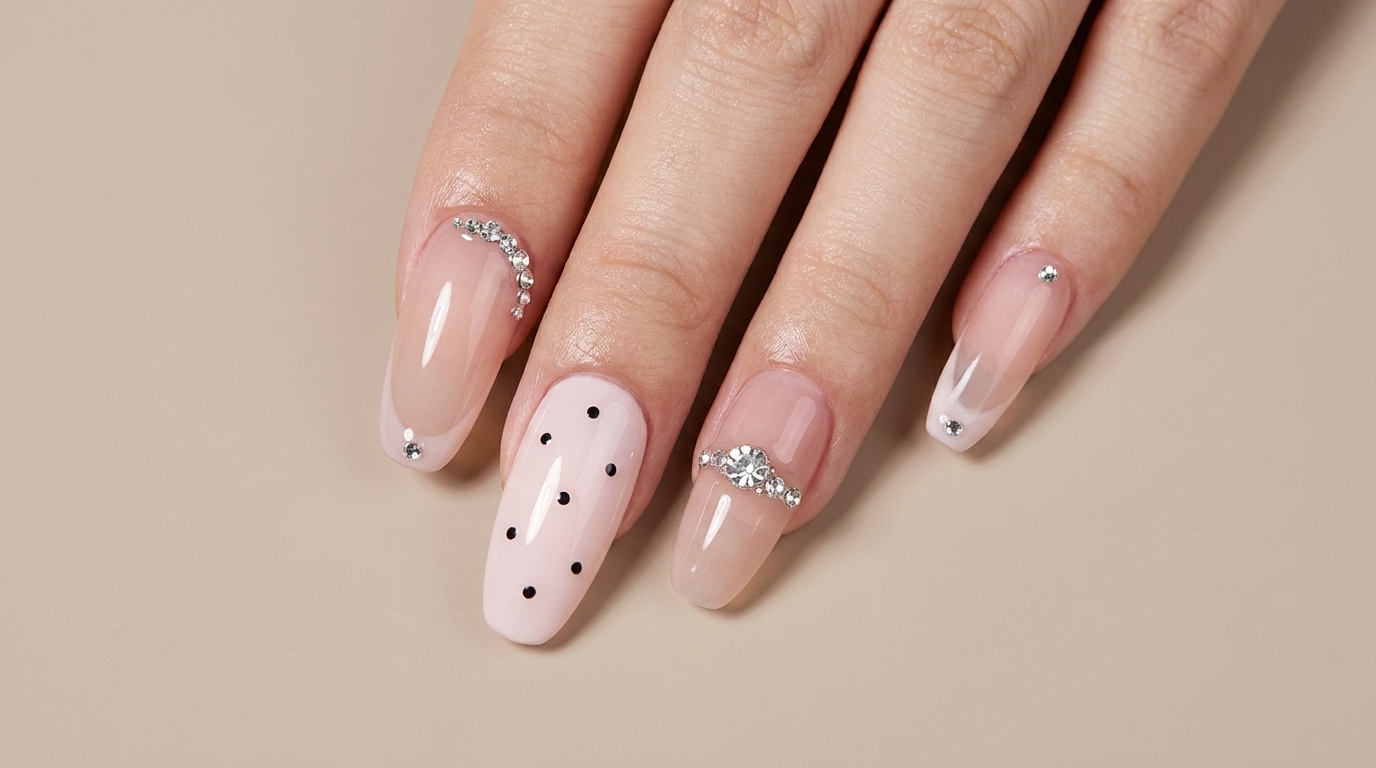
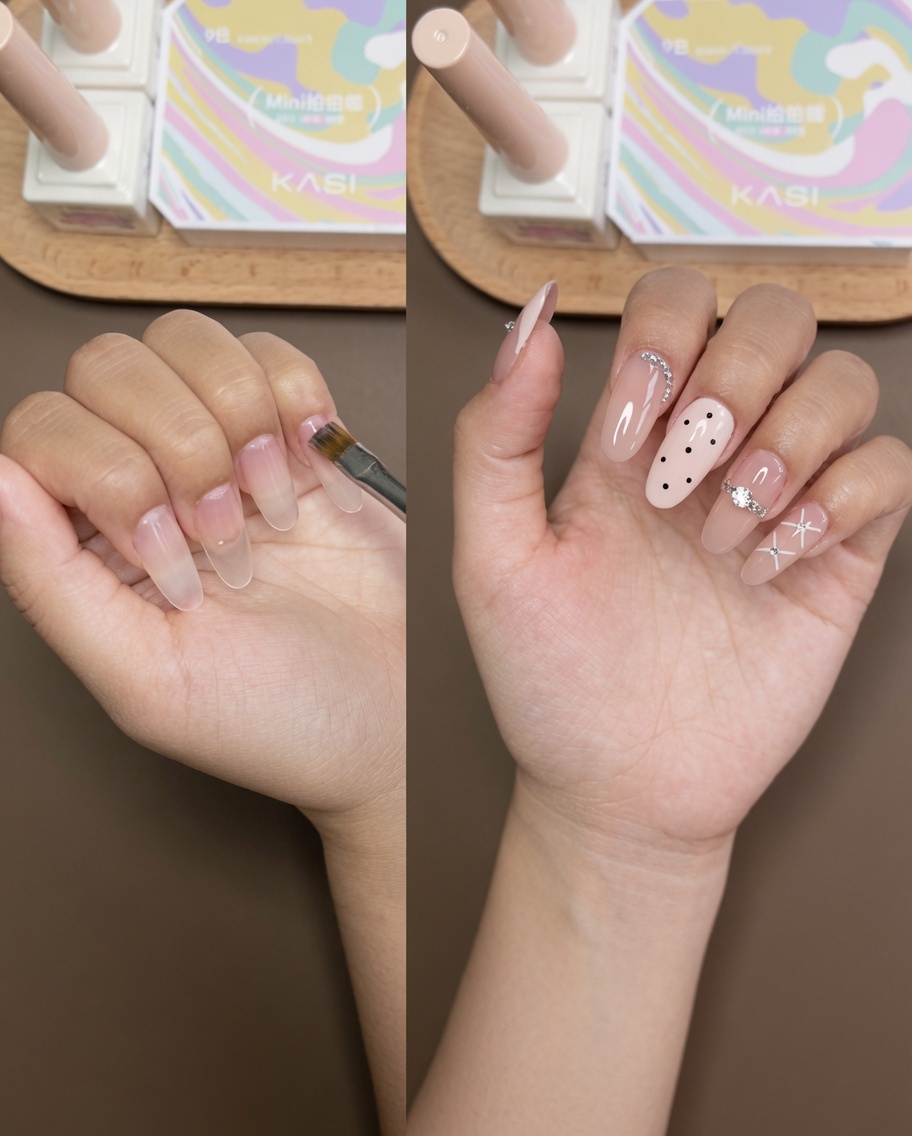
Create an elegant, textured manicure featuring pink nude tones, playful black polka dots, and delicate rhinestone arrangements.
This sophisticated yet playful nail look perfectly balances minimalist nude tones with the vibrant charm of soft pink and intricate detail. Ideal for those who love a clean aesthetic with a touch of sparkle, this manicure combines geometric precision with artistic texture. Whether you are prepping for a special event or simply want to elevate your everyday style, these embellishments offer a polished, salon-quality finish.
Steps
- 1Apply Pink Gel Polish
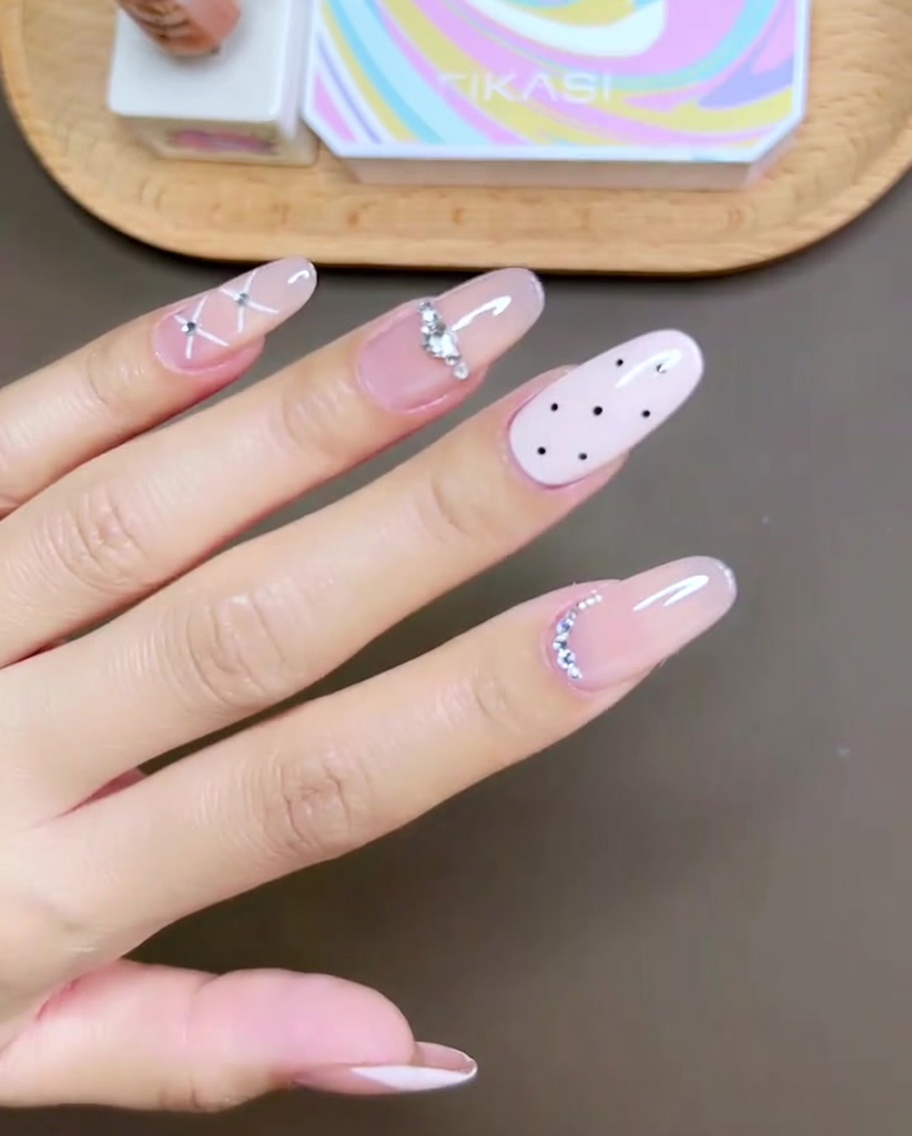
Apply two thin, even layers of light pink gel polish to the middle finger. Ensure complete coverage while keeping the edges clean. Cure each layer under an LED or UV lamp as directed by your gel manufacturers instructions.
Tip: Apply in thin, even coats to prevent pooling around the cuticles and ensure a smooth, professional finish. - 2Draw Geometric Crosses
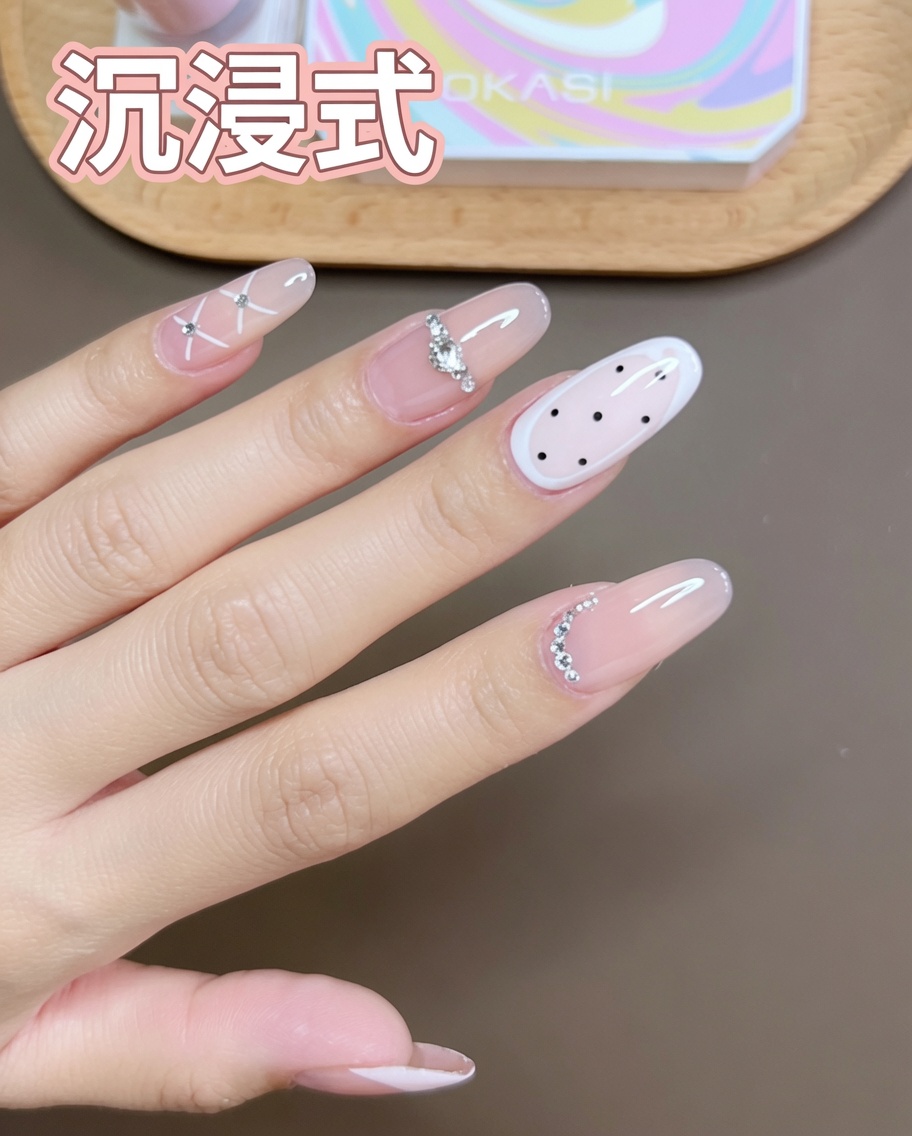
Use a fine liner brush and white gel to carefully draw two diagonal crosses on the pinky nail. Keep the pressure light to maintain thin, crisp lines, then cure the design under the lamp to set the geometric detail.
Tip: Use a steady hand and very little pressure on the liner brush to achieve thin, crisp lines. - 3Embellish the Ring Finger
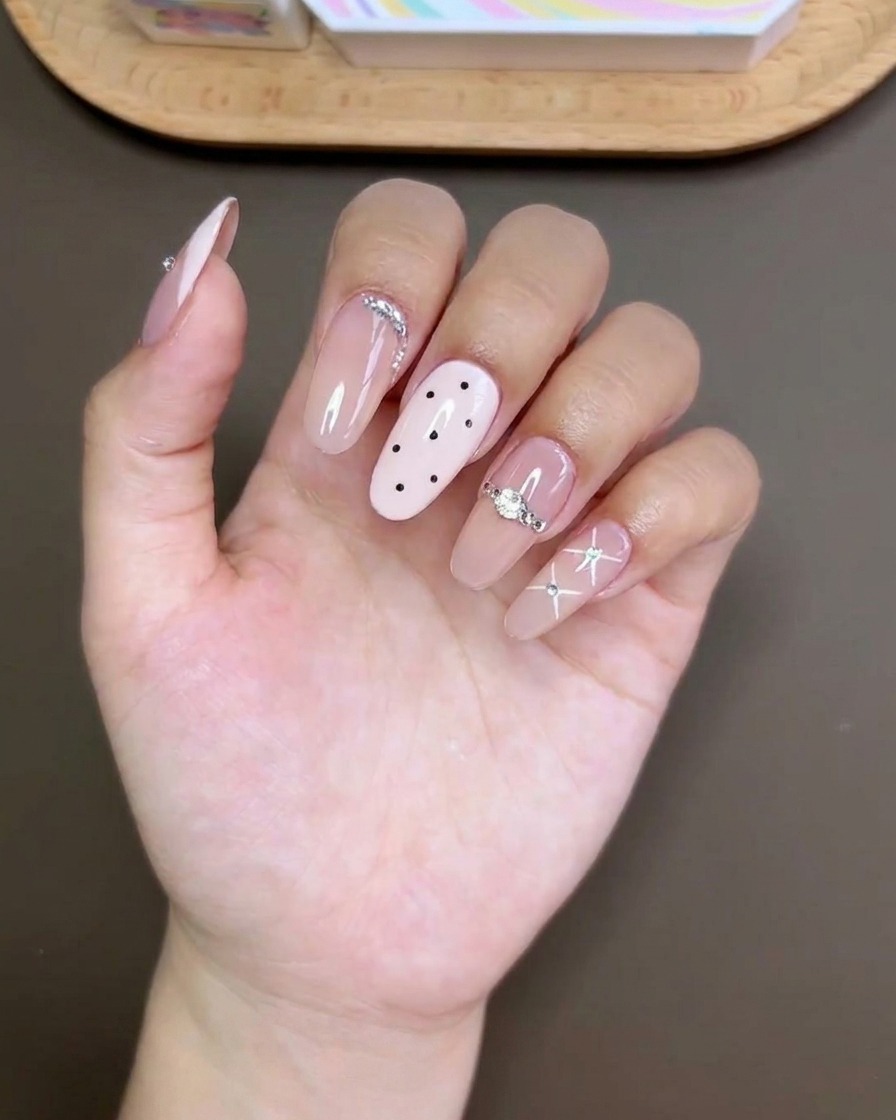
Apply a small dot of nail glue to the center of the ring finger. Carefully place one large round rhinestone in the center, framing it with smaller crystals to create an elegant focal point. Press down gently and cure to lock everything in place.
Tip: Use a wax pencil or tweezers to easily pick up and place small rhinestones with precision. - 4Decorate with Beads and Crystals
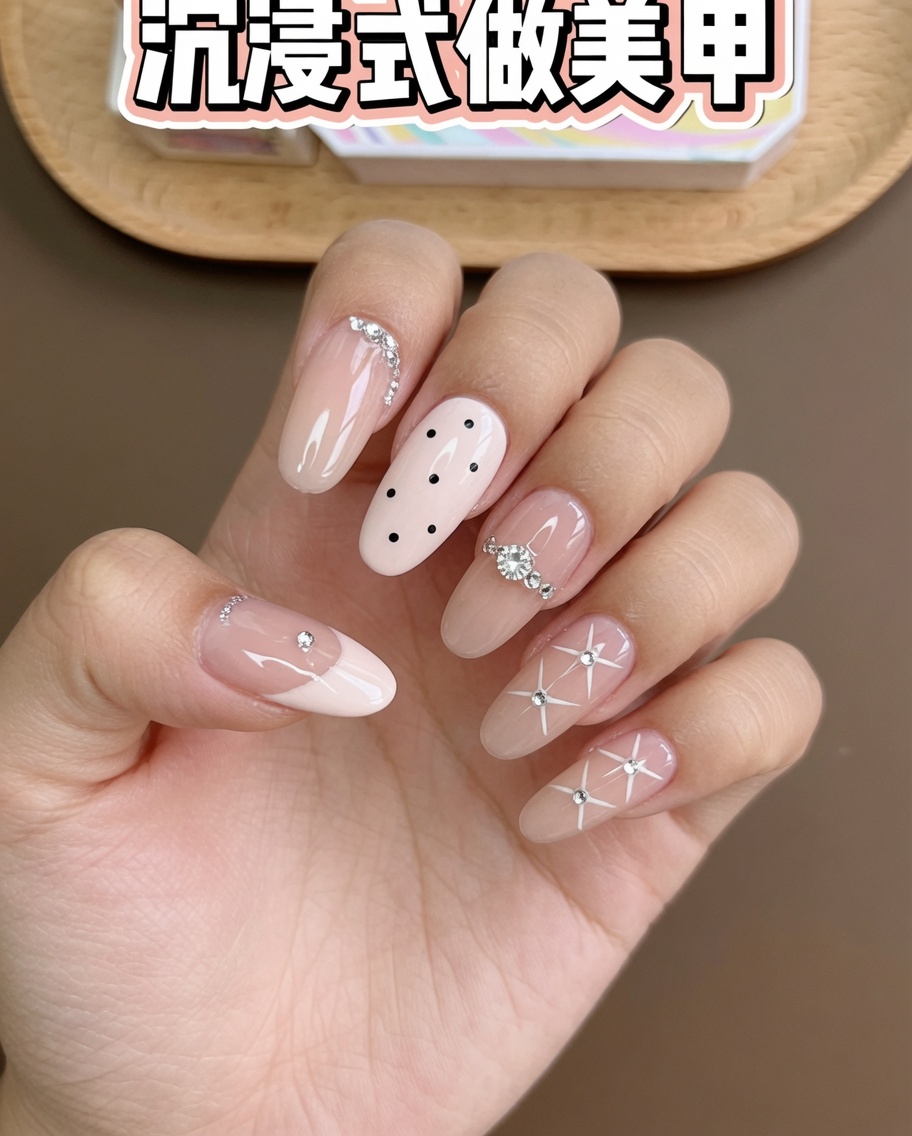
Apply a small drop of clear top coat or nail glue along the cuticle area or side of the index finger. Using tweezers, precisely place small rhinestones and steel beads into the adhesive to create a sophisticated, textured border before curing.
Tip: Placing beads along the cuticle area provides a clean, refined look that highlights the shape of the nail. - 5Apply Polka Dots
Using a dotting tool or a fine-tipped brush, carefully place evenly spaced black dots across the surface of the pink middle finger. Varying the size of the dots slightly will create a more authentic, hand-drawn look. Cure to set.
Tip: Vary the size of the dots slightly if you want a more organic, hand-drawn look. - 6Paint the Thumb French Tip
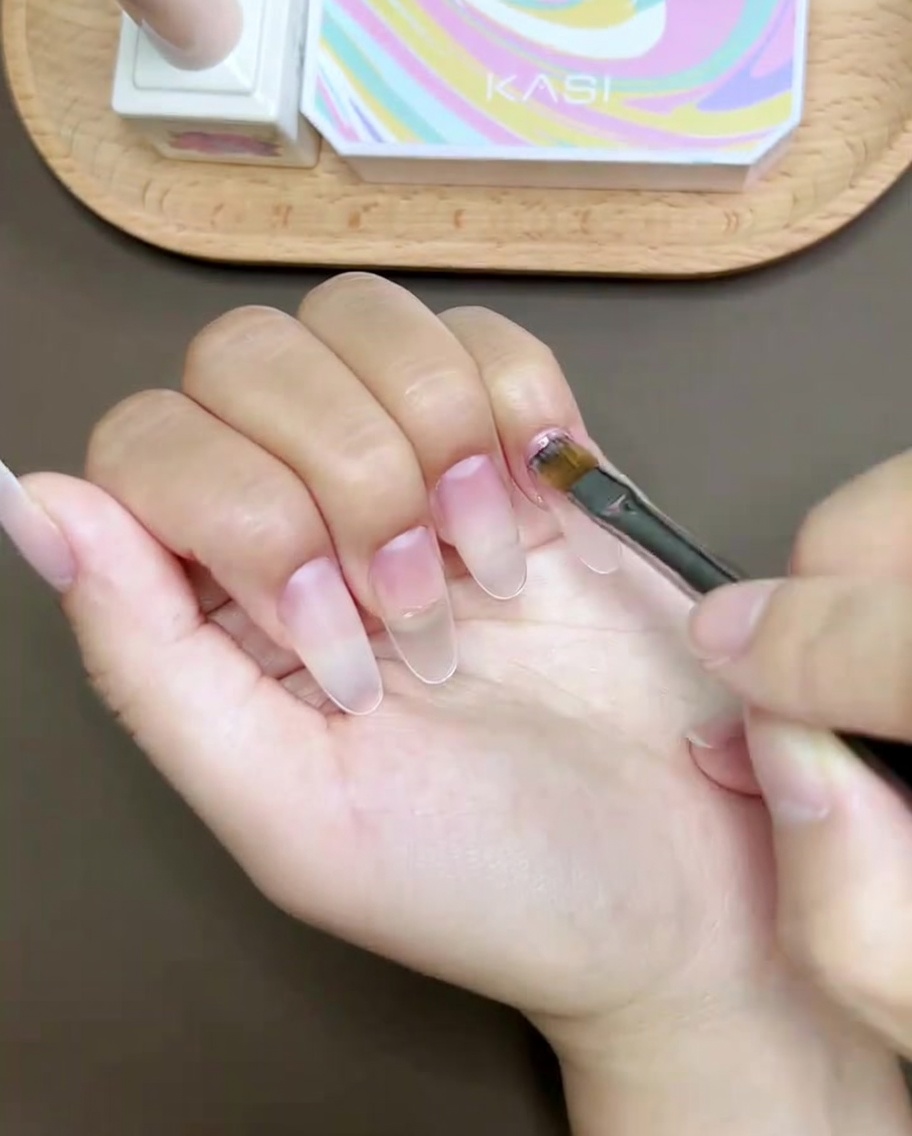
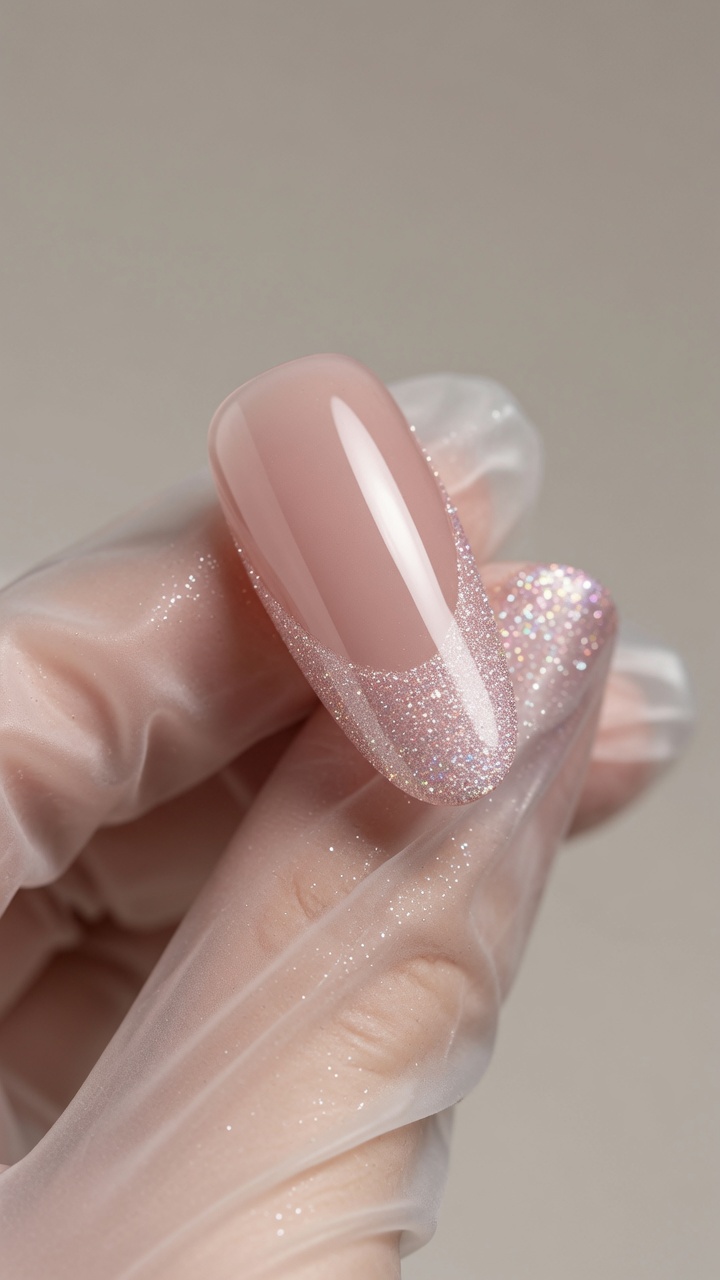
Using a thin brush, paint a delicate pink French tip across the free edge of the thumb. Keep the curved line consistent and clean, using a cleanup brush with acetone if needed to perfect the shape before curing.
Tip: Use a cleanup brush dipped in acetone to perfect the French line before curing. - 7Apply Reinforcement Gel
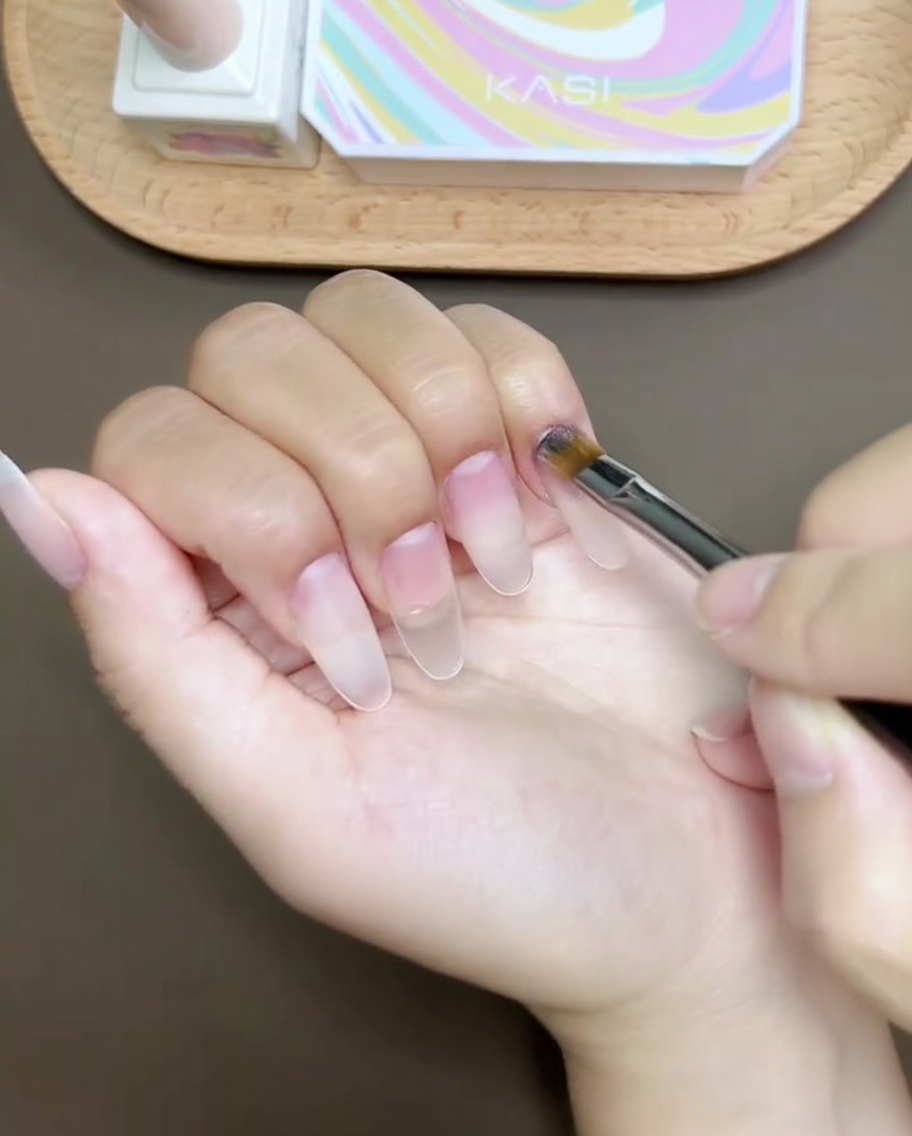
Apply a thin, even layer of clear structural gel over the entire nail to level the surface and provide added strength. Focus the product slightly at the apex of the nail to create a smooth, durable structure, then cure under your lamp.
Tip: Focus on the apex of the nail to create a smooth, reinforced structure that helps prevent the nail from breaking. - 8Add Thumb Accent
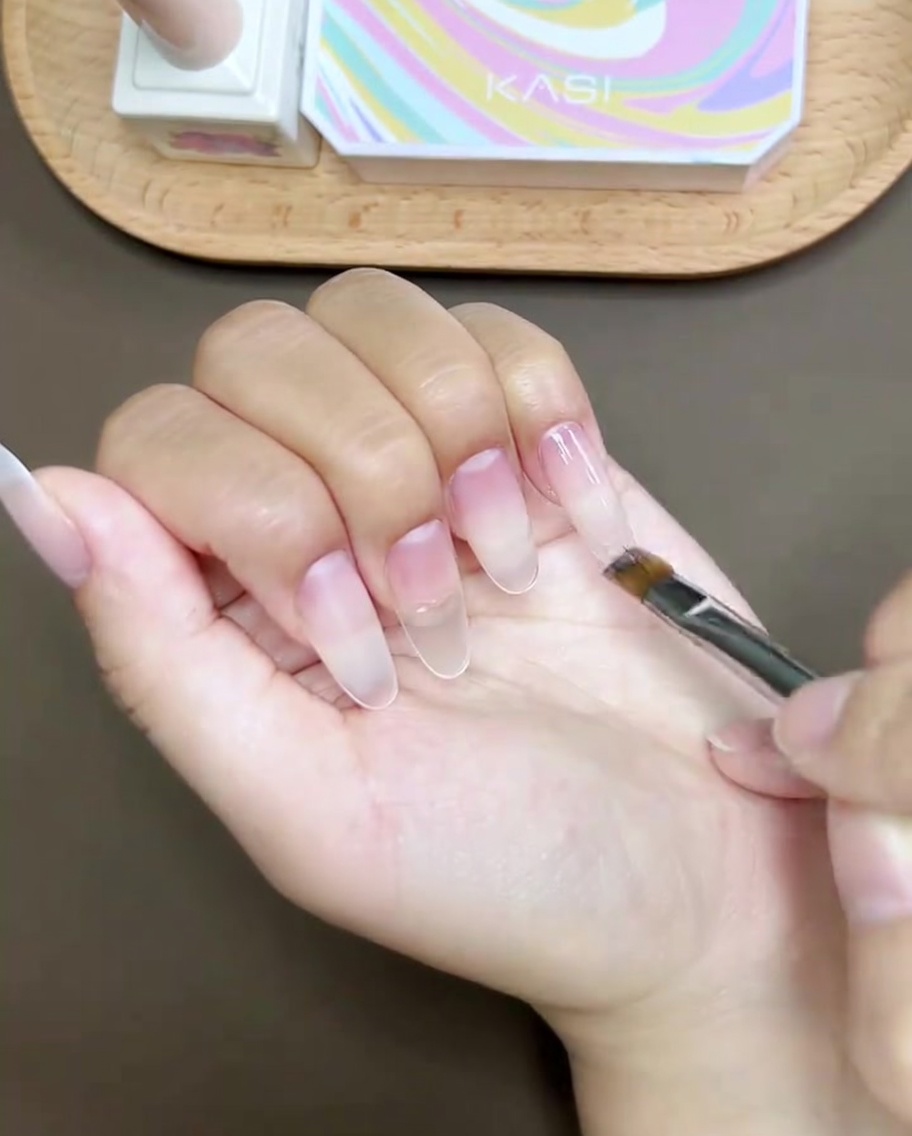
Using a dotting tool or tweezers, place a single small rhinestone onto the thumb nail. Position it carefully to complement the French tip design, and use a small amount of glue to ensure it stays secure before curing.
Tip: Use a small amount of rhinestone glue or thick base gel to ensure the gem stays securely on the nail surface. - 9Apply Final Top Coat
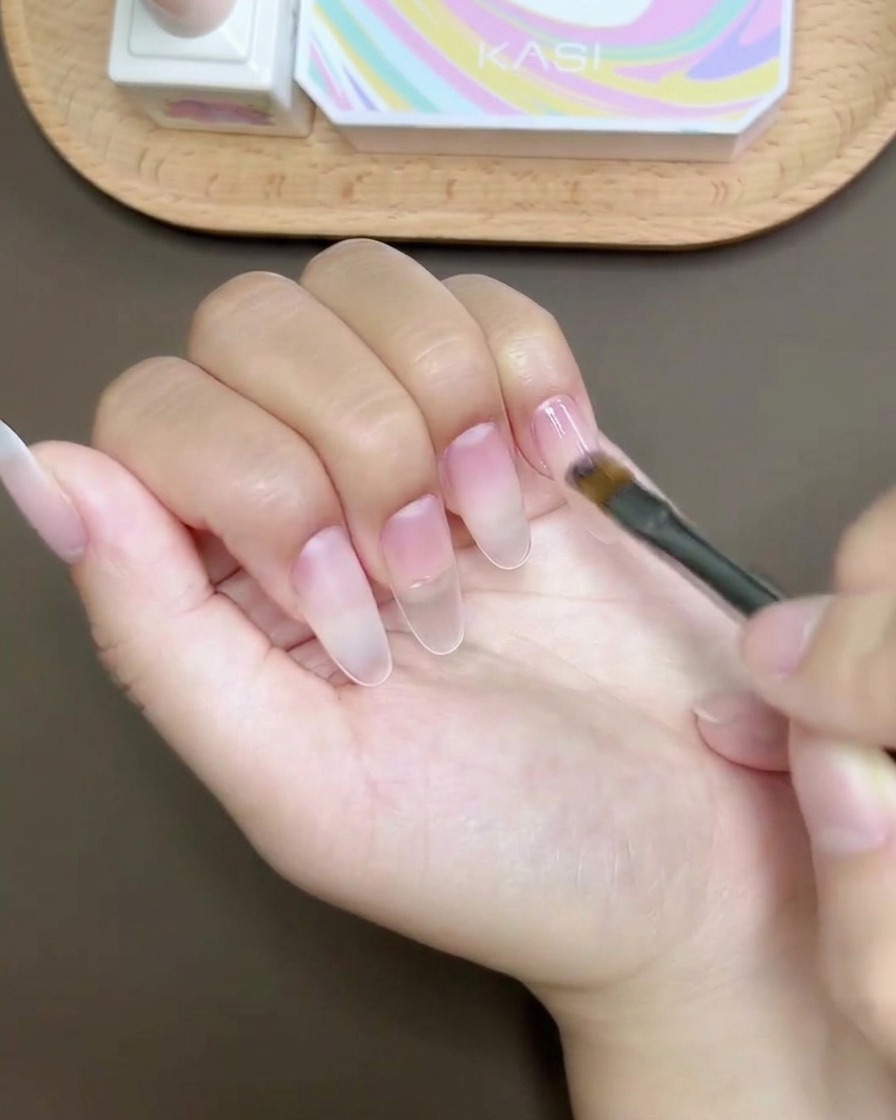
Seal your finished manicure with a high-quality top coat. Carefully cap the free edges to protect the design and provide a glossy finish. Cure fully under your lamp to ensure all stones and beads are securely sealed.
Tip: Applying a top coat is essential for smoothing over any textures from the rhinestones and beads, ensuring they stay attached.