Daisy Flower Gel Nail Art
Chrome and Glitter Accents
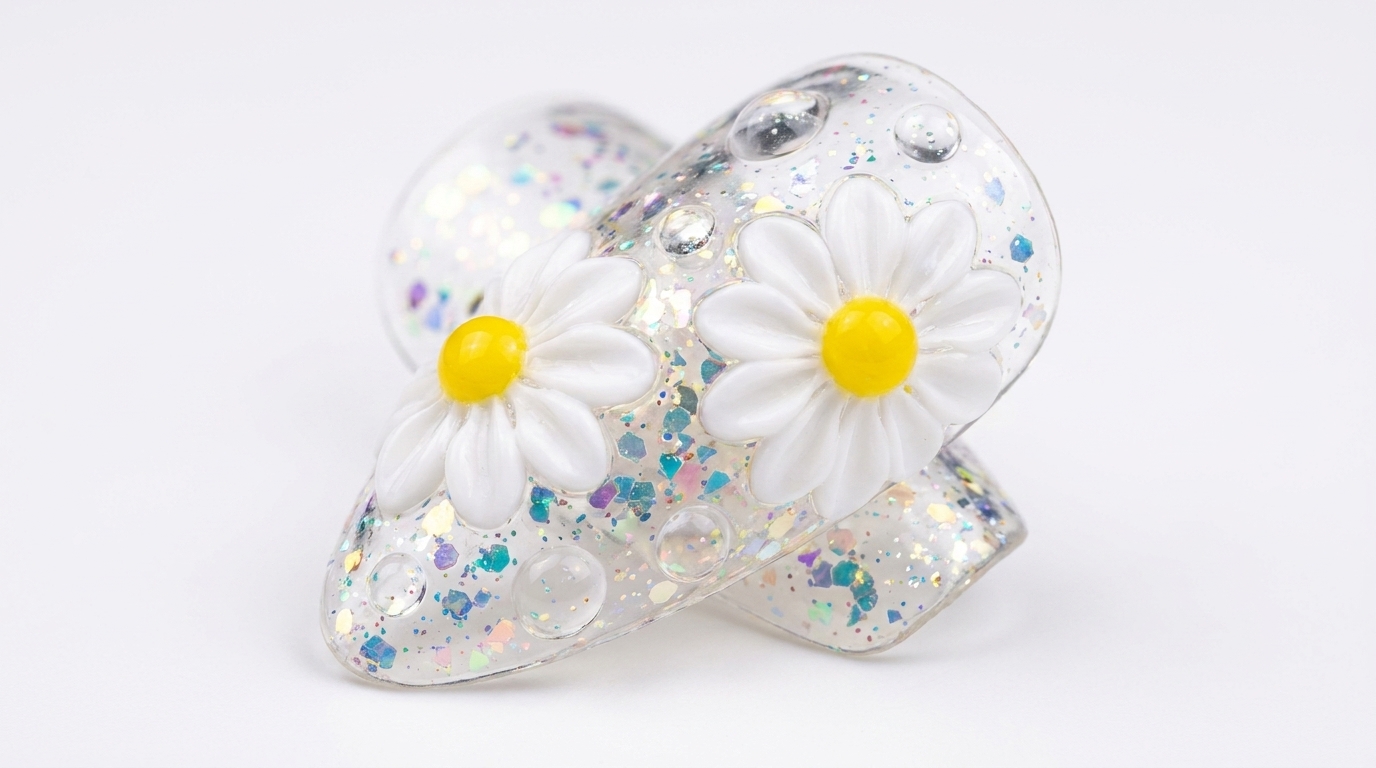
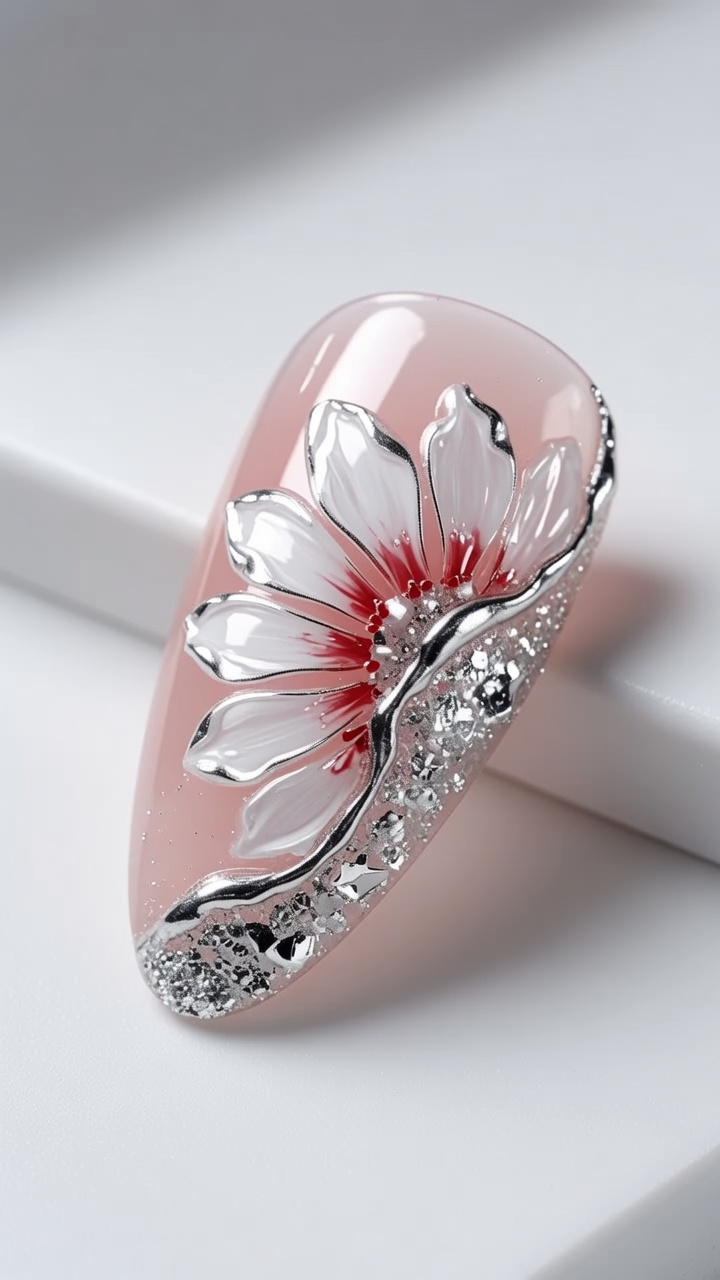
Elevate your manicure with this stunning daisy nail art, featuring elegant chrome-outlined petals, 3D gel textures, and sparkling crushed stone accents.
This sophisticated daisy design combines delicate floral artistry with modern metallic and textured elements. By layering painting gel with chrome powder and sculpted 3D adhesive, you can achieve a professional-quality look that feels both whimsical and high-fashion. This tutorial guides you through the intricate process of creating depth and shine on a soft, sheer pink foundation.
Steps
- 1Apply sheer pink base
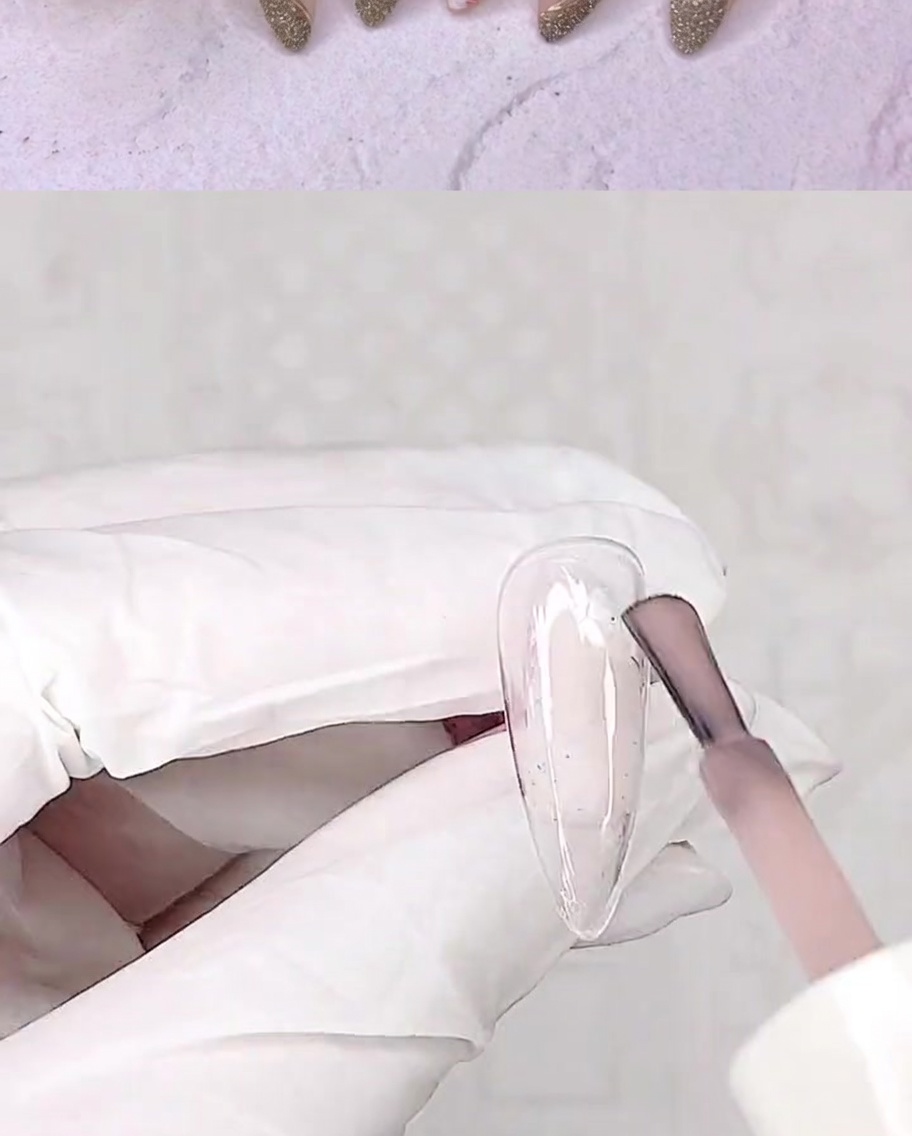
Apply a thin, even layer of sheer pink gel polish to the nail, starting from the cuticle and moving toward the free edge. Cap the free edge to ensure long-lasting wear and prevent chipping. This creates the soft, translucent foundation for the daisy nail art.
Tip: Keep the layer thin to avoid pooling around the edges and to ensure even curing. - 2Cure the base coat
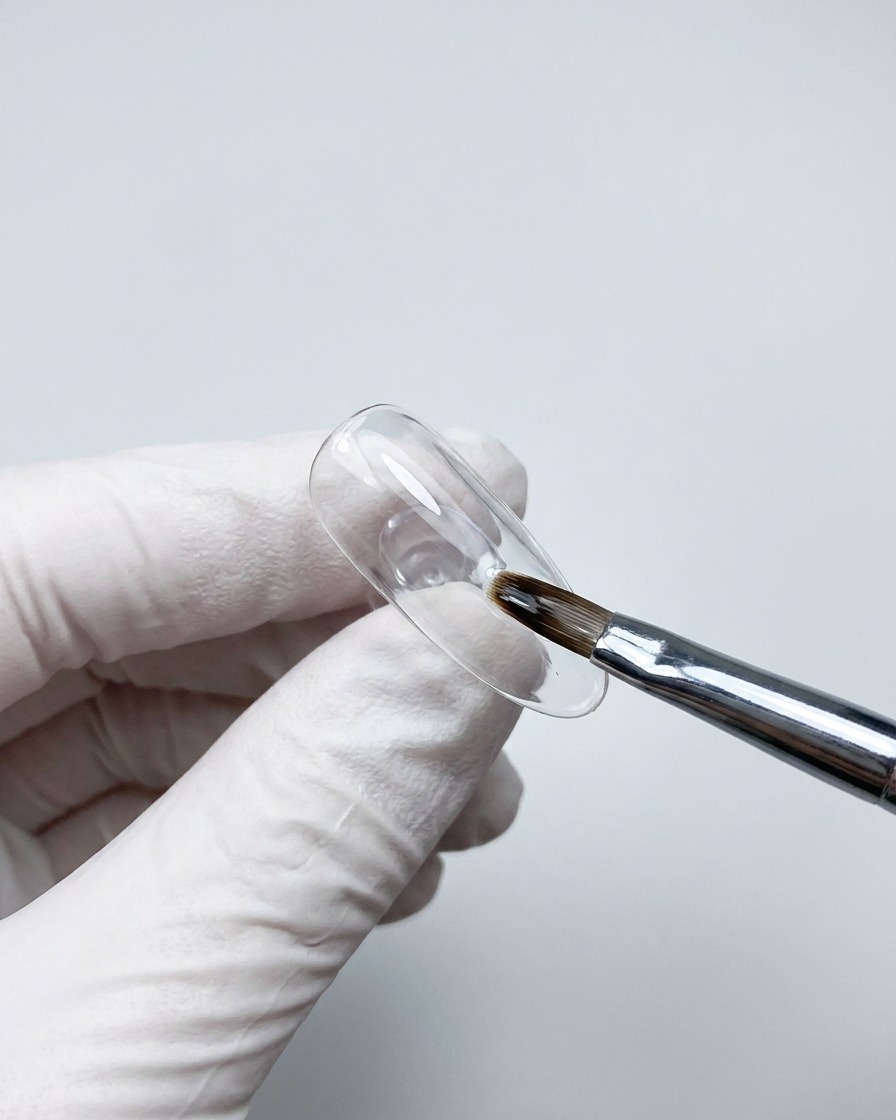
Place your hand inside the UV or LED nail lamp and cure the sheer pink base coat for the recommended time, usually 30 to 60 seconds depending on your lamps wattage. Ensure your fingers are positioned directly under the light to guarantee a complete cure across the entire nail surface.
Tip: Do not remove your hand until the timer is complete to prevent the gel from wrinkling or remaining tacky. - 3Prepare white painting gel
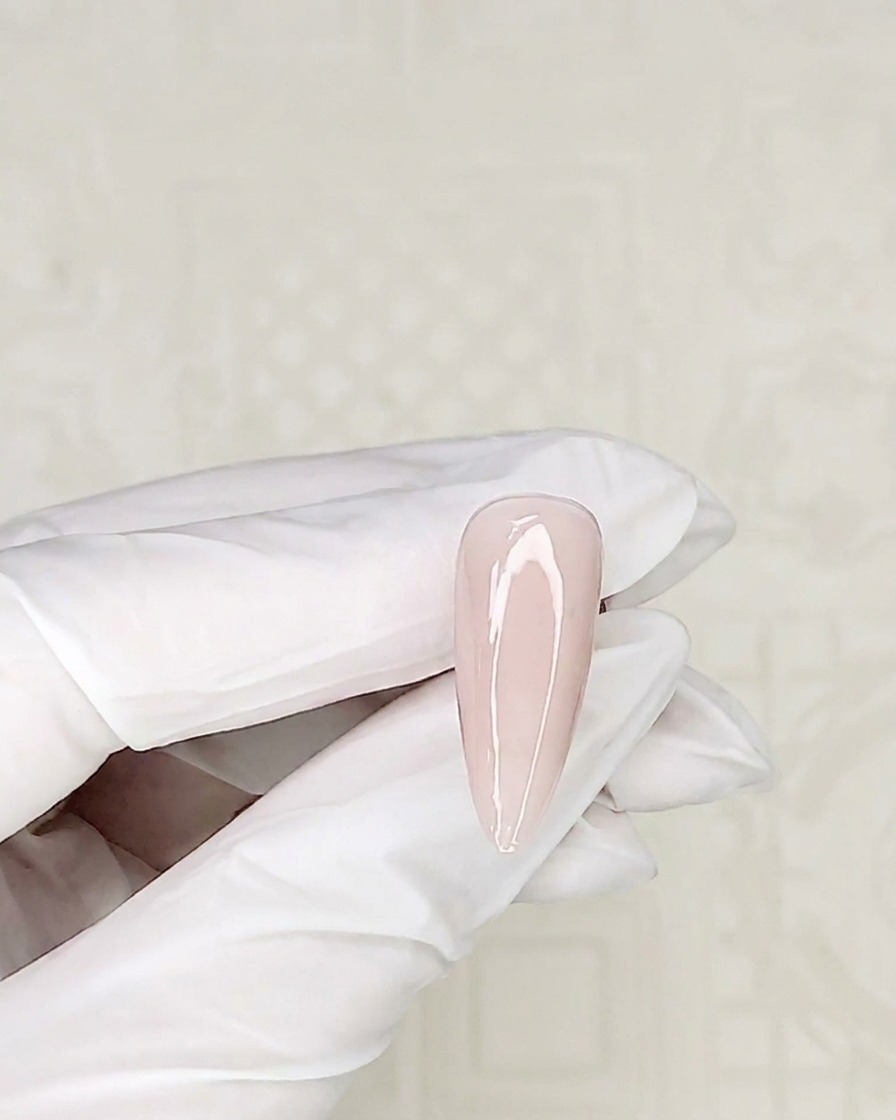
Using a fine-tipped detail brush, pick up a small amount of high-pigmented white painting gel. Ensure the brush bristles are evenly coated to allow for precise petal application.
Tip: Wipe excess gel off the brush on the side of the jar or a palette to prevent heavy, gloppy strokes. - 4Paint daisy petals
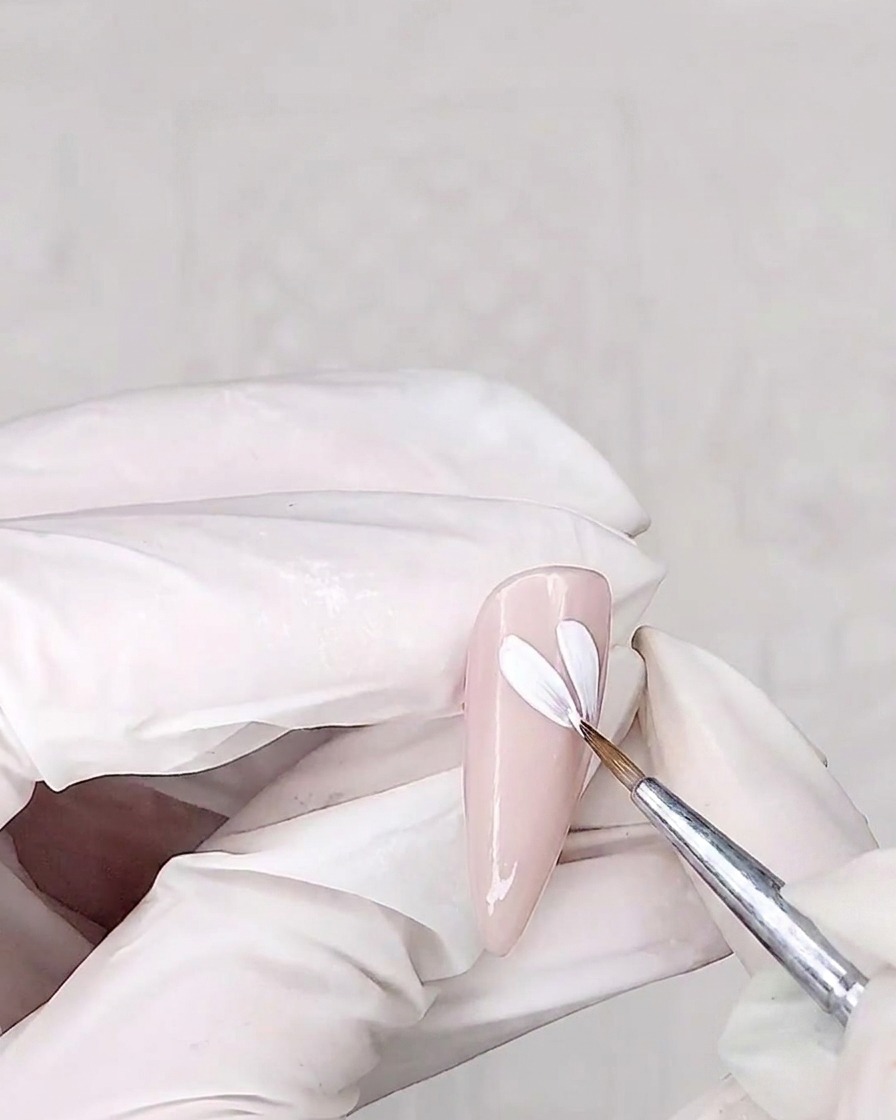
Starting from the side of the nail, use the detail brush to carefully paint individual white daisy petals. Use light pressure to create thin, defined petal shapes on the cured pink base.
Tip: Work slowly and build the petals one by one to ensure the floral shape is balanced. - 5Cure the daisy design
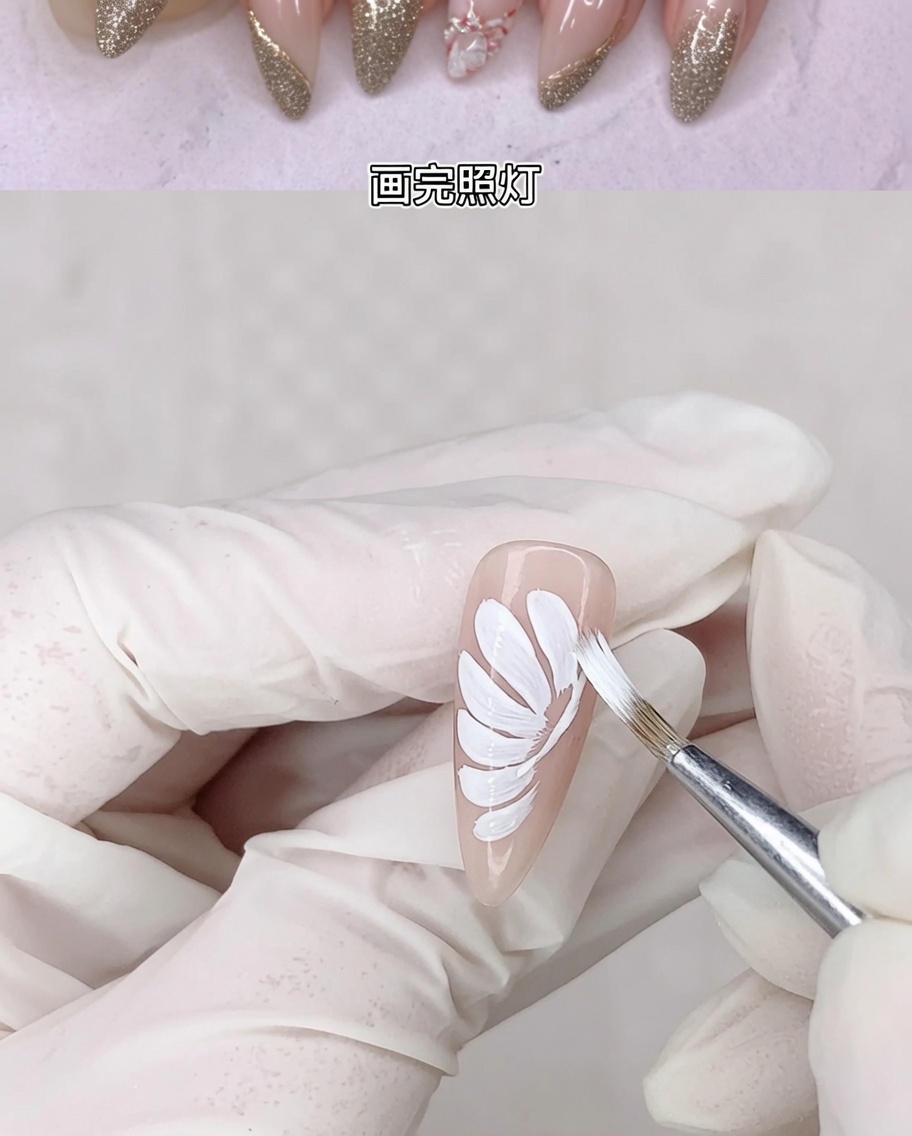
After painting the daisy petals, place your hand back into the UV or LED nail lamp. Cure the white gel design to ensure it is fully hardened before proceeding to the next steps.
Tip: Curing at this stage prevents the white gel from smudging when you apply subsequent layers. - 6Apply matte top coat
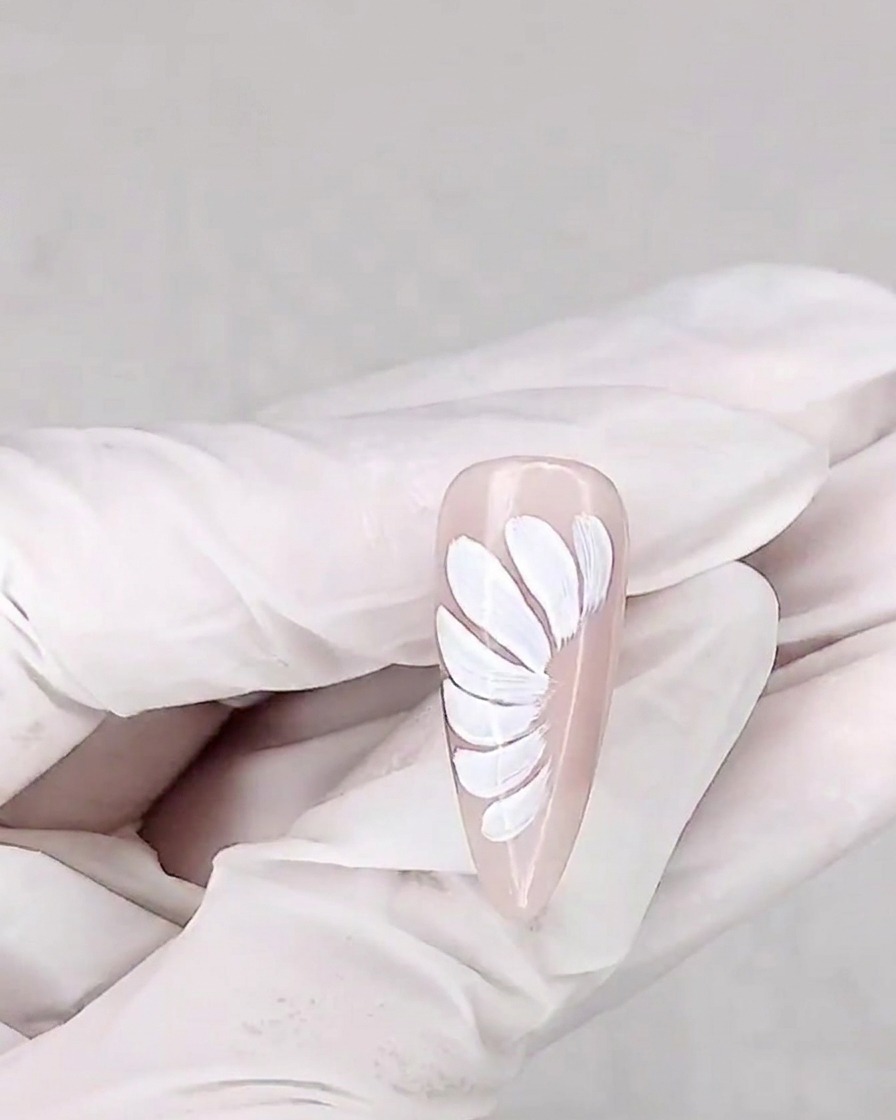
Apply a thin, even layer of matte top coat over the entire surface of the nail, covering the daisy design. Ensure all areas are coated before placing your hand into the lamp to cure.
Tip: Matte top coats can show streaks if applied too thickly; use smooth, controlled brush strokes. - 7Apply adhesive for petal outlines
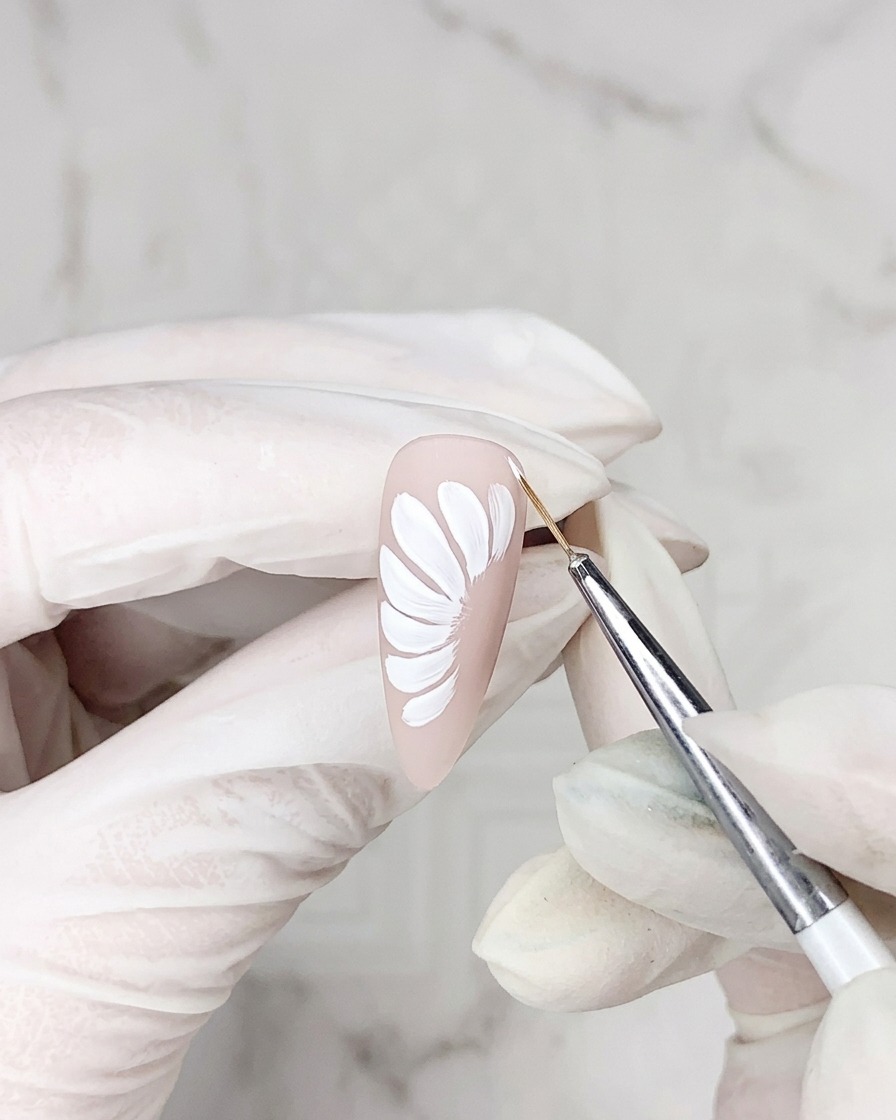
Using a fine liner brush, carefully apply non-cleansing transfer gel to outline the edges of the white daisy petals. Working with a light touch ensures clean, thin lines that will serve as the perfect base for the chrome powder.
Tip: Keep your liner brush lightly loaded with gel to prevent the lines from spreading or becoming too thick. - 8Cure the outlines
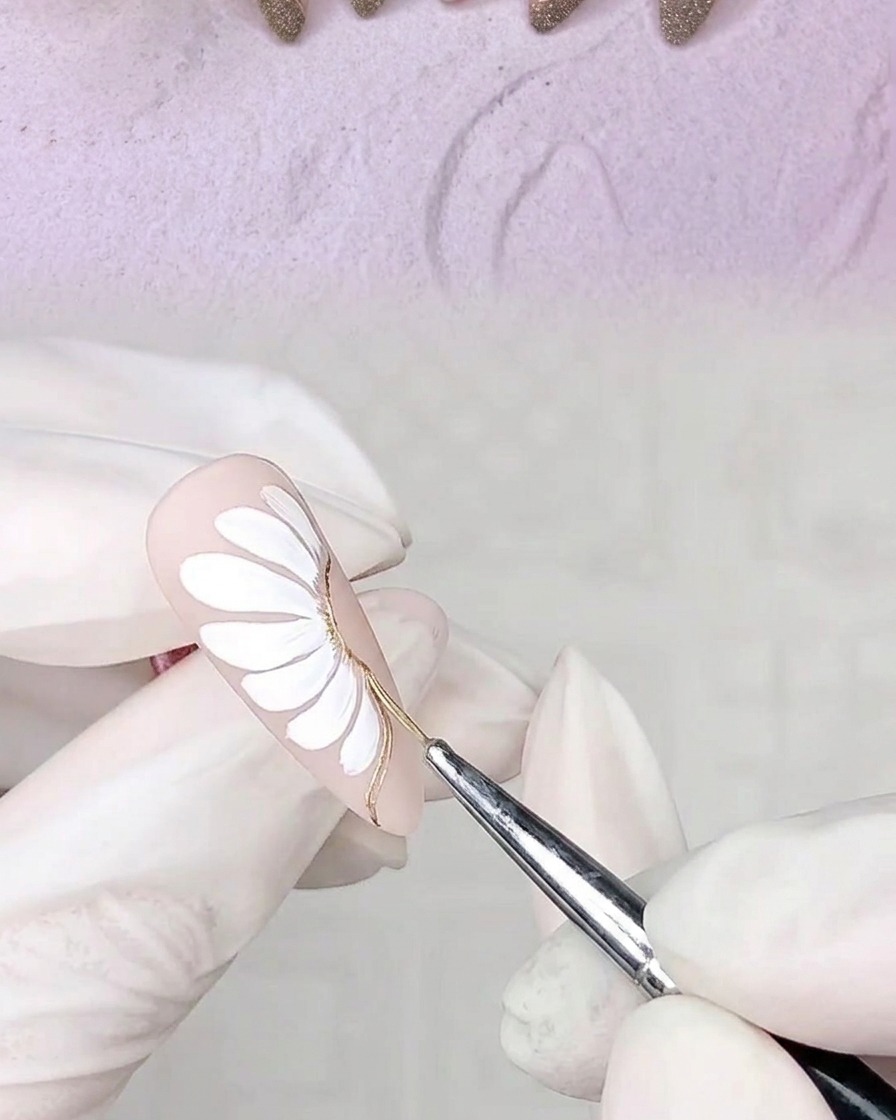
Place the nail into the UV/LED lamp and cure the adhesive gel outlines for 30 seconds. Ensuring a proper cure at this stage is essential for the chrome powder to adhere correctly in the next step.
Tip: Ensure your hand is placed flat in the lamp to prevent the gel from pooling or shifting while curing. - 9Apply silver chrome powder
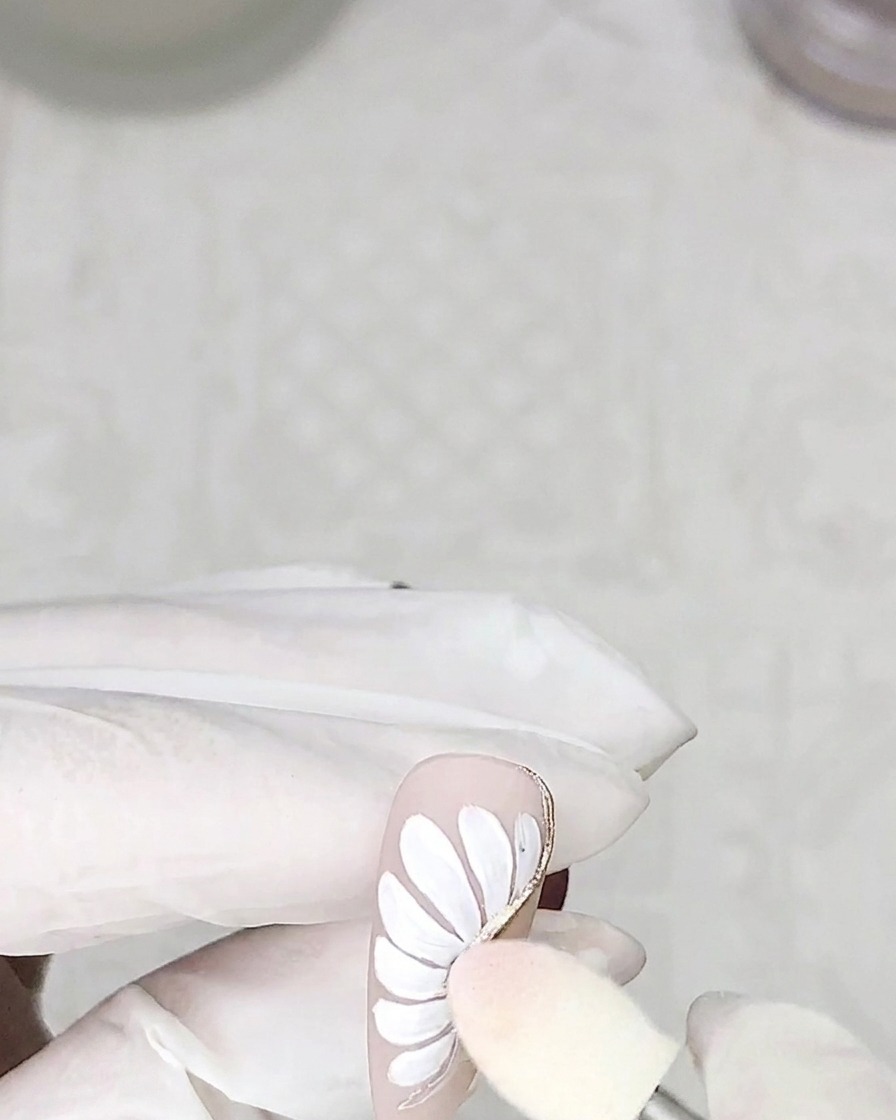
Using a small sponge applicator, gently rub silver chrome powder over the cured adhesive petal outlines. The powder will exclusively adhere to the cured adhesive, creating a brilliant metallic frame for each petal.
Tip: Use a clean, soft brush to dust away any excess powder from the surrounding nail surface before moving on to the next step. - 10Apply adhesive for side glitter
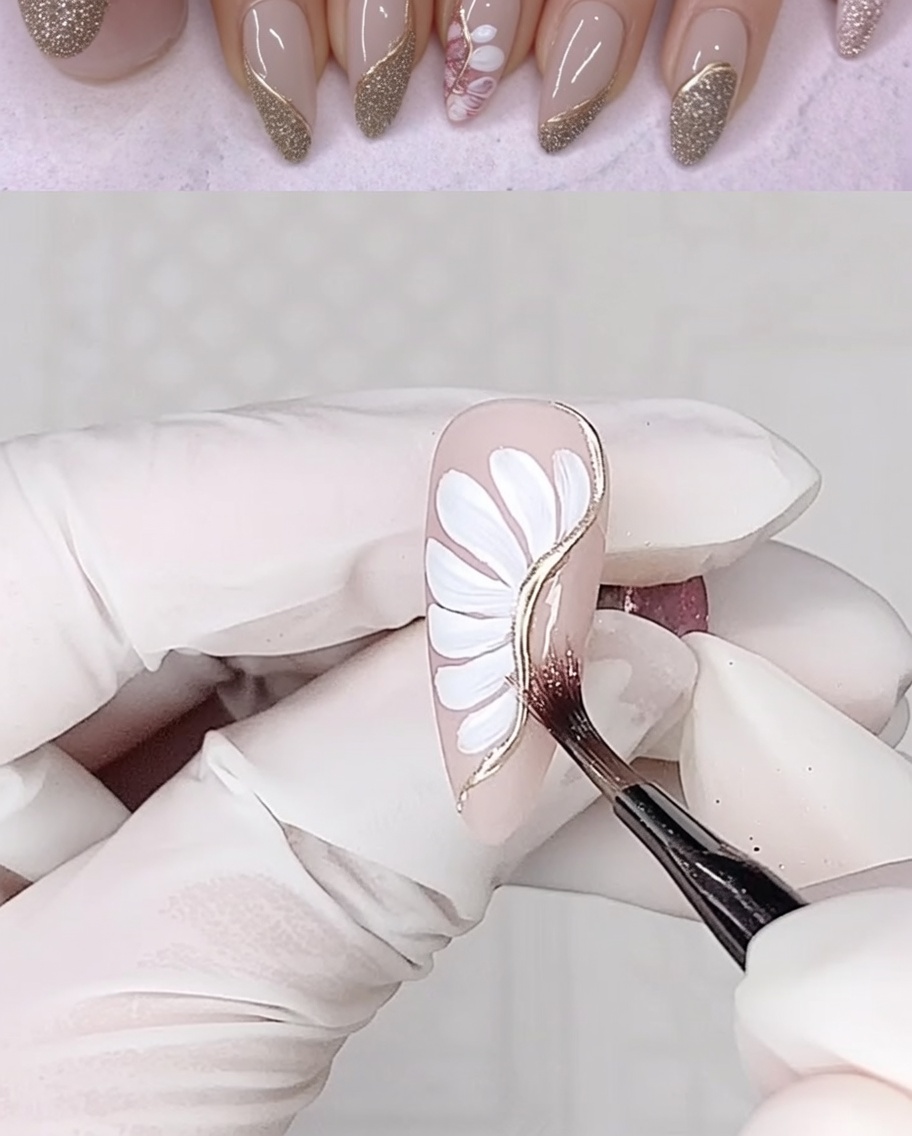
Apply a precise, vertical strip of non-cleansing adhesive gel along the side of the nail. It is important to leave this layer uncured so it remains tacky enough to hold the crushed stone powder.
Tip: Apply the adhesive in a single, smooth stroke to ensure an even line for the glitter application. - 11Apply crushed stone powder
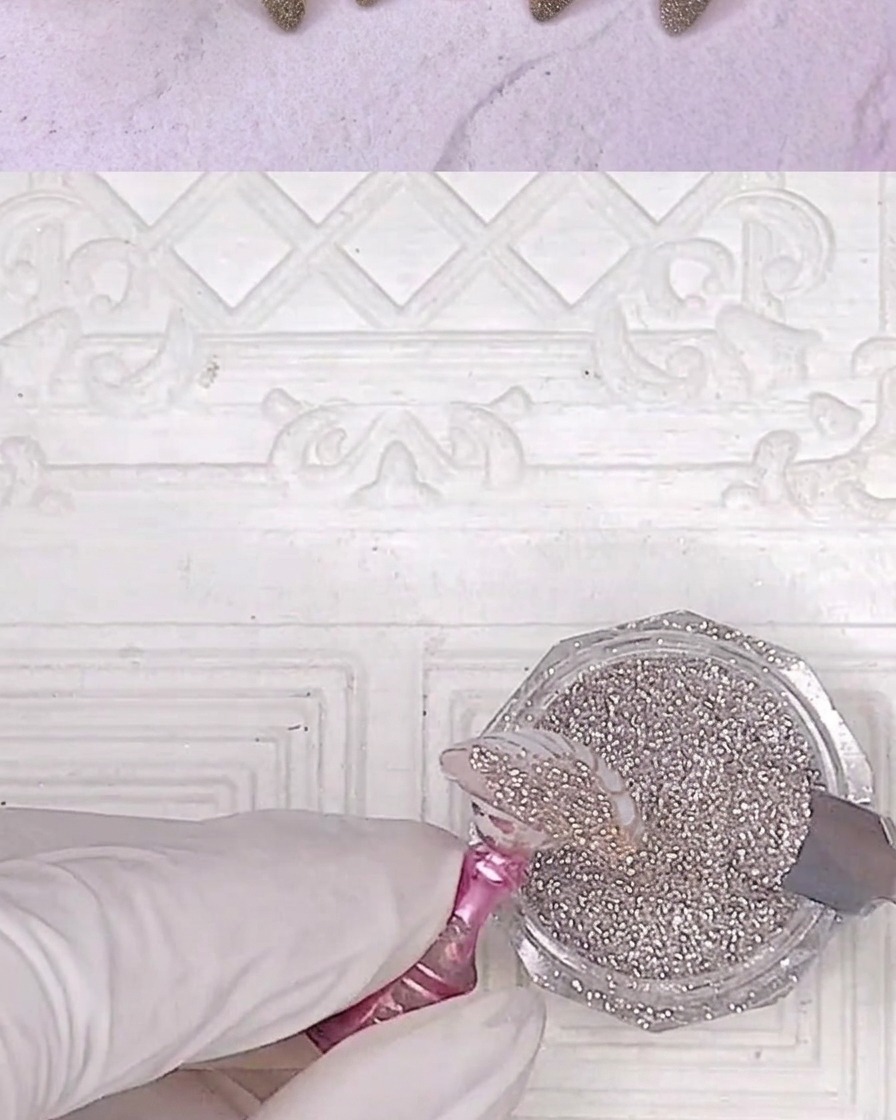
While the adhesive strip is still wet, sprinkle silver crushed stone glitter over the area, ensuring full coverage of the adhesive. Once applied, place the nail into the lamp and cure completely to lock the glitter in place.
Tip: Gently press the glitter into the adhesive with a clean brush if needed to ensure secure placement before curing. - 12Paint flower centers
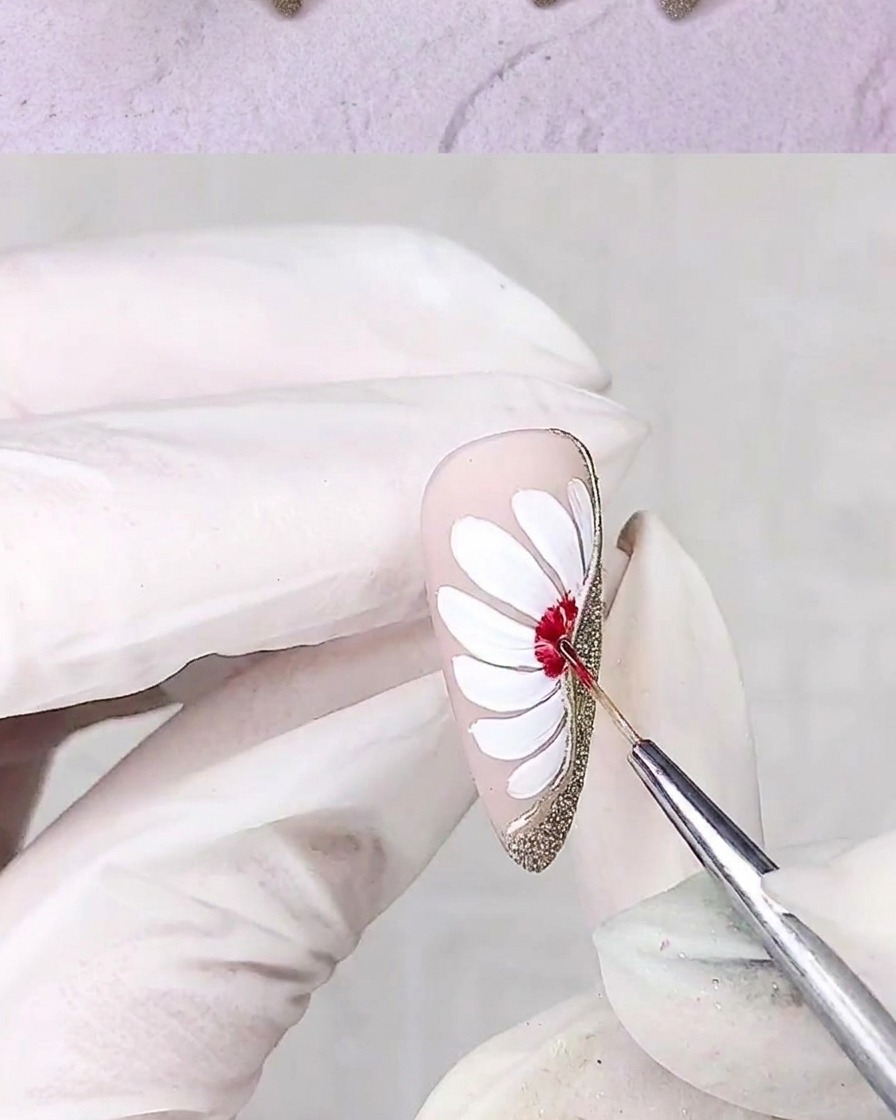
Using a detail brush and red gel polish, carefully paint the centers of the daisy flowers. Apply a small amount of product to create a rounded, pigmented center that contrasts with the white petals.
Tip: Use a very small amount of gel on the tip of the brush to maintain control and achieve a precise, circular shape for the flower center. - 13Add fine petal details
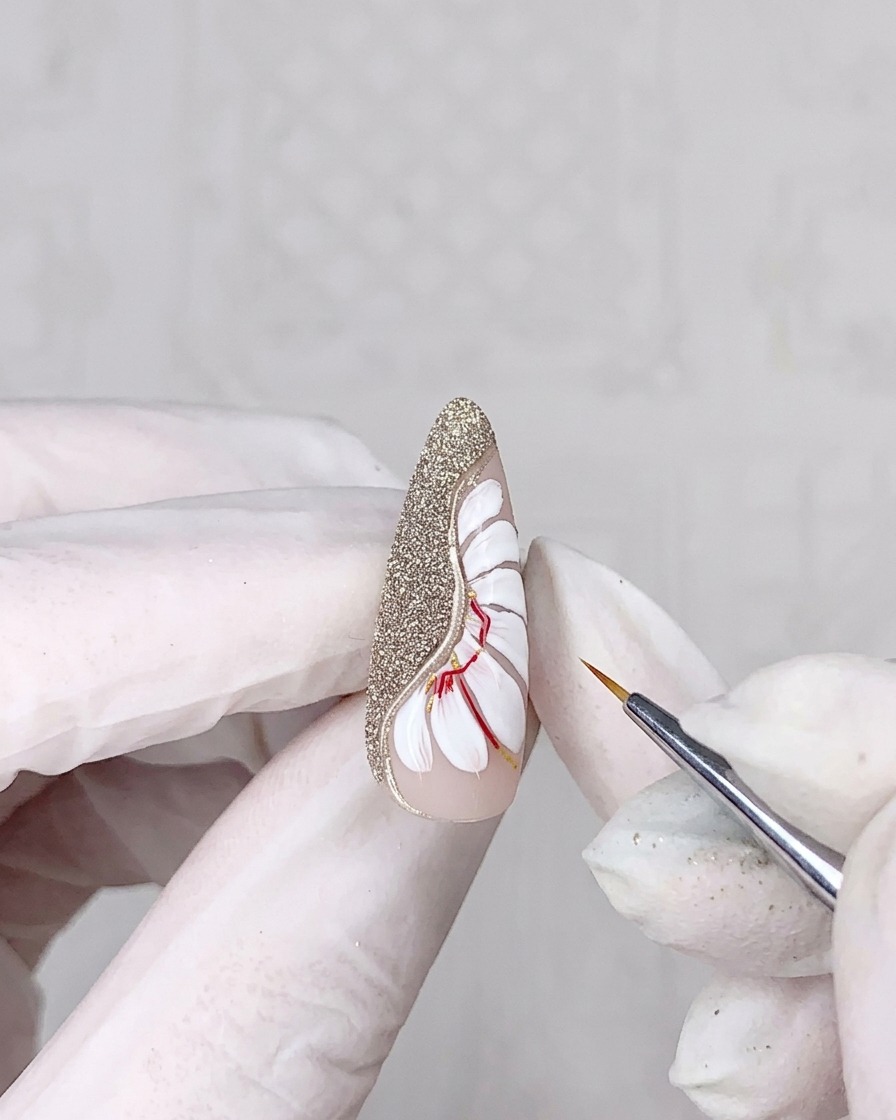
Using a fine liner brush and a contrasting color, draw delicate detail lines onto the daisy petals to add depth and texture. Once satisfied with the lines, cure under your UV/LED lamp to set the design.
Tip: Keep your touch very light for fine lines to ensure they remain thin and precise. - 14Apply 3D adhesive gel
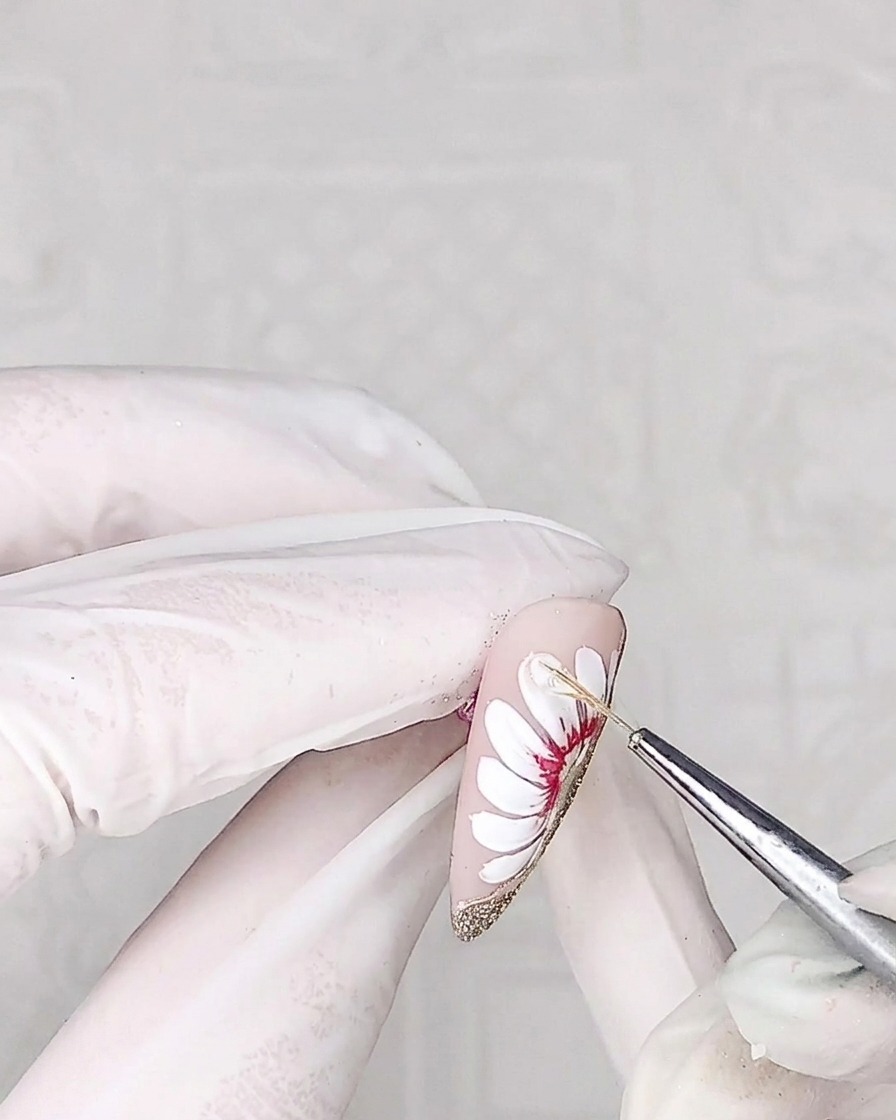
Using a thin liner brush, apply a small amount of non-cleansing adhesive gel onto the center or edges of the petals. This creates a raised, 3D texture for a sculpted look.
Tip: Apply the gel slowly to control the shape and volume of the 3D effect. - 15Cure 3D petal gel
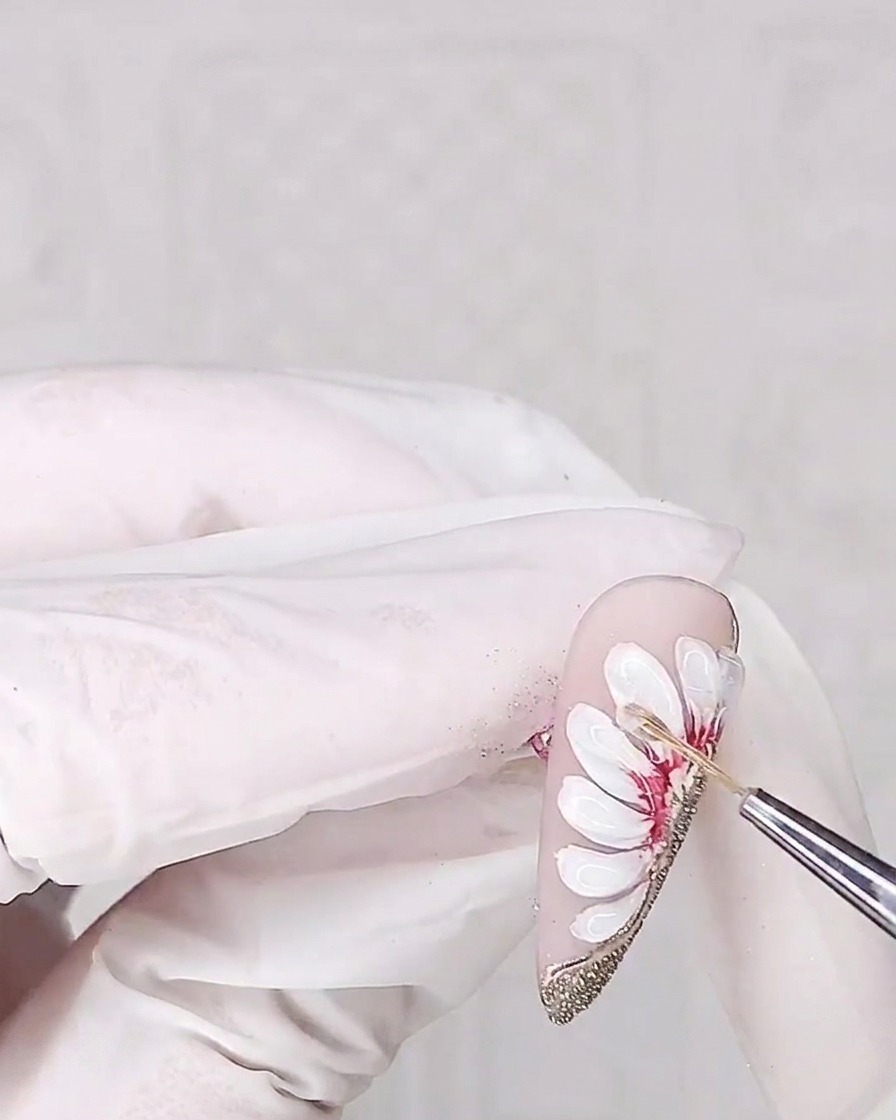
Place your nail under a UV/LED lamp and cure the adhesive gel layer to harden the 3D structure. Ensure the lamp coverage is even for a proper cure.
Tip: Curing times may vary by gel brand; follow the manufacturers recommendation to ensure the product is fully set. - 16Apply second 3D gel layer
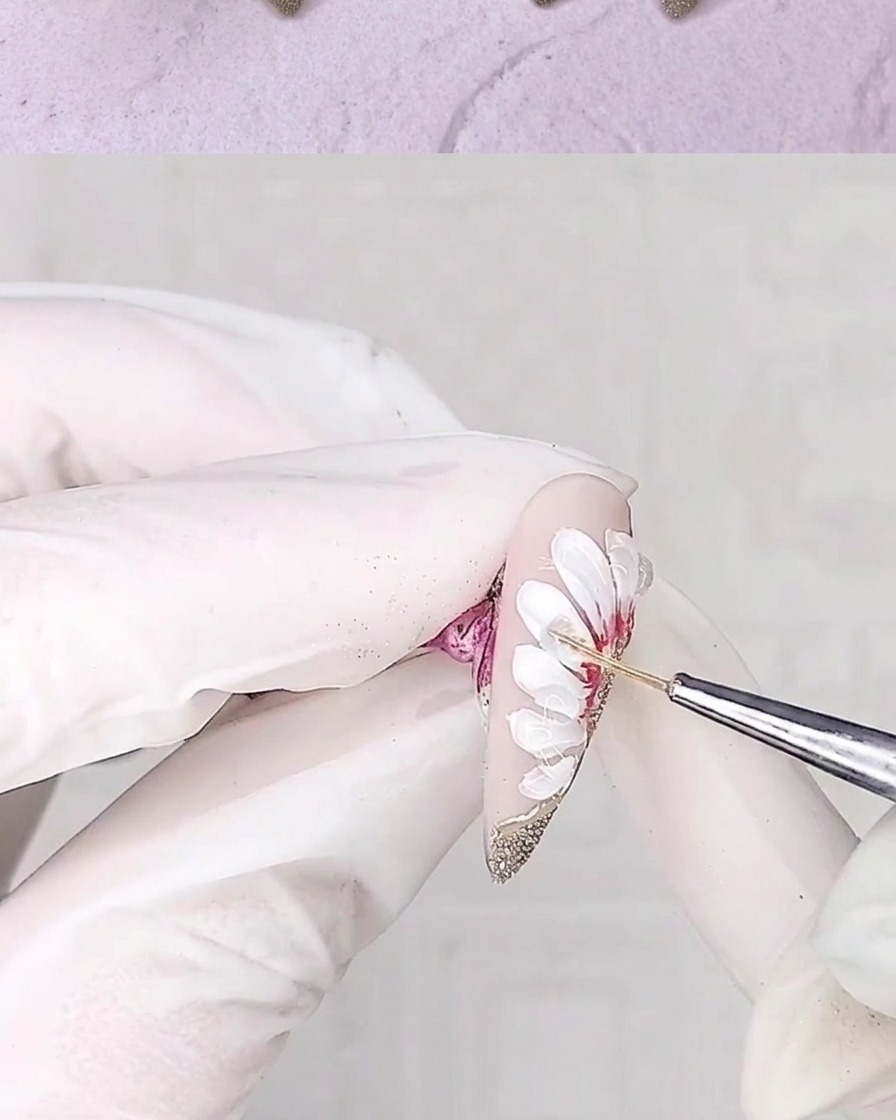
Apply a second, refined layer of adhesive gel into the gaps of the petals to further enhance the dimension and sculpted effect. Build up the volume carefully to achieve the desired 3D look.
Tip: Building in two layers allows for better control of the final 3D shape than trying to apply it all at once. - 17Final cure
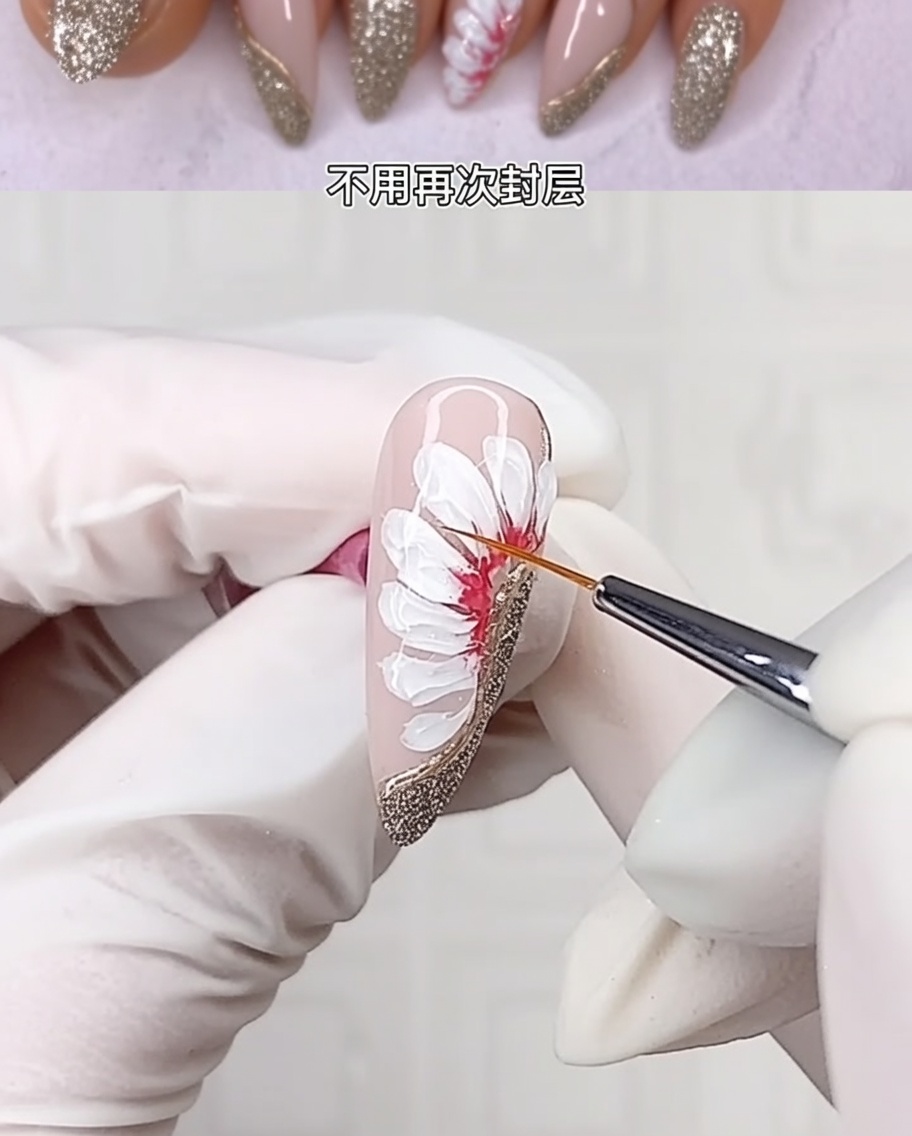
Perform a final cure of the 3D gel under the UV/LED lamp. This ensures that all layers of the 3D design are completely hardened and durable.
Tip: Perform a thorough final cure to avoid any tackiness or softness in the raised gel design.