Colorful Sweet Star Cat-Eye Nail Art Tutorial
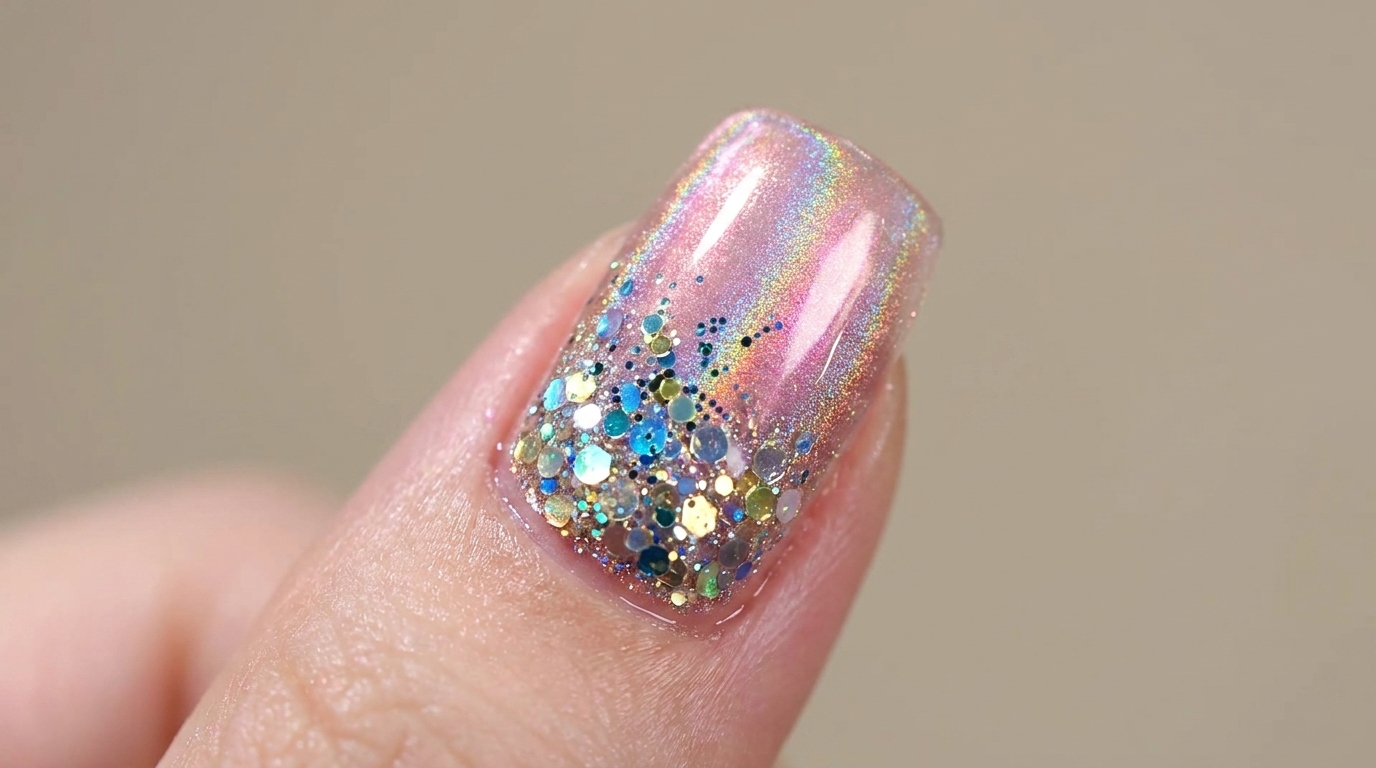
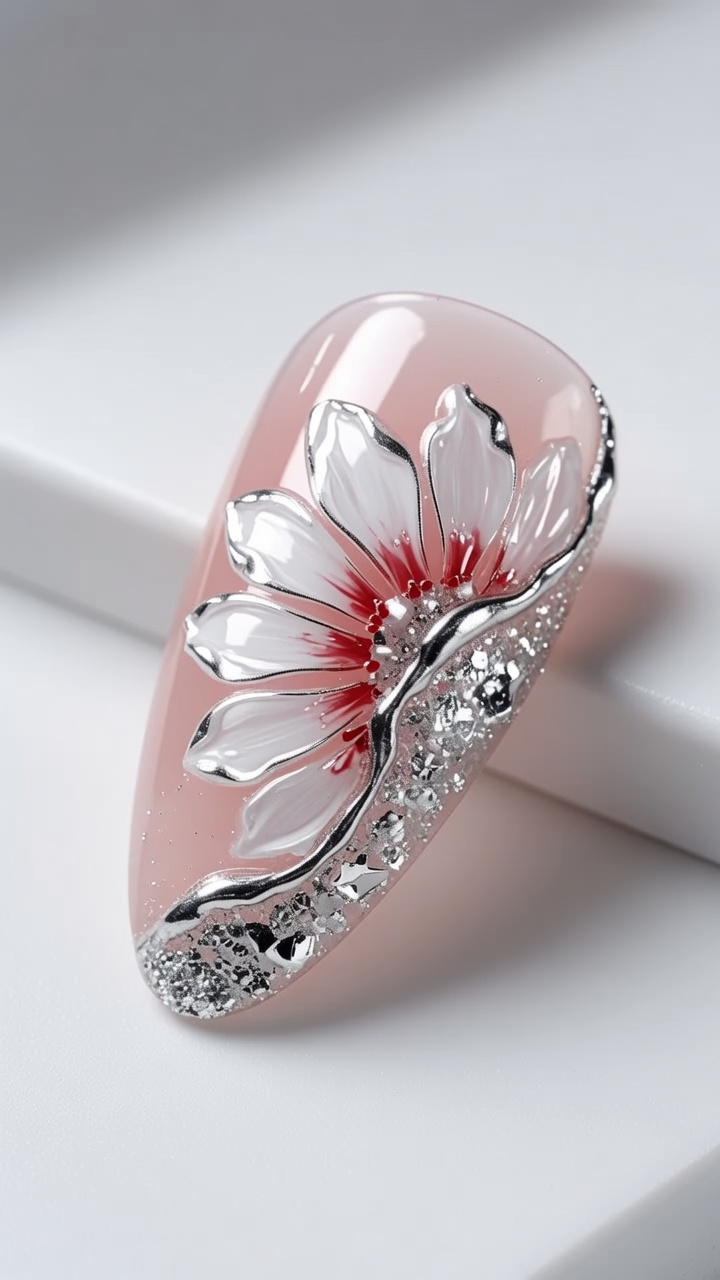
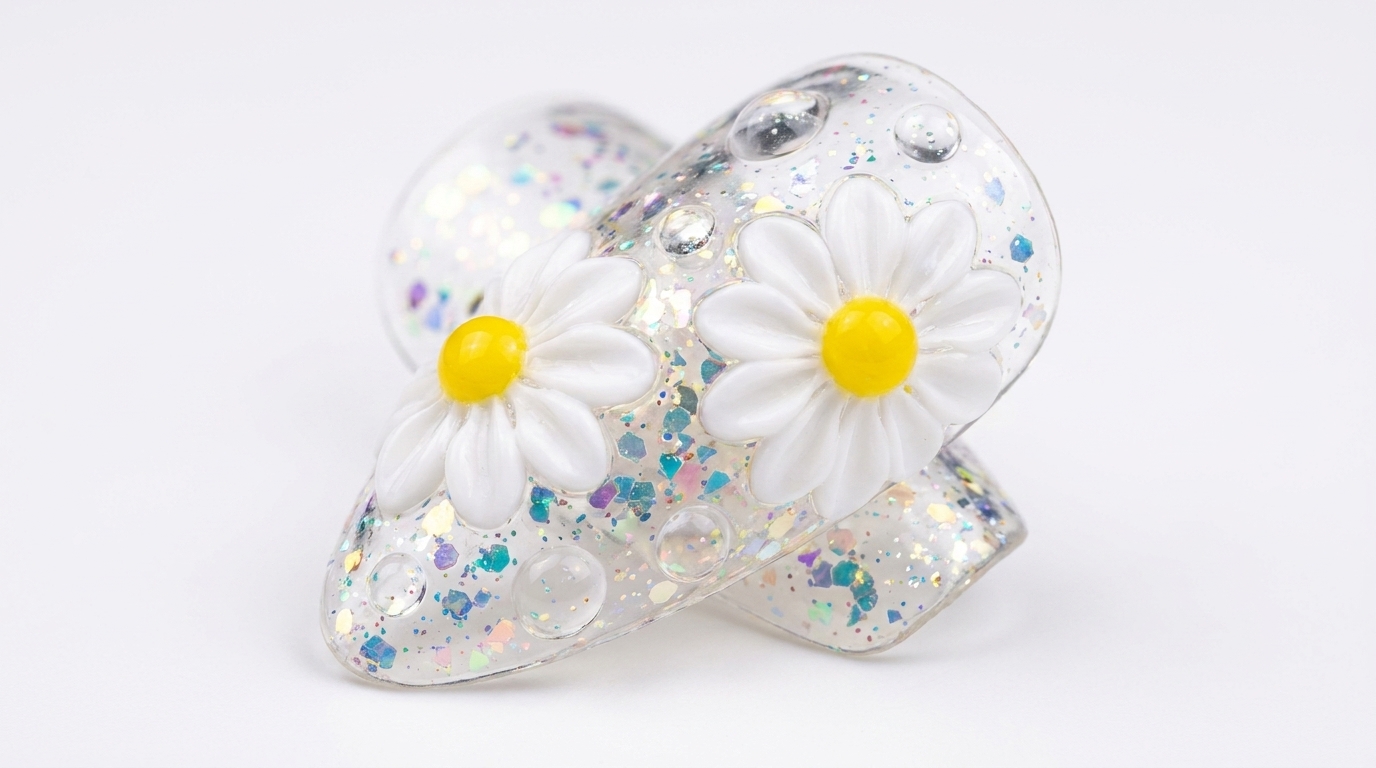
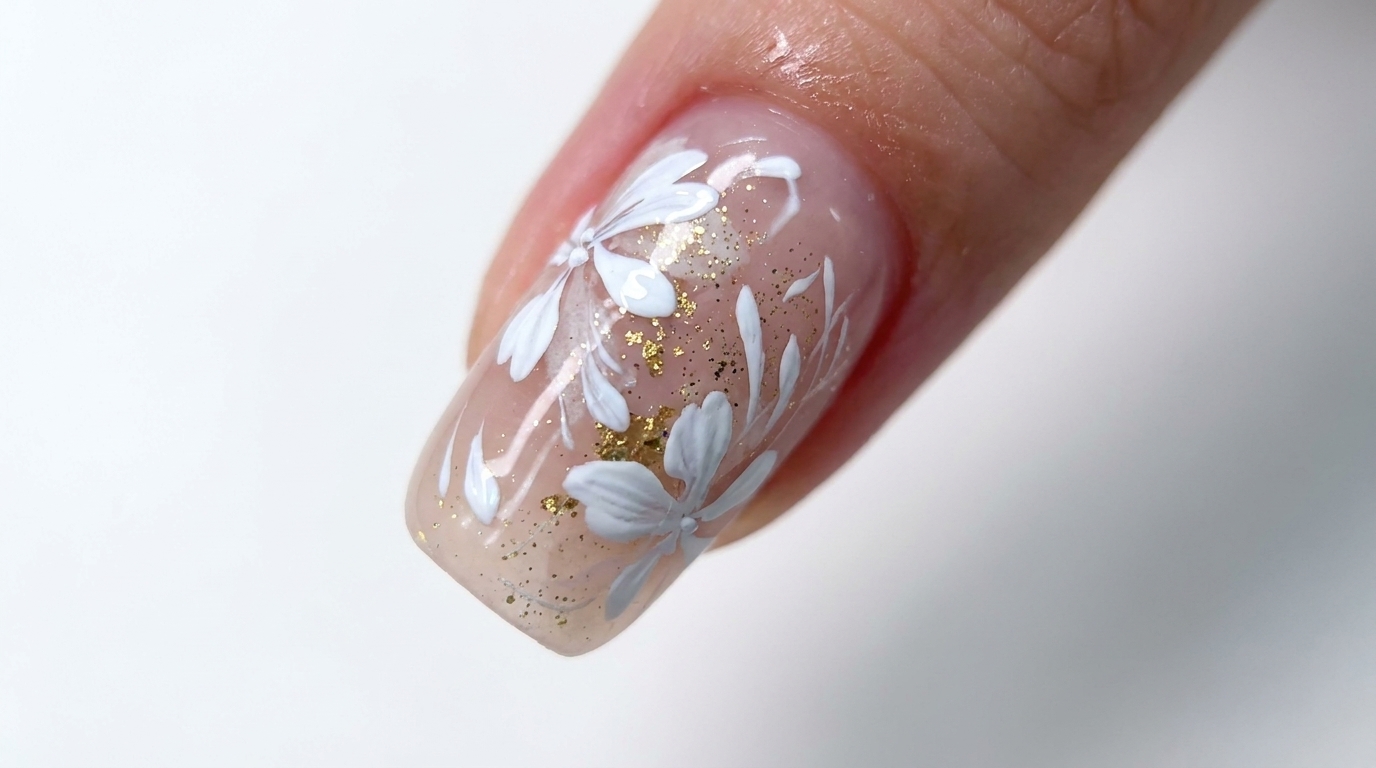
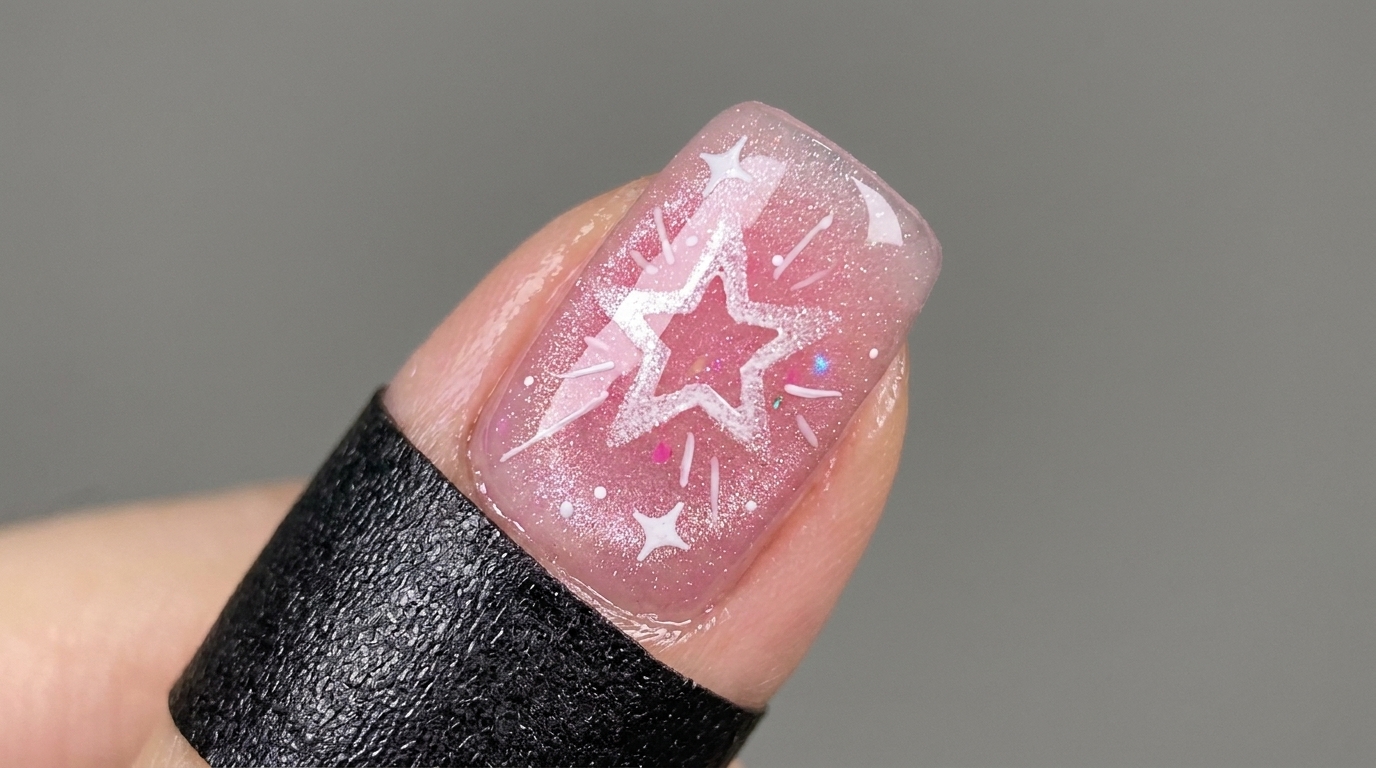
Create a dreamy, celestial-inspired manicure with this colorful pink cat-eye and star-themed nail art tutorial, perfect for a sweet and playful look.
This colorful sweet star nail design blends the trending magnetic cat-eye effect with delicate celestial accents for a truly magical manicure. Using a vibrant pink base and star stickers, this look captures a whimsical aesthetic that is both sophisticated and fun to create. It is a fantastic way to experiment with layering magnetic polish and precise nail art details for a professional salon-style result at home.
Steps
- 1Apply concealer tape
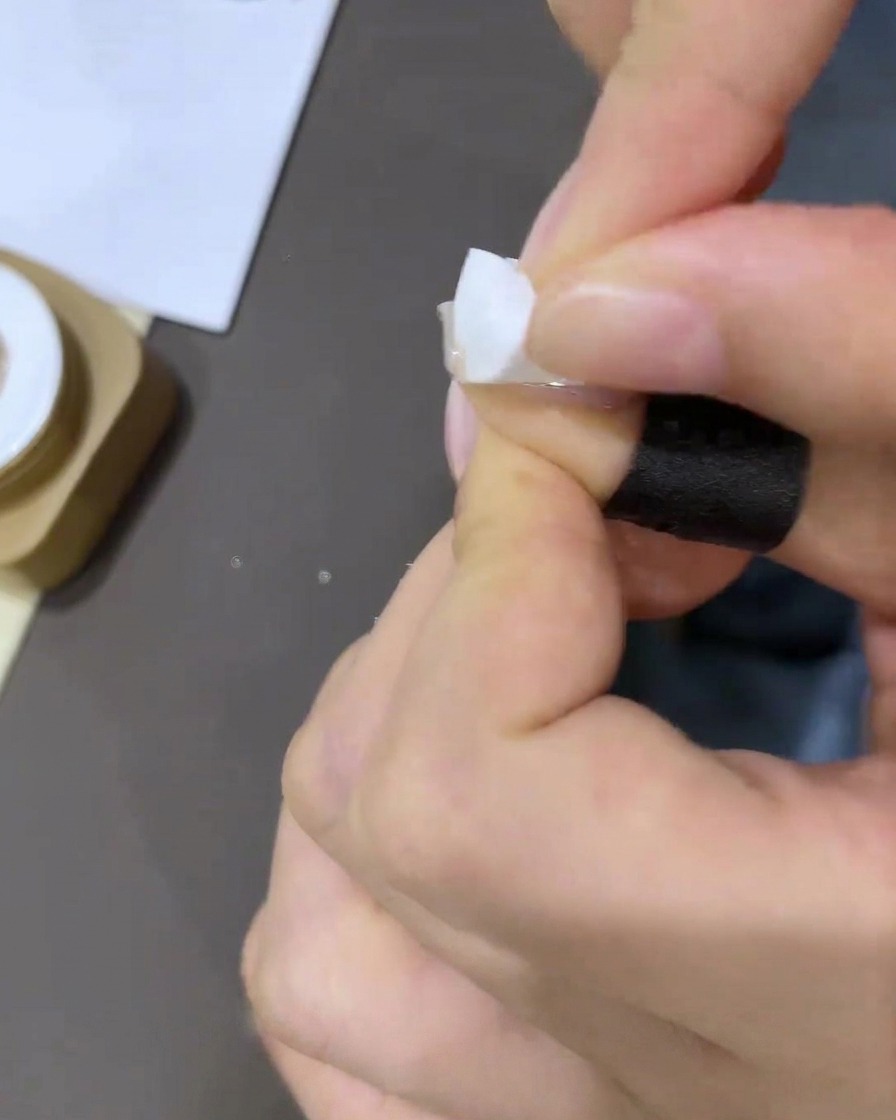
Carefully apply concealer tape around the cuticle area of the nail. This creates a clean boundary and protects the skin from gel polish during application, ensuring a neat and professional finish.
Tip: Press the tape firmly against the skin to prevent any gel from seeping underneath. - 2Apply Fula Starry gel polish
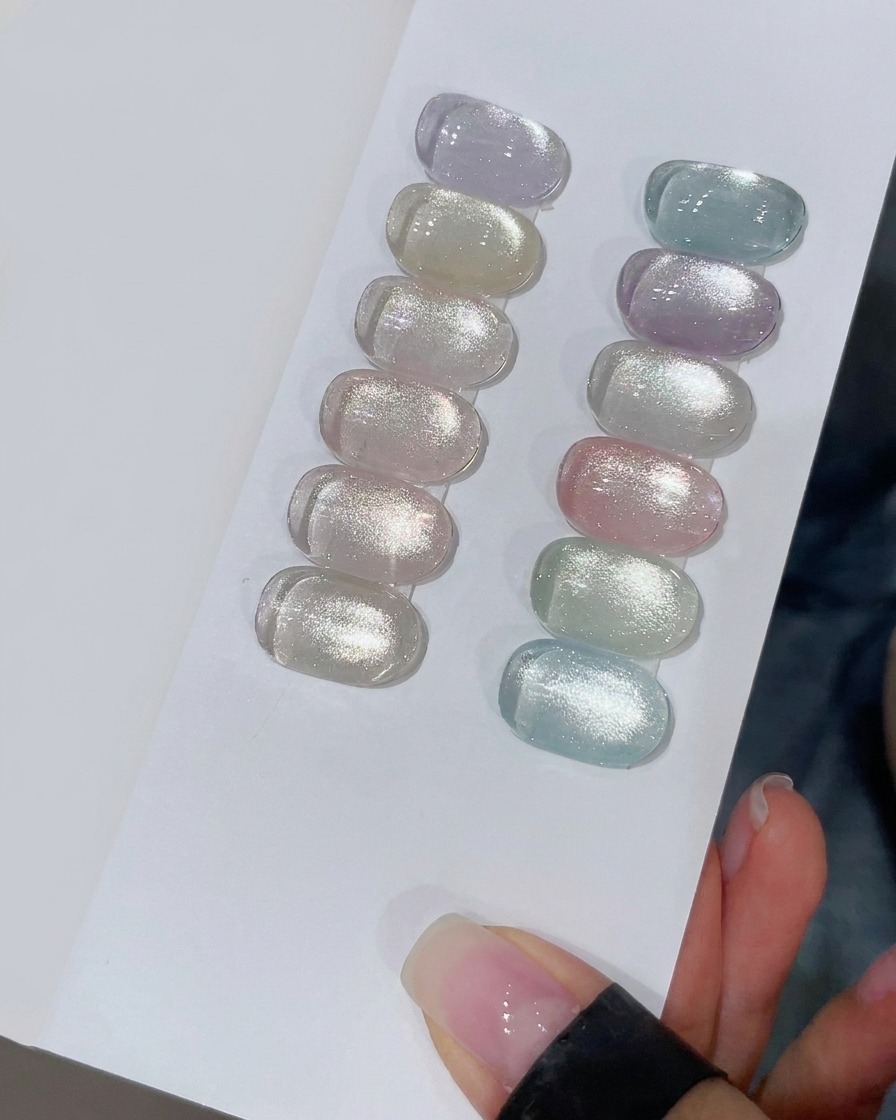
Apply a coat of Fula Starry series M128 gel polish evenly over the entire nail plate. Ensure smooth coverage for a consistent base for the magnetic effect.
Tip: Keep the layer thin to ensure even curing and better magnetic reaction. - 3Create cat-eye effect
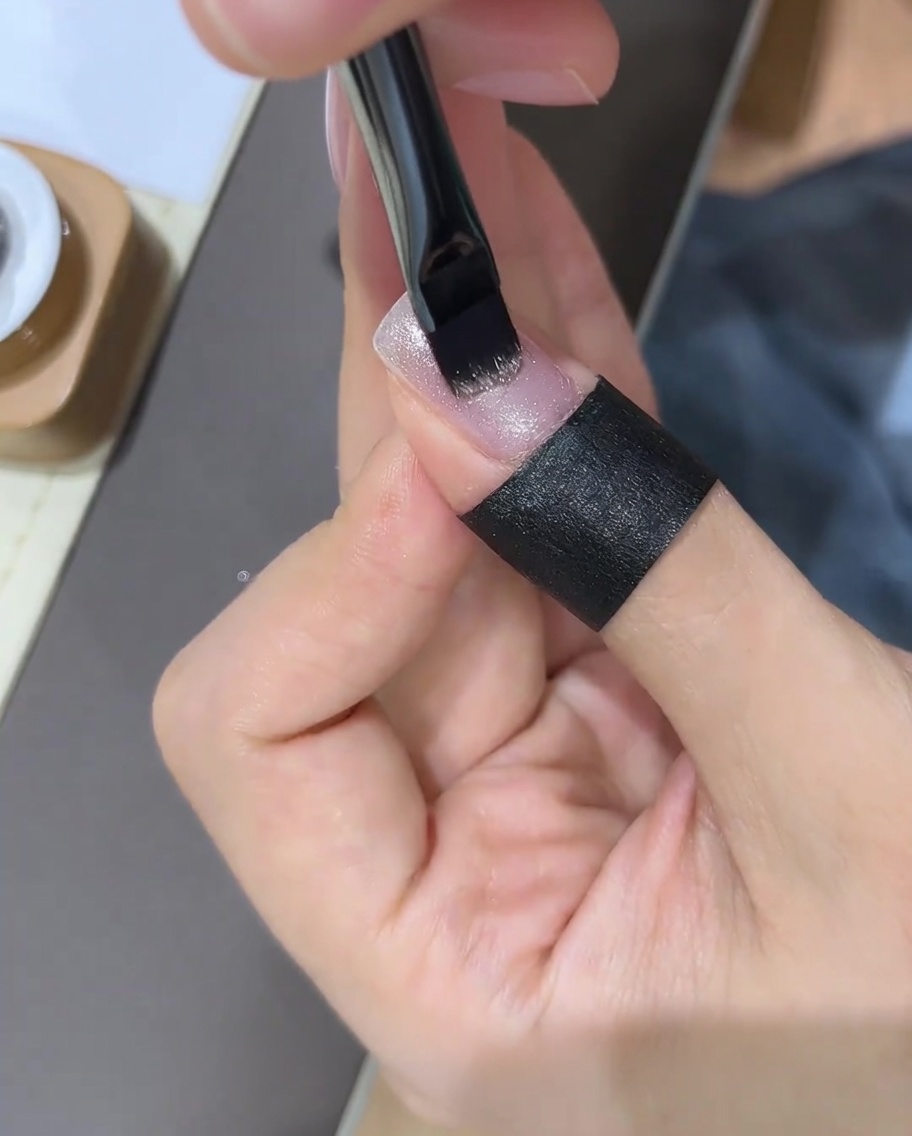
While the gel is still wet, hold a magnet near the nail to move the magnetic powder. Guide the particles to form a clear base cat-eye pattern across the nail surface.
Tip: Keep the magnet steady and close to the nail for a more defined line. - 4Refine glass-ball effect
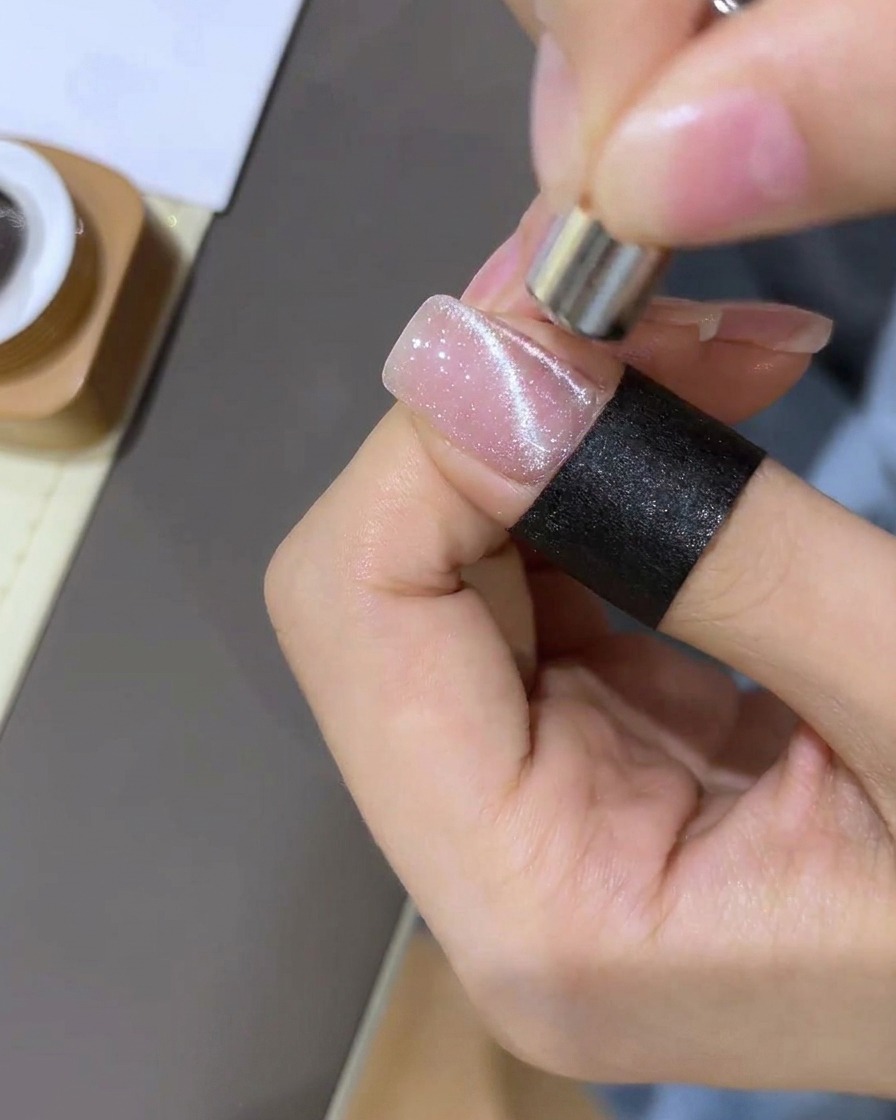
Use the magnet again to manipulate the magnetic powder further, sweeping and pulling it into a concentrated glass-ball cat-eye look. This creates depth and a high-shine effect.
Tip: Move the magnet in a circular or sweeping motion to achieve the desired rounded, reflective glass-ball appearance. - 5Place star sticker
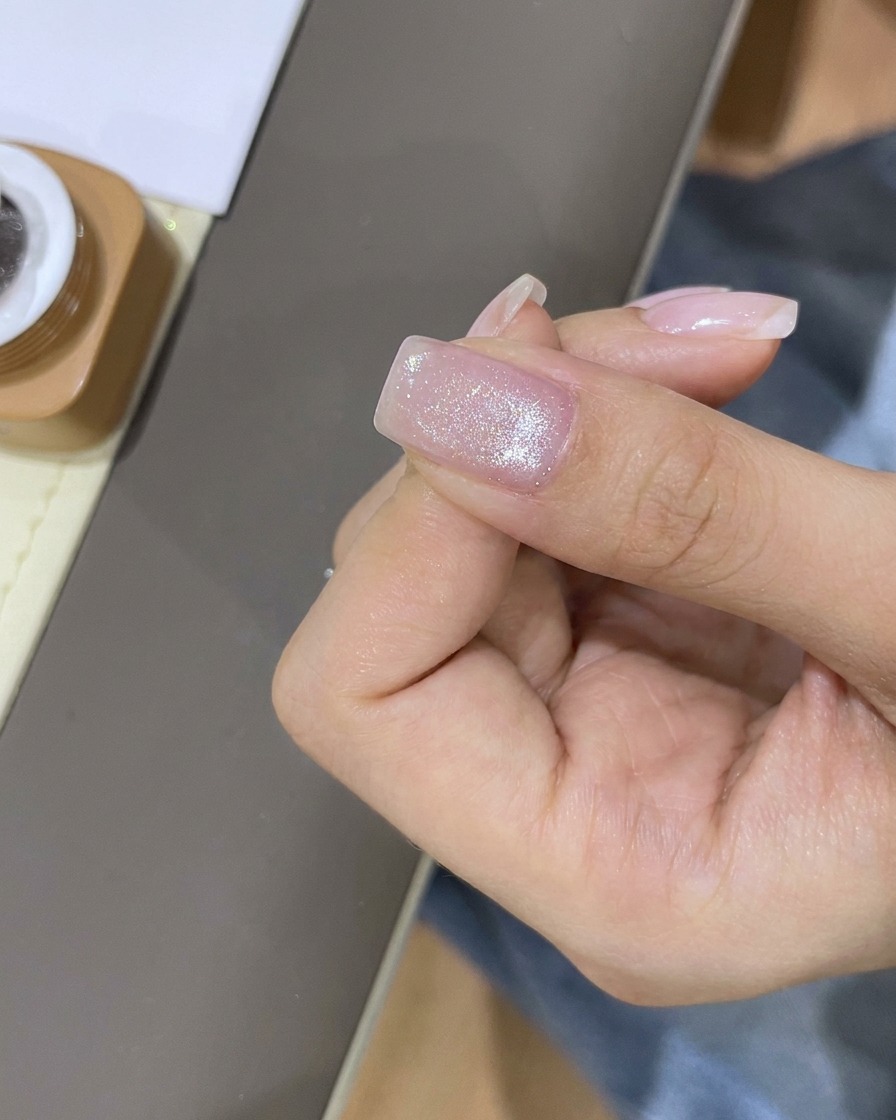
Once the base layer is cured, select a star-shaped sticker and carefully place it onto the center of the nail. Smooth it down to ensure it adheres flat to the surface.
Tip: Use tweezers to position the sticker precisely before pressing it down. - 6Apply pink gel layer
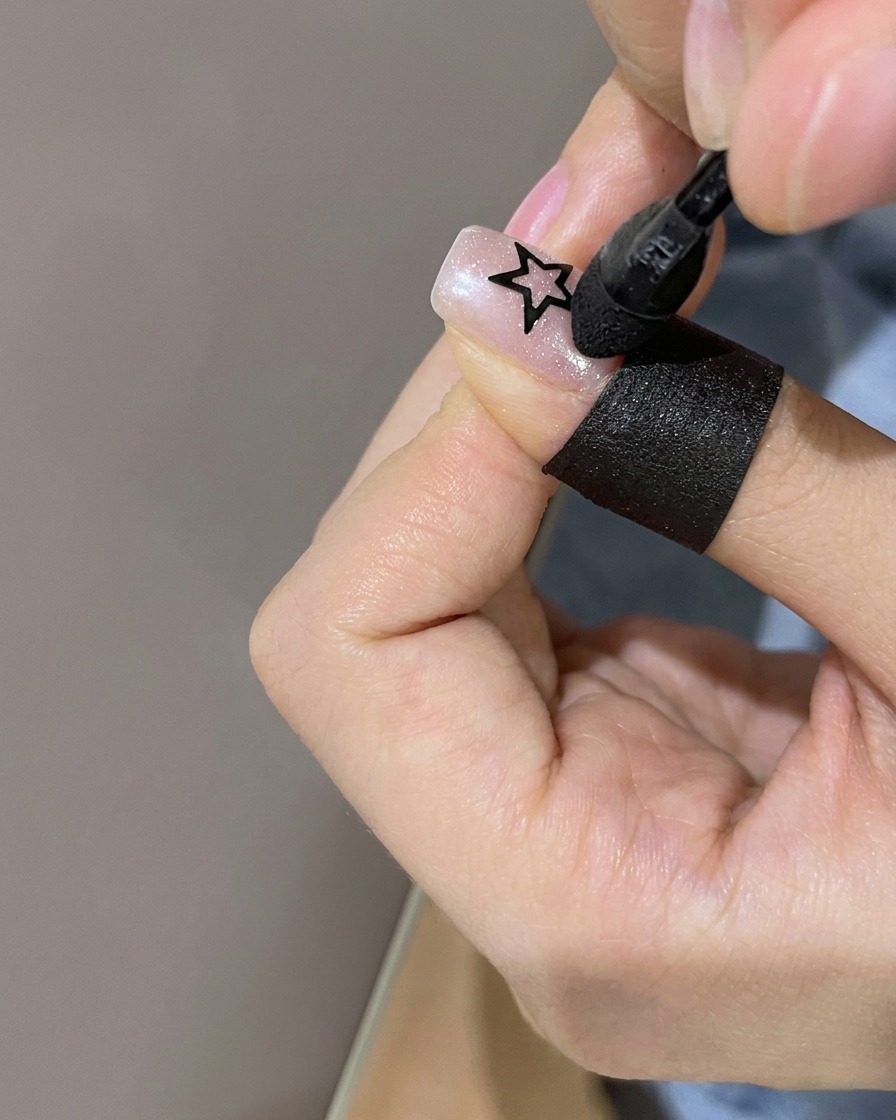
Apply a thin, even layer of pink-tinted gel over the entire nail, covering the star sticker. This adds a soft, colorful overlay that enhances the nail art design.
Tip: Use a light hand to ensure the pink gel doesnt pool around the edges of the sticker. - 7Apply star accents
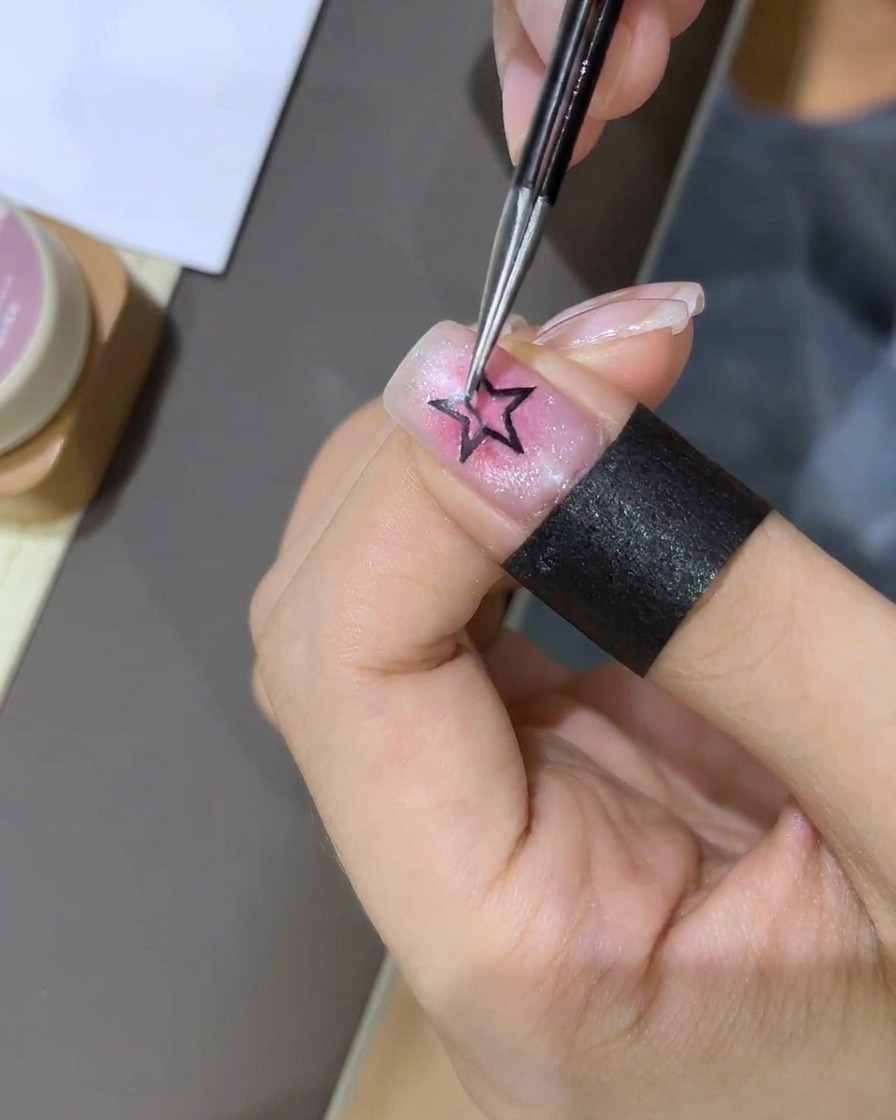
After removing the initial star sticker, carefully place multiple four-pointed star stickers around the area to build the design. Press each sticker firmly to ensure it lies flat against the gel surface for a smooth finish.
Tip: Use a pair of tweezers for precise placement of the small four-pointed star stickers. - 8Detail with fine lines
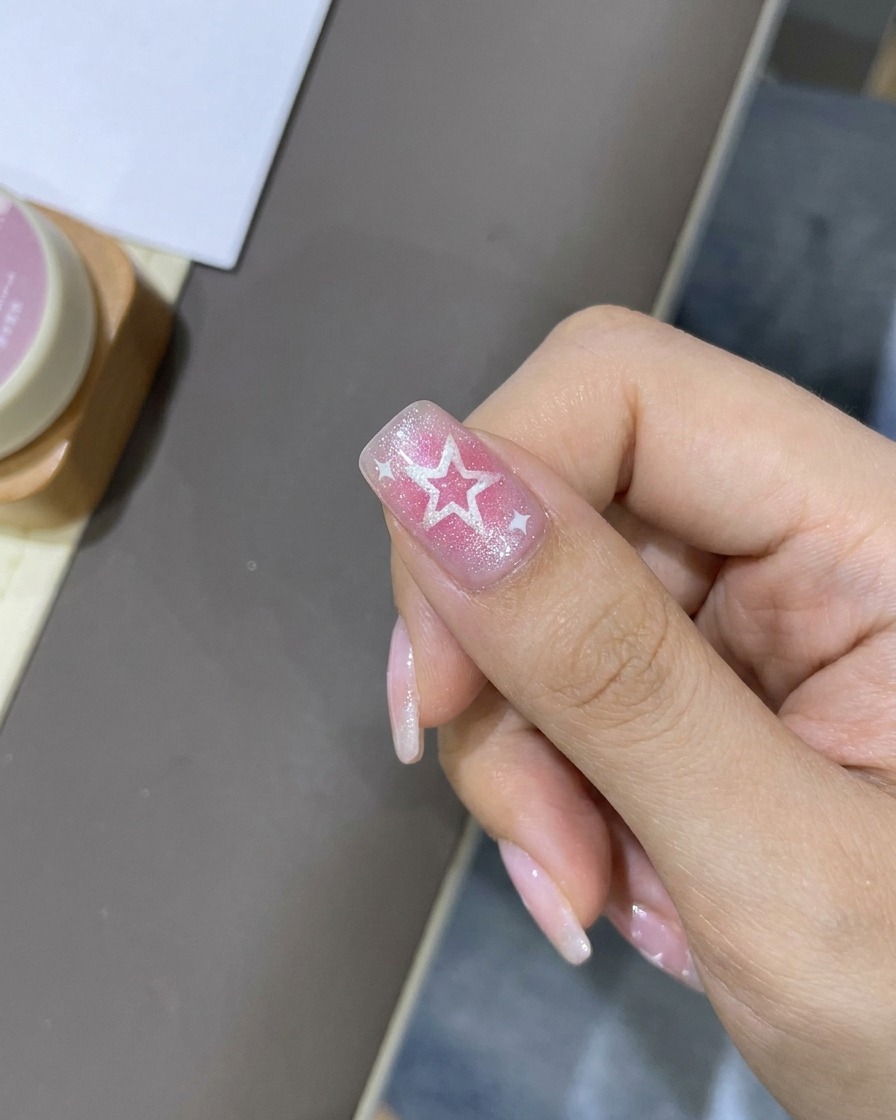
Using a fine liner brush and white gel, draw thin, delicate lines radiating outward from the star shapes. These highlights add dimension and a twinkling effect to the star-themed nail art.
Tip: Keep your touch light to ensure the lines remain thin and precise. - 9Add colorful dots
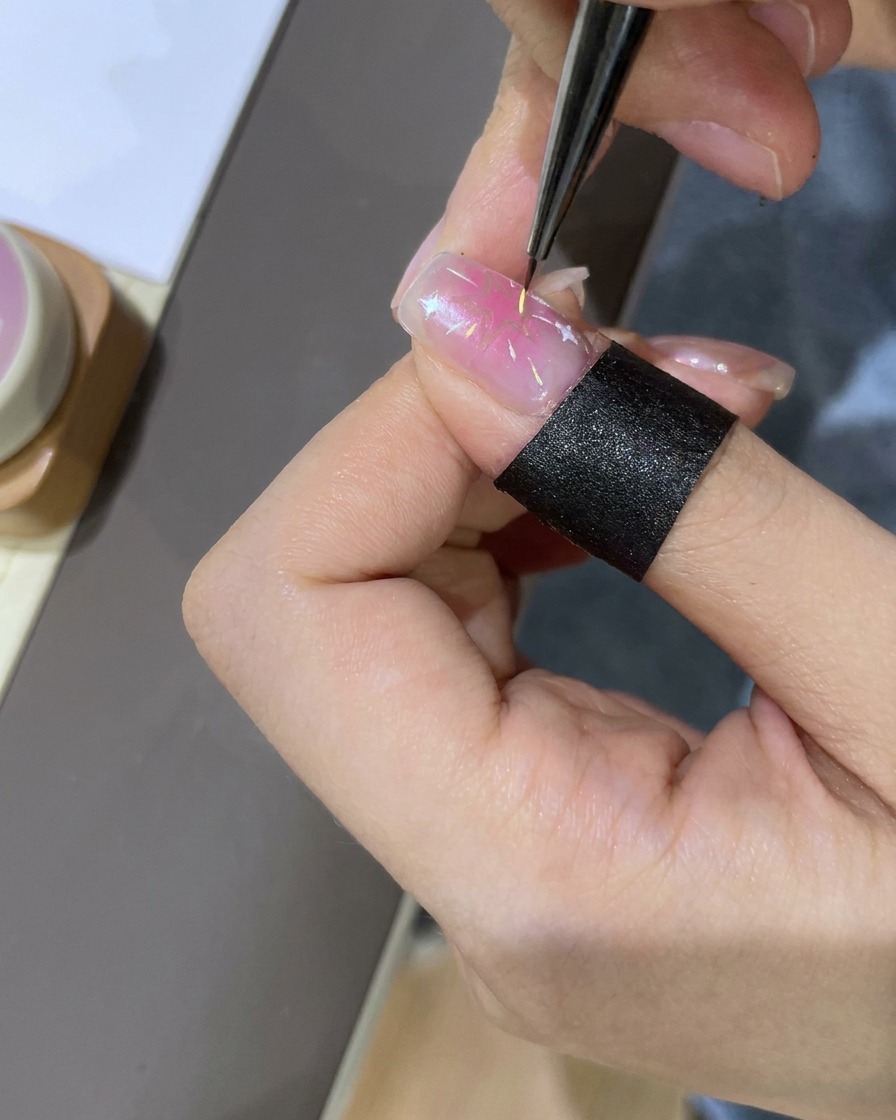
Take a dotting tool and add small, multi-colored dots around the star art. This step introduces a pop of color and completes the colorful sweet star aesthetic.
Tip: Clean your dotting tool between colors to prevent mixing and ensure vibrant, distinct dots. - 10Apply top coat
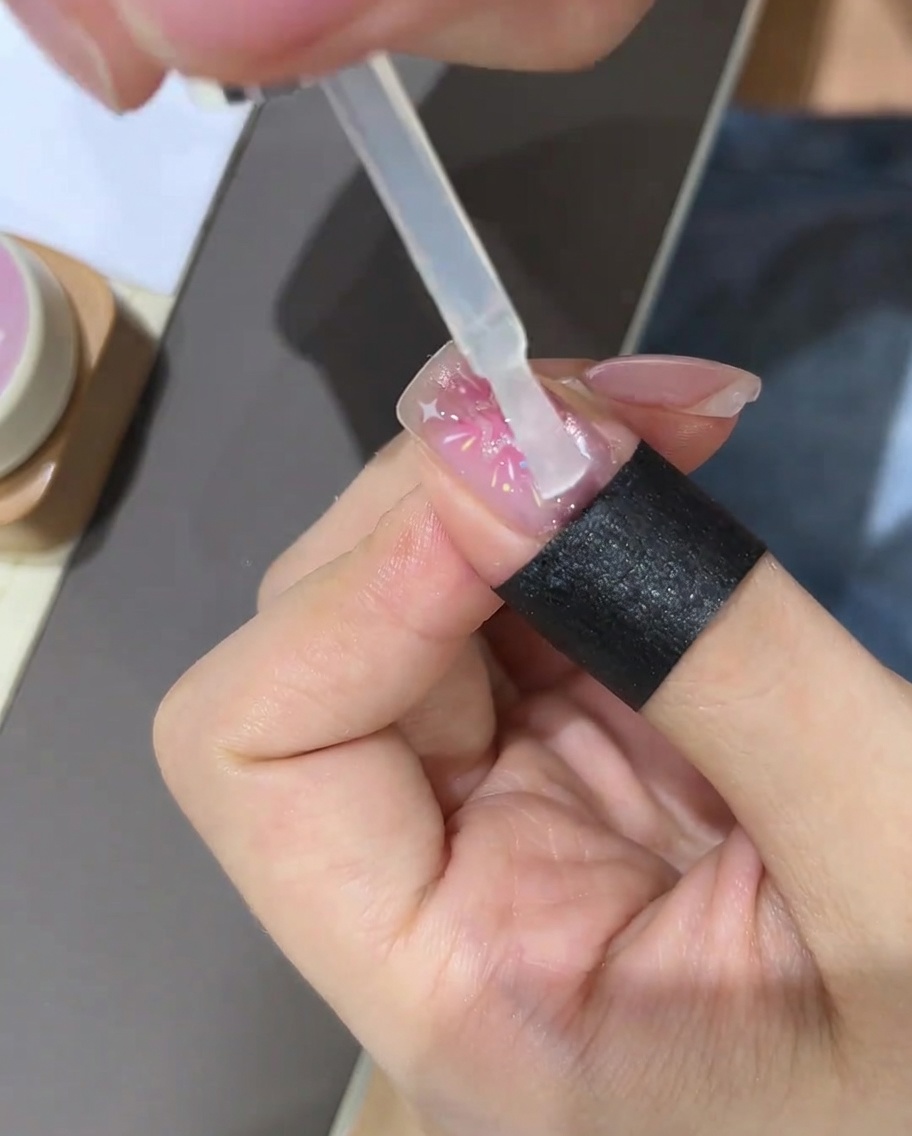
Apply a final layer of clear top coat over the entire nail to seal your design and add shine. Ensure you cap the free edge to protect the stickers and art from peeling or wearing off prematurely.
Tip: Allow the top coat to level out for a few seconds before curing to ensure a perfectly smooth finish.