Floral Watercolor Gel Art
Gold Foil — Step-by-Step Tutorial
Create delicate, layered floral nail art with gold accents using this detailed, easy-to-follow gel manicure tutorial.
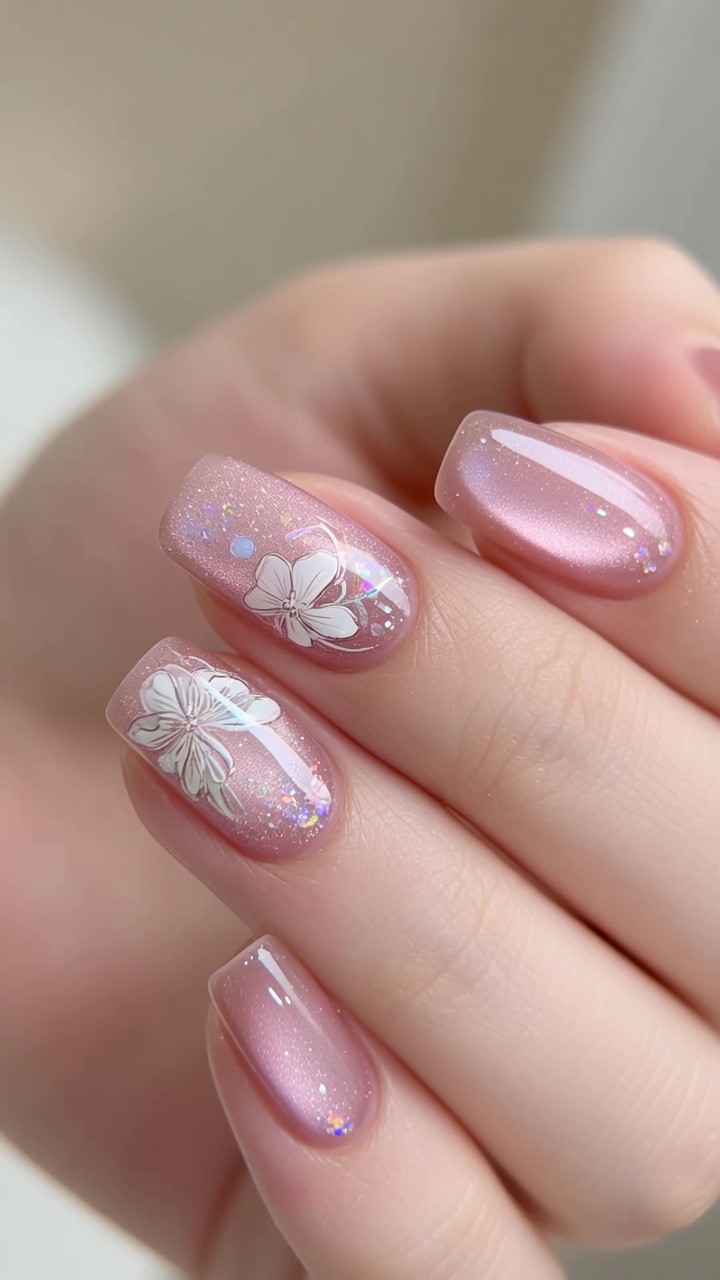
This floral watercolor design captures the elegance of delicate, layered petals combined with the warmth of gold foil. Perfect for those looking to add a touch of artistic flair to their manicure, the design relies on thin layers and subtle blending to create depth. Follow along to master the technique of painting detailed flowers that appear to float beneath a soft, glossy finish.
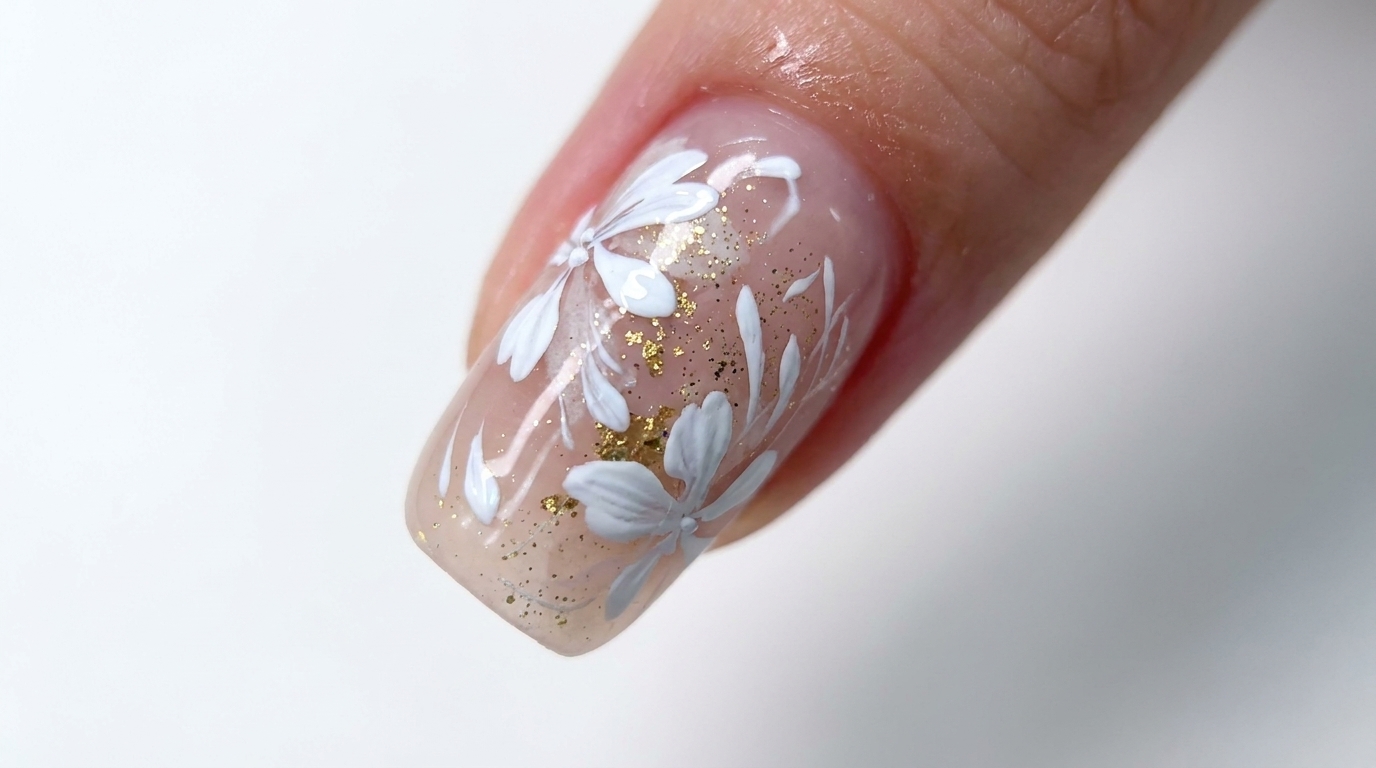
Steps
- 1Prep the cuticle area
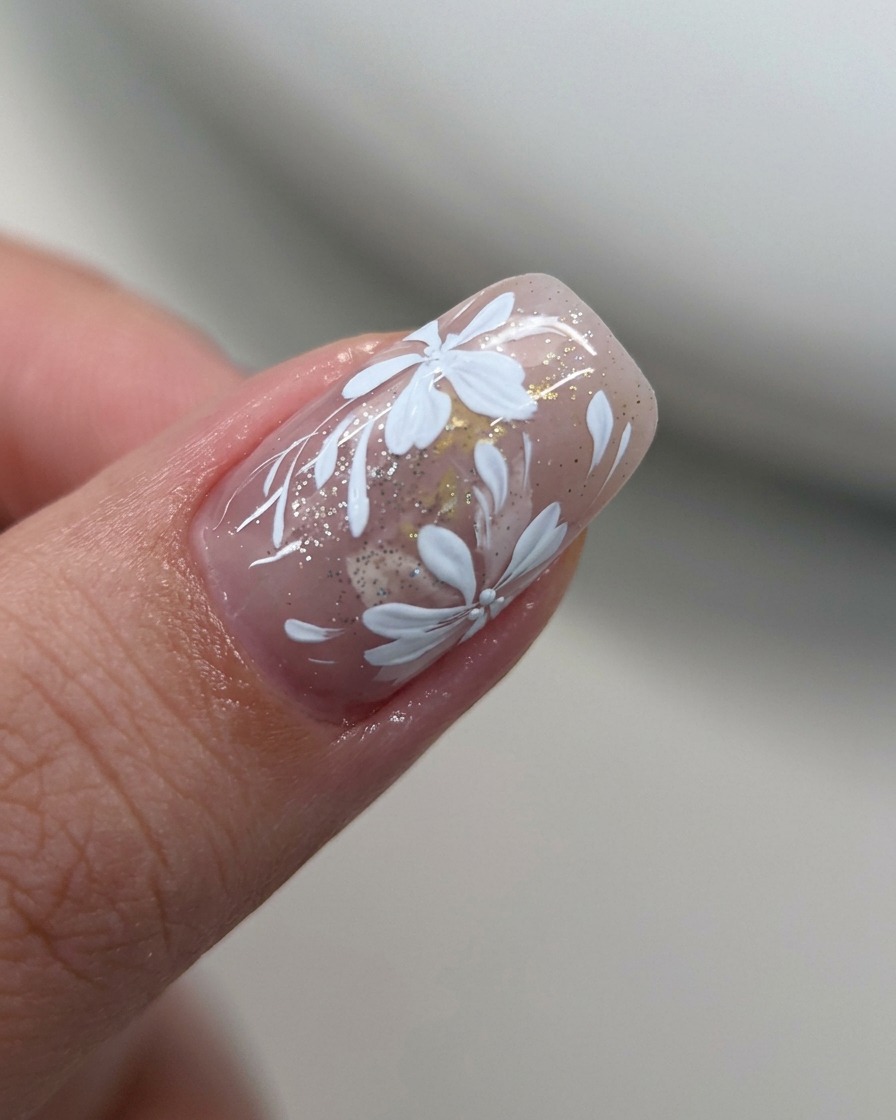
Gently push back the cuticles and remove any non-living tissue from the nail plate using a small cuticle pusher or removal tool. A clean nail surface is essential for long-lasting gel application and to prevent premature lifting.
Tip: Be gentle to avoid damaging the nail matrix. - 2Apply milky white base
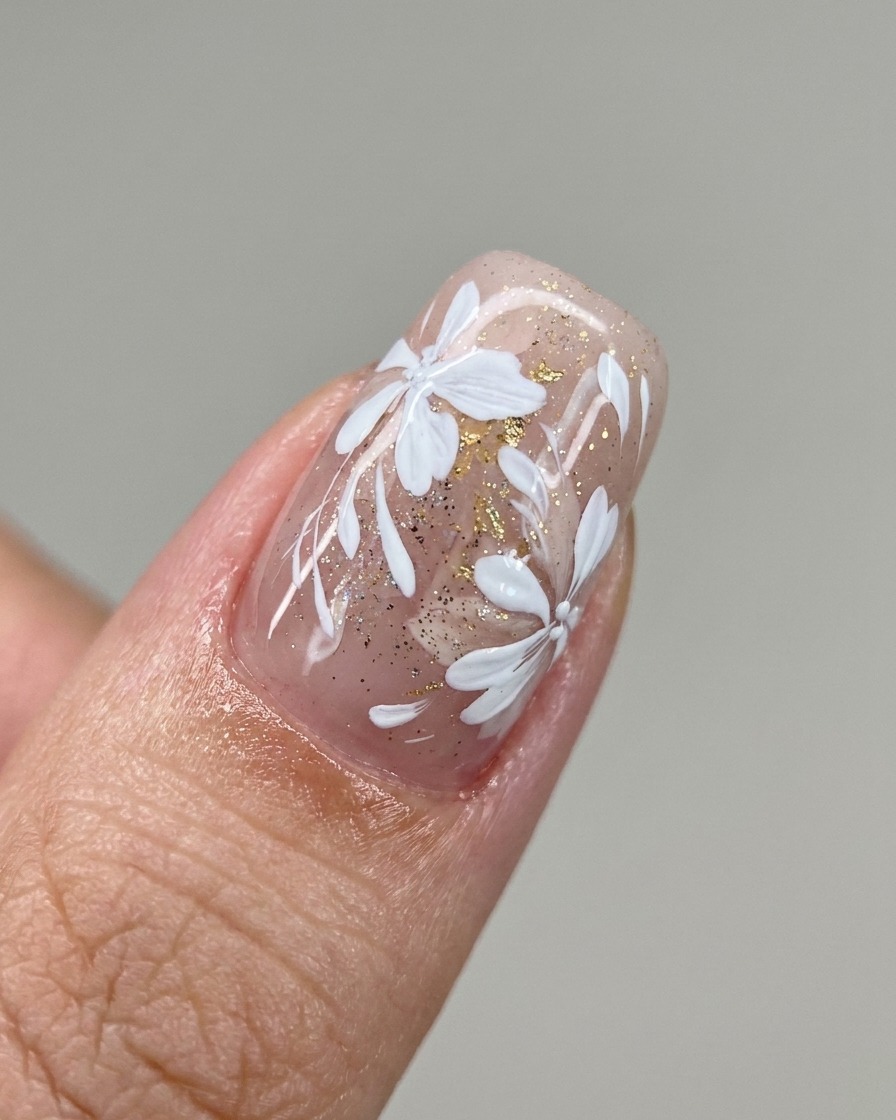
Apply a thin layer of milky white base coat diagonally across the nail surface. Keep the application sheer to ensure a soft, transparent backdrop for the subsequent floral art.
Tip: Keep the layer thin to maintain transparency. - 3Blend for a soft gradient
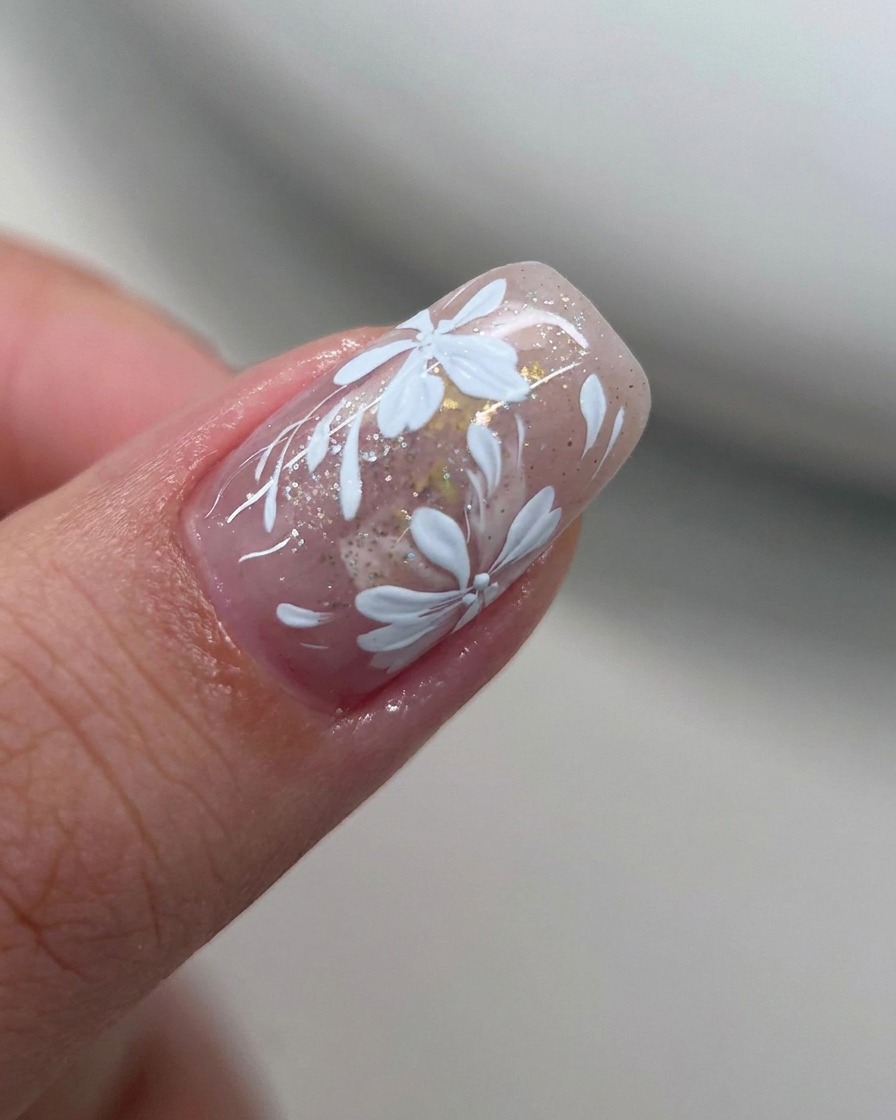
Using a flat brush, gently blend the edges of the white base gel while it is still wet. Use light, sweeping motions to soften the transition, creating a diffused gradient effect that serves as the artistic backdrop for your floral design.
Tip: Use light, sweeping motions to avoid streaking. - 4Incorporate gold foil accents
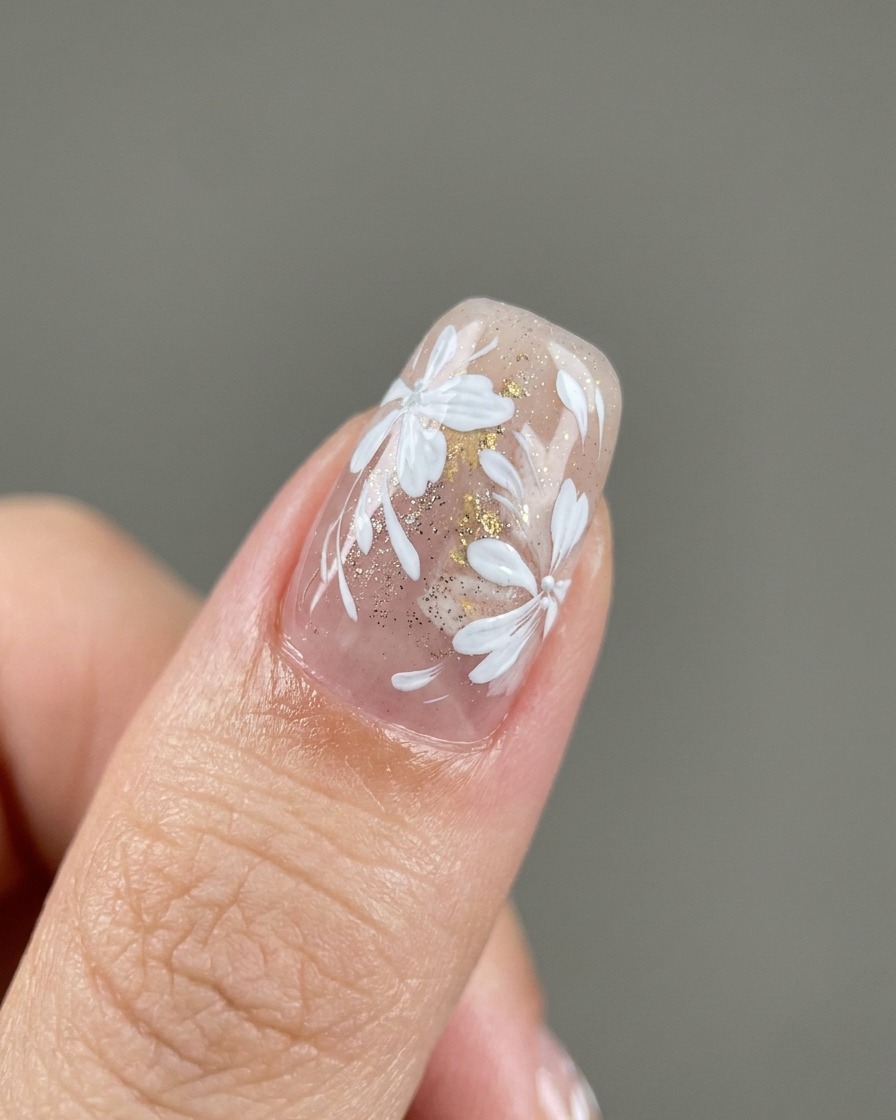
While the base layer remains tacky, use a detail brush to place small, irregular pieces of gold foil onto the nail. Lightly tap the pieces down to ensure they lie flat for a smooth final finish.
Tip: Apply small, irregular pieces for a natural, organic look. - 5Add fine gold glitter
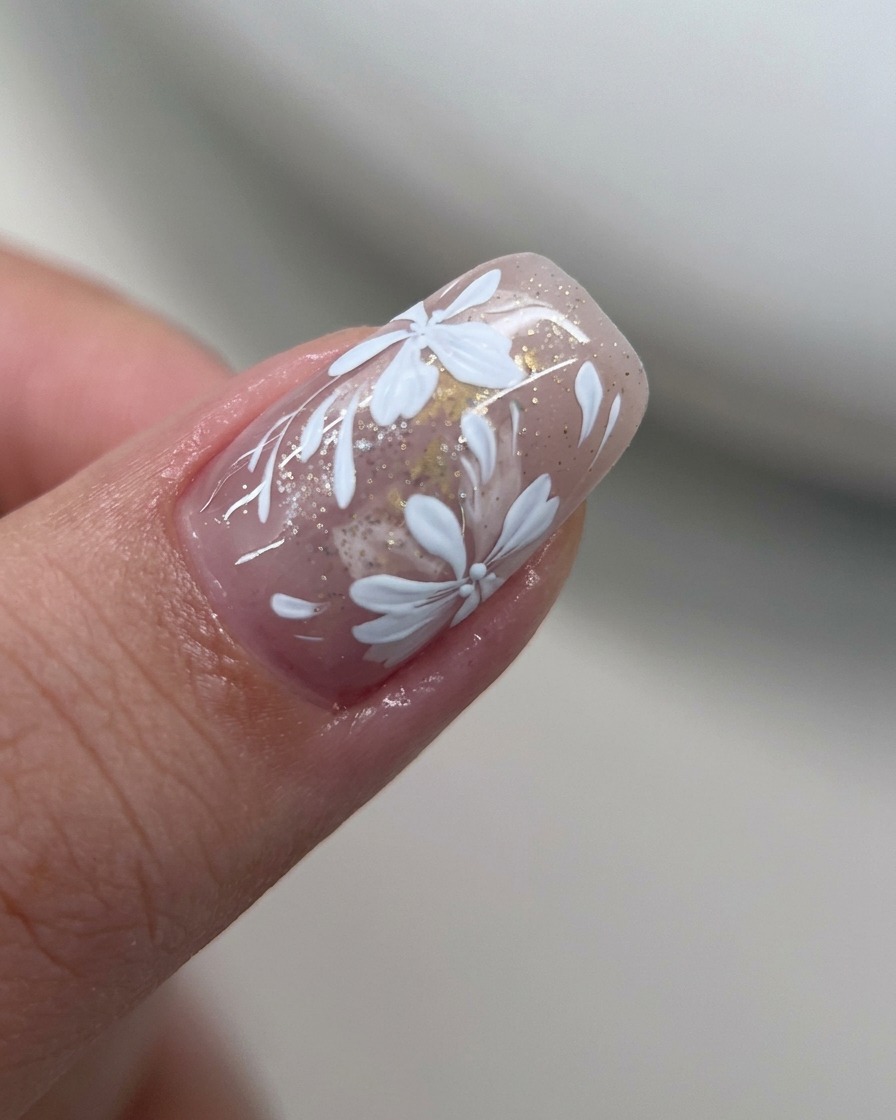
Apply a thin layer of fine gold glitter over the foil-embedded base. This adds dimension and sparkle to the design.
Tip: Distribute the glitter lightly to avoid hiding the gold foil details. - 6Paint the first layer of petals
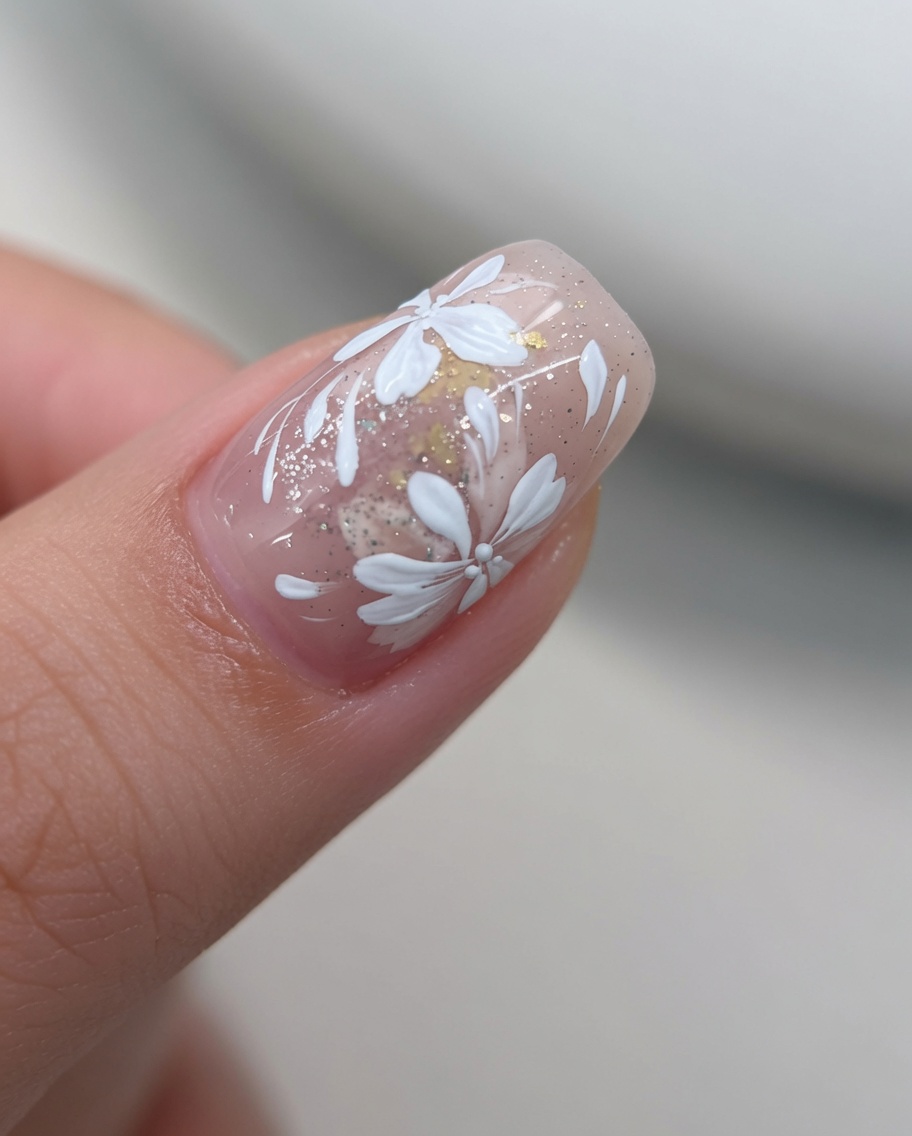
Using a detail brush, paint the first, larger layer of white flower petals onto the nail. These petals form the base of your floral design.
Tip: Keep your hand steady for precise petal shapes. - 7Apply sheer pink and glitter
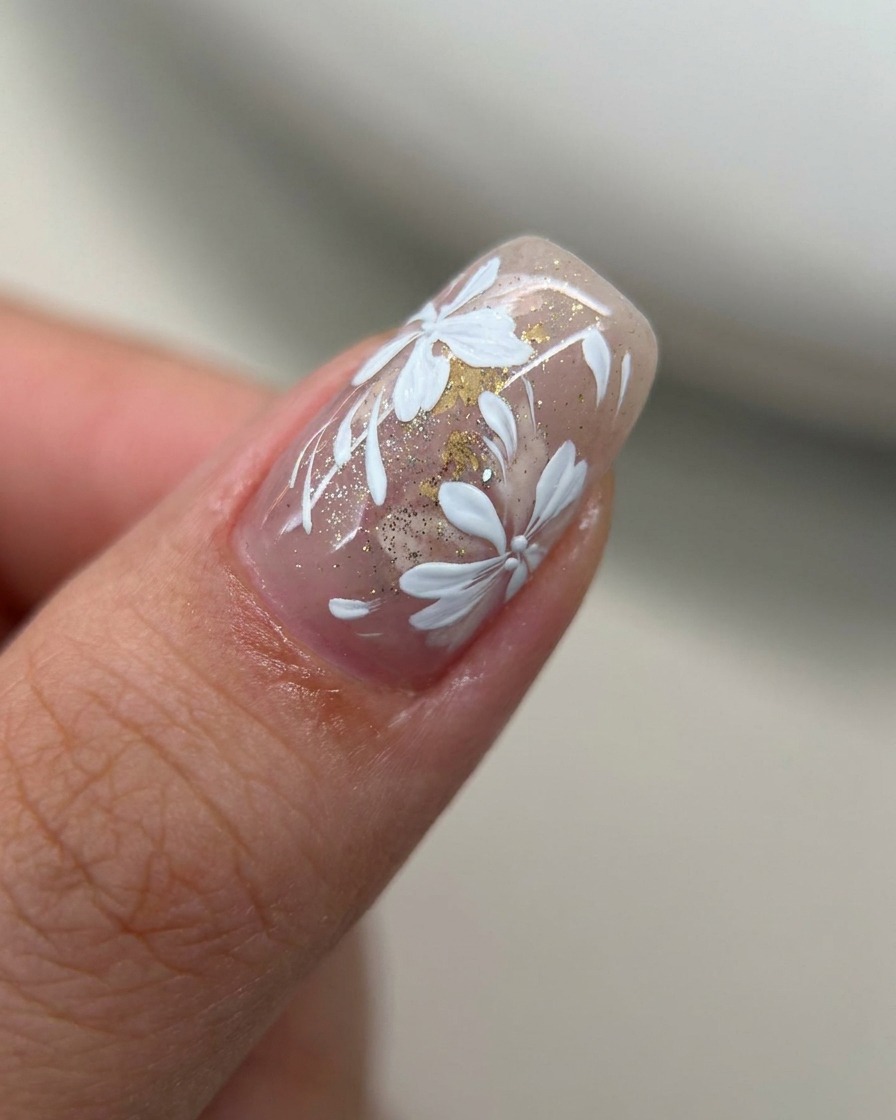
Apply a layer of sheer nude-pink gel over the entire design to harmonize the elements. Immediately follow this with a light dusting of fine gold glitter, concentrating the sparkle toward the center and edges before curing to add a shimmering, cohesive depth.
Tip: Focus the glitter application mainly around the center and edges of the nail to create a balanced, shimmering effect. - 8Apply top coat and cure
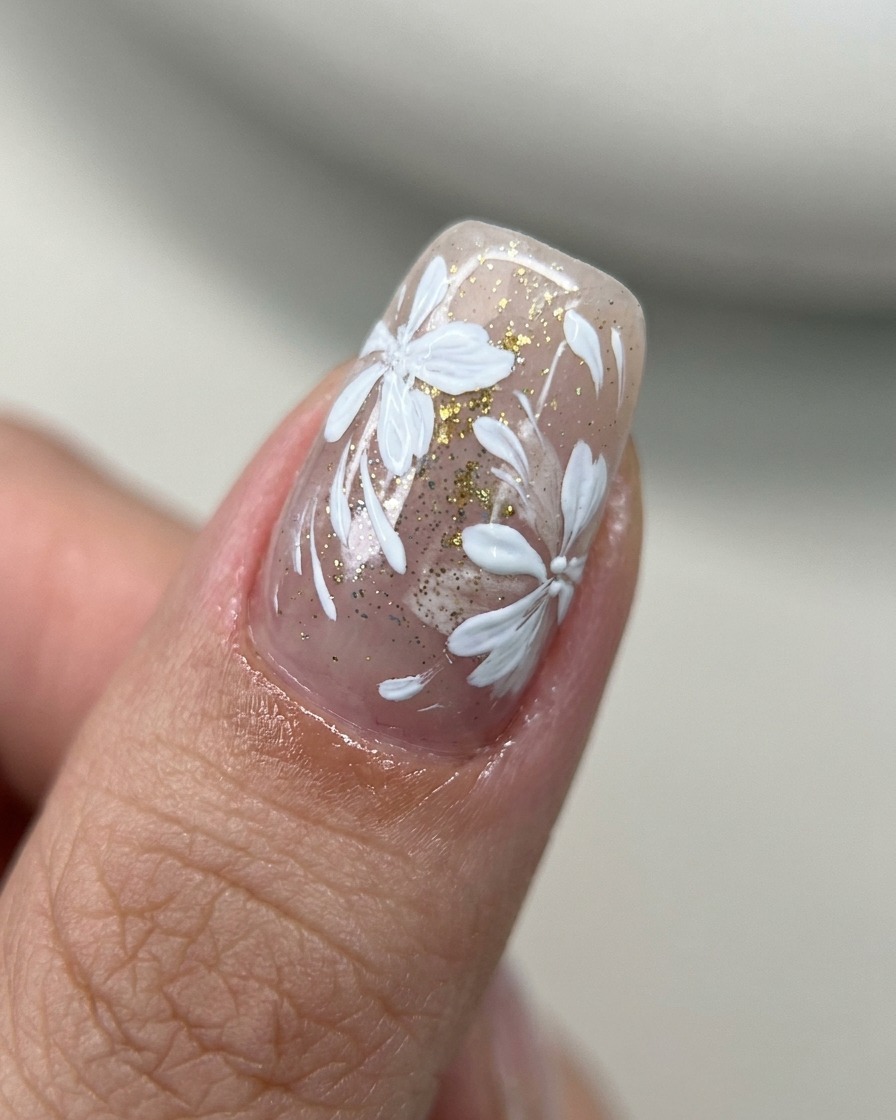
Apply a generous, even layer of clear top coat over the entire nail to seal in the gold foil, glitter, and floral art. Ensure you cap the free edge of the nail to prevent chipping. Cure thoroughly under a UV or LED lamp to achieve a smooth, glossy, and durable finish.
Tip: Make sure to clean any excess gel from the cuticles before curing to ensure a clean, professional look. - 9Paint detailed floral petals
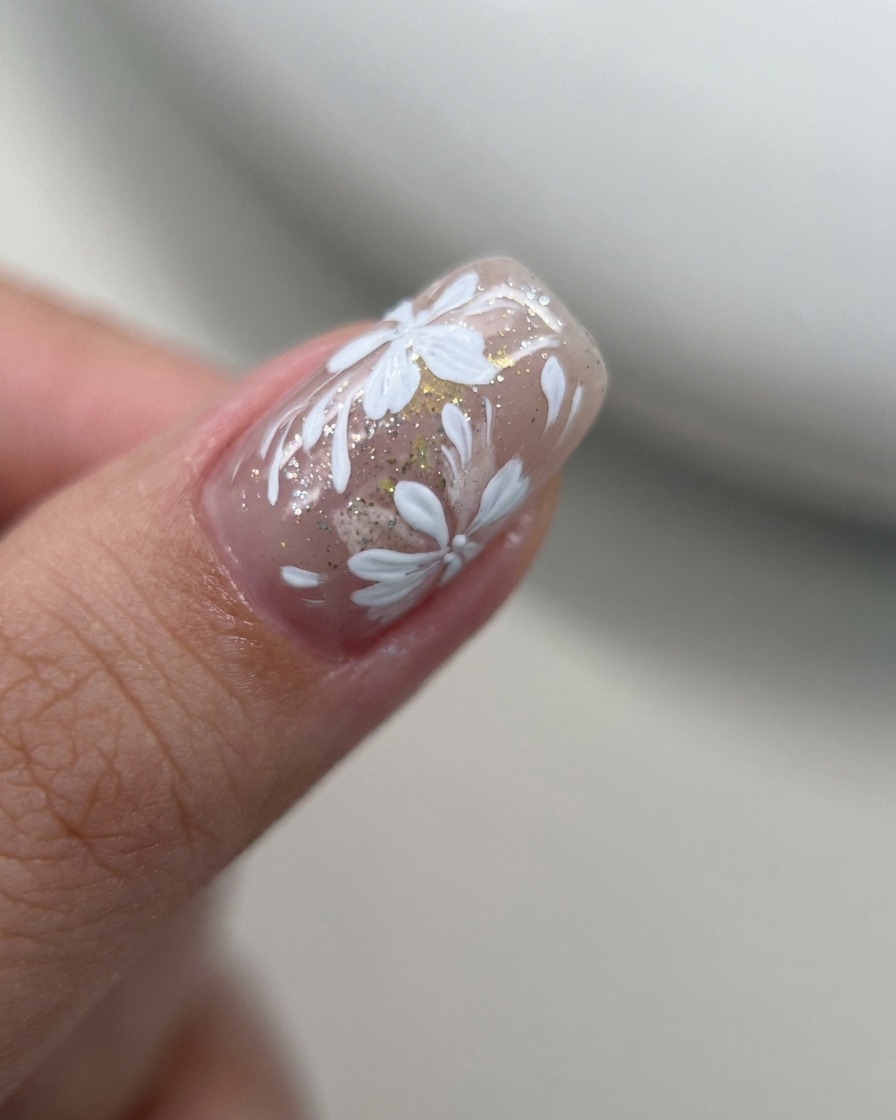
Using a fine liner brush and white gel, paint a second layer of smaller, more intricate flower petals over the existing design. These petals should be more detailed and slightly smaller to add complexity and realism to the floral arrangement.
Tip: Keep your touch light to create delicate lines that define the shape of each individual petal clearly. - 10Refine petal grouping
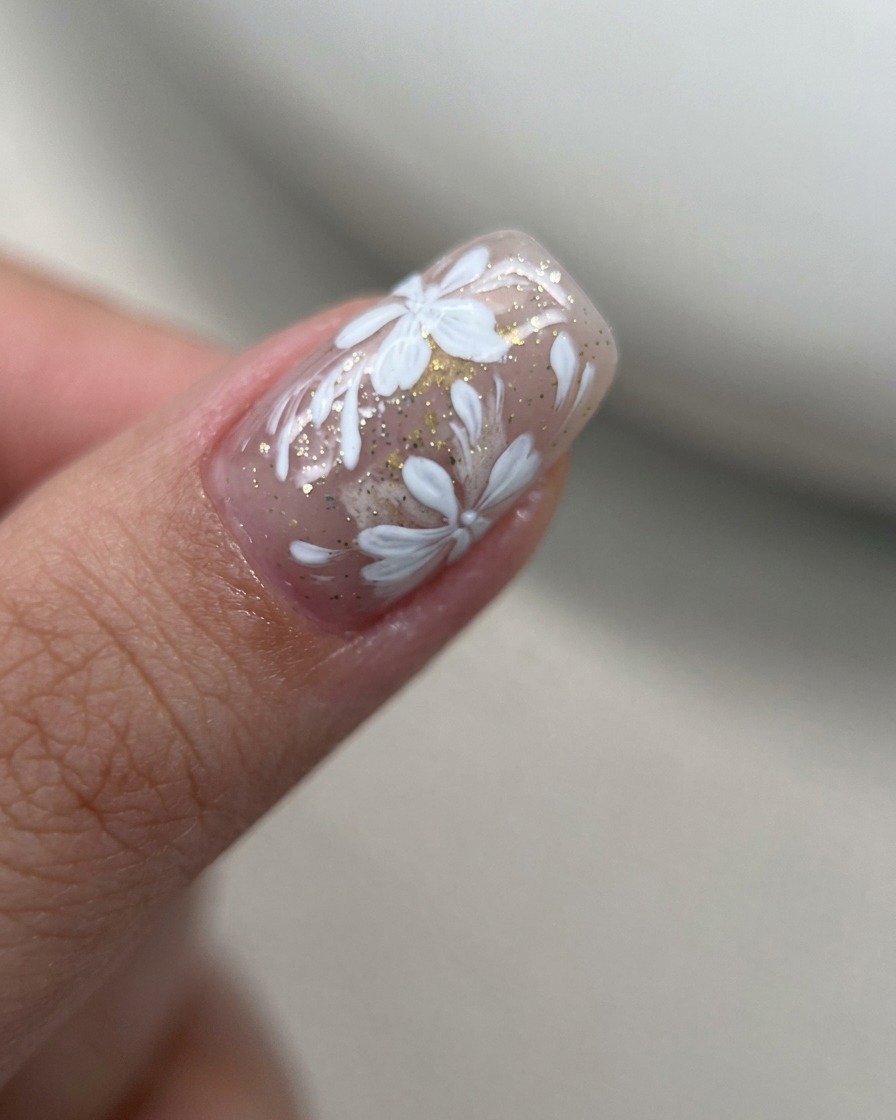
Continue using your liner brush to add more white petals, focusing on grouping them more tightly than the initial layer. This placement creates a denser, more layered look for the flowers, enhancing the overall dimension of the nail art.
Tip: Varying the pressure on your brush can help create natural-looking variations in the thickness of the petal edges. - 11Add freehand curved lines
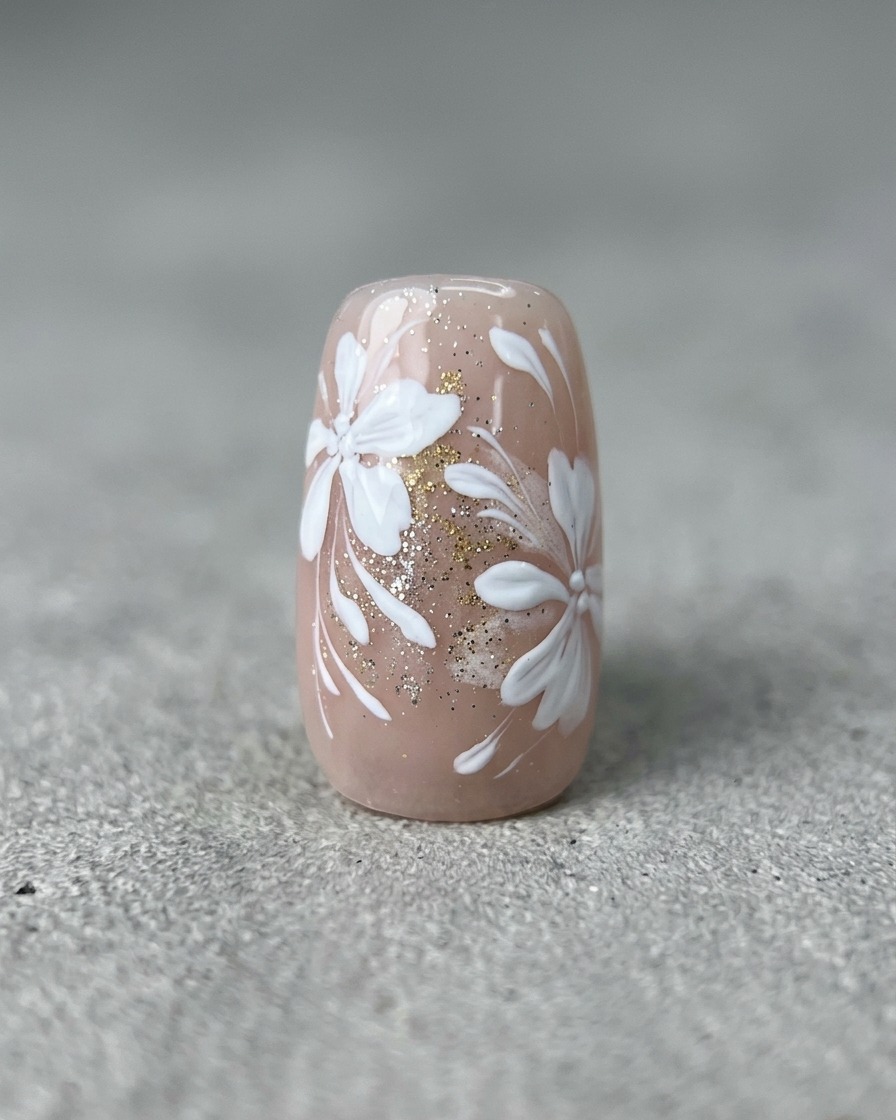
With a fine liner brush, carefully paint delicate, freehand curved lines across the nail surface. These lines should flow naturally, connecting or accentuating the floral elements and adding a fluid, organic feel to the overall design.
Tip: Use a thin consistency of gel for these lines to ensure they look effortless and graceful rather than heavy.