Spring Rose
Cat-Eye Ombre Stiletto Nails — Step-by-Step Tutorial
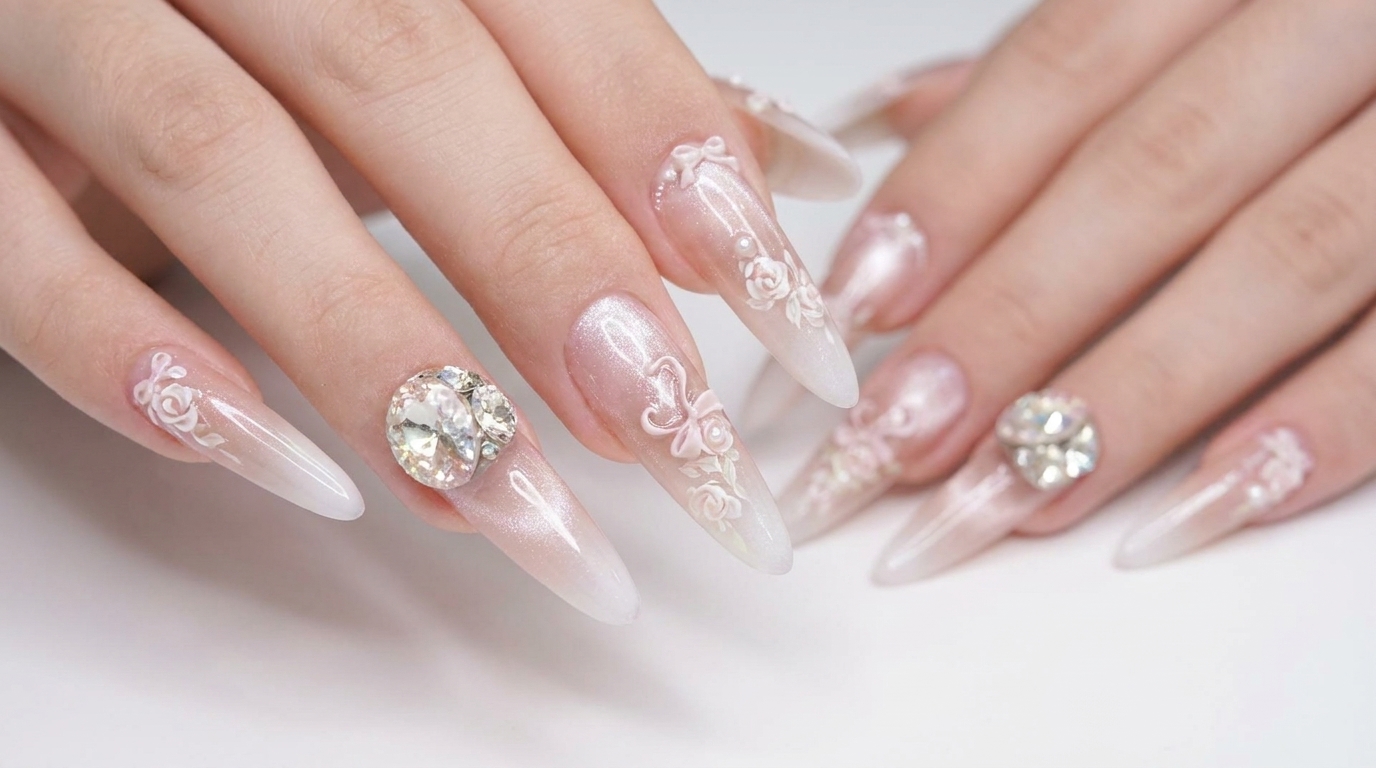
Create a dreamy spring manicure featuring a soft pink cat-eye ombre base, delicate hand-painted roses, and sparkling rhinestone bow accents.
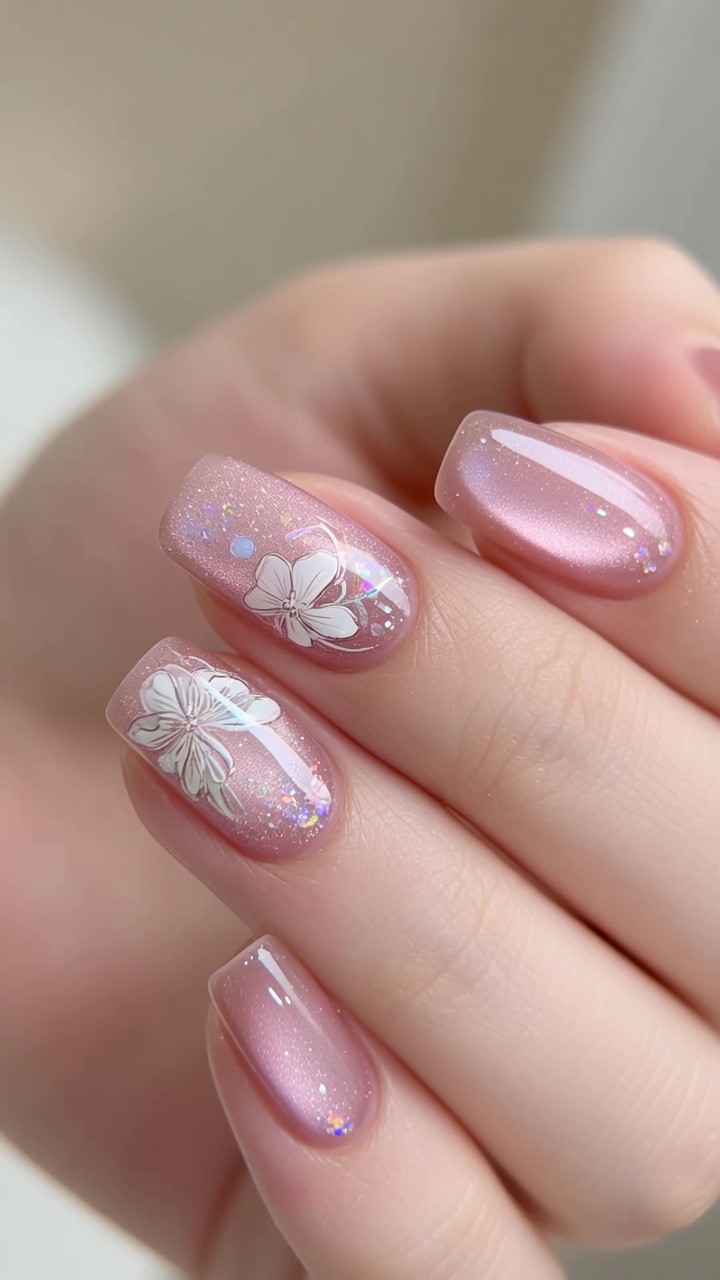
Embrace the freshness of spring with this elegant, multi-textured manicure. Combining the depth of magnetic cat-eye shimmer with a soft ivory gradient, this look is elevated by intricate hand-painted rose petals and charming 3D embellishments. Perfect for special occasions or whenever you want to bring a touch of floral romance to your style.
Steps
- 1Clip the nail tips
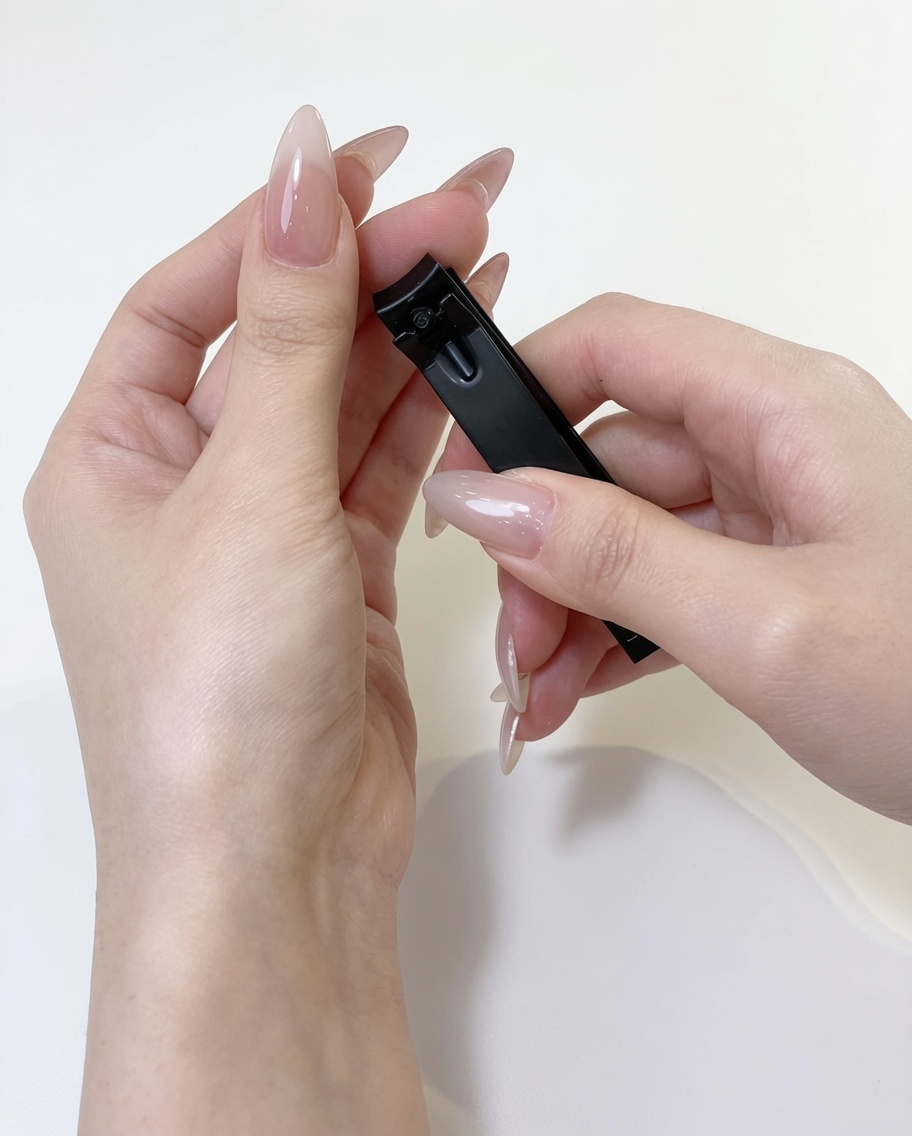
Use a nail clipper to trim the extension tips to your desired length. Start by trimming slightly longer than your target length to allow for final filing and shaping.
Tip: Clipping in small increments helps prevent the plastic from cracking or snapping. - 2Refine with an e-file
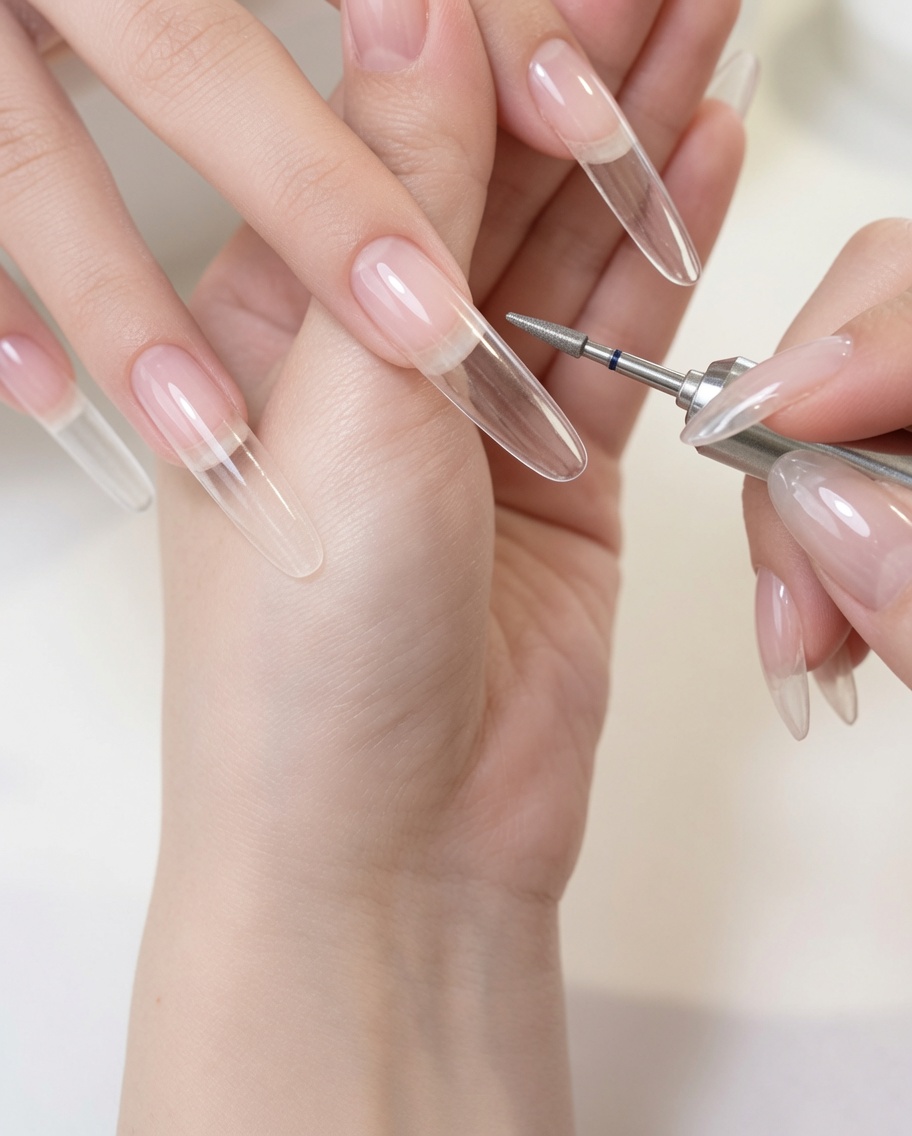
Use an e-file with a gentle drill bit to carefully clean up the cuticle area and smooth the surface of the nail extension. Maintain a light touch and keep the bit moving to avoid damaging the natural nail plate.
Tip: Keep the e-file at a low speed, especially near the delicate skin of the cuticle. - 3Trim excess cuticle skin
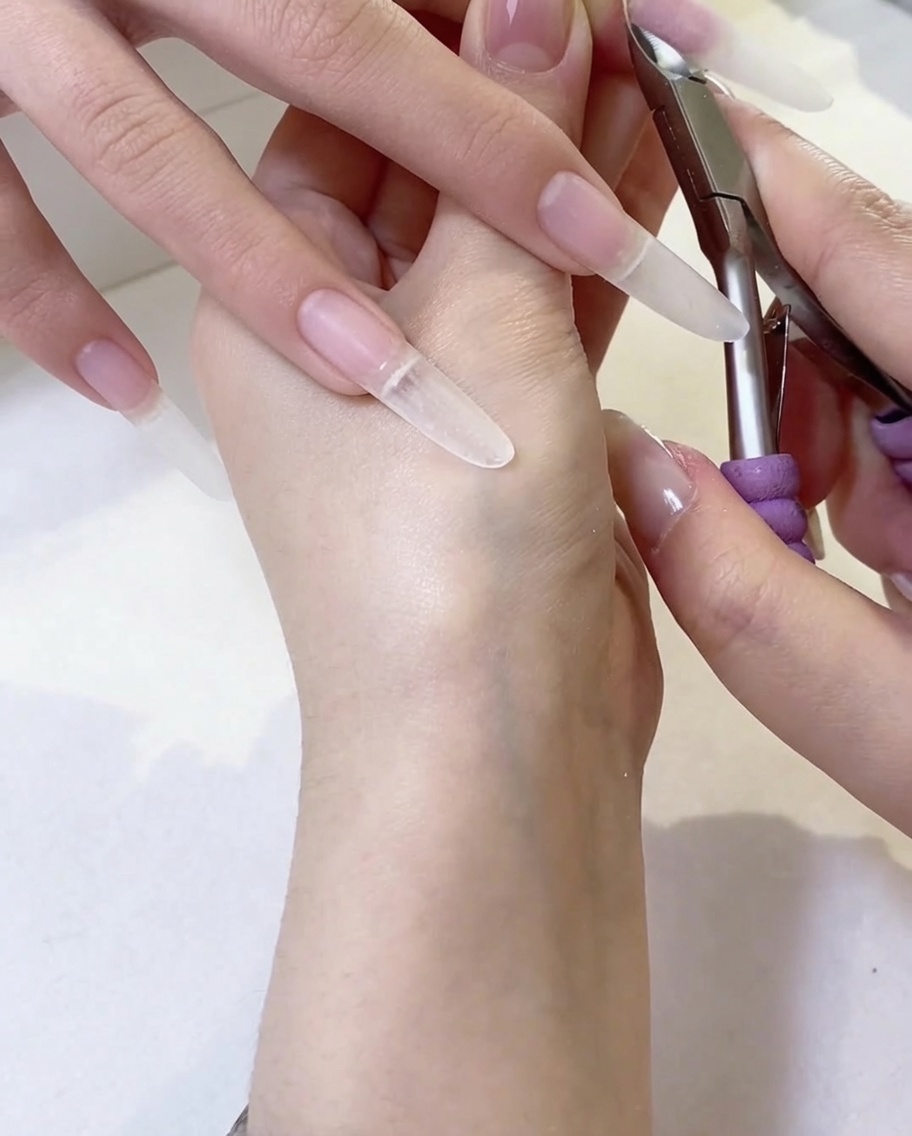
Use cuticle nippers to carefully trim away any loose or dead skin around the nail plate. Ensure you only remove non-living tissue to keep the area clean and prevent irritation.
Tip: Only trim what is clearly dead, dry skin; avoid cutting into living tissue to prevent infection. - 4Apply nude gel base
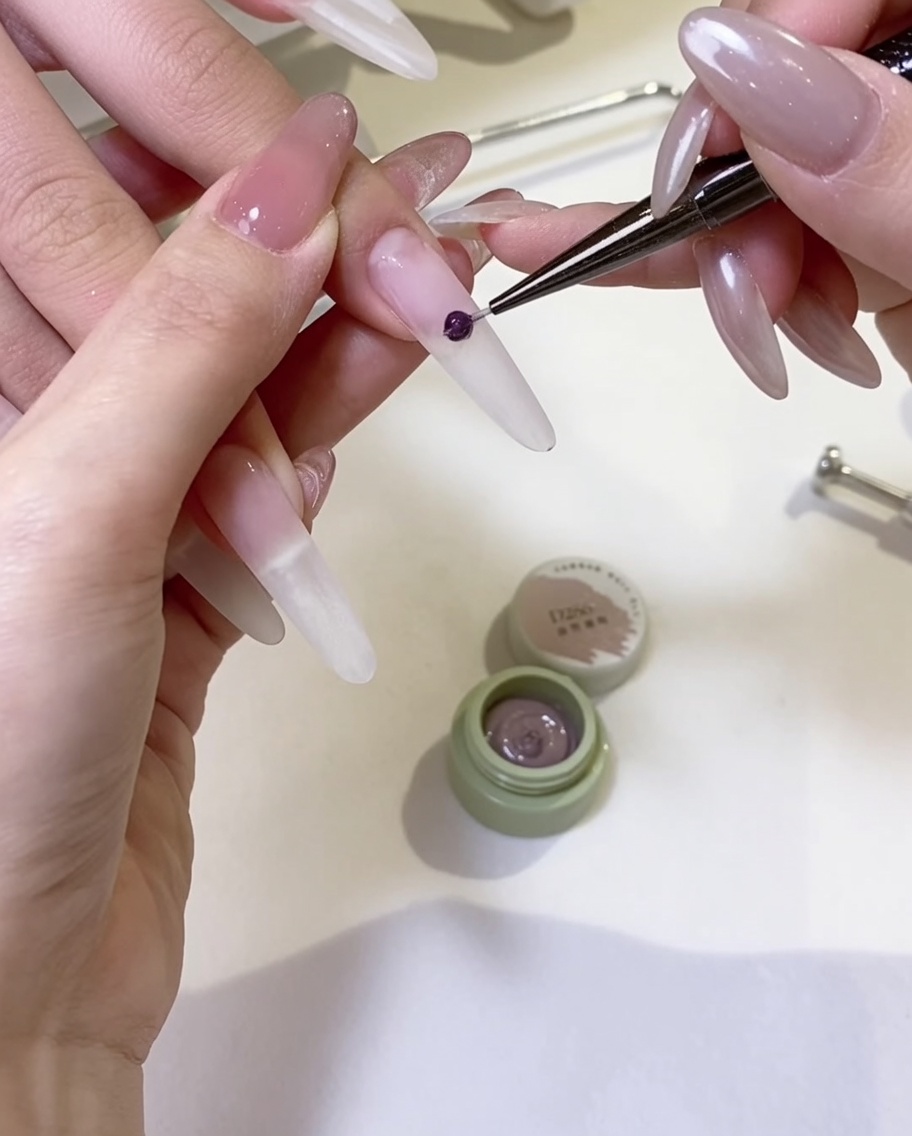
Apply an even layer of the nude gel base color across the entire nail plate, ensuring smooth coverage from cuticle to free edge. Cure under a UV/LED lamp as directed by the product instructions.
Tip: Cap the free edge with the brush to help the color last longer and prevent chipping. - 5Apply cat-eye magnetic gel
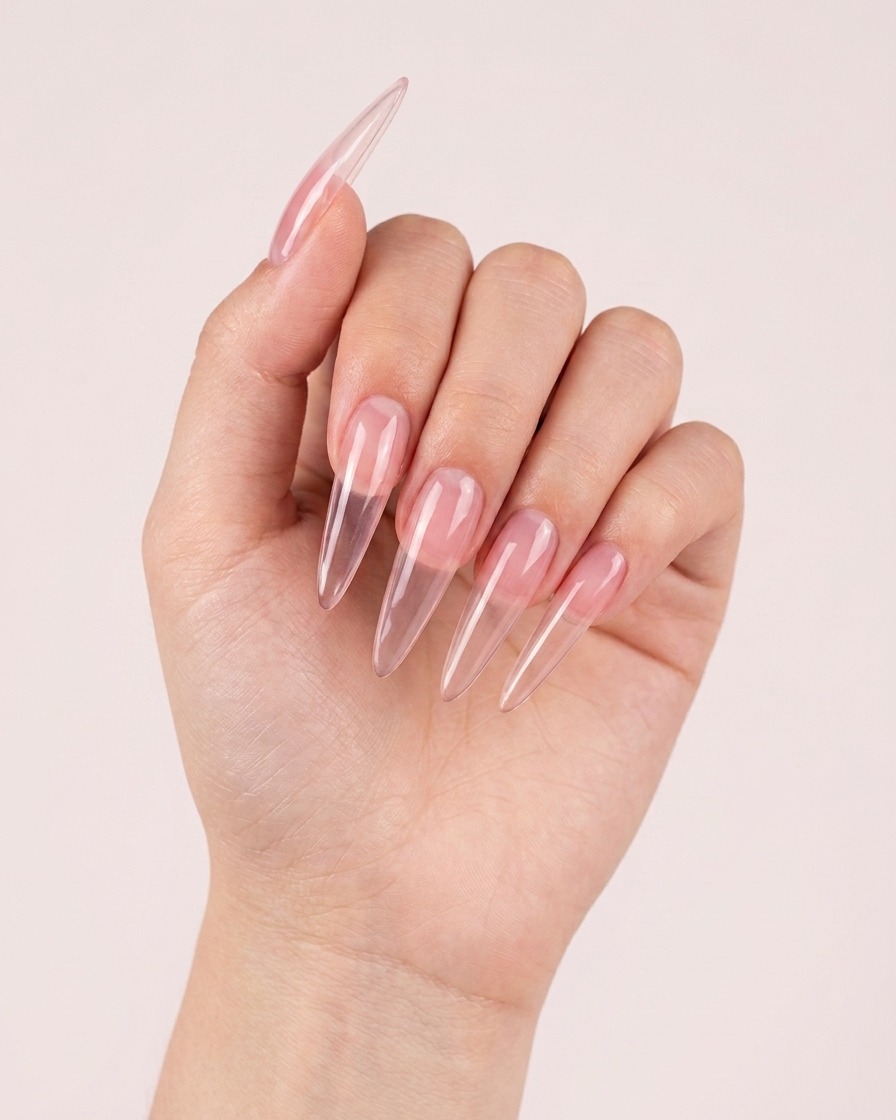
Apply the pink cat-eye magnetic gel over the base color. While the gel is still wet, hold a magnetic tool near the surface to manipulate the magnetic particles, creating a deep, shimmering effect.
Tip: Experiment with different magnet angles to achieve various patterns, such as a diagonal line or a centered cat-eye effect. - 6Create the cat-eye effect
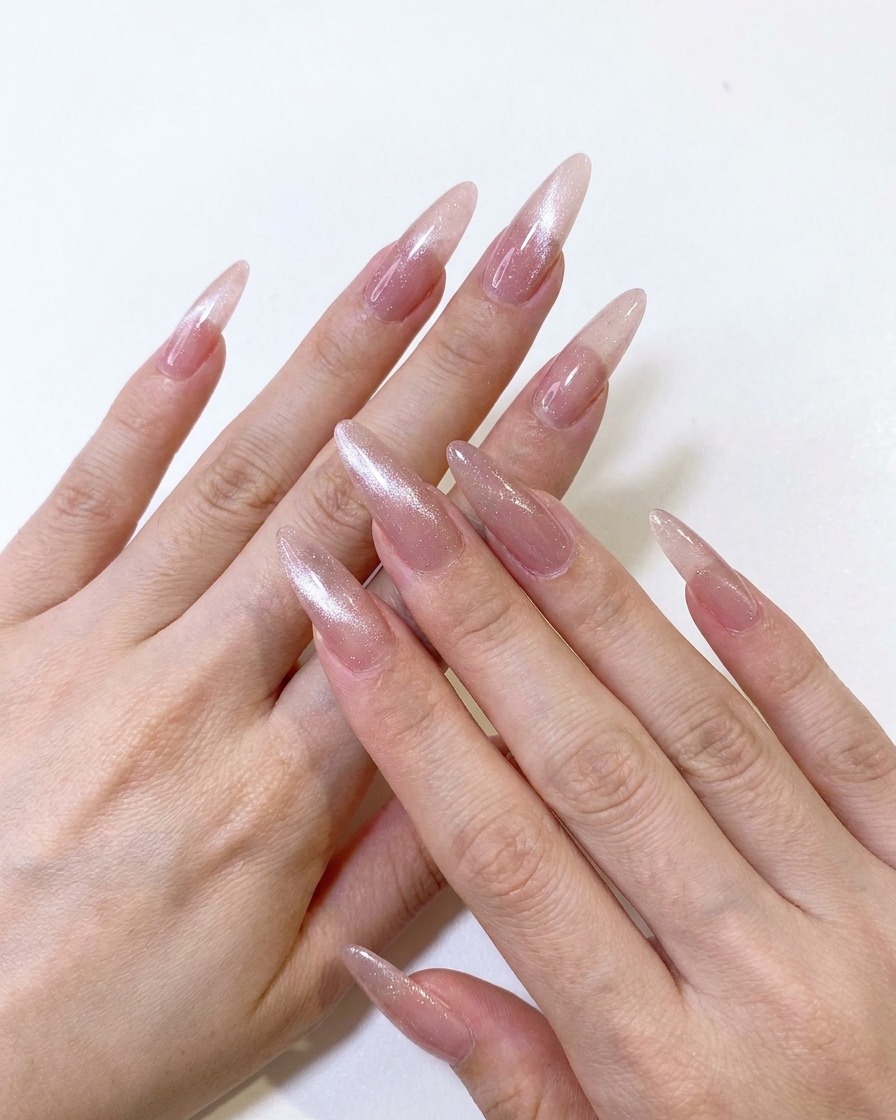
Hold the magnet over the center of the nail to pull the shimmer particles into a concentrated line, achieving a glass-like depth. Once the desired effect is achieved, cure immediately to lock the particles in place.
Tip: Keep the magnet steady for a few seconds to ensure the shimmer stays in the desired position before curing. - 7Apply ivory white gel for gradient
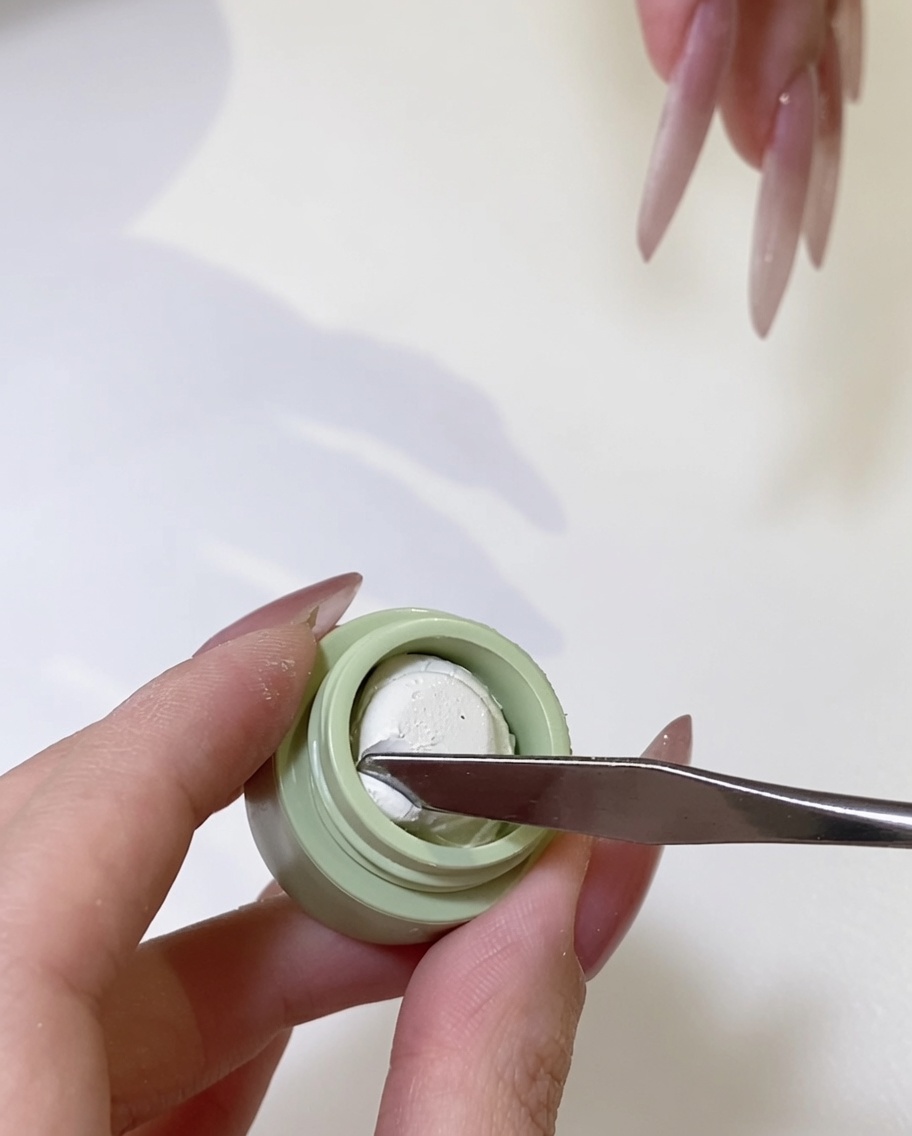
Take a small amount of ivory white gel using a spatula or brush. Carefully dab the product onto the tip of the nail to begin creating your soft gradient effect. Use a light touch to ensure the gel is distributed evenly before blending.
Tip: Work with a small amount of product initially; you can always add more to build intensity, but removing excess is more difficult. - 8Blend for a smooth gradient
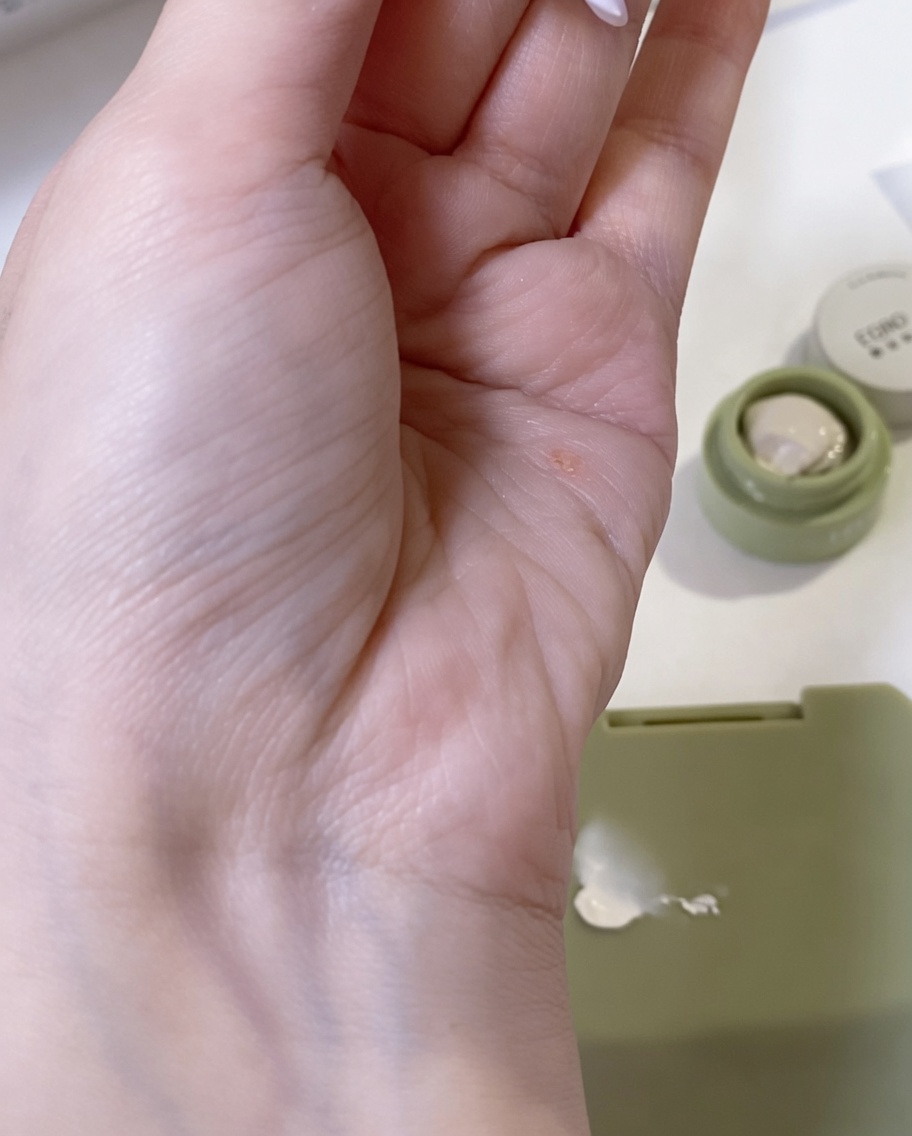
Use a makeup sponge to gently tap and blend the ivory white gel toward the center of the nail. The dabbing motion helps diffuse the color transition, creating a seamless ombre effect between the nude base and the white tip. Continue blending until the transition appears soft and natural.
Tip: Light, rapid dabbing motions work best to create a smooth, airbrushed finish without dragging the gel too far. - 9Apply top coat
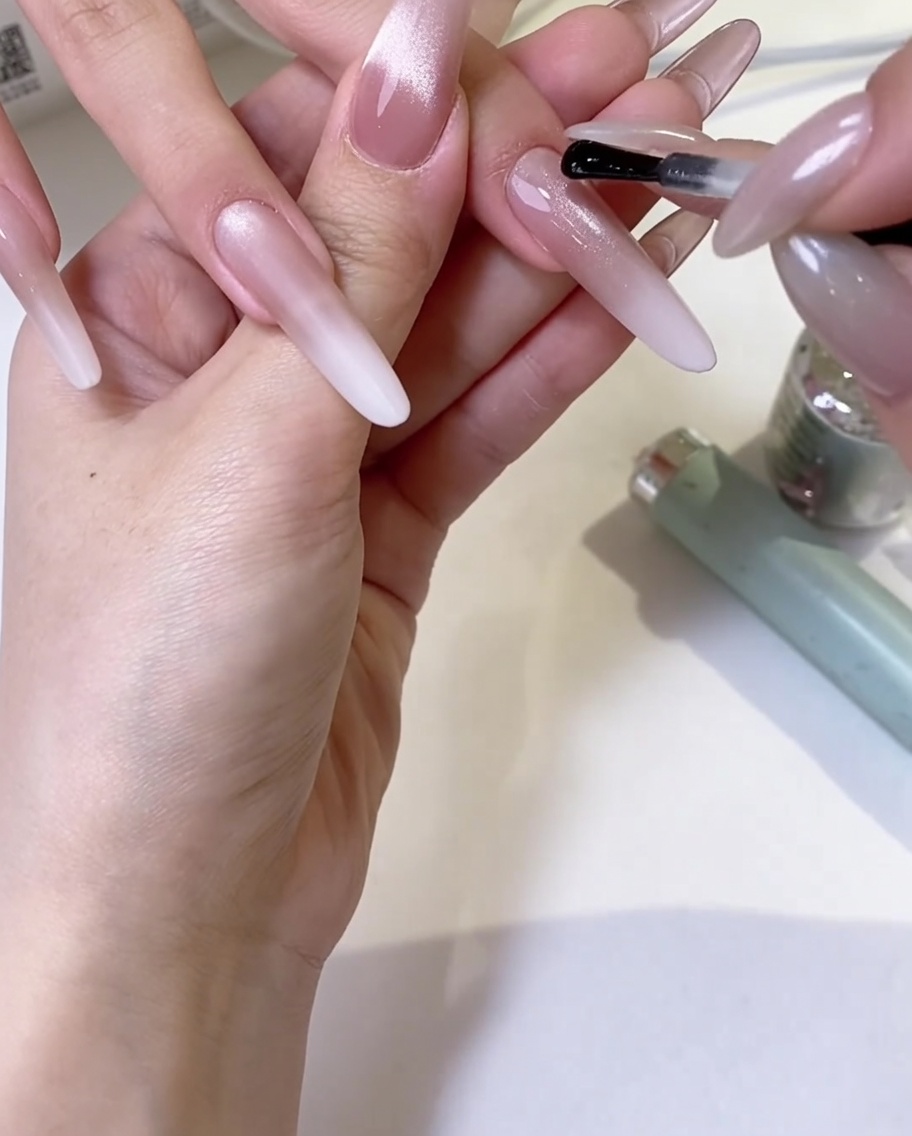
Apply a thin, even layer of clear gel top coat over the entire nail design. Ensure you cap the free edge of the nail to seal the gradient and provide a smooth, durable finish. This layer will also protect the nail art.
Tip: Ensure the surface is smooth before applying the top coat, as any texture or bubbles will be magnified by the clear layer. - 10Paint delicate rose petals
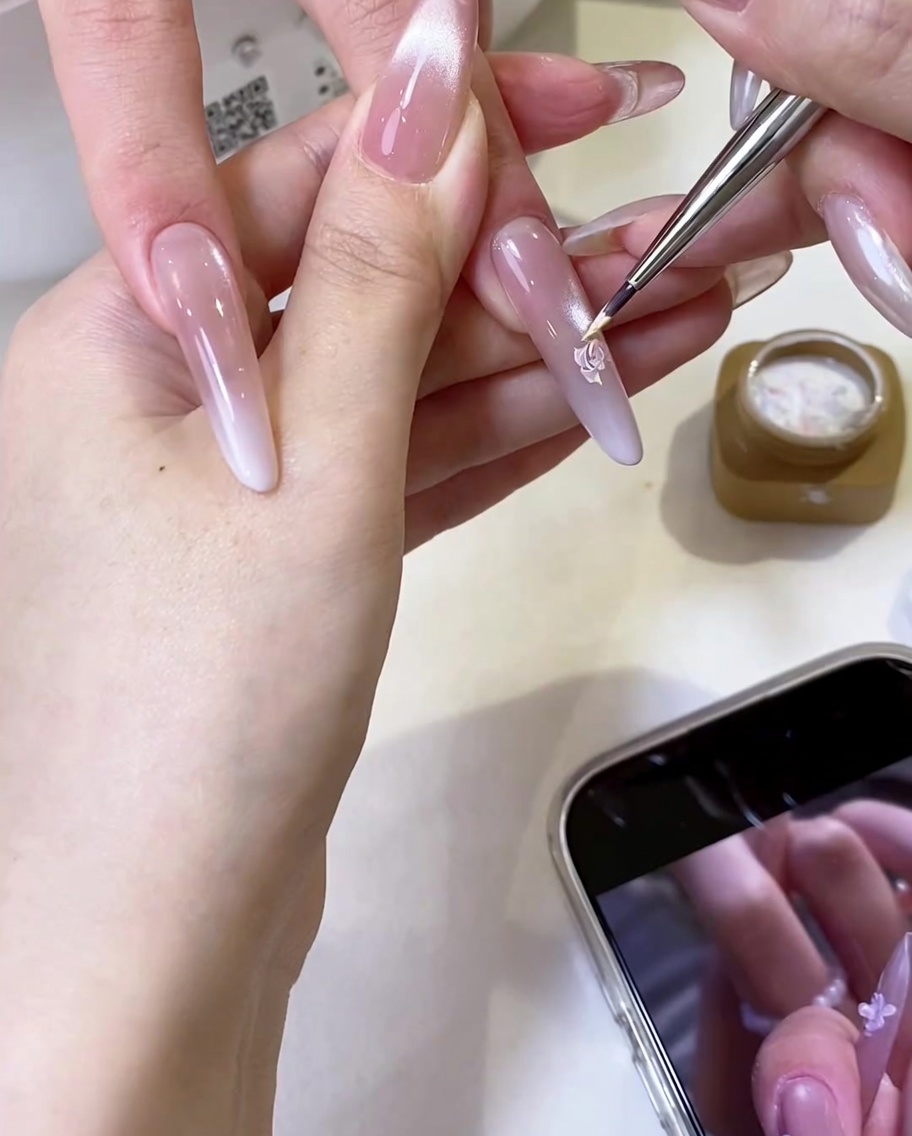
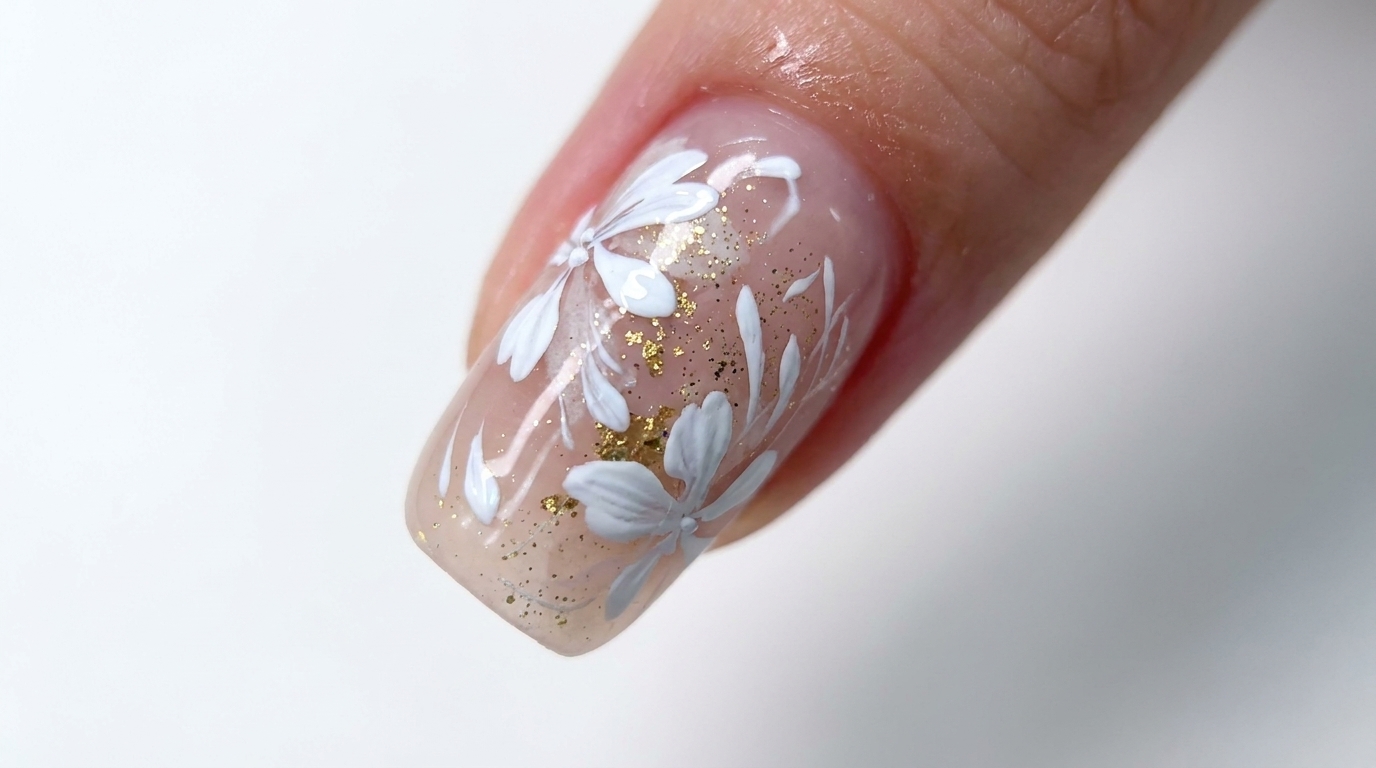
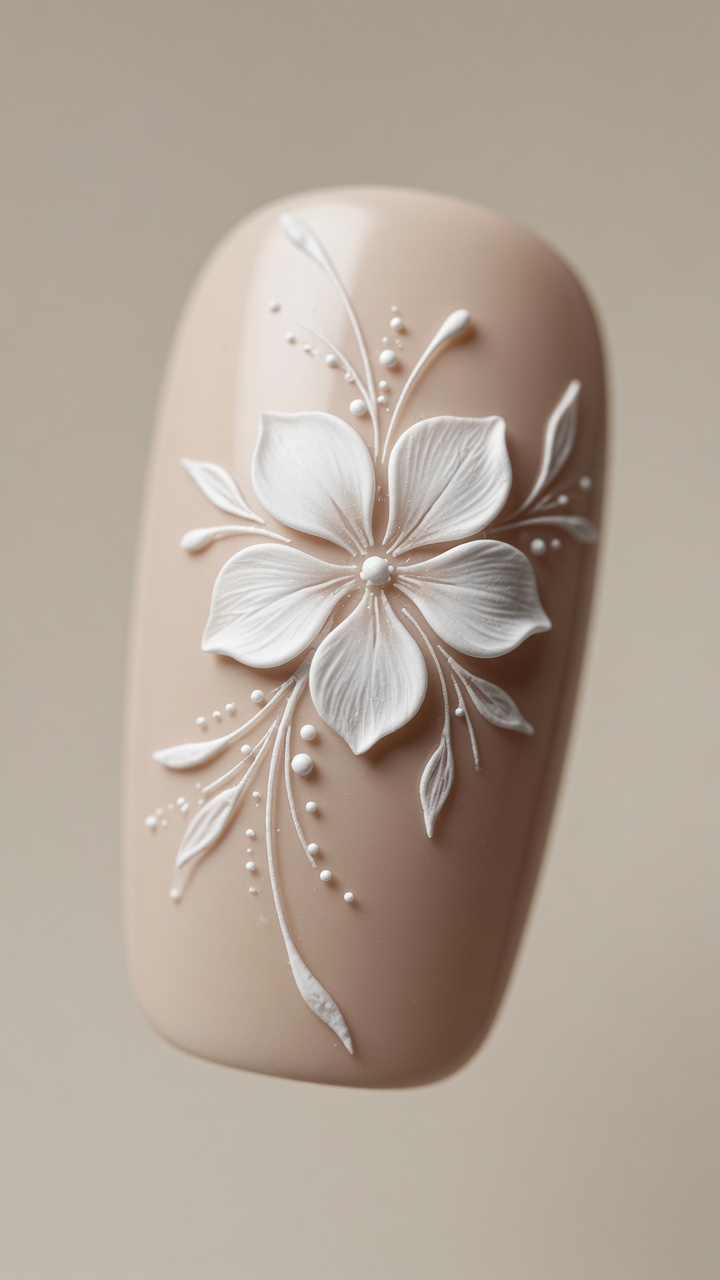
Using a fine liner brush and oil painting gel, begin by carefully painting the structural lines of your first rose petal. Focus on creating delicate, curved strokes to form the center of the flower. Take your time to build the shape gradually.
Tip: Keep a steady hand and use very little product on the tip of the liner brush for the most precise, intricate lines. - 11Complete the flower design
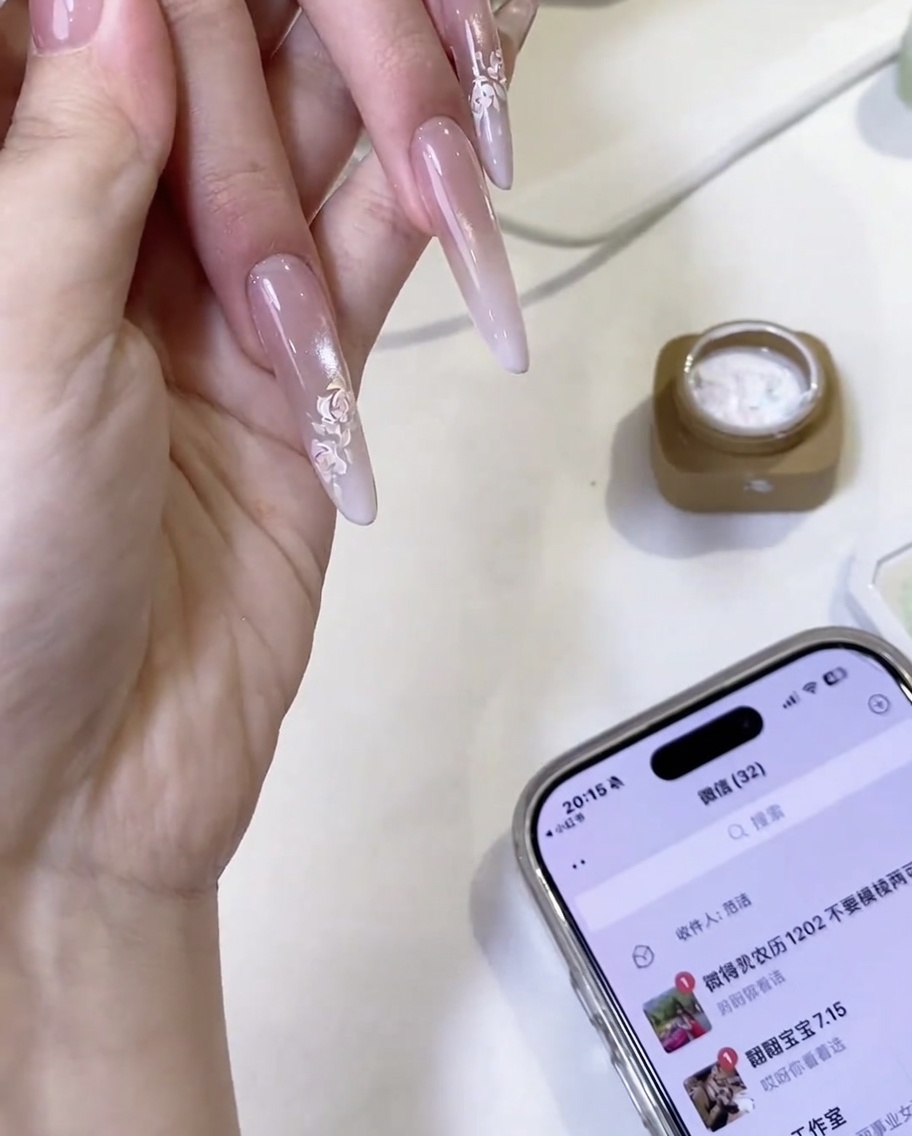
Continue layering additional petals around the center to build the dimension of the rose. Overlap your strokes slightly to add depth and make the flower look more realistic. Ensure the petals follow the natural curves of the rose design.
Tip: If the gel is too thick, clean your brush with a tiny amount of cleanser to keep your lines crisp and clean. - 12Cure the design
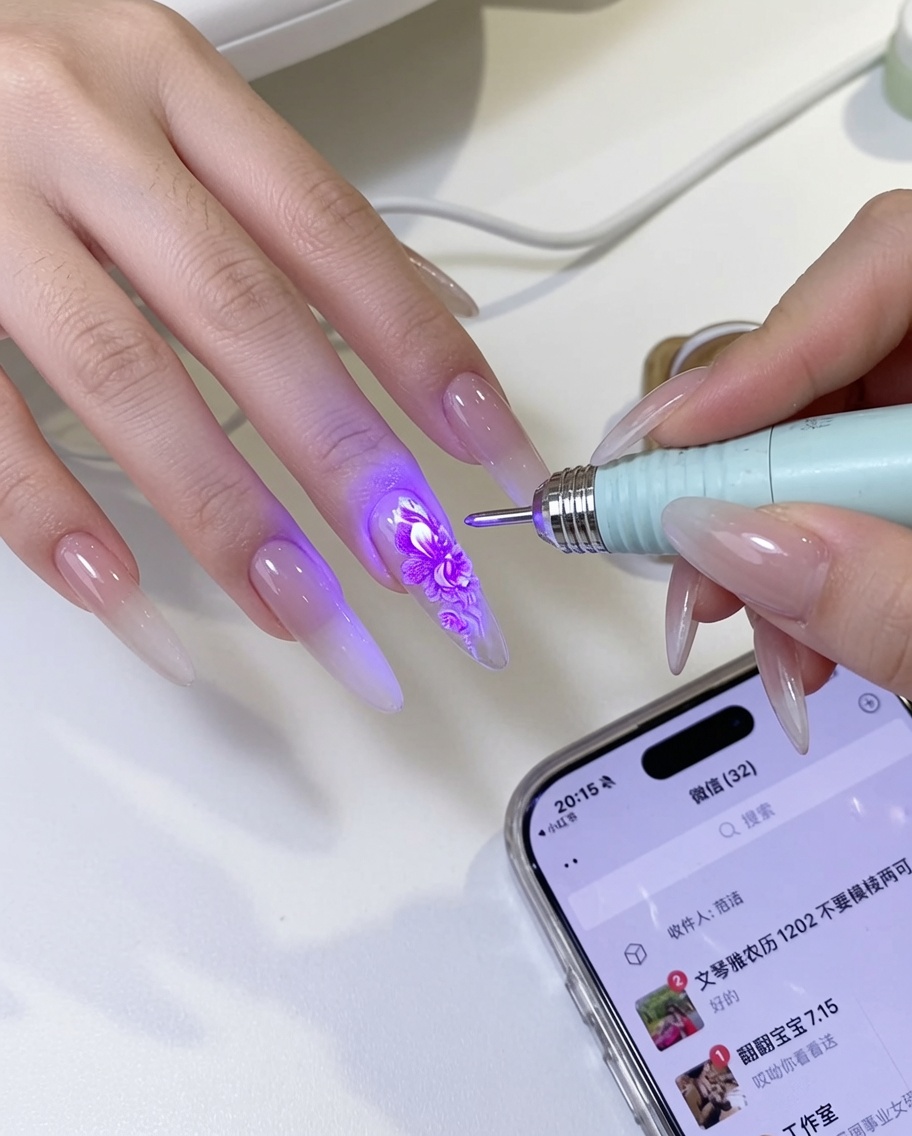
Place the nail under a UV or LED lamp to cure the hand-painted rose detail. Follow the recommended curing time for your specific oil painting gel to ensure the art is fully set and durable.
Tip: Ensure the hand is positioned correctly under the lamp to get even light exposure across the entire design. - 13Apply adhesive for bow charm
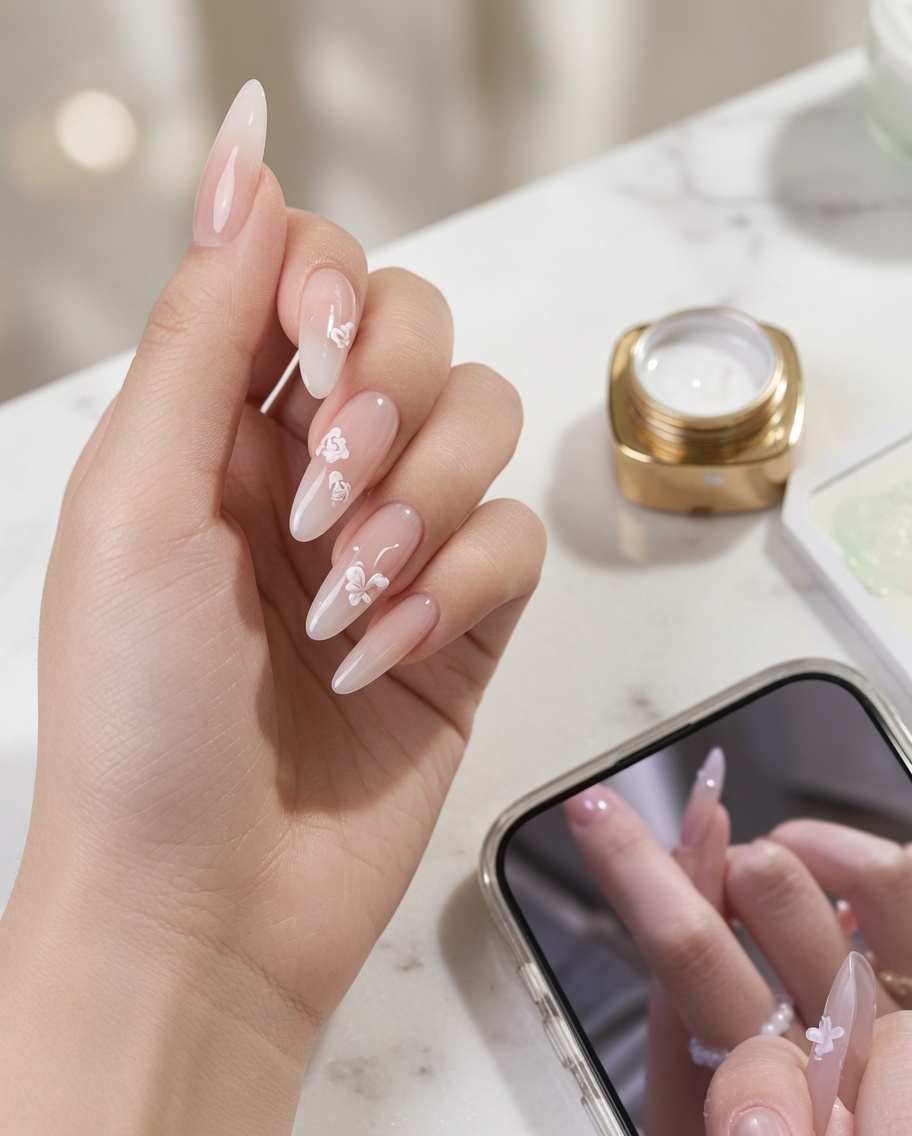
Apply a small, precise amount of thick adhesive gel to the nail where the charm will be placed. Ensure the adhesive is concentrated in the area where the bow will sit to provide a strong bond, but take care not to spread it too thin or it may not hold the charm securely.
Tip: Use a small dotting tool to pick up the adhesive, allowing for better control over the placement and amount used. - 14Place the bow charm
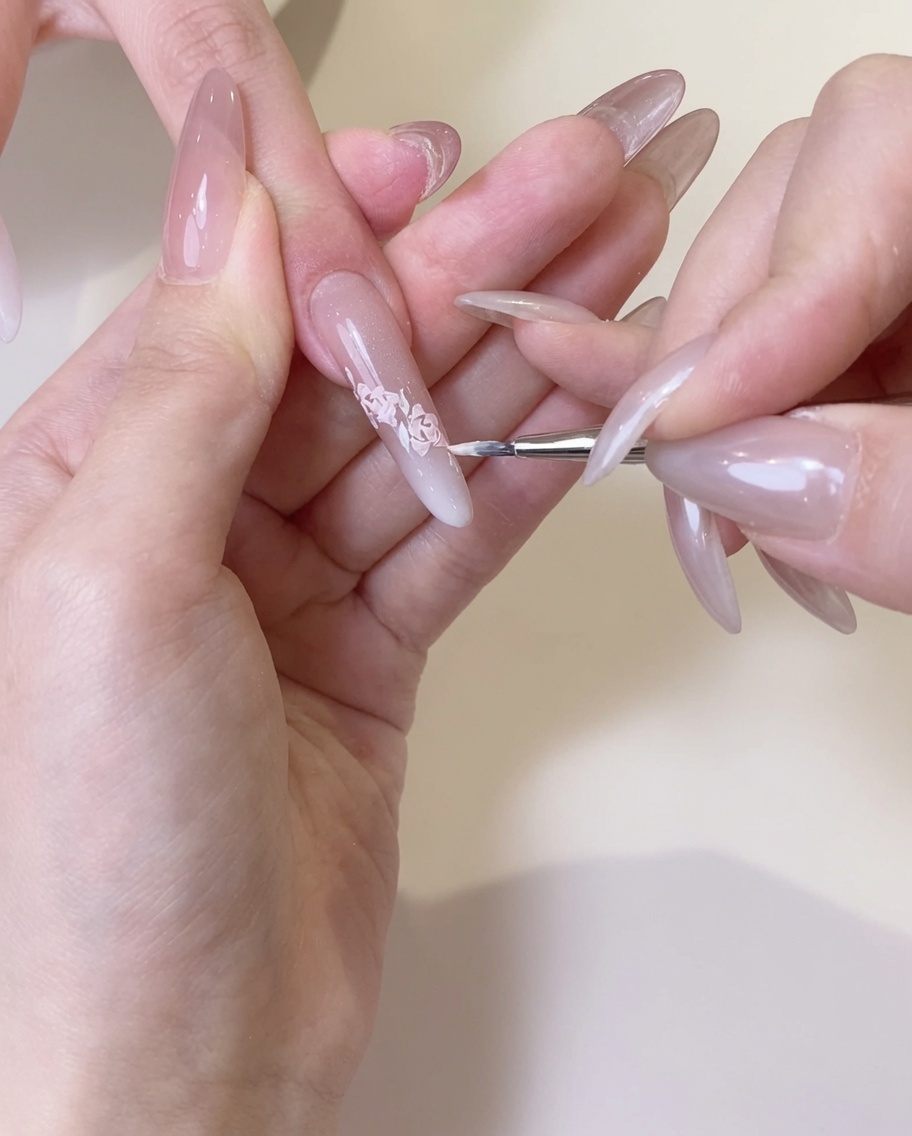
Using tweezers, carefully pick up the bow charm and set it onto the previously applied adhesive gel. Press down gently to ensure the charm sits flat against the nail surface and is securely embedded in the adhesive.
Tip: If the charm does not sit perfectly the first time, use your tweezers to nudge it into the correct position before curing the adhesive. - 15Apply adhesive for rhinestone cluster
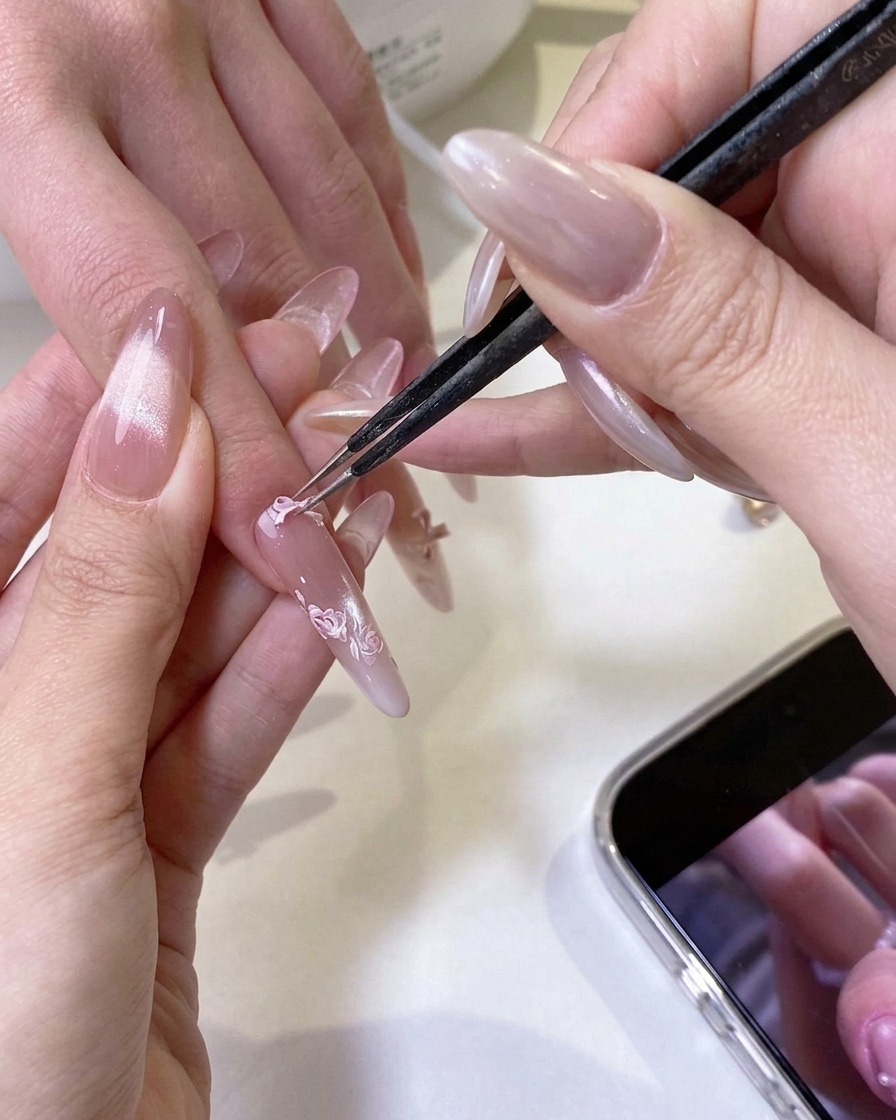
Apply a generous bead of thick rhinestone adhesive to the nail surface where the cluster will be positioned. This thick gel provides a sturdy foundation for heavier embellishments, ensuring they remain attached through daily wear.
Tip: For large clusters, use enough adhesive to slightly rise around the base of the gems to create a frame that helps lock them in place. - 16Place the rhinestone cluster
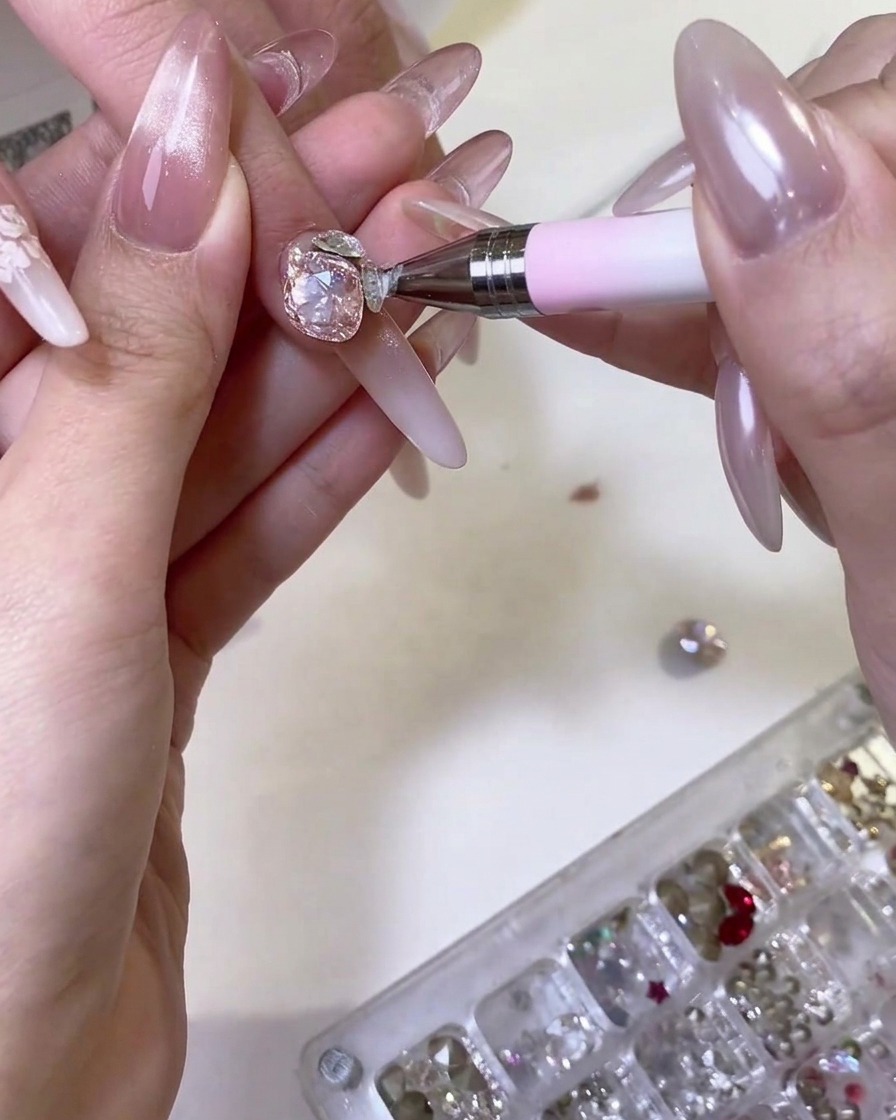
Using a wax-tipped applicator or tweezers, pick up the rhinestone cluster and press it firmly into the thick adhesive. Adjust the angle so the cluster catches the light and sits comfortably without protruding excessively from the nail edge.
Tip: Check the placement from multiple angles before curing to ensure the cluster is perfectly centered and symmetrical.