Colorful Jelly Heart Gel Nails — Step-by-Step 3D Nail Art Tutorial
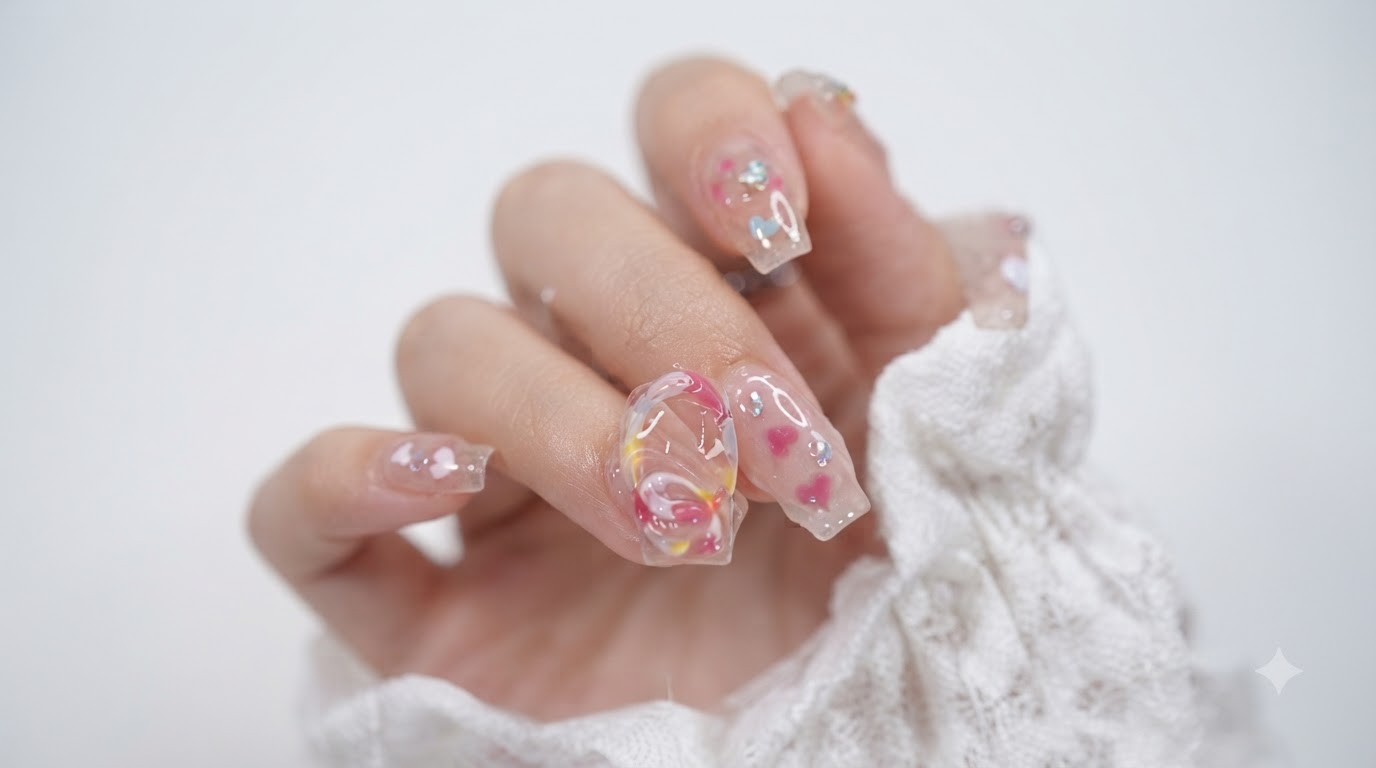
Create trendy 3D jelly heart and colorful ring nails using semi-solid modeling gel and pastel gels for a gorgeous, glossy dimensional finish.
Transparent extensions combined with playful pastel rings and sculptural 3D elements make jelly nail art one of the most eye-catching trends of the season. This tutorial guides you through layering delicate pastel outlines with high-gloss magical modeling gel to achieve that signature bouncy, glass-like dimension right at home.
Steps
- 1Load the fine liner brush
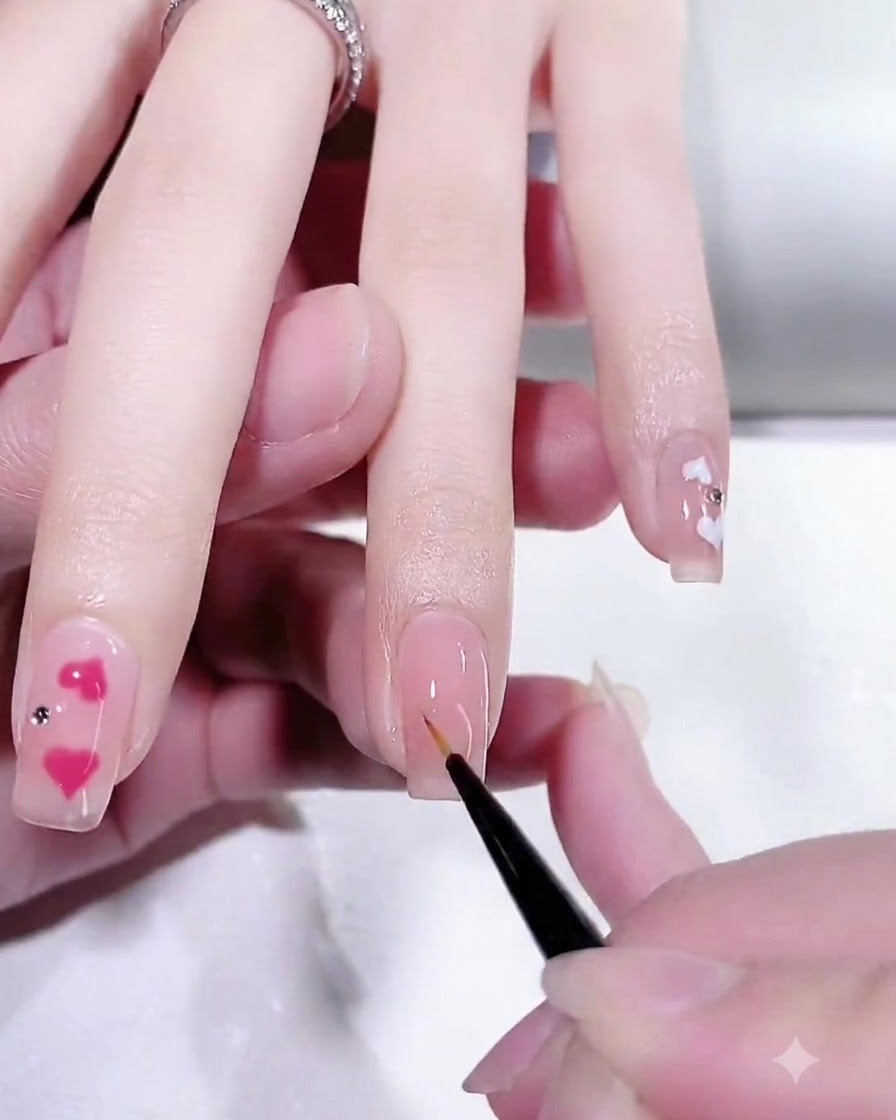
Using a fine liner detail brush, pick up a small amount of white gel paint from your palettecite: 1. Ensure the bristles are evenly coated and tapered to a sharp point for precise line workcite: 1.
Tip: Keep the brush loaded with just enough gel to prevent clumping while maintaining a smooth flow. - 2Paint colorful outlines
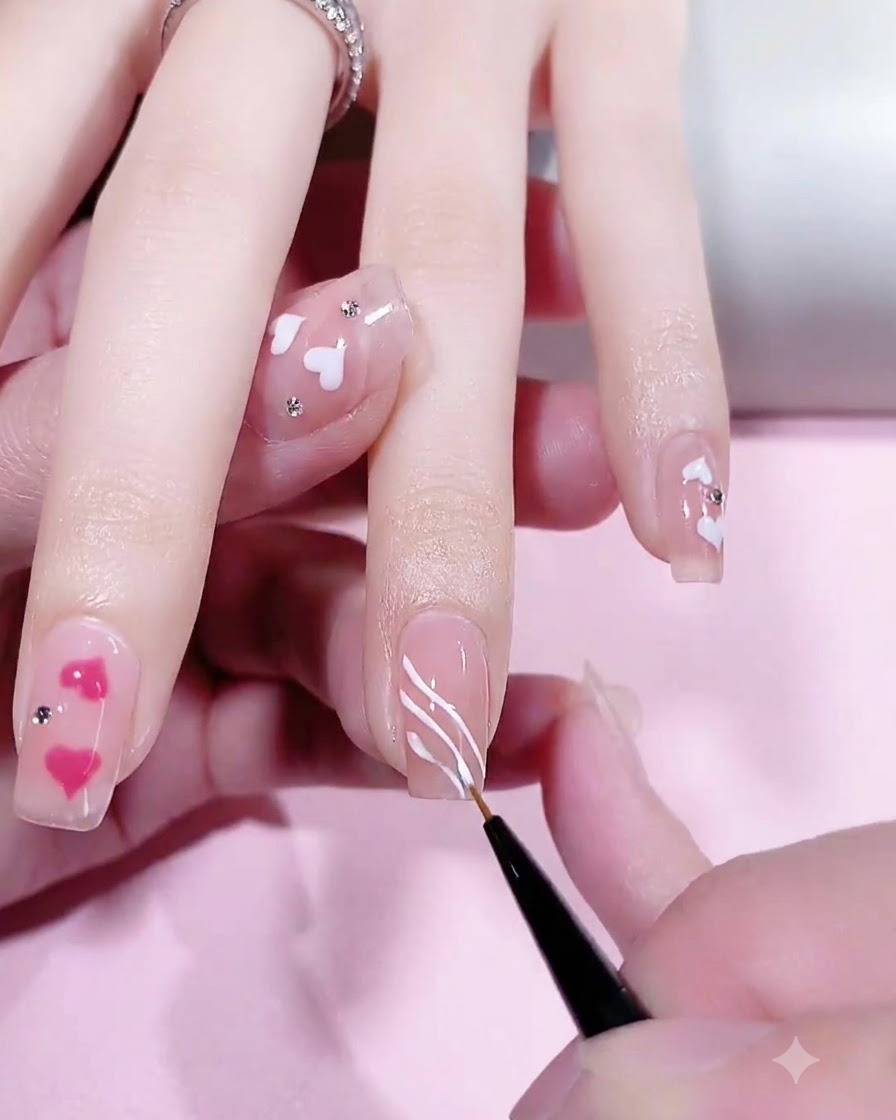
Using the fine liner brush, paint delicate, colorful curved lines and circle outlines on the nail plate using white, lemon yellow, peach pink, and baby blue gelscite: 1. Keep the strokes light and fluid to build the foundation for the patterncite: 1.
Tip: Wipe your brush clean between colors to keep the pastel shades vibrant and prevent mudding. - 3Refine circular elements
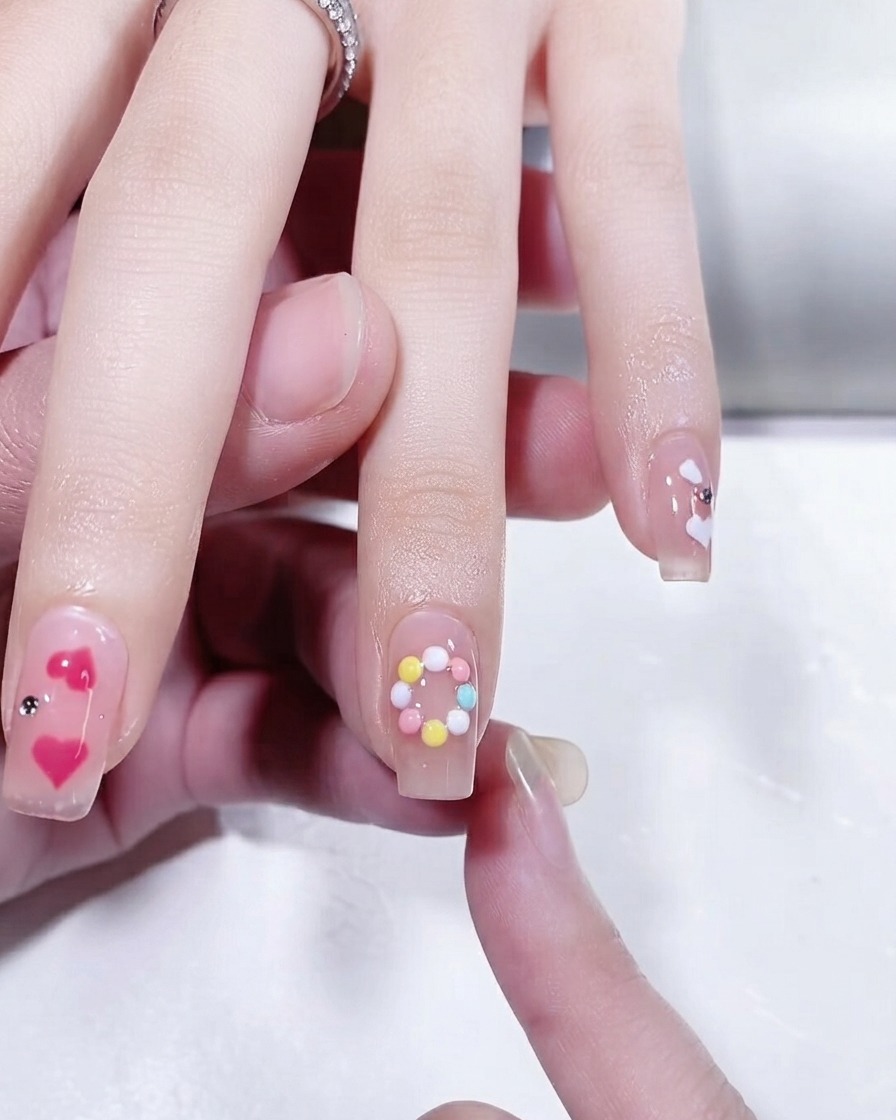
Continue detailing and shaping the colorful circular elements on the nail platecite: 1. Fill in and adjust the curved strokes to form a complete, cohesive ring pattern with the various pastel shadescite: 1.
Tip: Take your time balancing the spacing of the colors so the ring looks symmetrical and neat. - 4Refine the multicolored ring design
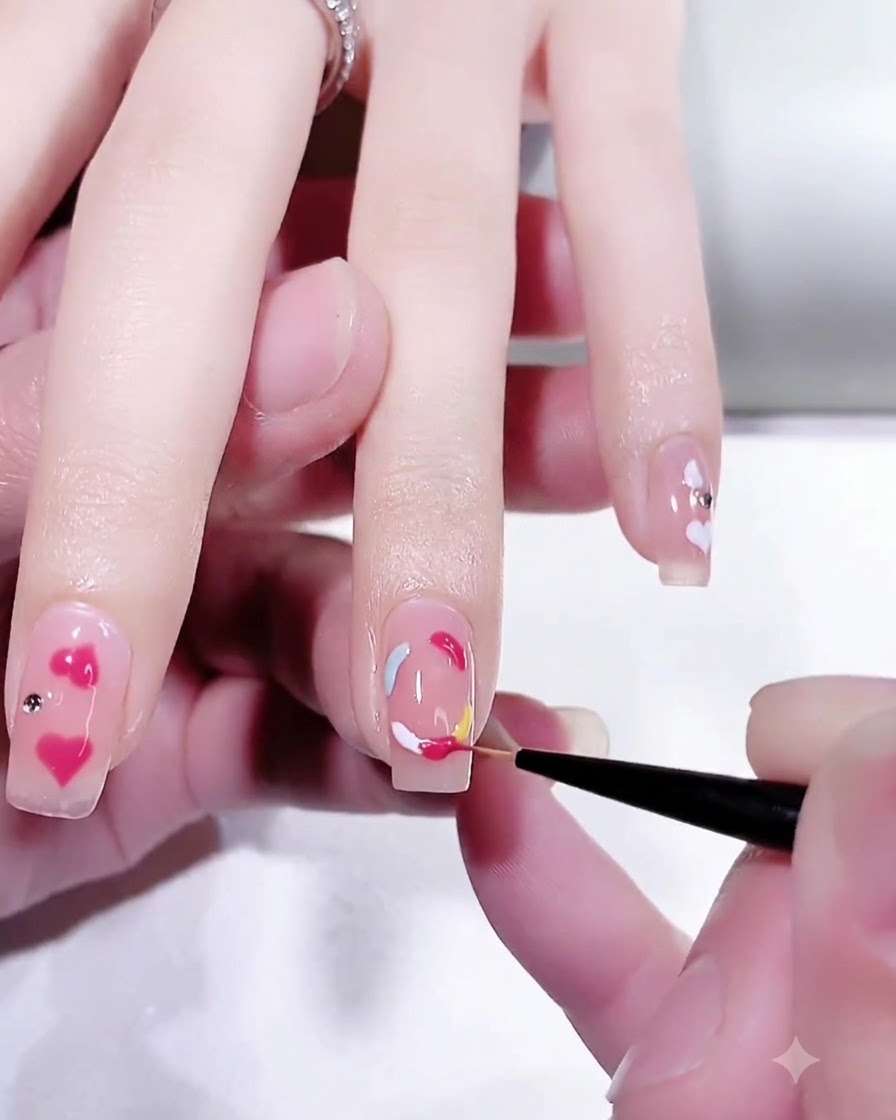
Carefully refine the edges and connections of the multicolored abstract ring using the fine nail art brush. Make sure all the colored segments flow together smoothly and the overall circular shape is neat and well-defined before preparing to cure the design.
Tip: If any lines get too thick or out of shape, use a clean brush lightly dampened with rubbing alcohol to gently nudge the wet gel back into place. - 5Cure gel paint
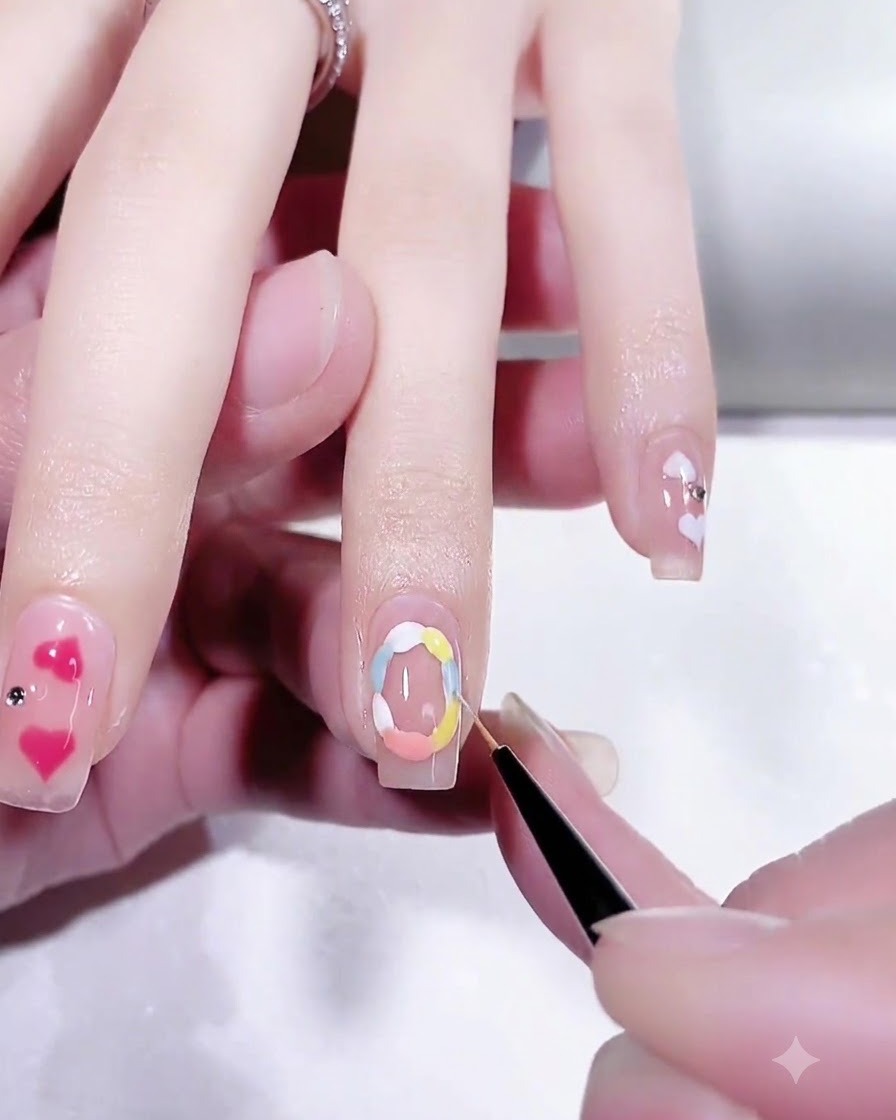
Place the hand under a UV or LED lamp to cure the colorful gel paint securelycite: 1. Cure for the standard duration recommended by your gel polish manufacturer to lock the design in placecite: 1.
Tip: Make sure the hand is centered under the lamp light so all cured elements harden evenly. - 6Scoop modeling gel
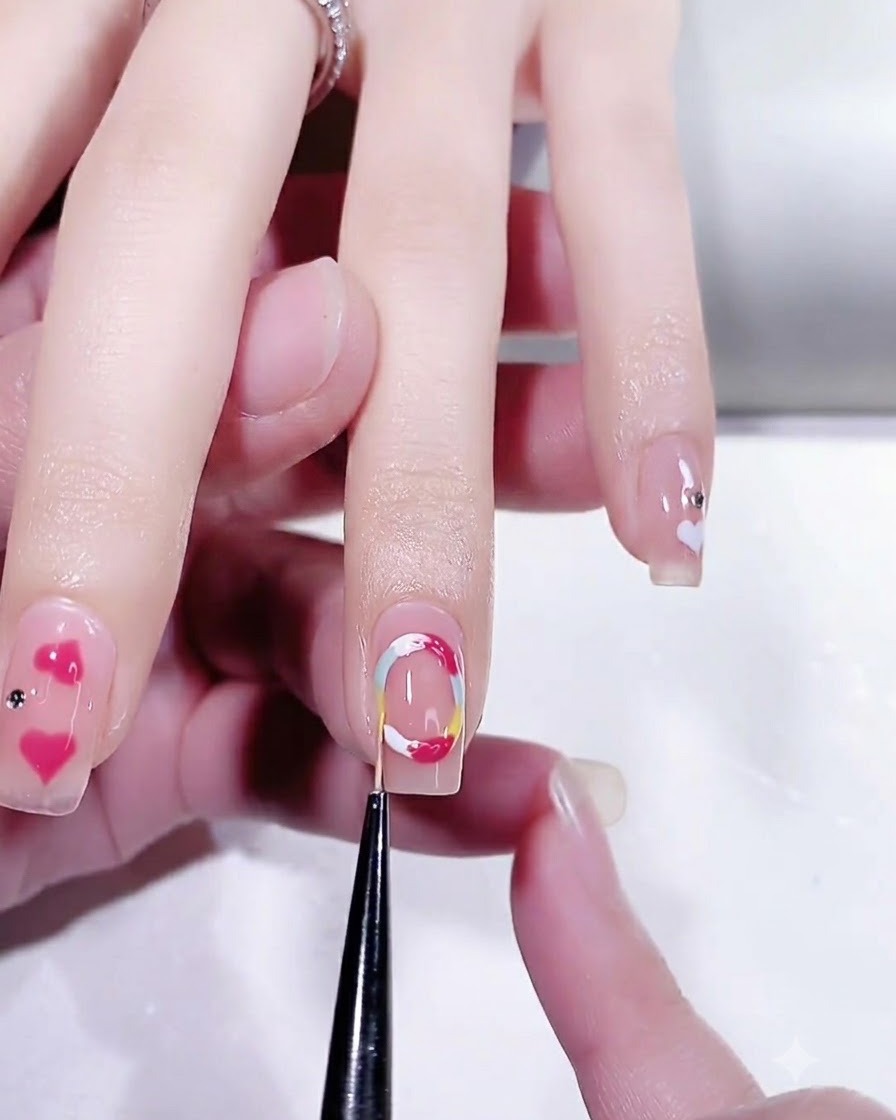
Pick up a small quantity of semi-solid magic mirror modeling gel with a detail brush directly from the jarcite: 1. This thick consistency product is ideal for building sculptural 3D elementscite: 1.
Tip: Scoop a controlled bead so it doesnt drag excess product or create strings. - 7Apply 3D jelly effect
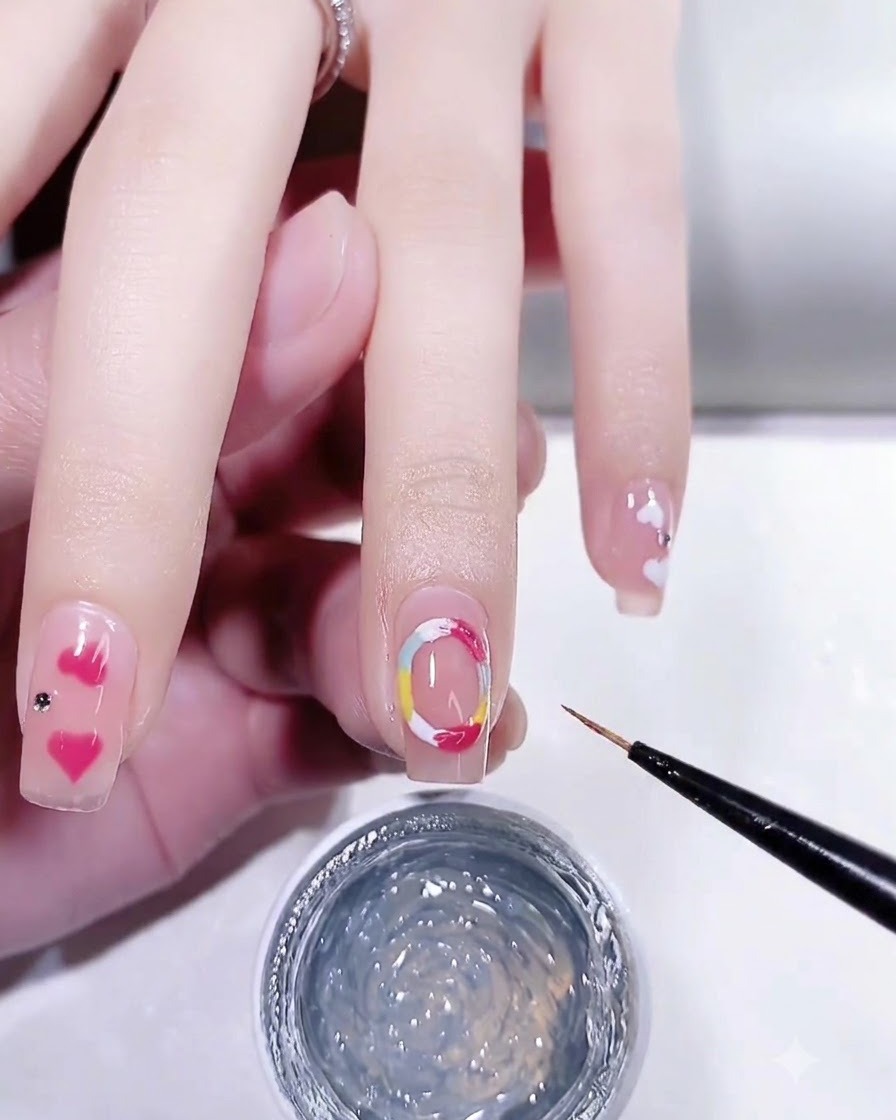
Apply the semi-solid modeling gel carefully over the painted circles to create a raised, 3D jelly effectcite: 1. Layer it precisely to give the colorful ring a glossy, dimensional bubble appearancecite: 1.
Tip: Dab the gel gently rather than dragging it to keep the domed, rounded 3D shape intact. - 8Cure the 3D jelly design
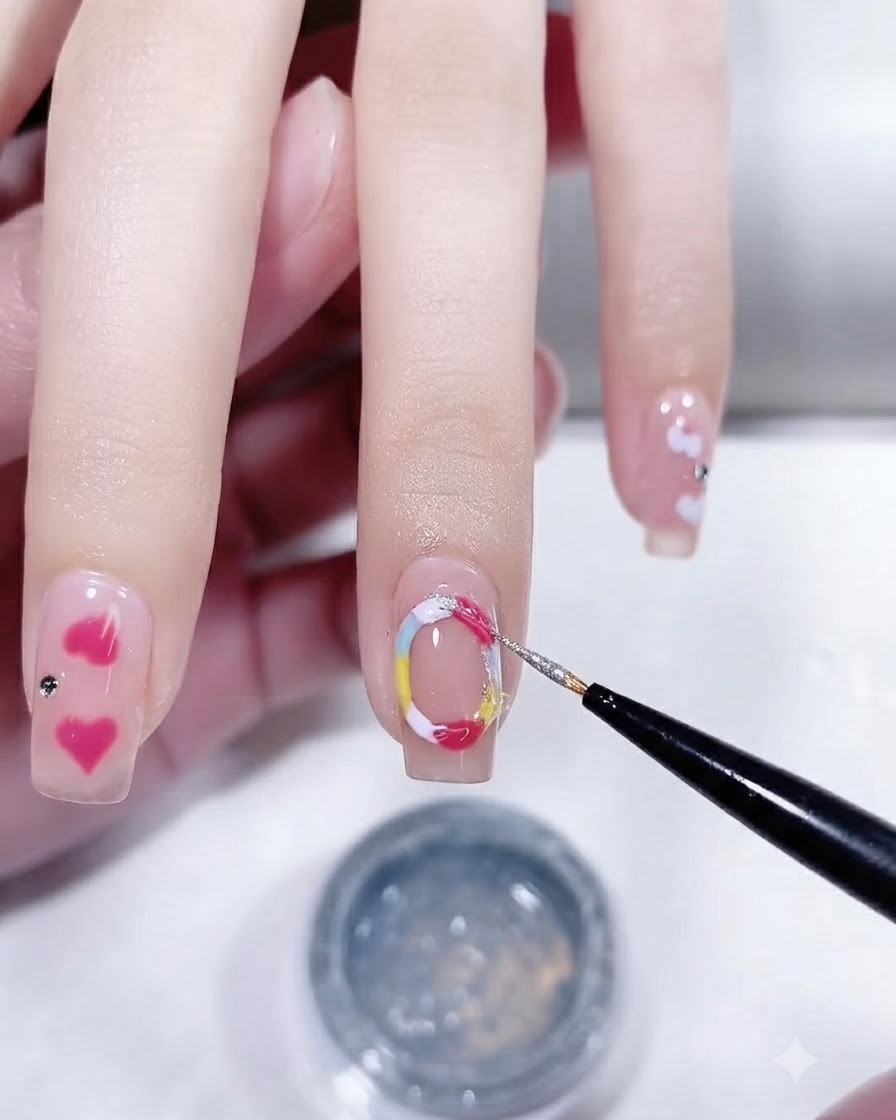
Place the hand inside the UV or LED lamp to fully cure the semi-solid magic mirror modeling gel 3D circles. Ensure the hand is positioned evenly under the light source so the textured jelly elements harden completely without shifting or losing their raised shape.
Tip: Do not rush the curing time; under-cured 3D gel can wrinkle or lose its glossy finish when the top coat is applied. - 9Apply wipe-free top coat
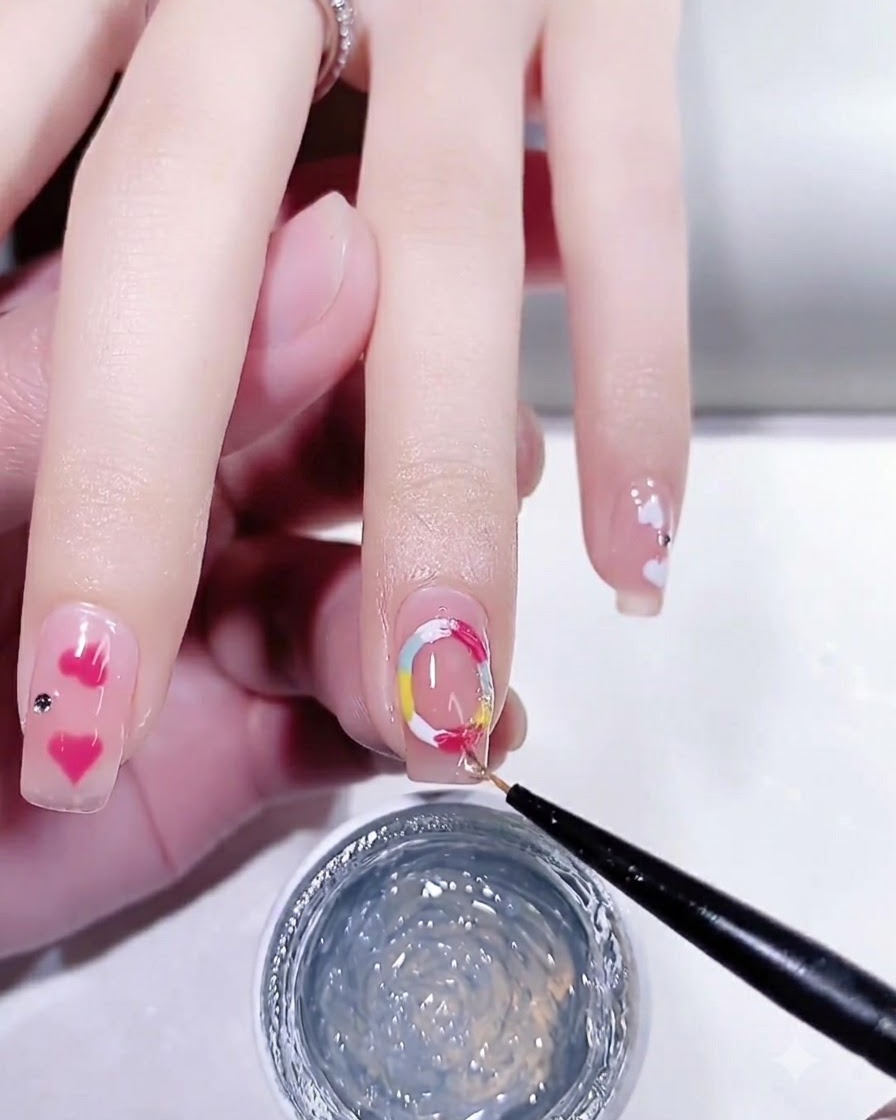
Apply an even layer of wipe-free top coat over the entire nail surface, carefully gliding over the cured 3D jelly circles to encapsulate the design. Make sure to seal the free edge completely to prevent chipping and ensure long-lasting wear.
Tip: Cap the free edge carefully with top coat to secure all layers and extend the lifespan of your manicure. - 10Cure final top coat
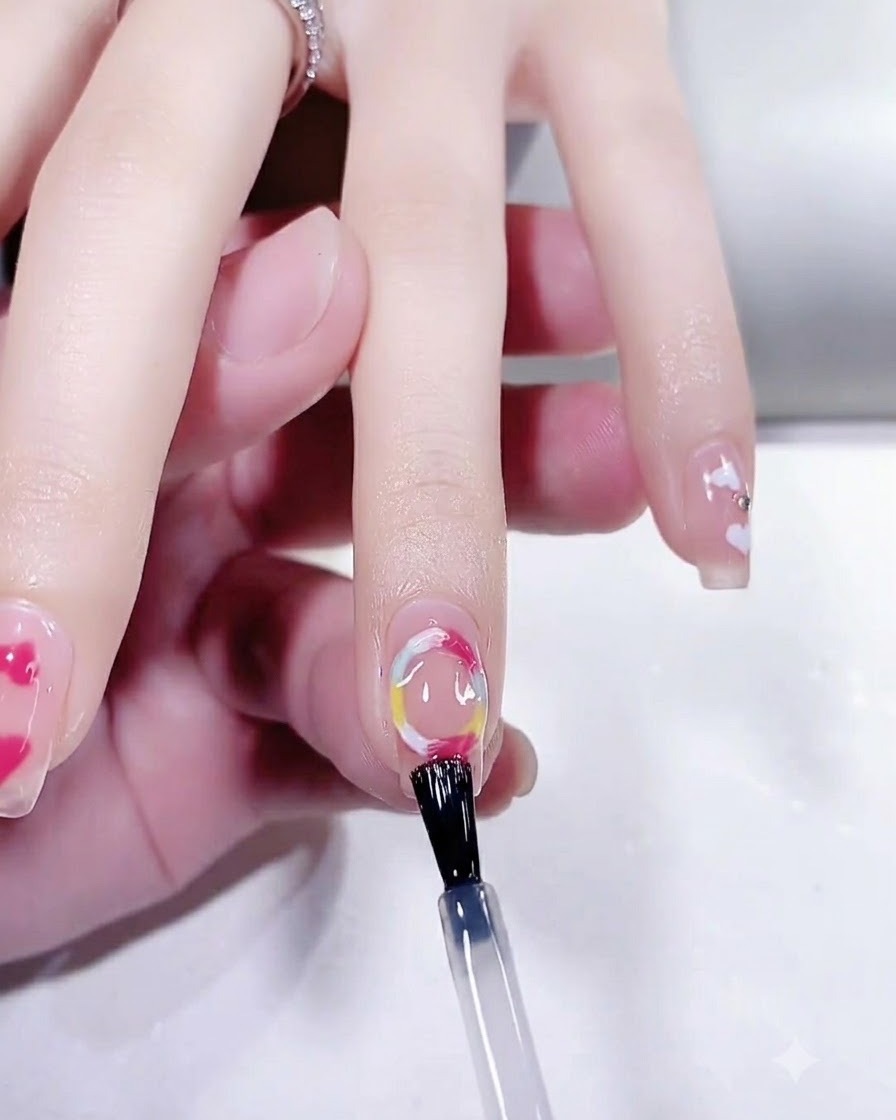
Place your hand under the UV or LED lamp to cure the final wipe-free top coat completely. Ensure all fingers are properly positioned under the light source to achieve a hard, durable, and high-gloss finish that seals in your nail art design.
Tip: Do not remove your hand from the lamp before the full curing cycle finishes, as incomplete curing can lead to a dull or tacky surface.