Glacier Blue Jelly Cat Eye Nails
Watercolor Ink Art — Step-by-Step Tutorial
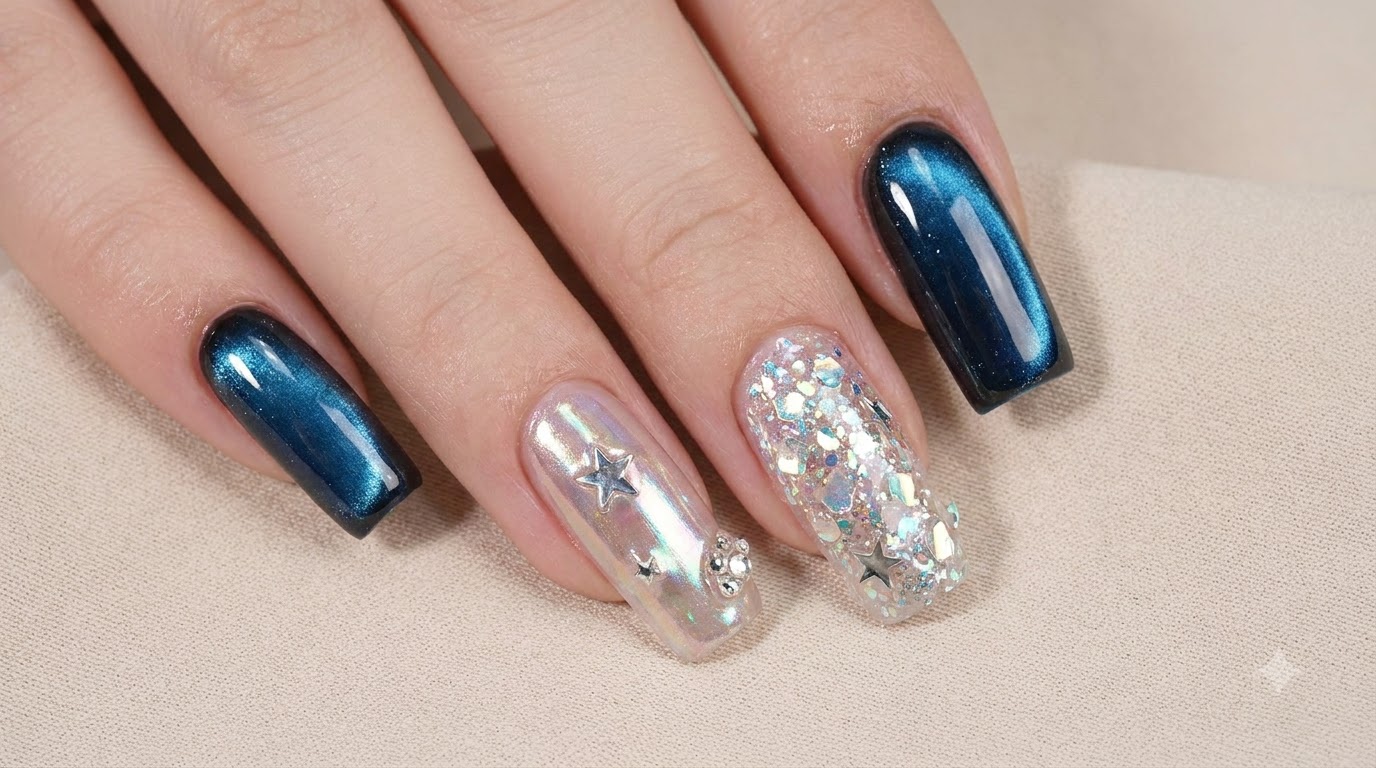
Discover how to create stunning glacier blue jelly cat eye nails featuring multidimensional magnetic shimmer and delicate watercolor ink art.
Jelly nails paired with mesmerizing cat eye effects and ethereal watercolor ink details create a truly captivating ocean-inspired manicure. This step-by-step tutorial walks you through building depth with magnetic amber gel and mastering soft, diffused gradients using a sponge block.
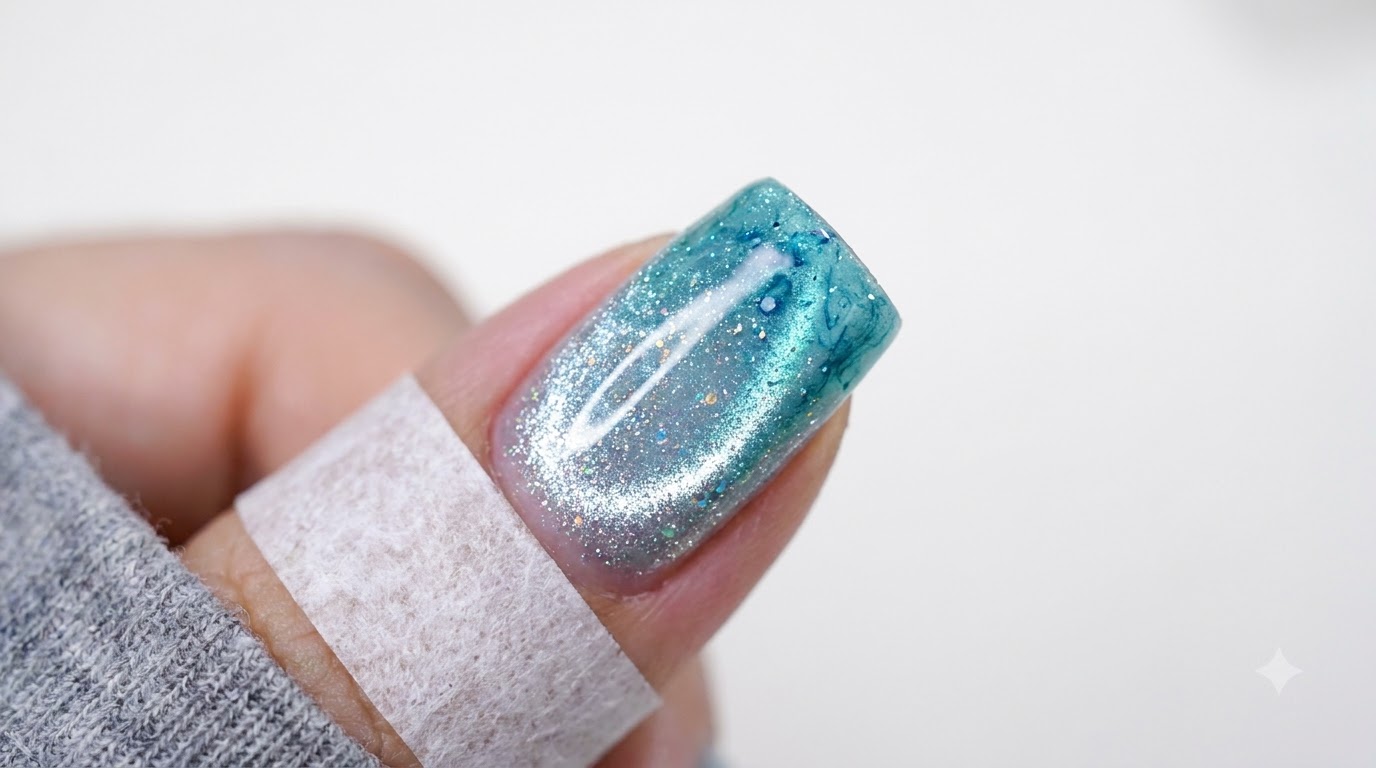
Steps
- 1Apply magnetic amber gel base
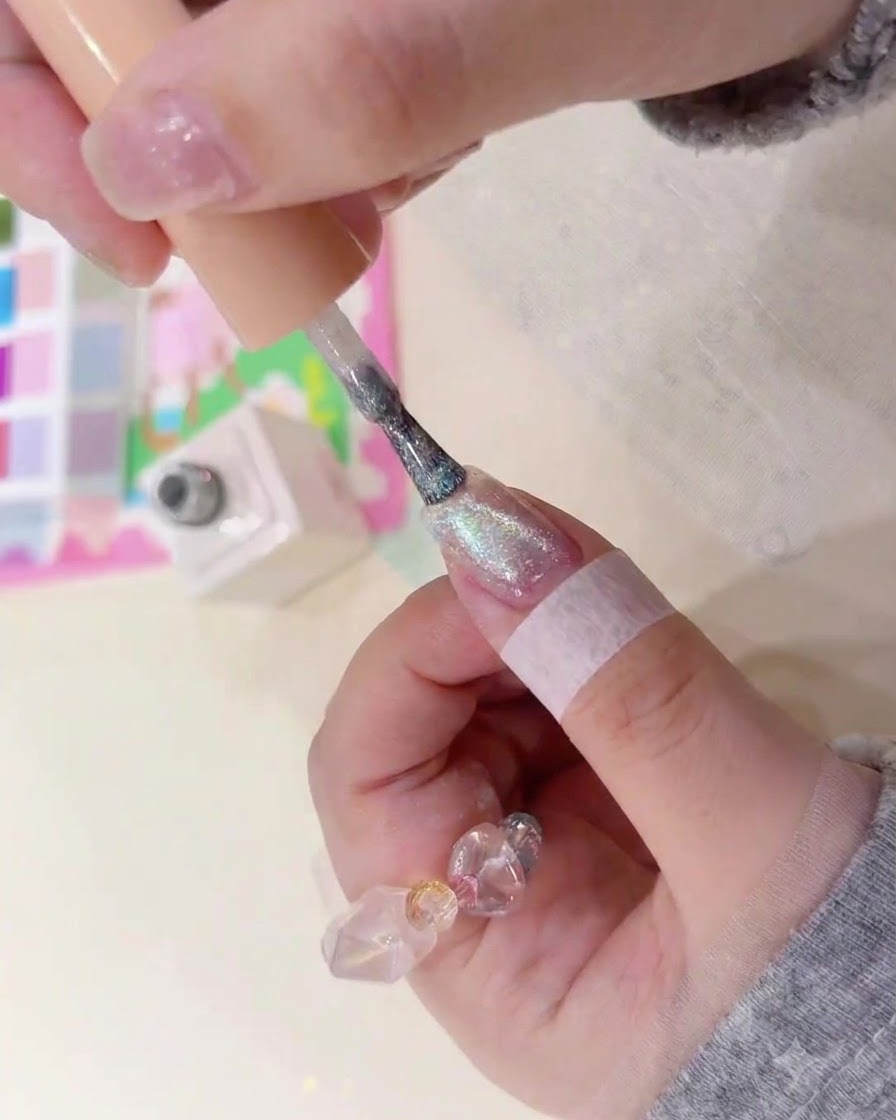
Apply an even coat of the magnetic gel containing amber material onto the prepped nail surface using the brush. Ensure the product covers the entire nail smoothly without pooling near the cuticles, preparing the surface for the cat eye magnetic effect.
Tip: Apply in thin, even strokes to ensure the magnetic particles have enough fluid consistency to move freely when the magnet is applied. - 2Create glass ball cat eye effect
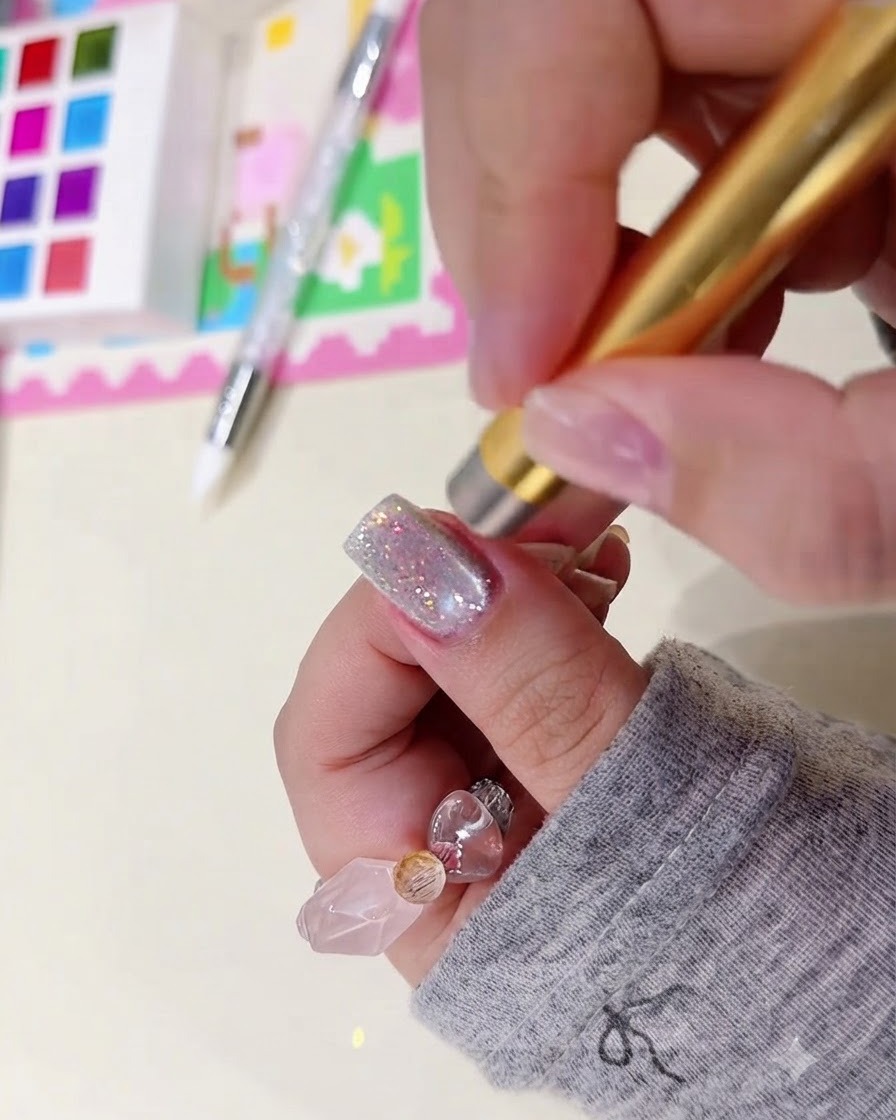
Hold a magnetic tool close to the wet cat eye gel without touching the surface. Guide the magnetic particles to form a concentrated side light or glass ball illusion, creating depth and a glowing multidimensional reflection.
Tip: Keep the magnet steady and close to the nail for a few seconds until the desired luminous pattern locks into place before curing. - 3Cure under UV/LED lamp
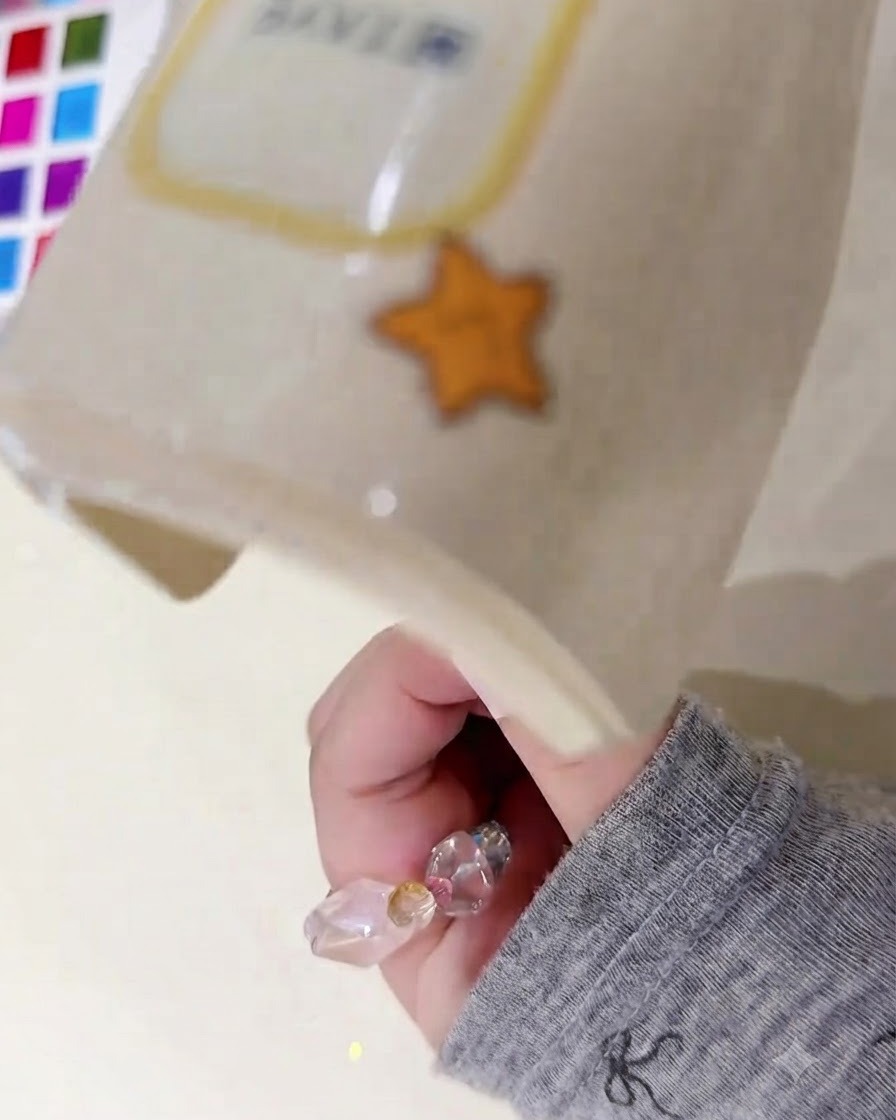
Place the hand underneath a portable UV or LED nail lamp to cure and harden the styled cat eye gel layer. Follow standard curing times to ensure the gel and magnetic pigments are completely set.
Tip: Keep your finger steady and centered under the lamp light to prevent the gel or magnetic effect from shifting before it cures. - 4Pick up watercolor pigment
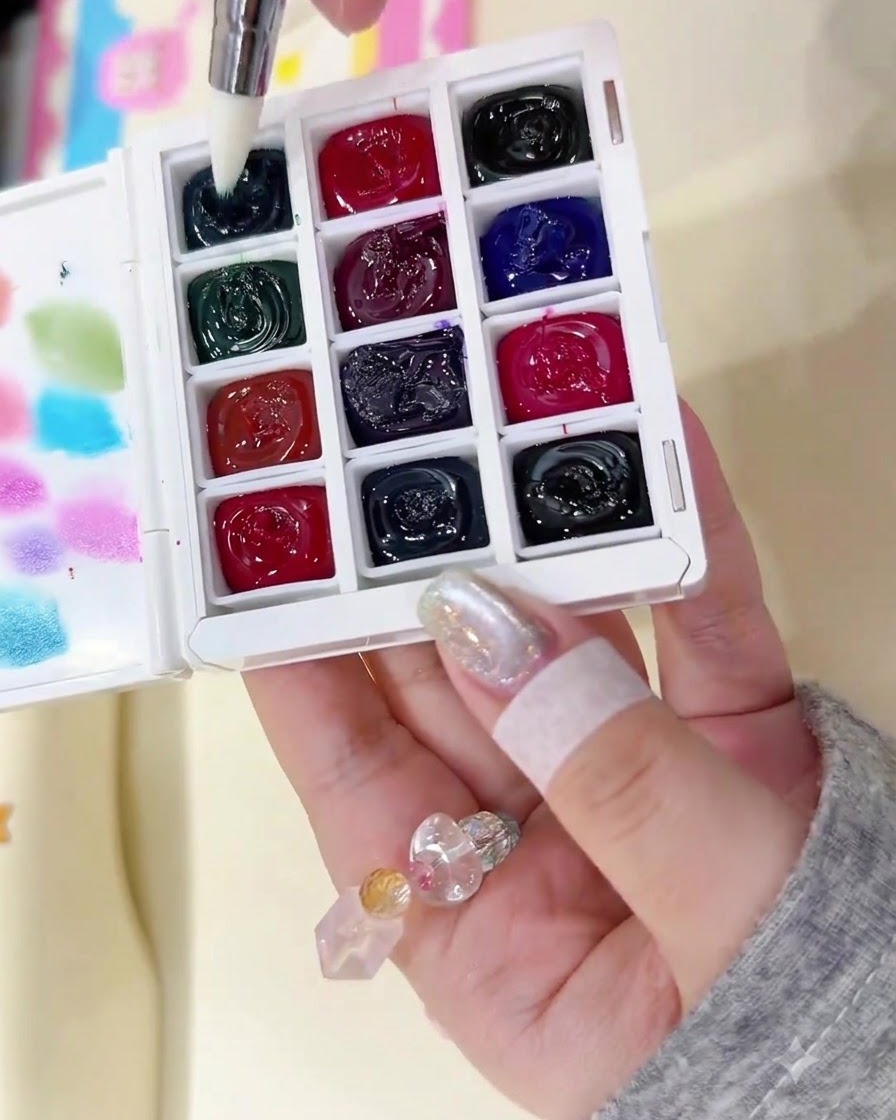
Dip a fine nail art brush into water or blending liquid, then pick up a small amount of pigment from the top right section of the watercolor palette. Control the amount on the brush bristles to avoid excess liquid pooling.
Tip: Wipe excess moisture off the brush on a paper towel if it is too wet, ensuring precise pigment control. - 5Apply and blend pigment with sponge
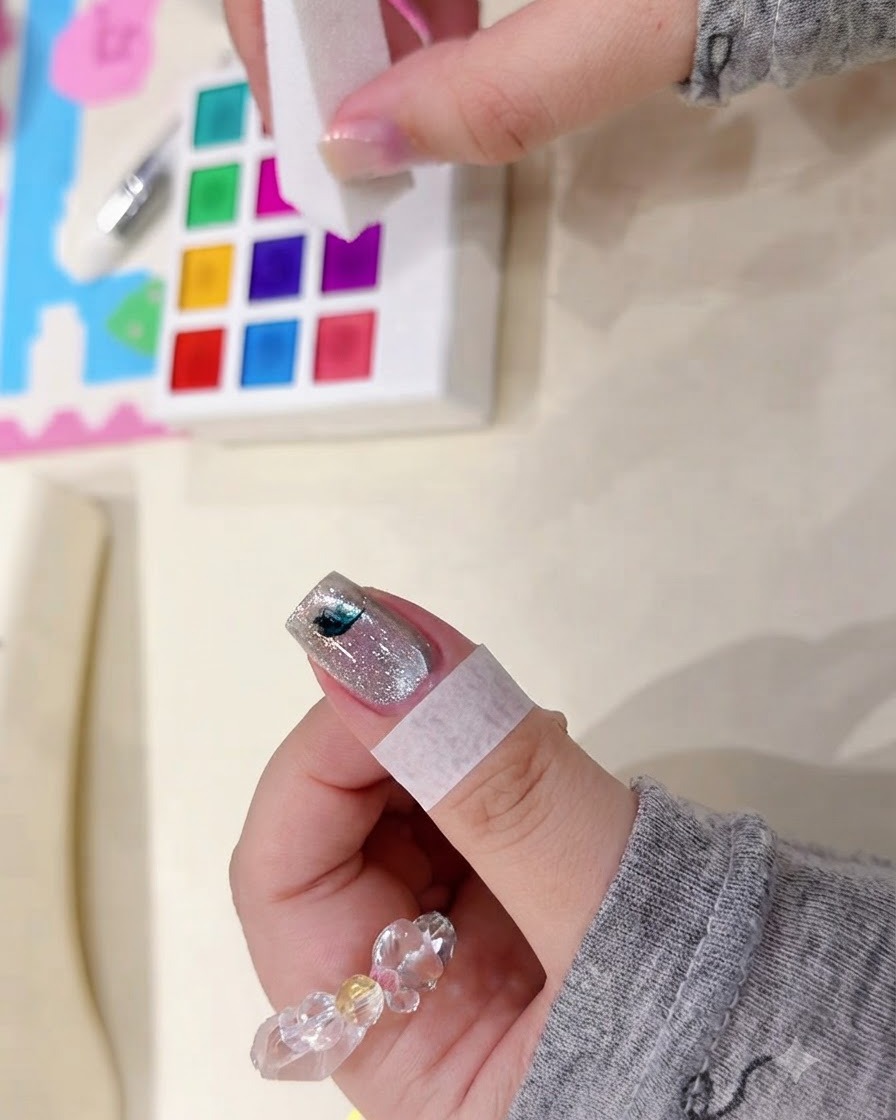
Gently touch the watercolor pigment onto the cured nail surface. Immediately take a clean sponge block and tap it vertically over the pigment to soften the edges and blend the color into a soft, diffused gradient.
Tip: Use a light vertical tapping motion with the sponge to avoid wiping away the pigment or creating harsh streaks. - 6Deepen tip color intensity
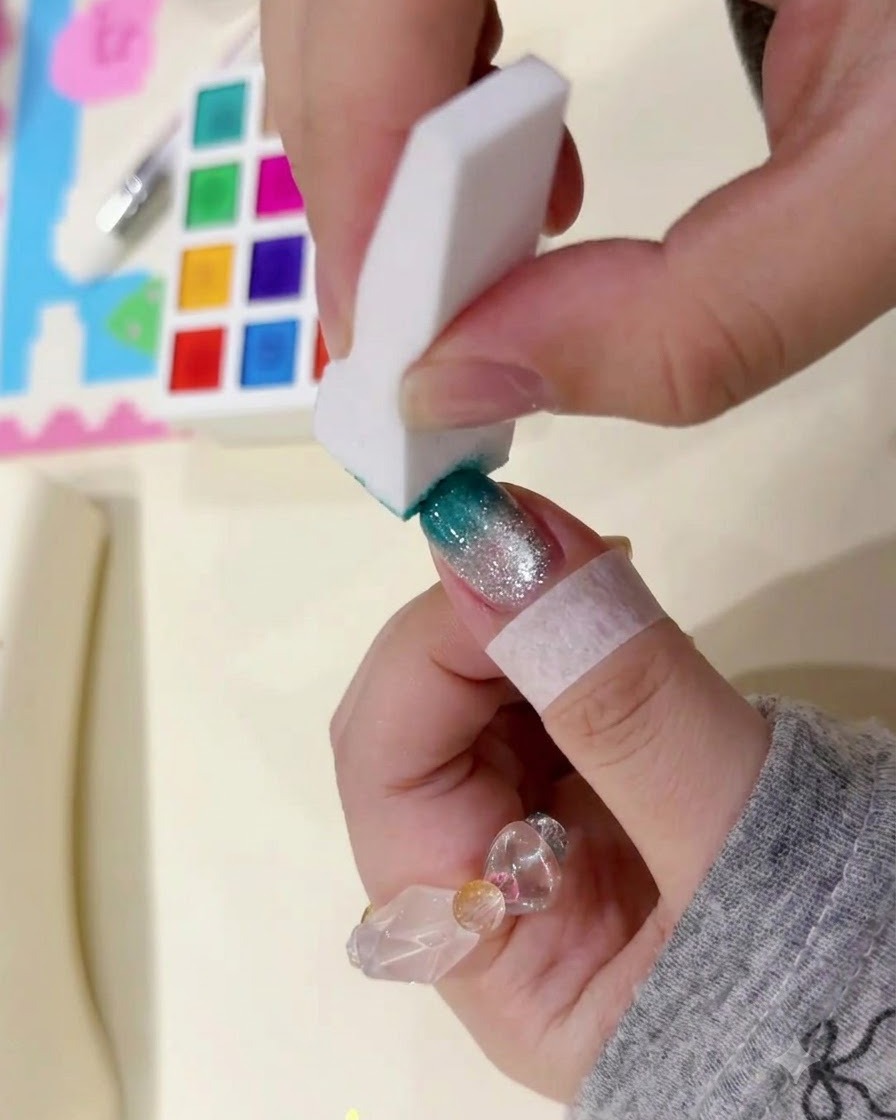
Continue patting the sponge block repeatedly over the tip area of the nail. This builds up pigment density progressively, making the color deeper and richer at the free edge to create a striking jelly sea ombre effect.
Tip: Build color gradually with multiple light taps rather than pressing too hard, keeping the gradient smooth and clean. - 7Cure the watercolor pigment layer
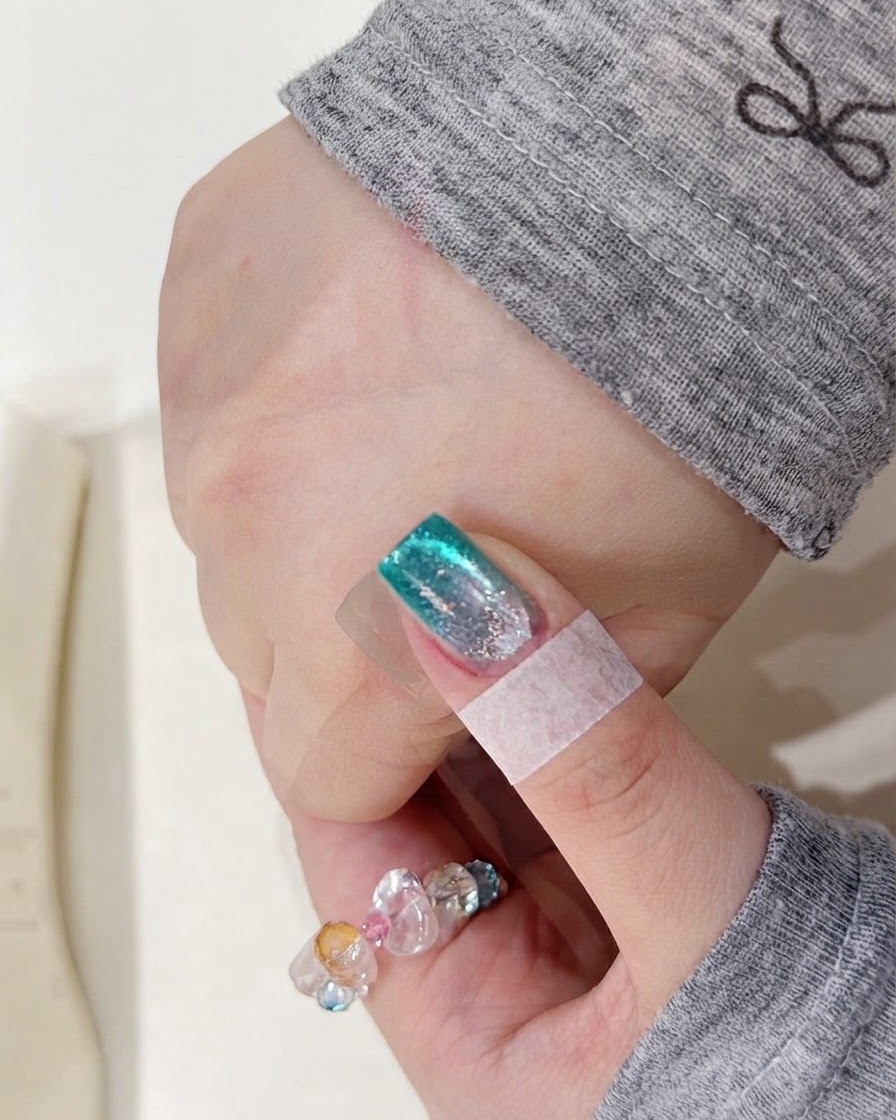
Place the hand back under the UV or LED lamp to fully cure the watercolor pigment layer. Ensure the hand is positioned correctly so the light covers the entire nail surface evenly. Curing locks the pigment and prevents smudging during the subsequent top coat application.
Tip: Make sure your hand stays completely still inside the lamp to avoid any shifting of the uncured layers. - 8Apply final top coat
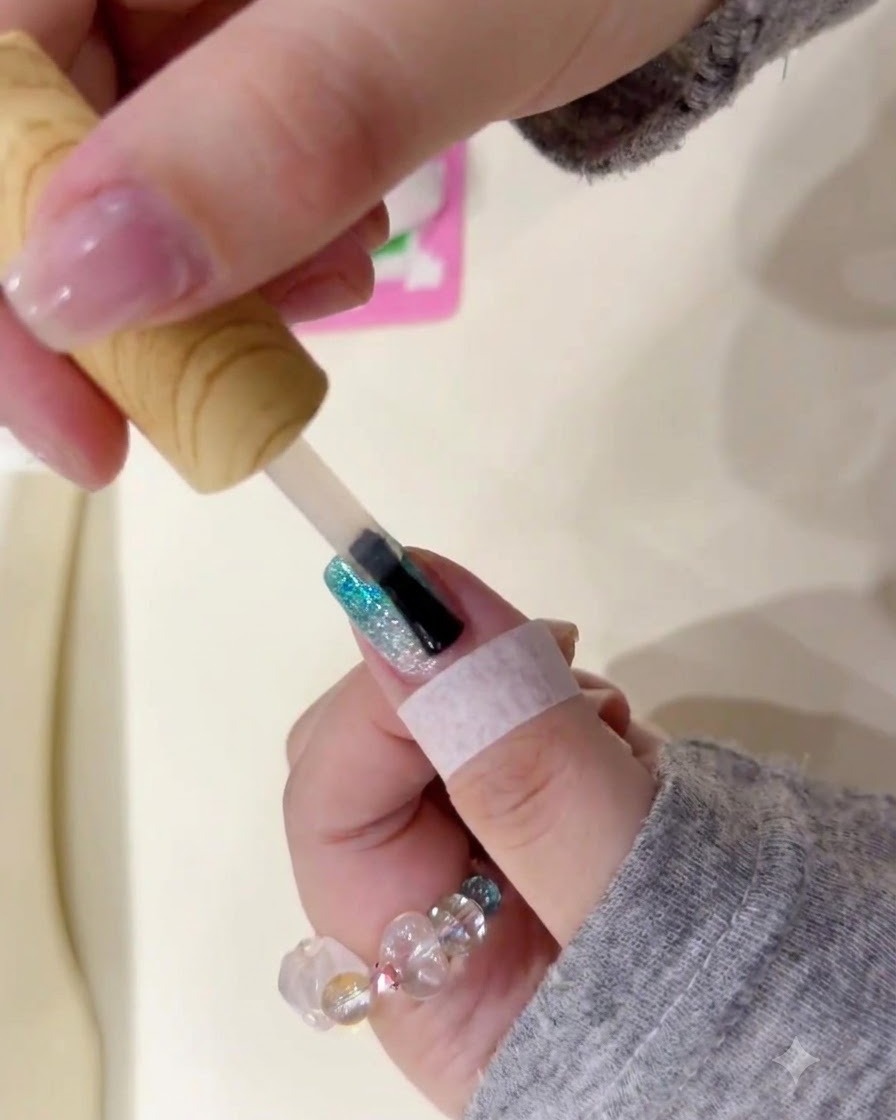
Apply a final layer of high-gloss top coat over the entire decorated nail surface. Carefully cap the free edge to seal the design, protect the watercolor layers from chipping, and provide a brilliant shine. Cure under the lamp to finish the manicure.
Tip: Cap the free edge completely to extend the life of your manicure and prevent peeling at the tips.