Tassel Broken Diamond Powder Cat Eye
French Extension Nail Art Tutorial
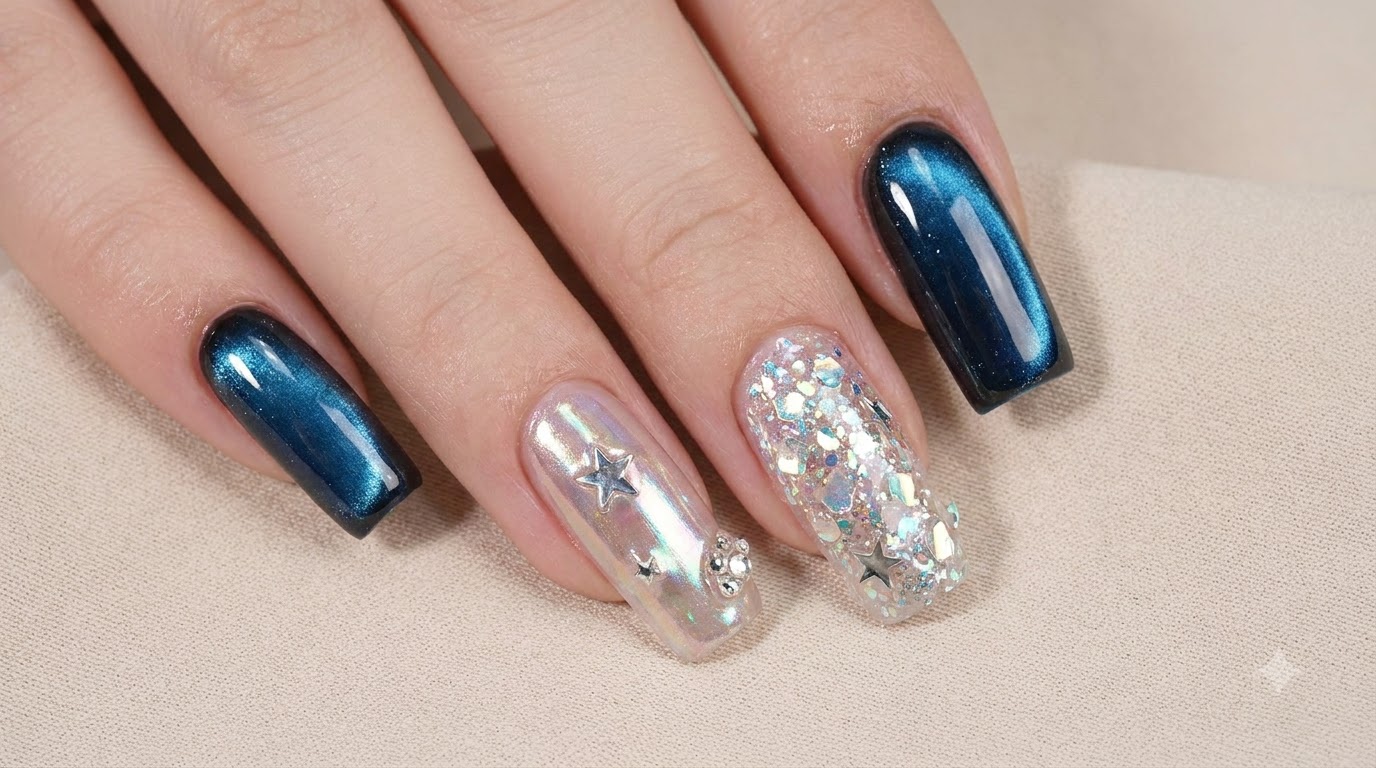
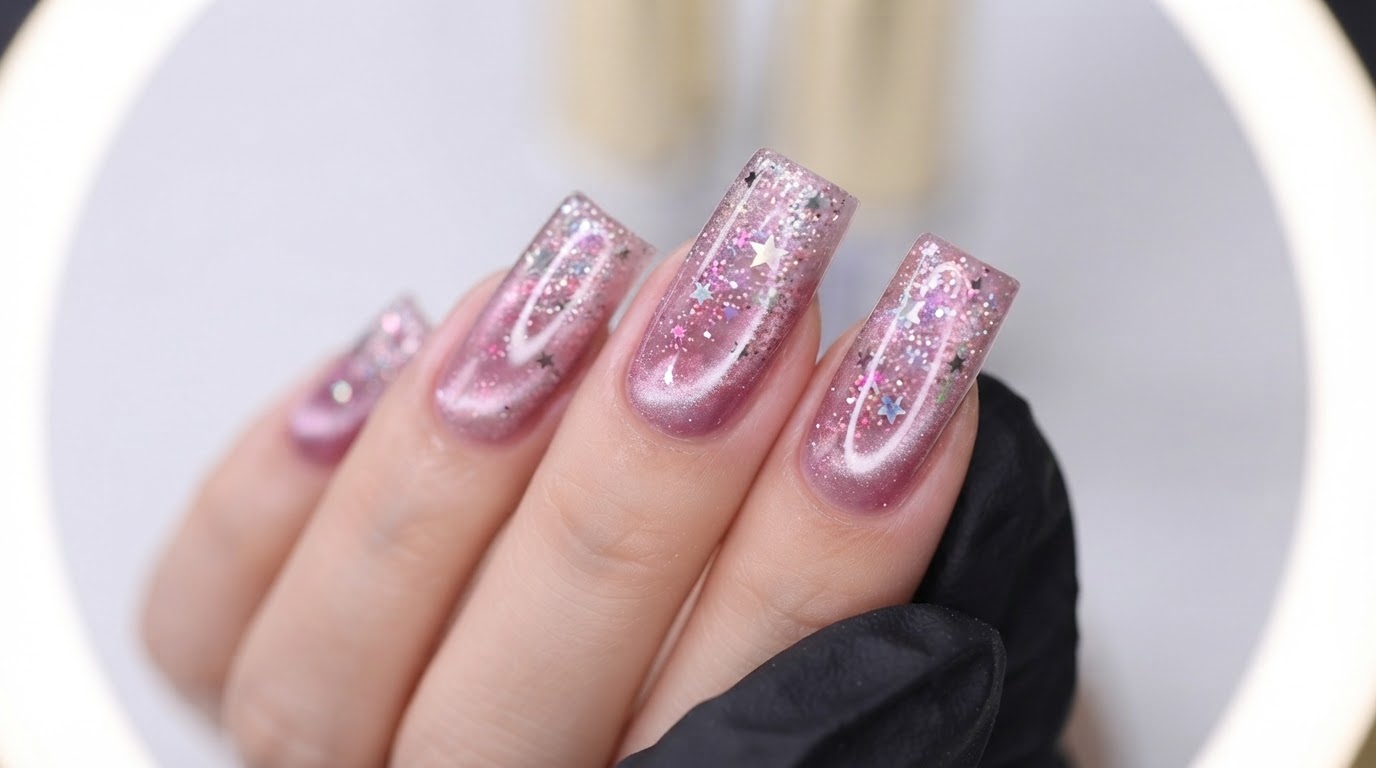
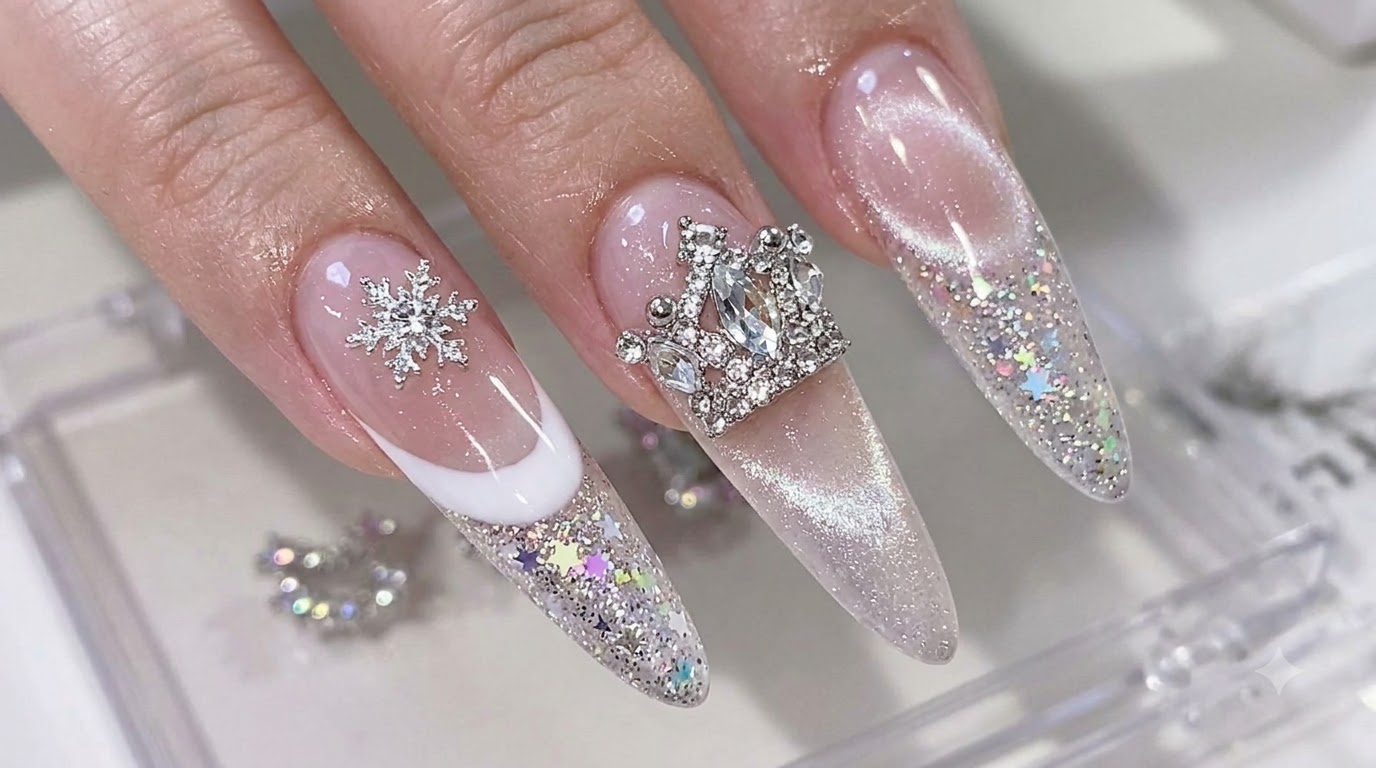
Create breathtaking ultra-long extension nails featuring magnetic cat-eye gel, white French tips, cascading tassel broken diamond powder, and dazzling crystal embellishments.
This ultra-long extension nail design combines multiple glamorous textures into one breathtaking statement look. Featuring a mesmerizing watery cat-eye base, classic white French tips, sparkling tassel diamond powder, and intricate crystal crowns, it offers a truly high-end salon experience. Follow this detailed guide to master the complex layering techniques required for this showstopping style.
Steps
- 1Spray sparkling glitter powder
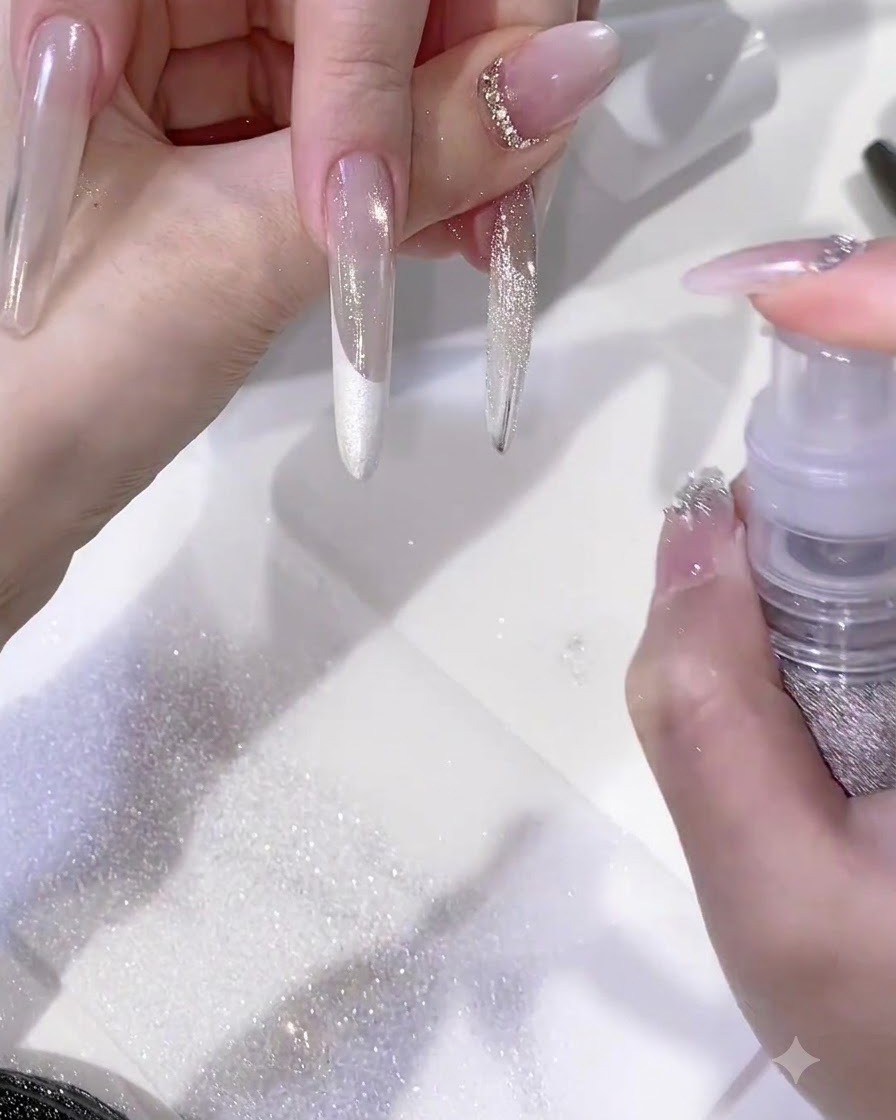
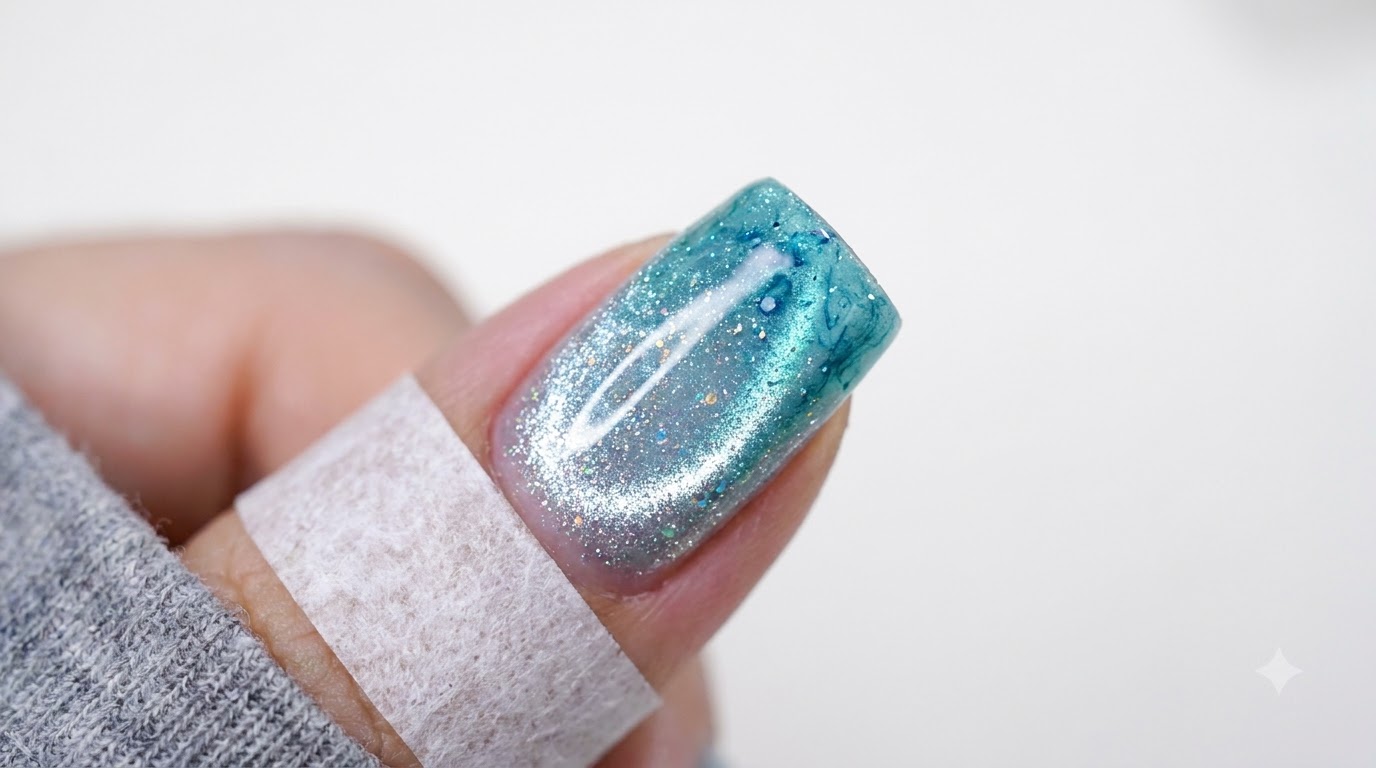
Spray sparkling glitter powder directly onto the gel-prepared nail surface to achieve a brilliant, textured finish without curing immediately. This method allows the powder to adhere evenly to the wet gel layer, creating a dazzling and multidimensional effect.
Tip: Apply the powder over an uncured gel layer so that the particles lock into place when finally cured. - 2Apply strong adhesive gel
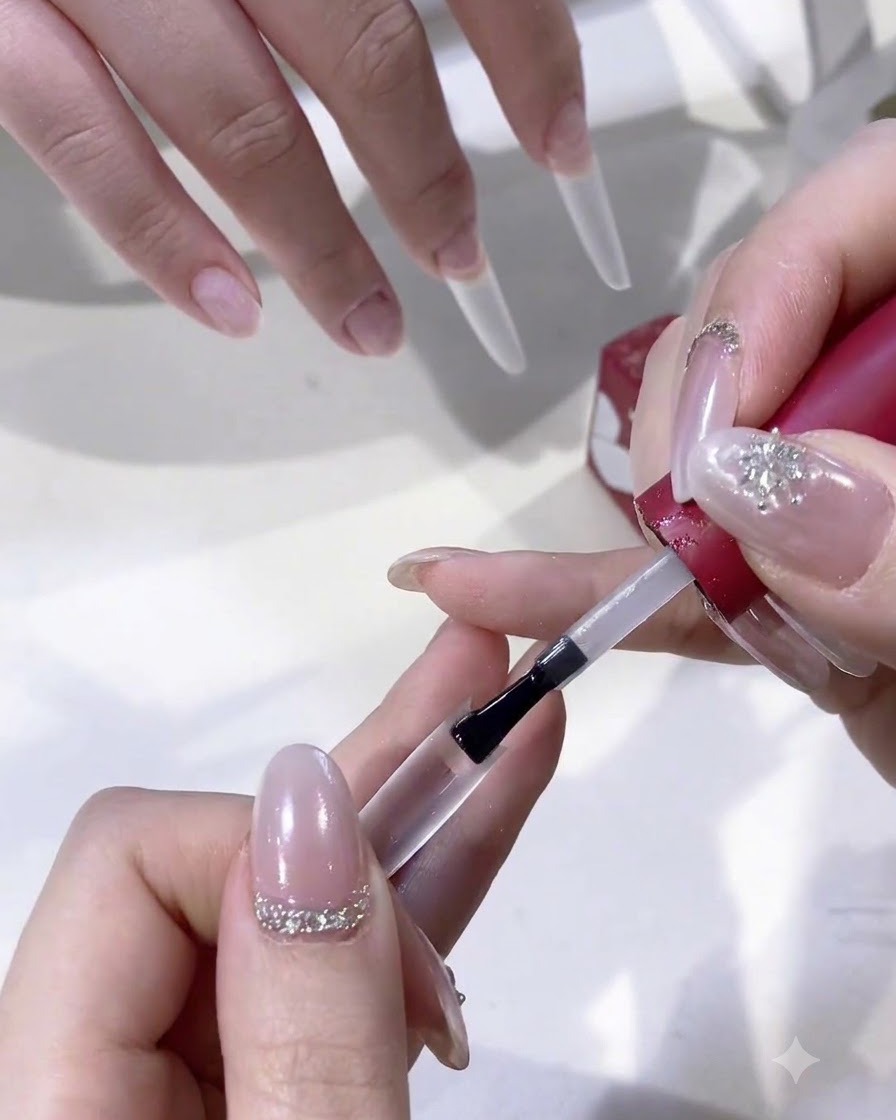
Apply a generous amount of strong adhesive gel onto the extension form and the natural nail joint to ensure a secure bond. This structural adhesive provides the necessary strength required to support ultra-long nail extensions without lifting or snapping.
Tip: Ensure there are no air bubbles trapped in the adhesive gel layer before attaching the form to prevent weak spots. - 3Position and press the extension form
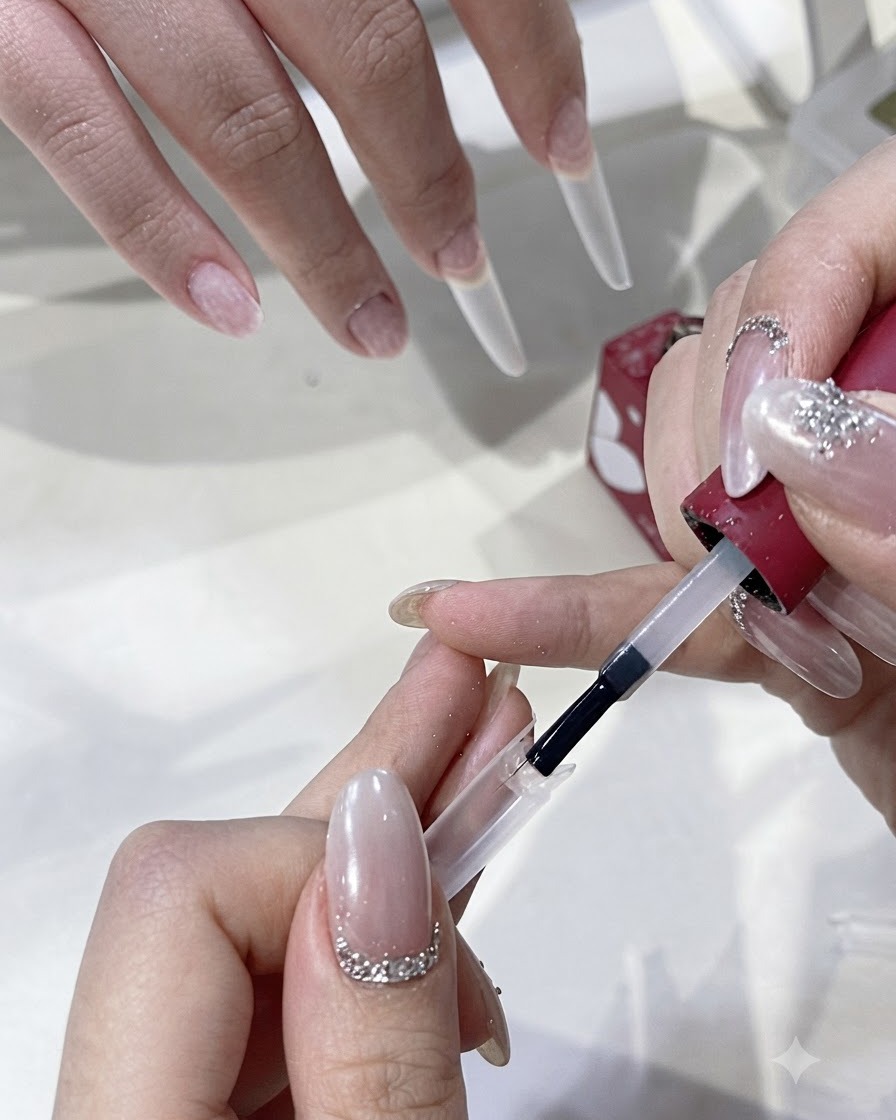
Carefully position and press the clear extension nail form onto the finger, aligning it correctly with the cuticle and natural nail bed. Hold it firmly in place to eliminate any gaps before moving on to the curing stage.
Tip: Light pressure helps spread the adhesive evenly across the contact area for maximum hold. - 4Cure adhesive under UV/LED lamp
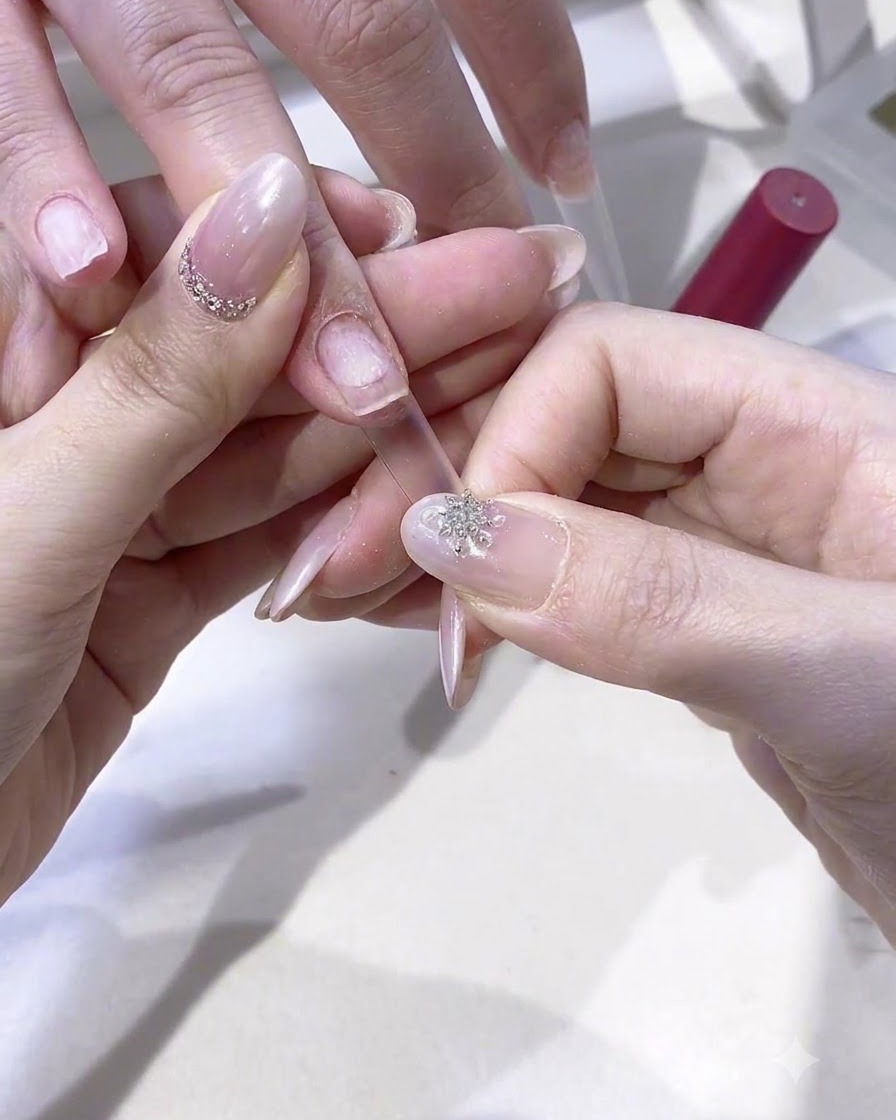
Place the finger under a mini UV/LED nail lamp to cure the applied adhesive securely. Hold the extension form in position during the initial flash cure to prevent shifting before the gel fully hardens.
Tip: Use a portable mini flashlight UV lamp for precise, hands-free spot curing during extension application. - 5Apply base gel layer
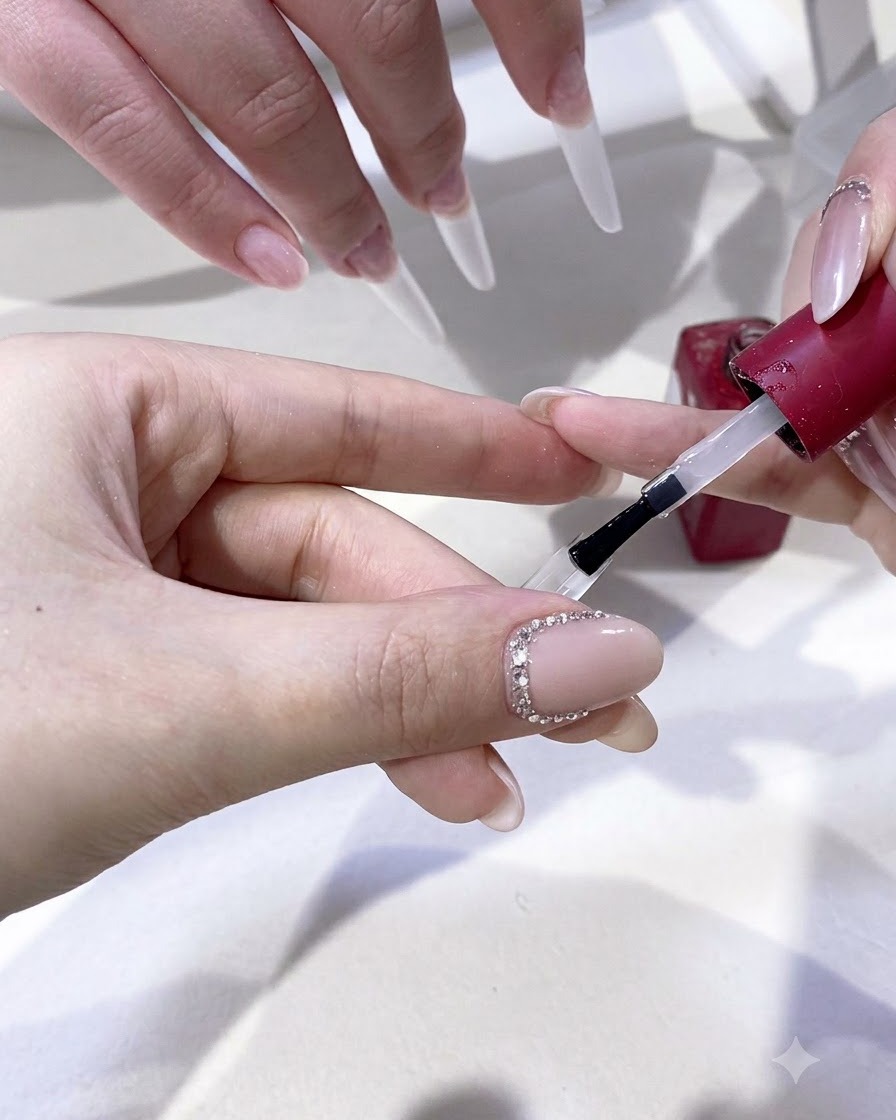
Apply a smooth base gel layer across the extended nail surface using a fine brush to prepare for subsequent color and design layers. This promotes proper adhesion for glitter, powders, and top coats.
Tip: Keep the layer thin and even to maintain a natural look and prevent bulkiness near the cuticle. - 6Sculpt and level the nail extension
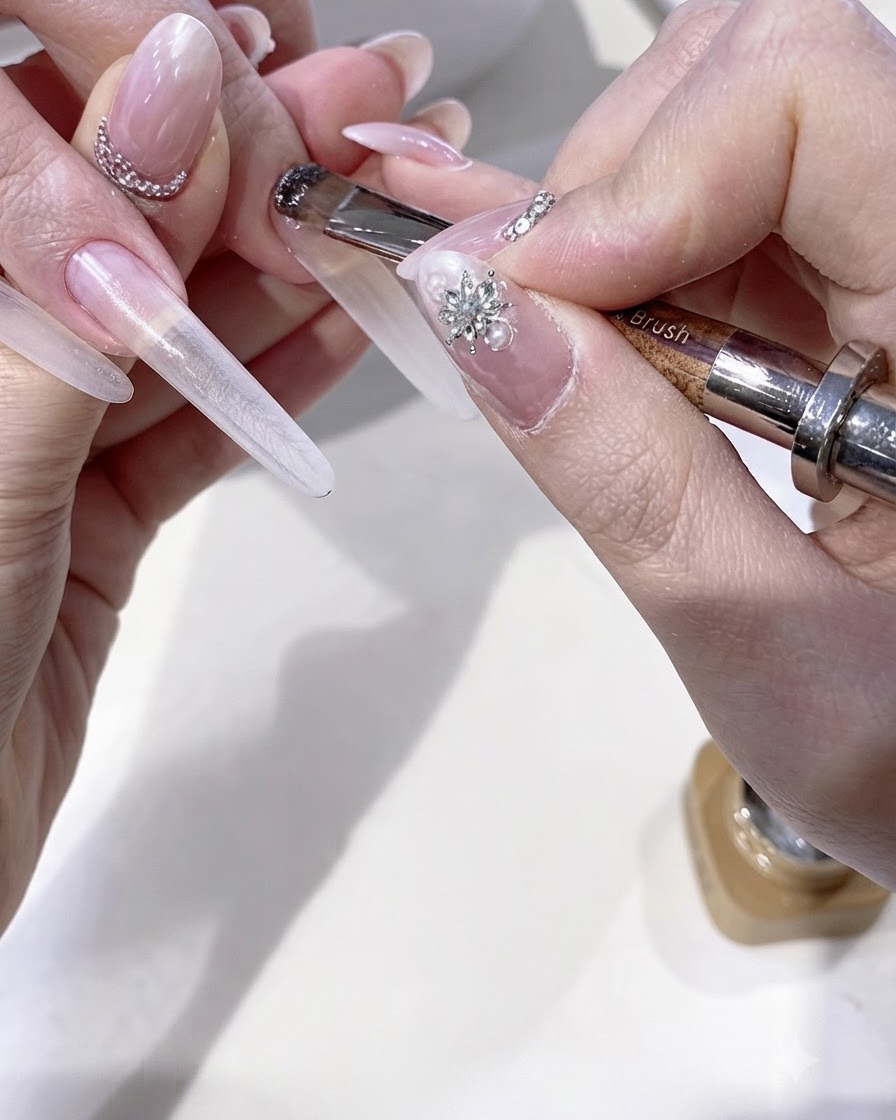
Apply builder gel carefully across the nail extension structure to build strength, level out imperfections, and create a smooth arch. Ensure the thickness is evenly distributed before curing to maintain the long nail integrity.
Tip: Keep the hand flat for a few seconds before curing to let the builder gel self-level naturally into shape. - 7Activate cat-eye gel particles with a magnet
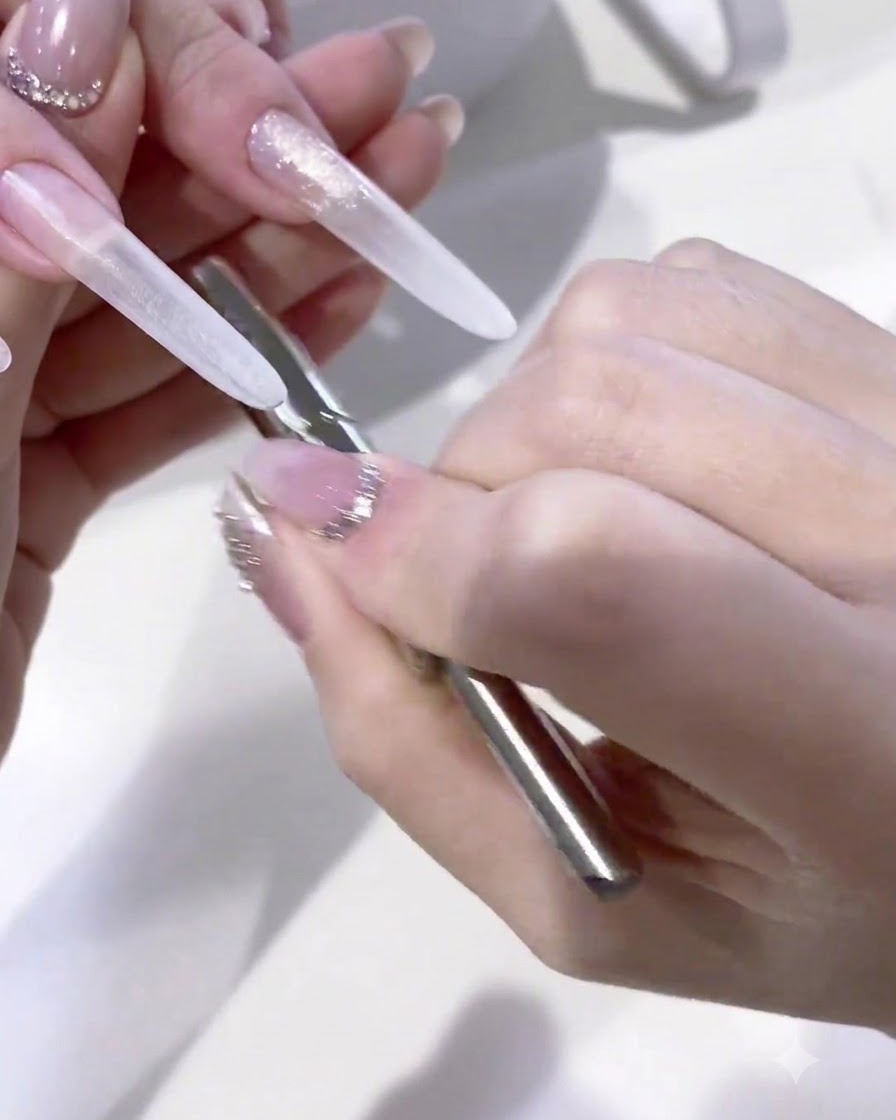
Hold a strong magnet close to the uncured cat-eye gel surface to manipulate the metallic particles. Move the magnet smoothly to concentrate the light reflection, creating a deep, glowing watery light effect down the center of the long nail.
Tip: Keep the magnet steady and close to the nail without touching the wet surface to achieve a sharp, defined magnetic line. - 8Check cat-eye reflection alignment
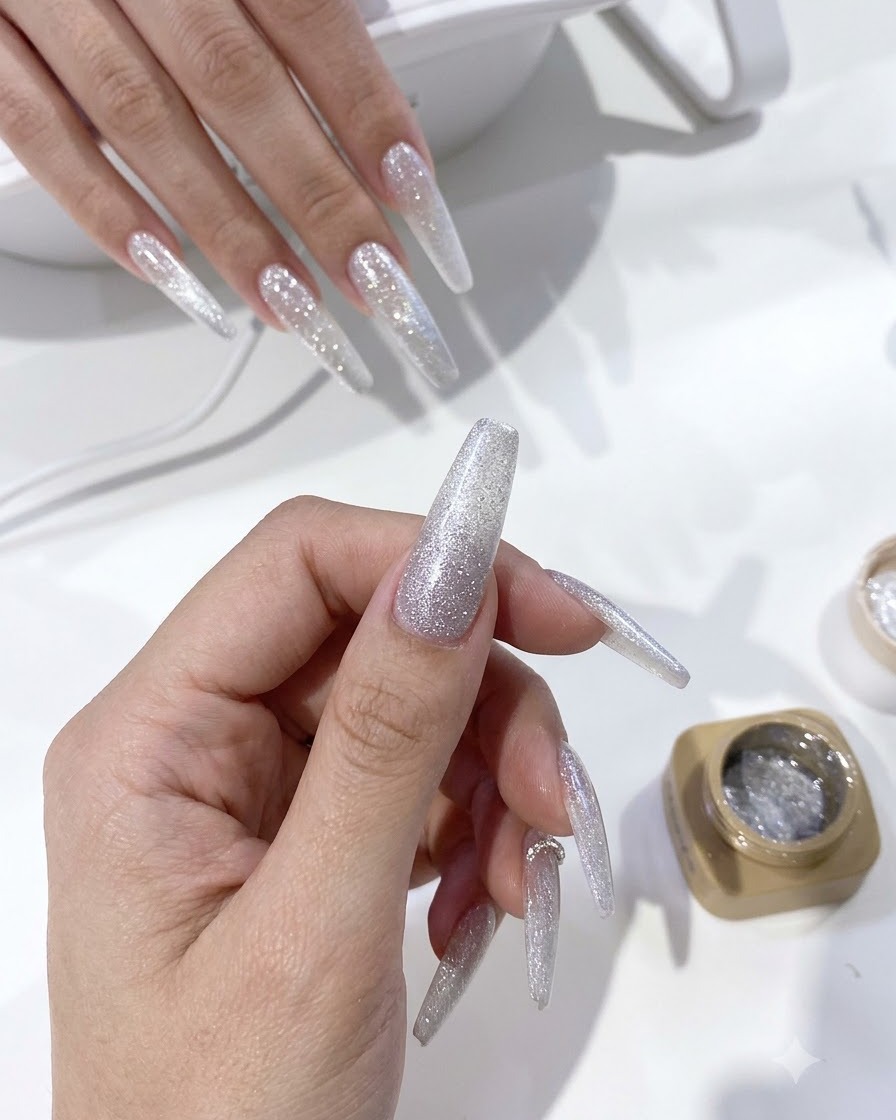
Inspect the nail from multiple angles under bright light to verify that the cat-eye reflection is straight, centered, and creates the desired watery depth across the entire length of the nail extension.
Tip: Rotate the finger gently under the light source to ensure the shimmering particle line looks uniform and balanced. - 9Cure the cat-eye gel layer
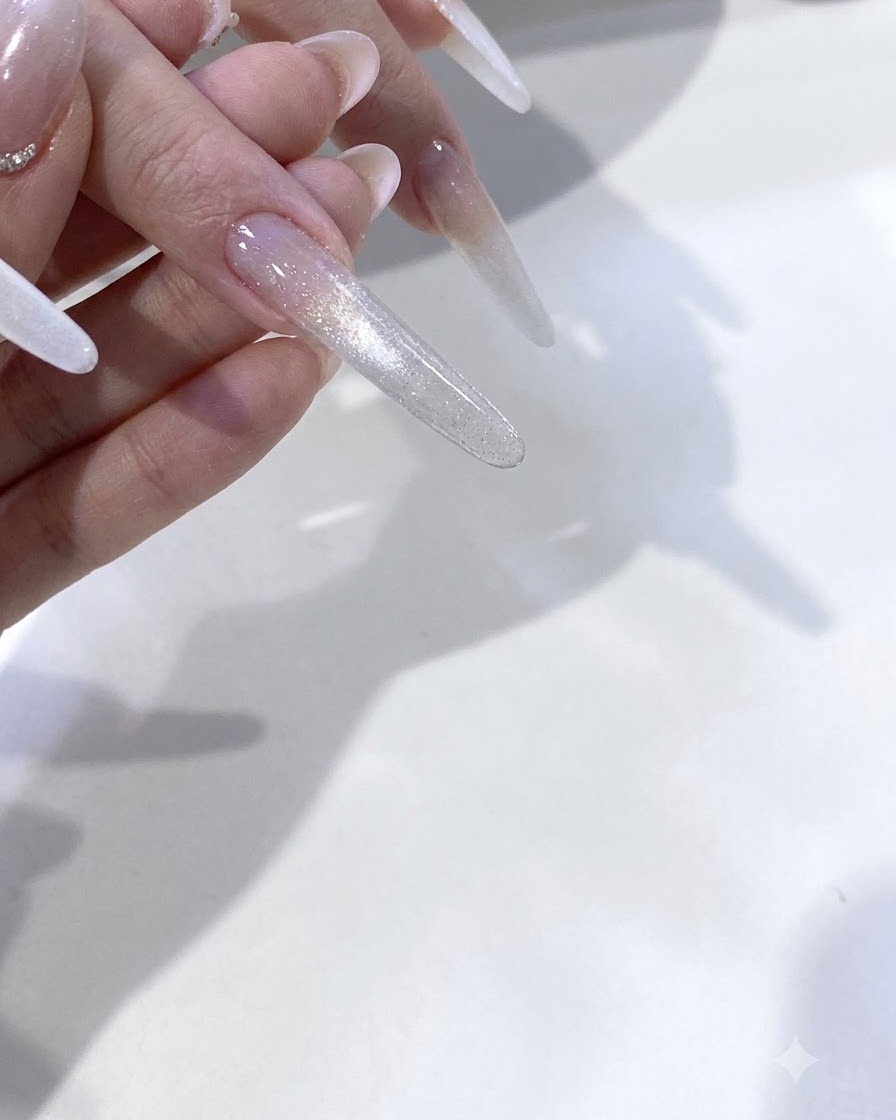
Place the hand inside the UV/LED lamp to fully cure the cat-eye gel layer. This locks the magnetic particles in place and sets the watery light effect permanently before moving on to the next design steps.
Tip: Ensure your hand is positioned flat inside the center of the lamp so all fingers cure evenly. - 10Apply top coat for powder adhesion
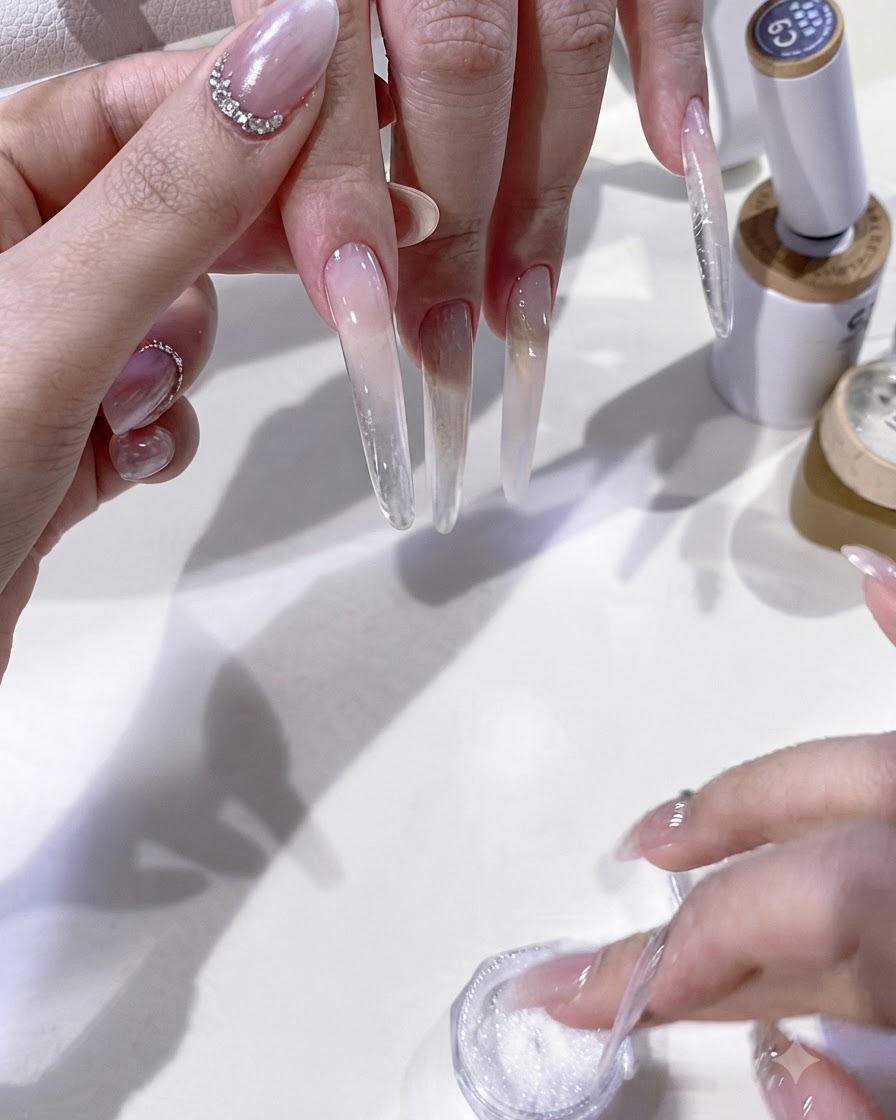
Apply a fresh layer of top coat specifically onto the index finger without curing it yet. This wet surface will act as the adhesive base layer for catching and holding the upcoming electroplated powder layer.
Tip: Apply an even, thin coat so the powder distributes smoothly without forming clumps. - 11Pat electroplated powder onto the nail
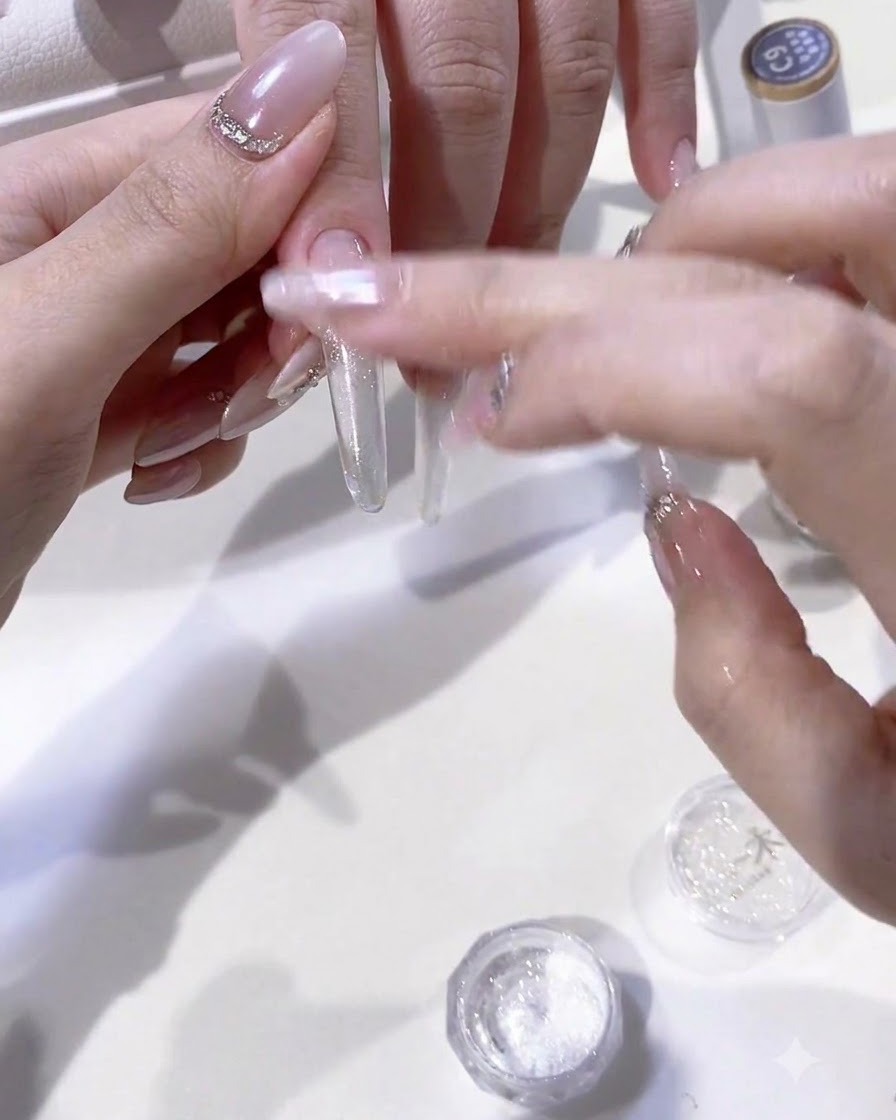
Gently tap and pat electroplated powder directly onto the wet top coat layer of the index finger. Ensure the powder covers the designated area thoroughly to create a brilliant metallic or chrome finish.
Tip: Use a soft brush or your finger gently to press the powder into the tacky surface for maximum adhesion. - 12Apply white gel for French tip
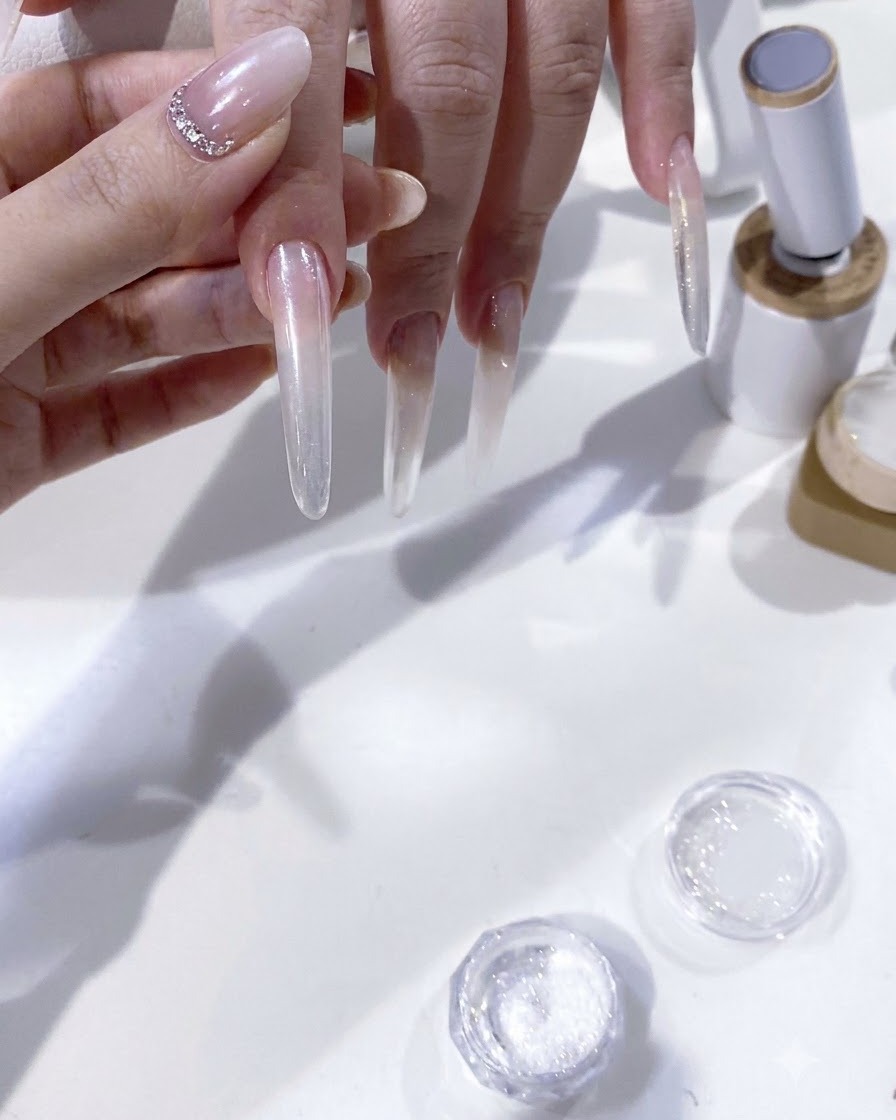
Apply white gel pigment directly onto the nail tip, carefully shaping the smile line to establish the foundation for a classic French manicure style.
Tip: Keep the layer of white gel thin and even to maintain a sharp, defined edge before smoothing. - 13Clean and crisp the smile line
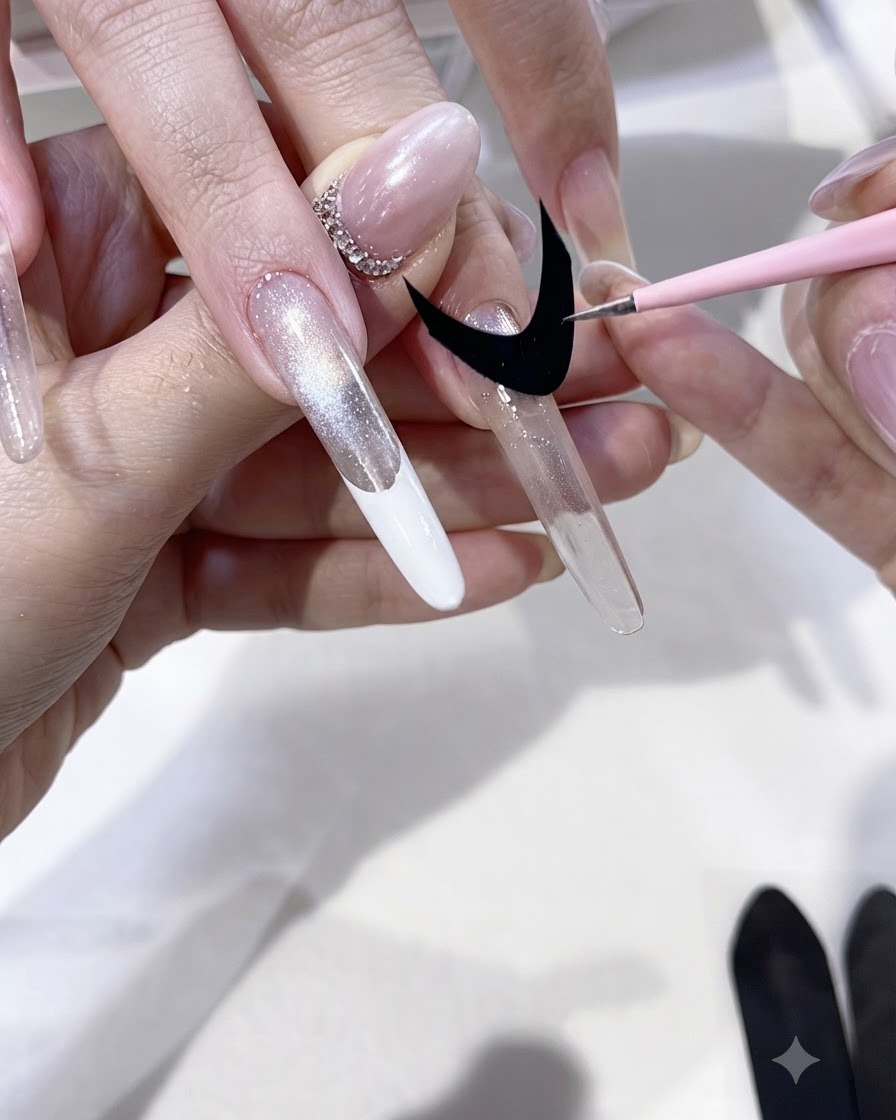
Use a specialized silicone shaping tool or guide to neatly wipe away excess pigment and sharpen the French smile line, ensuring a clean separation between the nude base and the white tip.
Tip: Wipe the silicone tool clean with an alcohol pad between strokes to prevent smudging the crisp white line. - 14Apply Sealing Top Coat
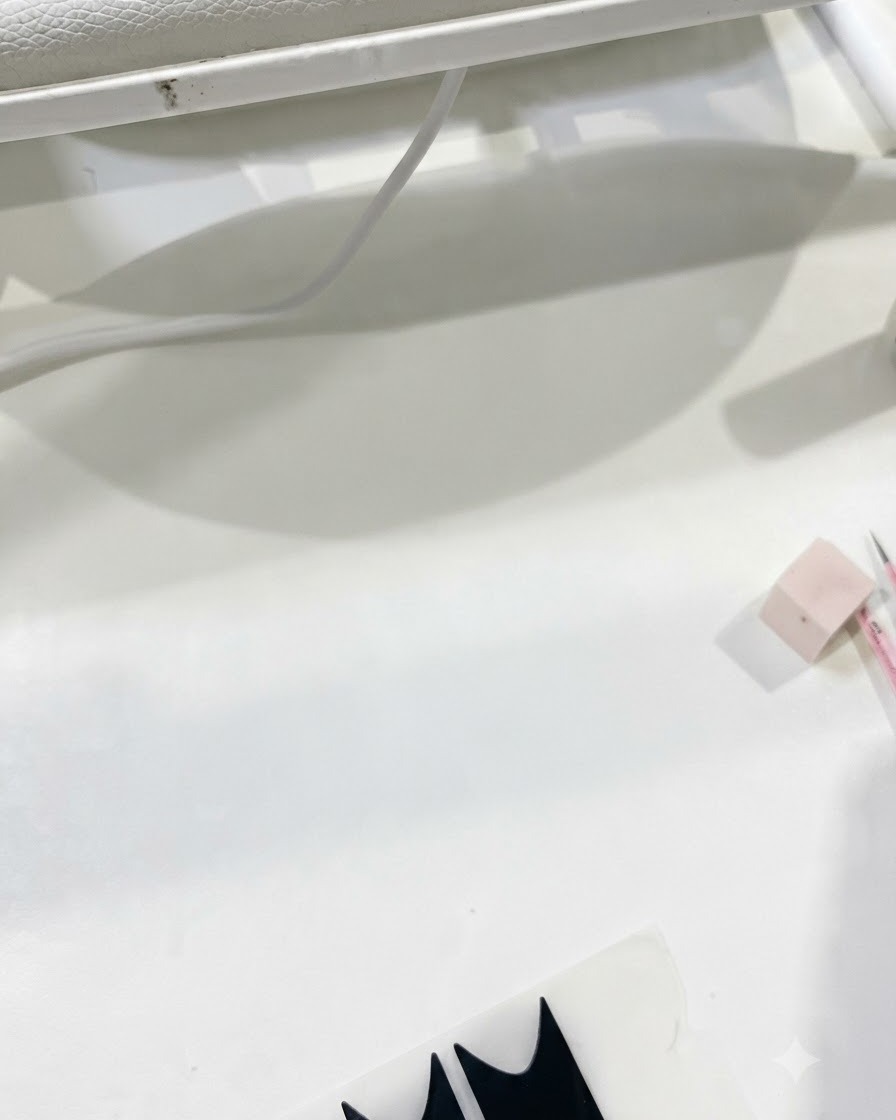
Apply a clear sealing top coat layer over the entire completed French and cat-eye structure to lock in the nail art. Ensure full coverage across the extended lengths and cap the free edges securely. Cure under the UV lamp to finalize the protective high-gloss finish.
Tip: Do not skip capping the free edge to prevent premature chipping of the layered nail art. - 15Apply Fairy Powder Gel Mixture
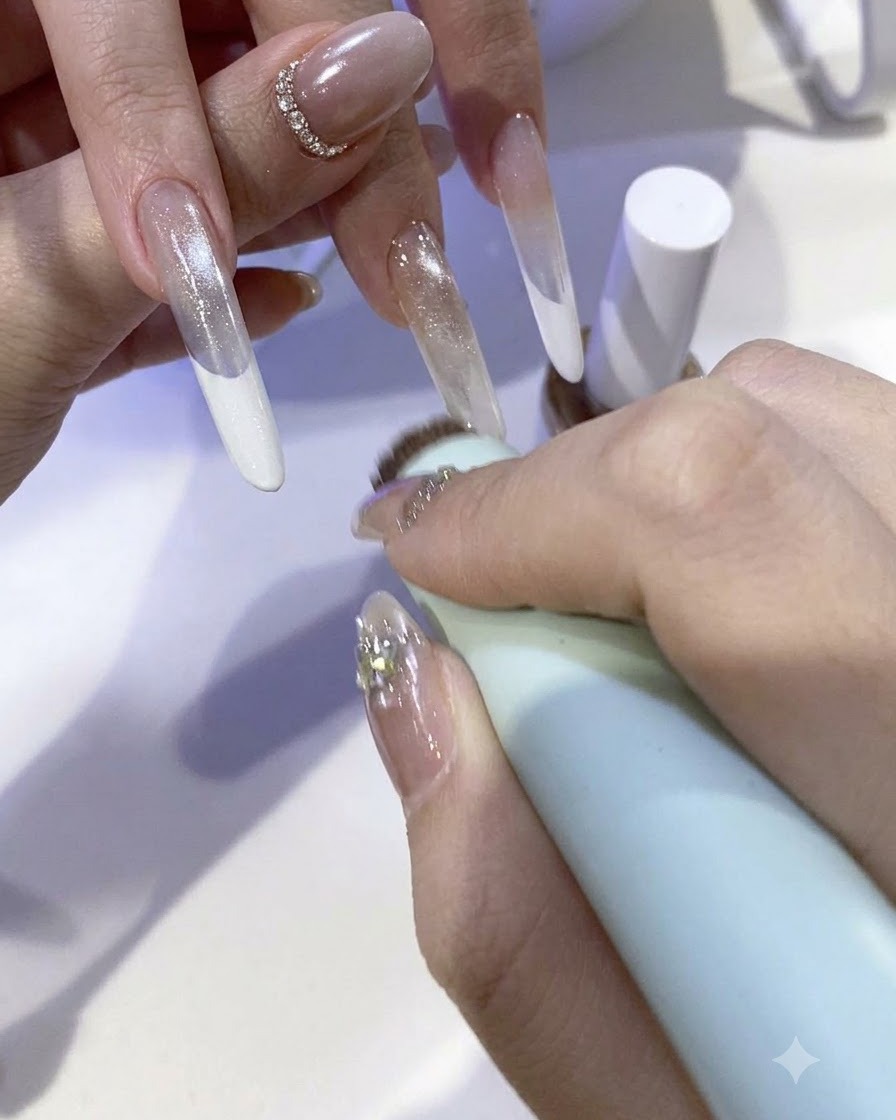
Brush or dab a fairy powder gel mixture specifically onto the French tip area to introduce a sparkling, ethereal dimension. Blend the powder gel smoothly so it catches the light alongside the cat-eye base. Ensure the layer is evenly distributed before moving on to detailed line work.
Tip: Tap gently with a soft brush to distribute the powder particles evenly without clumping. - 16Draw tassel patterns
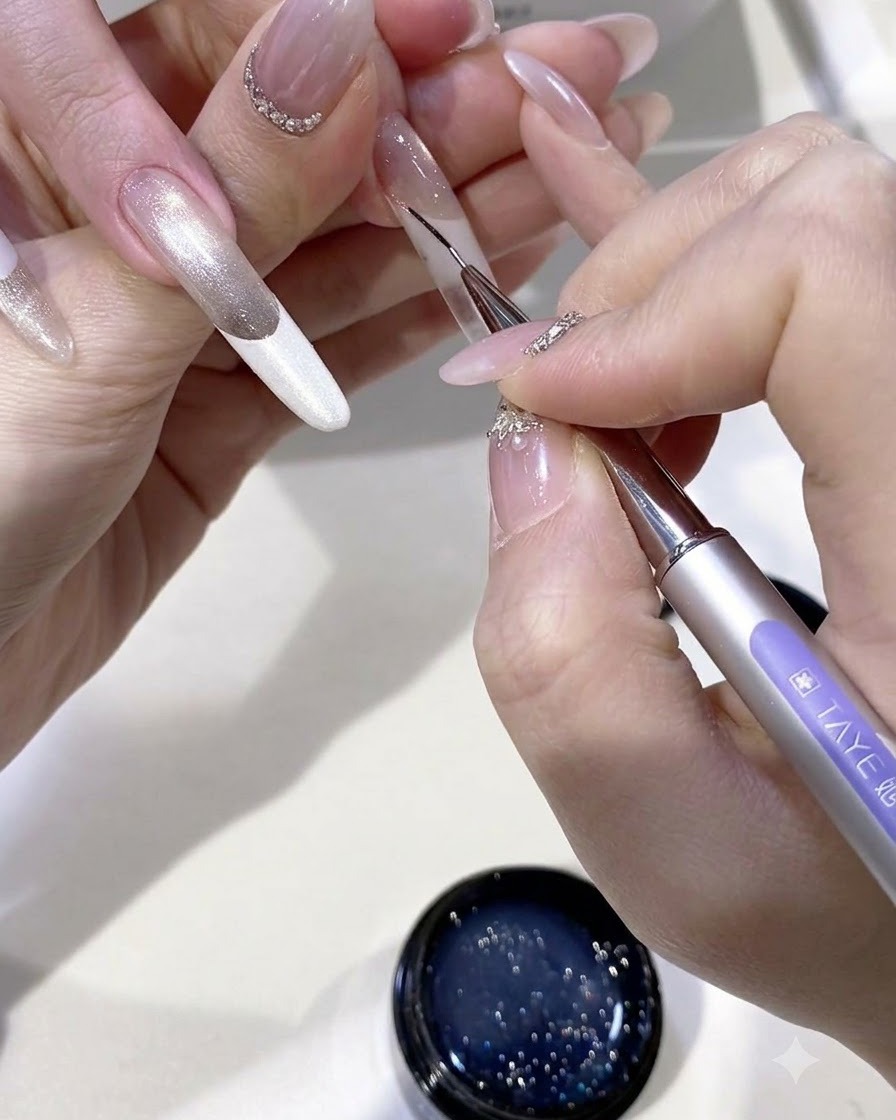
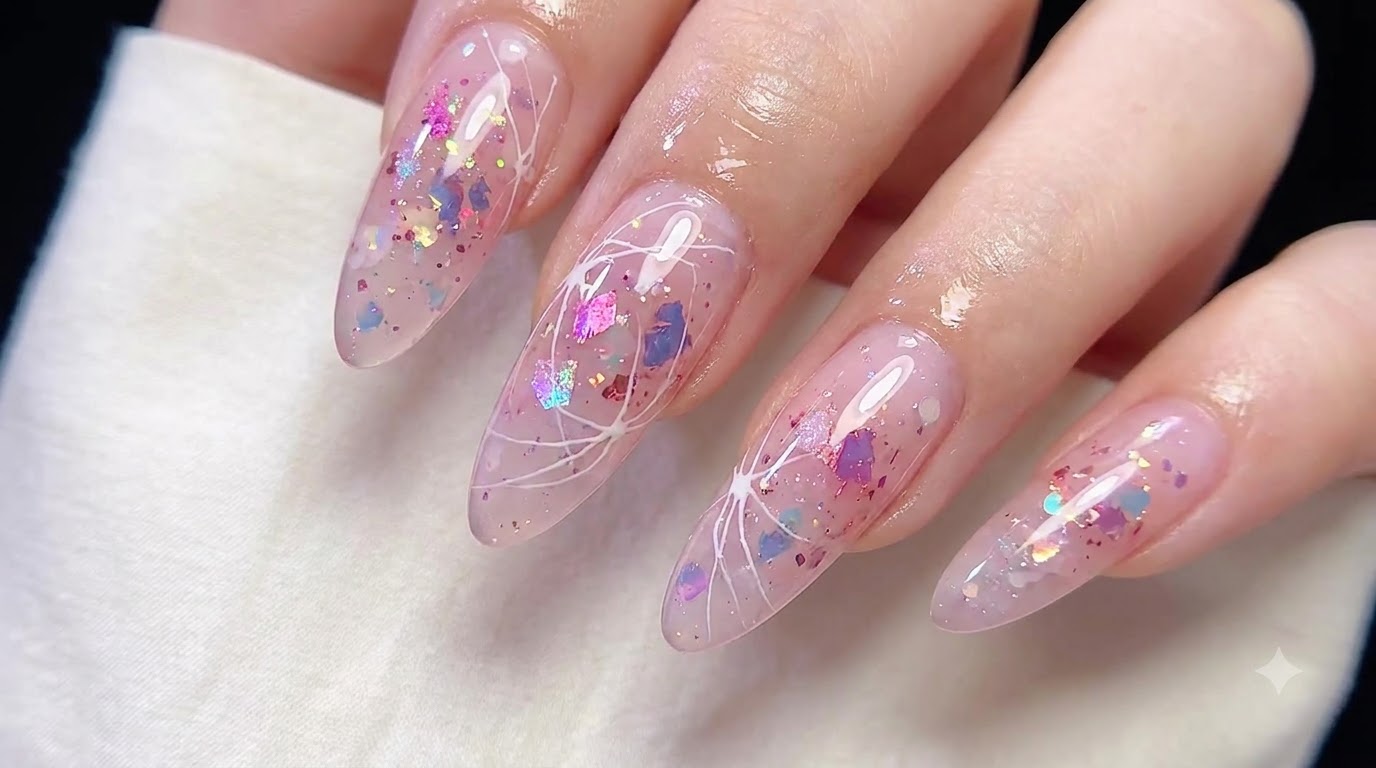
Using a fine liner brush dipped in non-cured gel, delicately draw intricate tassel patterns near the French line to add detailed decorative texture.
Tip: Work quickly and with a steady hand since the non-cured gel can spread if left too long before powder application. - 17Spray Broken Diamond Dust
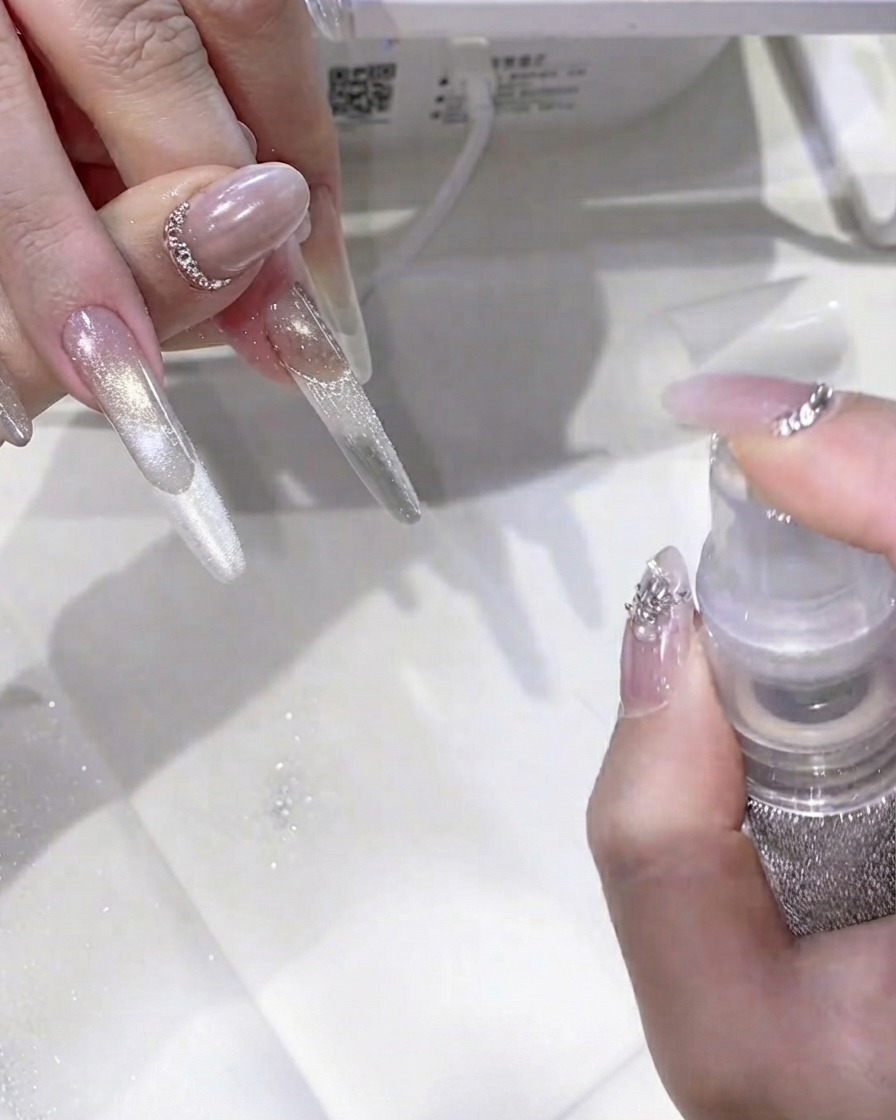
Spray broken diamond dust particles directly onto the wet tassel gel lines while the surface is still uncured. The particles will adhere instantly to the drawn pattern, creating a brilliant, textured sparkle effect. Clean up any stray dust around the surrounding skin before curing.
Tip: Hold the spray bottle at a consistent distance to ensure an even scatter of diamond dust over the wet design.