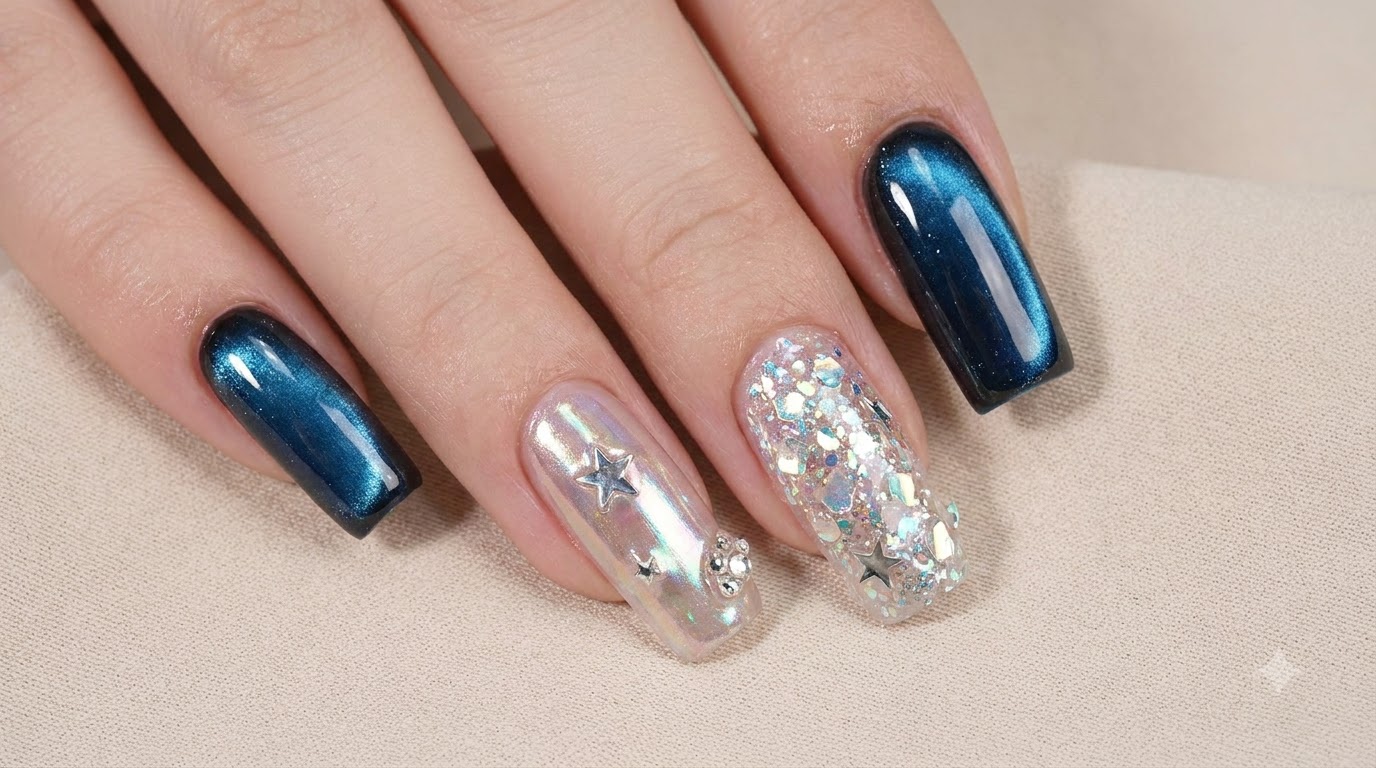
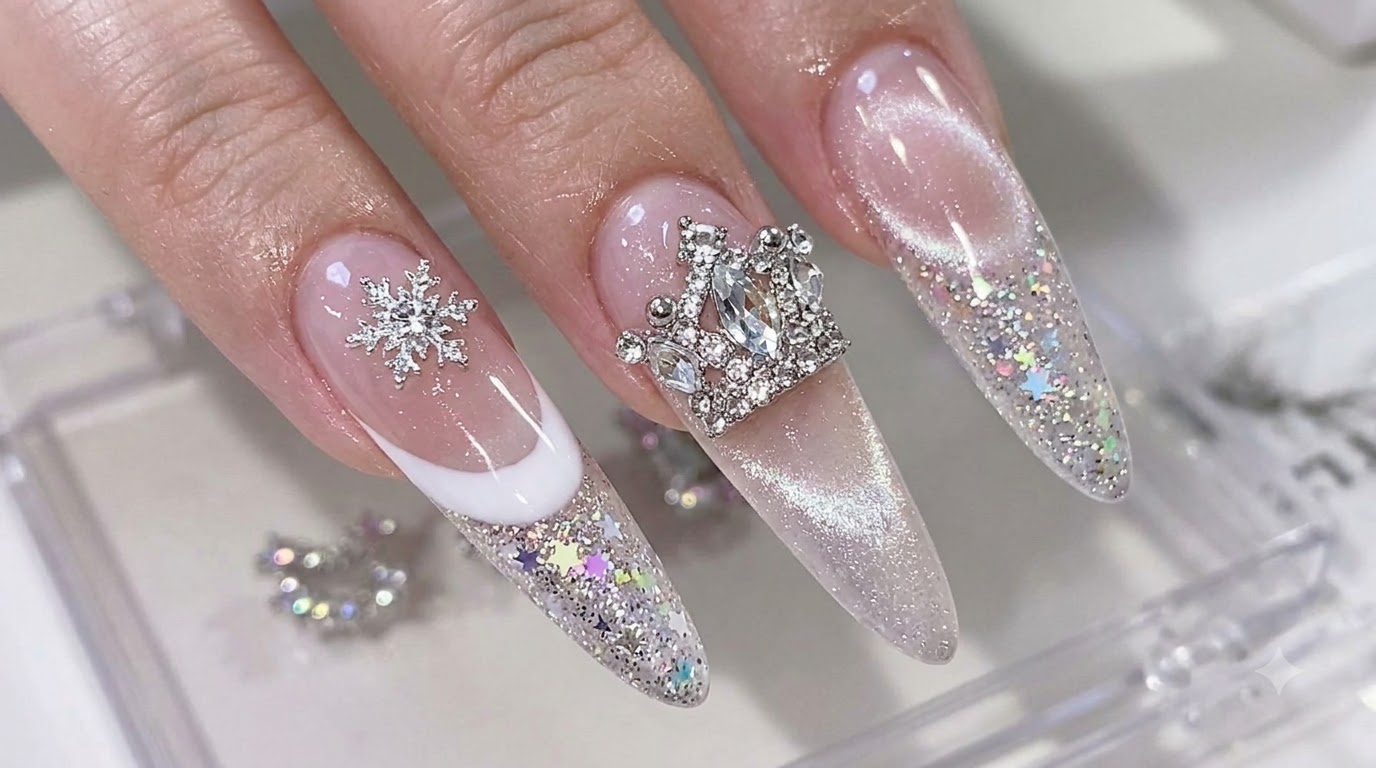
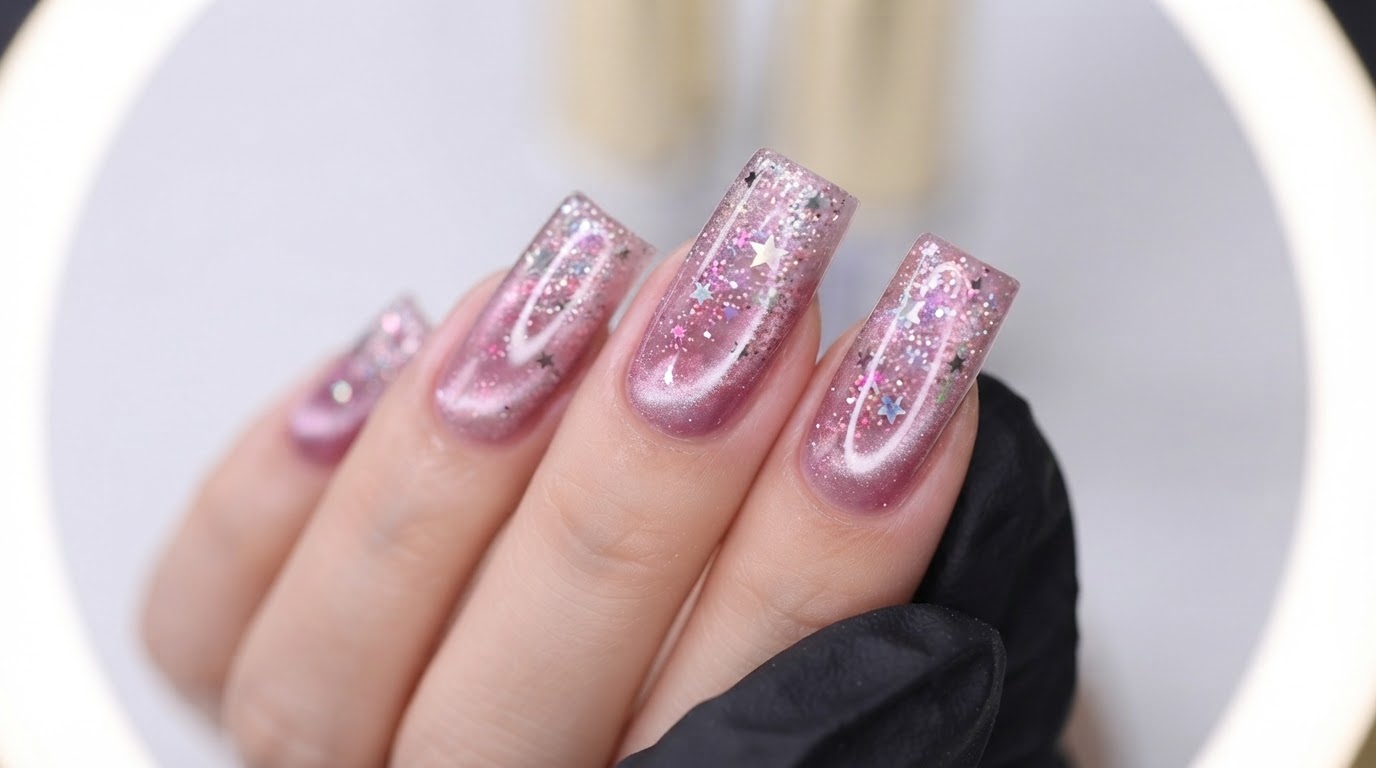
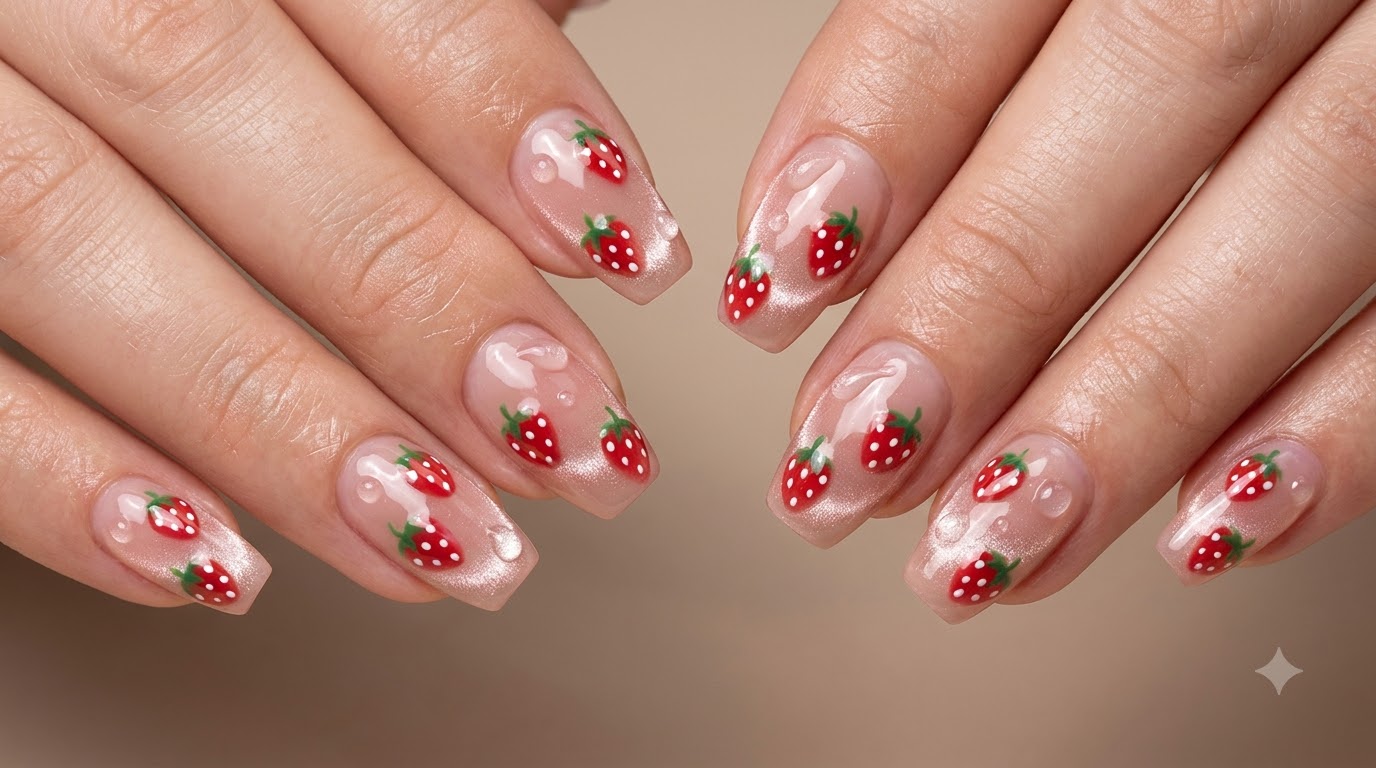
Translucent Pink Glitter
Opal Gel Nail Art Tutorial
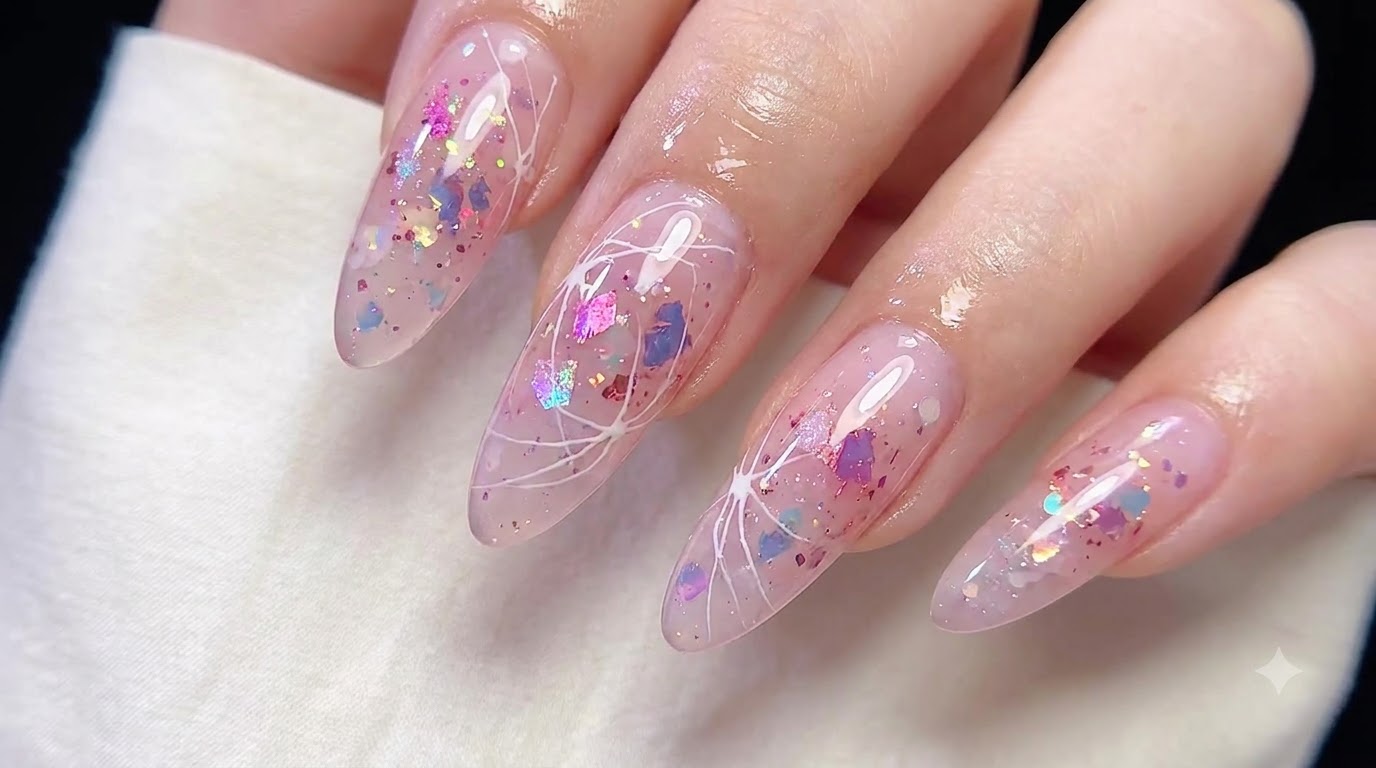
Create dreamy translucent pink gel nails featuring embedded holographic glitter flakes, opal accents, and delicate white line art with this step-by-step guide.
Encapsulated glitter and delicate line art create a mesmerizing depth that catches the light from every angle. This tutorial walks you through building a luminous translucent pink base, layering custom glitter mixtures, and adding fine details for a high-end salon finish.
Steps
- 1Apply translucent pink gel
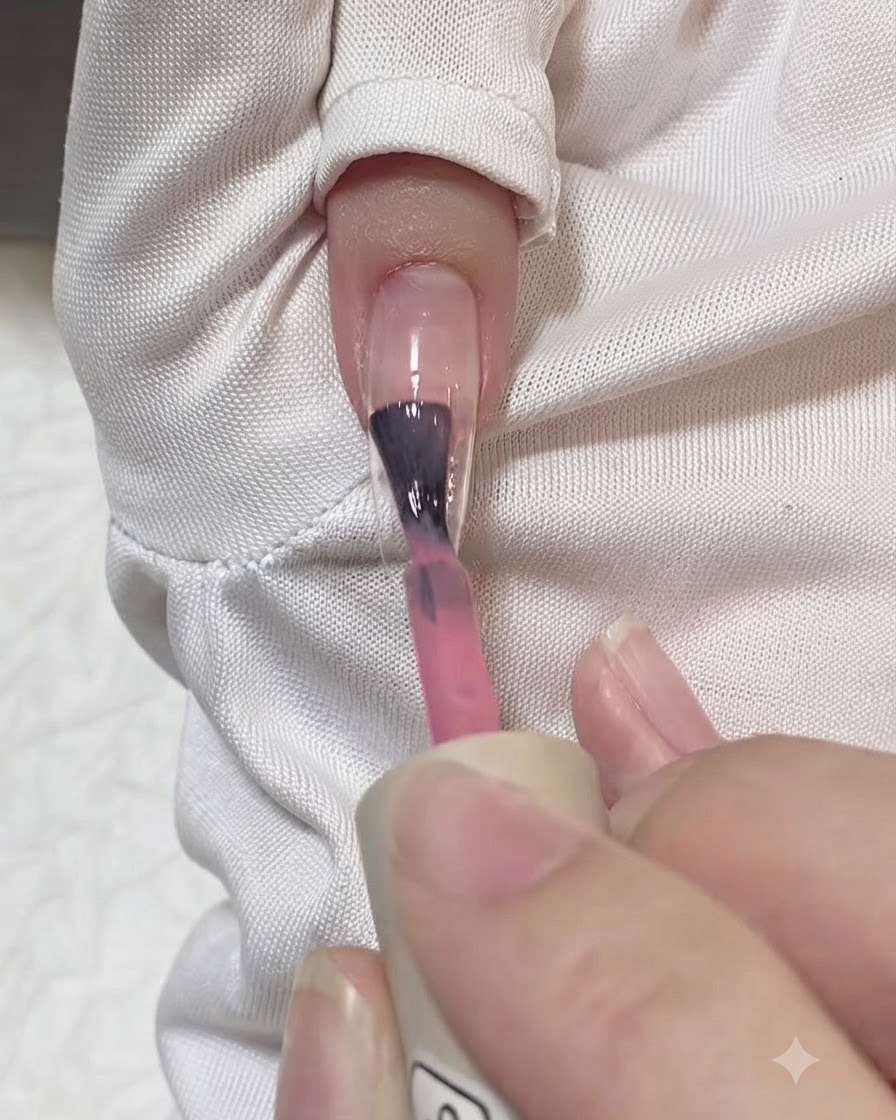
Apply a thin layer of translucent pink gel color number 5 down the center of the nail plate to begin building the base color gradient.
Tip: Keep the layer thin to prevent pooling and ensure an even color distribution. - 2Blend gel edges
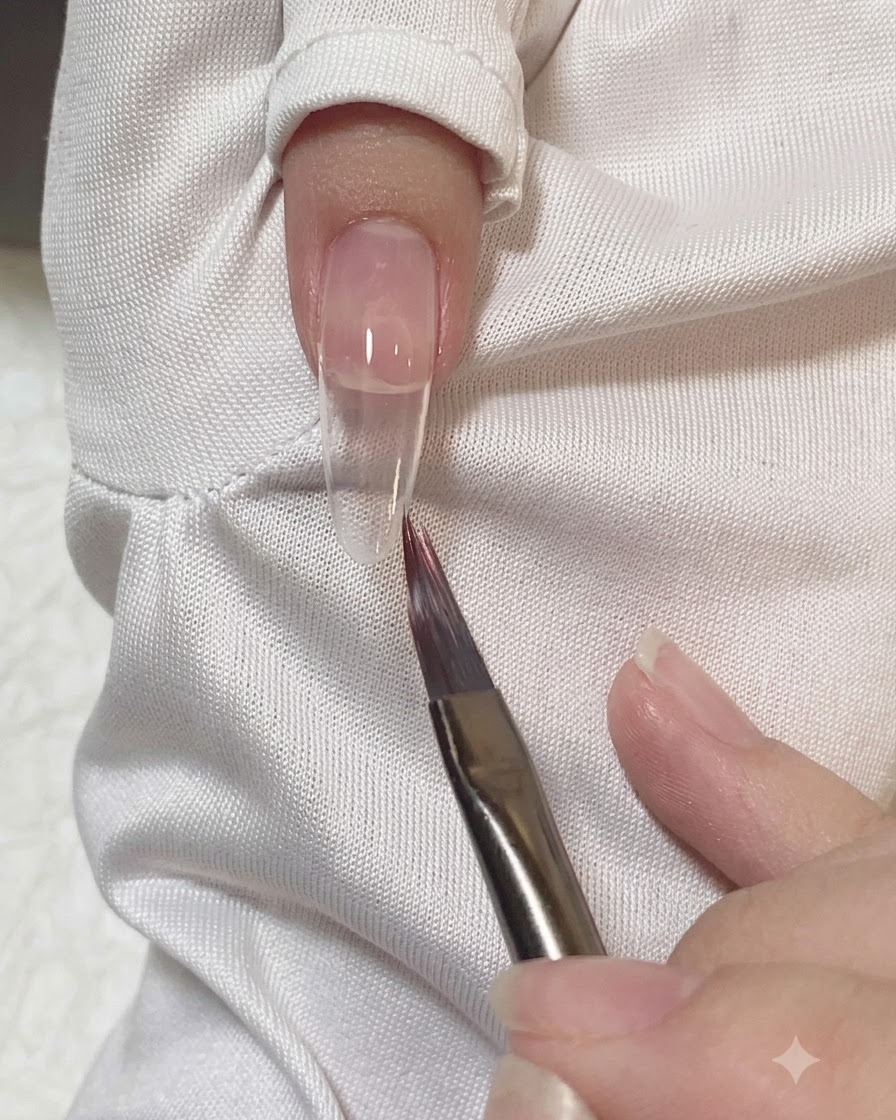
Take a clean flat brush and gently sweep along the edges of the applied pink gel to soften the borders and blend them smoothly.
Tip: Light pressure with the flat brush helps create a seamless transition without wiping away too much product. - 3Cure and repeat coat
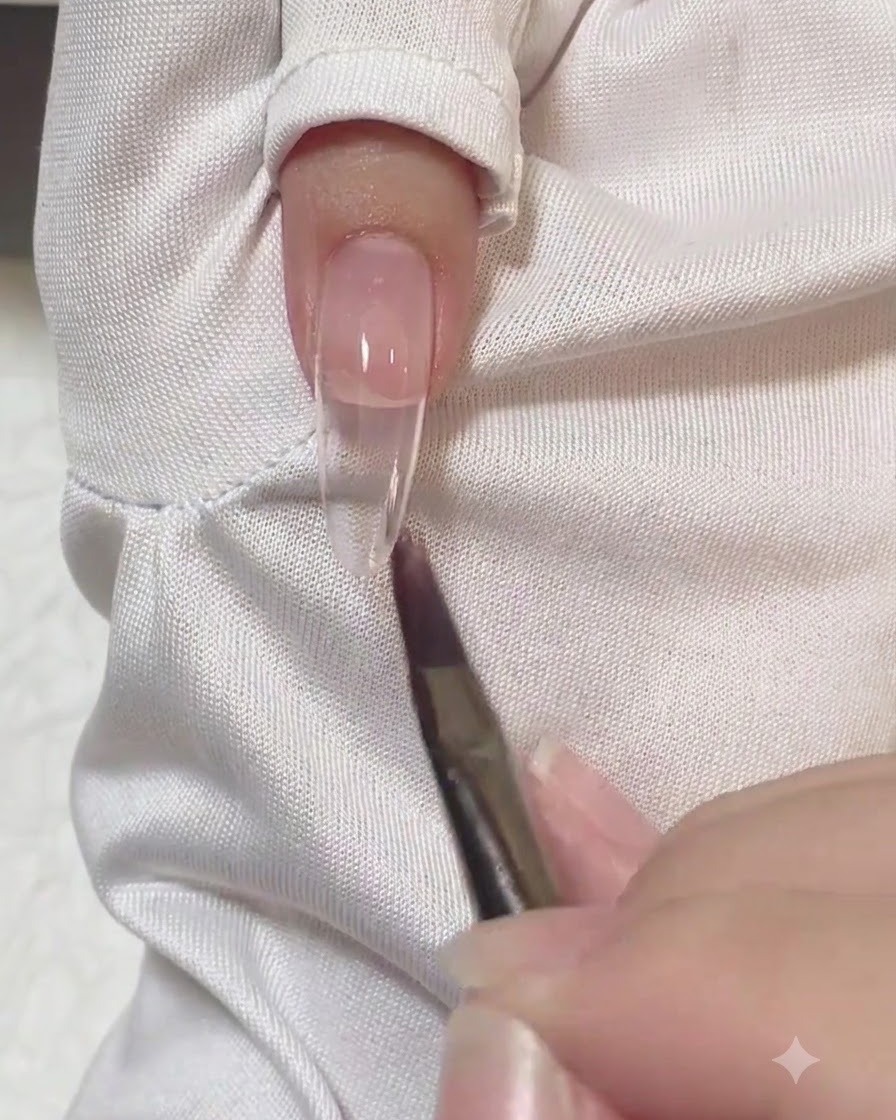
Place the hand under the UV or LED lamp to cure the first coat, then repeat the process for a second coat to enhance the color depth.
Tip: Ensure proper curing time for each layer to prevent lifting or wrinkling of the gel. - 4Dispense mixing gel
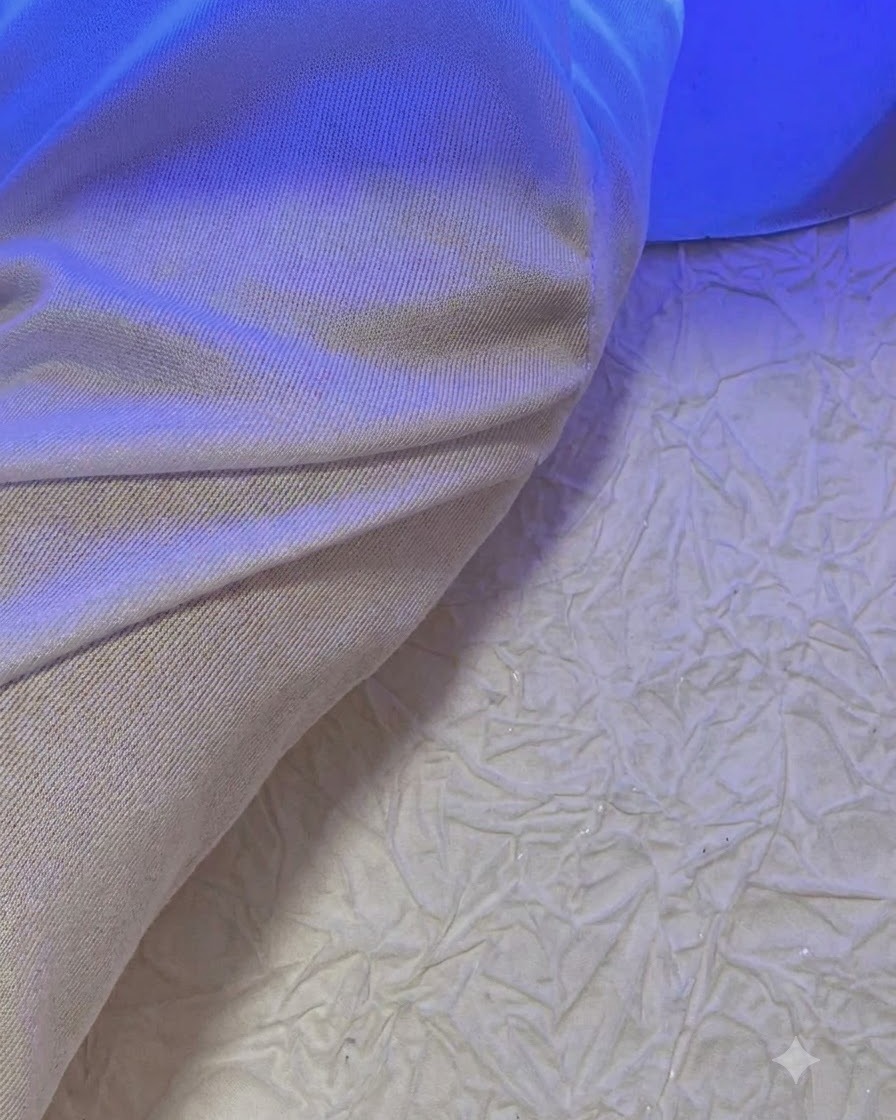
Dispense a small amount of clear mixing gel onto a wooden palette or surface to prepare for creating the custom glitter mixture.
Tip: Only dispense as much mixing gel as needed for the current step to avoid waste. - 5Mix glitter and foil flakes
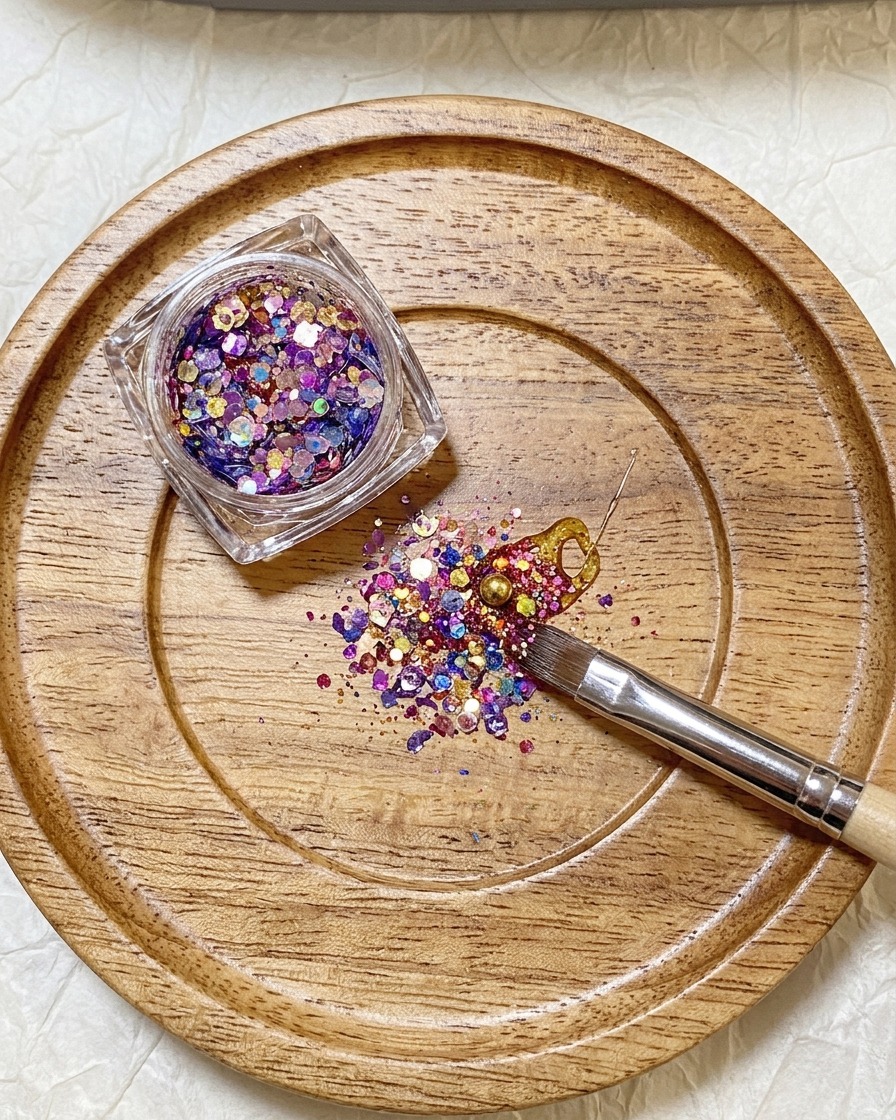
Using tweezers, pick up Korean large glitter pieces and foil flakes, then thoroughly mix them into the dispensed mixing gel.
Tip: Combine various flake sizes to create a rich, dimensional texture in your glitter mixture. - 6Apply mixed glitter gel
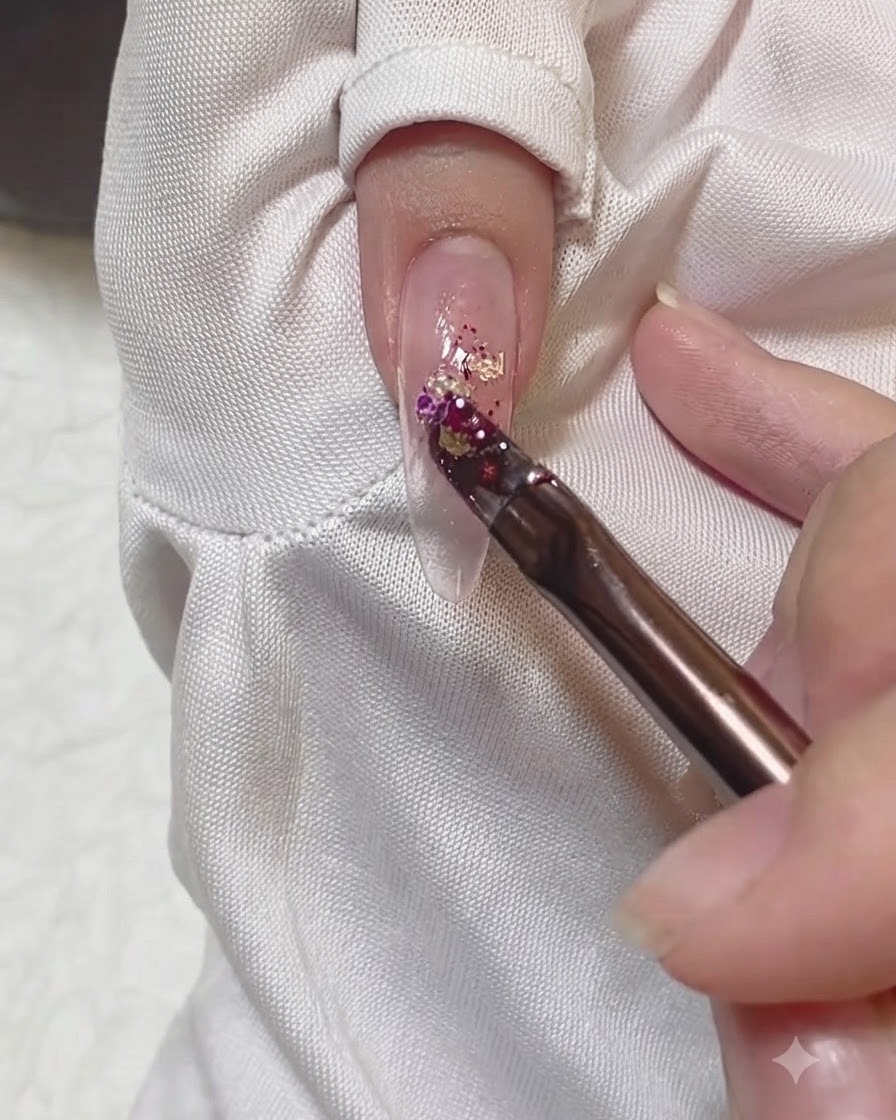
Pick up a portion of the custom glitter gel mixture with your brush and place it precisely in the center of the nail plate, spreading it in a narrow column.
Tip: Keep the glitter application centered and narrow to maintain a clean structure and prevent the nail from looking too bulky. - 7Apply Coastal Jade Gel
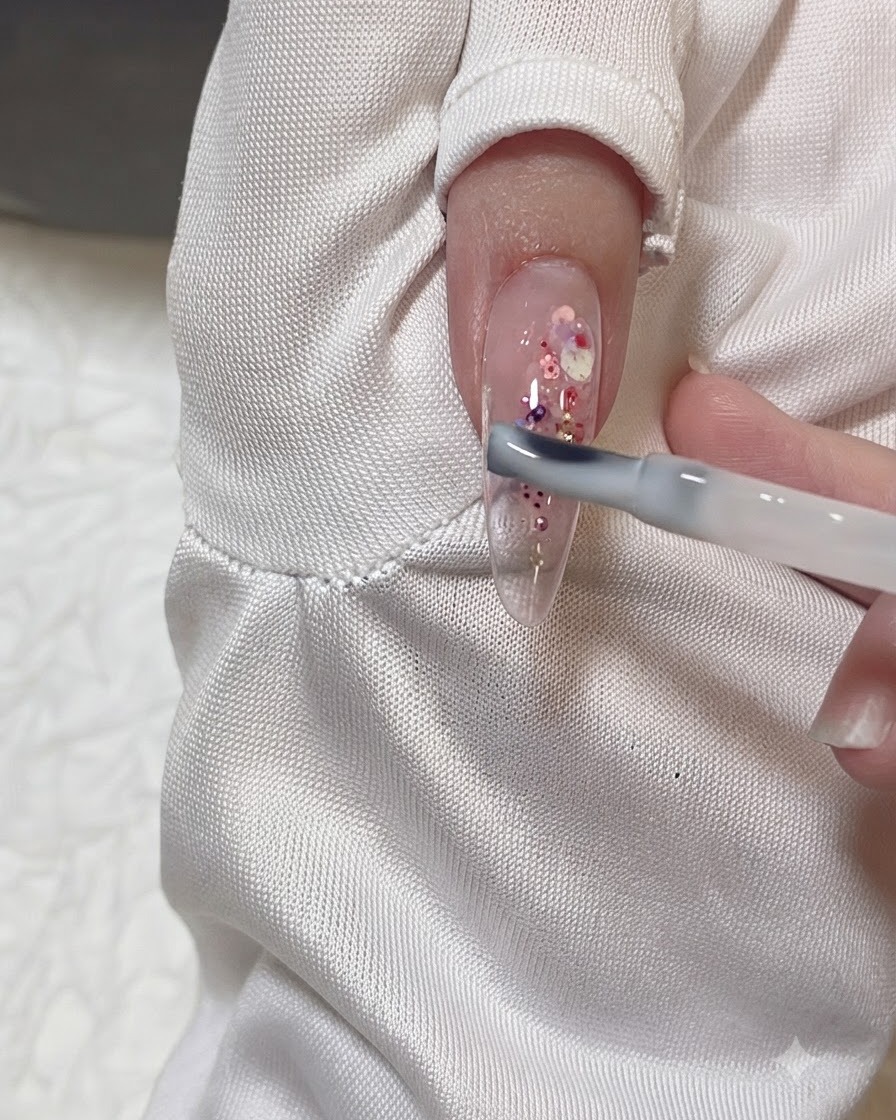
Apply a thin, even layer of the coastal jade gel over the nail plate, blending it softly over the embedded glitter. Keeping this layer sheer softens the sharp edges of the glitter flakes and adds a beautiful, cloudy depth to the translucent design without completely hiding the sparkle.
Tip: Use a light hand and a floating motion with your brush to glide the gel over the glitter flakes so you dont displace them. - 8Clean Up the Edges
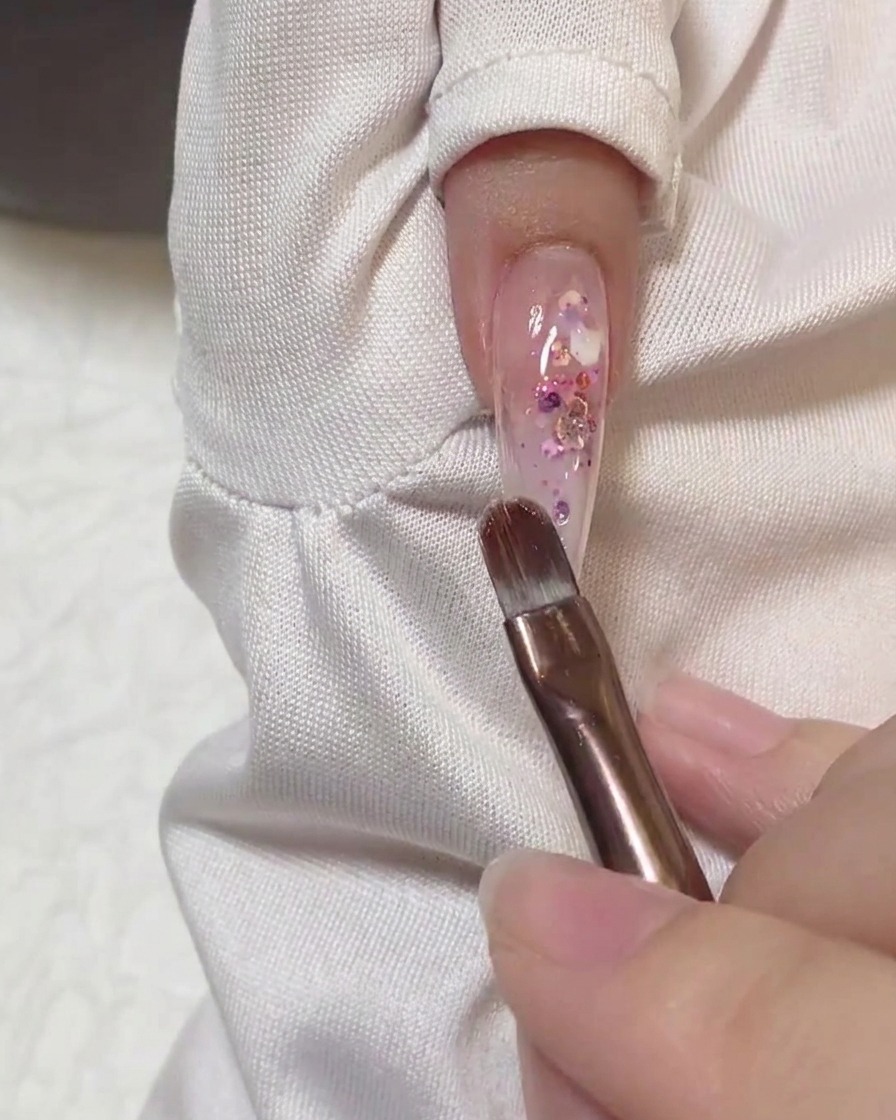
After blending the gel for a smooth ombre effect, use a clean, flat brush to gently pat along the sidewalls and edges of the nail. This step cleans up any stray product, ensures the nail shape remains crisp, and prevents the gel from pooling in the crevices before curing.
Tip: Lightly dampen your flat brush with isopropyl alcohol to easily wipe away excess gel without dragging the product on the nail. - 9Apply Reinforcing Builder Gel
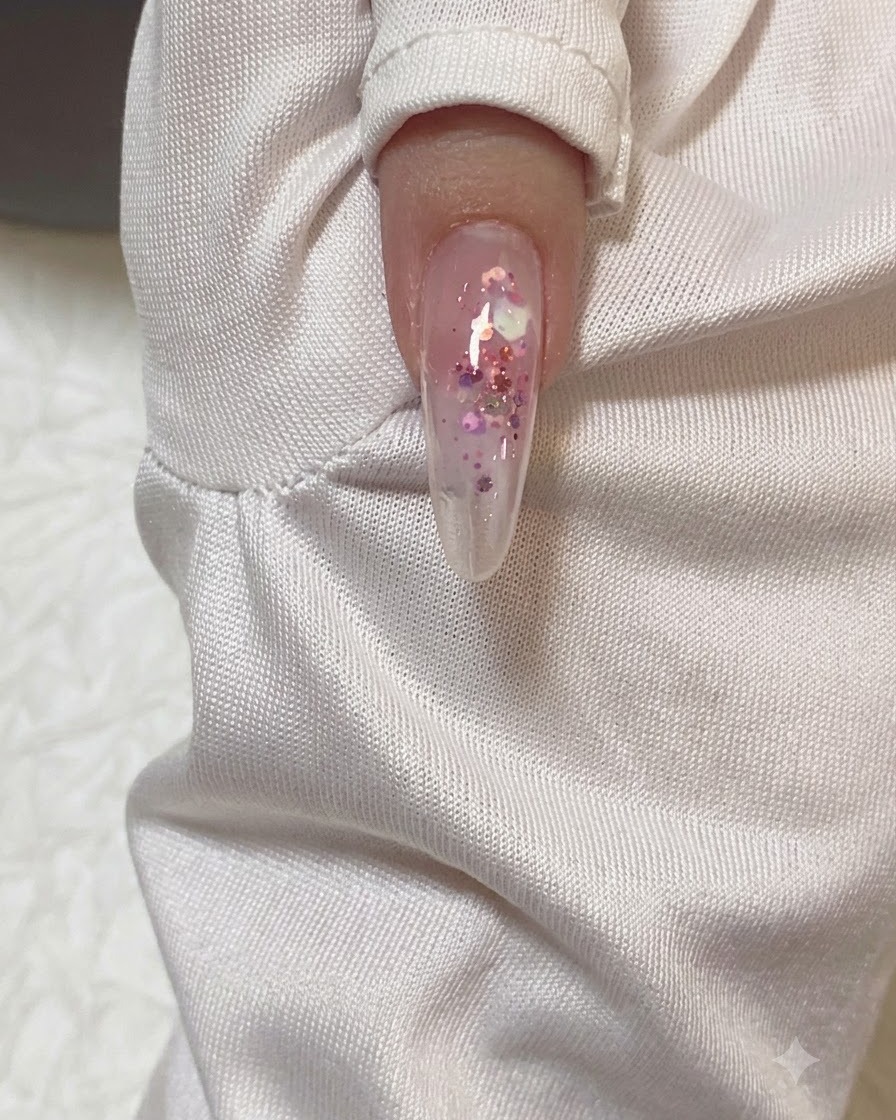
Apply a thin layer of reinforcing builder gel over the nail surface to help level and smooth out any uneven areas. This adds structural strength to protect the underlying glitter and nail art. Cure under the lamp afterward.
Tip: Ensure the layer is applied evenly to maintain a natural profile without adding excessive bulk. - 10Wipe Inhibition Layer
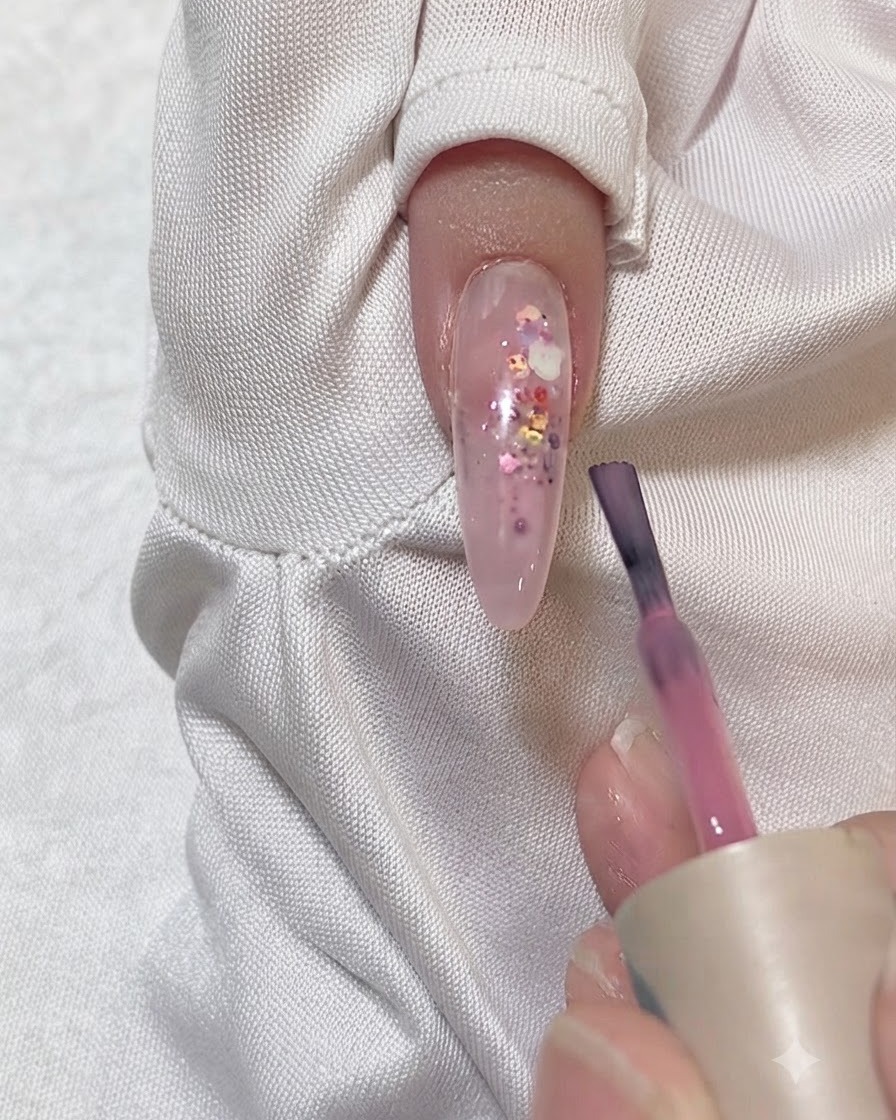
Use a cleanser and a lint-free wipe to thoroughly remove the sticky inhibition layer left on the nail surface after curing the builder gel. This creates a clean, smooth surface ready for the next decorative steps.
Tip: Wipe firmly from the cuticle down to the free edge to ensure all residue is completely removed. - 11Apply Pink Gel to the Tips
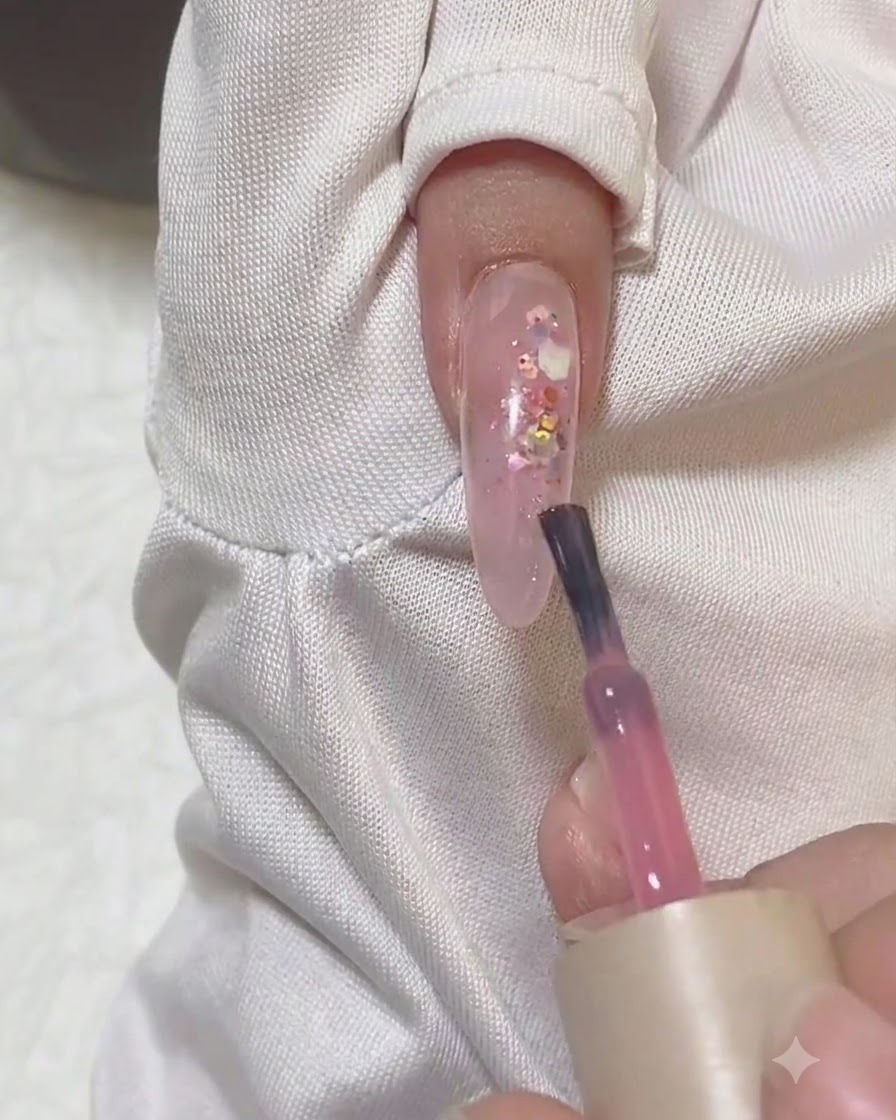
Brush a thin layer of translucent pink gel polish onto the free edge of the nail. Focus the color pigment right at the fingertip, leaving the upper portion untouched to prepare for the gradient fade. This will layer a pop of pink over the encapsulated glitter.
Tip: Keep this pink layer as thin as possible to prevent bulkiness at the tip of the nail before you begin blending. - 12Blend Tip Color for Ombre
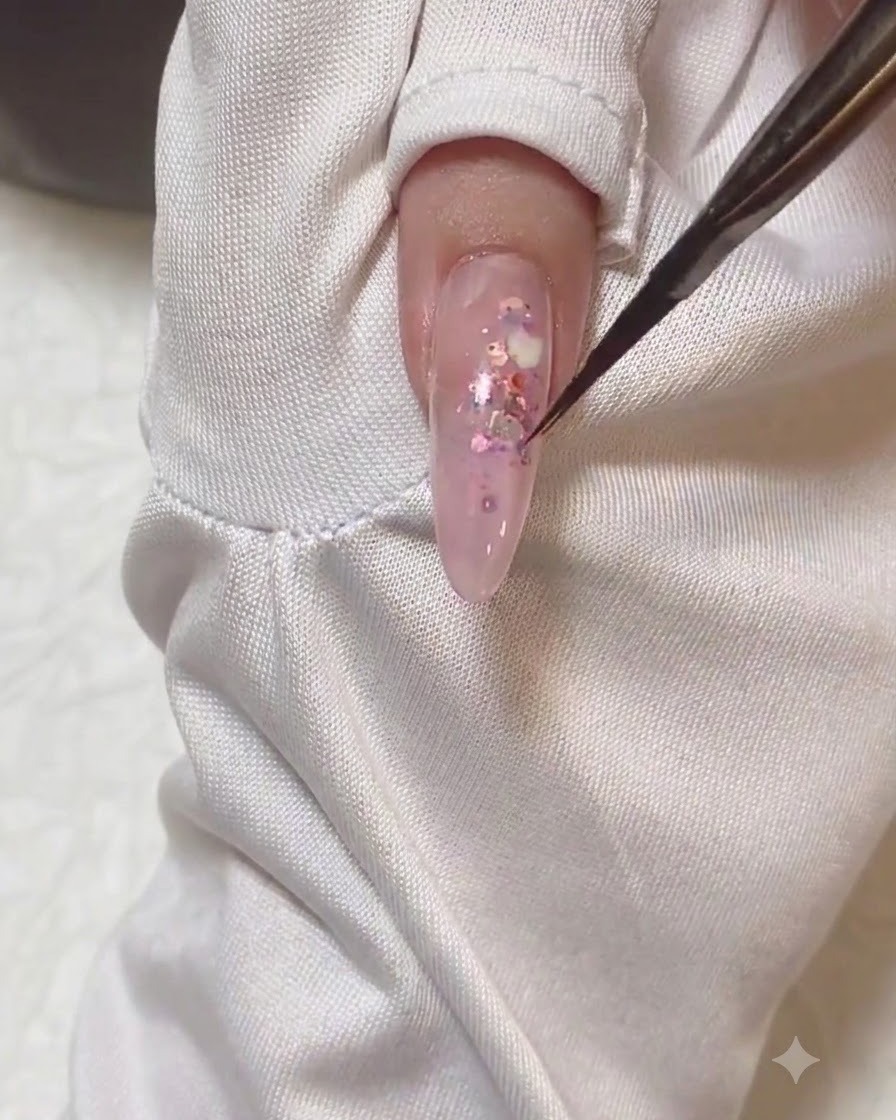
Take a gradient sweep brush and gently feather out the pink gel color applied at the fingertips. This creates a smooth, soft ombre transition from the center to the free edge.
Tip: Use light, sweeping motions to avoid harsh lines and achieve a seamless gradient effect. - 13Apply Spider Gel Lines
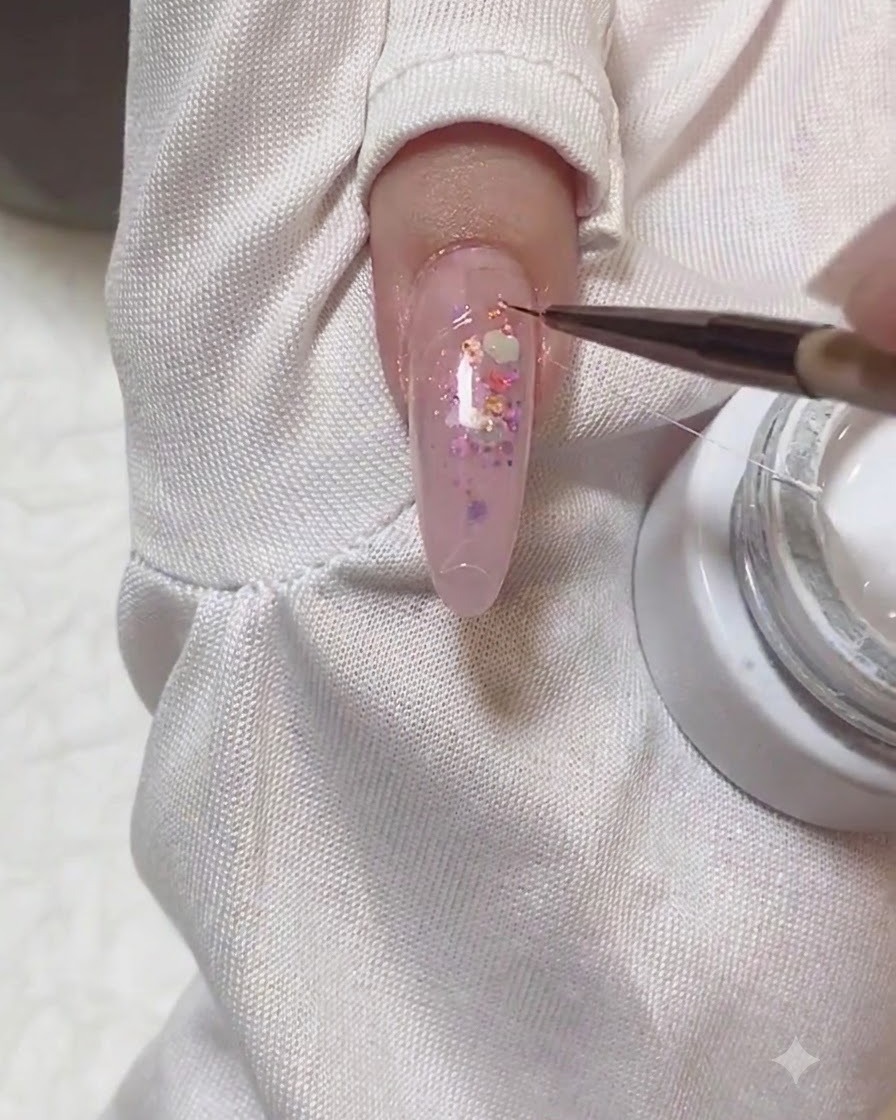
Using a fine detailing tool and elastic spider gel, draw delicate, thin lines across the nail surface to add intricate geometric or abstract detail to the design. Cure under the lamp when finished.
Tip: Pull the gel steadily to create clean, unbroken elastic threads across the nail. - 14Apply tempered top coat
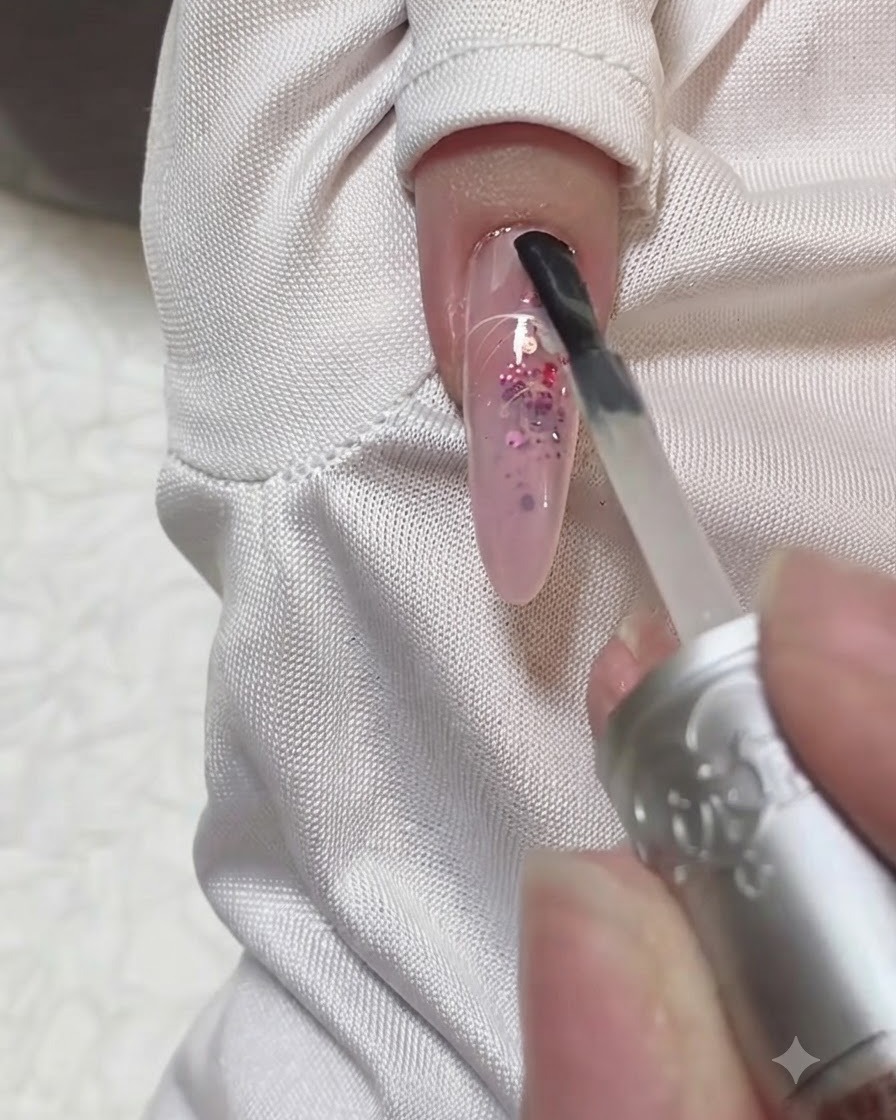
Apply a thin layer of tempered crystal top coat over the entire nail surface, sealing the free edge to protect the design and provide long-lasting shine. Cure under the UV or LED lamp as recommended to complete the manicure.
Tip: Make sure to cap the free edge with top coat to prevent chipping and lifting along the tips.