Sparkling Galaxy Cat Eye
Star Nail Art — Step-by-Step Tutorial
Create dreamy galaxy style nails using flashing cat eye gel, crushed diamond glitter, and encapsulated star flakes with this easy tutorial.
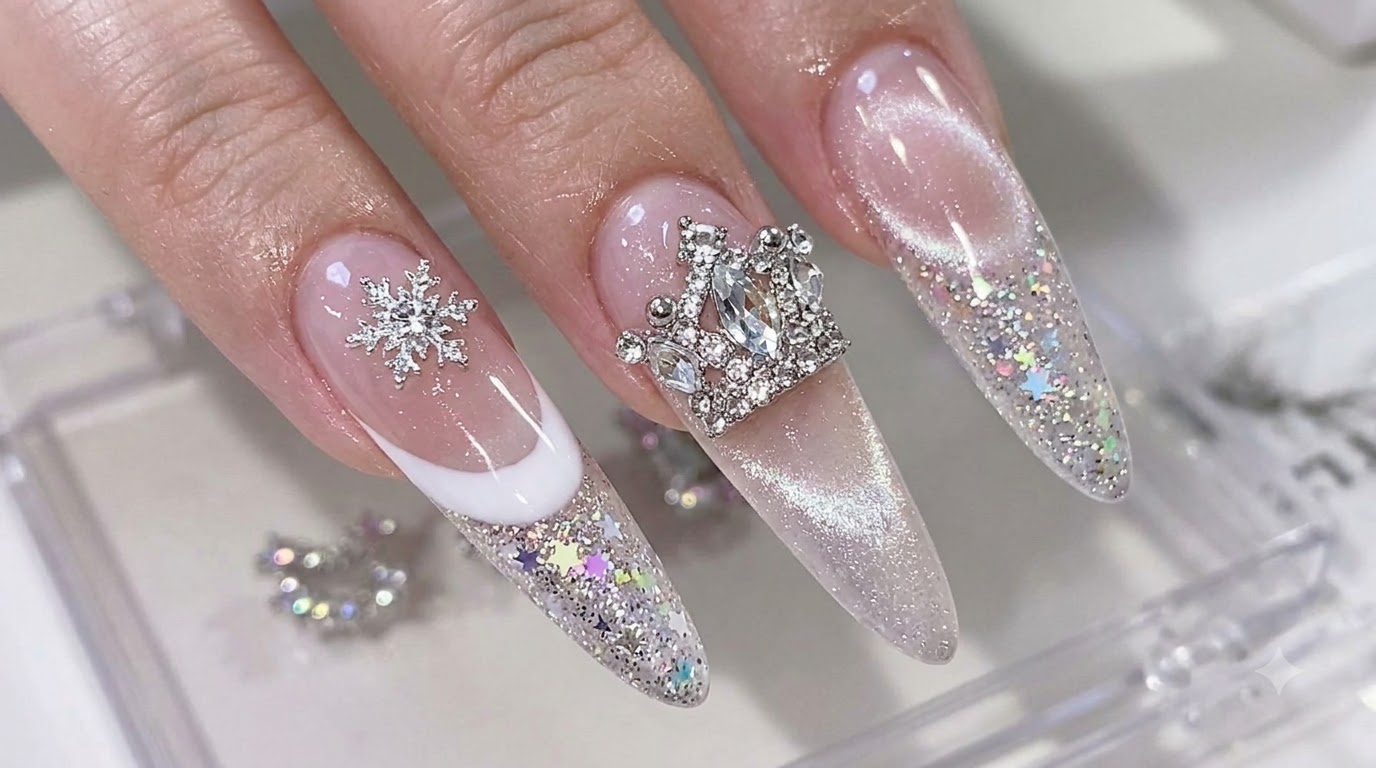
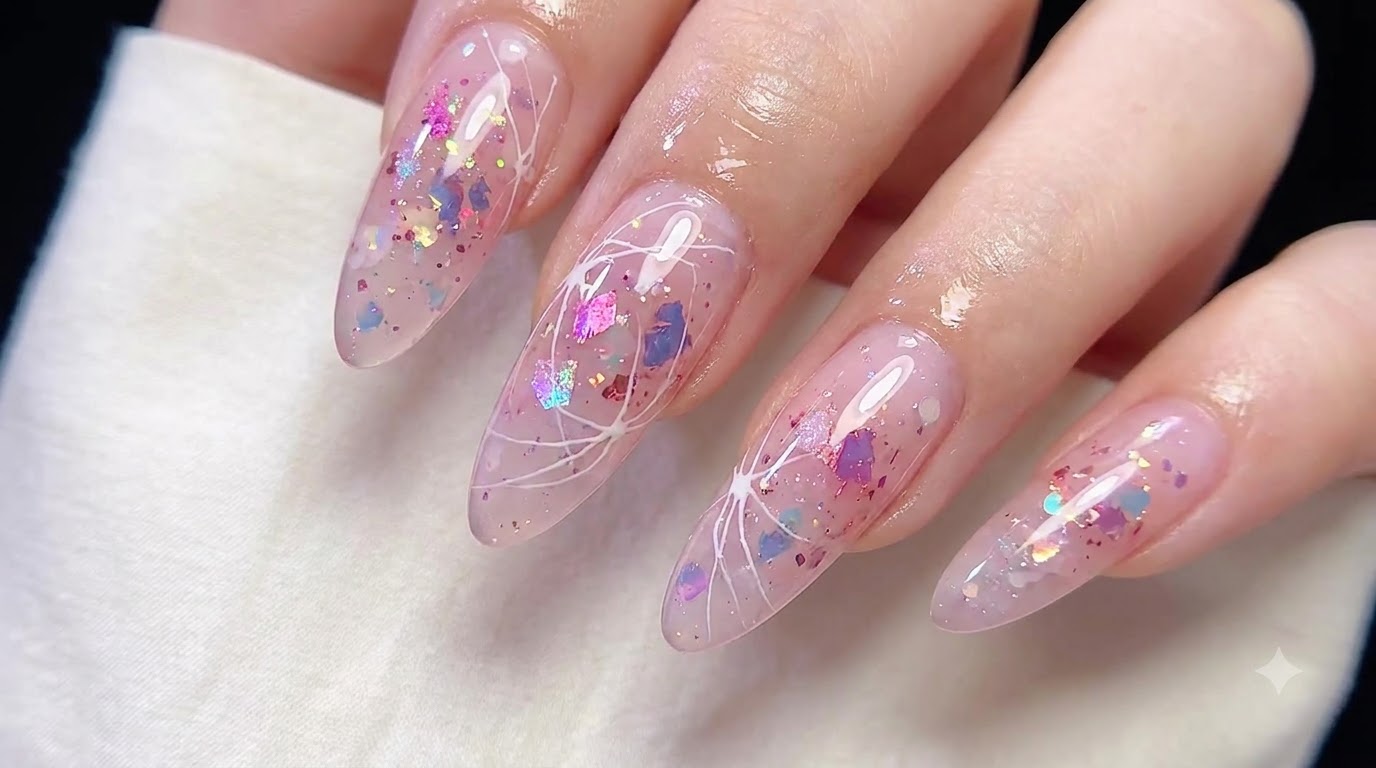
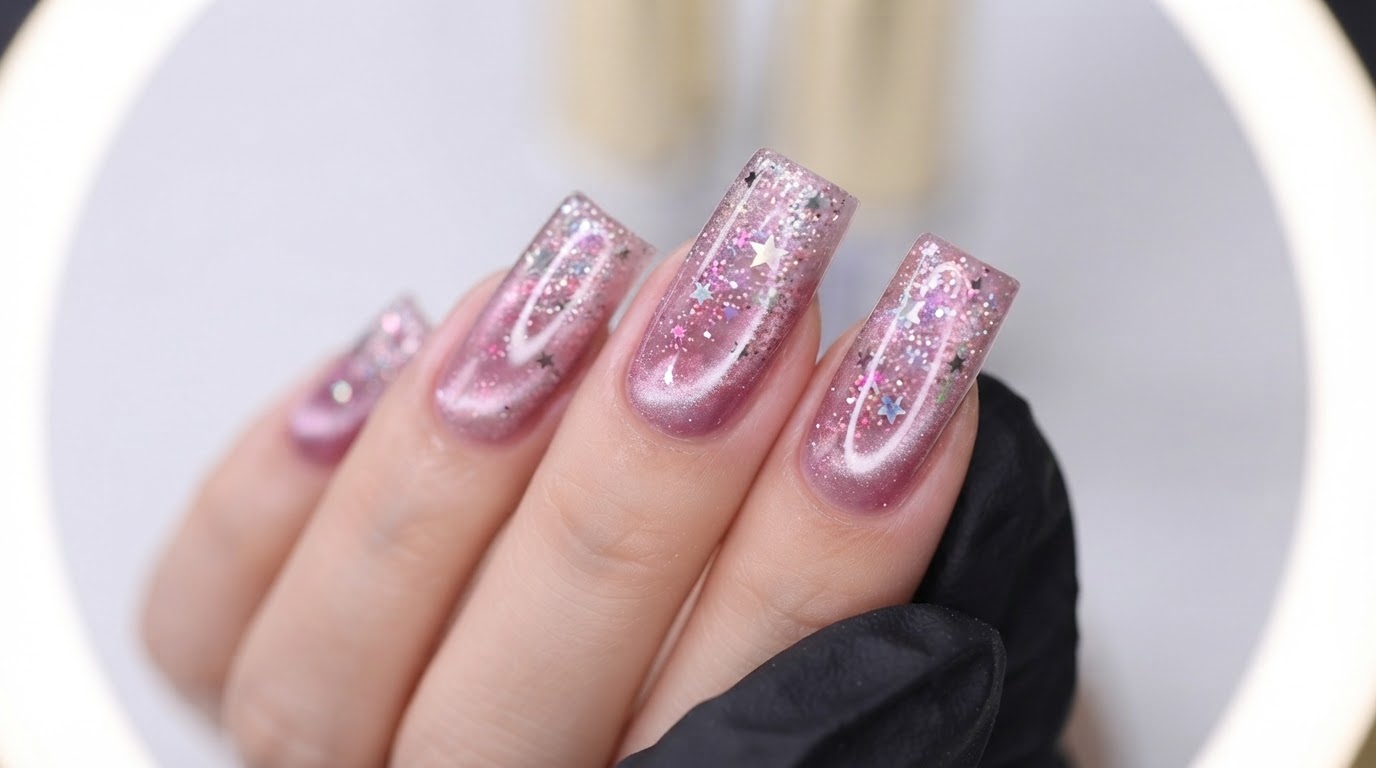
Galaxy and celestial nails have taken over trends with their mesmerizing depth and multi-dimensional shine. This look combines a translucent cat eye base with rich crushed diamond glitter and delicate star flakes for an unbelievably pretty finish that catches the light from every angle.
Steps
- 1Apply Peel-Off Base Coat
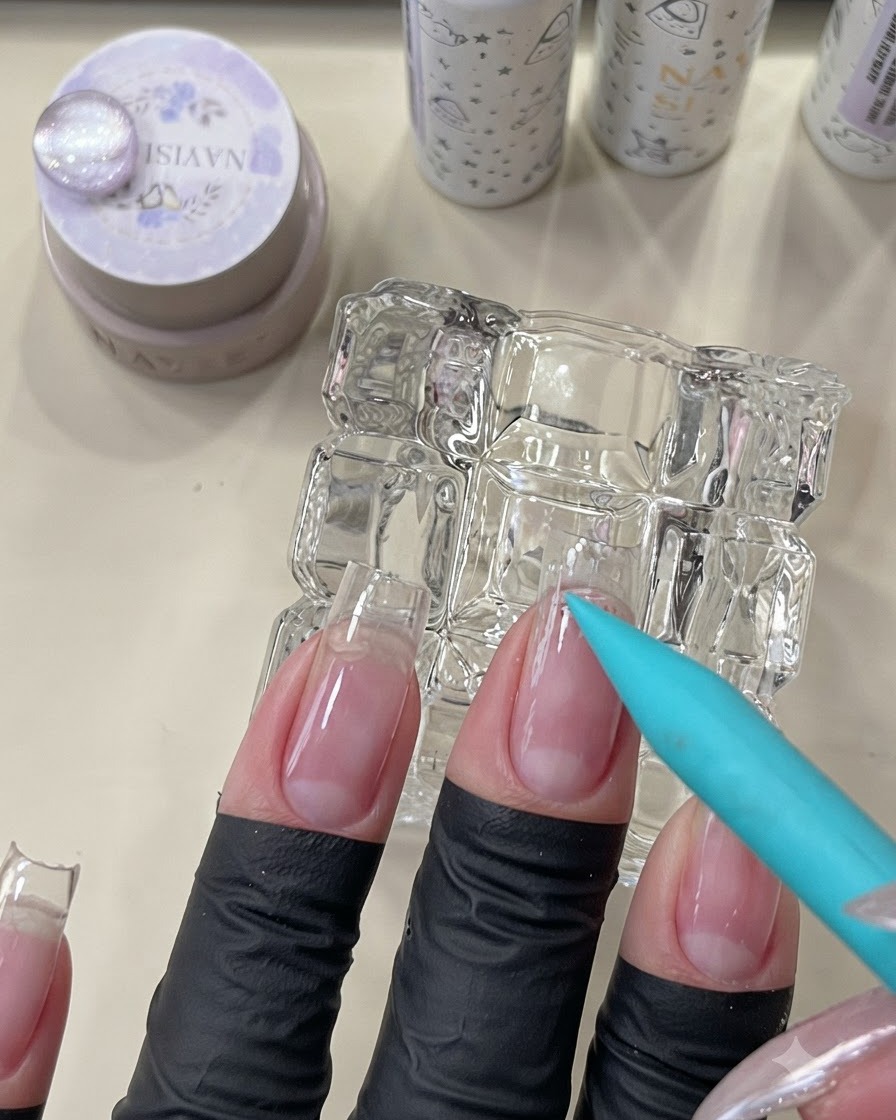
Apply a peel-off base coat specifically around the cuticle area using a brush. This protective layer makes it easy to remove the entire manicure later without harsh soaking or filing. Keep the application neat and avoid flooding the skin.
Tip: Applying a peel-off base coat in the center of the nail while leaving a small border helps protect your natural nails and ensures clean removal. - 2Cure Peel-Off Base Coat
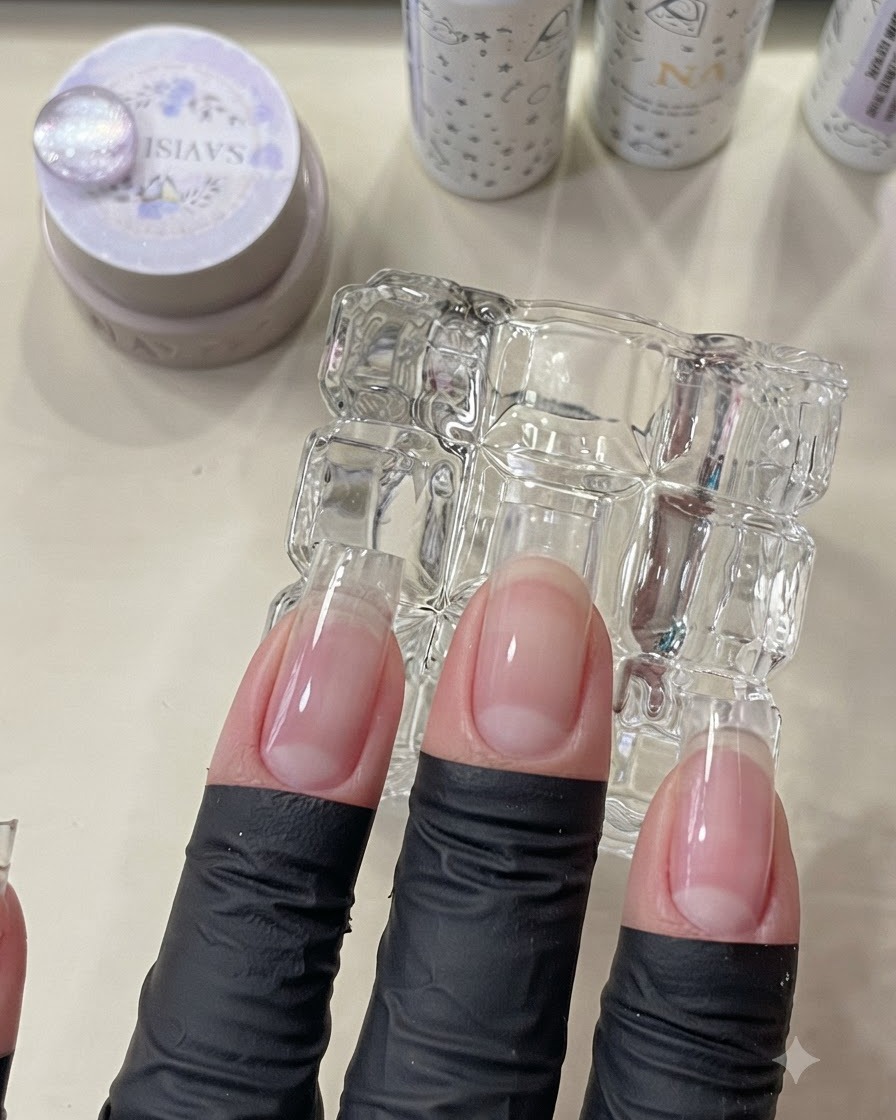
Place your hand under a UV/LED mini lamp to cure the freshly applied peel-off base coat. Ensure the light hits the entire nail surface evenly so the layer sets properly before the next step.
Tip: Hold the mini lamp steady over each finger to make sure the base coat cures completely without shifting. - 3Apply Flashing Cat Eye Gel
Apply a thin layer of highly flashing cat eye gel directly onto the nail plate. Keep the layer light and translucent rather than thick, allowing the reflective particles to disperse evenly.
Tip: A thinner coat helps maintain a translucent look and prevents the cat eye gel from wrinkling under the lamp. - 4Magnetize Cat Eye Gel
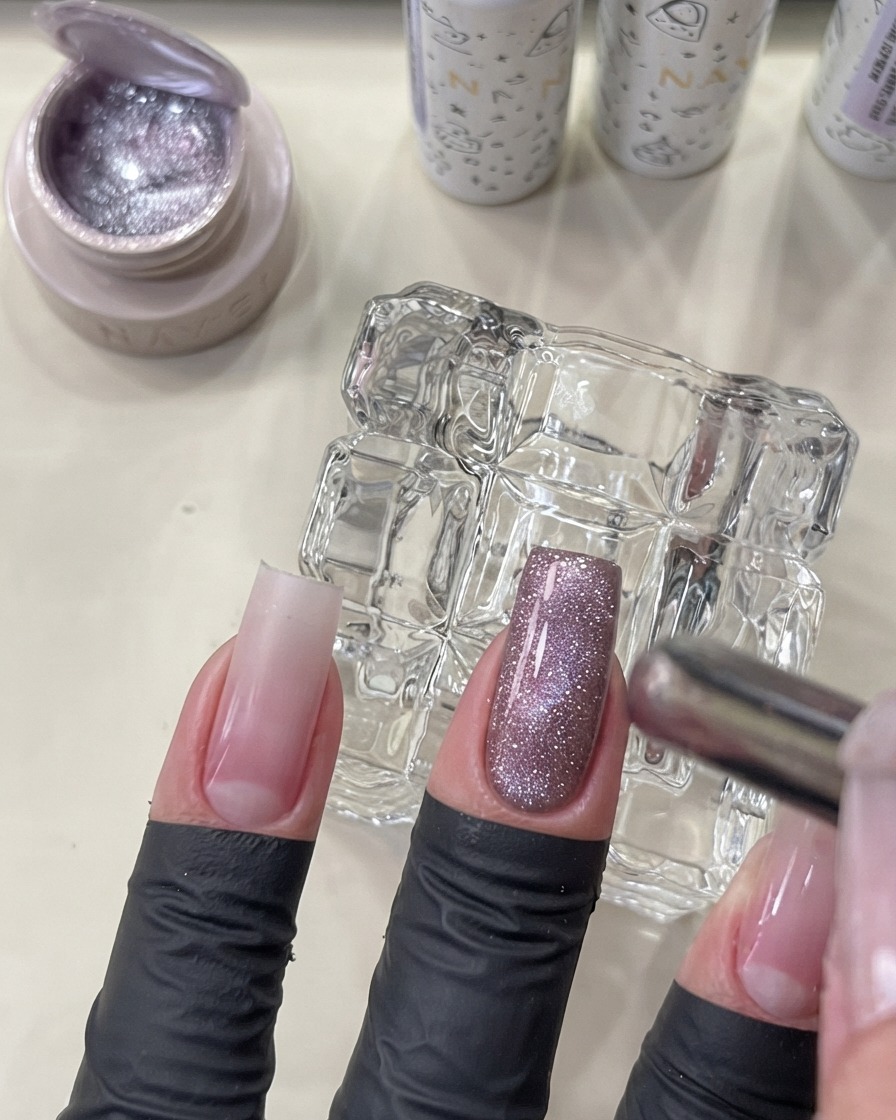
Hold a magnetic wand closely over the uncured cat eye gel to pull the reflective magnetic particles into a concentrated glass bead effect. Hover the magnet until you achieve the desired sharp line or glowing center.
Tip: Keep the magnet steady and close to the nail without touching the wet surface to get a sharp, well-defined cat eye beam. - 5Cure Cat Eye Gel
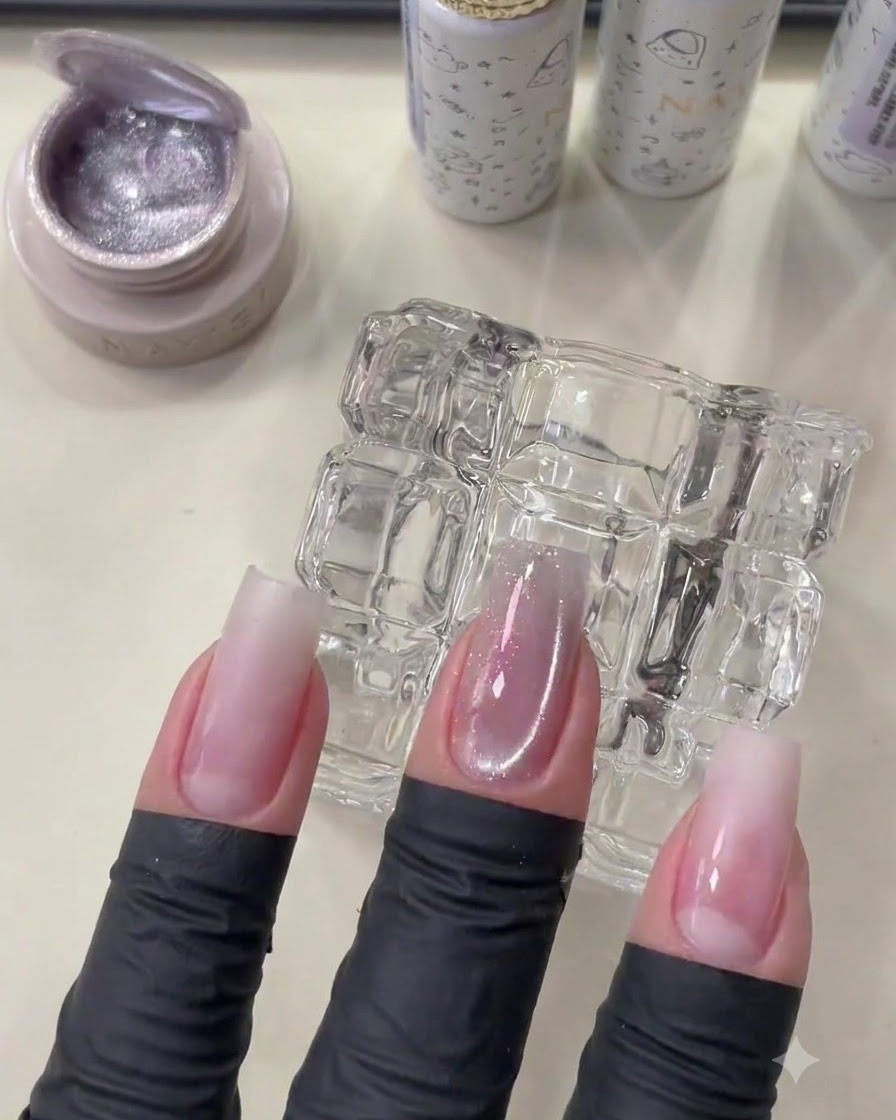
Place your hand under the UV/LED lamp to cure and lock in the magnetized cat eye gel effect. This ensures the glass bead design stays set in place before moving on to gradient shading.
Tip: Cure immediately after magnetizing so the particles do not drift or lose their concentrated shape. - 6Apply Crushed Diamond Gradient
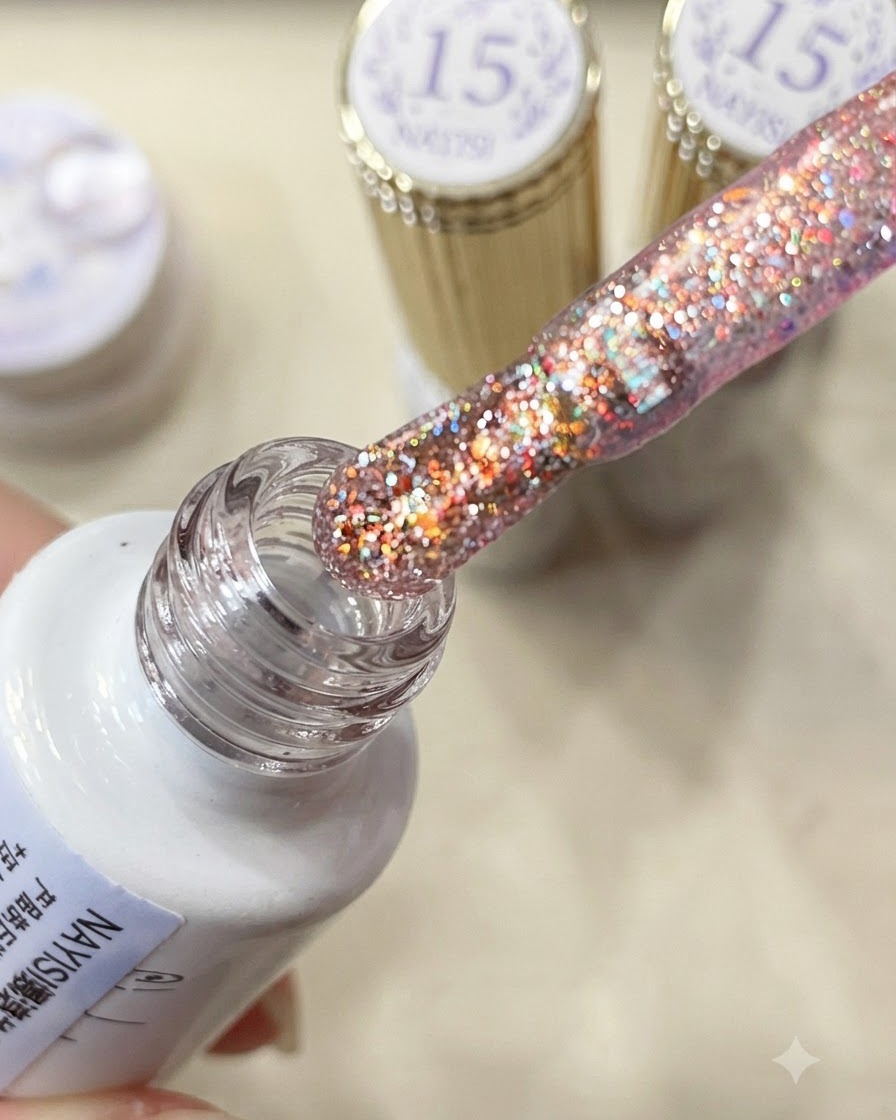
Dip the brush into a rich pink-purple European-style crushed diamond glitter gel. Apply it selectively to the nail tip to build a large-area gradient effect, blending softly downward.
Tip: Wipe excess product off the brush before applying to create a smooth, natural gradient transition on the tip. - 7Apply warm orange glitter accent
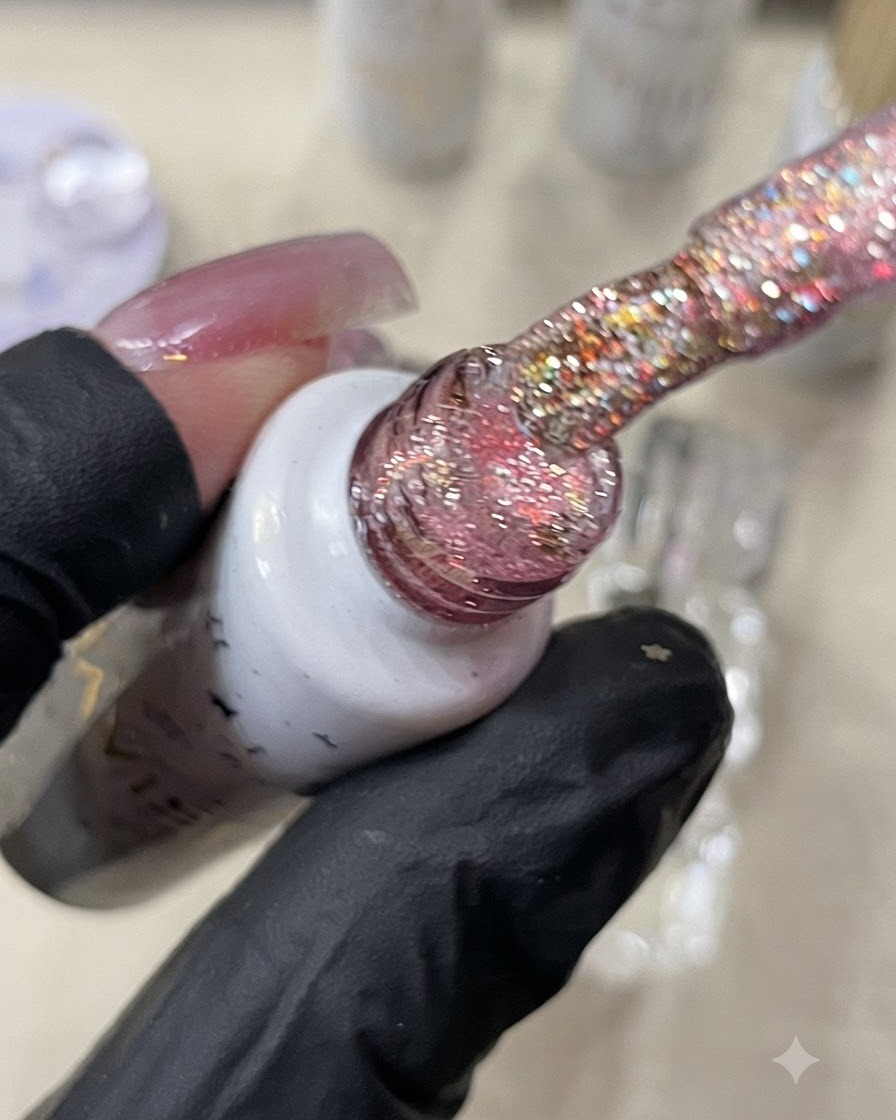
Apply a small accent of warm orange glitter gel onto the surface of the nail over the gradient base. This adds a vibrant pop of color and warmth to complement the pink-purple crushed diamond base, setting up the dimensional nail art effect before blending.
Tip: Keep the accent dot controlled in size so it is easier to feather and blend smoothly into the surrounding glitter. - 8Blend the glitter accent
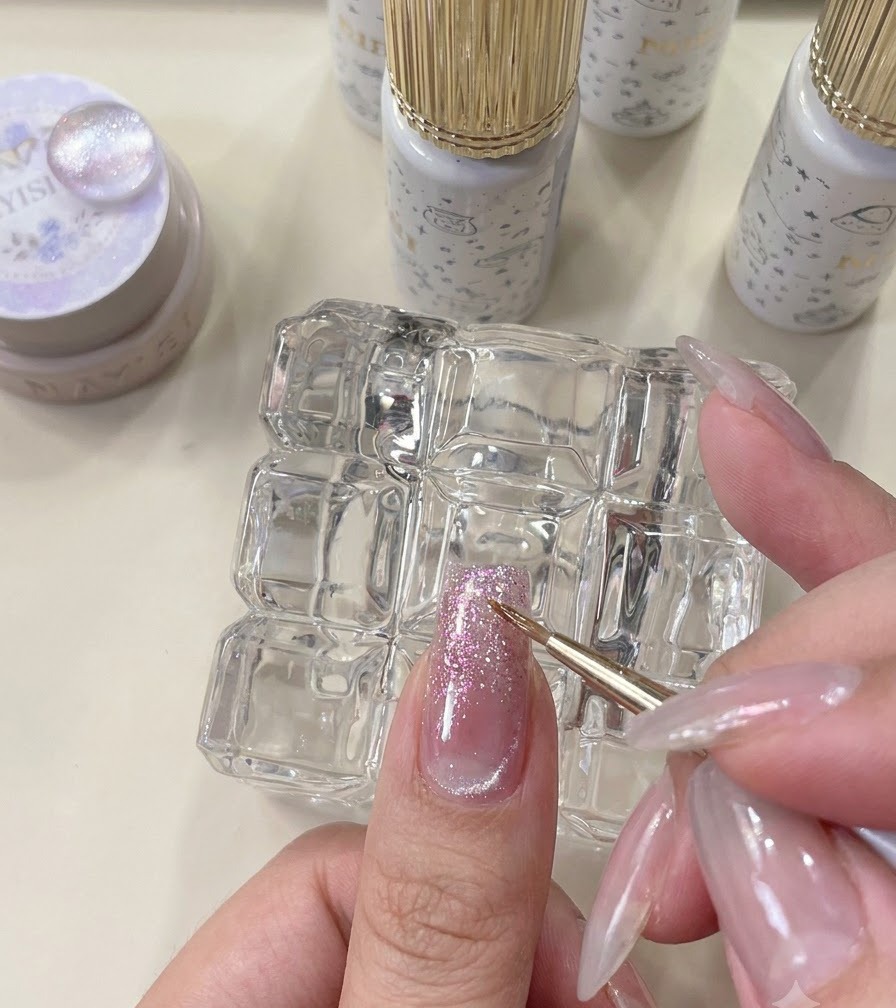
Using a fine liner brush, gently and casually feather the warm orange glitter accent a couple of times to diffuse the edges and integrate it seamlessly with the pink-purple background. Do not cure the gel yet, as you will need the wet surface to place decorations.
Tip: A light touch with the liner brush ensures the glitter particles spread naturally without muddying the base gradient. - 9Place star flakes and sequins
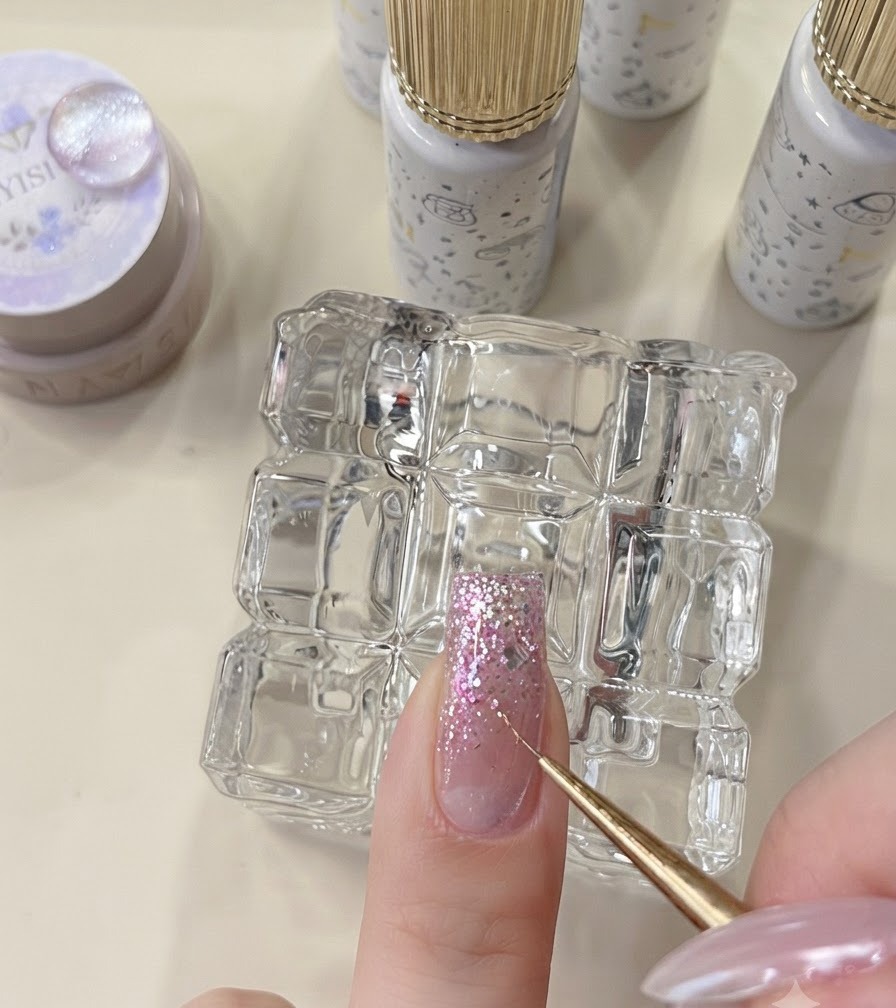
While the gel remains uncured, use a detail tool or picker to place star-shaped flakes and sequins onto the nail surface. This step is entirely optional and based on personal preference to enhance the celestial look of the manicure.
Tip: Press the star flakes gently into the uncured gel so they lie flat and wont catch on the top coat. - 10Cure the design under the lamp
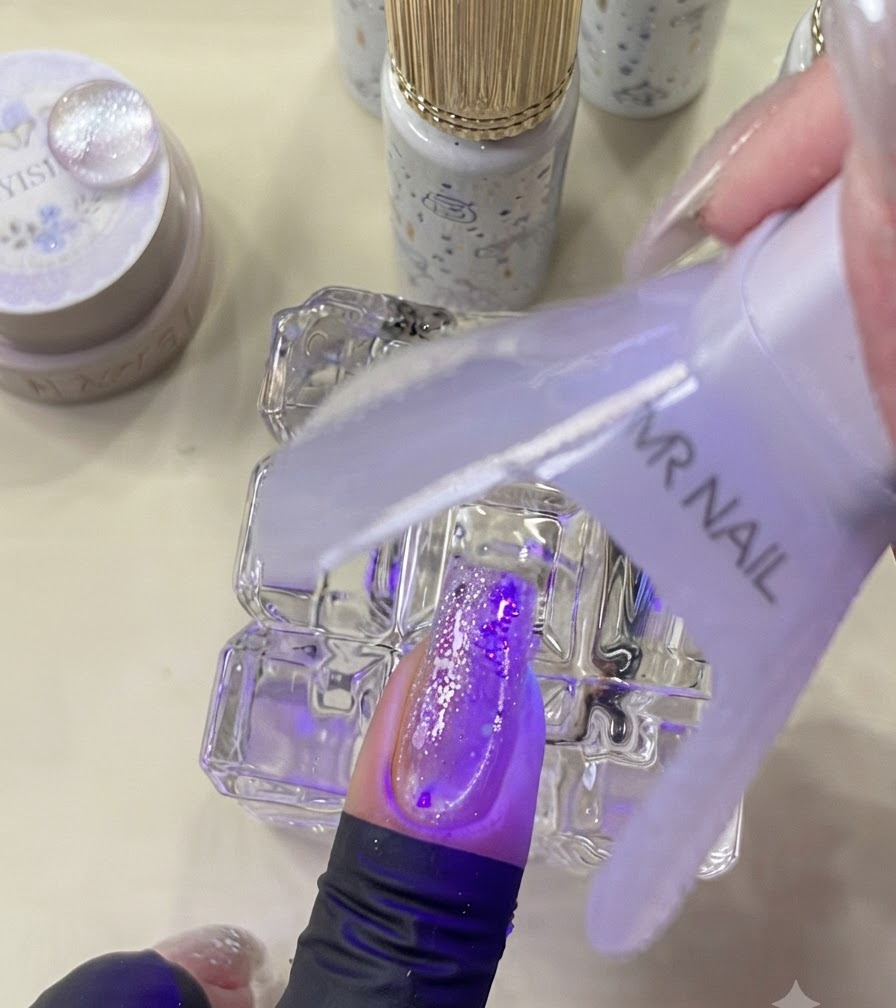
Place your hand under the UV or LED lamp to fully cure the blended glitter and embedded star flakes. Curing locks the design in place, ensuring that when the nails rotate under the light, the iridescent colors and sparkle look exceptionally rich and dimensional.
Tip: Ensure your hand is positioned directly under the light source for an even cure across all decorated areas. - 11Apply self-leveling top coat
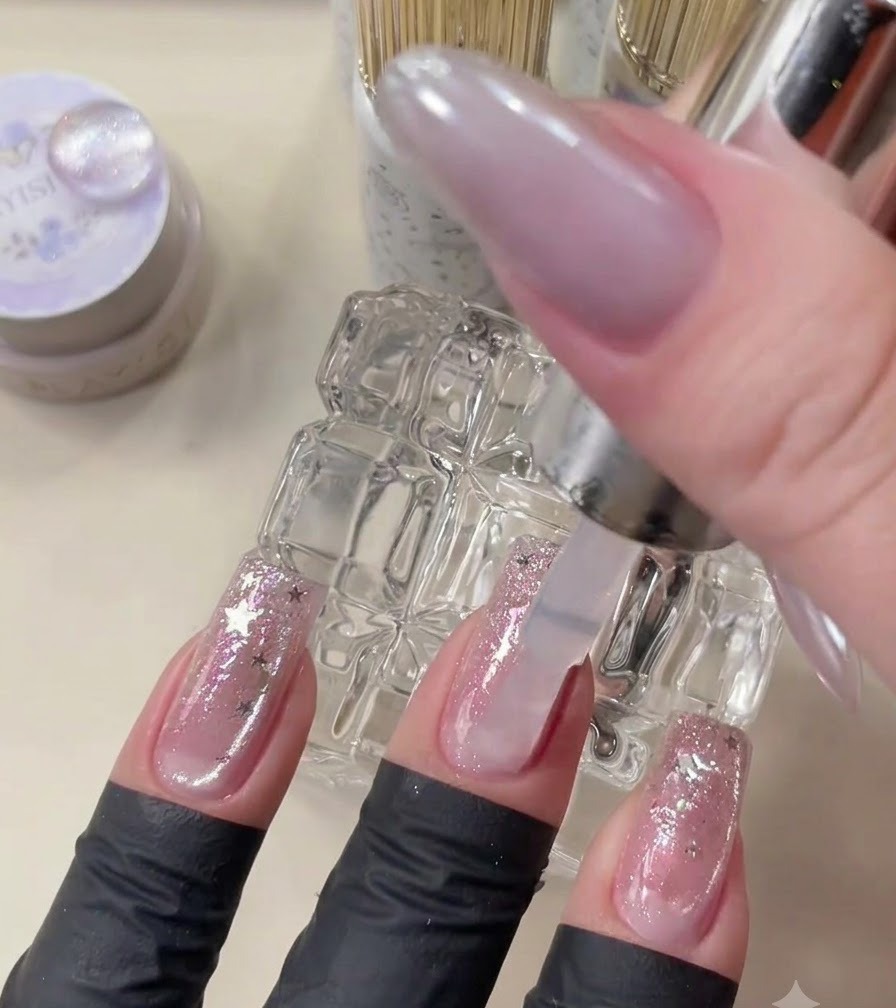
Apply a smooth layer of self-leveling top coat over the entire nail surface, sealing in the glitter, gradients, and star flakes. Make sure to cap the free edge to protect the manicure from chipping and to give the nail a seamless, professional finish.
Tip: A self-leveling top coat smooths out any texture from the embedded stars, creating an ultra-glossy glass-like finish. - 12Cure top coat to finish
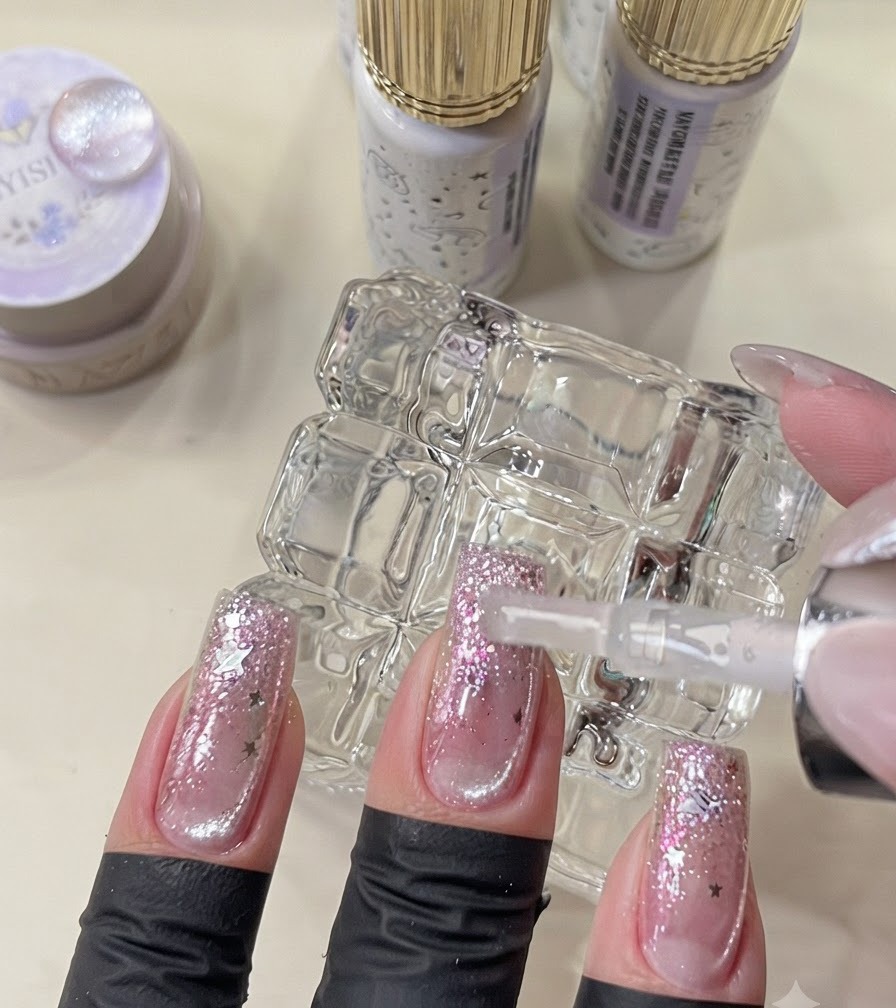
Cure the final layer of top coat under the UV or LED lamp to complete the manicure. Once cured, admire the blindingly sparkly, galaxy-style details that look unbelievably pretty from every angle.
Tip: Make sure the curing time matches your top coat product instructions to prevent any tacky residue or dull spots.