Strawberry Panna Cotta Press-on Nails — 3D Bow
Butterfly Tutorial
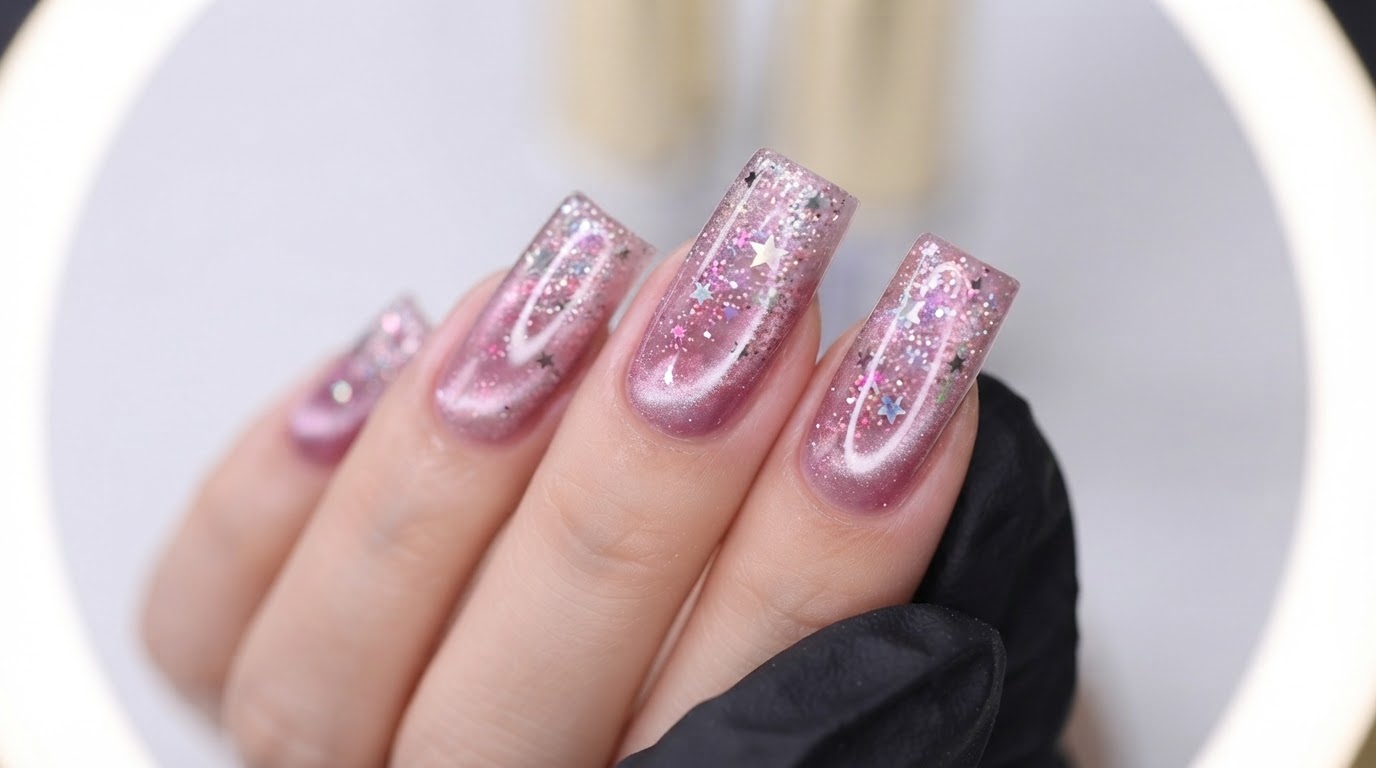
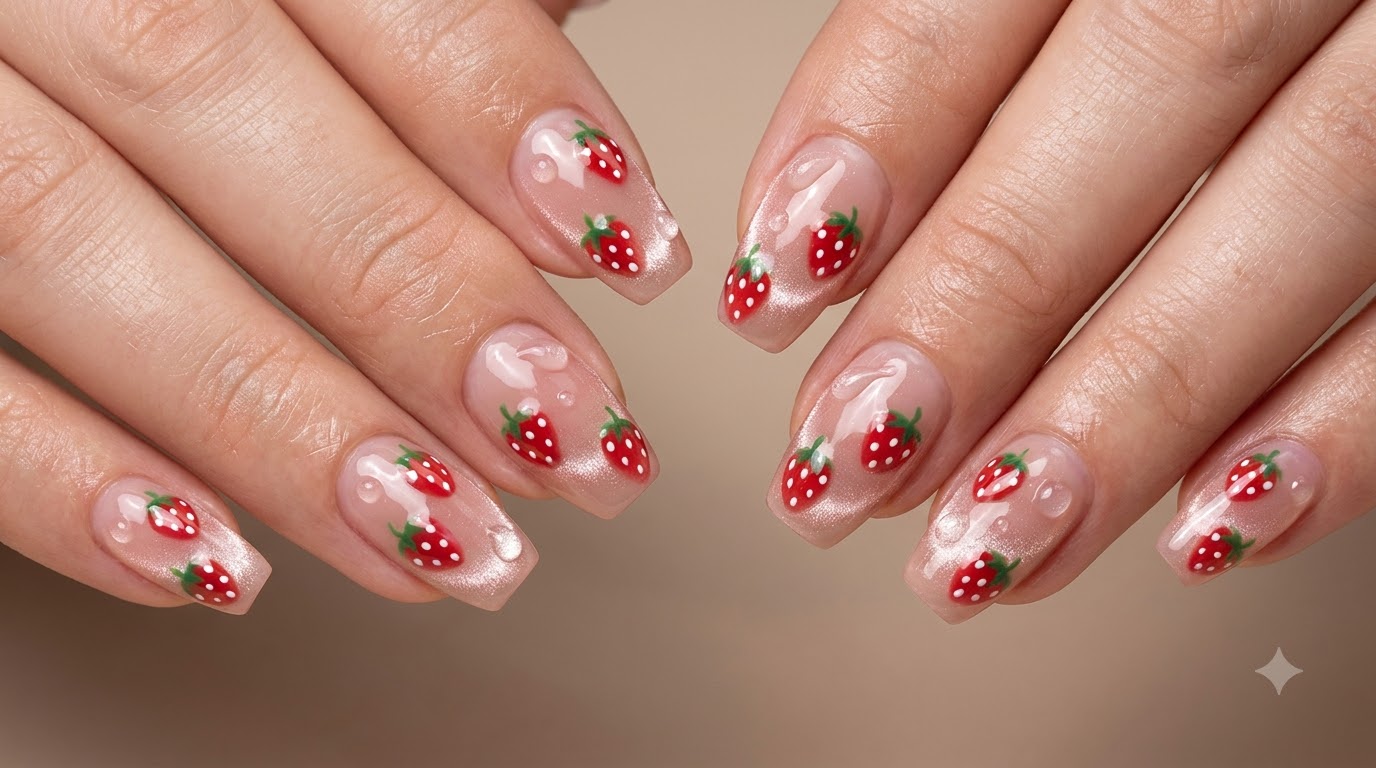
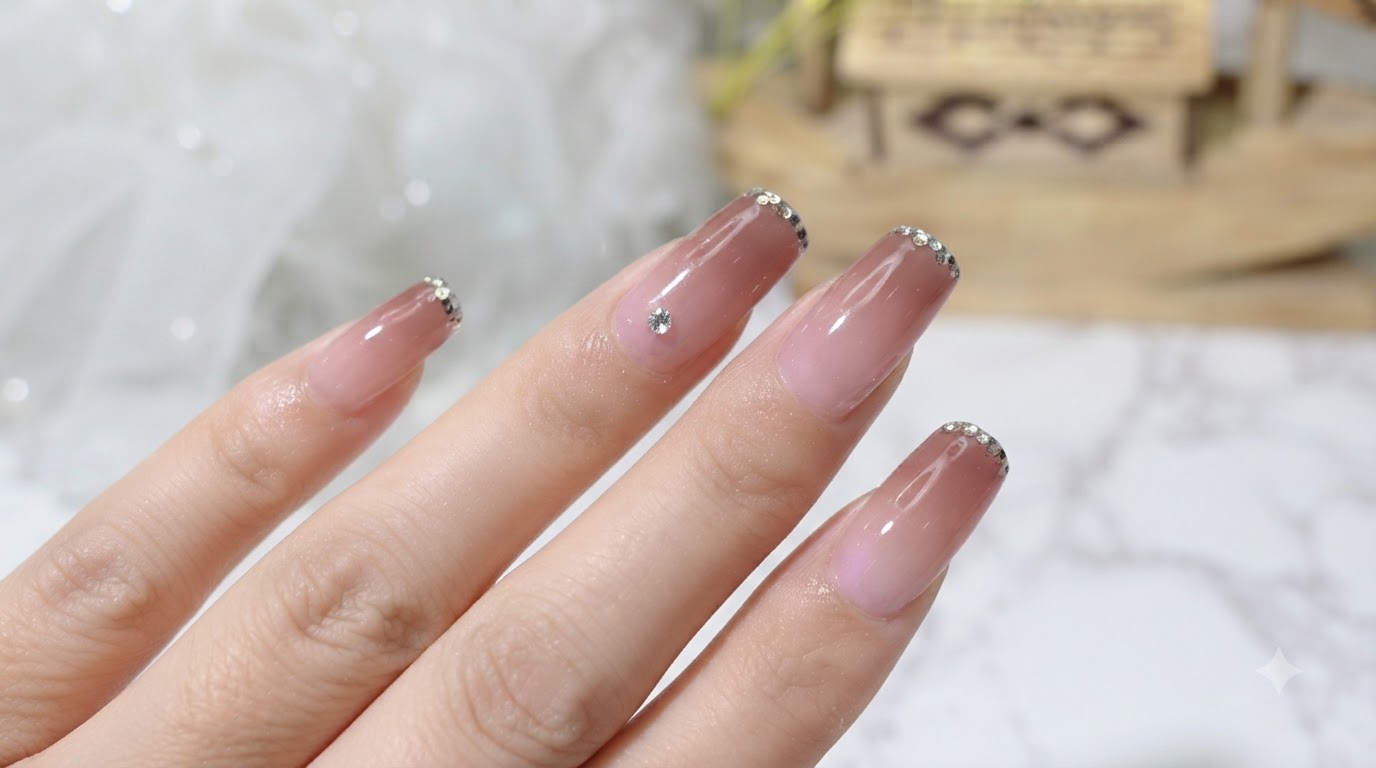
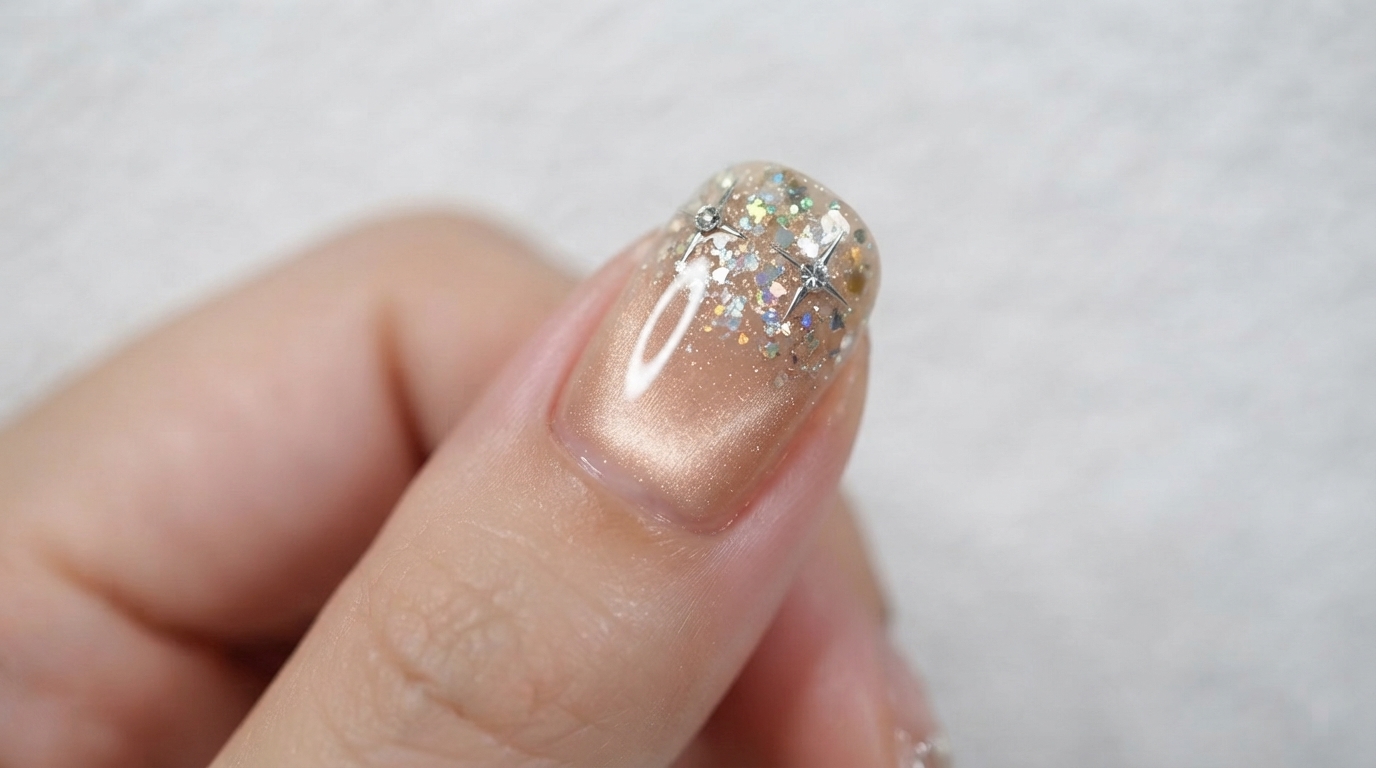
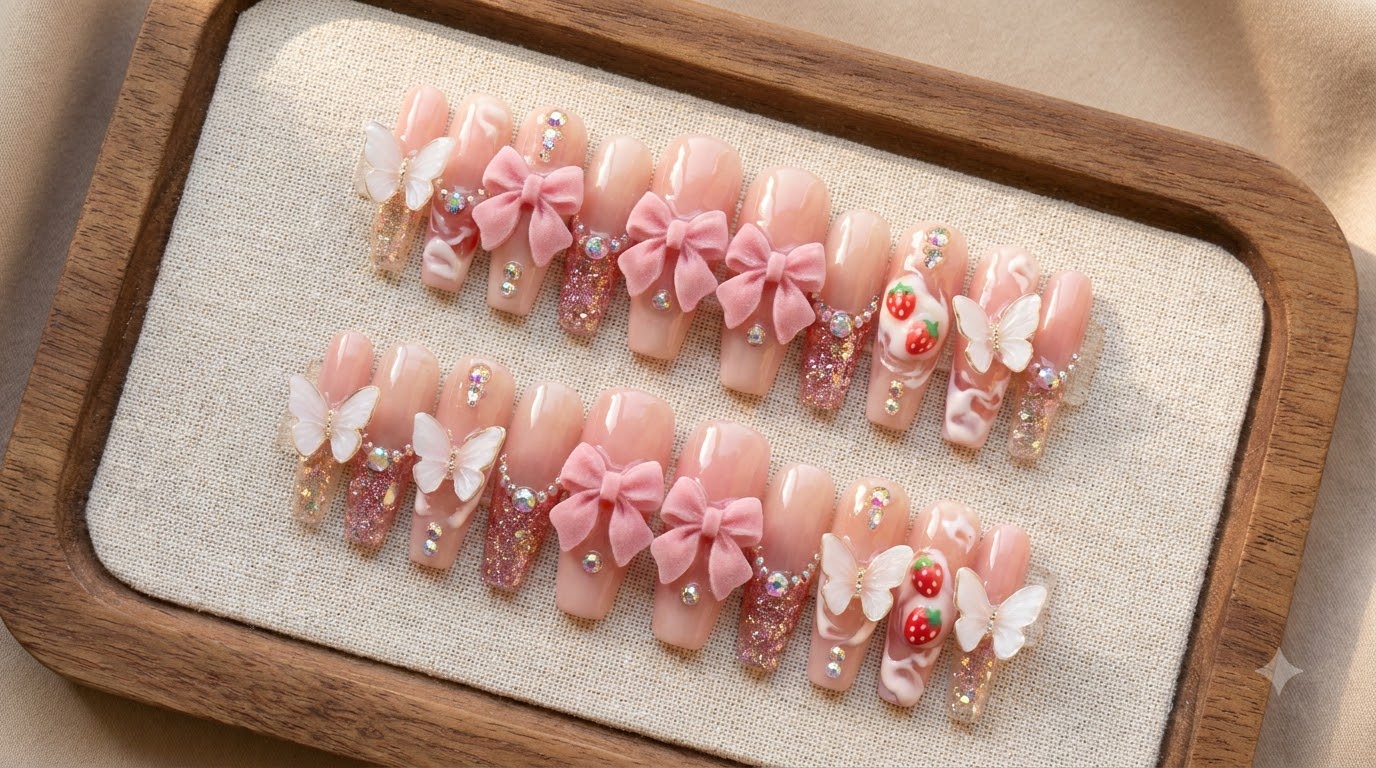
Create gorgeous strawberry panna cotta press-on nails featuring glossy gradients, 3D velvet bows, hollow butterflies, and delicate embedded glitter.
Strawberry panna cotta nails combine sweet pink aesthetics with intricate 3D details like velvet bows and hollow butterflies. This step-by-step guide takes you through building the glossy base, reverse French gradients, and reverse-side glitter embellishments for a salon-quality press-on set.
Steps
- 1Apply reverse French style with pink gel
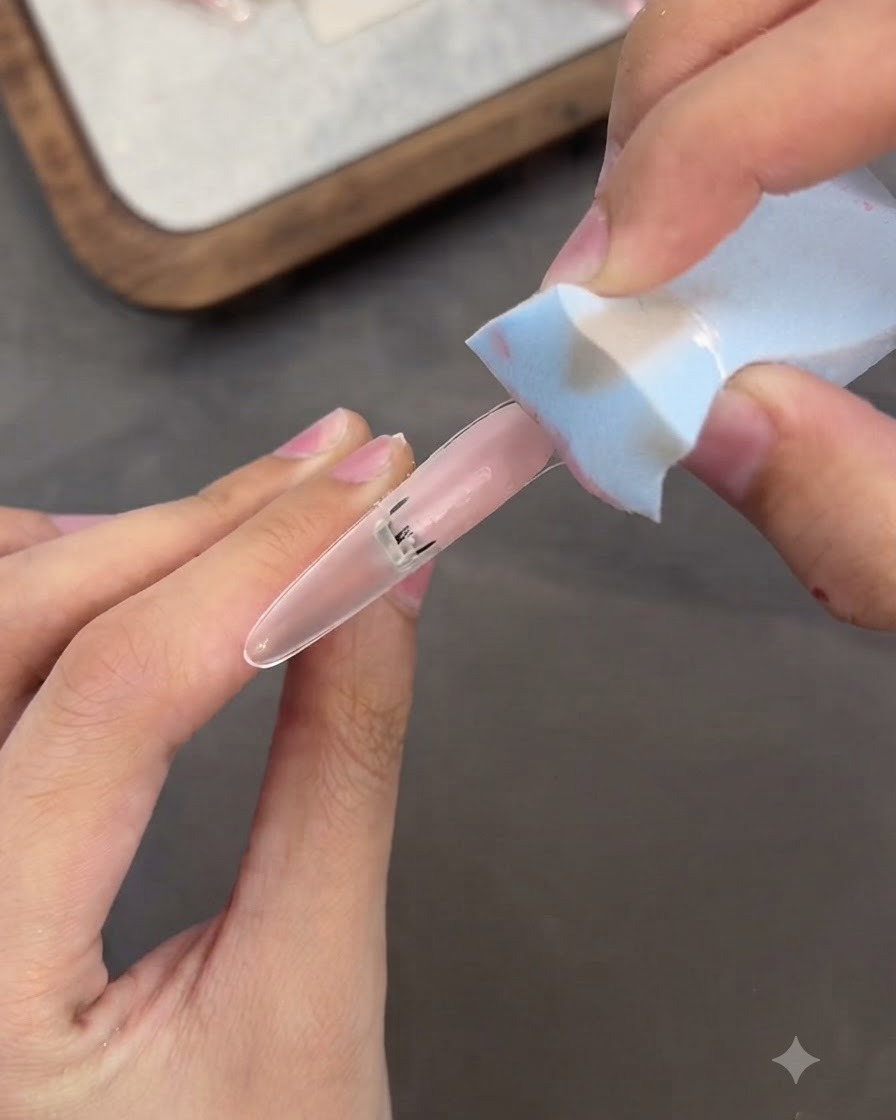
Apply a fake nail form sticker onto the false nail tip, then use a sponge tool and pink patting gel to create a reverse French manicure style.
Tip: Pat the gel gently to ensure an even and clean gradient line for the reverse French look. - 2Apply nude color gel
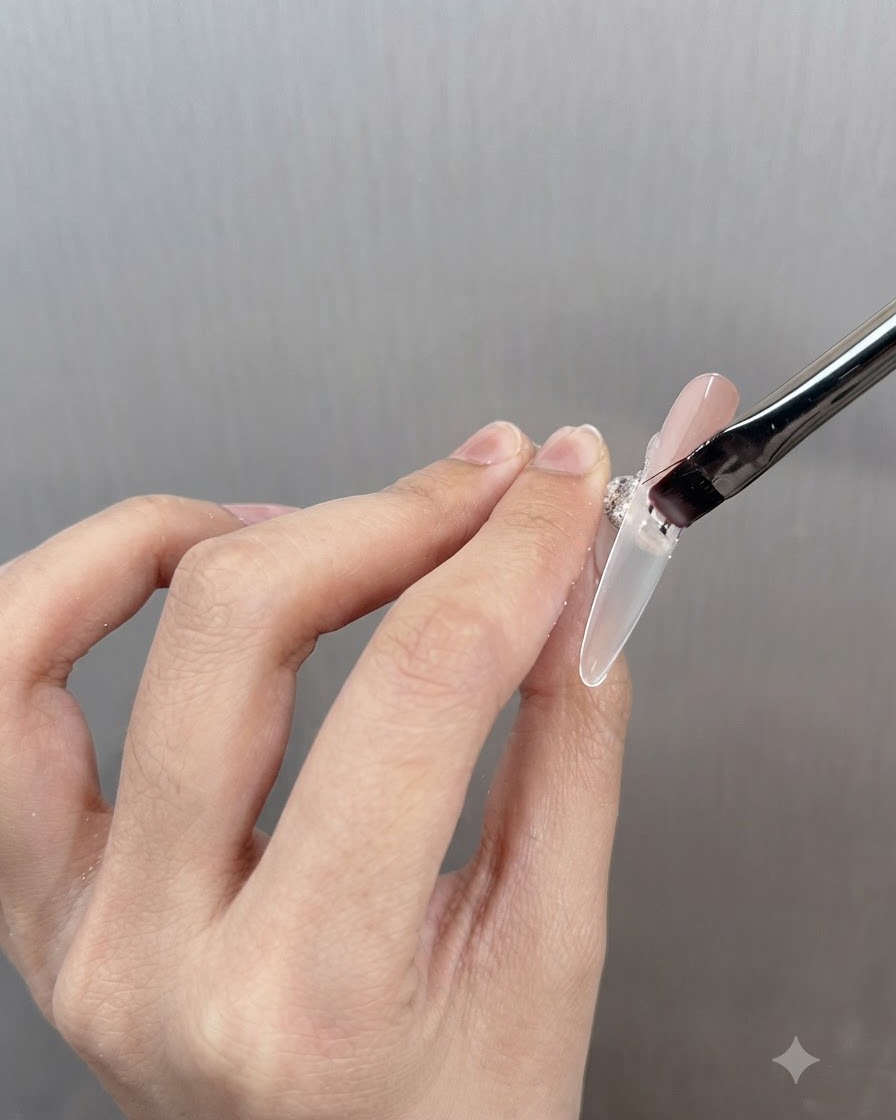
Using a fine brush, carefully apply nude color gel at the patting position on the nail extension tip to blend the transition.
Tip: Keep the brush strokes smooth and light to maintain a seamless gradient effect. - 3Apply matte top coat
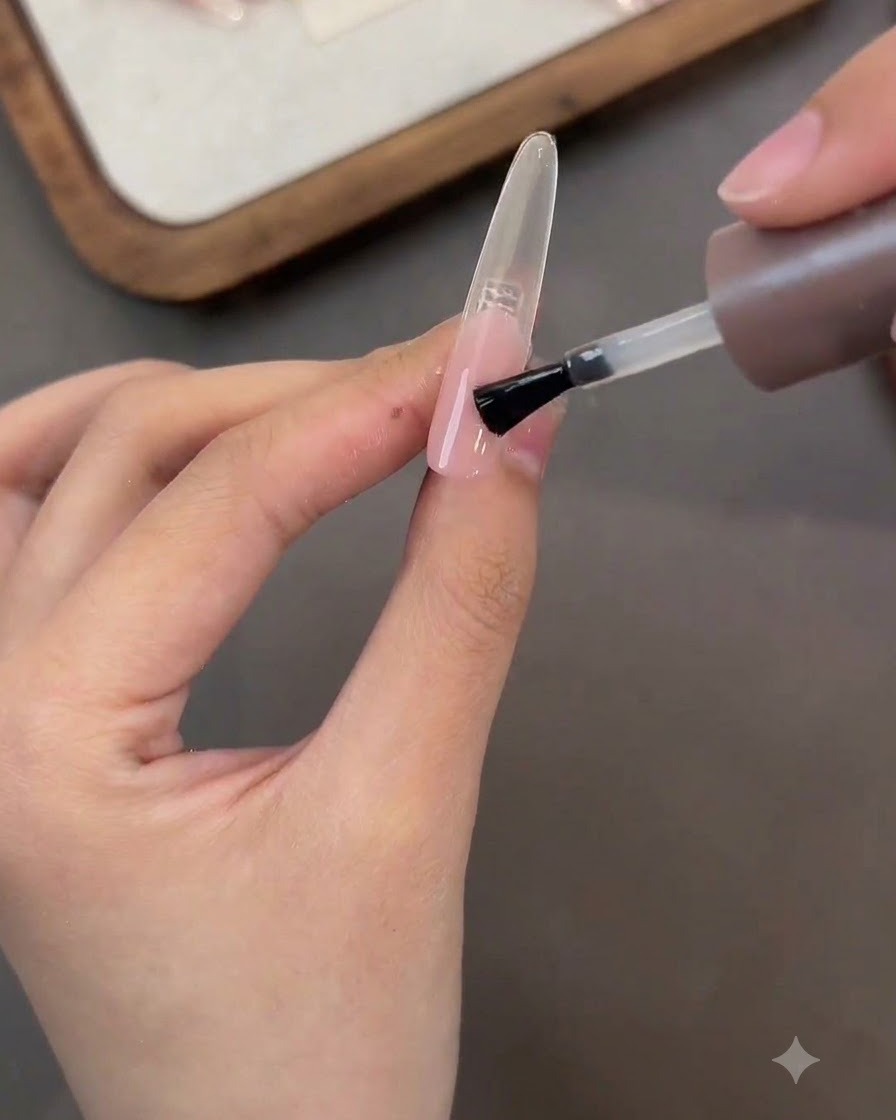
Apply an even layer of matte top coat over the entire surface of the false nail tip to seal the base design.
Tip: Ensure complete coverage across the whole nail so the texture remains consistently matte before adding detailed art. - 4Create a hollow butterfly design
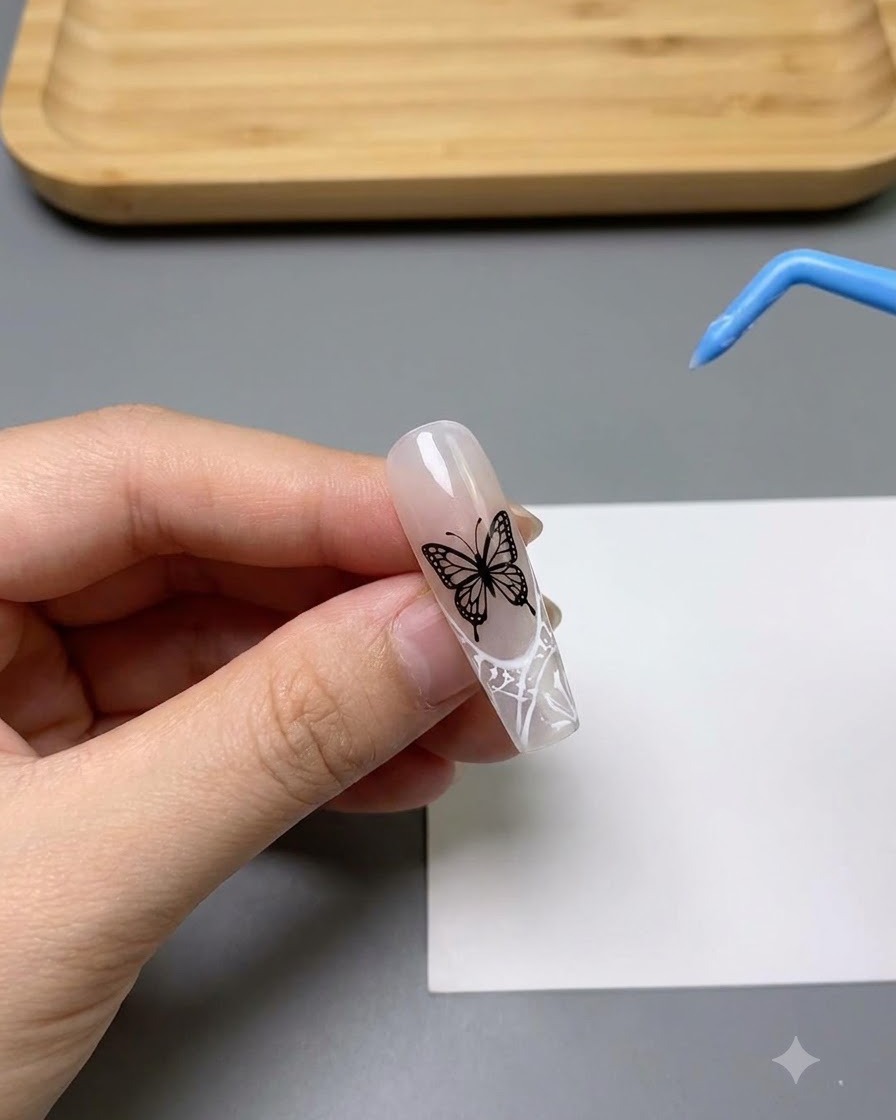
Use white patting gel and a fine tool to paint and shape a hollow butterfly design onto the prepped nail surface.
Tip: Work with a steady hand to keep the lines of the hollow butterfly intricate and delicate. - 5Apply soft gel leveling top coat
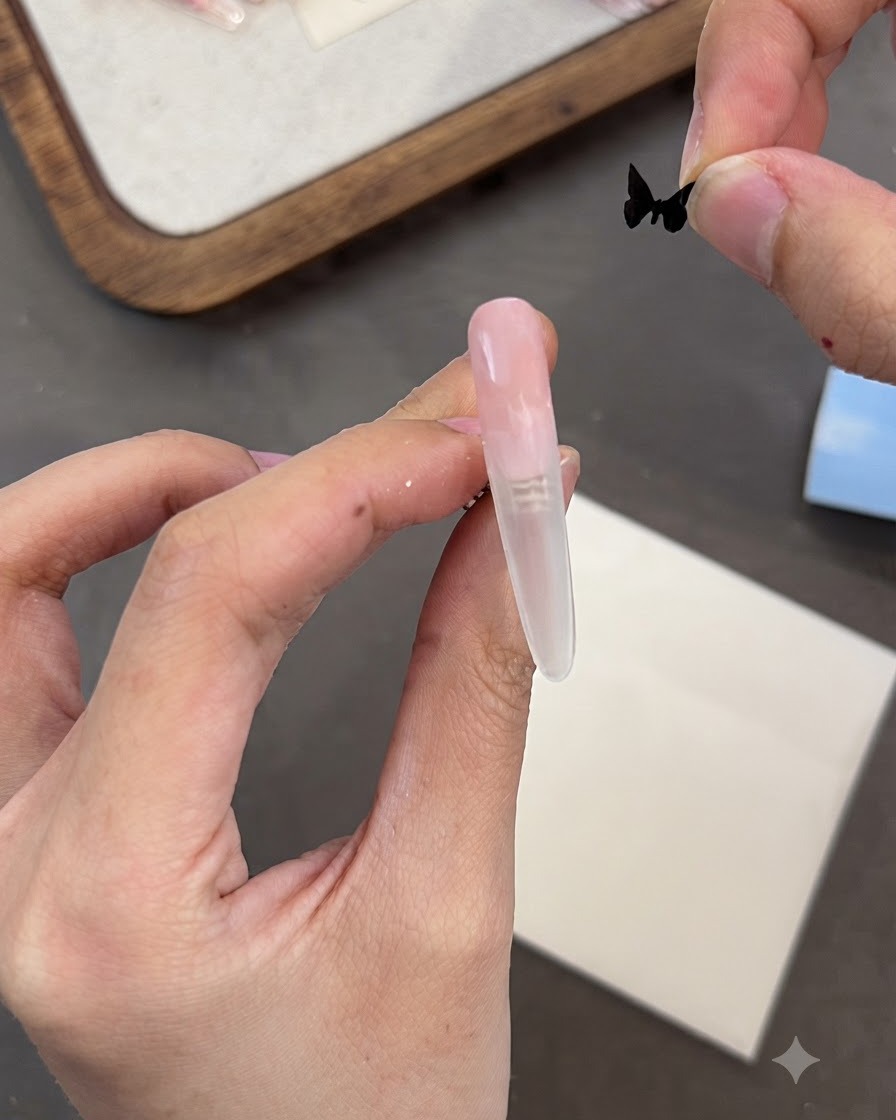
Apply a layer of soft gel leveling top coat over the nail surface to smooth out any texture and prepare for line work.
Tip: Allow the leveling top coat a moment to self-level evenly before curing. - 6Pull fine decorative lines
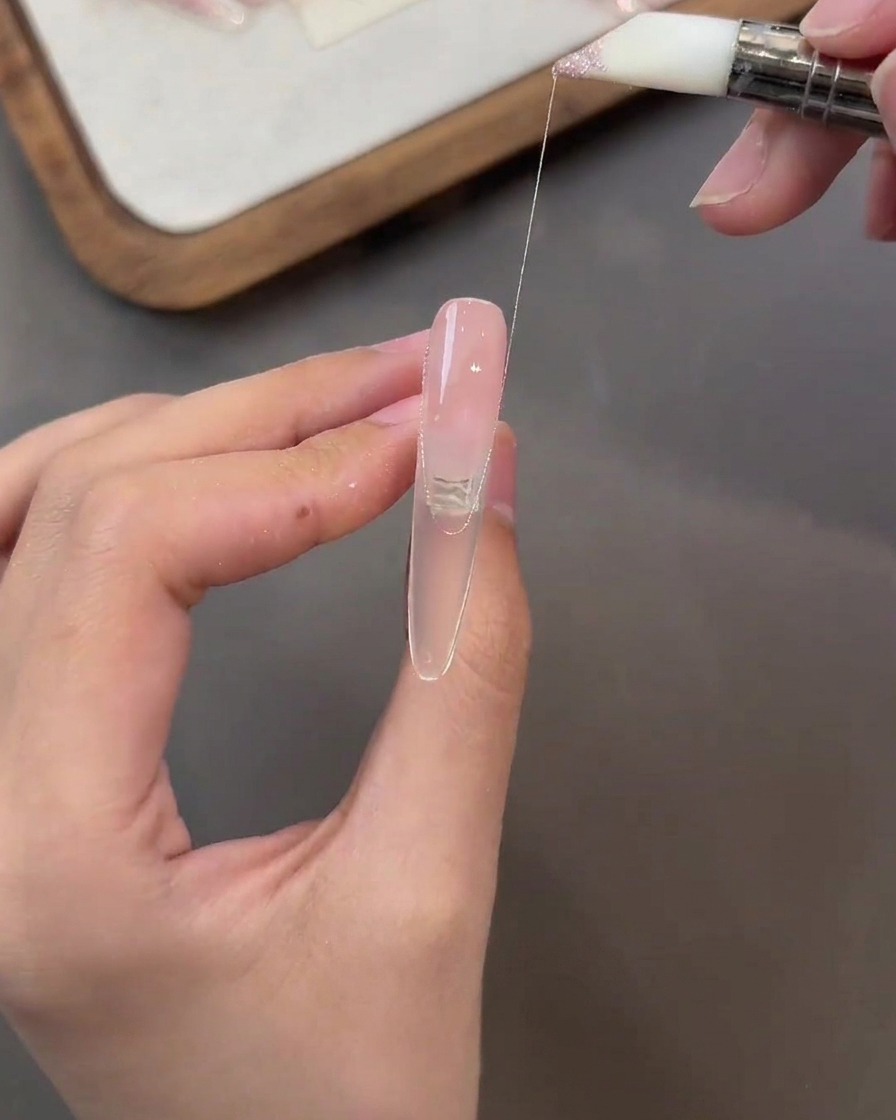
Using glitter pink pull-string gel, carefully pull fine decorative lines across the nail surface to create geometric patterns.
Tip: Keep a steady hand and use a fine-detail brush to ensure clean, unbroken lines. - 7Apply base gel to reverse side
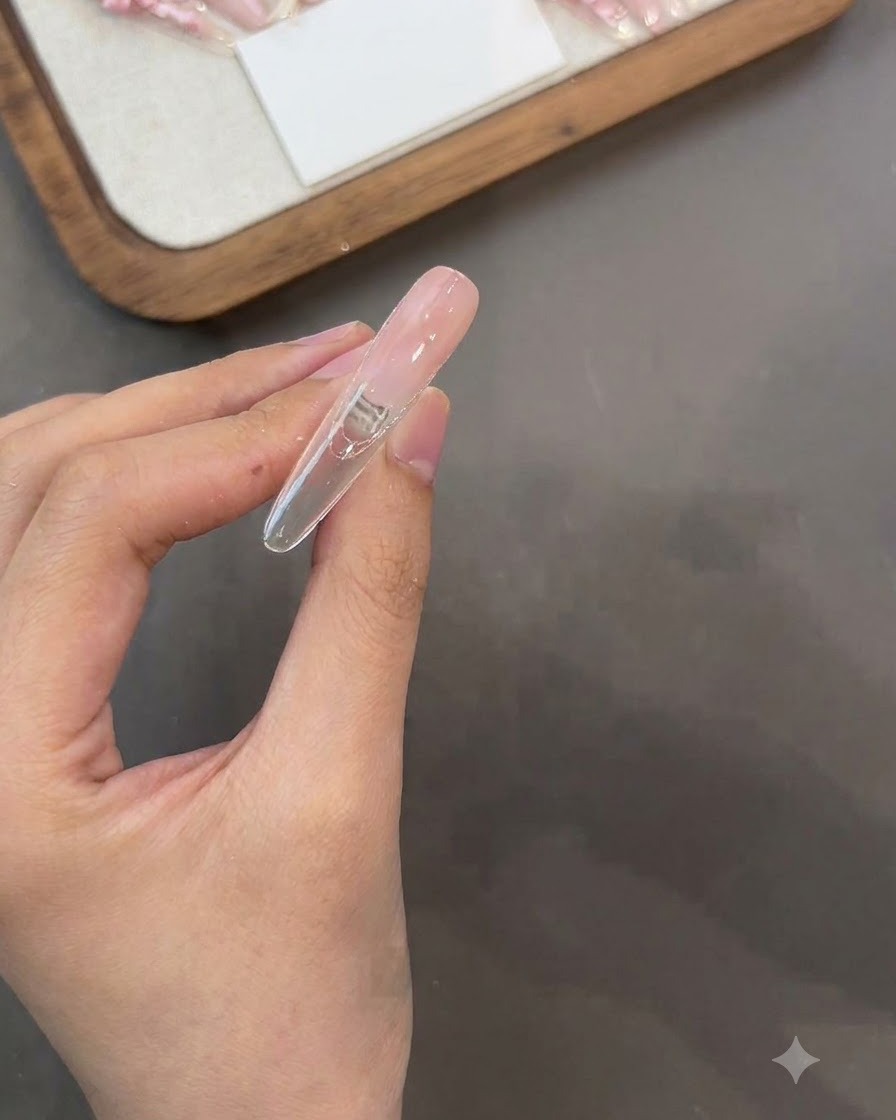
Turn the nail piece over to access the underside, then apply an even layer of base gel across the reverse surface.
Tip: Ensure the reverse side is clean and free of dust before applying the base gel layer. - 8Spread glitter piece gel on reverse
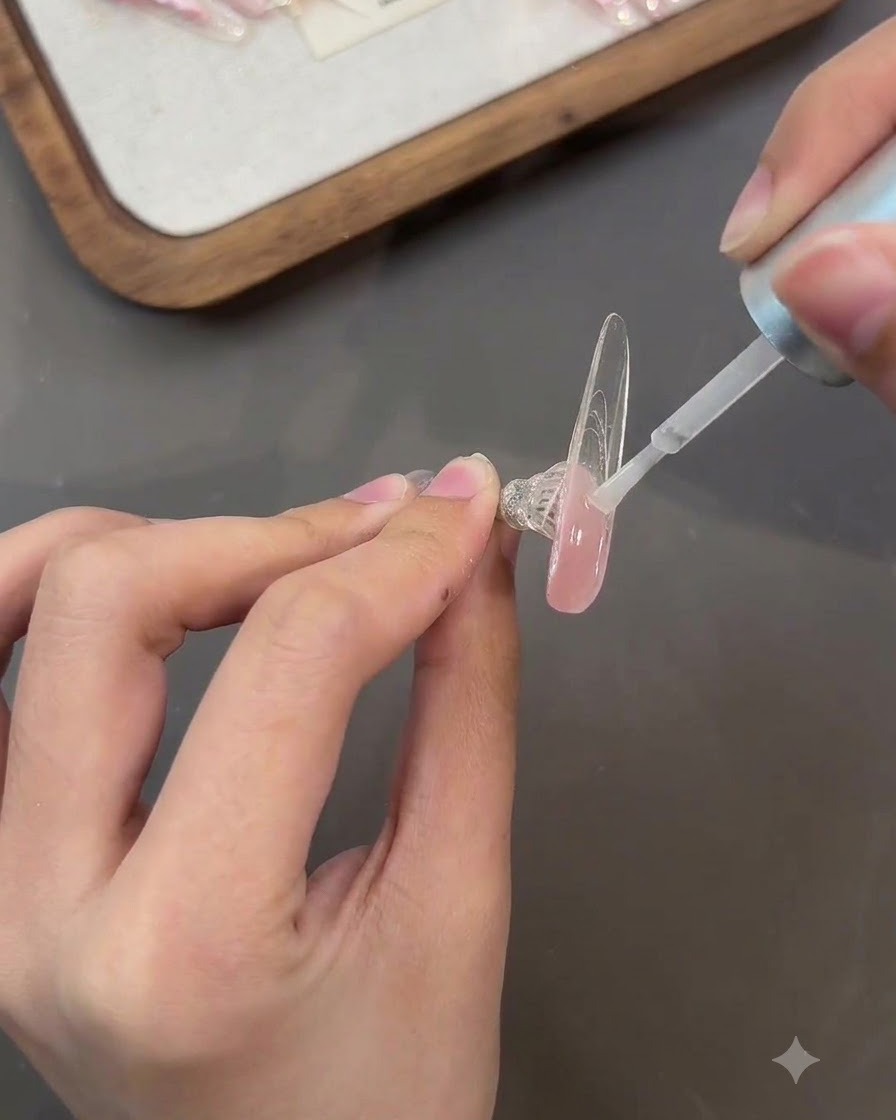
Spread glitter piece gel evenly across the reverse side of the nail piece to create a sparkling embedded effect.
Tip: Distribute the glitter pieces uniformly so the backing looks rich and well-covered.