Jelly Gradient
Sequined French Tips — Step-by-Step Gel Tutorial
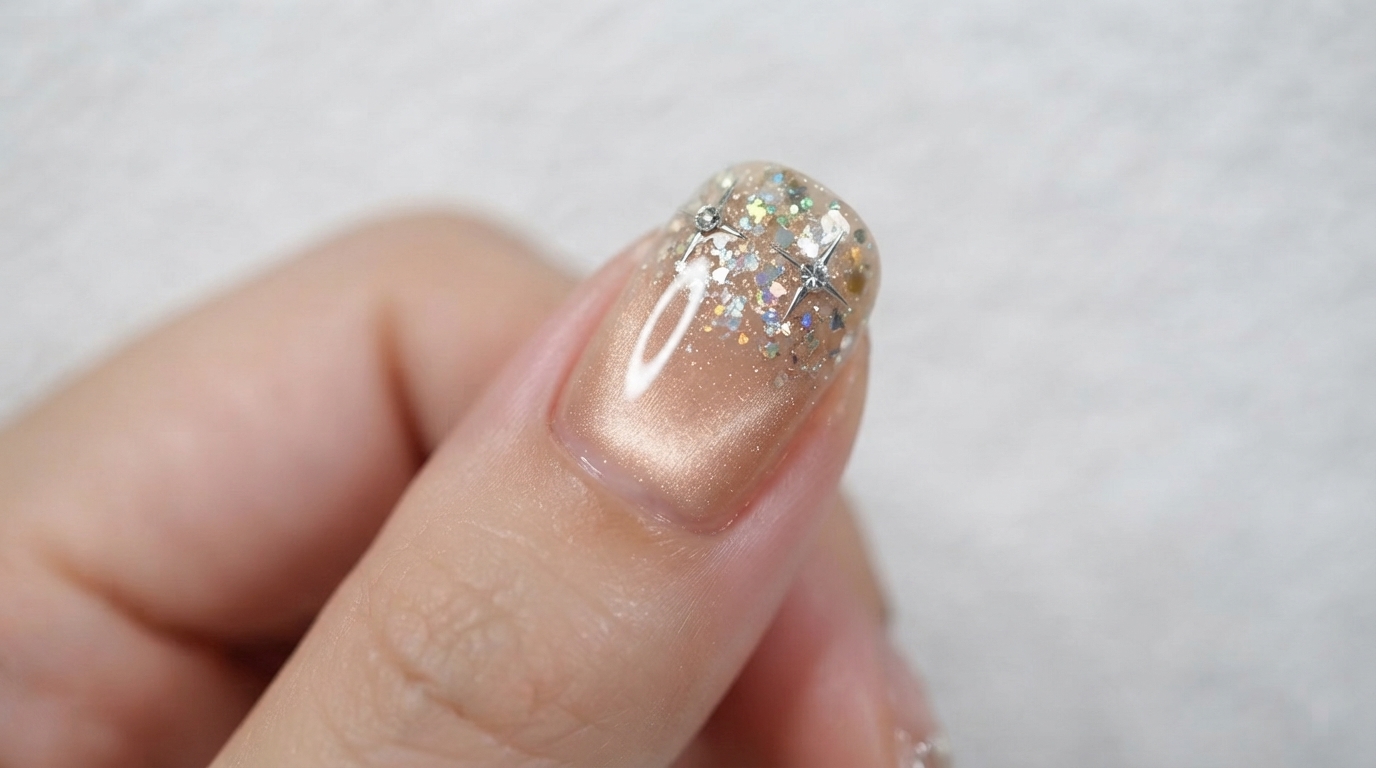
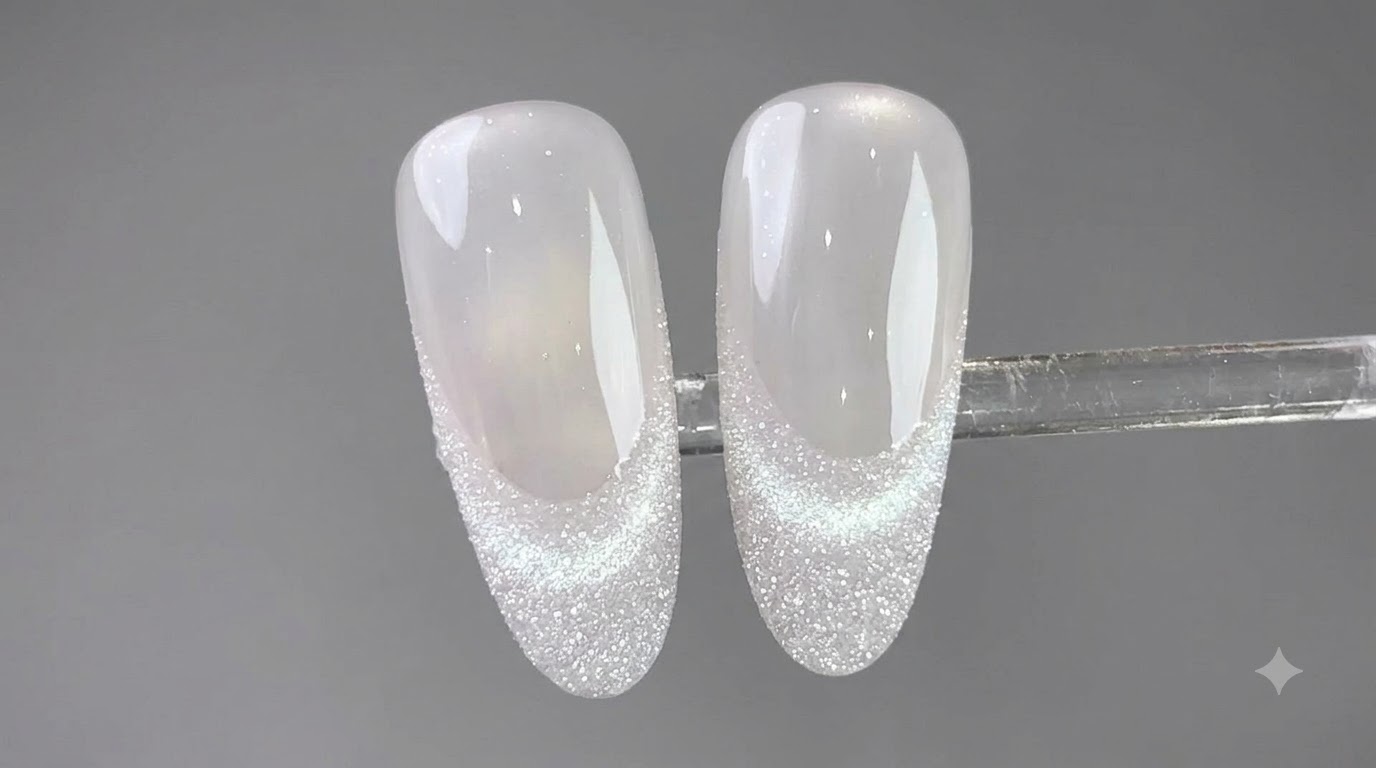
Create an icy jelly gradient look with delicate sequin French tips and sparkling crystals using this simple step-by-step gel nail tutorial.
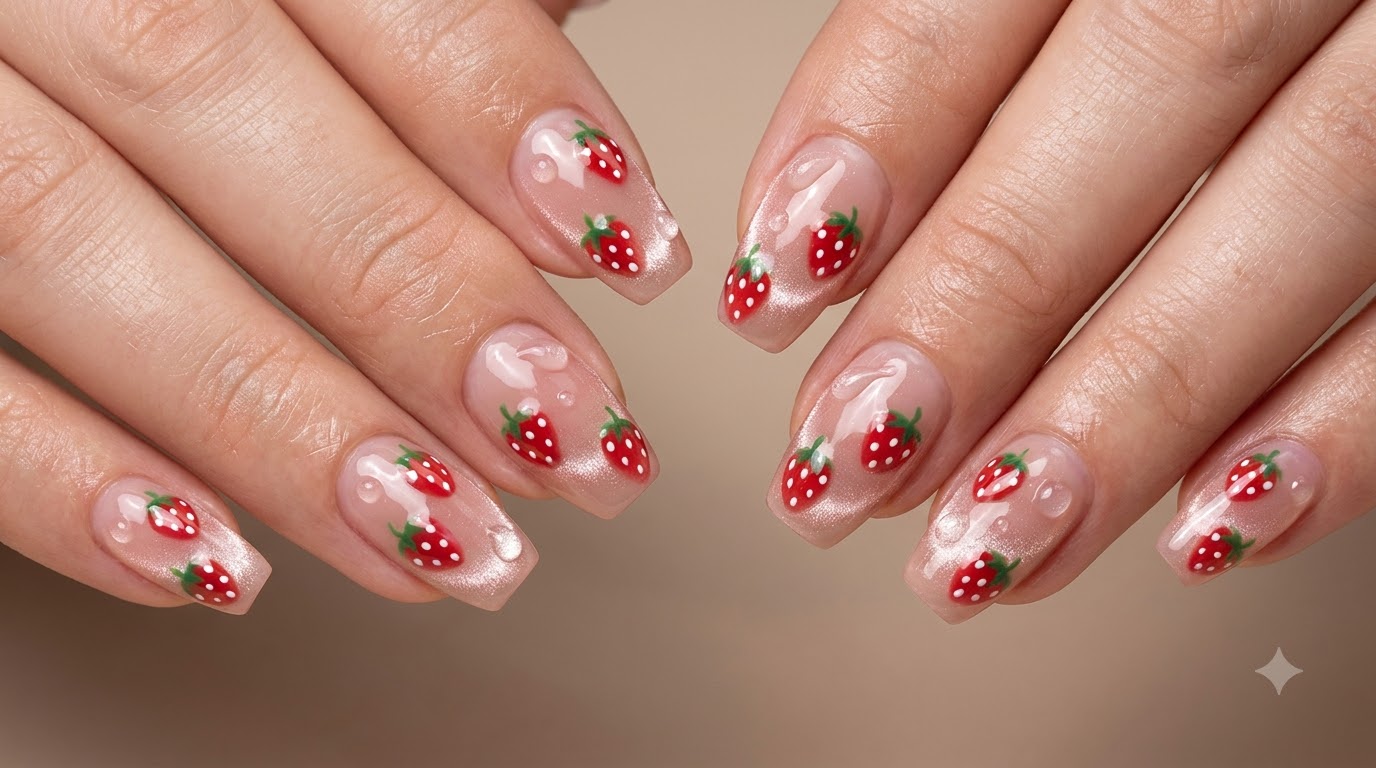
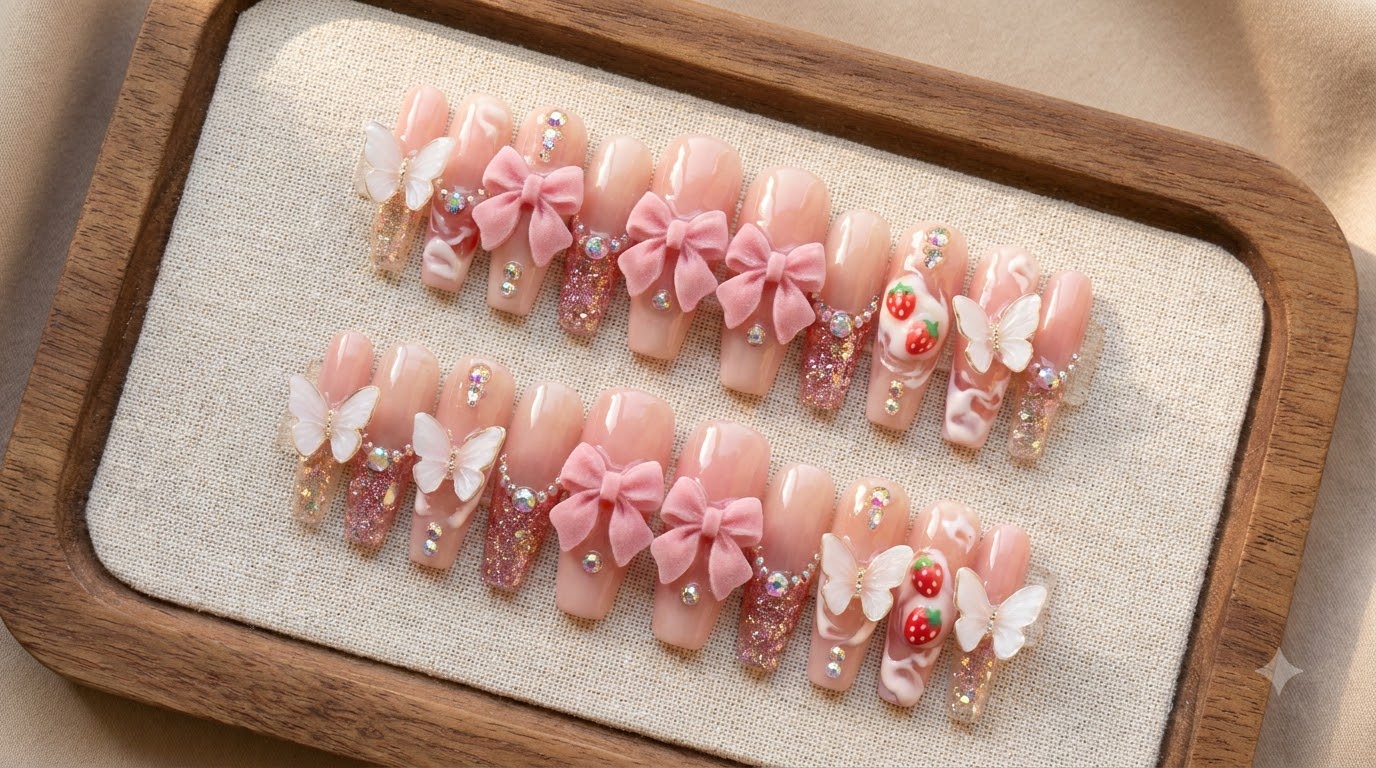
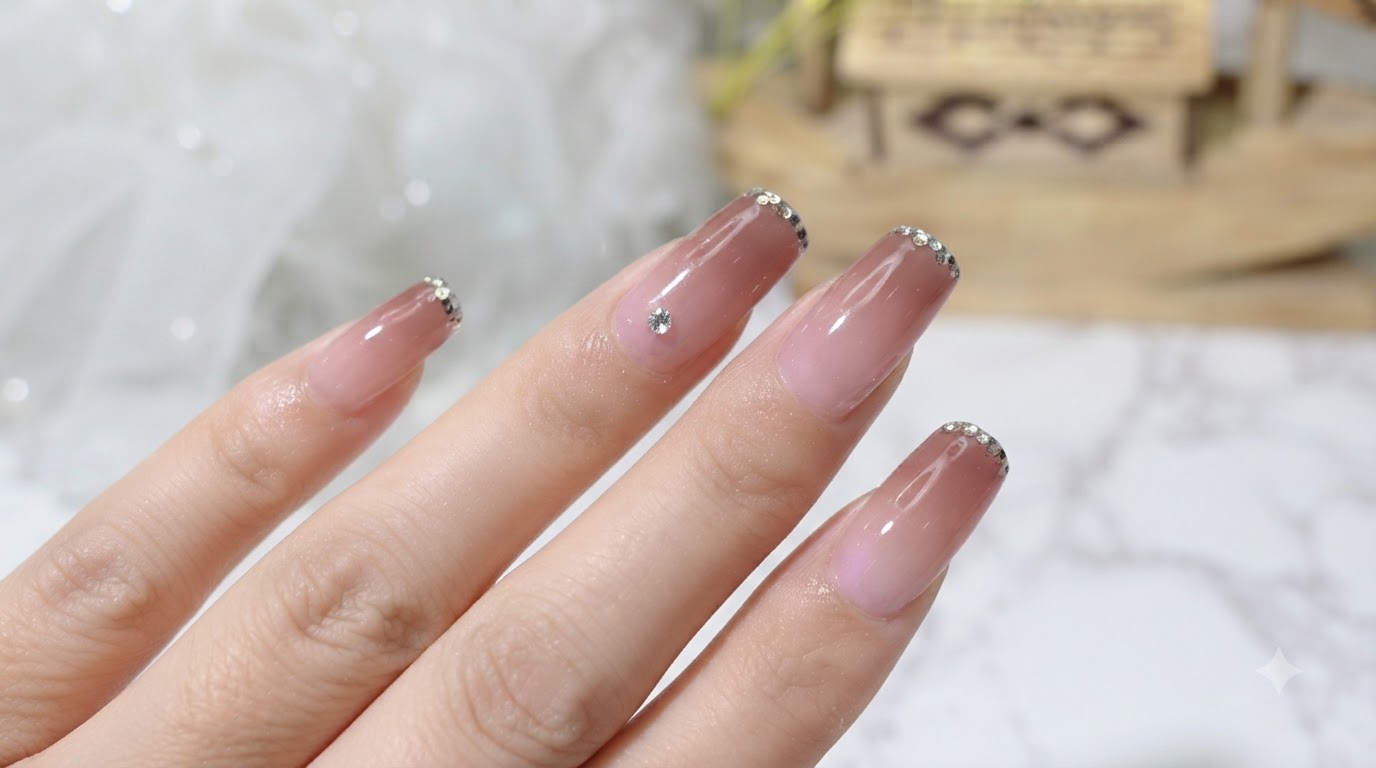
Jelly gradient nails paired with shimmering sequined French tips offer a stunning translucent finish that catches the light beautifully. This design combines the effortless depth of an ombre fade with the glamorous sparkle of dainty nail art embellishments. Perfect for elevating your everyday manicure, this tutorial guides you through each layer needed to achieve a salon-quality result at home.
Steps
- 1Apply first color layer
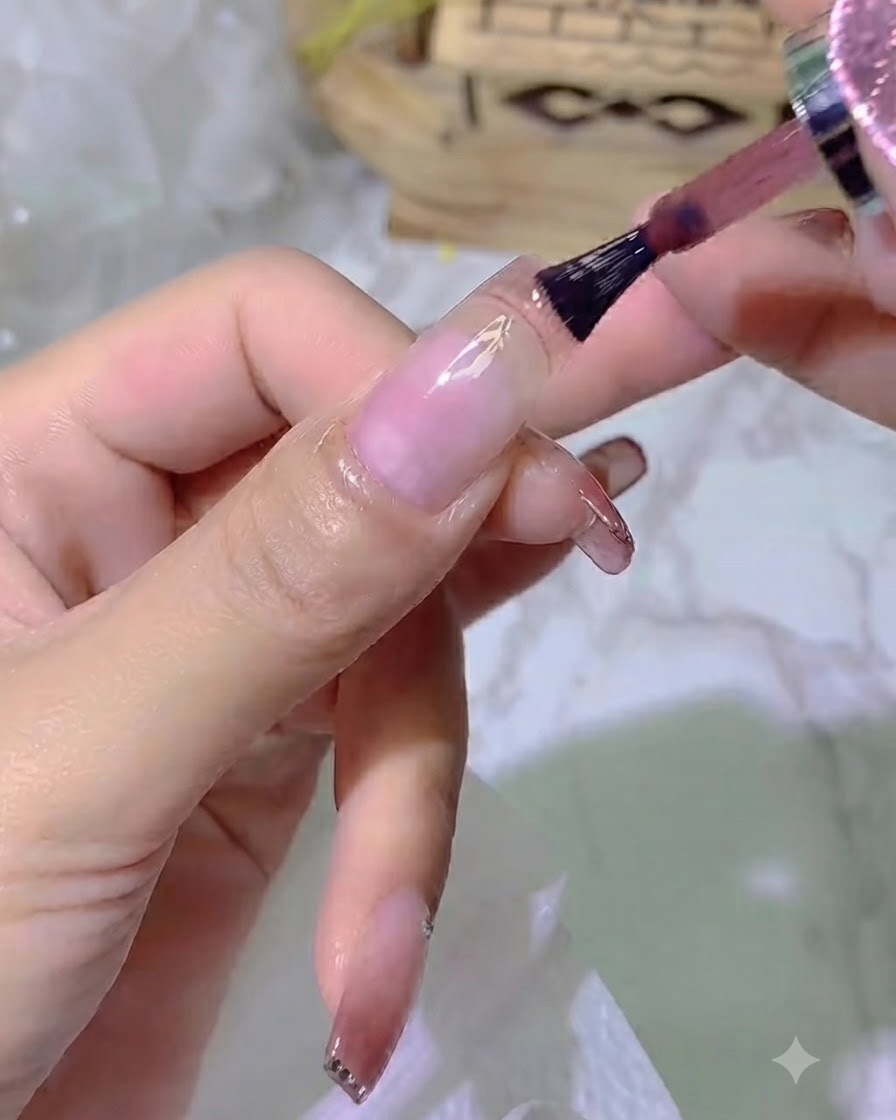
Apply the first thin layer of the jelly-toned color gel starting about 1.5mm away from the cuticle to maintain a clean edge and create depth for the gradient effect.
Tip: Keeping the initial application slightly away from the cuticle helps build a smooth, natural-looking gradient transition. - 2Apply second color layer
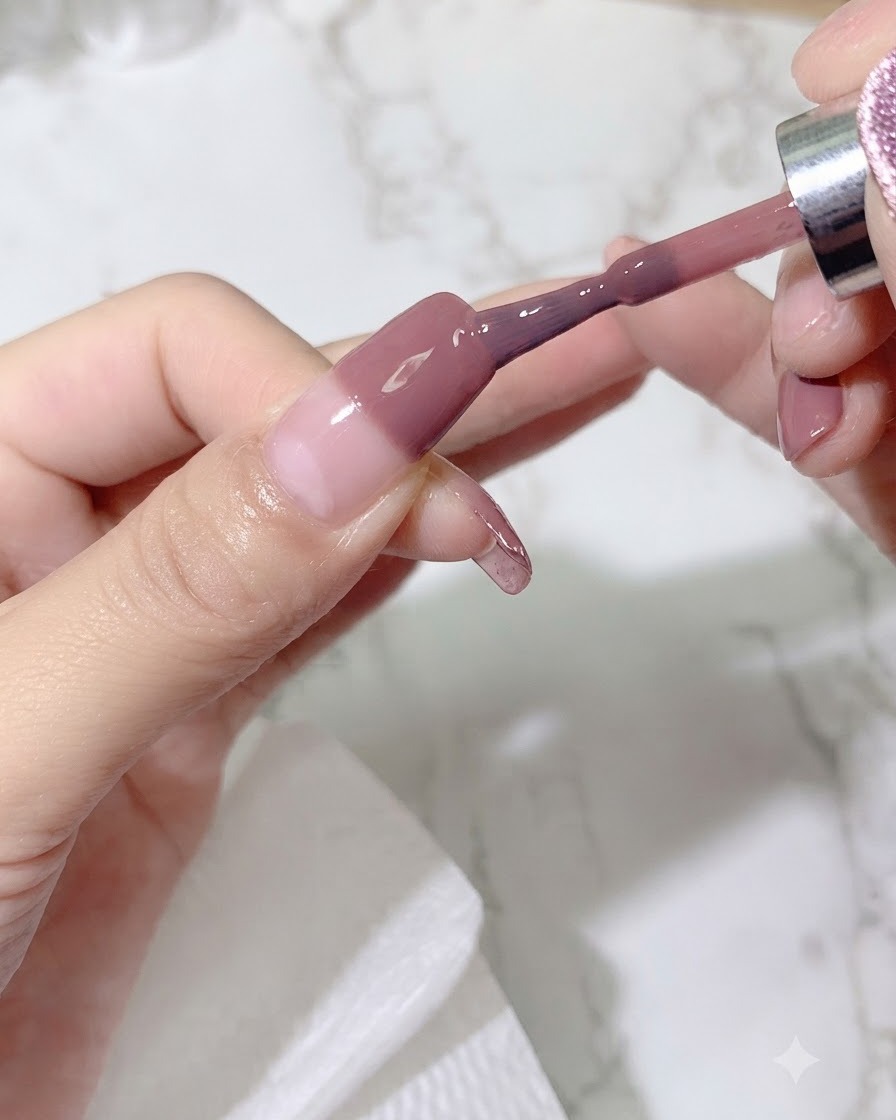
Apply a second layer of the jelly color gel to build up the color intensity and deepen the gradient effect towards the tips.
Tip: Build the color gradually with thin layers to avoid a bulky finish and ensure proper curing. - 3Blend color transition
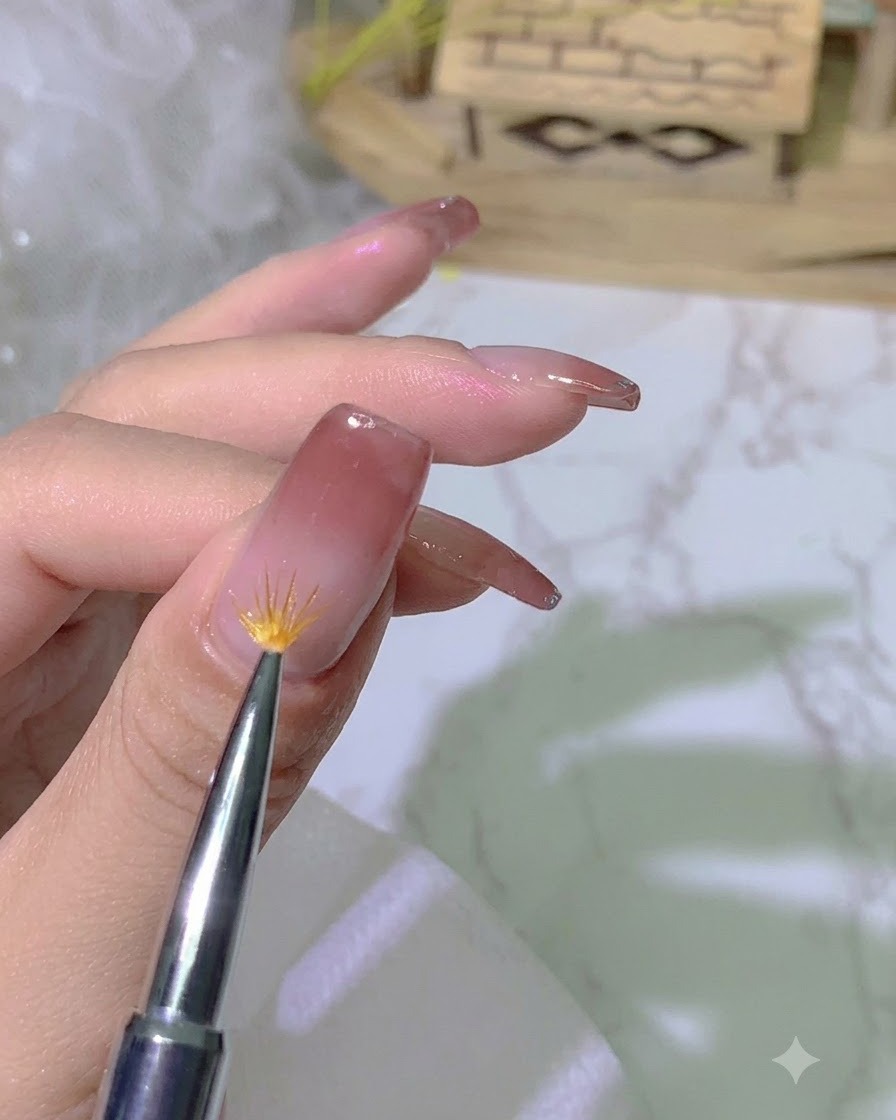
Take a gradient brush and gently dab along the boundary where the color meets the bare nail to soften the line and create a seamless ombre effect.
Tip: Keep the brush strokes light and feather-like to prevent harsh lines and achieve a smooth gradient. - 4Apply adhesive for embellishments
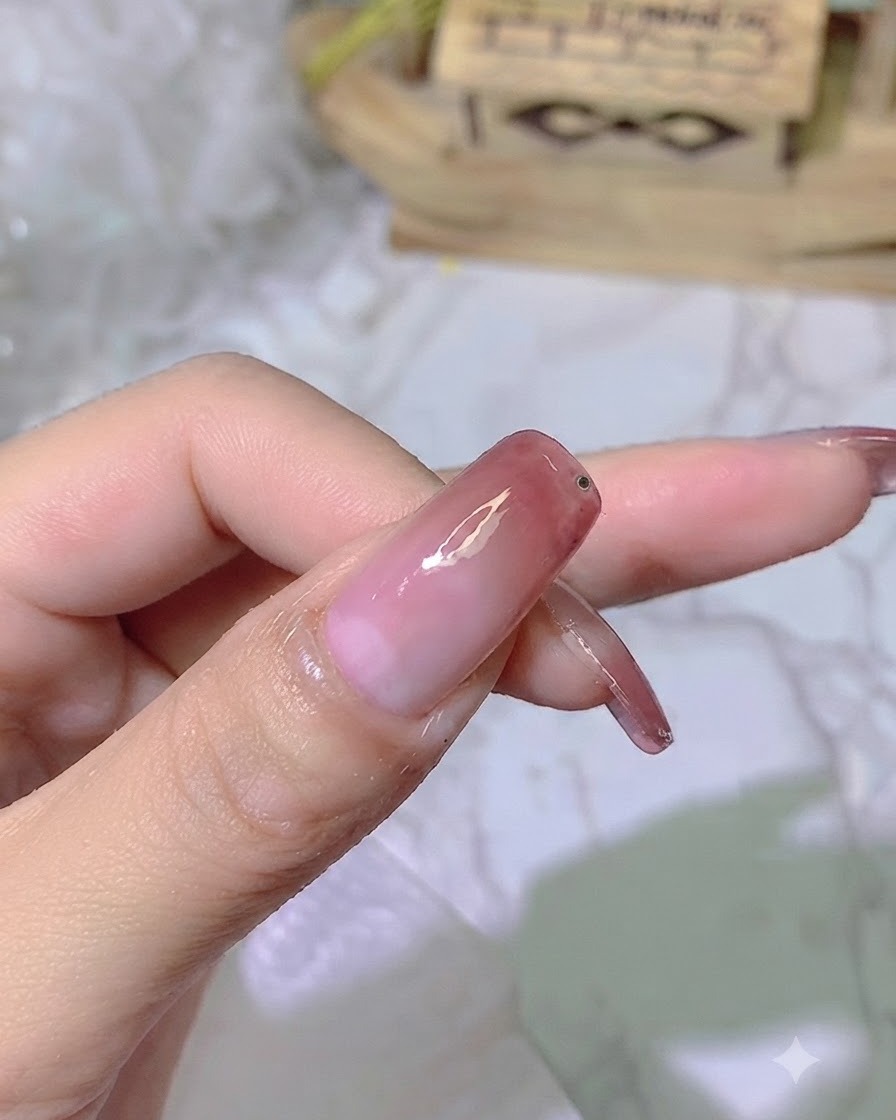
Apply a small dot of strong adhesive glue onto the designated nail tip zone where the decorative sequins will be placed.
Tip: Use a precise amount of glue to securely hold the embellishments without overflowing onto the surrounding nail surface. - 5Cure the embellishments
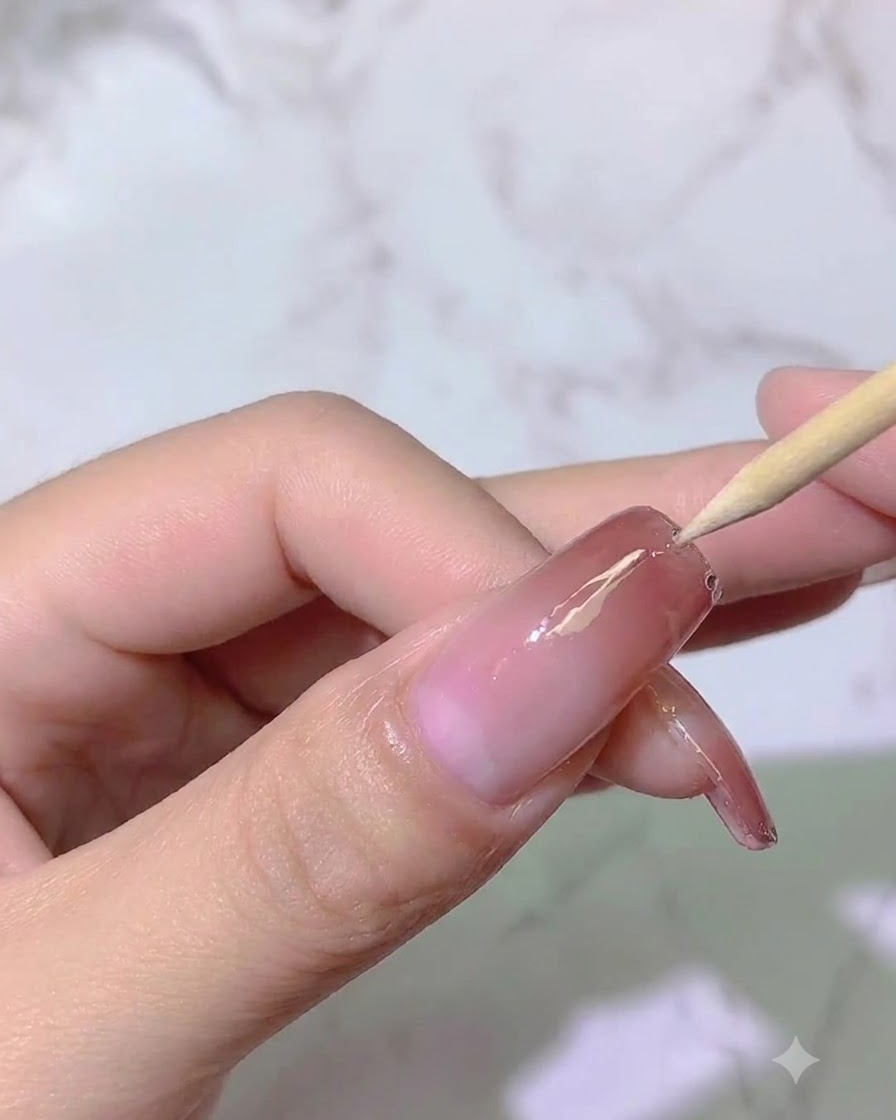
Place your hand under the UV or LED lamp to securely cure the adhesive and lock the attached sequins in place.
Tip: Ensure the hand is placed flat under the light source to prevent the decorations from shifting during curing. - 6Apply leveling top coat
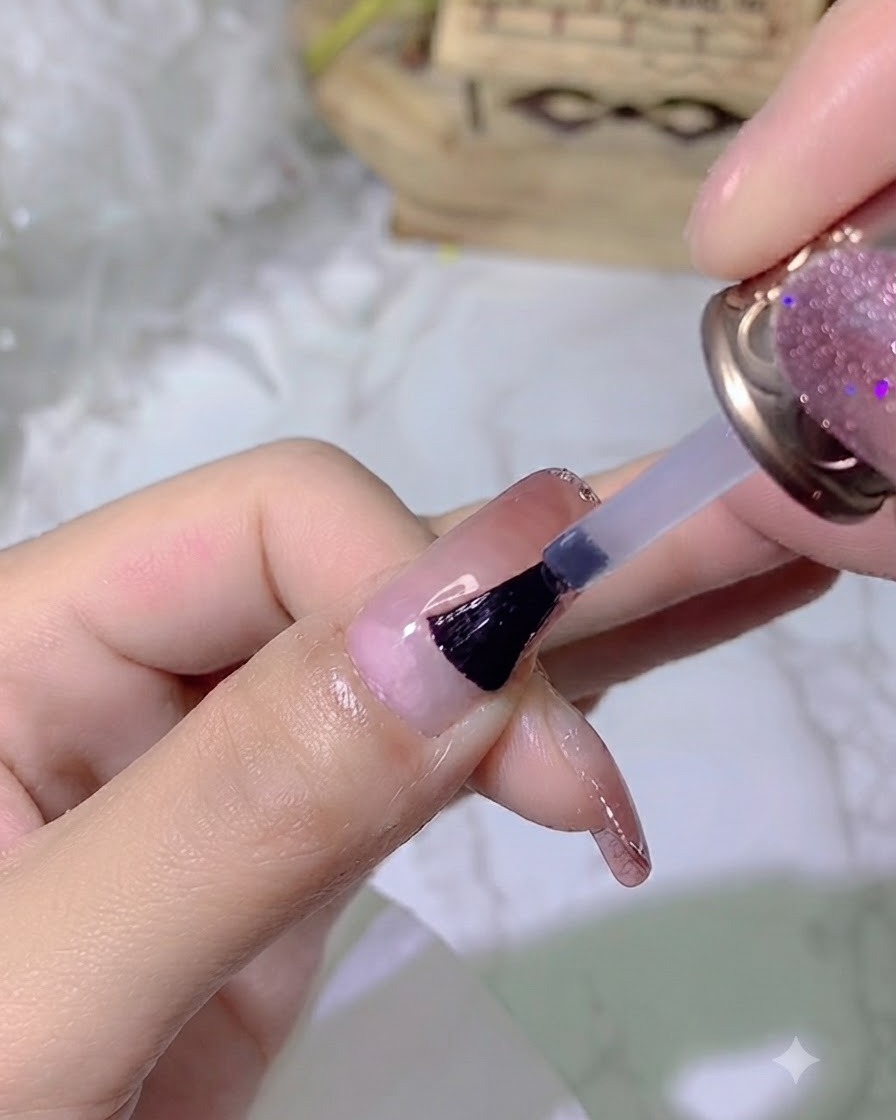
Apply a clear leveling top coat over the entire nail surface, making sure to carefully wrap the free edges to seal the design and prevent chipping. This step provides a smooth, glossy finish and protects the underlying layers and embellishments.
Tip: Wrapping the edge of the nail with top coat is essential for preventing premature lifting and peeling. - 7Cure top coat
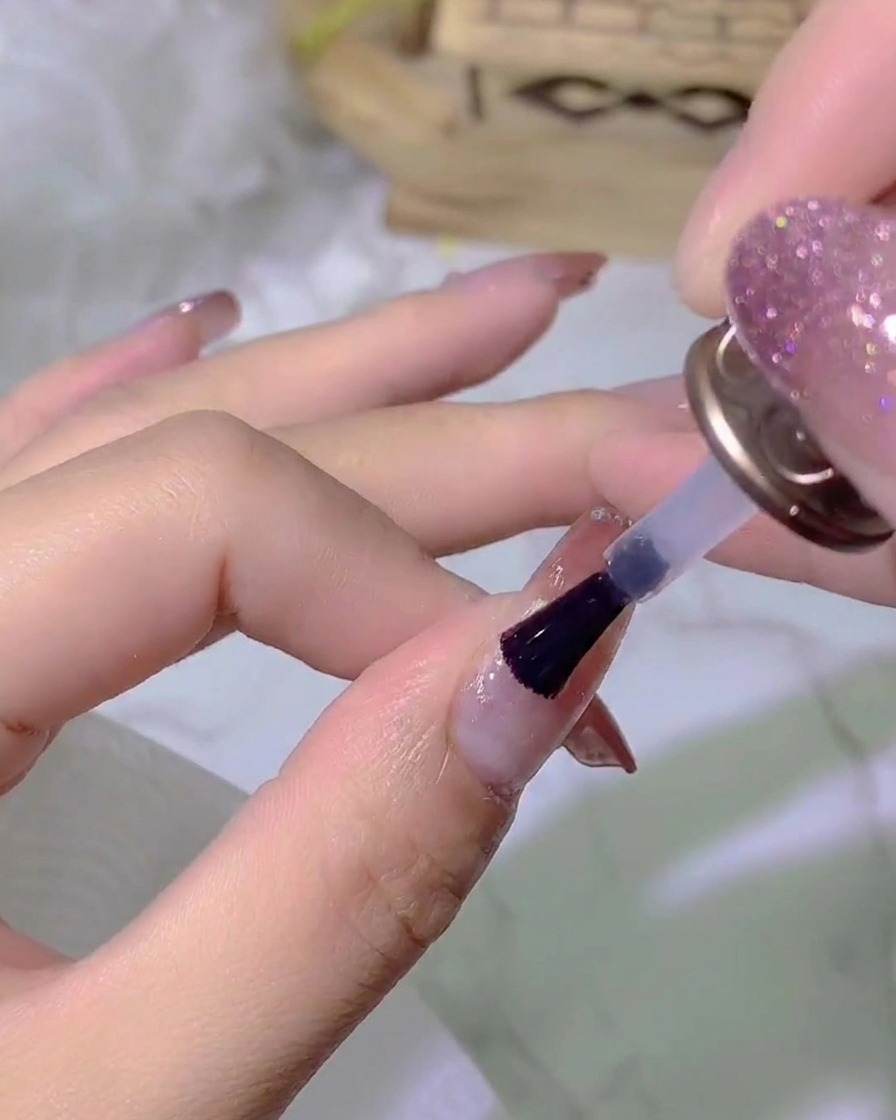
Place your hand inside the UV/LED lamp and cure the top coat for exactly one minute to ensure a hard, fully dry, and glossy finish.
Tip: Ensure your hand is placed evenly under the light source to cure all nails completely without dead angles. - 8Apply glue for crystal placement
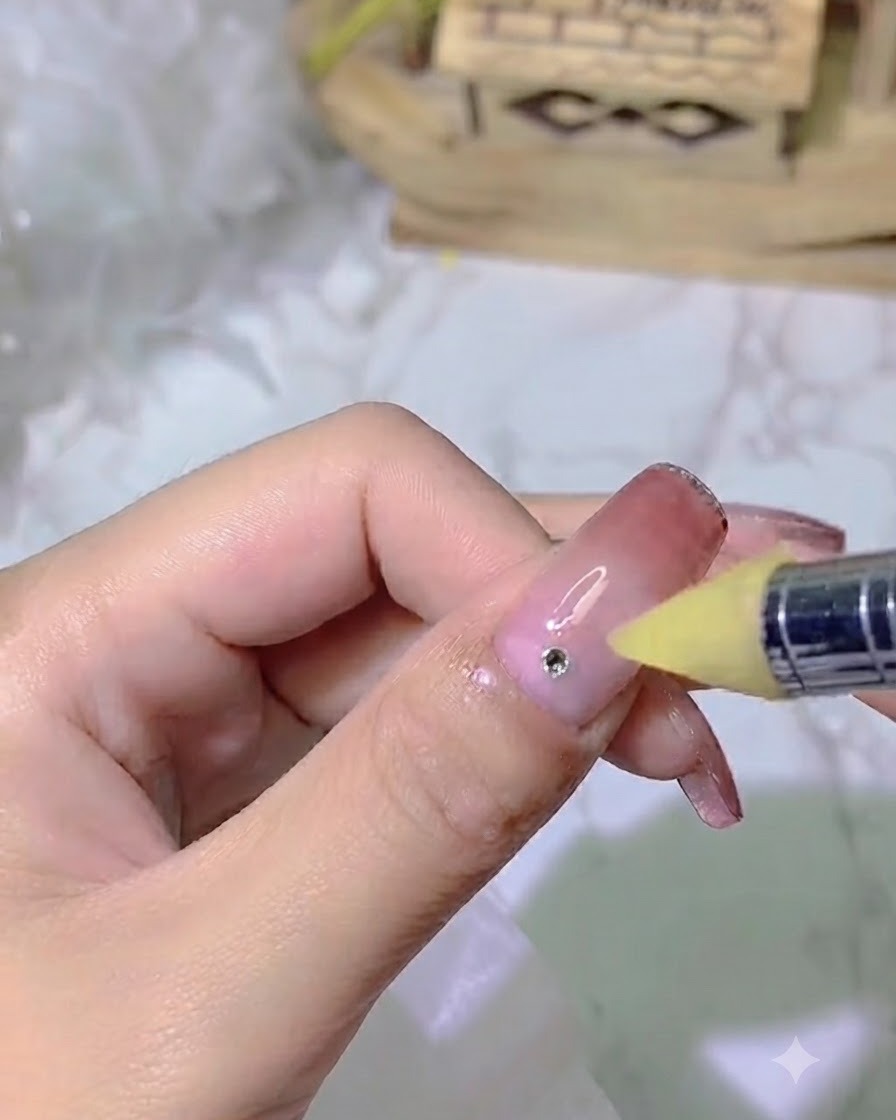
Apply a small dot of strong adhesive glue onto the desired area of the nail surface where you want to attach the water crystal embellishment.
Tip: Use a precise application tool or dotting pen to control the amount of glue and prevent it from spreading too far. - 9Place water crystal embellishment
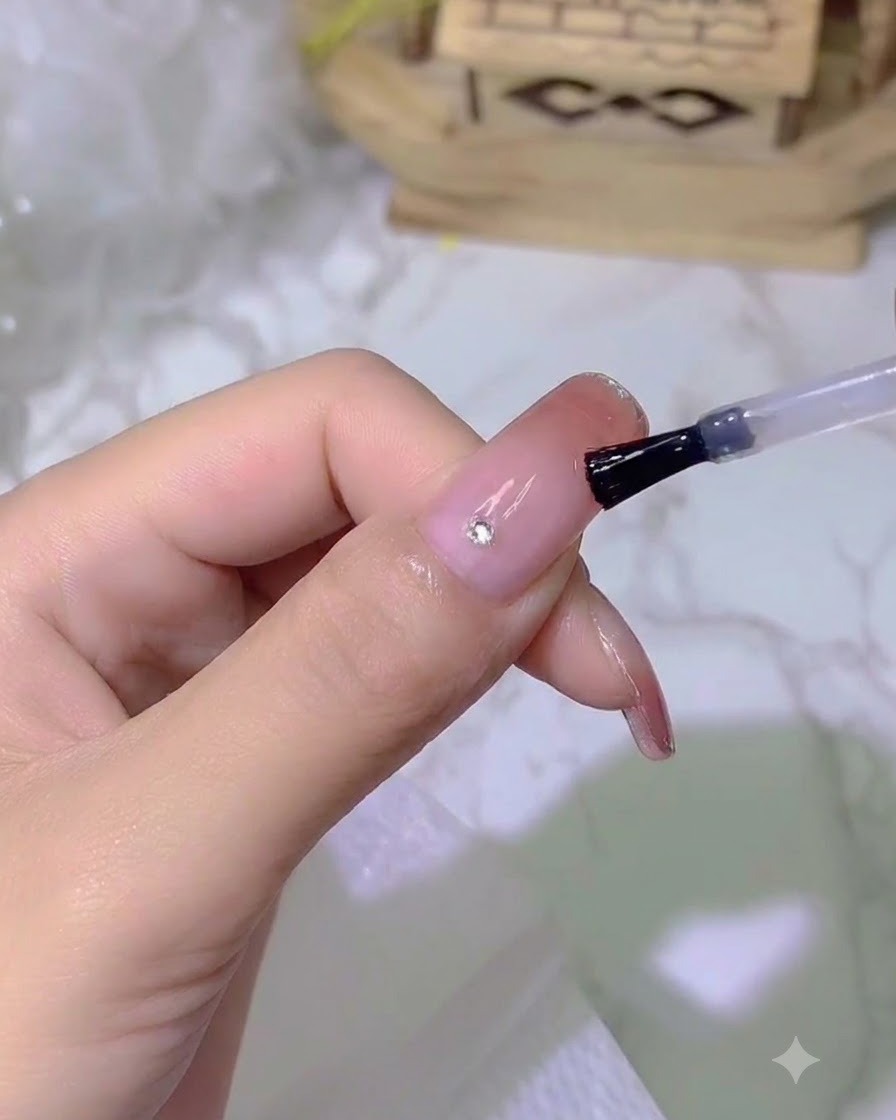
Using a fine tool or wax pencil, pick up a small water crystal and place it precisely onto the uncured adhesive dot near the base of the nail. Press gently to secure it in place before curing under the lamp.
Tip: Position the crystal slightly above the cuticle area to avoid skin contact and ensure it stays secure longer. - 10Apply final top coat seal
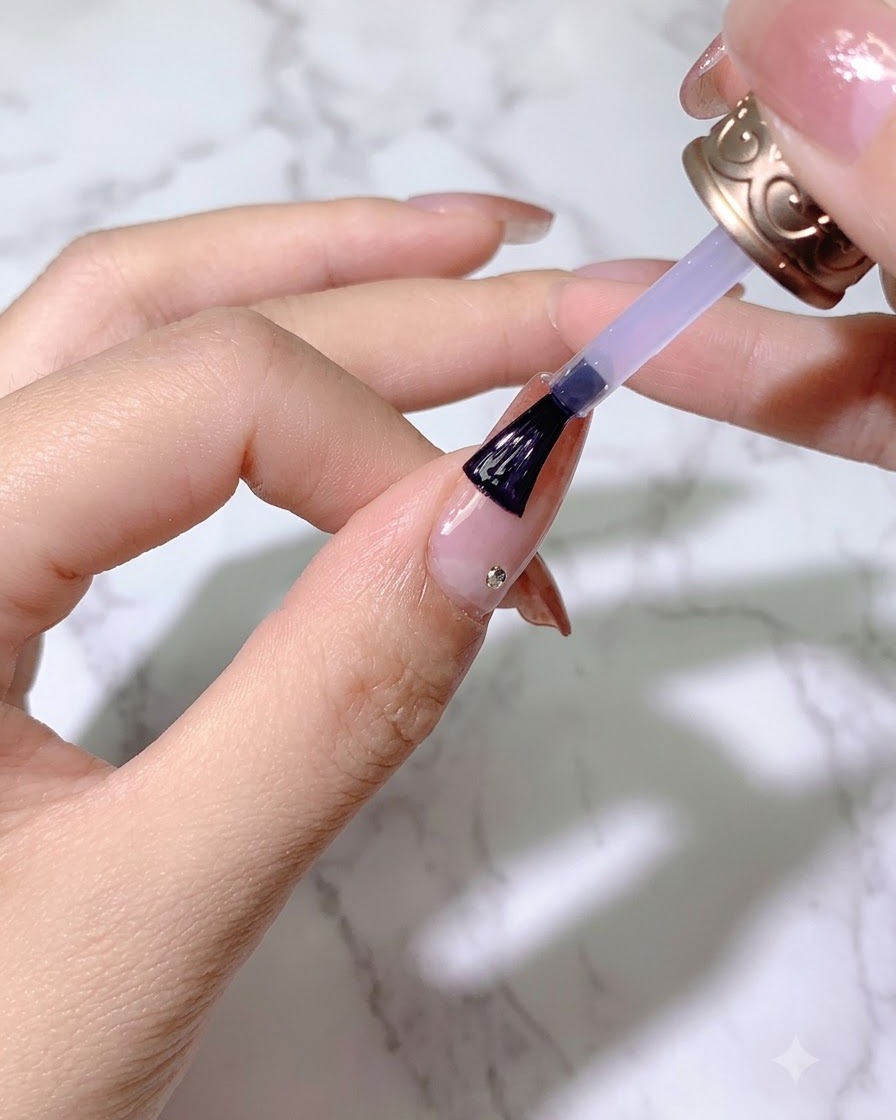
Apply a final sealing layer of top coat across the entire nail surface, covering around the water crystal embellishment to lock everything in. Ensure an even, glossy distribution without dulling the sparkle of the crystal.
Tip: Seal carefully around placed gems to anchor them securely without completely burying their facets. - 11Cure final top coat under lamp
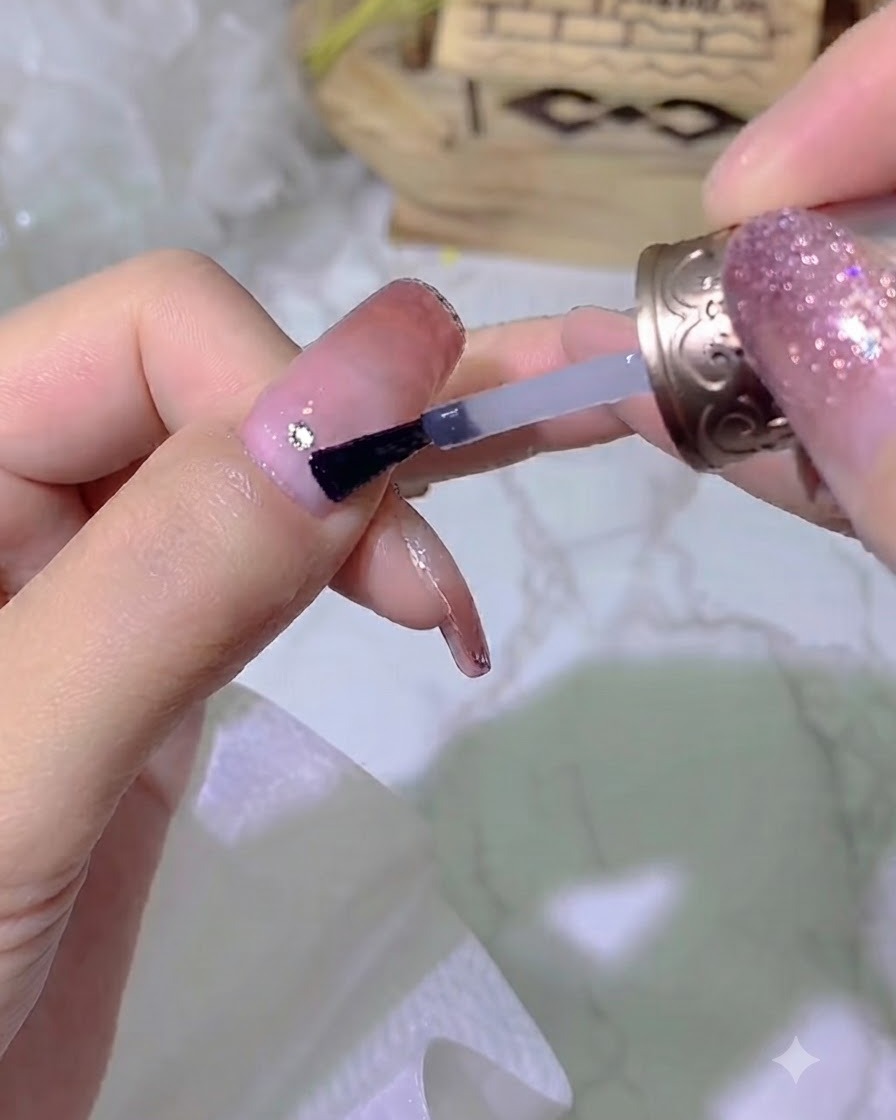
Place the hand under a UV or LED lamp to cure the final top coat completely. Follow standard curing times to ensure the surface hardens to a durable, high-shine finish.
Tip: Ensure the hand is positioned flat inside the lamp so all edges and the crystal placement cure evenly.