Crystal Glitter Sparkle French Cat Eye Nails — Step-by-Step Tutorial
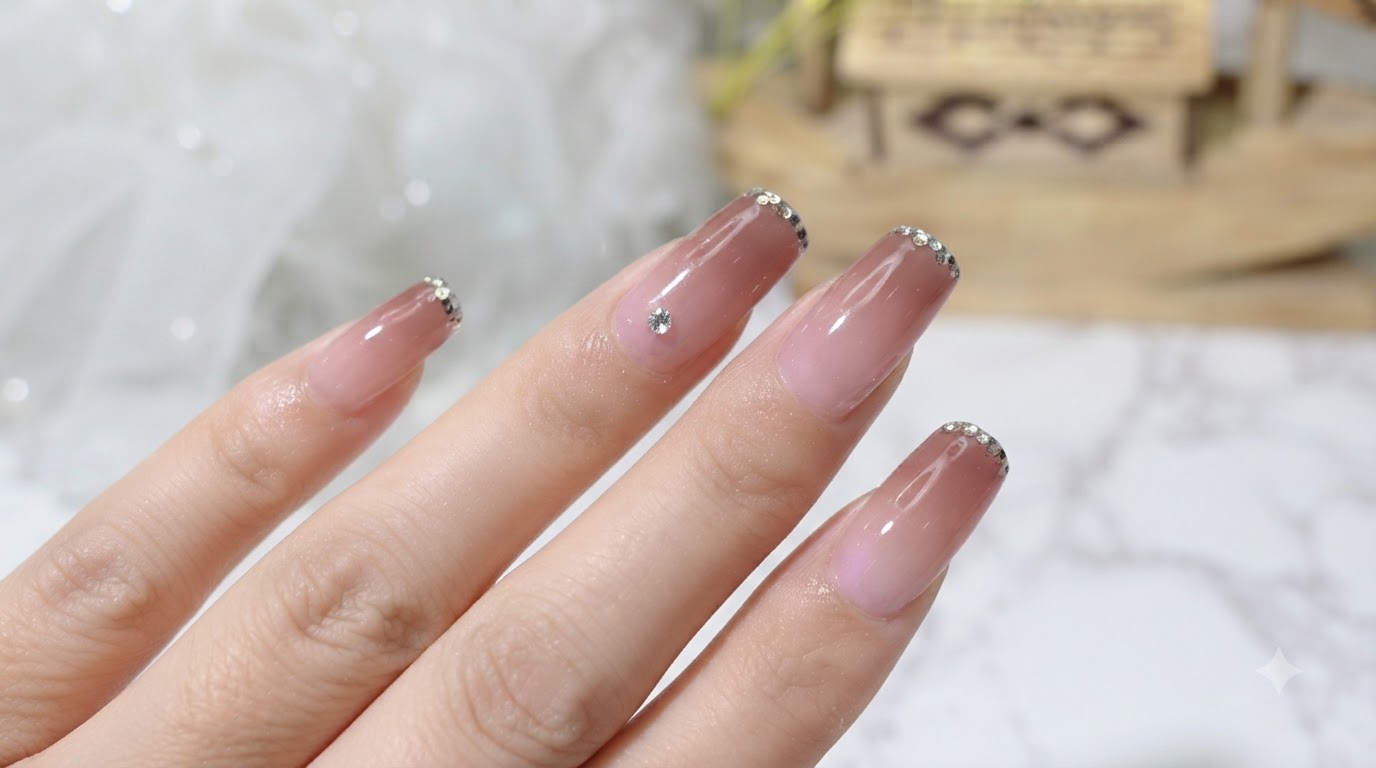
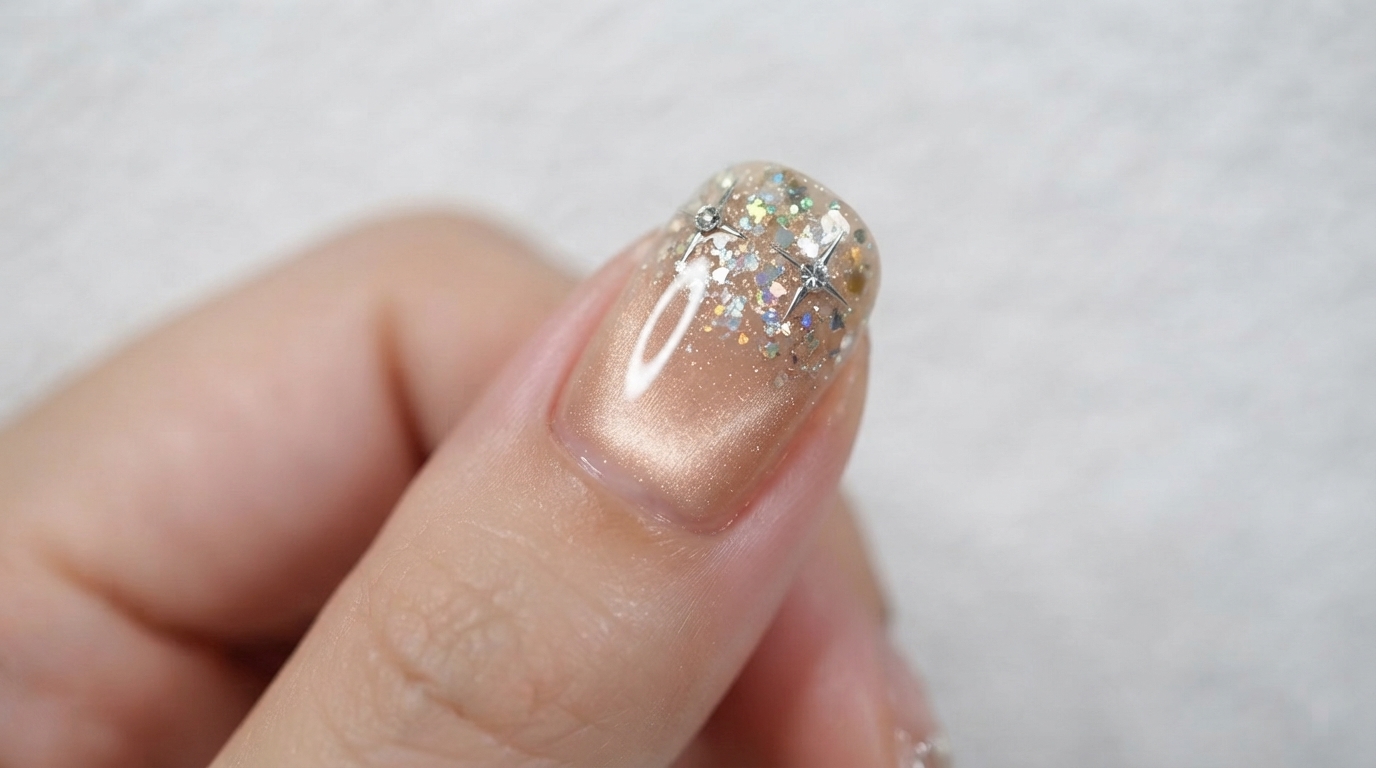
Discover how to create stunning crystal glitter sparkle French cat eye nails featuring a translucent milky white base, dimensional glass bead effects, and textured high-transparent dipping powder tips.
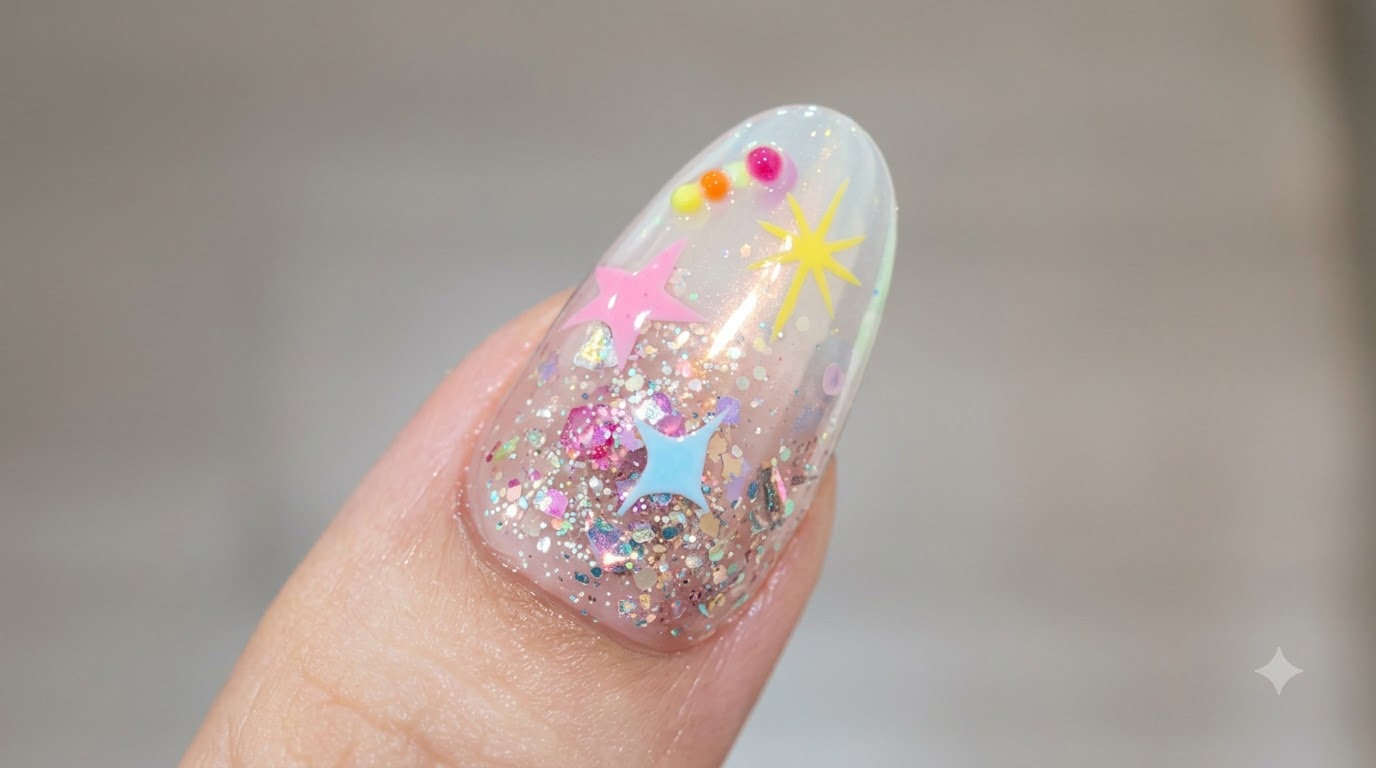
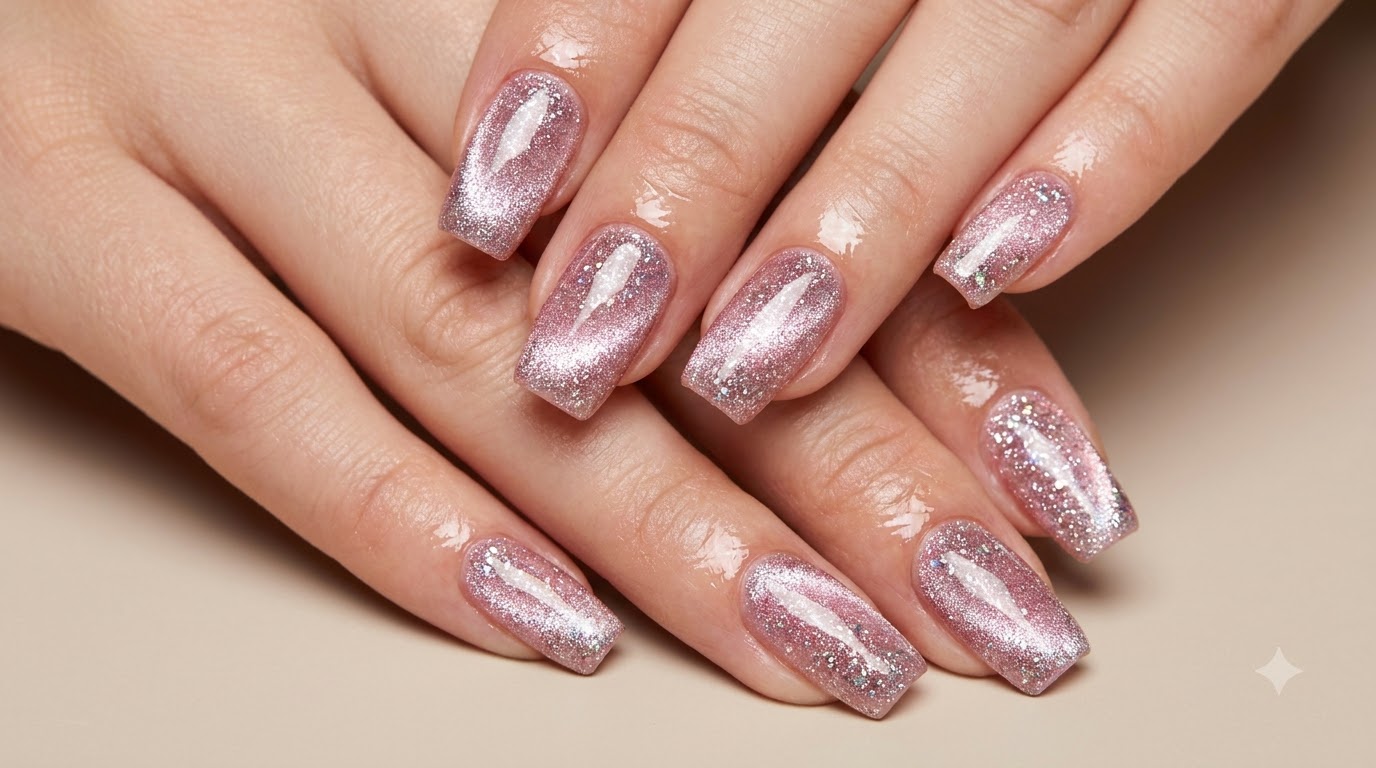
The fusion of mesmerizing cat-eye light effects and textured glitter tips has taken modern nail art to new heights. This look combines a dreamy milky white gel foundation with a brilliant, glowing glass bead light reflection, finished with a sparkling high-transparent dipping powder French smile line for an ethereal, multi-dimensional finish.
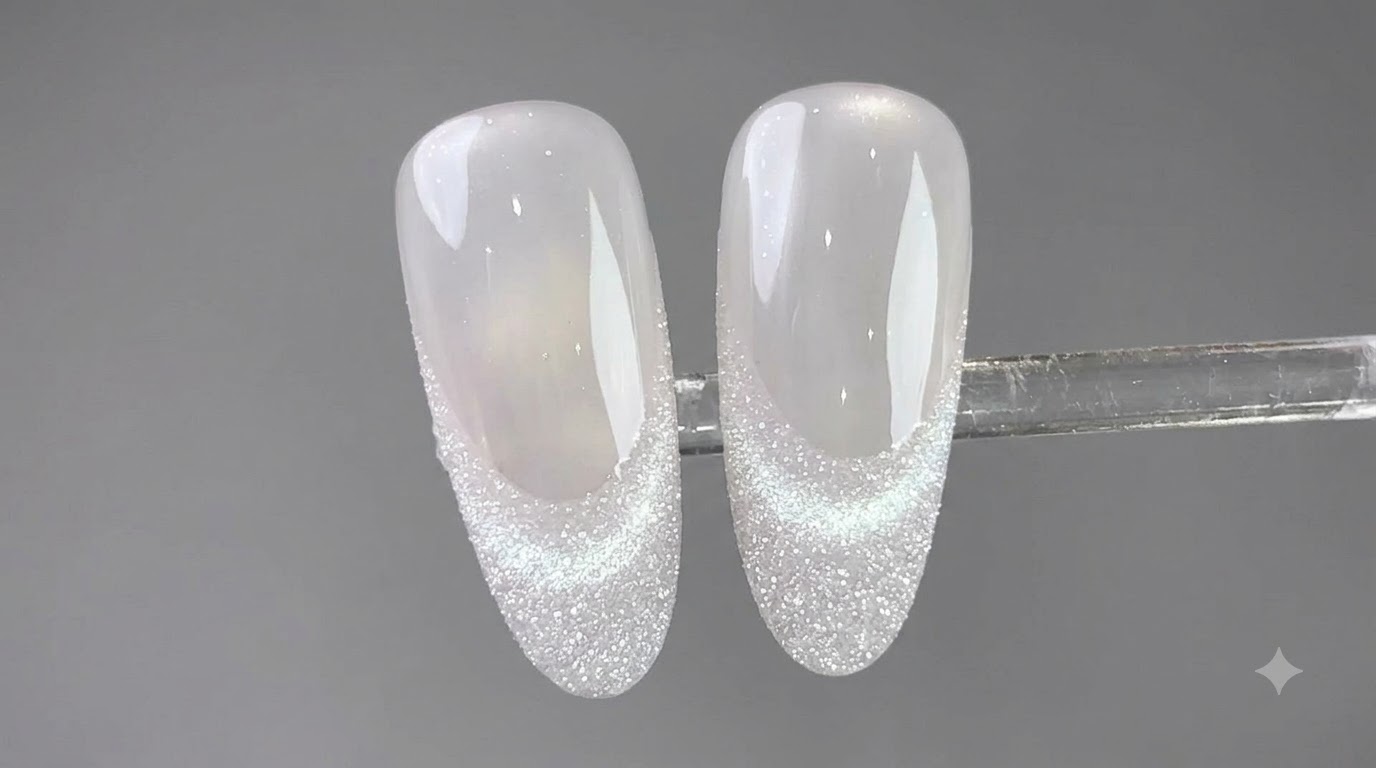
Steps
- 1Apply Milky White Base Gel
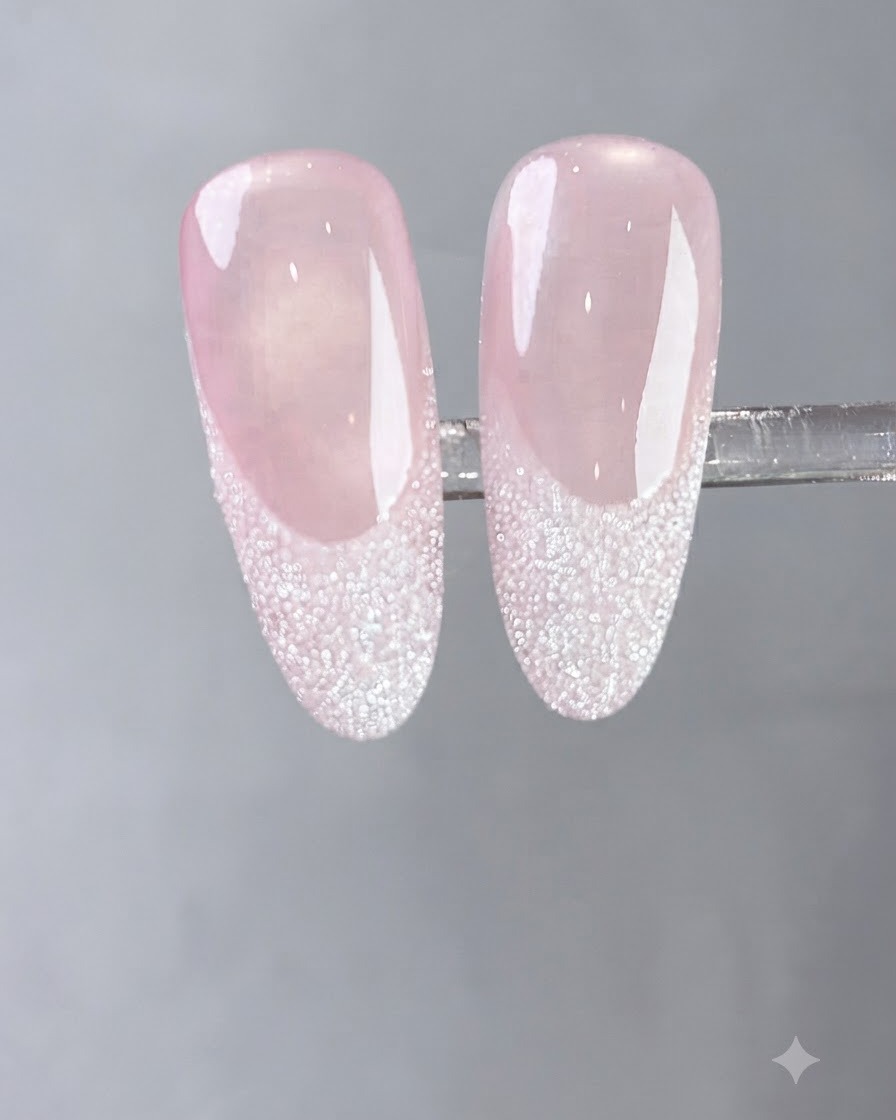
Brush a smooth, even layer of flowing milky white gel onto the prepped nail plate to serve as a translucent base. Make sure to cover the entire surface evenly while keeping the layer thin to prevent pooling or wrinkling during the curing process.
Tip: Apply in thin, controlled strokes to maintain a smooth foundation for the subsequent cat eye layers. - 2Apply Water-Gloss Translucent Cat Eye Gel
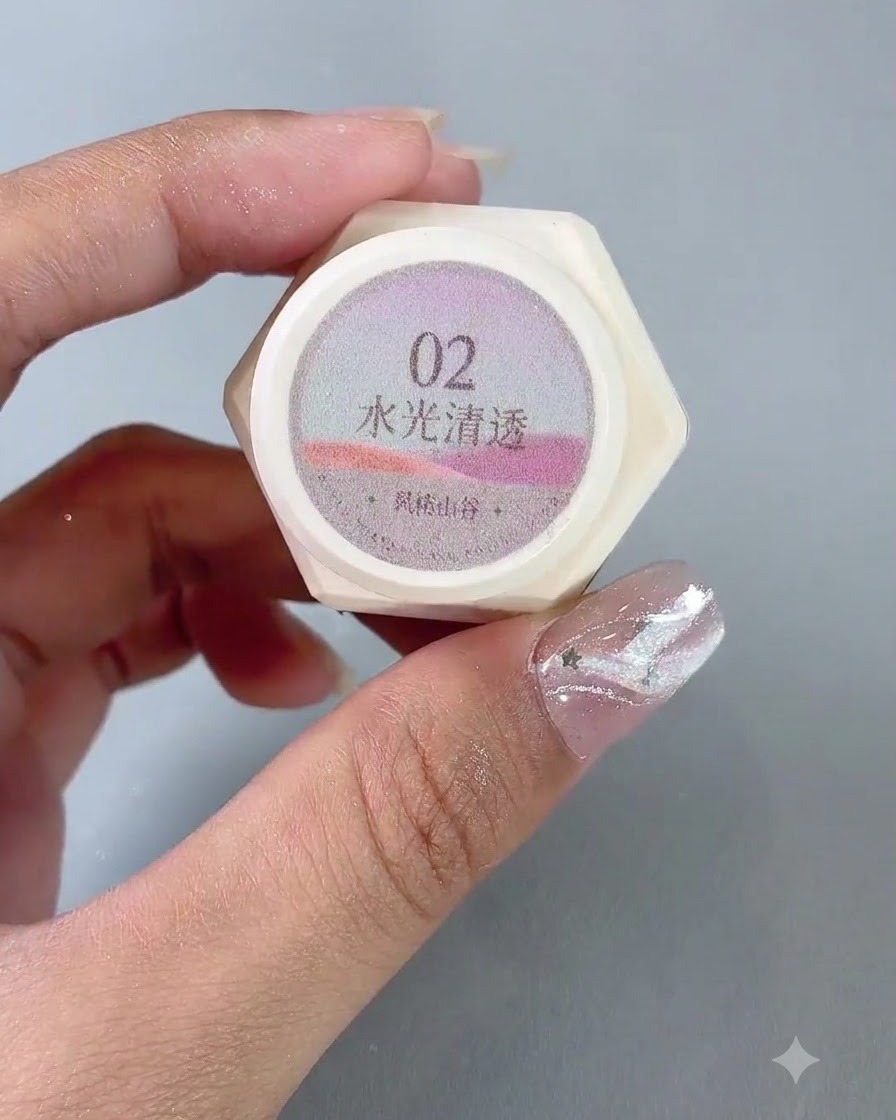
Take the water-gloss translucent number 2 cat eye gel and apply a fresh layer over your pre-cured base. This special translucent formula gives the design its signature multi-dimensional watery depth.
Tip: Apply an even coat so the magnetic particles have enough fluid medium to move freely when magnetized. - 3Draw Out the Wide Light Beam
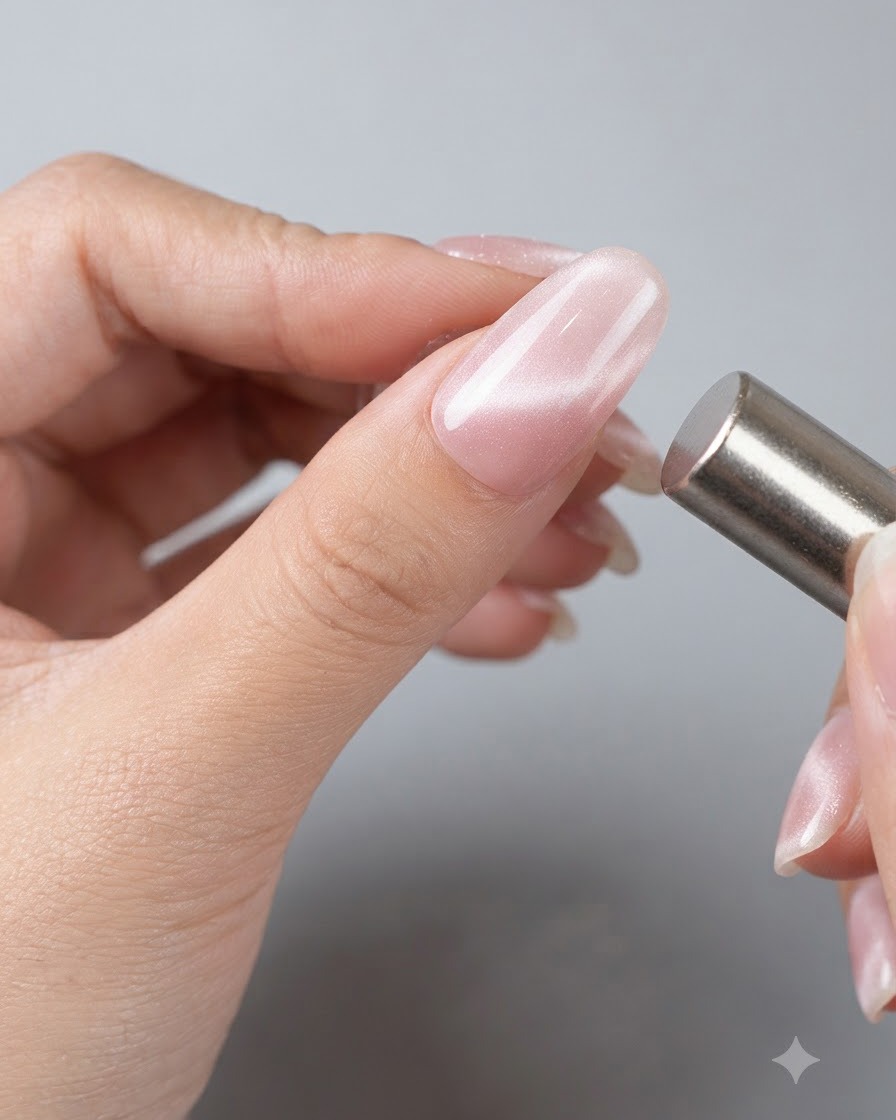
Take a treasure magnet and hover it close to the wet cat eye gel, moving it back and forth left and right. This action draws out a wide beam of light across the nail surface.
Tip: Keep the magnet steady at a consistent distance from the nail to prevent accidental smudging of the particles. - 4Create Glass Bead Effect
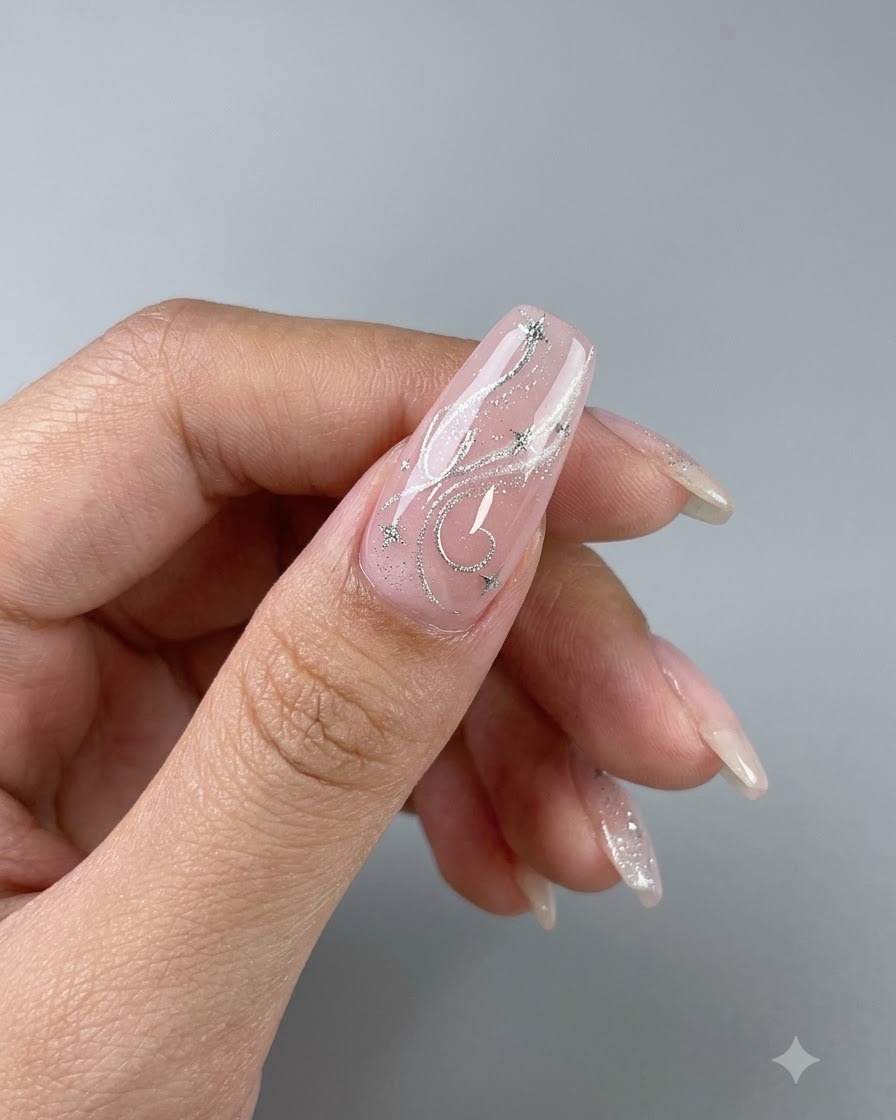
Loop the magnet in a circular motion around the nail to concentrate the suspended magnetic particles into a brilliant, glowing glass bead effect that looks super shiny and dimensional.
Tip: Check the light reflection from multiple angles before curing to ensure the glass bead highlight is perfectly centered. - 5Seal with Smooth Top Coat
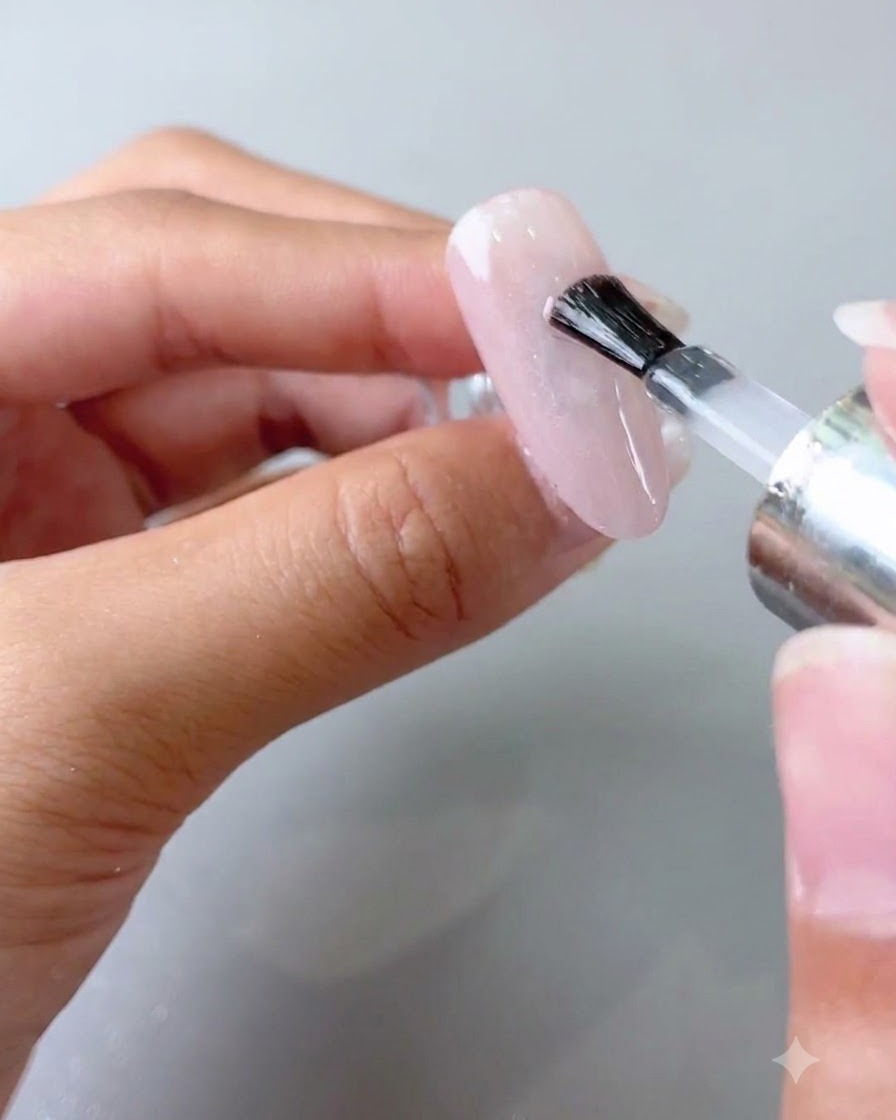
Apply a layer of smooth top coat over the fully cured cat eye gel layer to seal in the design, protect the finish, and provide a high-gloss protective barrier.
Tip: Cap the free edge cleanly to prevent chipping and ensure longevity of the manicure. - 6Select French Sticker Guide
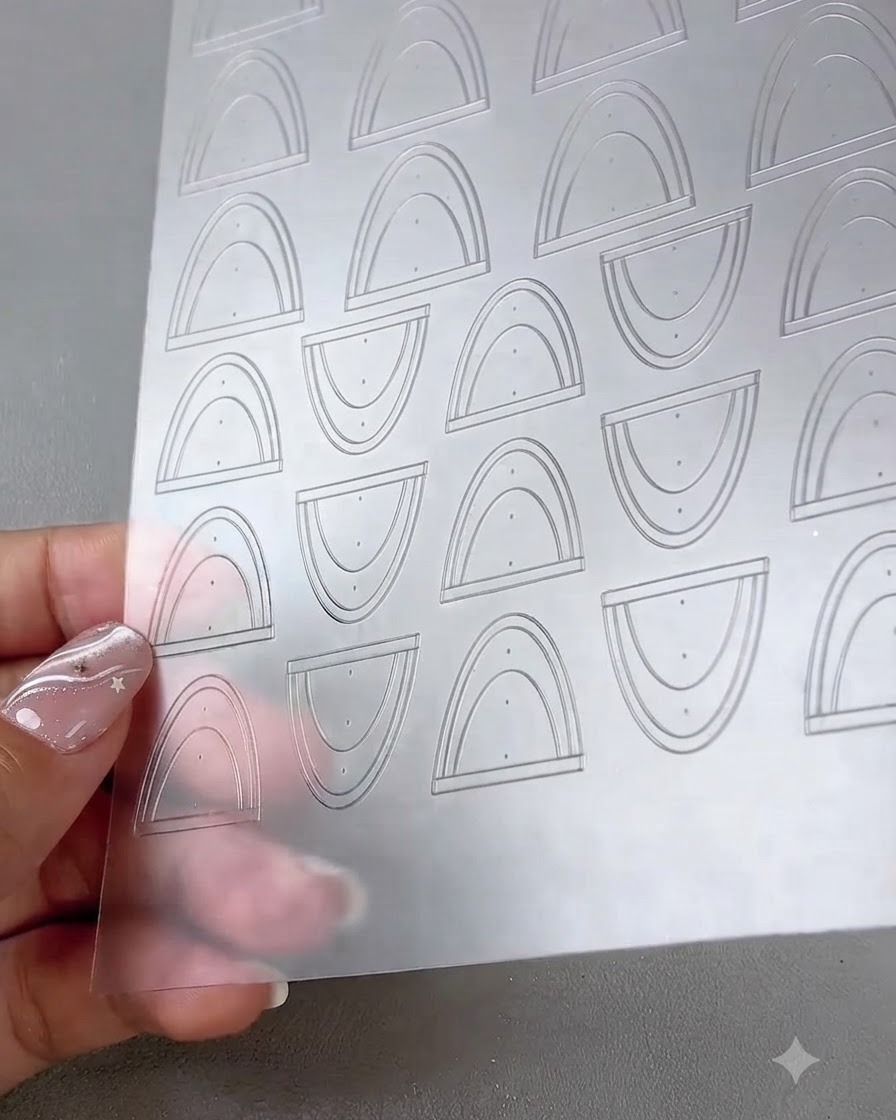
Take a Style Valley French sticker sheet, examine the available curves, and pick one sticker guide to place onto the nail surface for the upcoming line styling.
Tip: Use fine-tipped tweezers to peel the sticker gently without bending or tearing its delicate edges. - 7Position French Sticker Guide
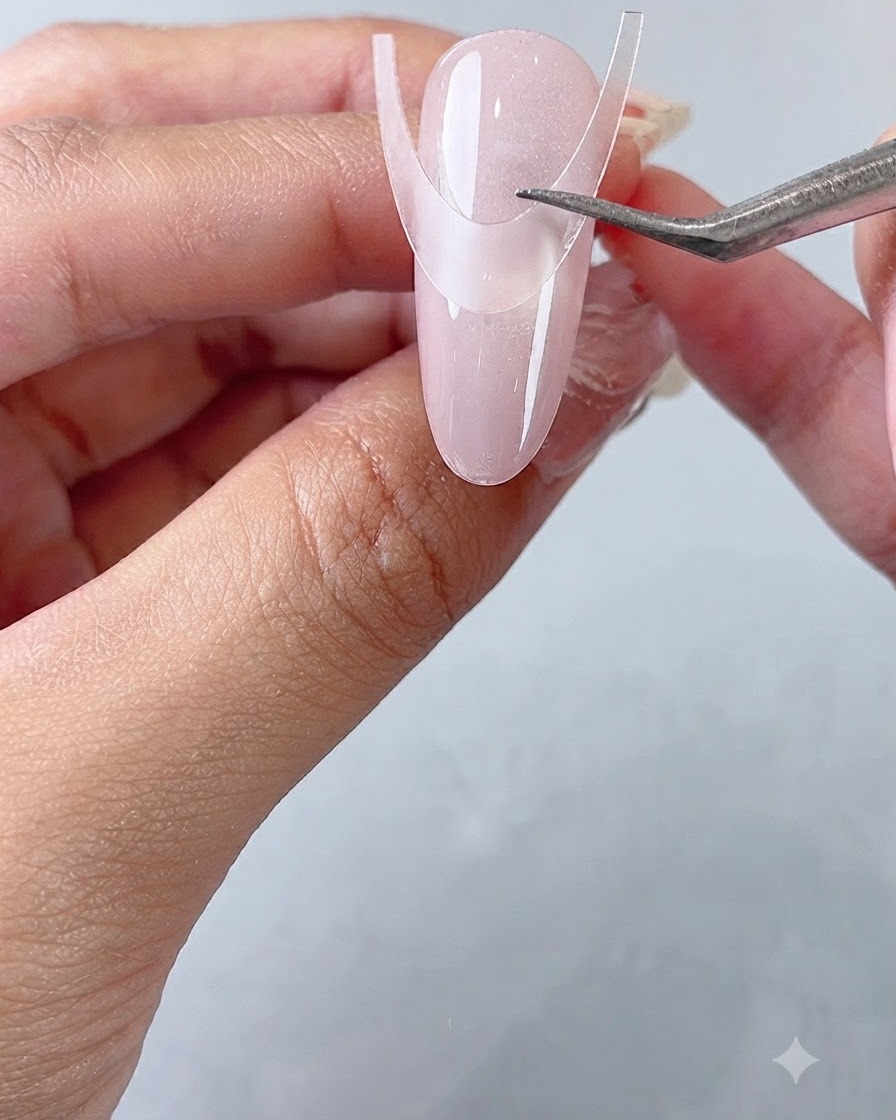
Using a pair of fine tweezers, carefully pick up a Style Valley French sticker and place it onto the upper nail surface. Position the curve precisely to outline the desired French tip line before pressing it down.
Tip: Use tweezers for high-precision placement to ensure the French guide is symmetrical and aligned correctly. - 8Press Sticker Edges Flat
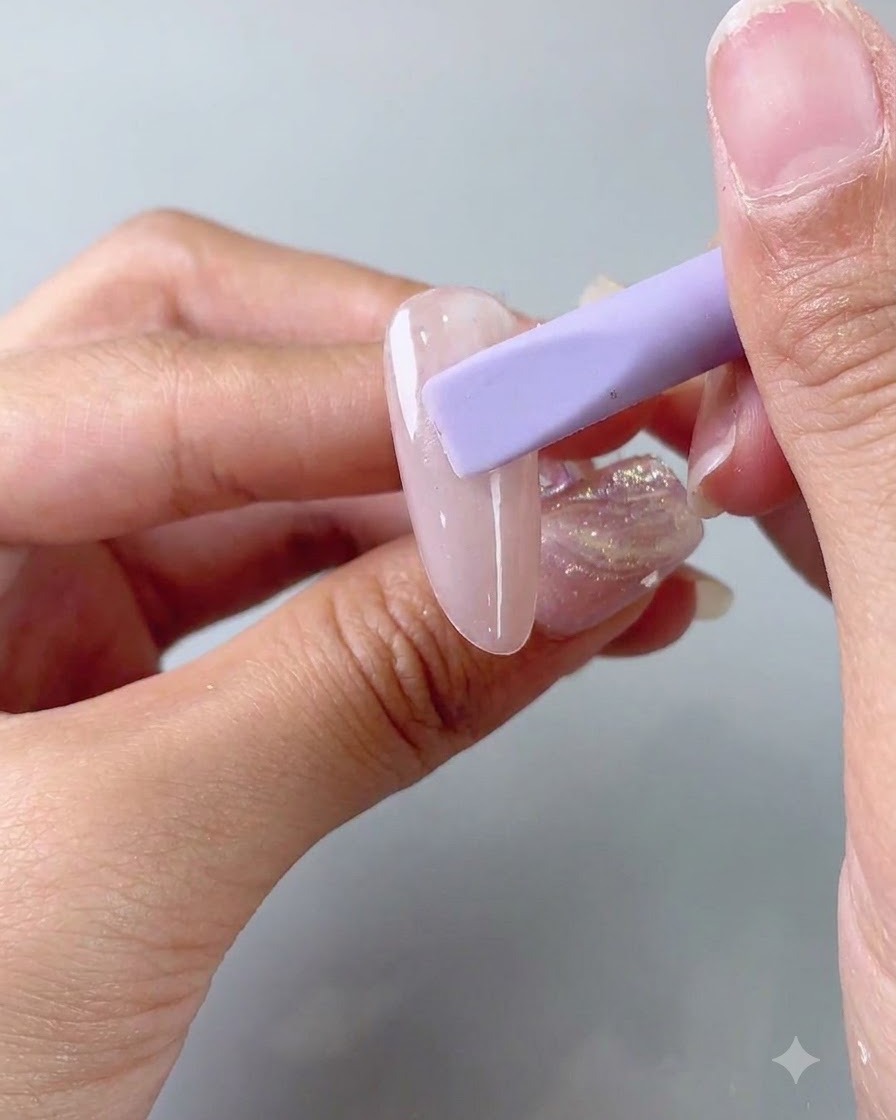
Take a purple silicone shaping stick and gently press down all edges of the French sticker firmly against the nail surface. This ensures a tight seal so that styling gel will not bleed underneath the guide.
Tip: Firm pressure along the inner edge of the sticker prevents any gaps where gel could leak through. - 9Apply Texture Styling Gel
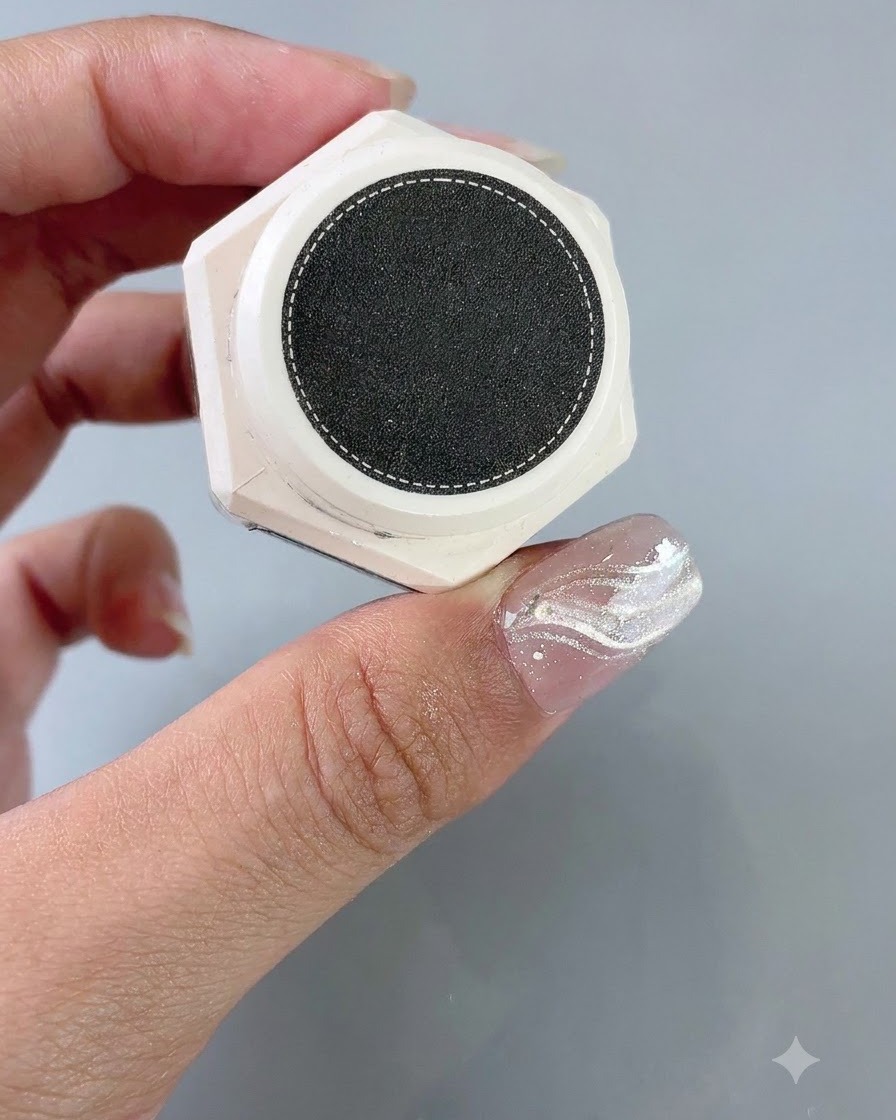
Brush texture styling gel directly onto the exposed front edge tip area in front of the sticker guide. Do not cure under the lamp yet, as the wet gel is required to catch and hold the dipping powder in the next step.
Tip: Keep the styling gel layer even across the tip area to ensure uniform powder distribution. - 10Remove French Guide Sticker
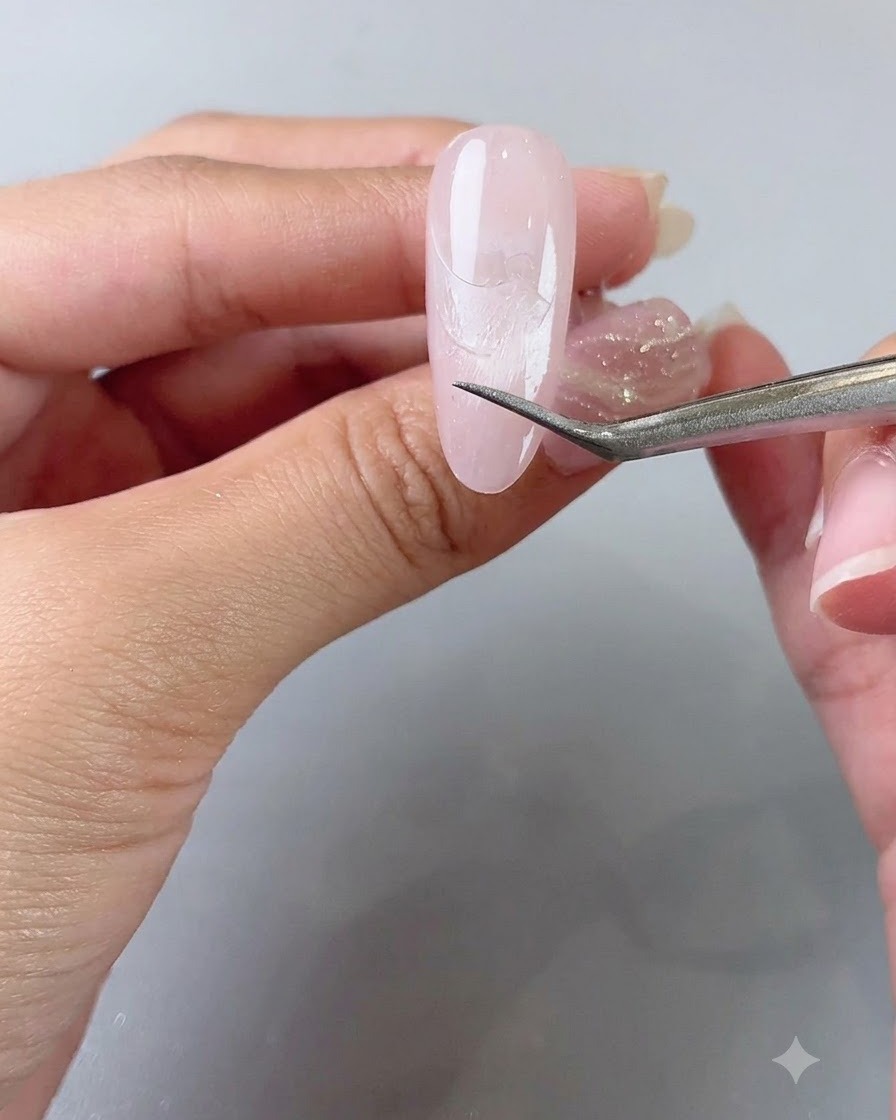
Using tweezers, carefully peel off the French guide sticker from the nail surface while the styling gel is still wet. Pull it away gently to reveal a clean, sharp boundary line between the nail bed and the tip.
Tip: Peel the sticker slowly and at a low angle to avoid disturbing the wet styling gel edge. - 11Apply High-Transparent Dipping Powder
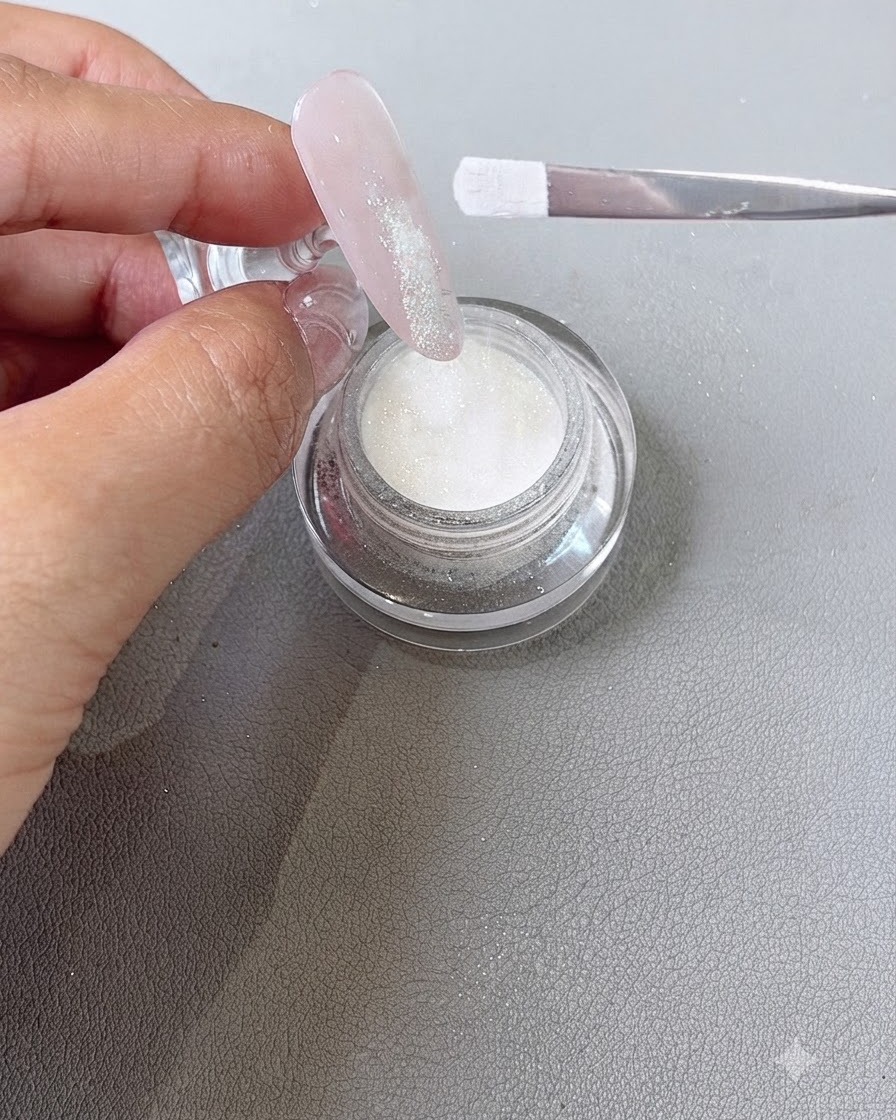
Take high-transparent dipping powder number 5 and sprinkle it generously all over the sticky styling gel tip area. Ensure the powder coats the entire wet edge completely before placing the nail under the UV or LED lamp to cure.
Tip: Sprinkle the powder liberally over the wet area to achieve full sparkle density, then cure fully. - 12Brush off excess dipping powder
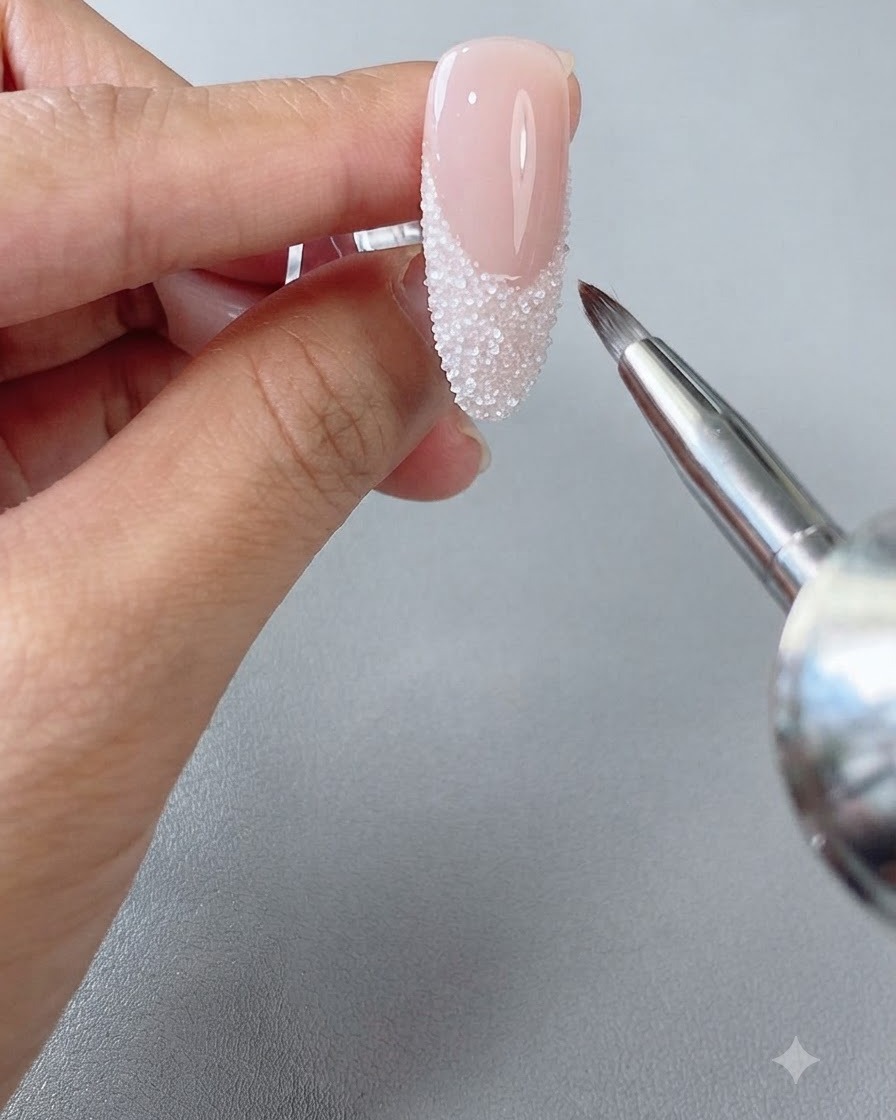
After fully curing the design under the lamp, take a soft, clean nail art brush and gently sweep away any loose, unfixed dipping powder particles from around the nail tip and side walls. This reveals the crisp French line and leaves a clean, sparkling textured crystal finish on the nail tip.
Tip: Make sure the texture styling gel is completely cured before dusting off excess powder to avoid smudging the textured French smile line.