Summer Limited Edition Star Explosion Nail Art — Step-by-Step Tutorial
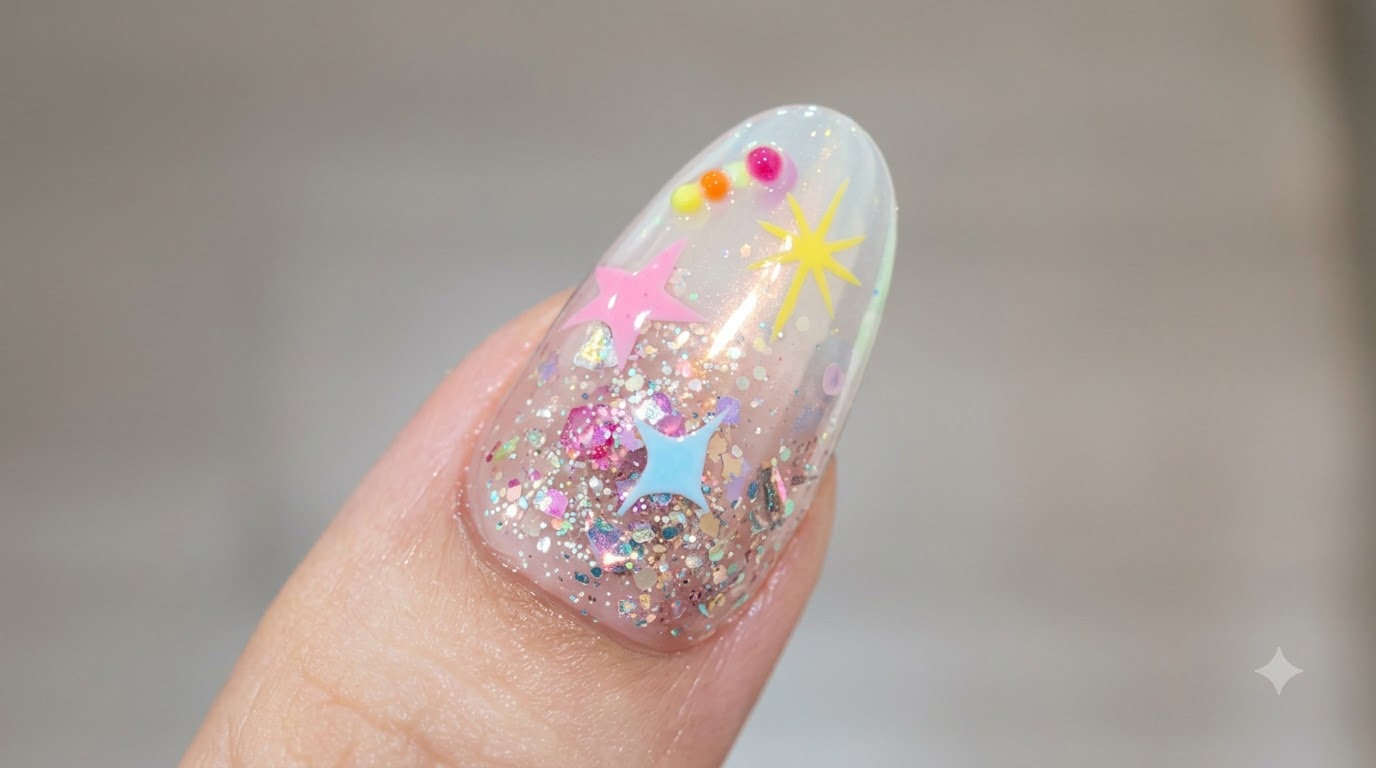
Create vibrant summer-limited star explosion nails featuring a glitter gradient base, aurora powder shifts, and hand-painted multi-colored stars.
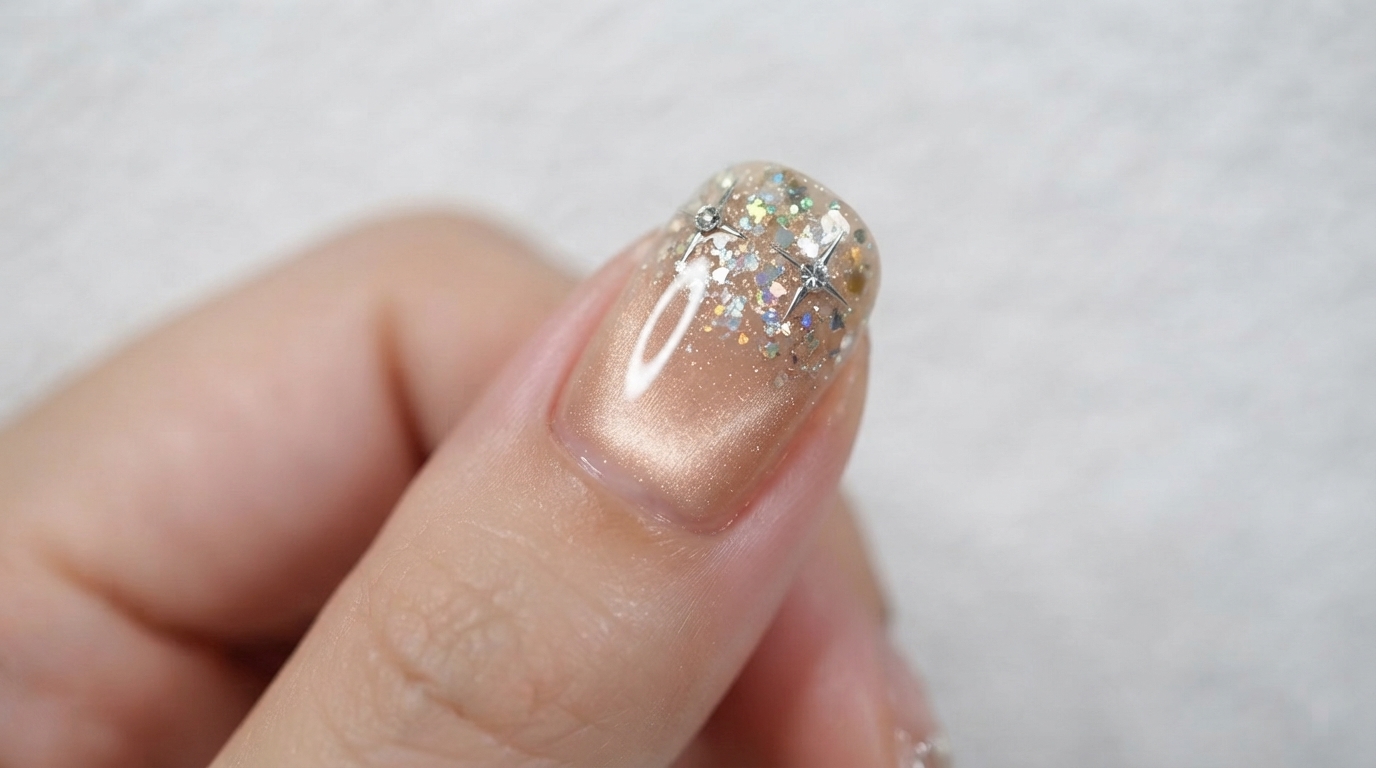
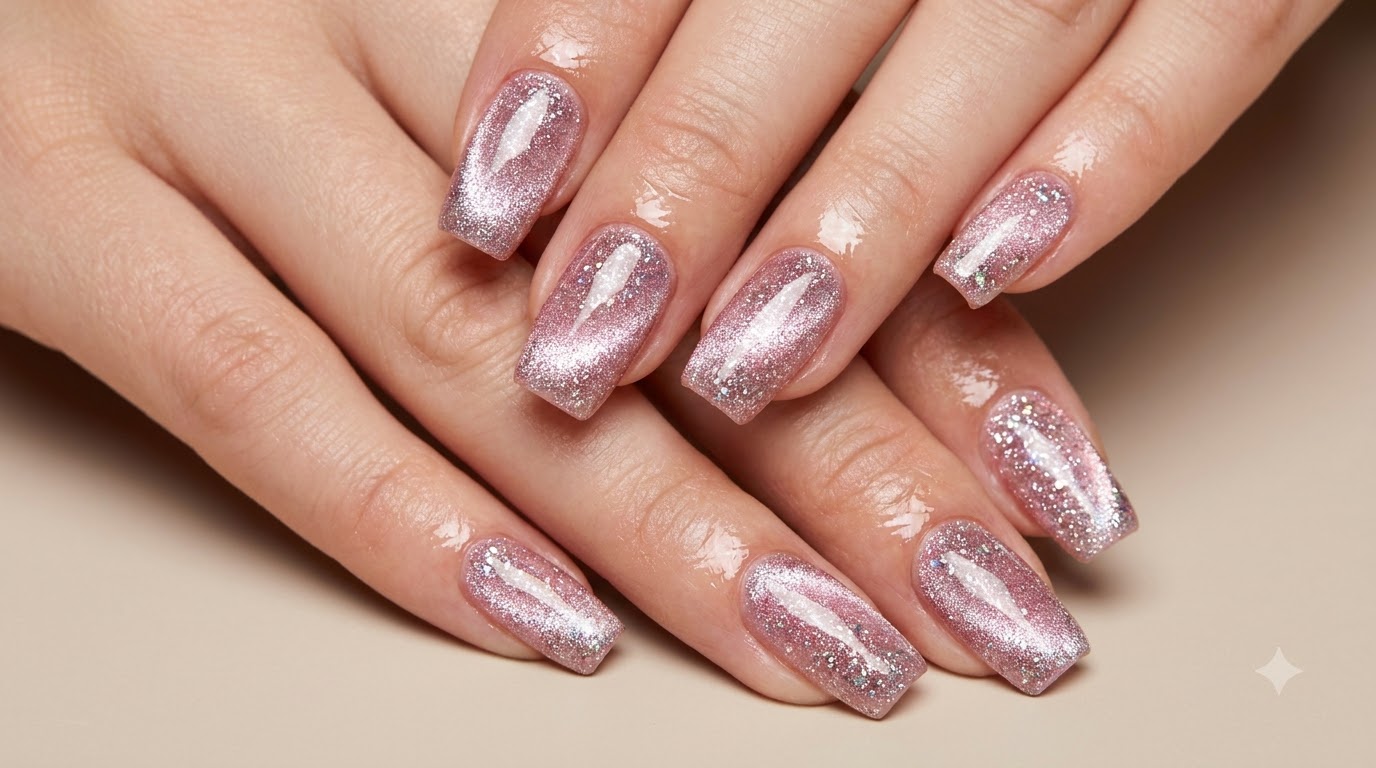
Star-themed nail art is capturing attention this season with its playful blend of celestial motifs and high-shine finishes. This summer-limited design combines textured glitter gradients, color-shifting aurora powders, and crisp hand-painted stars using a convenient palette lid technique. It is a stunning, eye-catching look that brings a burst of energy and color straight to your fingertips.
Steps
- 1Pick up glitter-filled gel
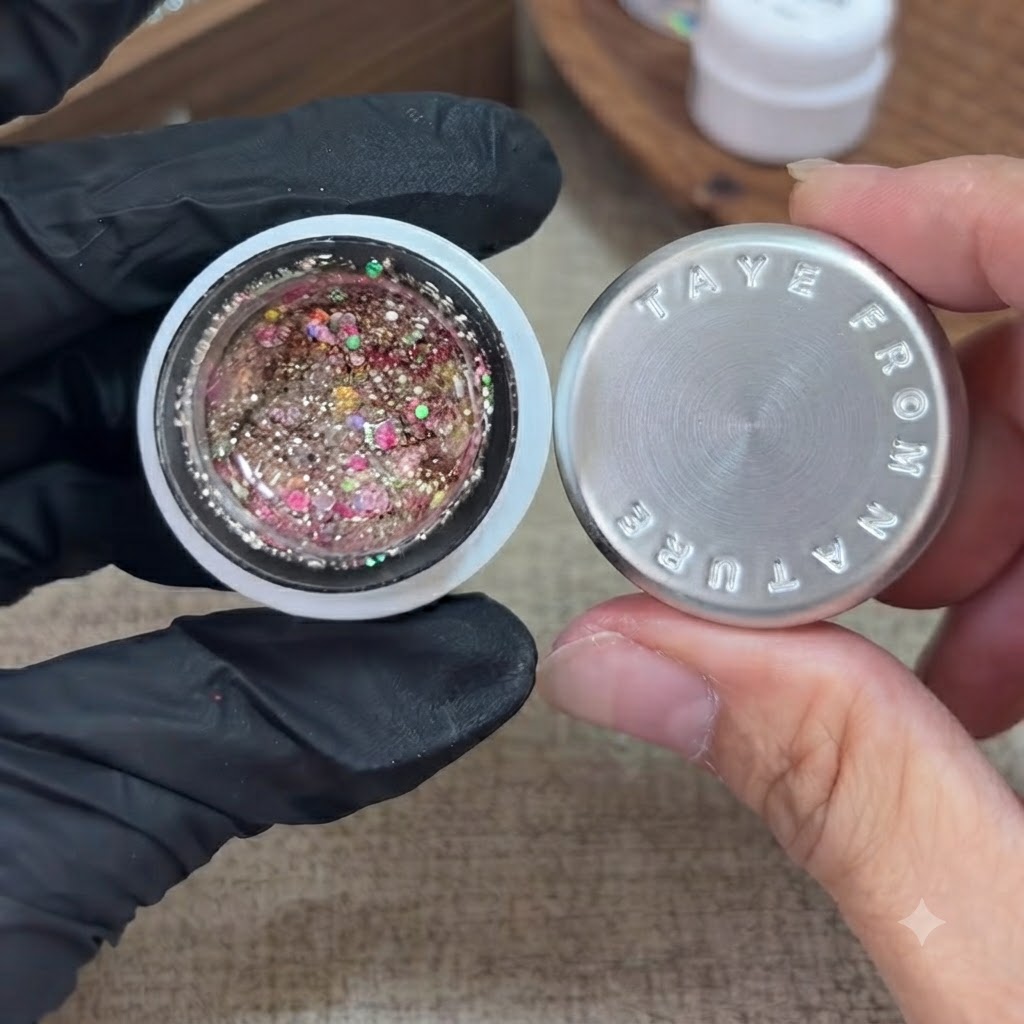
Using a small application brush, dip into the container to pick up a generous amount of the glitter-filled gel polish. Ensure the glitter particles and colorful pieces are well distributed on the brush before applying them to the nail surface.
Tip: Swirl the brush gently in the container to pick up a balanced mix of fine glitter and larger decorative pieces. - 2Apply glitter gel to back edge
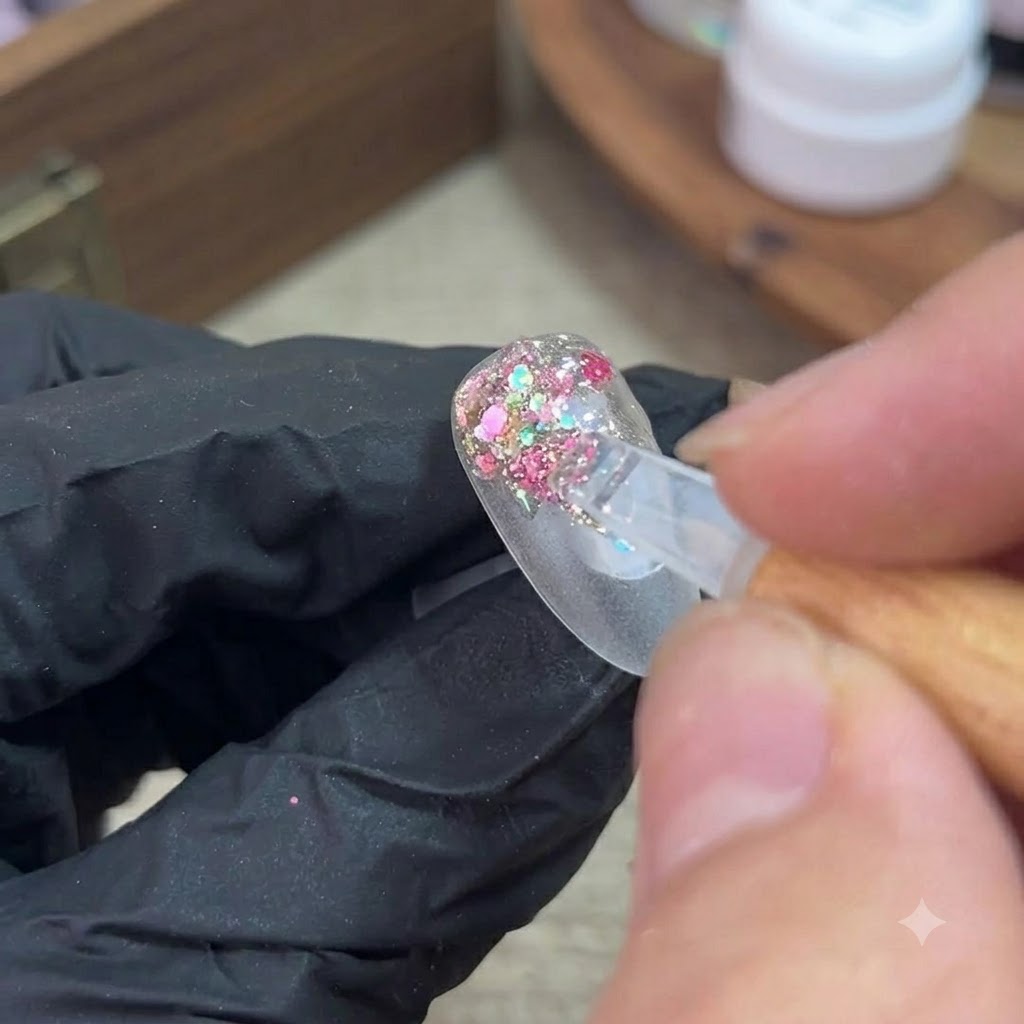
Take the brush loaded with glitter gel and gently place it at the posterior edge or back area of the nail. This establishes the starting point for creating a beautiful gradient glitter effect.
Tip: Keep the application concentrated near the back edge to ensure a clean gradient fade towards the tip. - 3Create glitter gradient effect
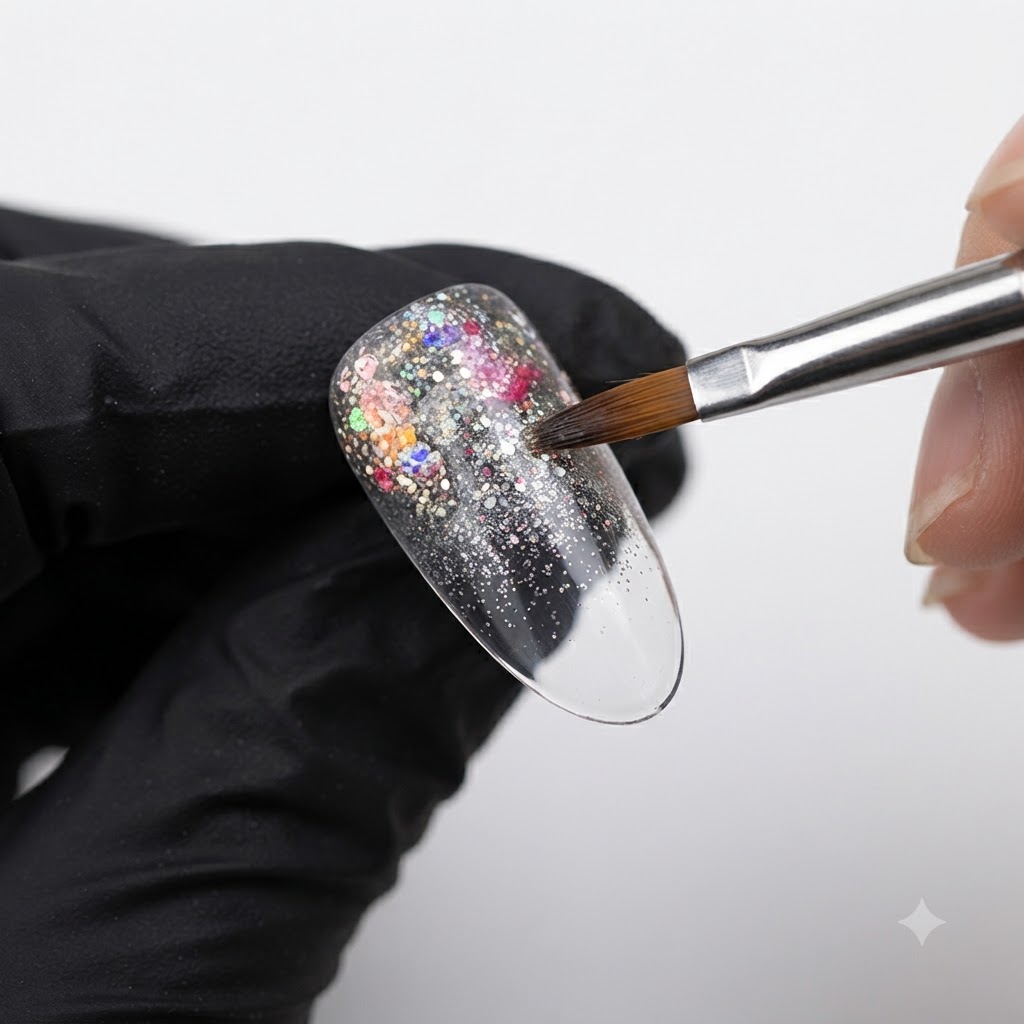
Lightly brush the glitter gel downwards from the back edge towards the free edge of the nail. Feather out the strokes to disperse the glitter particles, creating a smooth and natural gradient fade effect.
Tip: Use light, sweeping motions with minimal pressure to scatter the glitter evenly without clumping. - 4Apply base gel for smoothness
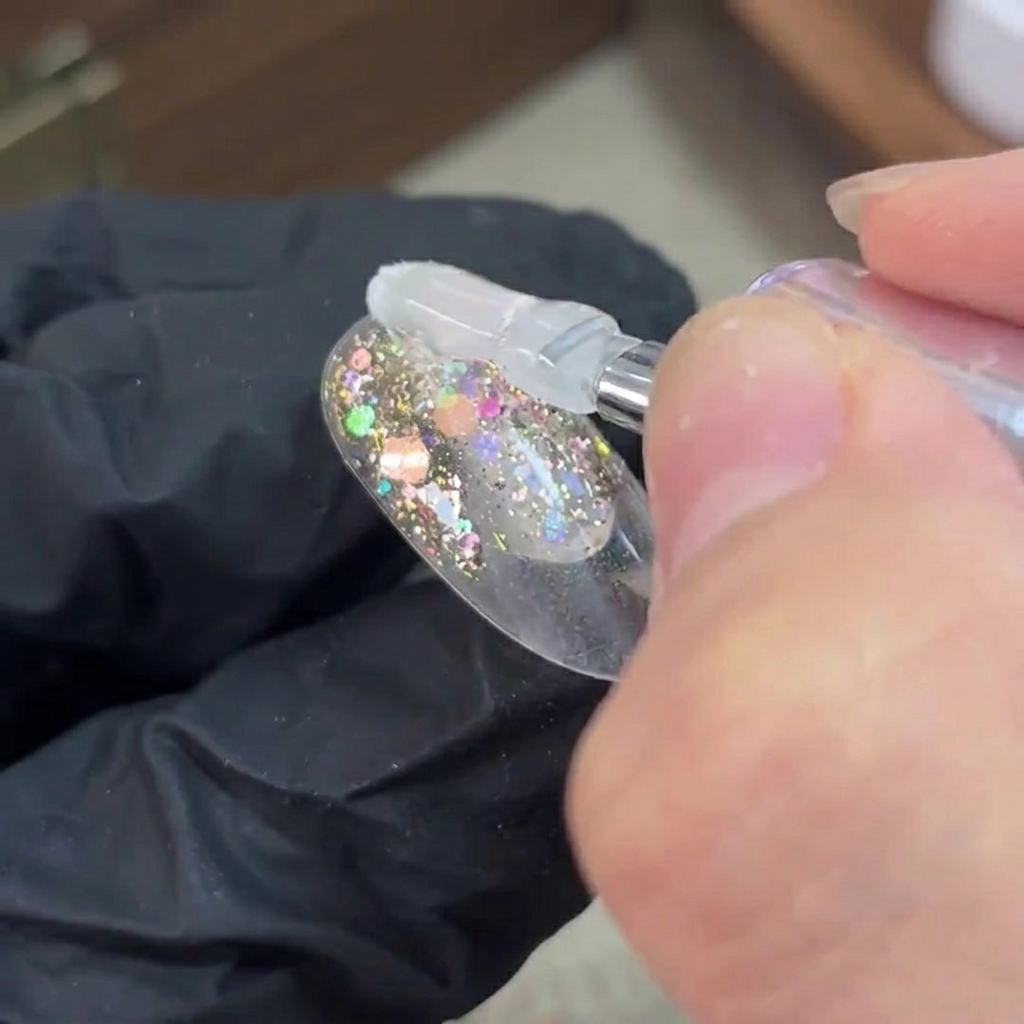
After curing the initial glitter layer under the lamp, apply a clear layer of base gel over the entire surface. This smooths out any bumps or texture created by the glitter pieces, preparing a flat canvas for the next steps.
Tip: Ensure full coverage over all glitter pieces to encapsulate them safely before continuing. - 5Wipe away sticky layer
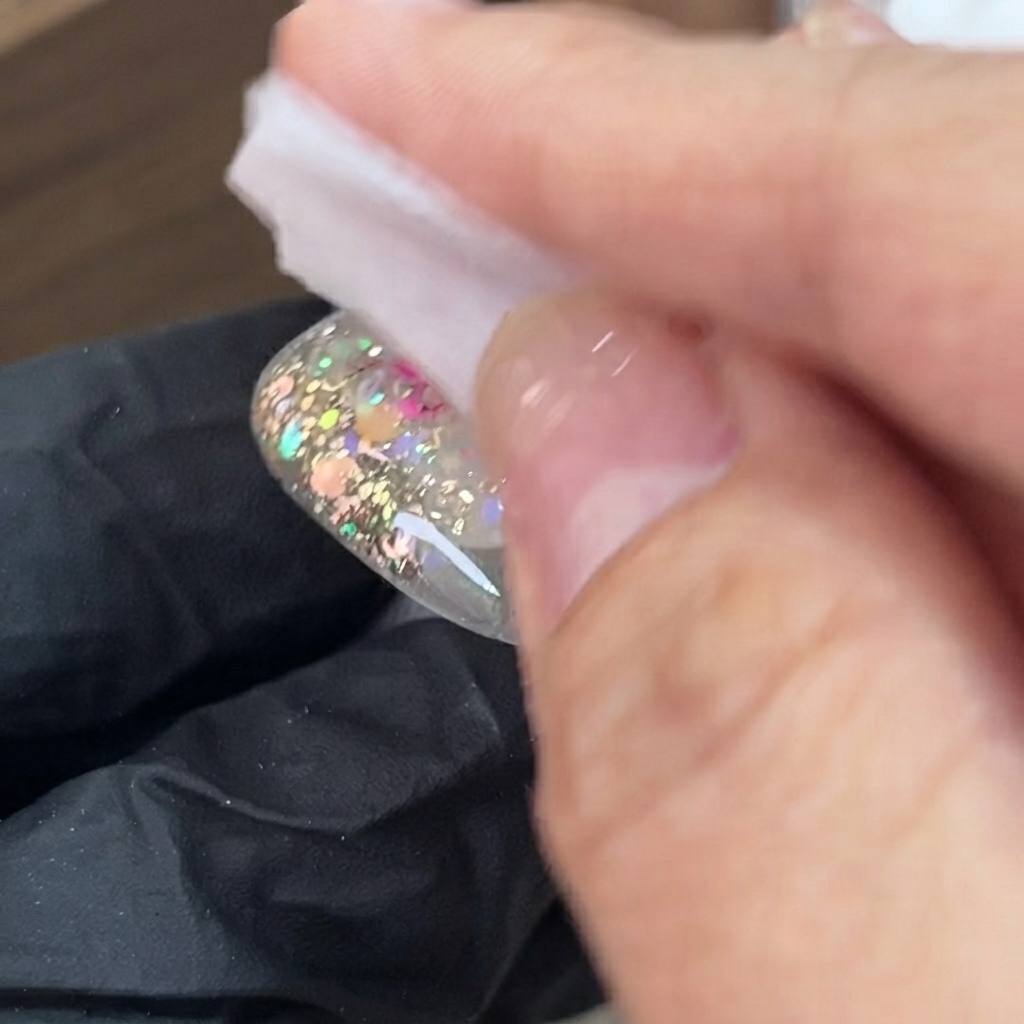
Take a lint-free wipe moistened with cleanser and gently wipe the surface of the nail to remove the tacky inhibition layer left behind after curing. This ensures a clean, non-sticky surface for subsequent applications.
Tip: Use a fresh section of the lint-free wipe for each nail to prevent smudging residue back onto the surface. - 6Dab bean paste white gel
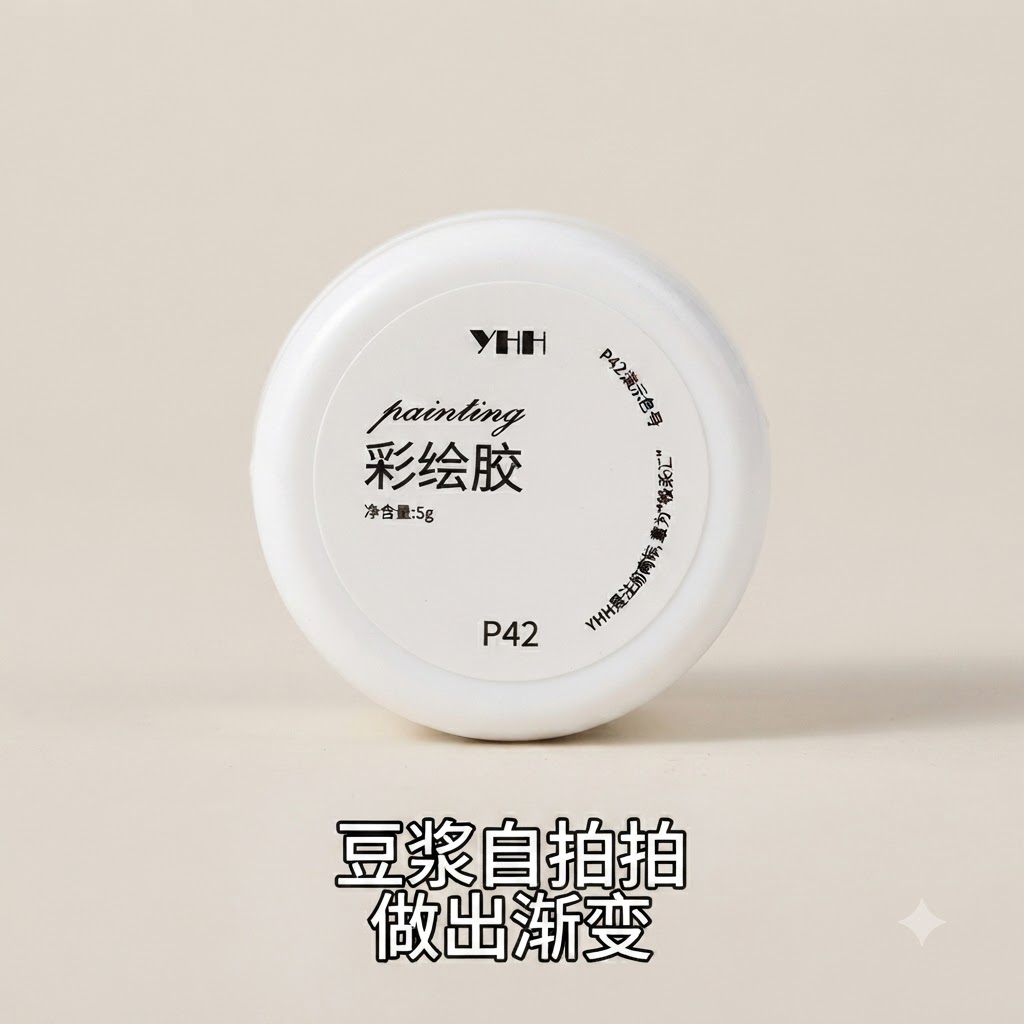
Take a small sponge and pick up a small amount of bean paste white gel. Gently dab it onto the nail surface to build a soft, blended gradient texture that complements the underlying glitter.
Tip: Dab lightly and repeatedly to achieve a smooth, airbrushed gradient effect without harsh lines. - 7Blend the white gel gradient
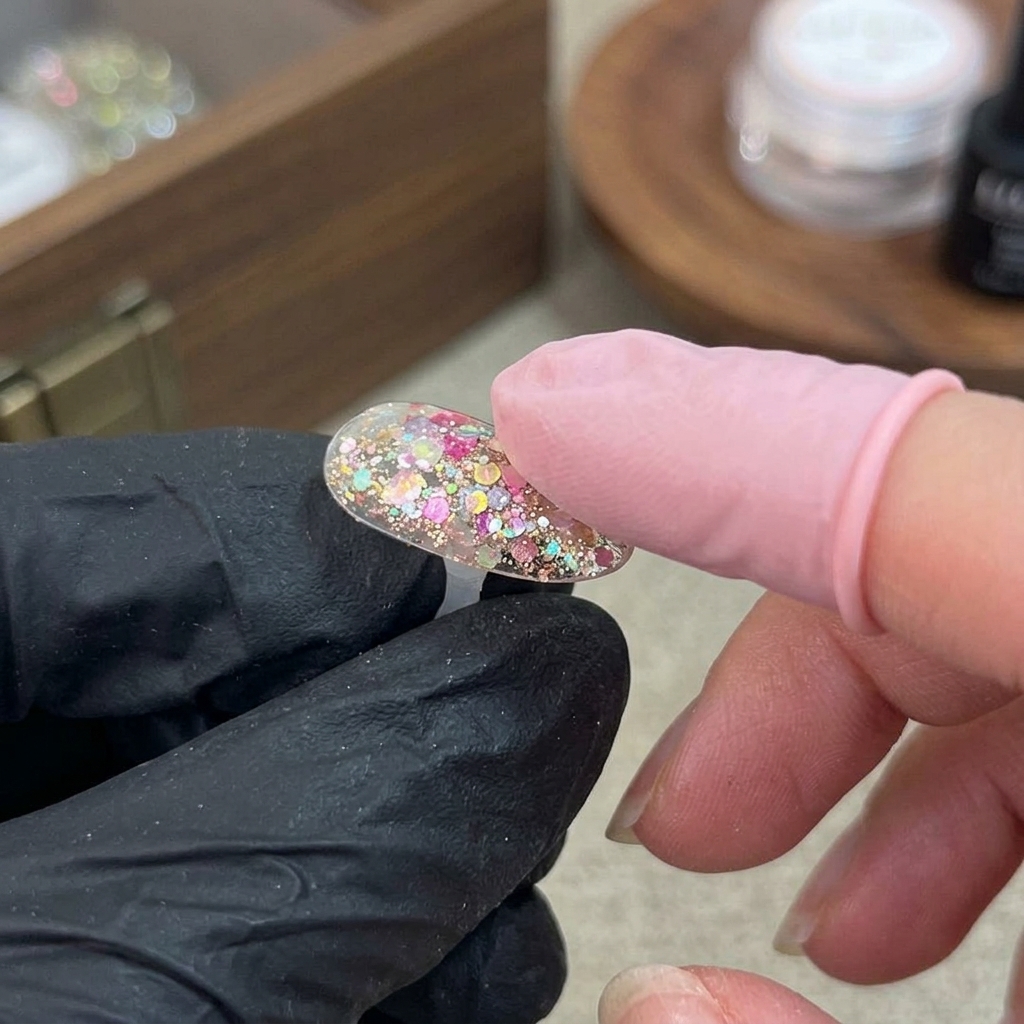
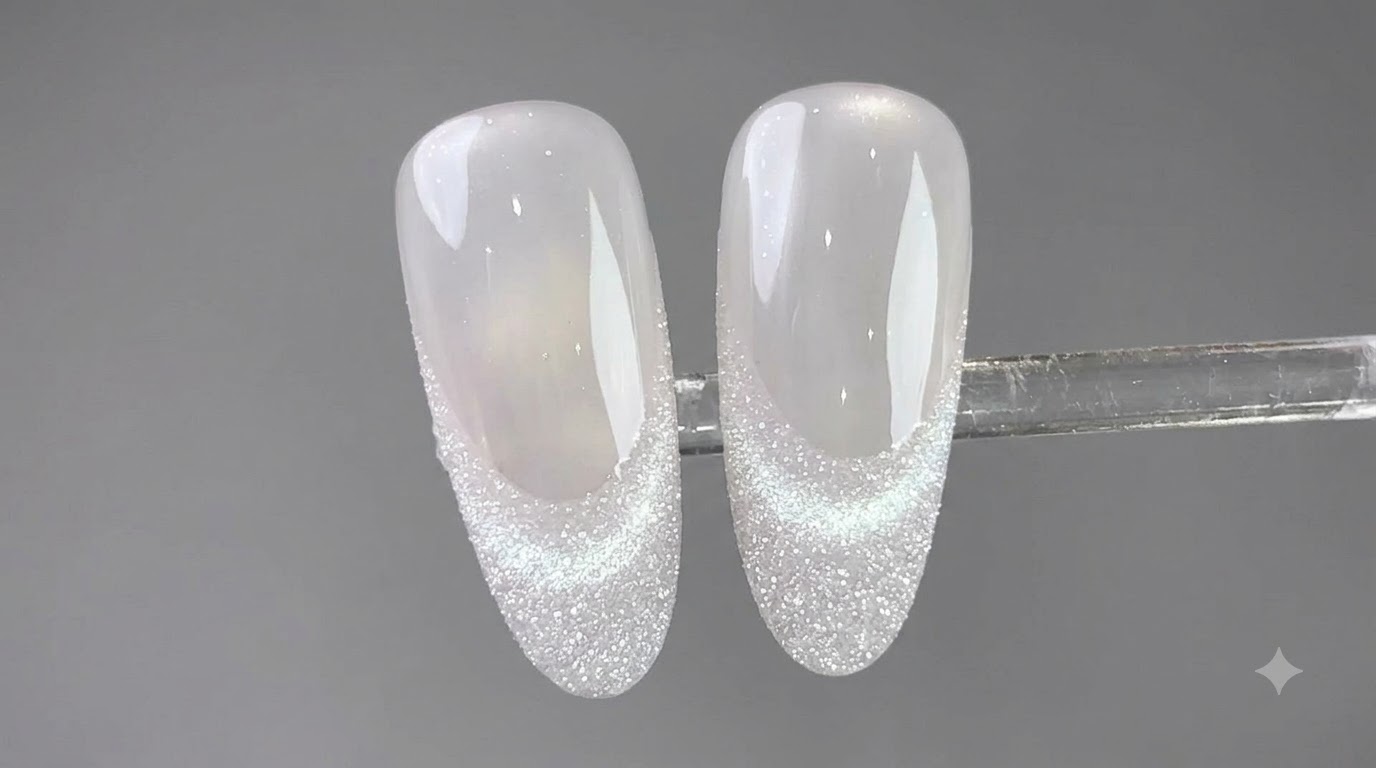
Using a small sponge applicator, gently dab the bean paste white gel to diffuse the color into a smooth, seamless gradient. This technique softens harsh lines and creates an ethereal, blended background for the subsequent layers of art.
Tip: Keep your touch light and uniform to avoid creating patchy spots or pulling the wet gel off unevenly. - 8Apply glitter-capping gel
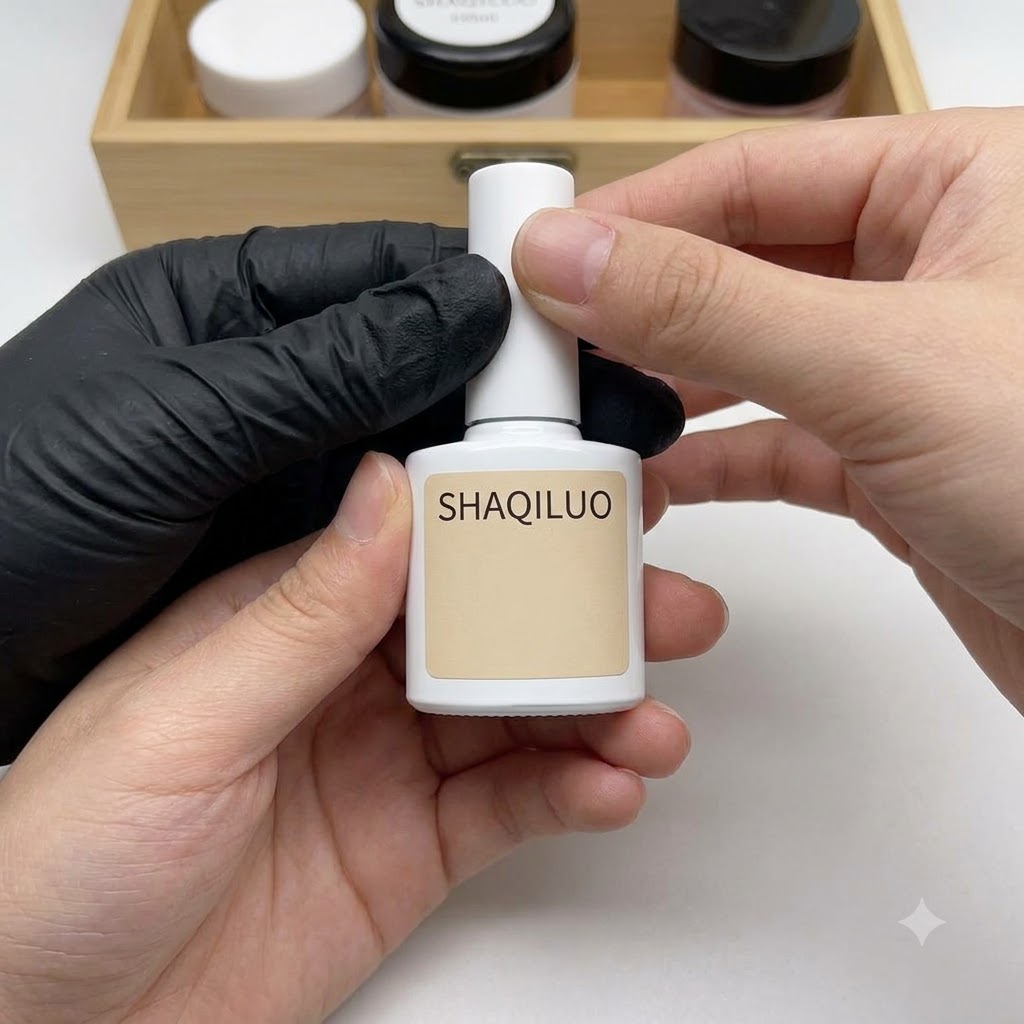
Brush a layer of glitter-capping gel over the established gradient surface. This product helps encapsulate the textured elements and prepares a slightly tacky layer for embedding subsequent powders or fine details.
Tip: Ensure even coverage across the entire gradient zone to prevent uneven texture when applying dry powders. - 9Dab aurora powder onto the nail
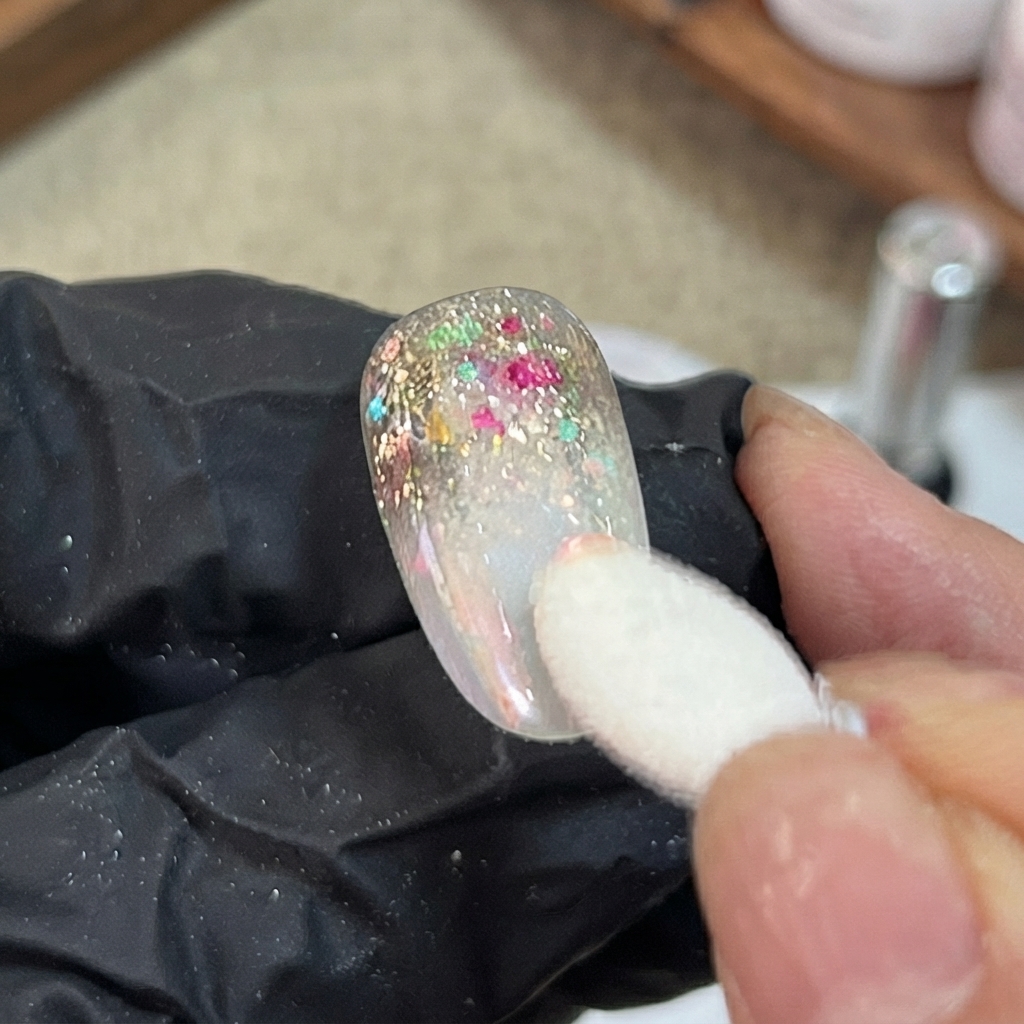
Take a small sponge applicator and randomly press aurora powder onto the areas where you previously applied the bean paste white gel. The underlying aurora base enhances the pigment and makes the multicolored shifts pop with greater vibrancy.
Tip: Apply the powder while the surface has the right amount of tackiness to ensure optimal adhesion of the flakes. - 10Pack and press aurora powder
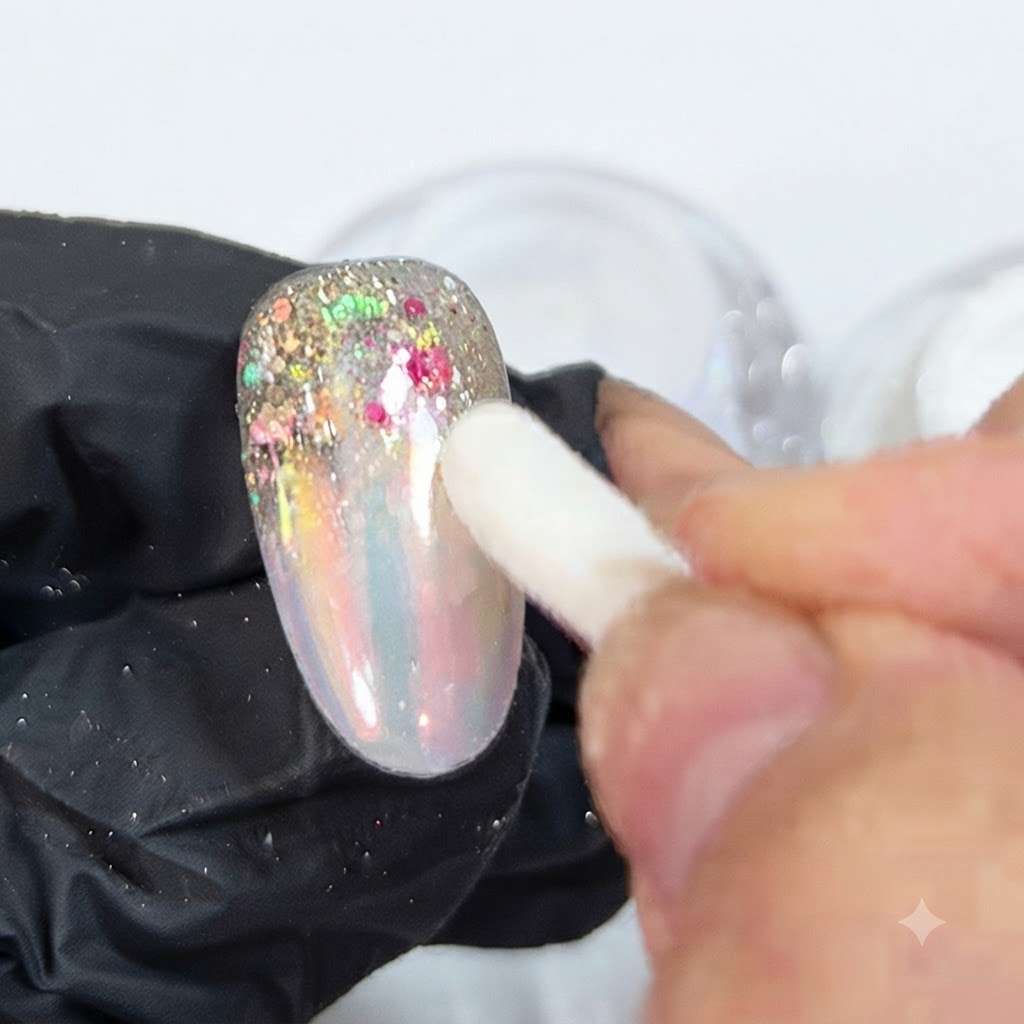
Take a clean sponge and firmly press down on the previously applied aurora powder to pack it securely into the nail surface. This step locks the powder particles tightly into the sticky layer for a smooth, high-shine holographic finish.
Tip: Press firmly rather than rubbing to prevent shifting the placement of the underlying gradient design. - 11File and smooth nail edges
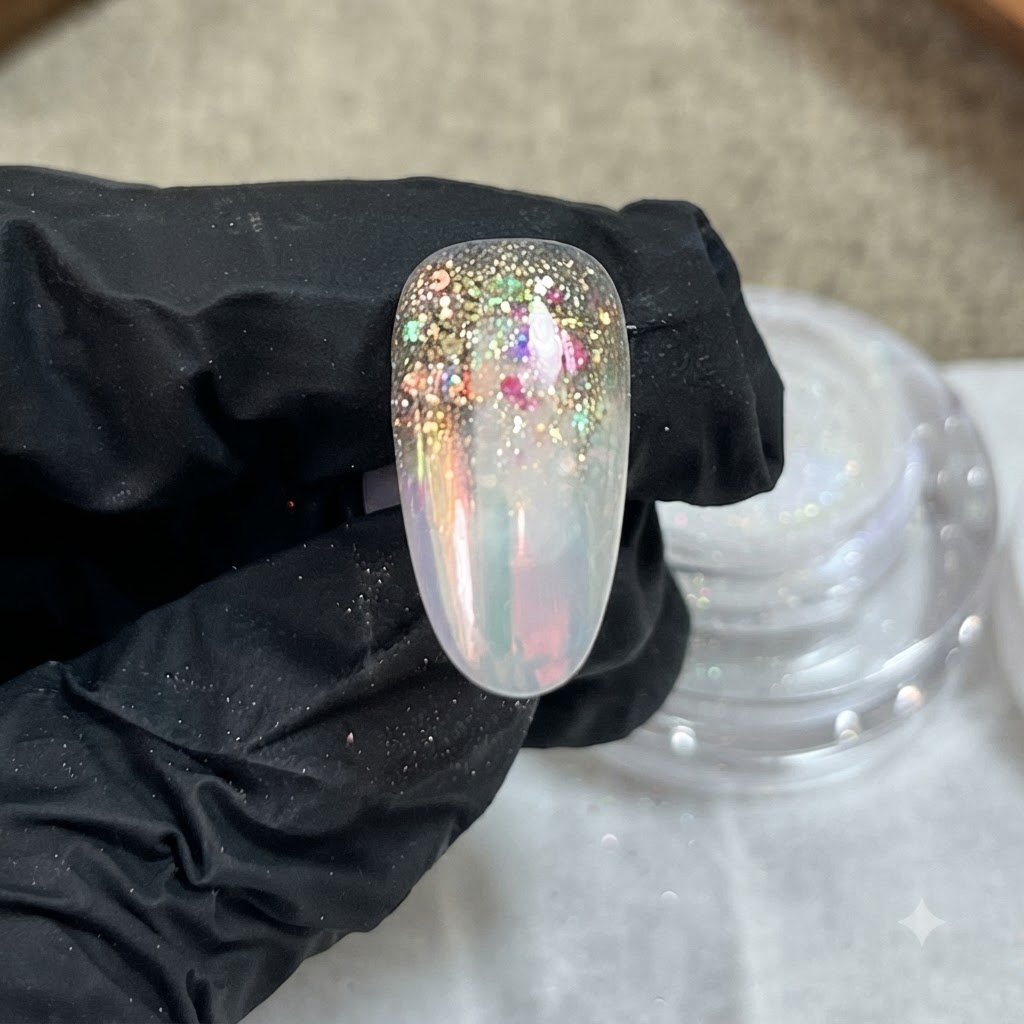
Take a nail file and gently buff the three outer edges of the nail to remove any excess product buildup or rough spots. This ensures clean, crisp boundaries and an even profile before sealing with the final top coat.
Tip: Be gentle around the corners to avoid scratching or compromising the layered nail art design beneath. - 12Apply sealing top coat
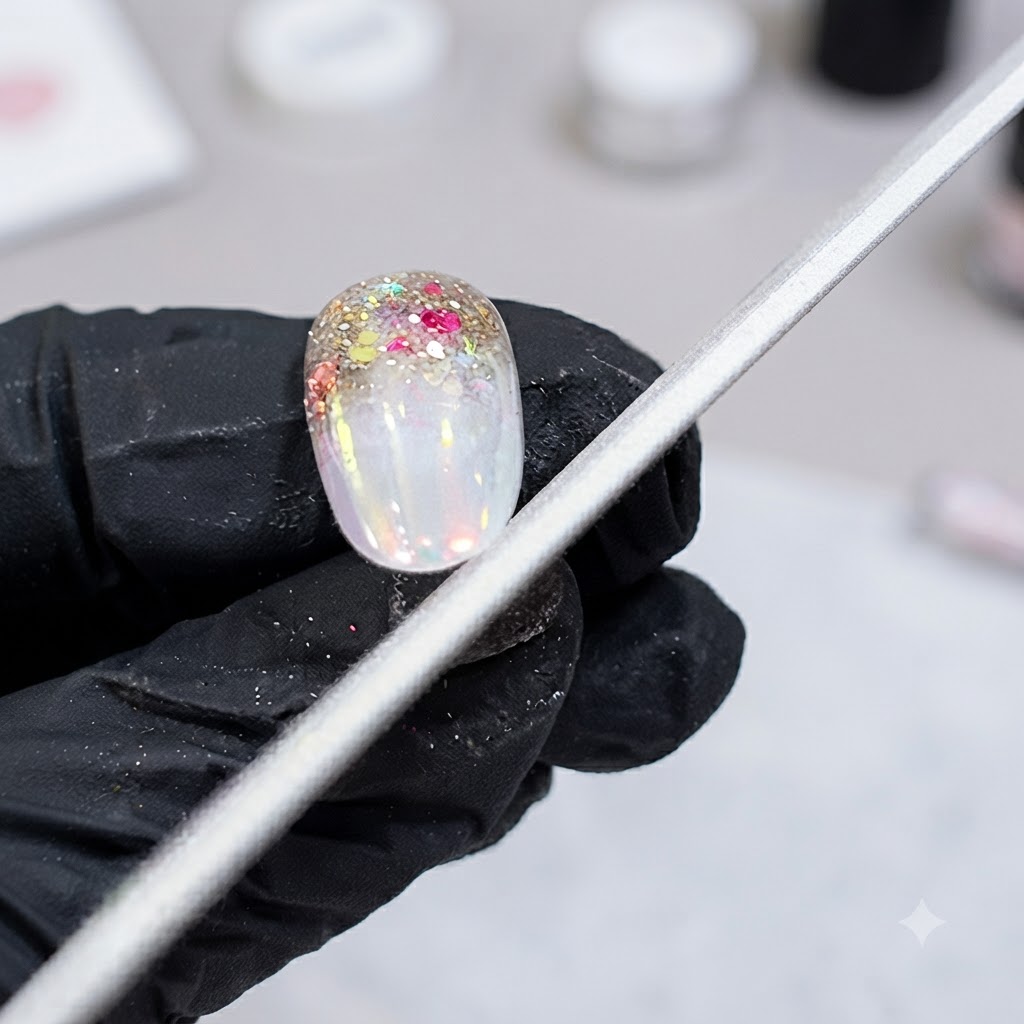
Brush a generous yet controlled layer of top coat across the entire nail surface, ensuring the free edge is thoroughly capped. This seals in all the embedded powders, glitters, and gradients, protecting the art from chipping and providing a glossy finish.
Tip: Seal the free edge carefully to prevent premature chipping and extend the wear time of the manicure. - 13Draw a six-pointed star with yellow gel
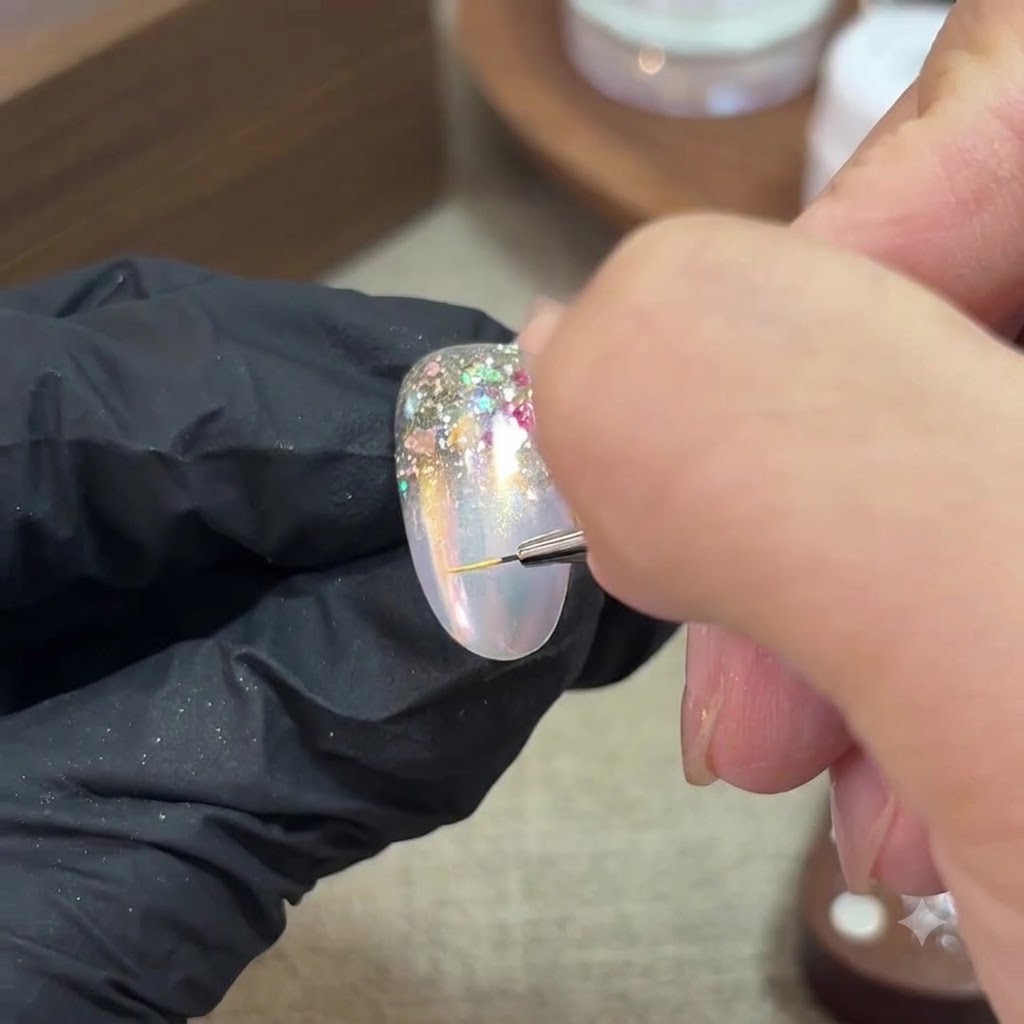
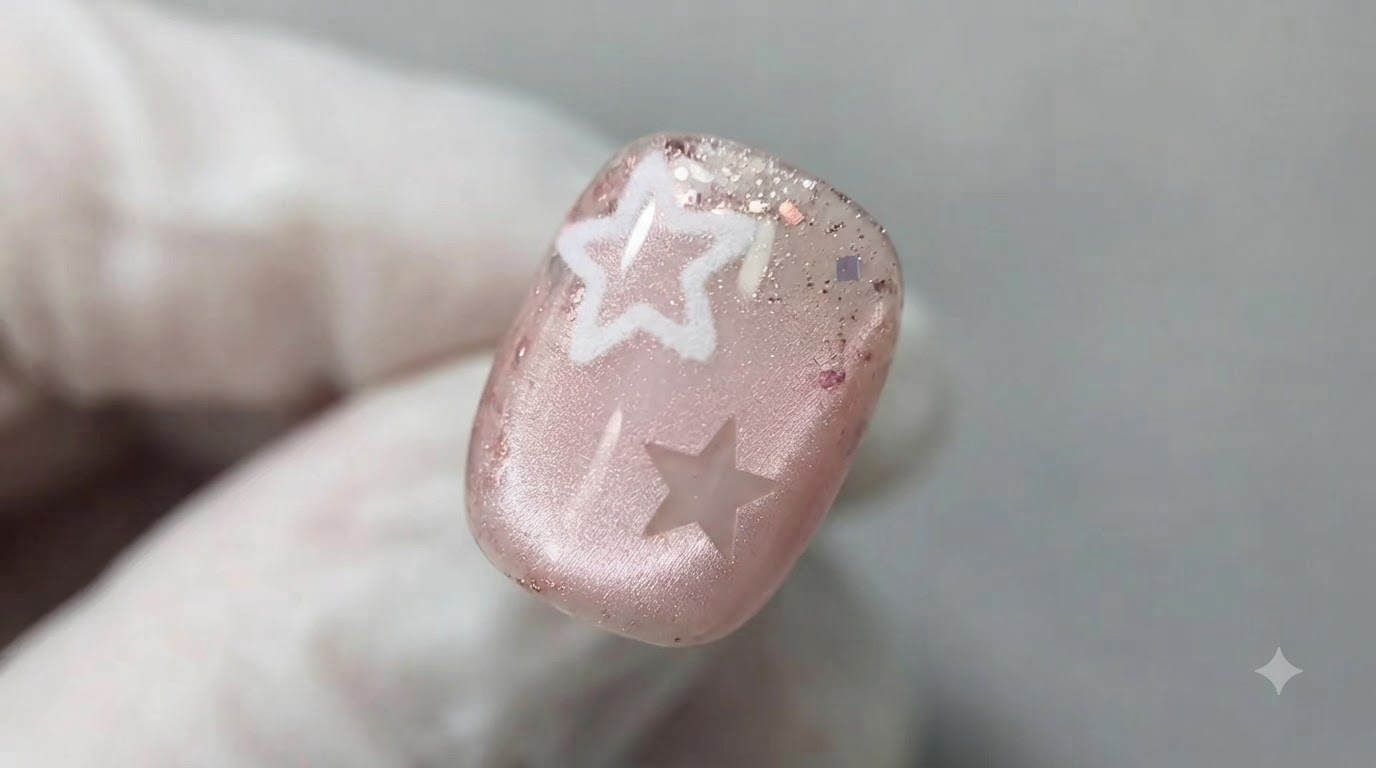
Using a fine liner brush and the number 6 yellow gel, carefully draw a six-pointed star onto the prepped nail surface. Keep your hand steady and use light pressure to ensure clean, precise lines for the stars points.
Tip: Draw the intersecting lines first to form a crisp center, then pull out the tips for a balanced star shape. - 14Draw a five-pointed star with pink gel
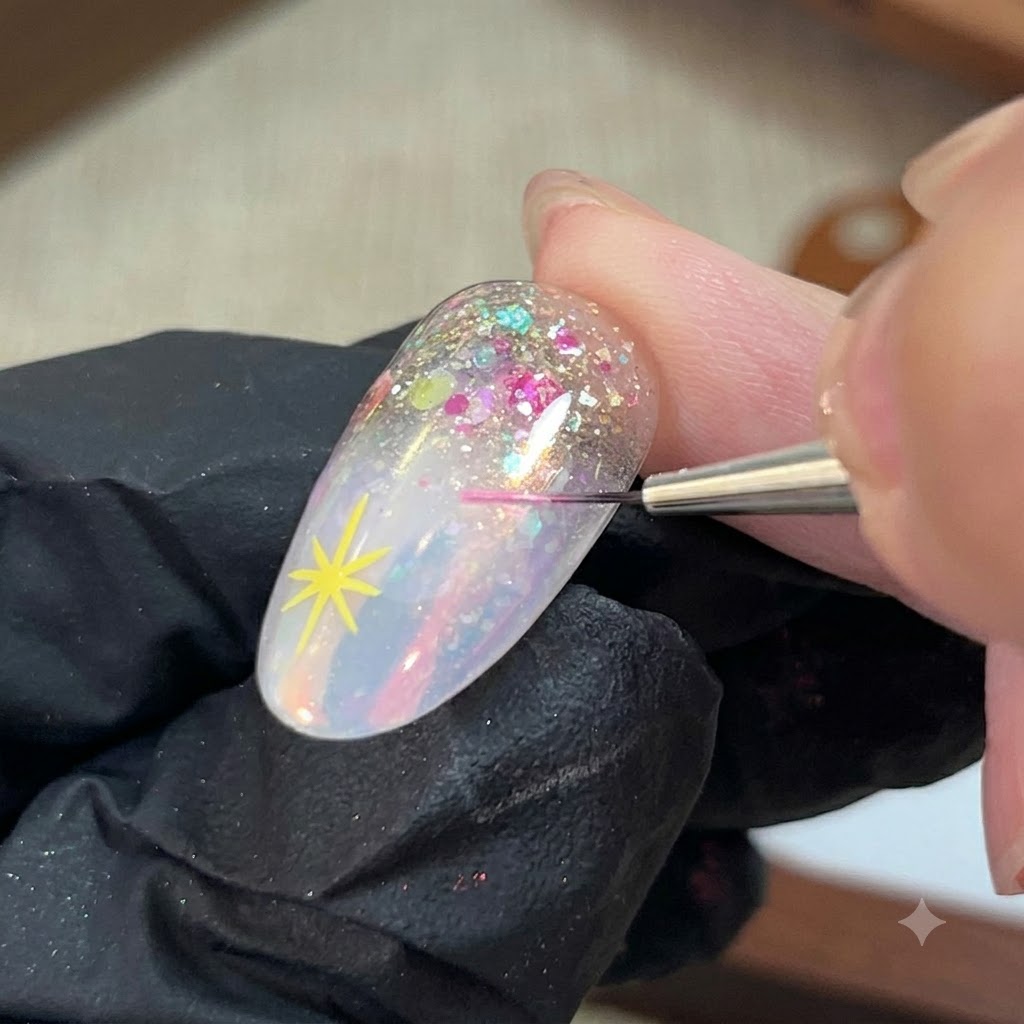
Using a fine liner brush and the mixed pink color, paint a five-pointed star near the yellow star. Take your time to shape each point cleanly to create a charming multi-star effect.
Tip: You can utilize the built-in palette design of the lid to mix and save your custom pink shade for later use.