Glittery Hollow Star Nail Art — Elegant Step-by-Step Tutorial
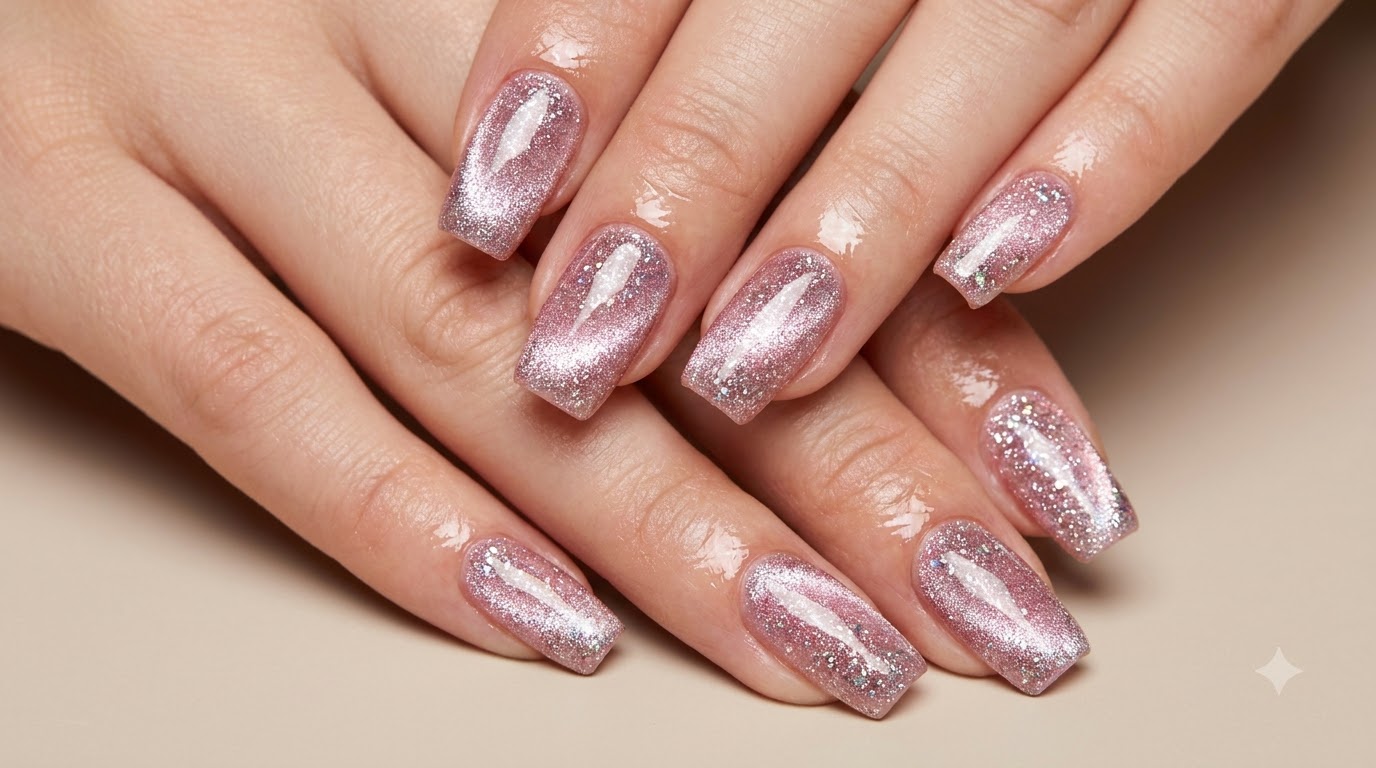
Create a magical pink cat-eye manicure featuring sparkling glitter perimeter framing and delicate hollow star details using simple stencil and sponge techniques.
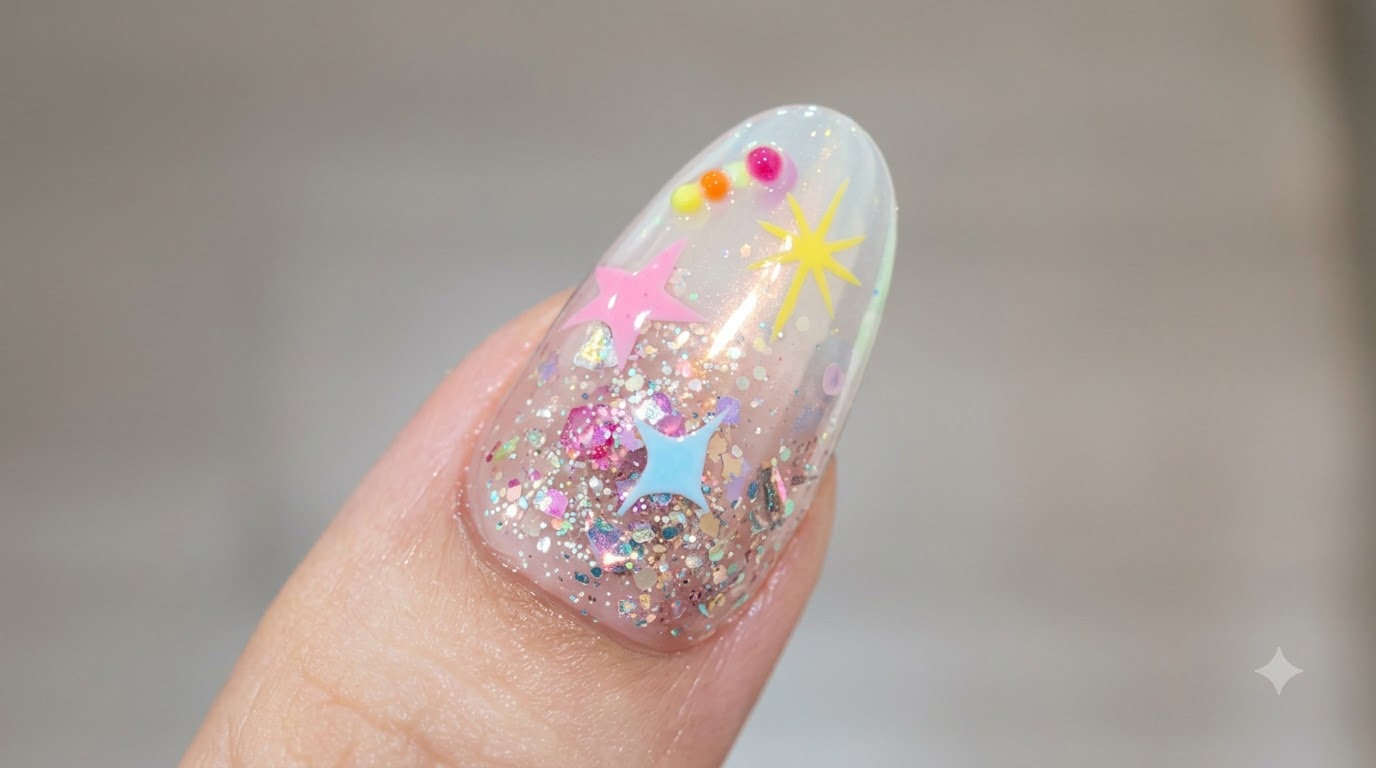
Hollow star nail designs combined with magnetic cat-eye effects offer a stunning multi-dimensional look that captures light from every angle. This tutorial guides you through layering dense pink glitter, shimmering cat-eye gel, and precise star stencils to achieve a salon-quality finish right at home.
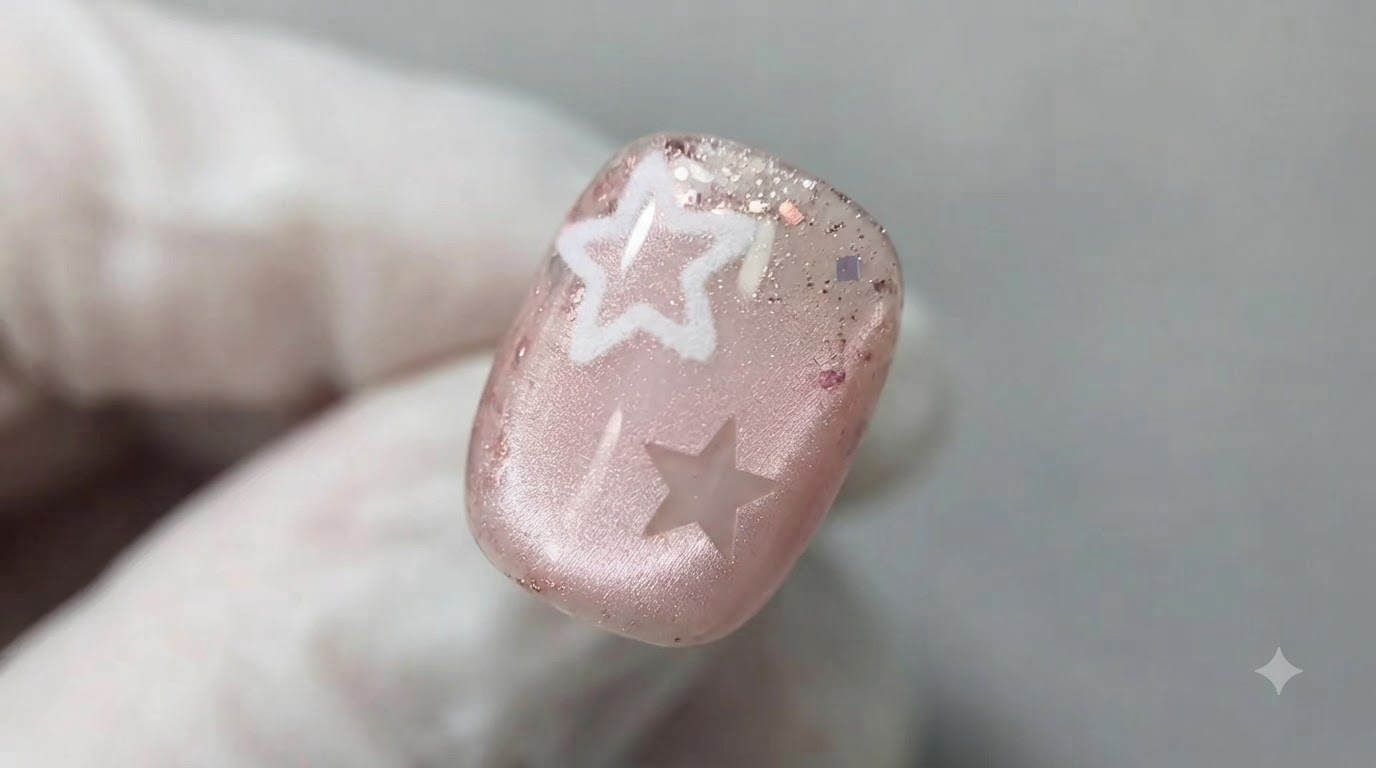
Steps
- 1Apply bonding gel
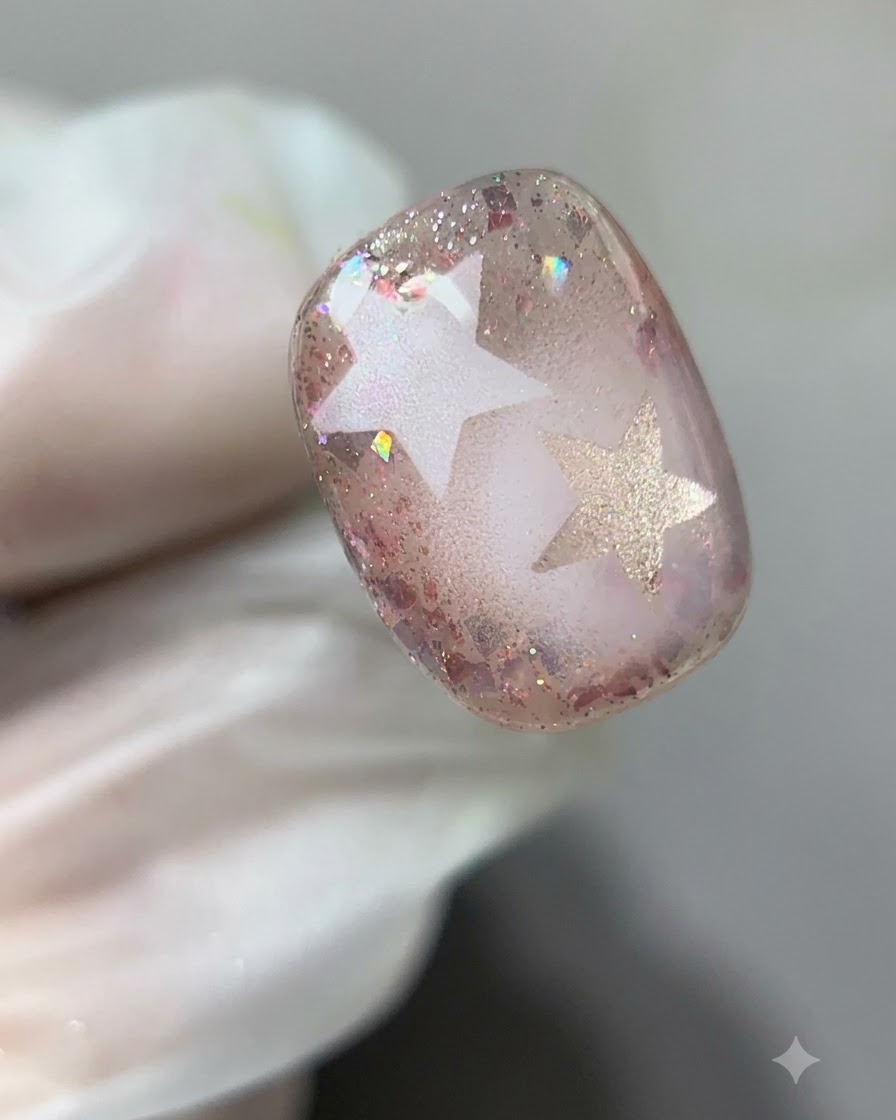
Apply a layer of bonding gel evenly across the prepped nail plate to enhance adhesion for the subsequent glitter and gel layers. Ensure the entire surface is covered before proceeding to the next step.
Tip: Apply a thin and even coat to prevent pooling near the cuticles. - 2Apply pink glitter gel around the edges
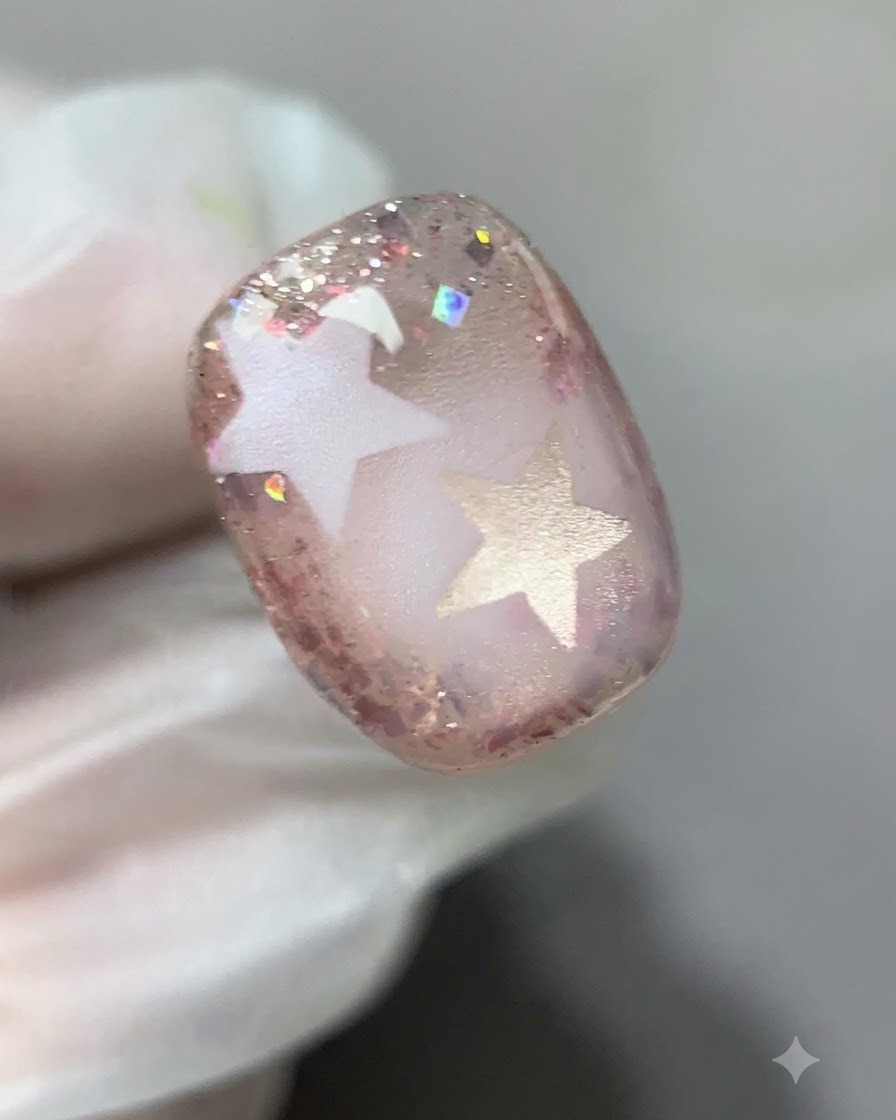
Take the dense pink glitter gel and apply it selectively around the perimeter of the nail plate. This frames the nail with sparkle while leaving the central area open for subsequent layers and star details.
Tip: Concentrate the glitter chunks near the edges to create a hollow center effect. - 3Blend the glitter edges
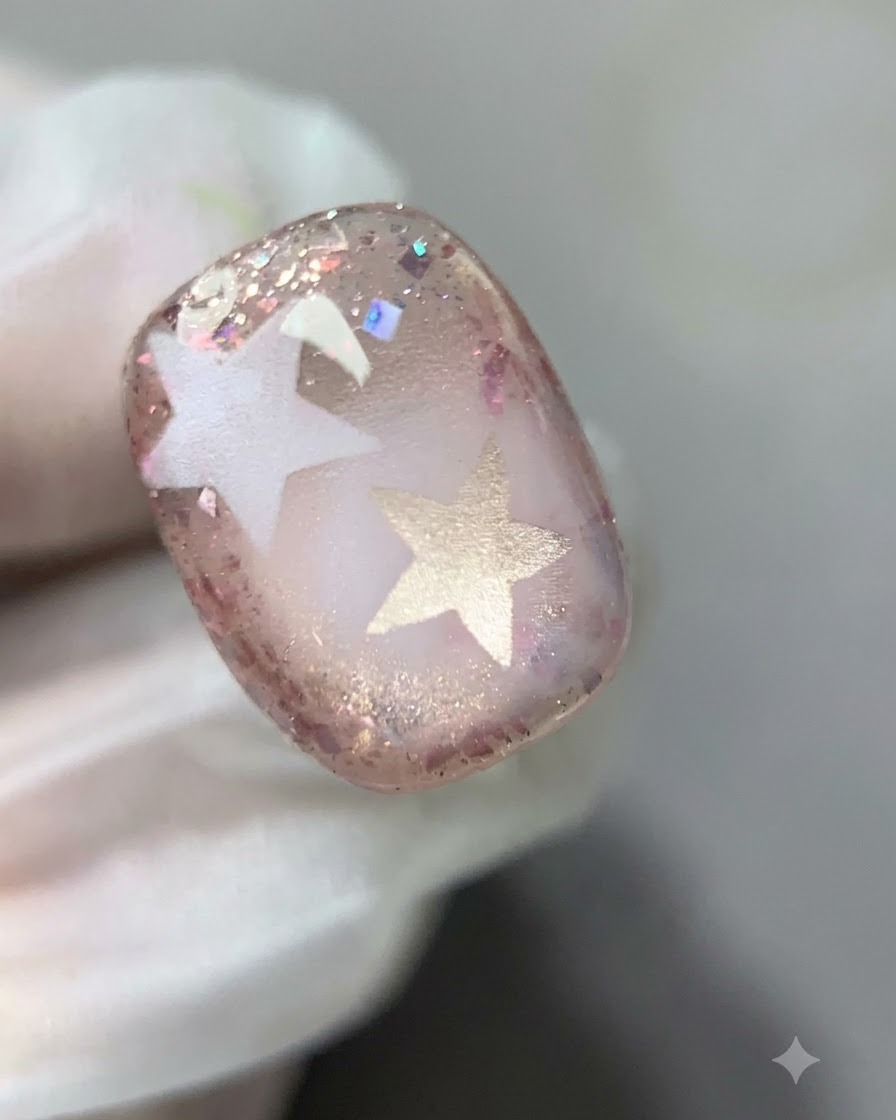
Using a clean nail brush, gently feather and blend the inner edges of the applied pink glitter gel toward the center of the nail plate. This creates a natural gradient transition rather than a harsh line.
Tip: Keep your brush strokes light so you do not wipe away all the glitter pieces. - 4Cure under the lamp
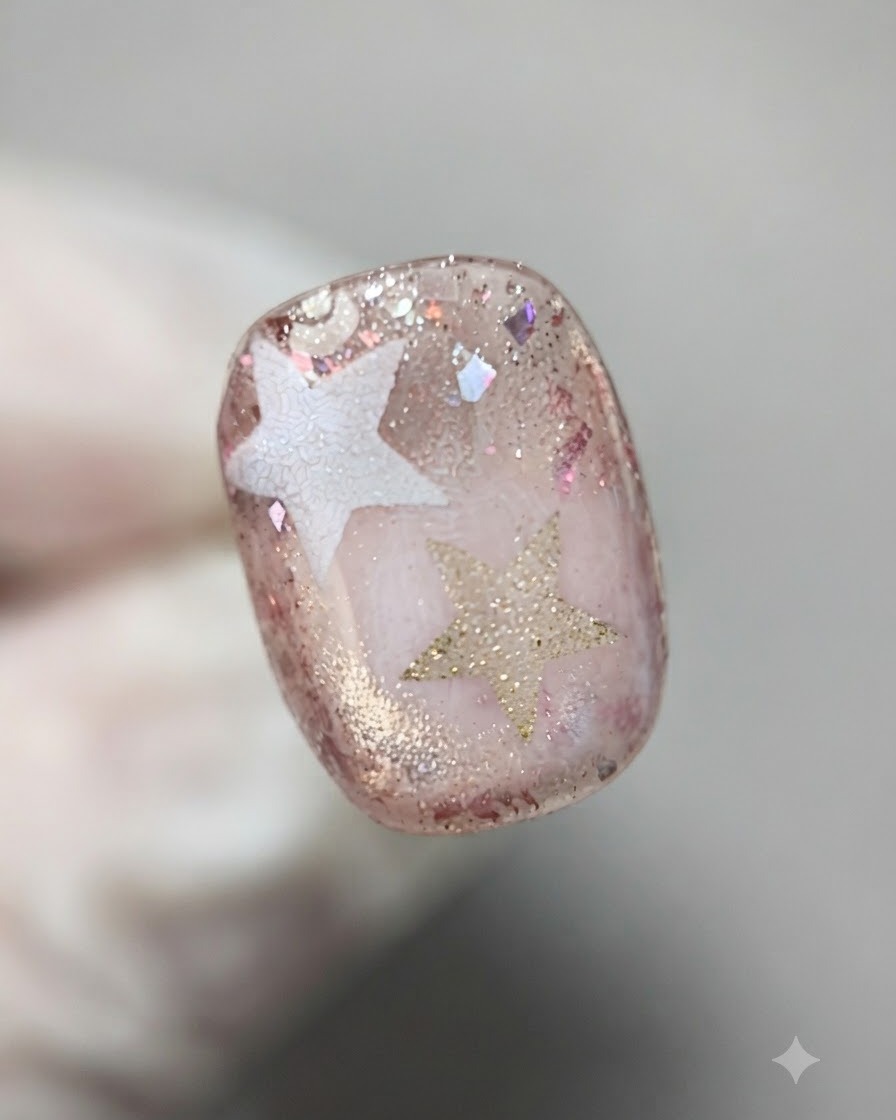
Place the nail under a UV or LED lamp to fully cure the pink glitter gel layer. Follow standard curing times to ensure the gel hardens properly before building or adding stickers.
Tip: Make sure the hand is positioned correctly inside the lamp for uniform curing. - 5Apply builder gel for leveling
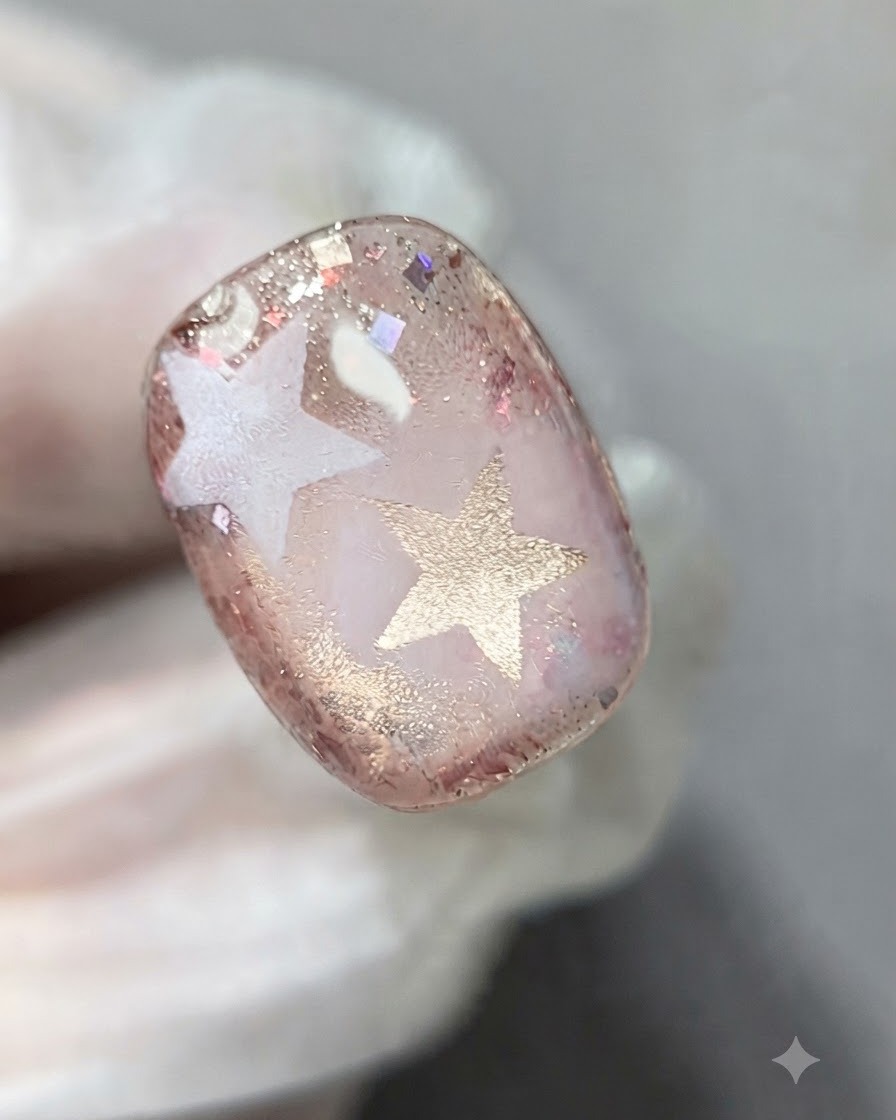
Apply a layer of clear builder gel over the cured glitter layer to smooth out any texture differences and level the nail surface. This encapsulates the glitter and creates a smooth foundation for the next steps.
Tip: Allow the builder gel to self-level for a few seconds before curing to get a smooth apex. - 6Cure the builder gel
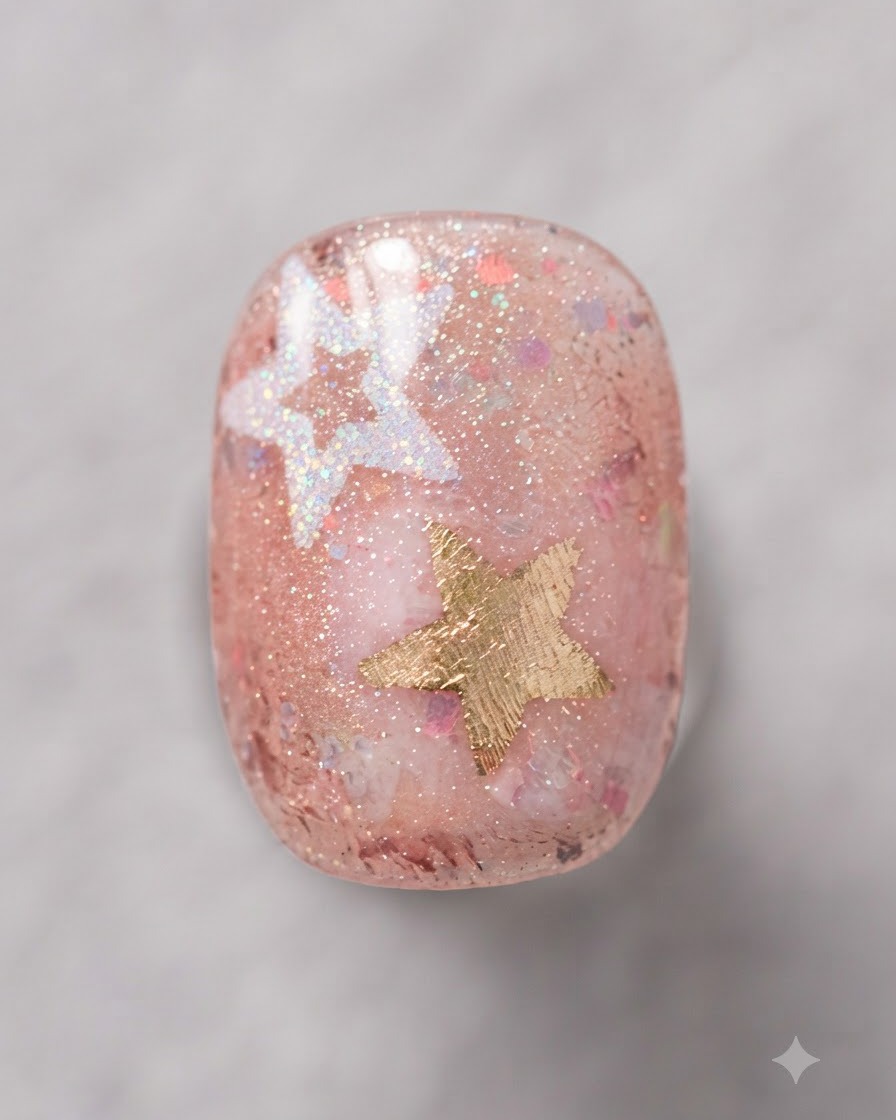
Place the nail back under the UV or LED lamp to cure the builder gel layer completely. This hardens the leveling coat and locks in the smooth surface structure.
Tip: Ensure complete curing time since builder gel is thicker than standard base coats. - 7Apply sheer pink cat-eye gel
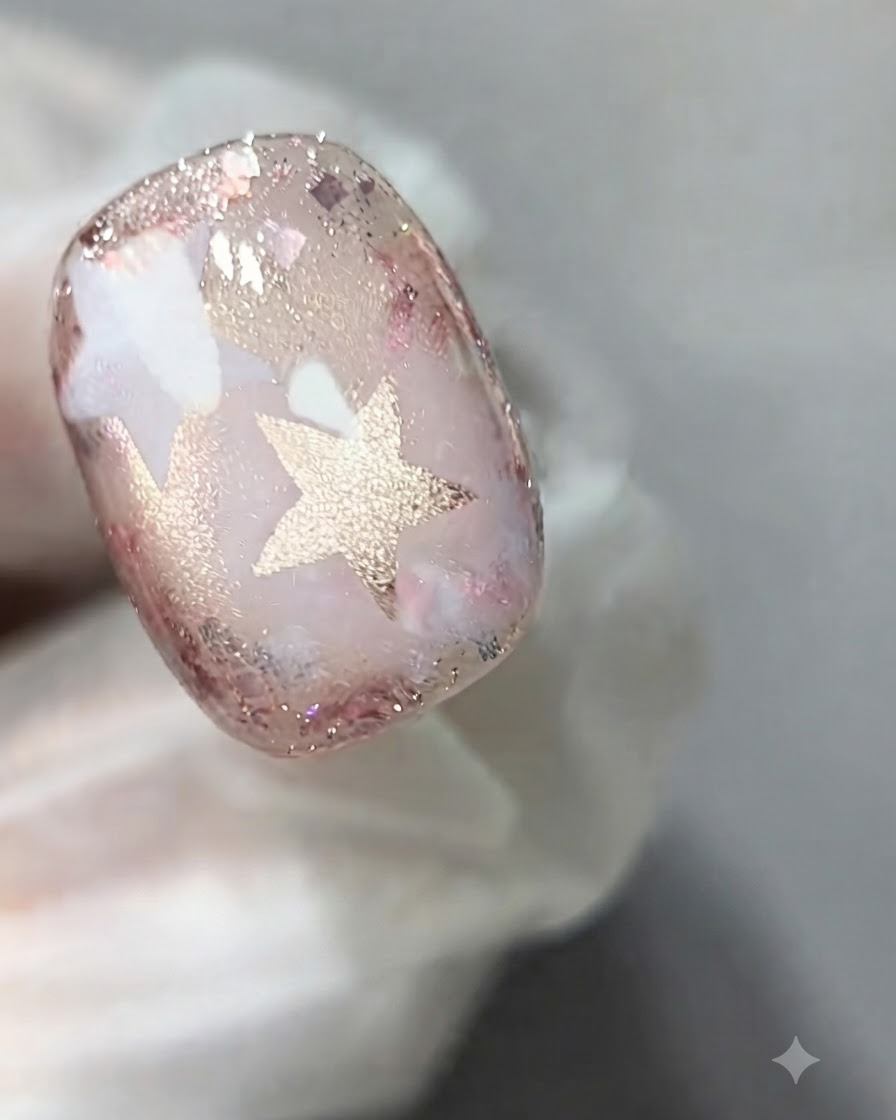
Apply an even coat of sheer pink cat-eye gel over the prepped nail surface, ensuring complete coverage across the entire nail plate. This creates the translucent base layer needed for the magnetic effect.
Tip: Keep the coat smooth and even to ensure the magnetic particles disperse properly. - 8Create glass bead cat-eye effect
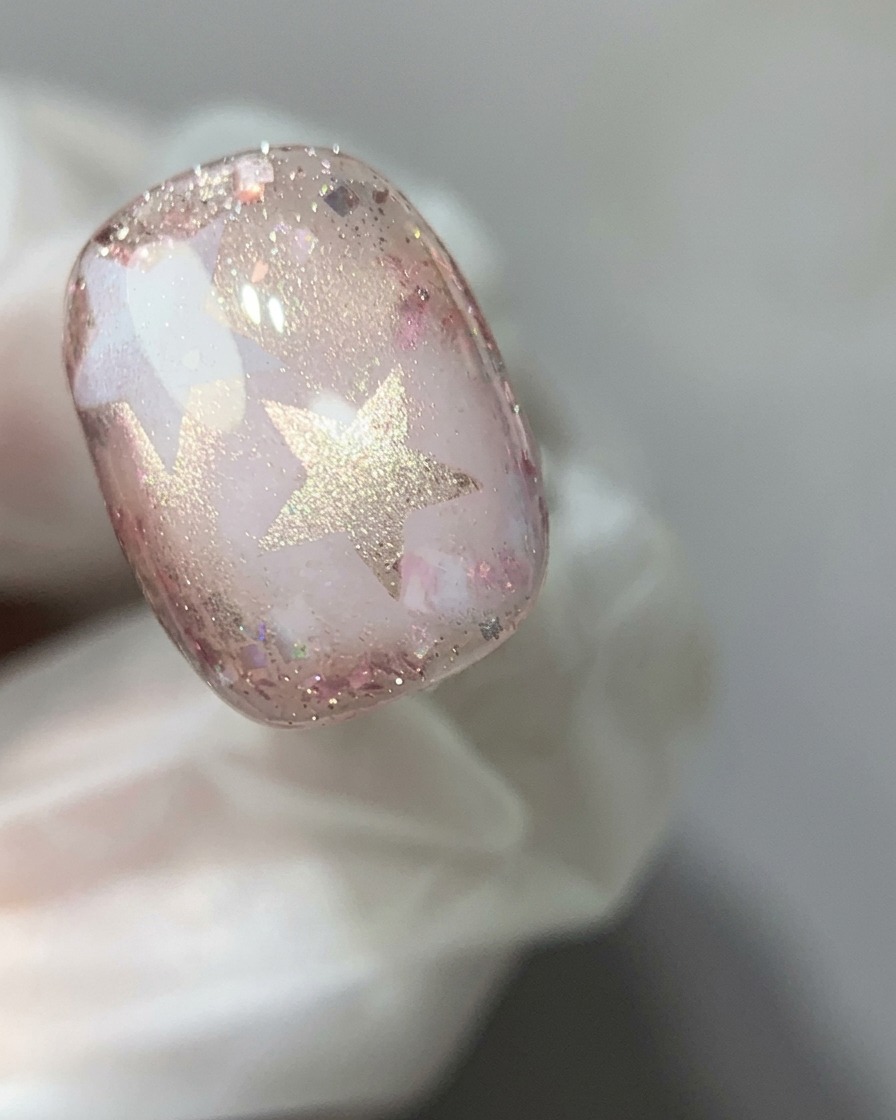
Hold a specialized magnet close to the uncured cat-eye gel to draw the magnetic particles together, forming a concentrated luminous glass bead reflection in the center. Once the desired dimension appears, immediately cure to lock it in place.
Tip: Do not touch the gel surface with the magnet; hover it closely and steadily until the light reflection focuses sharply. - 9Cure the cat-eye gel
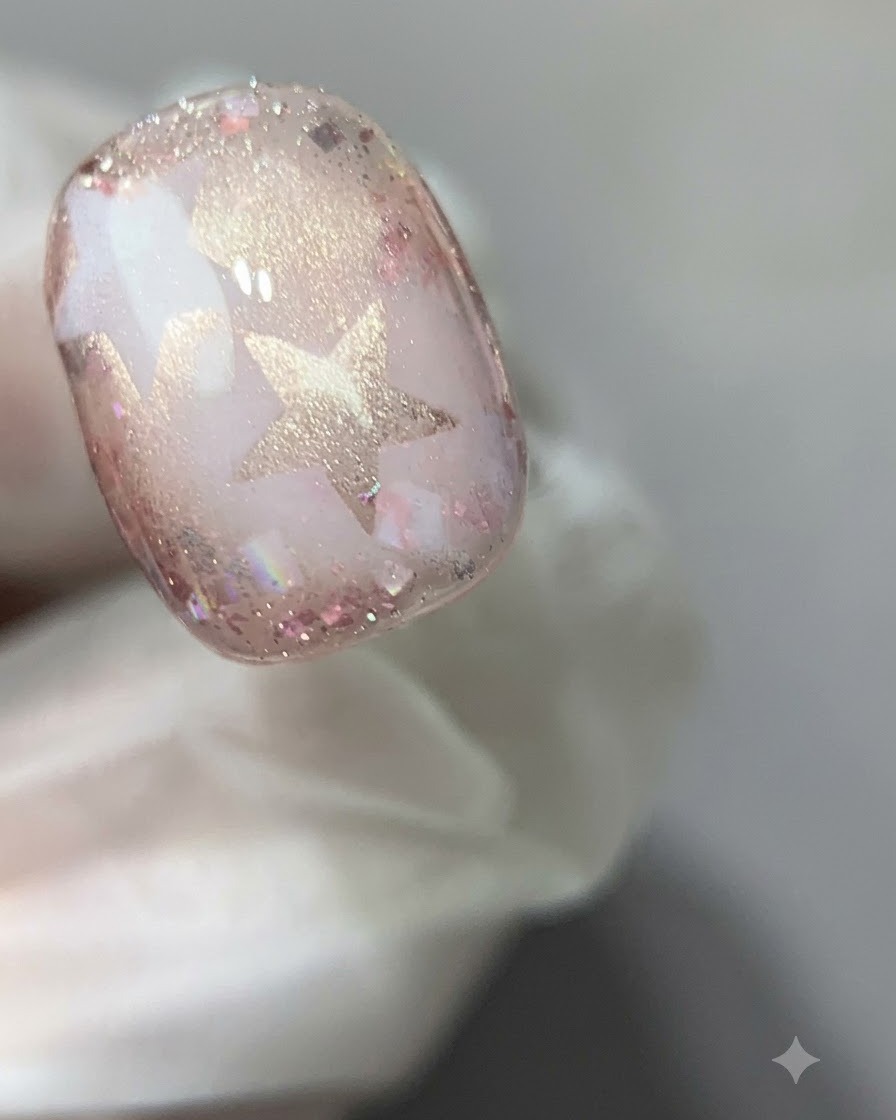
Place the nail under the UV or LED lamp to fully cure the cat-eye gel layer, locking the magnetic glass bead effect and pigment securely in place before moving on to sticker placement.
Tip: Ensure your hand is placed flat inside the lamp to prevent the magnetic pigment from shifting during the initial cure seconds. - 10Apply star sticker
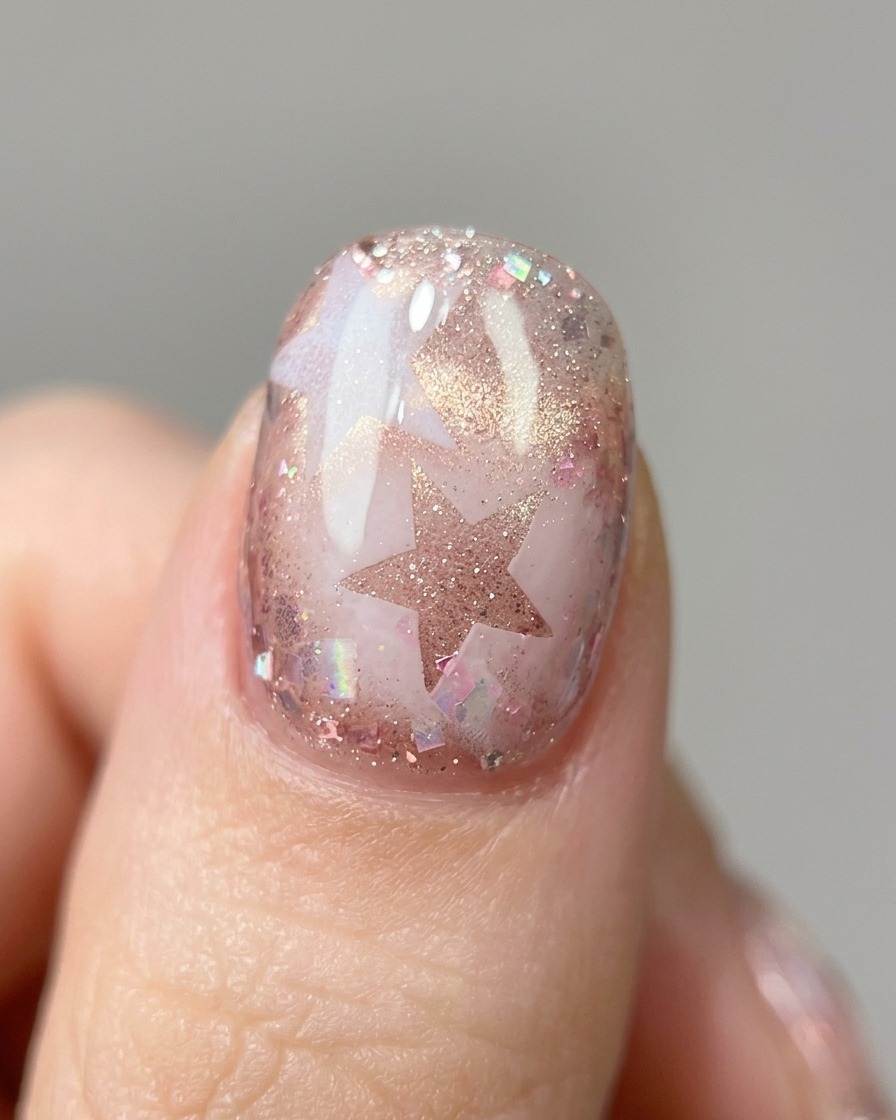
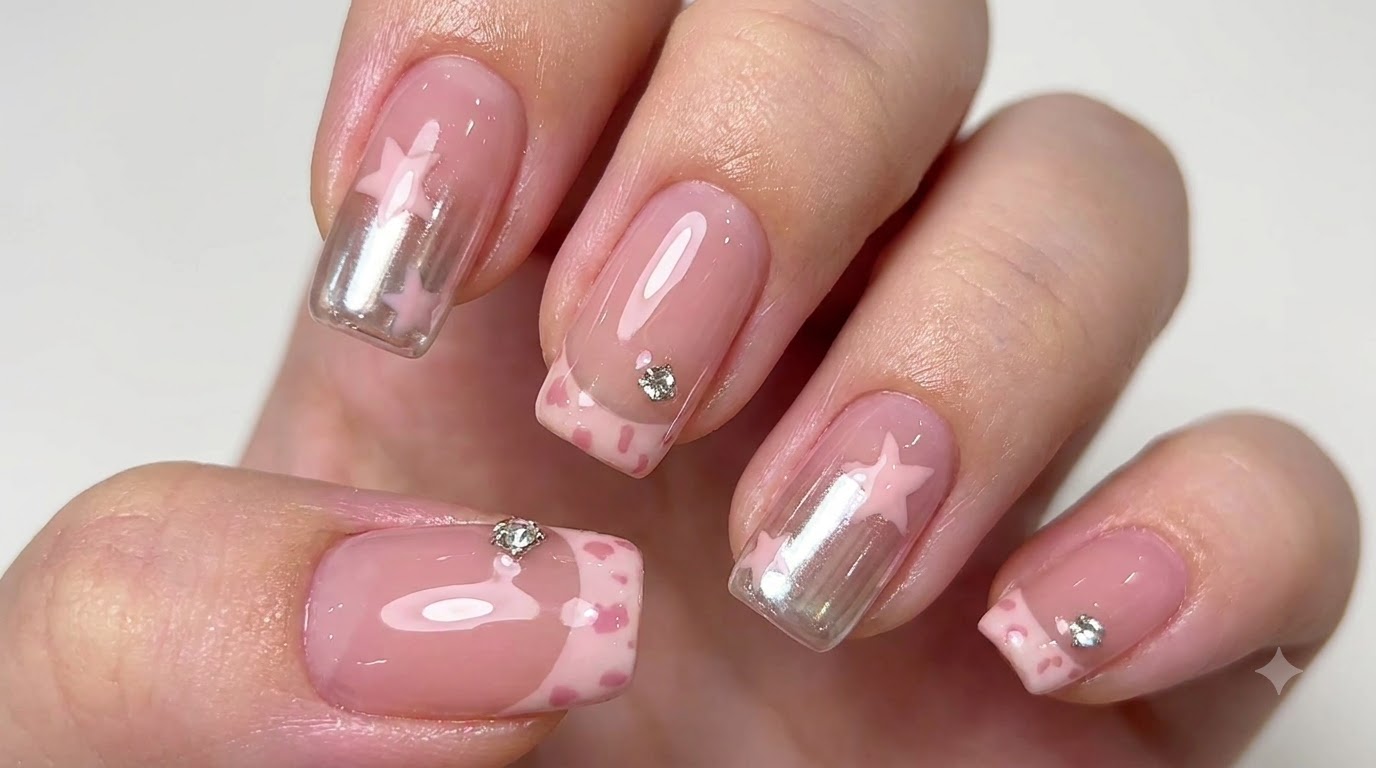
Carefully lift a star sticker using tweezers and position it onto the desired area of the nail. Press down firmly along the edges to ensure it adheres smoothly to the surface without lifting.
Tip: Use a silicone tool or rubber pusher to press down the sticker edges completely flat against the cured gel. - 11Tap white gel with a sponge
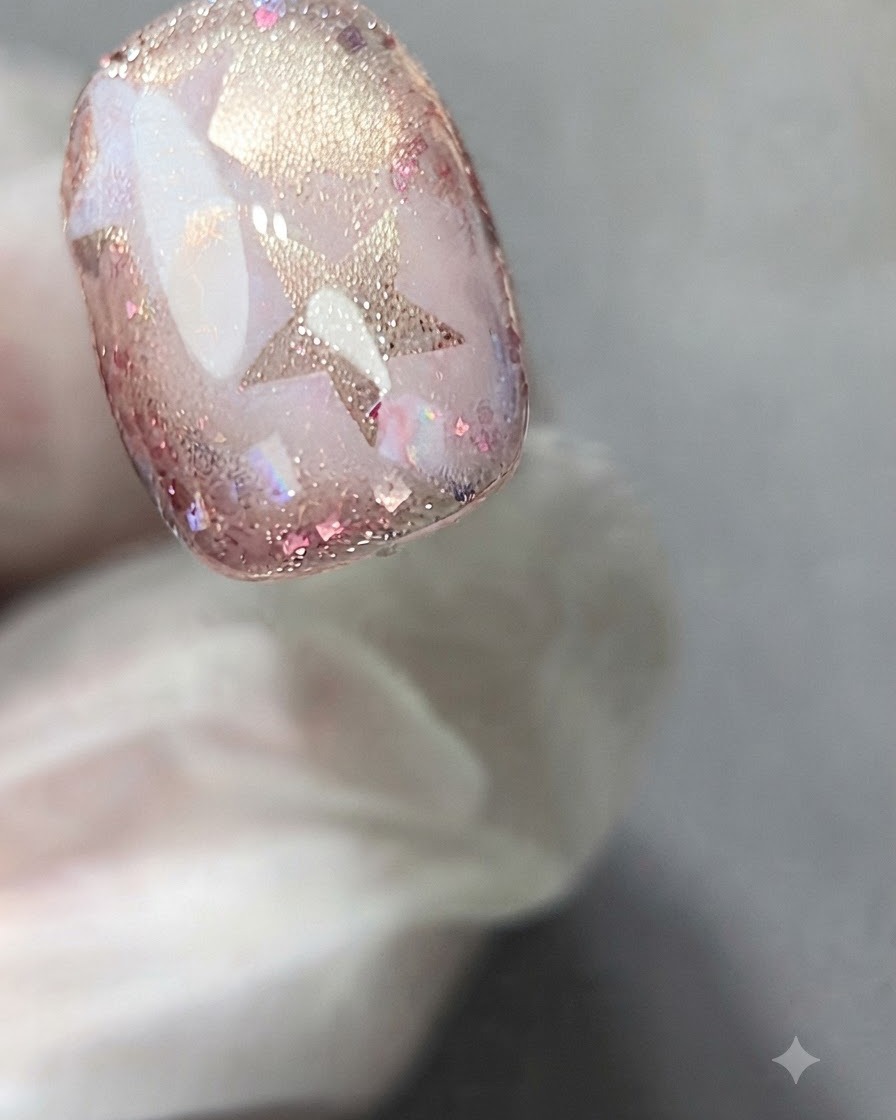
Take a small makeup sponge, dab a small amount of white gel onto it, and gently tap over the star sticker and surrounding area to create a soft, diffused textured background effect.
Tip: Dab lightly with a dry sponge to achieve an even, translucent texture without overloading product. - 12Apply star stencil sticker
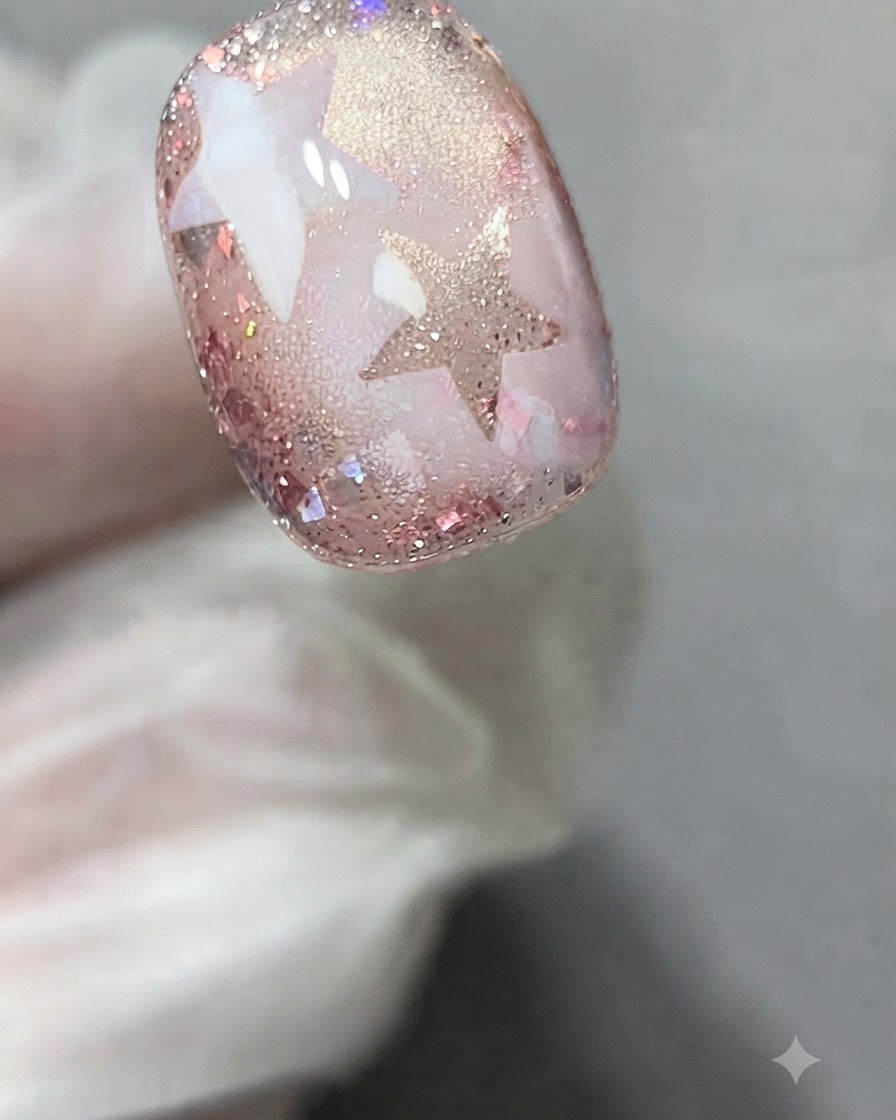
Position a star stencil sticker onto the nail surface to prepare for negative space or layered color filling in the subsequent step.
Tip: Press the perimeter of the stencil securely to prevent any gel from bleeding underneath. - 13Tap solid color gel over the star stencil
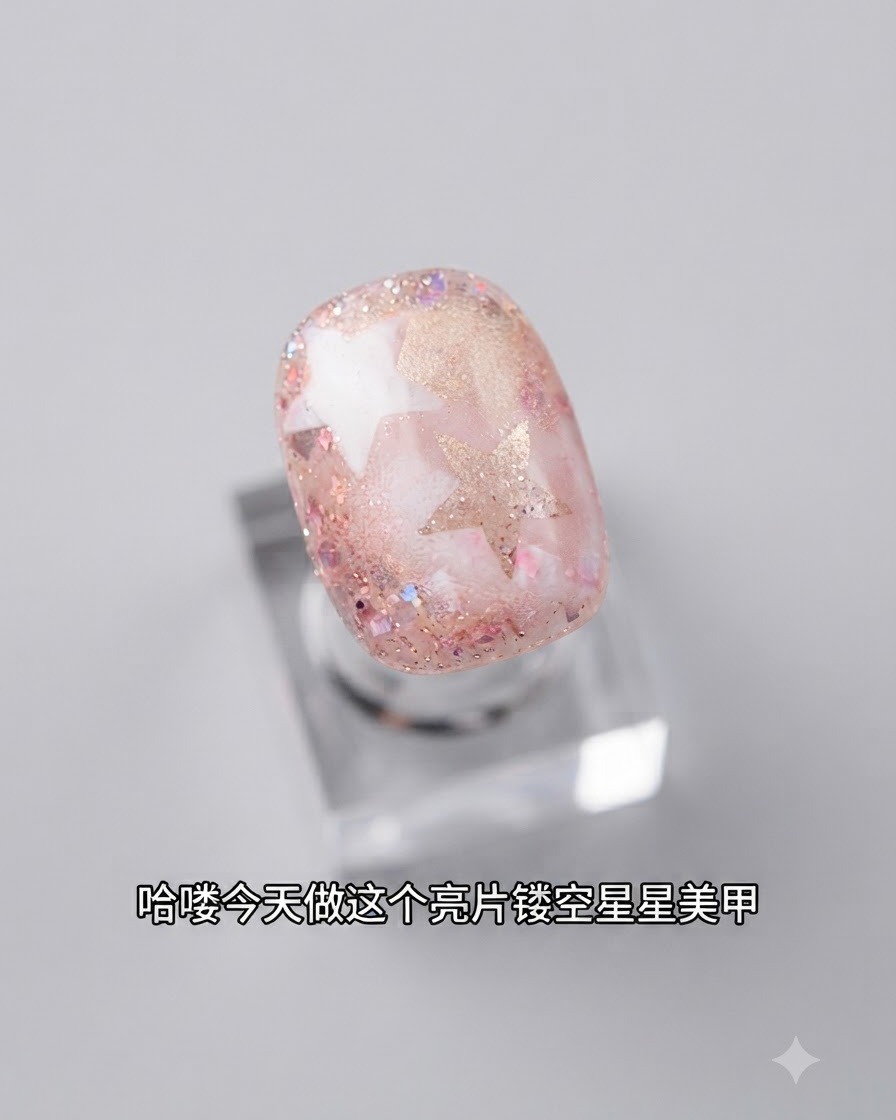
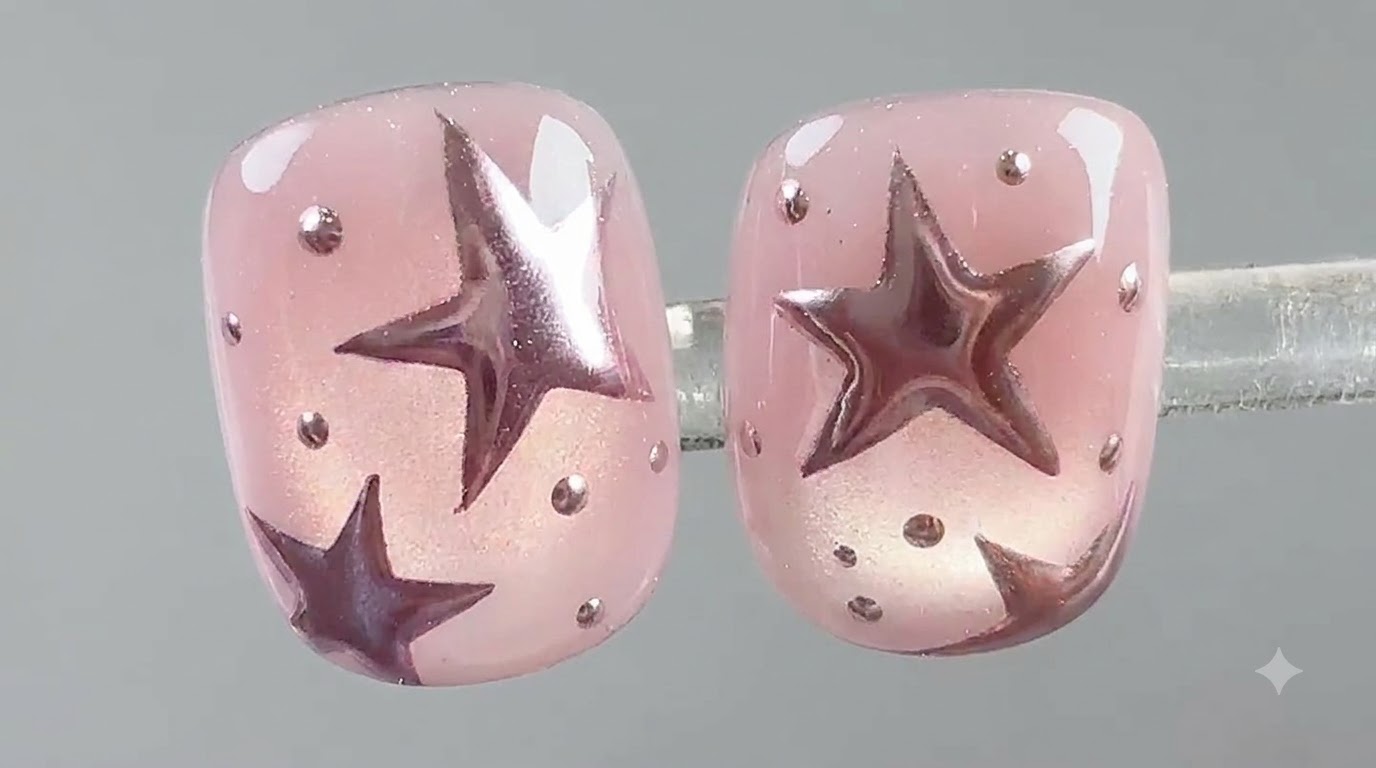
Take a small makeup sponge and tap solid color gel over the star stencil placed on the nail. This method deposits the pigment evenly without bleeding underneath the stencil edges, creating a crisp, opaque star shape.
Tip: Do not overload the sponge with too much gel, as excess product can seep under the stencil and ruin the sharp edges of the star. - 14Remove the star stencil and cure
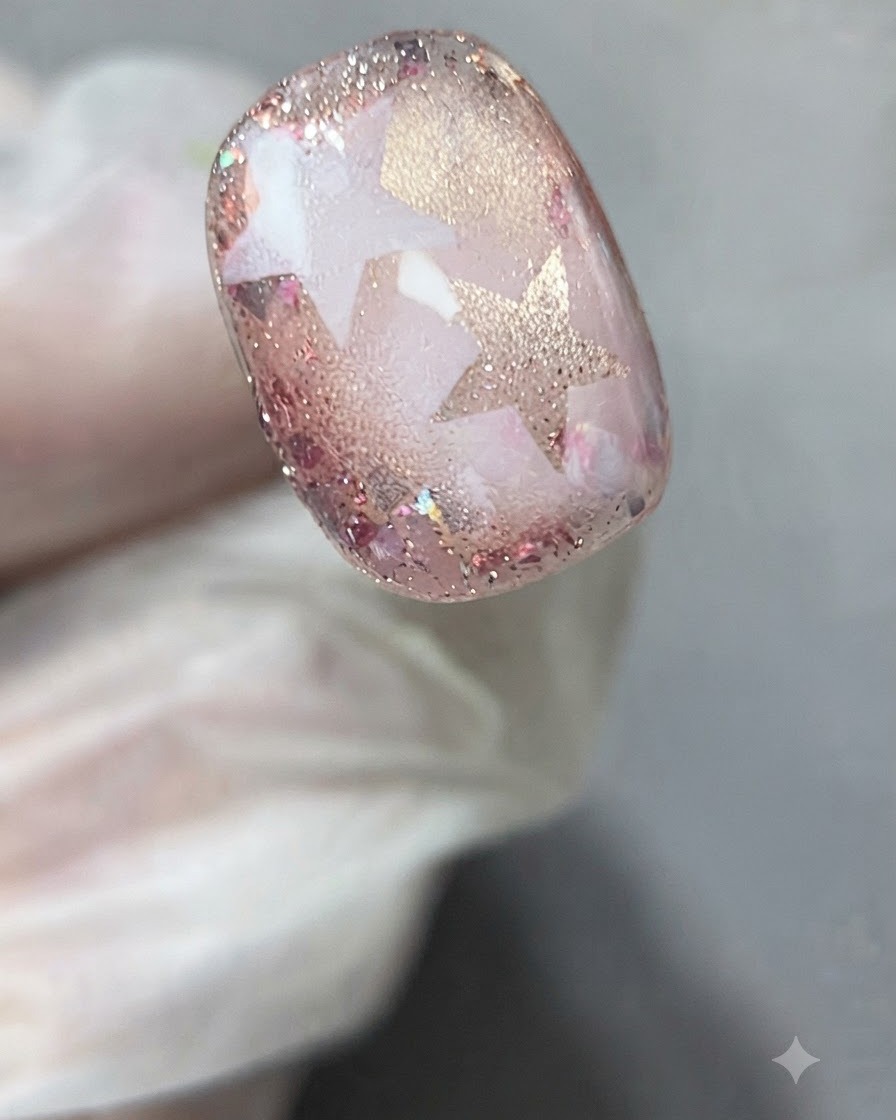
Carefully peel away the star stencil sticker to reveal the clean star design beneath. Immediately place the nail under the UV or LED lamp to cure the freshly applied gel before it can shift or smudge.
Tip: Pull the stencil off slowly and at a low angle to avoid disturbing the wet gel lines around the star pattern. - 15Apply a thin layer of base gel to seal
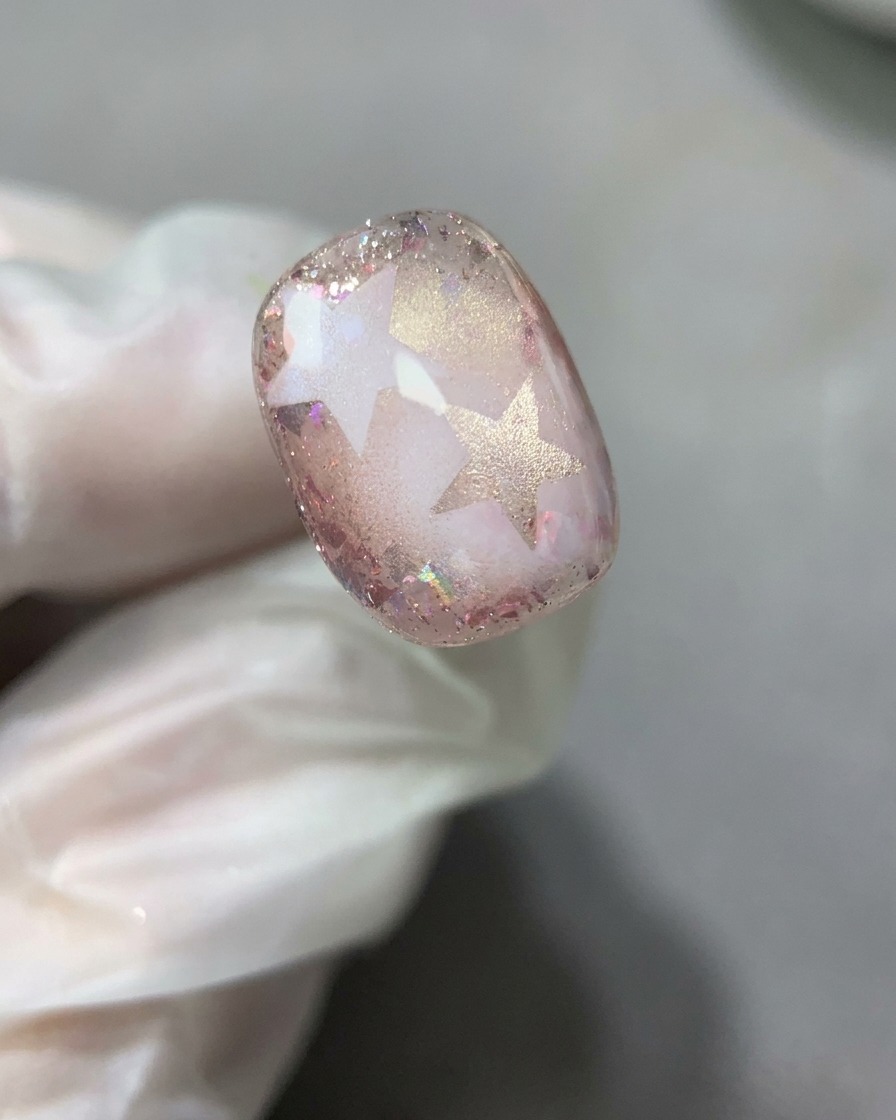
Brush a thin layer of base gel over the entire nail surface to encapsulate and seal all the embedded design elements, glitter, and star patterns. This creates a smooth foundation for the final glossy finish.
Tip: Ensure the entire nail surface and edges are thoroughly covered so that no raised texture from the stickers or glitter remains exposed. - 16Apply final top coat
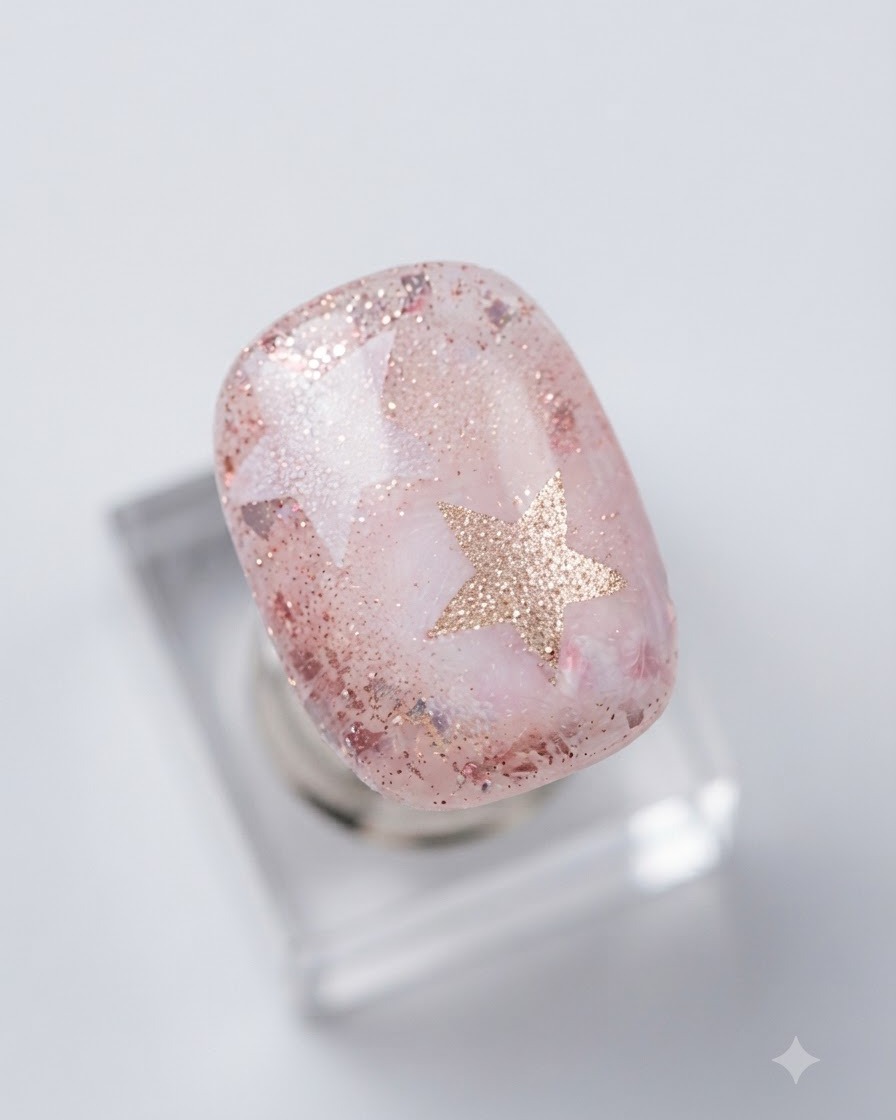
Finish the manicure by applying a glossy top coat over the entire nail to lock in the design, add high shine, and protect against chipping. Cure completely under the lamp.
Tip: Cap the free edge with the top coat to ensure long-lasting wear and prevent premature lifting at the tip.