Ins Style Pink Chrome Star Nails — Step-by-Step Tutorial
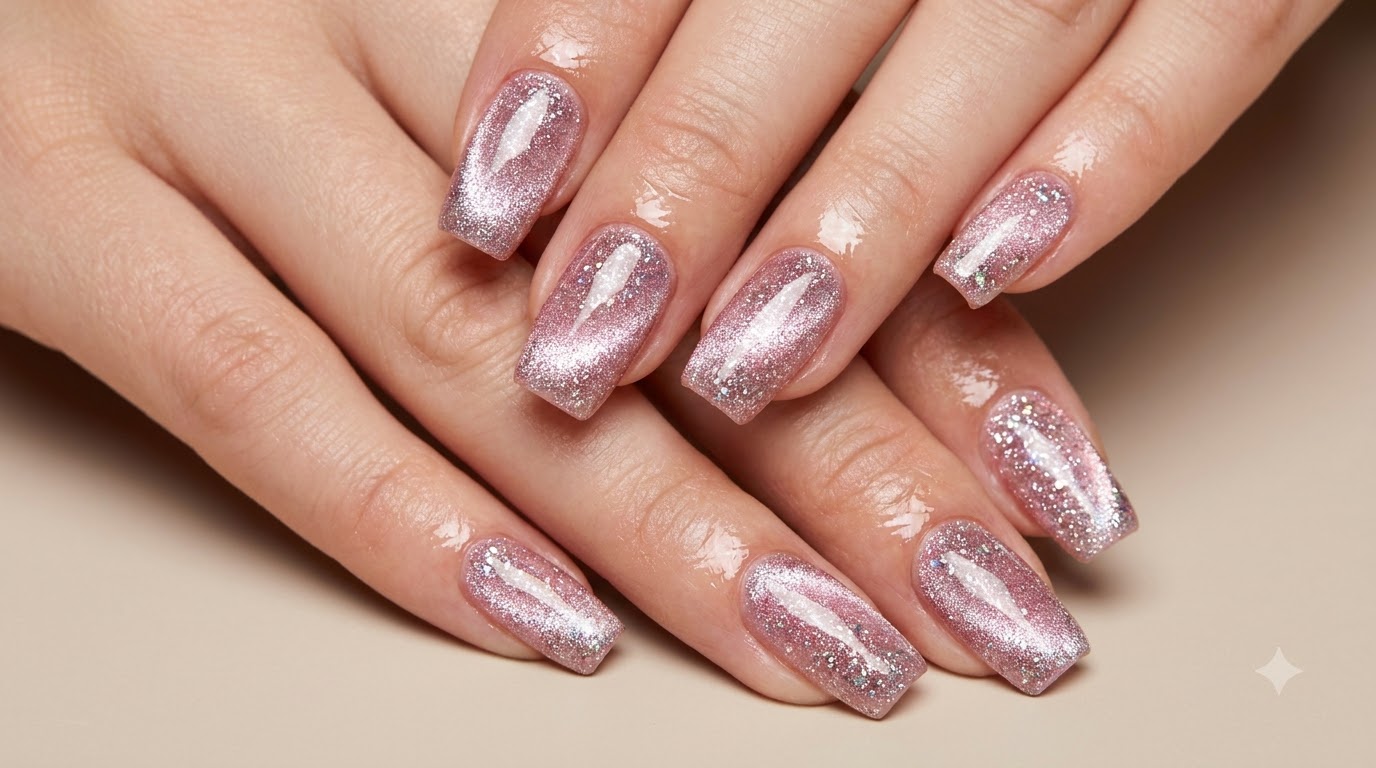
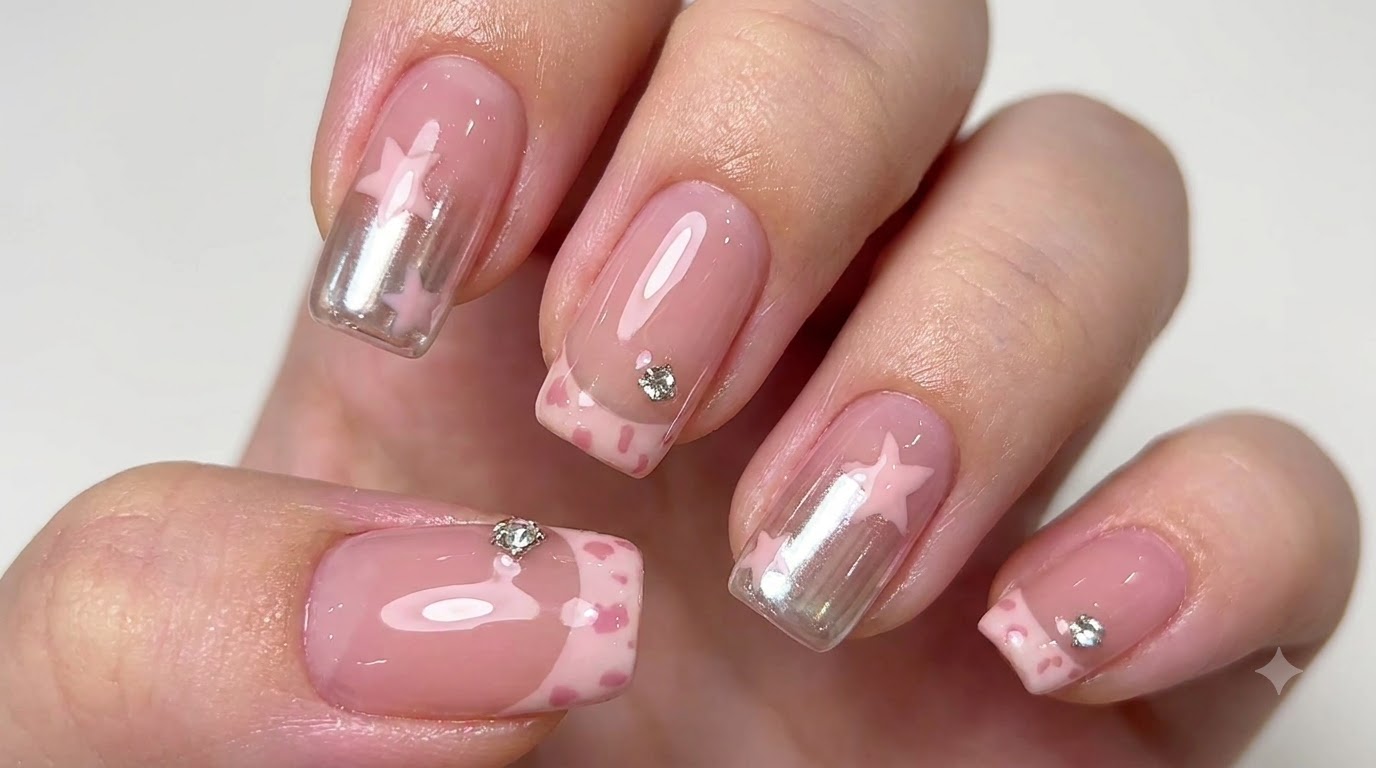
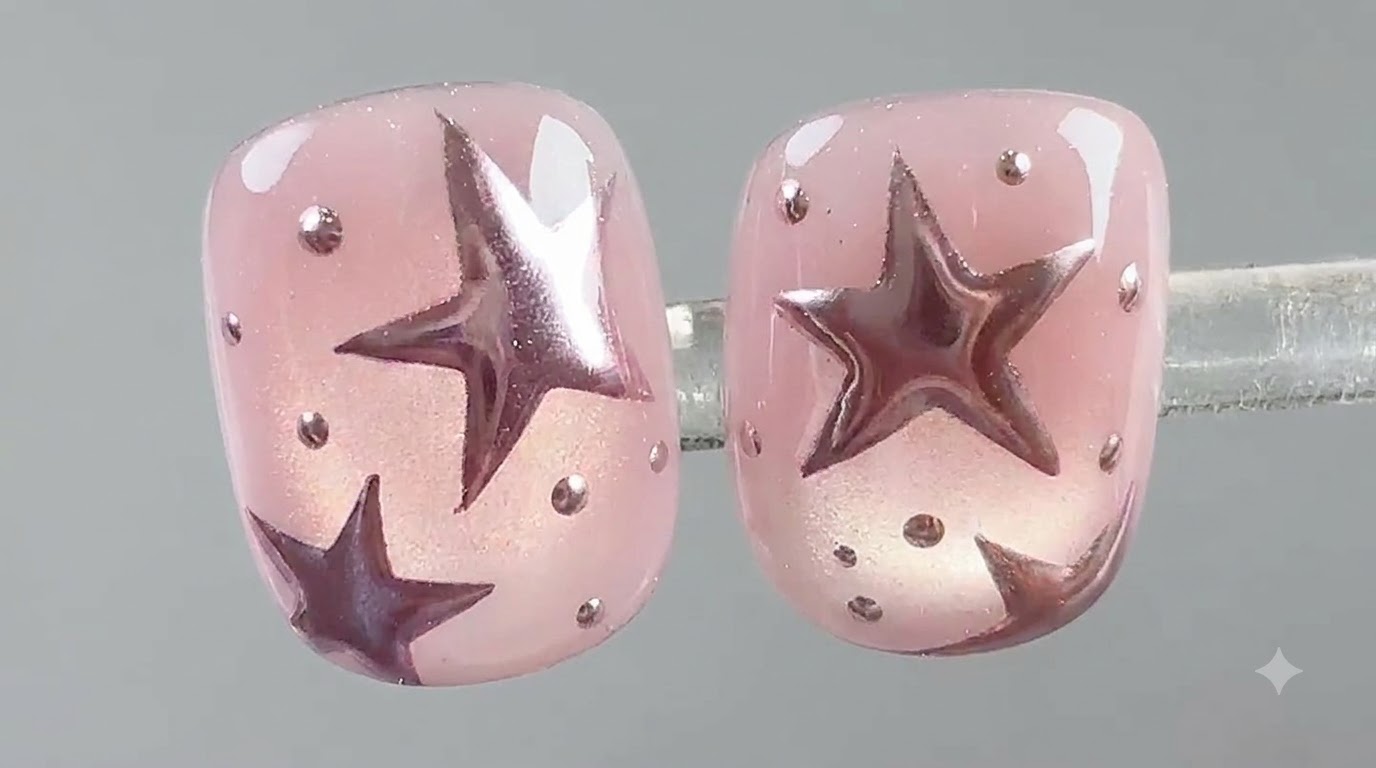
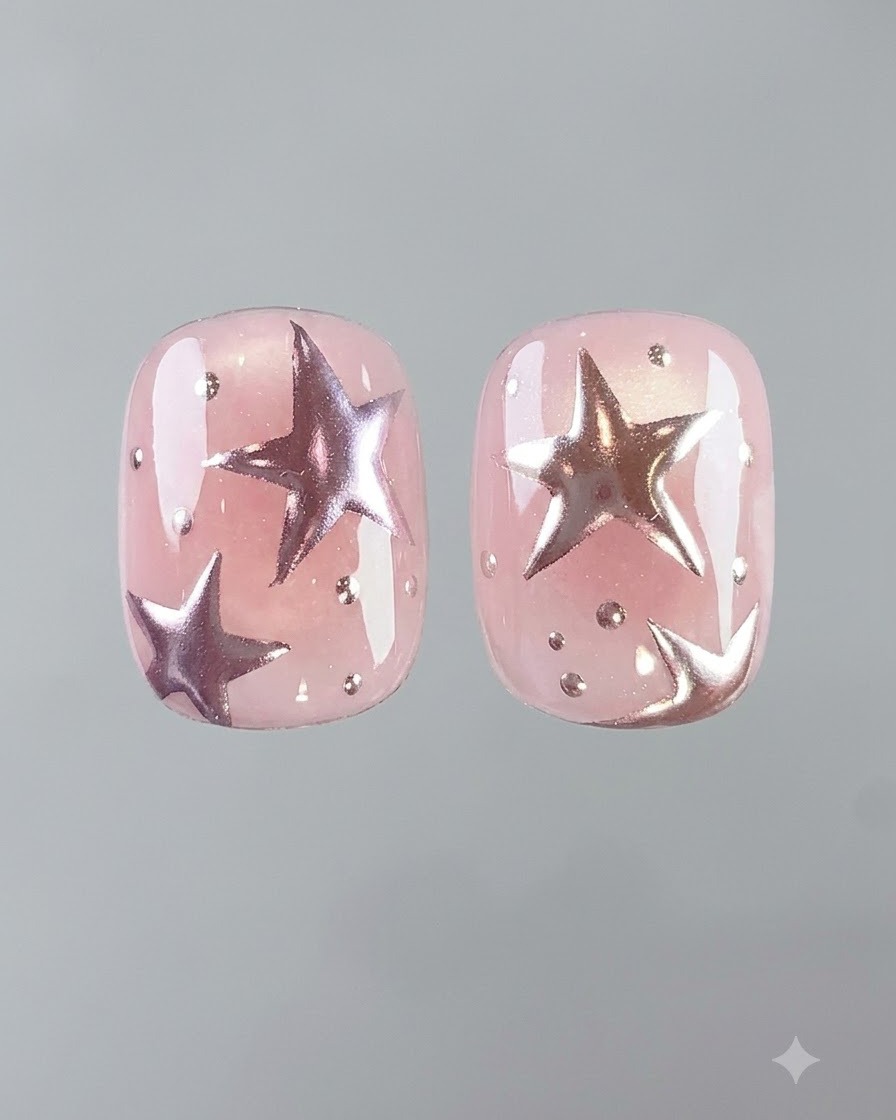
Create trendy Ins style pink chrome star nails featuring milky blush bases, cat eye glass bead highlights, and metallic mirror powder details.
The Ins style pink chrome star nail trend is taking over social media with its dreamy combination of soft blush bases, glowing cat eye dimensions, and striking metallic star accents. This detailed guide walks you through every step to achieve salon-quality results right at home using magic mirror powders and precise liner gel techniques.
Steps
- 1Apply milky white self-leveling gel base
Apply a base layer of milky white self-leveling gel onto the nail surface using a brush applicator, ensuring smooth and even coverage across the entire nail plate before curing.
Tip: Let the self-leveling gel sit for a few seconds to level out naturally before placing it under the lamp. - 2Create a blush effect with patting gel
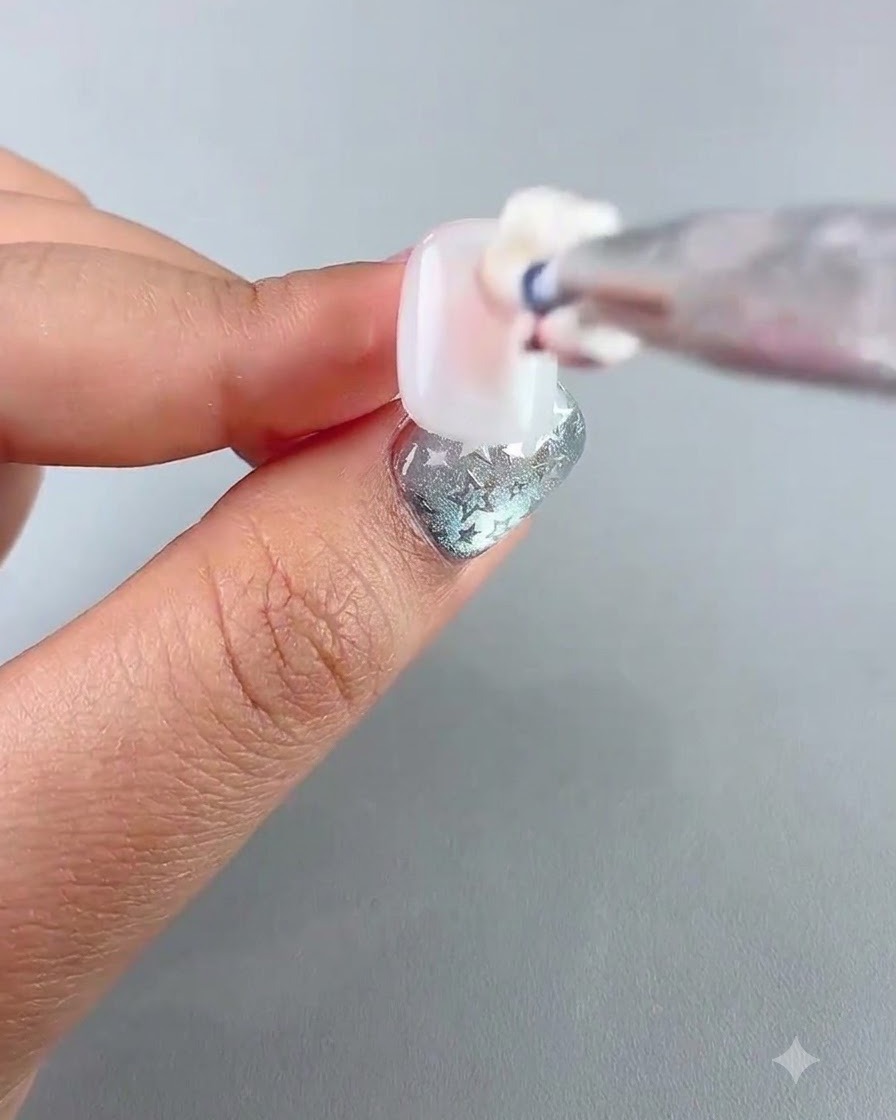
Apply soft warm no. 7 patting gel precisely in the center of the nail to create a soft, translucent blush effect, blending the edges smoothly into the milky white base.
Tip: Use a gentle dabbing motion with a small brush or sponge tool to keep the center concentrated. - 3Apply translucent cat eye gel
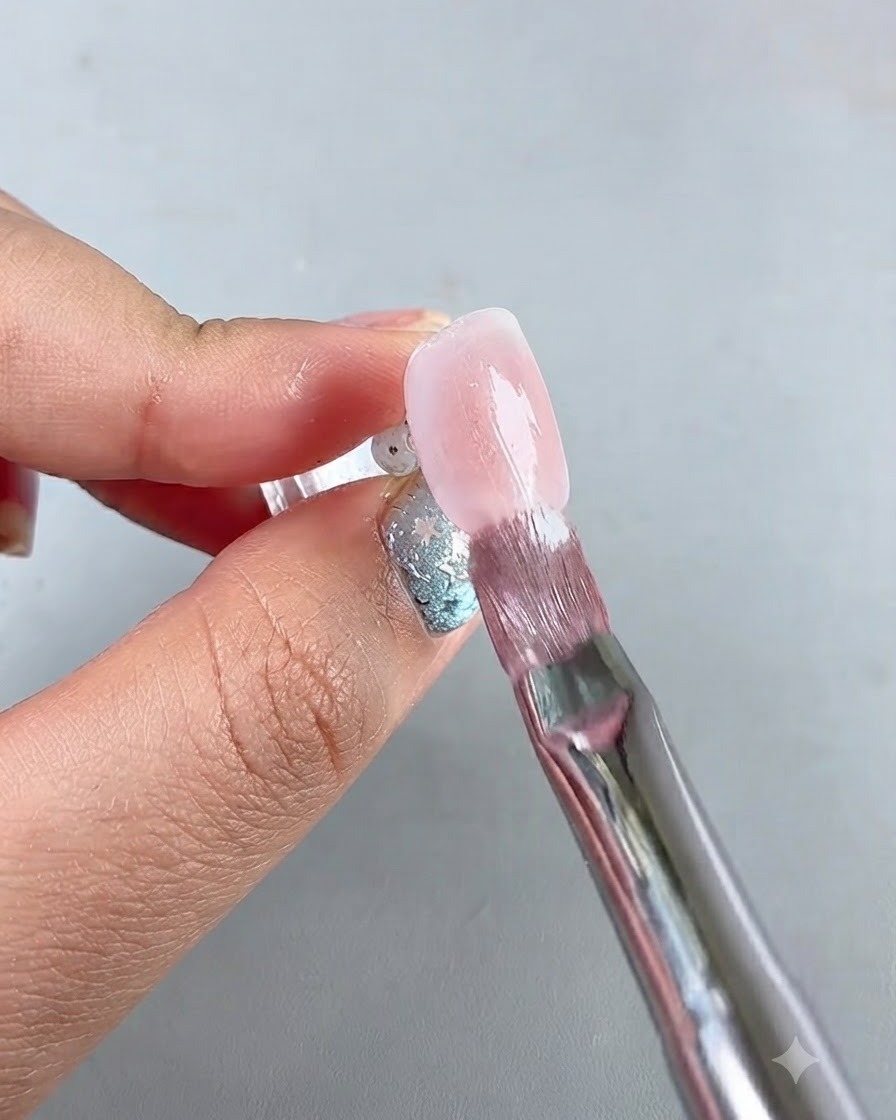
Apply a layer of water-light translucent no. 2 cat eye gel evenly over the entire nail surface to prepare for the magnetic highlight effect.
Tip: Keep the layer thin and even to allow the magnetic particles to move freely when magnetized. - 4Magnetize glass bead highlight
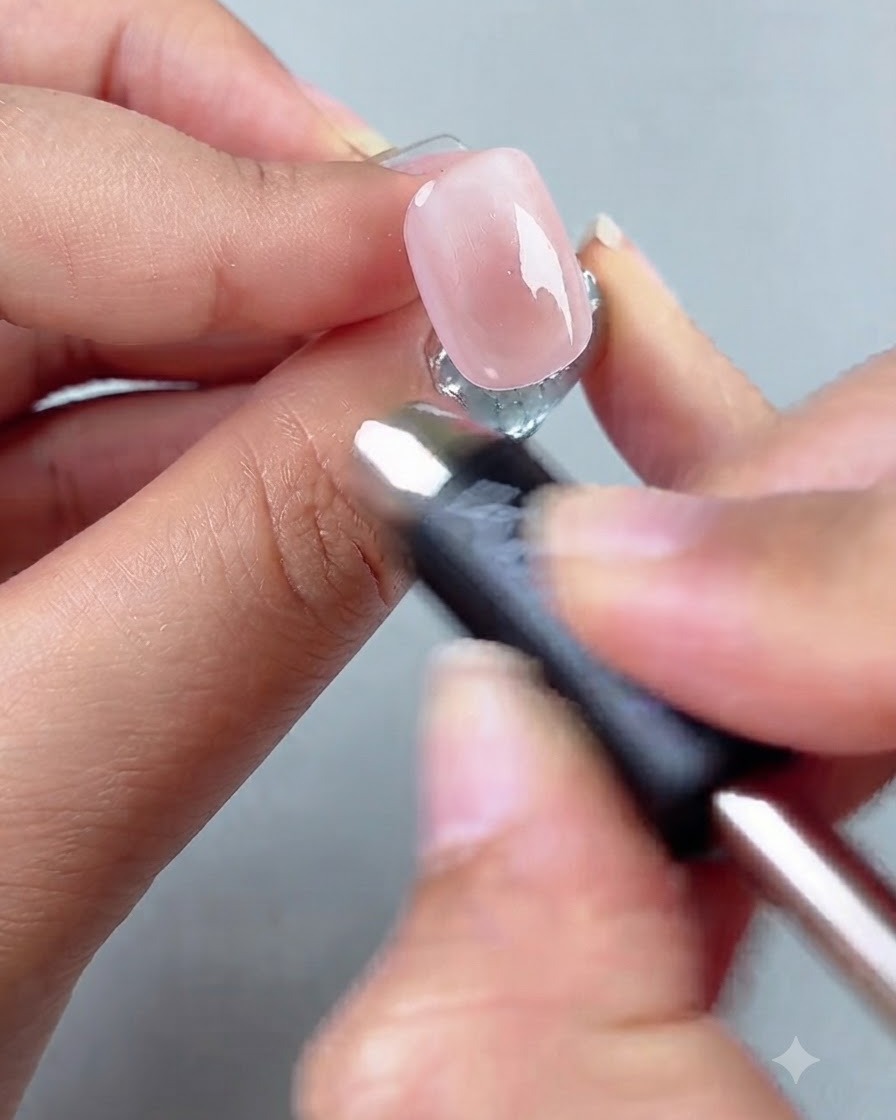
Hold a magnetic ring wand over the nail to magnetize the cat eye gel particles, drawing them into a concentrated glass bead highlight effect, then cure.
Tip: Keep the magnet steady close to the surface until the desired reflective ring shape appears. - 5Apply anti-powder sealing top coat
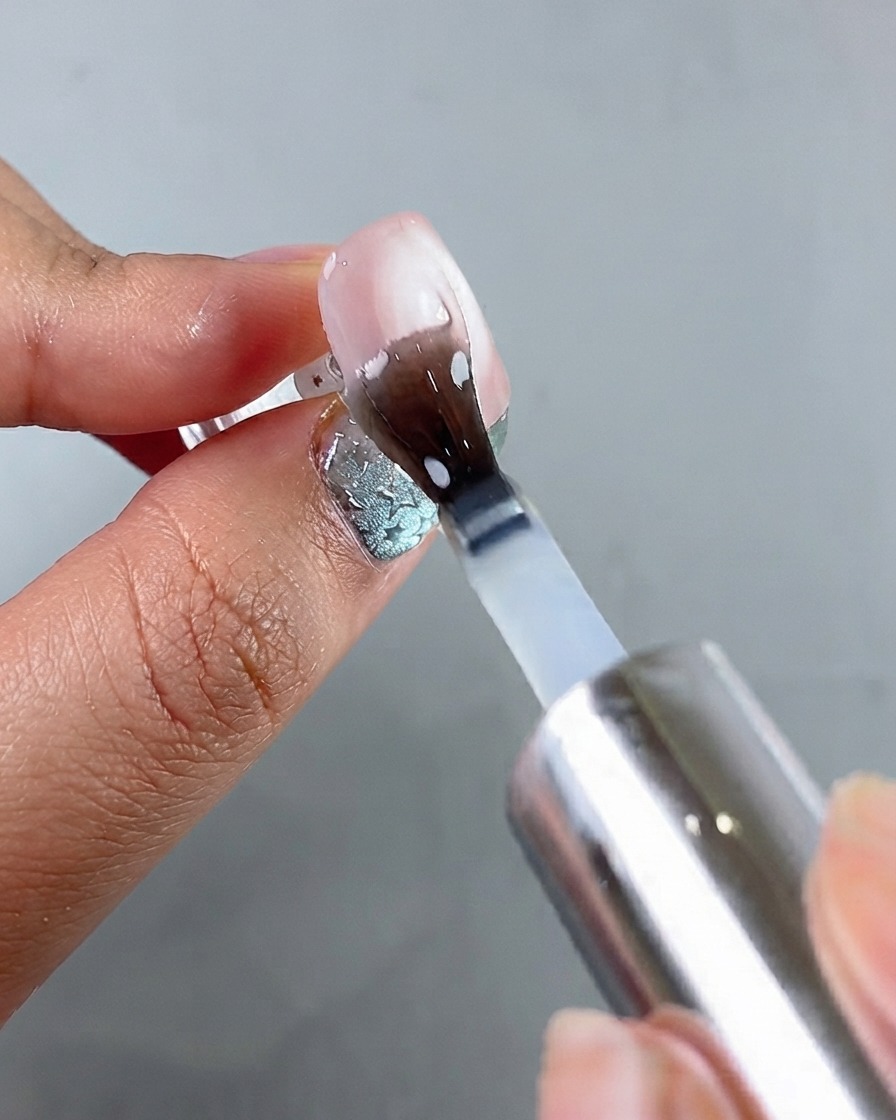
Brush a layer of anti-powder sealing top coat over the cured cat eye layer to seal the surface and provide a smooth foundation for the subsequent nail art.
Tip: Make sure the top coat is fully cured and wiped if necessary before drawing details on top. - 6Outline star shapes with a liner brush
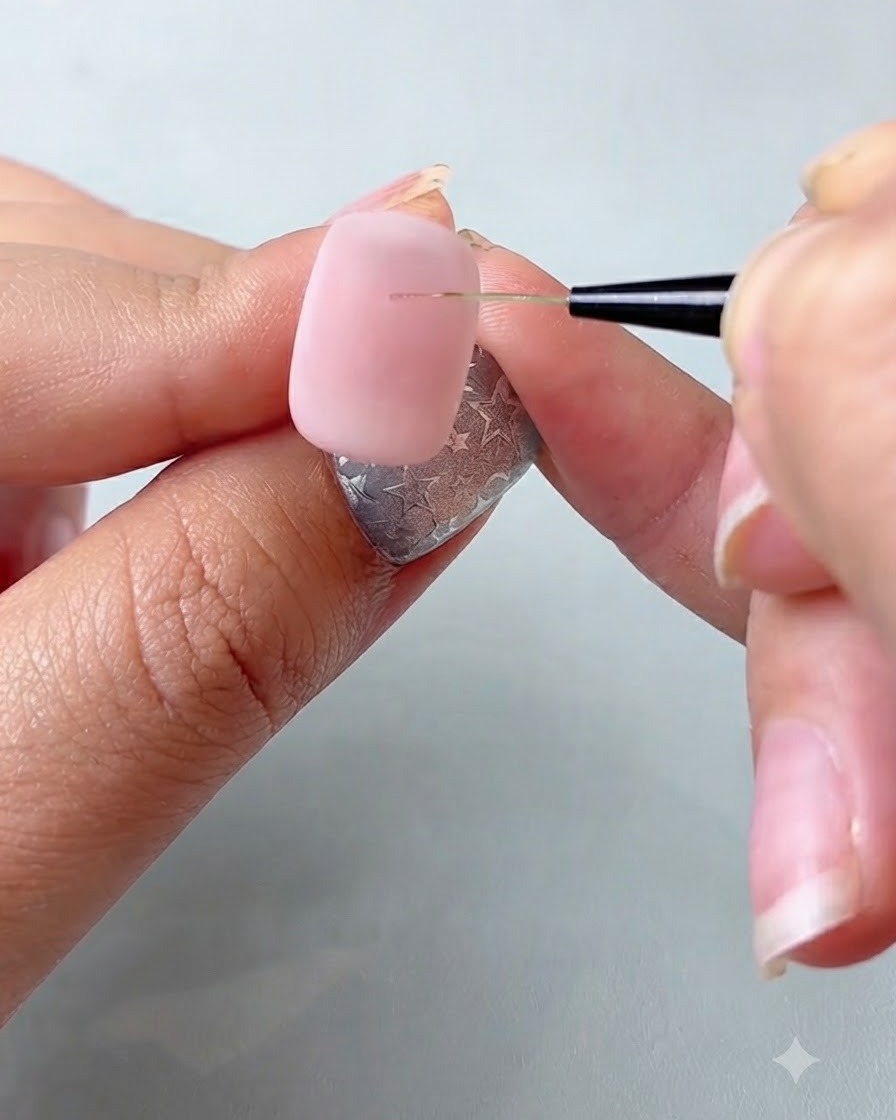
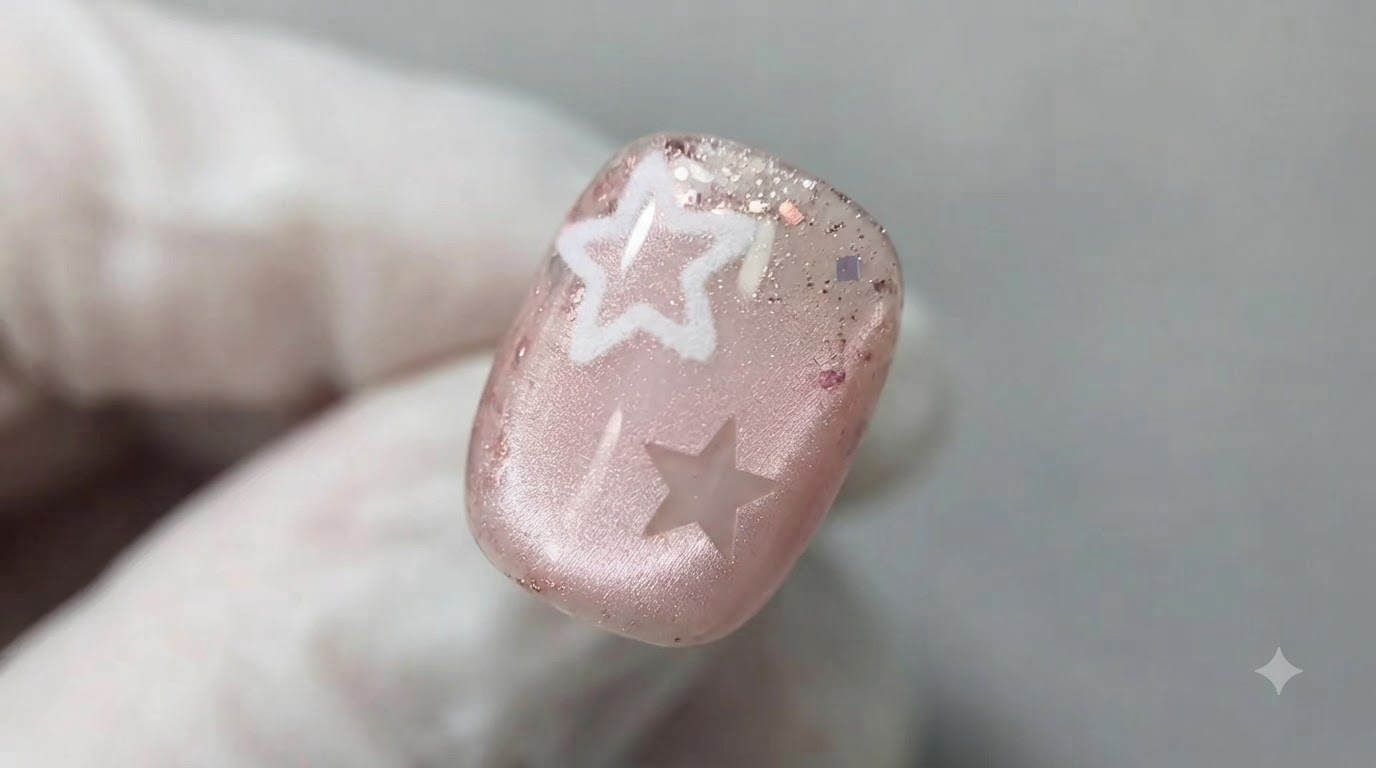
Dip a fine liner brush into the anti-powder top coat and outline star shapes on the surface, preparing the outlines for the magic mirror powder coloring.
Tip: Keep your hand steady and use light pressure for crisp, clean star lines. - 7Draw and fill the star outlines
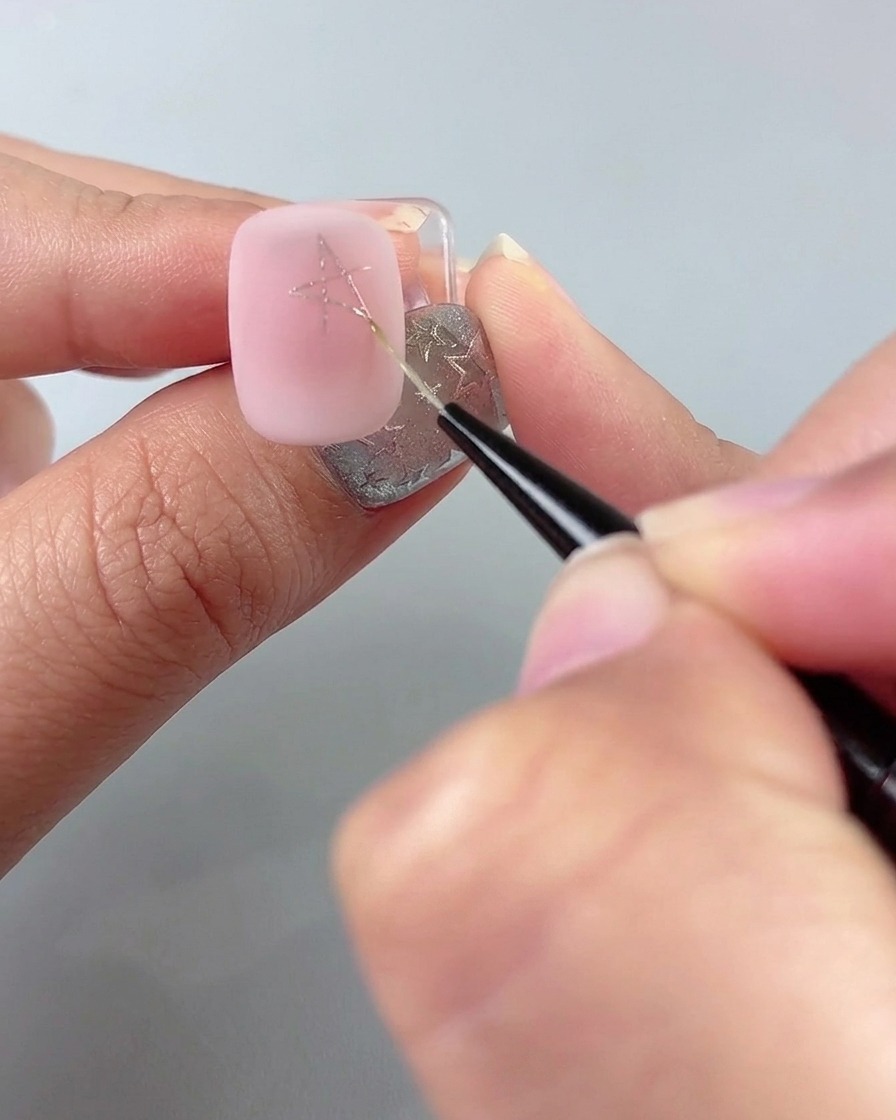
Using a fine liner brush, connect the star corner lines together to form complete star shapes on the nail surface. Carefully fill in the interior of the drawn star shapes evenly to ensure solid coverage.
Tip: Keep a steady hand and use light pressure on the liner brush to create crisp, clean star points. - 8Add a smaller accent star
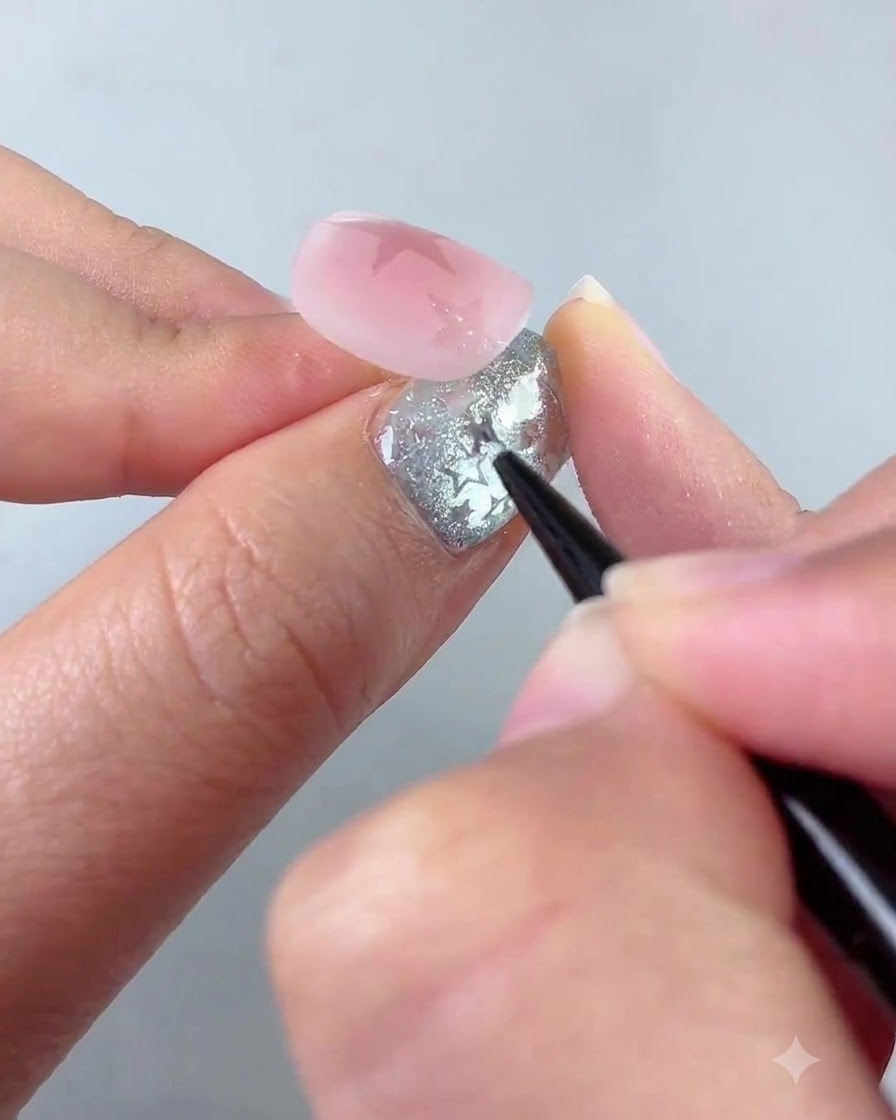
Take the fine liner brush and draw an additional smaller star shape in the bottom left corner of the nail to complement the existing design.
Tip: Varying the size of your nail art elements creates a more dynamic and balanced composition. - 9Add accent dots around the stars
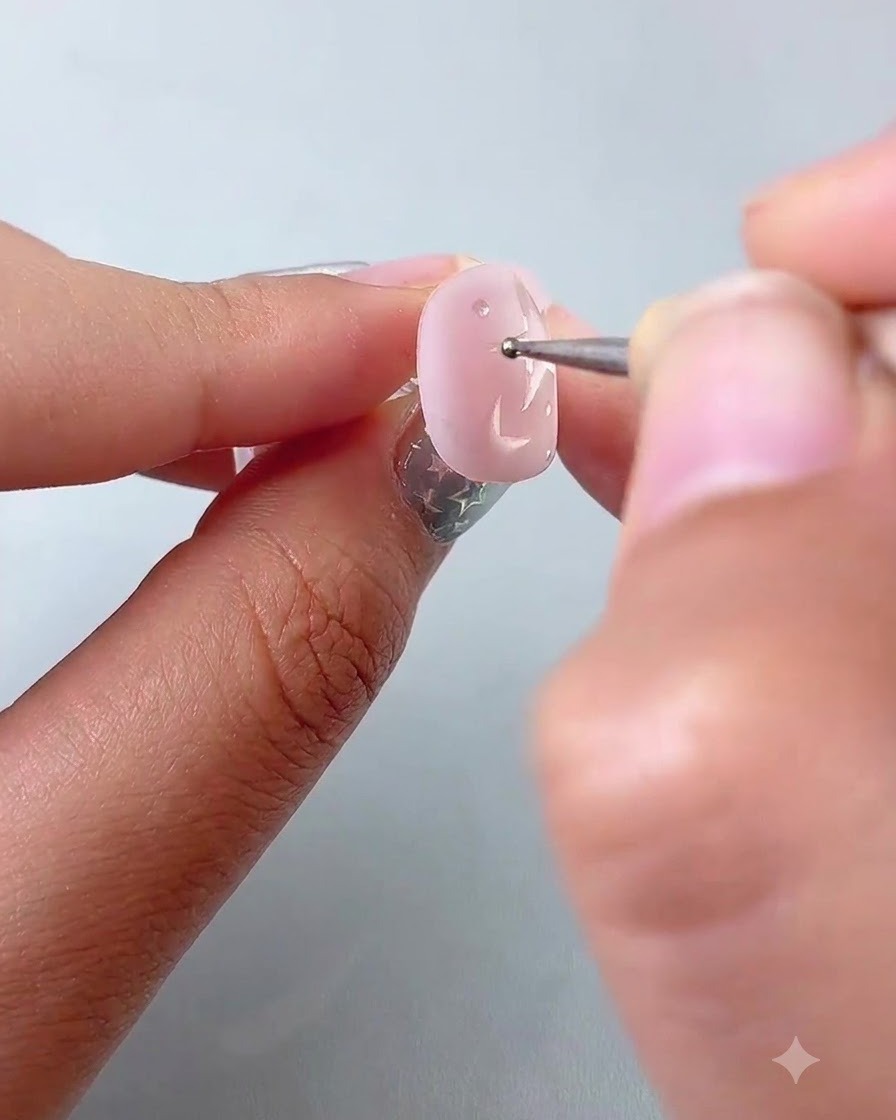
Dip a dotting pen into the product and place small wave dots strategically around the painted stars to add texture and decorative flair to the design.
Tip: Clean your dotting pen between dots if needed to keep the sizes consistent and neat. - 10Cure the nail art design
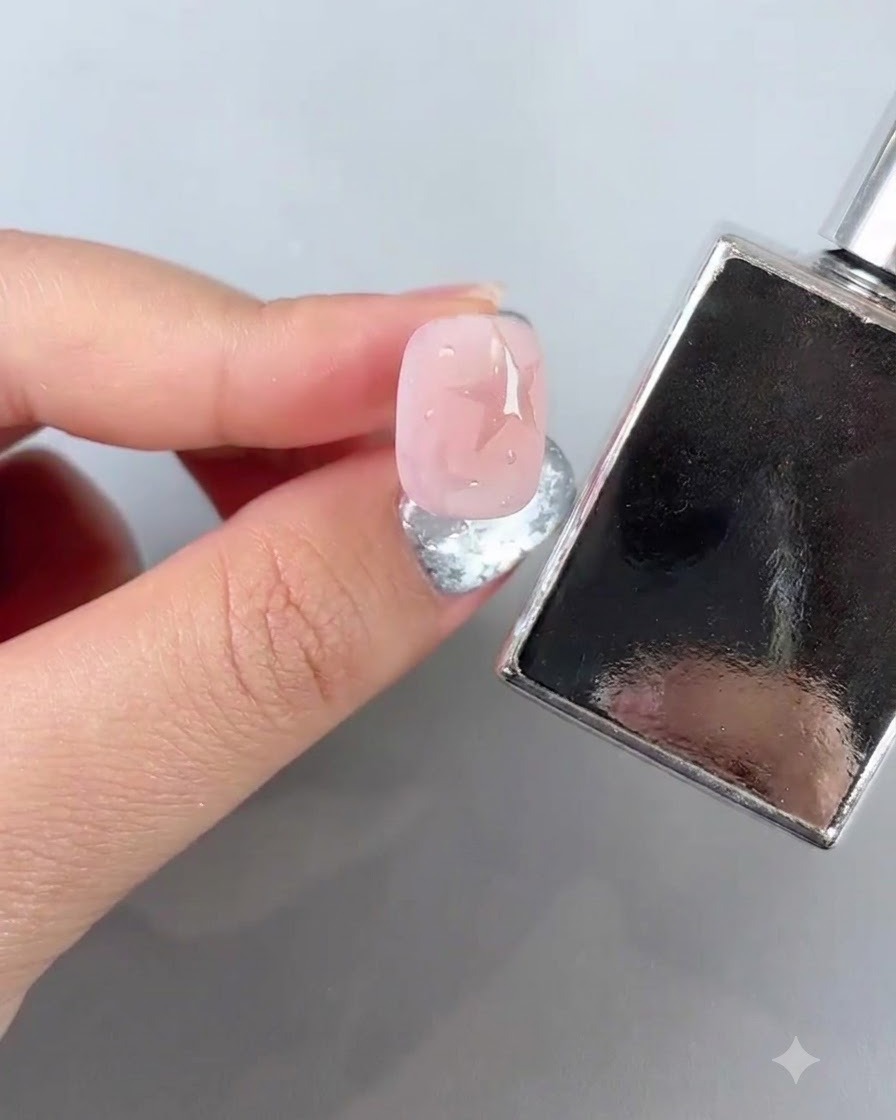
Place the nail under a UV/LED lamp and allow the painted design to cure for 45 seconds to set the details properly before the next step.
Tip: Ensure your hand is positioned correctly under the lamp light to cure all areas evenly. - 11Apply magic mirror powder to stars
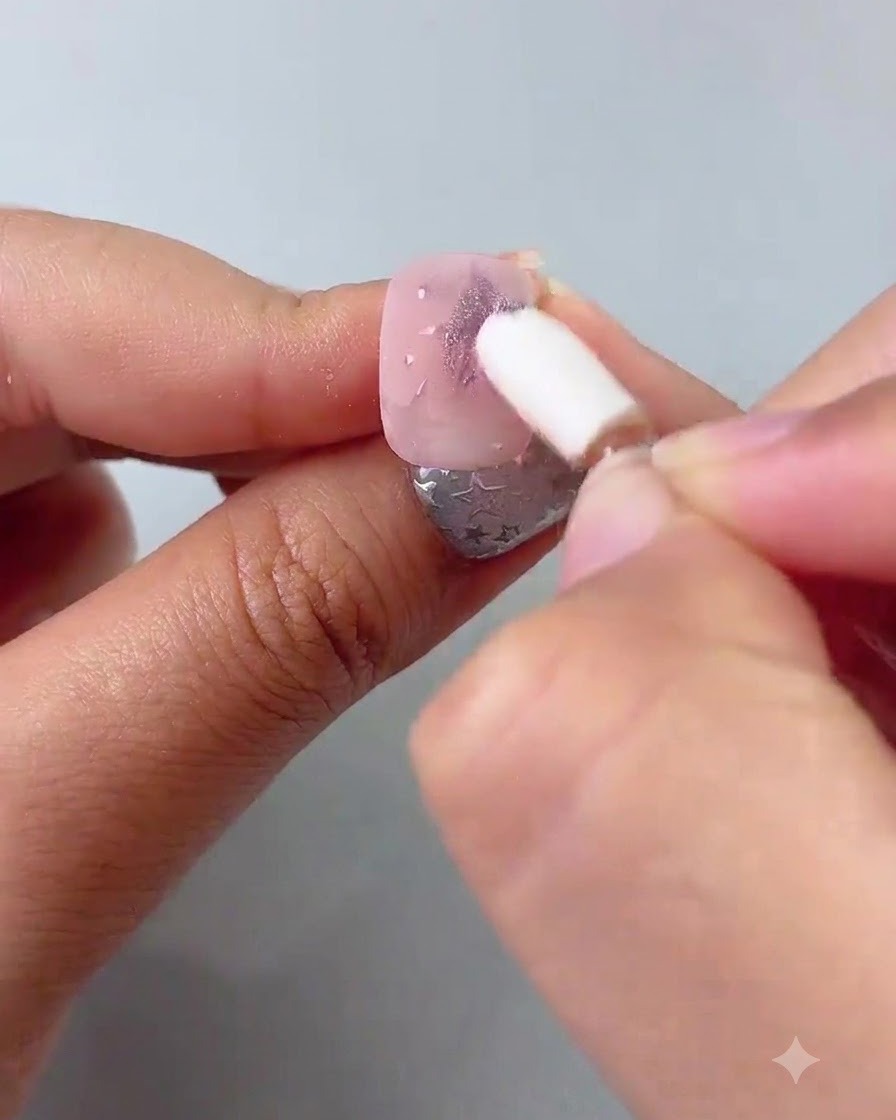
Using a silicone sponge applicator, gently rub wooden purple magic mirror powder directly onto the tacky star outlines to create a metallic chrome effect.
Tip: Buff the powder gently until a smooth chrome reflection appears over the lines. - 12Dust off excess chrome powder
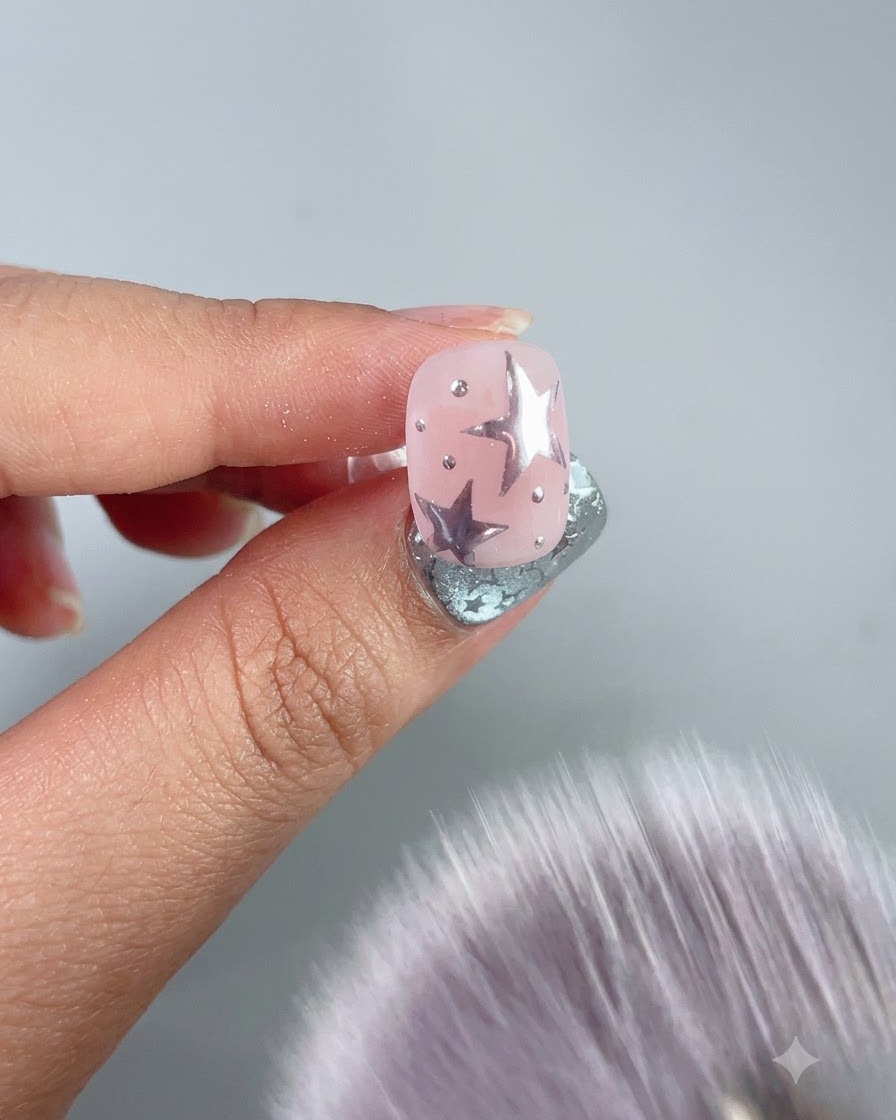
Take a soft dusting brush and gently sweep away any excess floating chrome powder from the nail surface and surrounding skin.
Tip: Sweep lightly to avoid smudging the chrome effect on the unsealed areas. - 13Apply anti-powder top coat
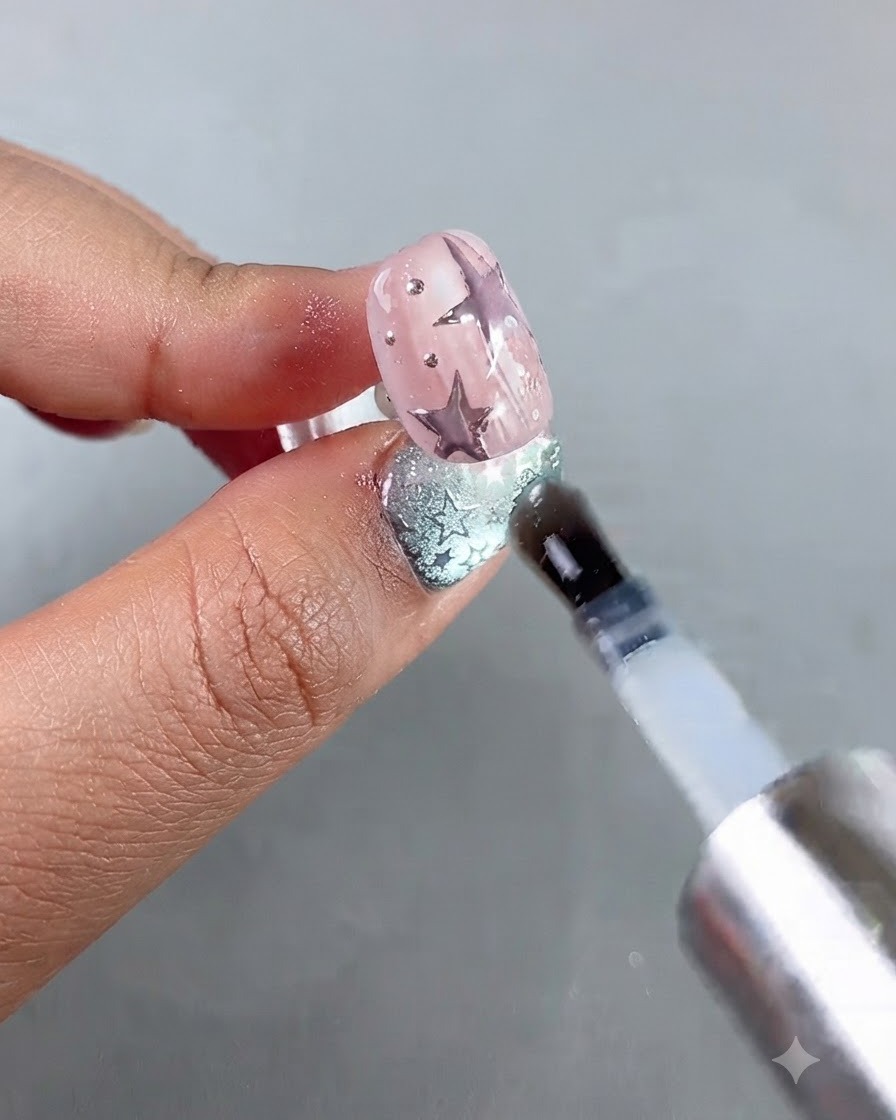
Apply a layer of style valley anti-powder top coat evenly over the entire nail design to protect the star art and prepare the surface.
Tip: Make sure the top coat covers the edges thoroughly to prevent any chipping or lifting of the design. - 14Apply smooth top coat and finish
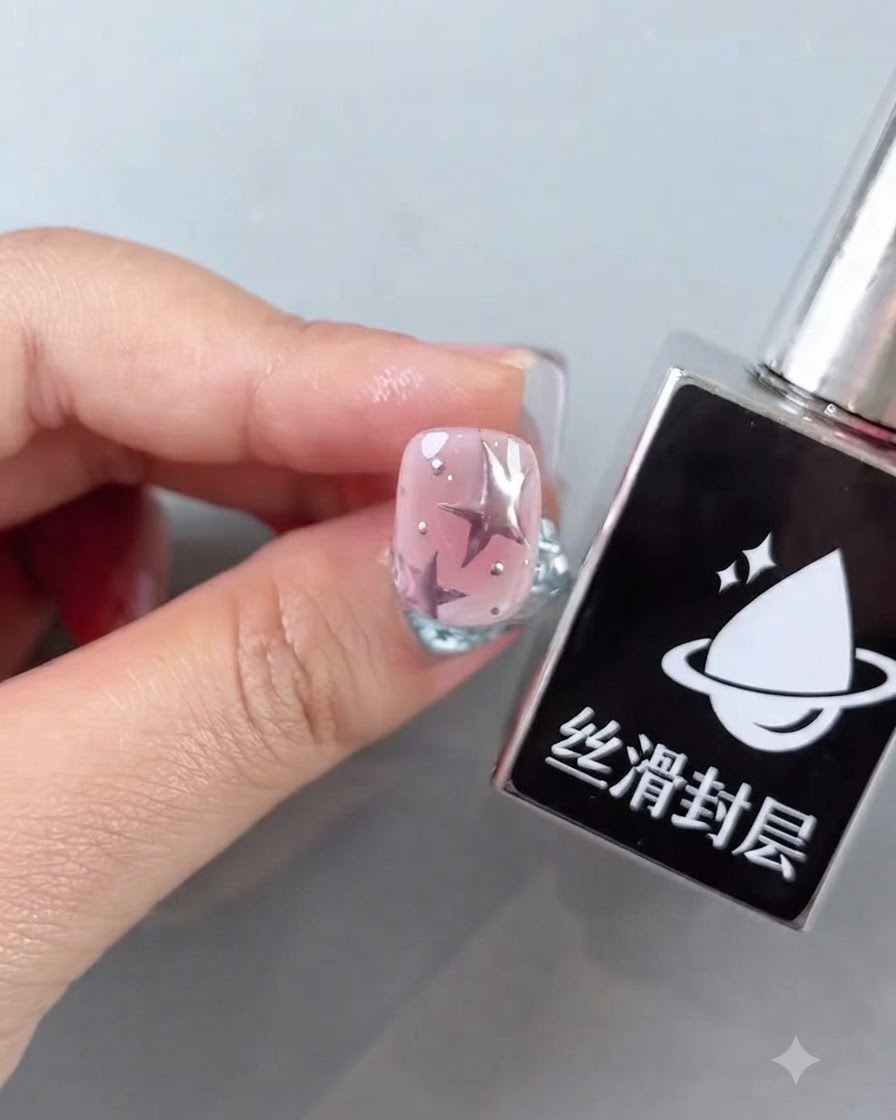
Apply a final layer of smooth top coat to seal everything in, giving the nail a glossy, flawless finish and long-lasting protection.
Tip: Check the reflection under the light to ensure a smooth, even surface before curing.