Pink National Style Press-on Nails — Step-by-Step Tutorial
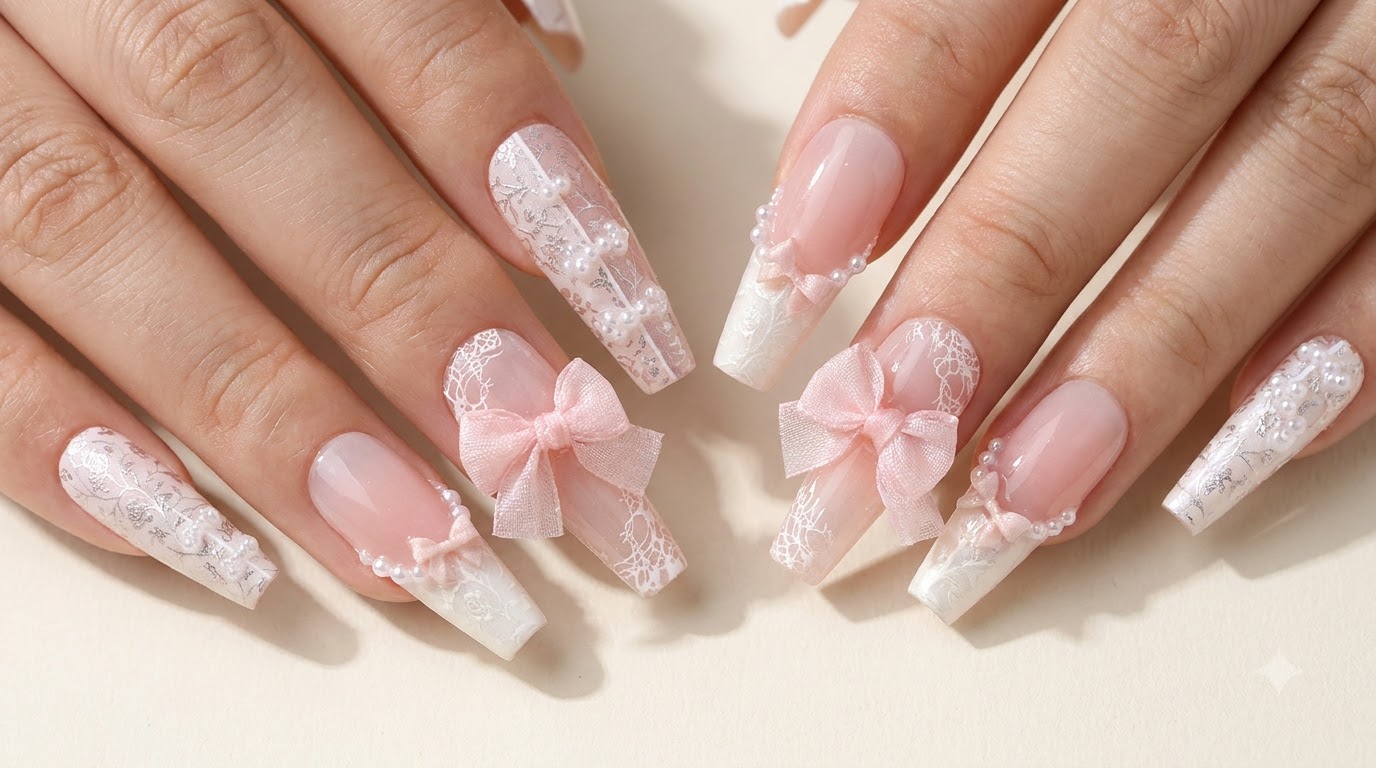
Create stunning pink national-style press-on nails featuring delicate lace stamping, magic mirror powder chrome effects, elegant pearls, and custom fabric bow-knots.
National-style nail art blends traditional textures with modern chic, creating deeply detailed designs that catch every eye. This look combines soft pink gel bases, intricate white lace stamping accented by chrome powder, structured pearl button layouts, and charming fabric bow-knots for a truly artisanal finish.
Steps
- 1Buff and prep nail surface
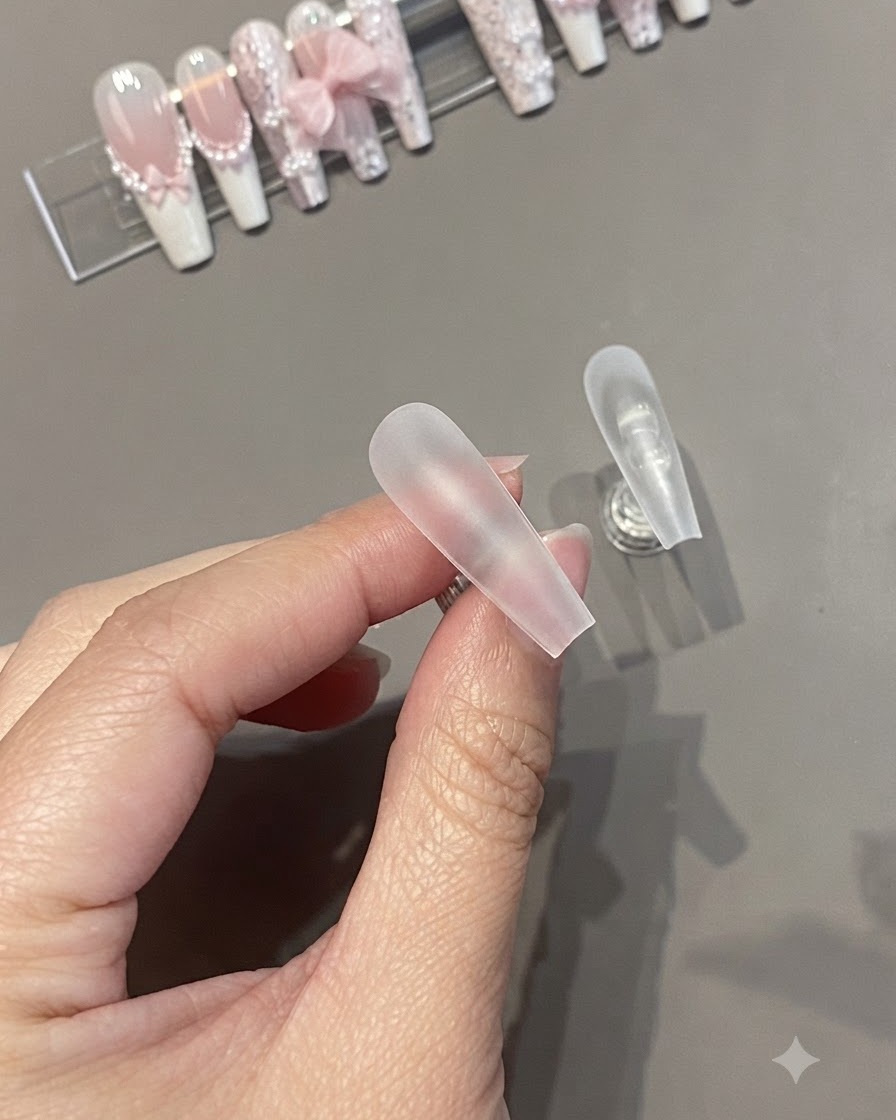
Gently buff the artificial nail surface to remove any shine and create a micro-texture. Wipe the nail clean to remove dust and oils, ensuring optimal product adhesion for the upcoming gel layers.
Tip: Make sure to remove all dust particles completely after buffing so they dont get trapped under your gel polish. - 2Apply first coat of pink gel polish
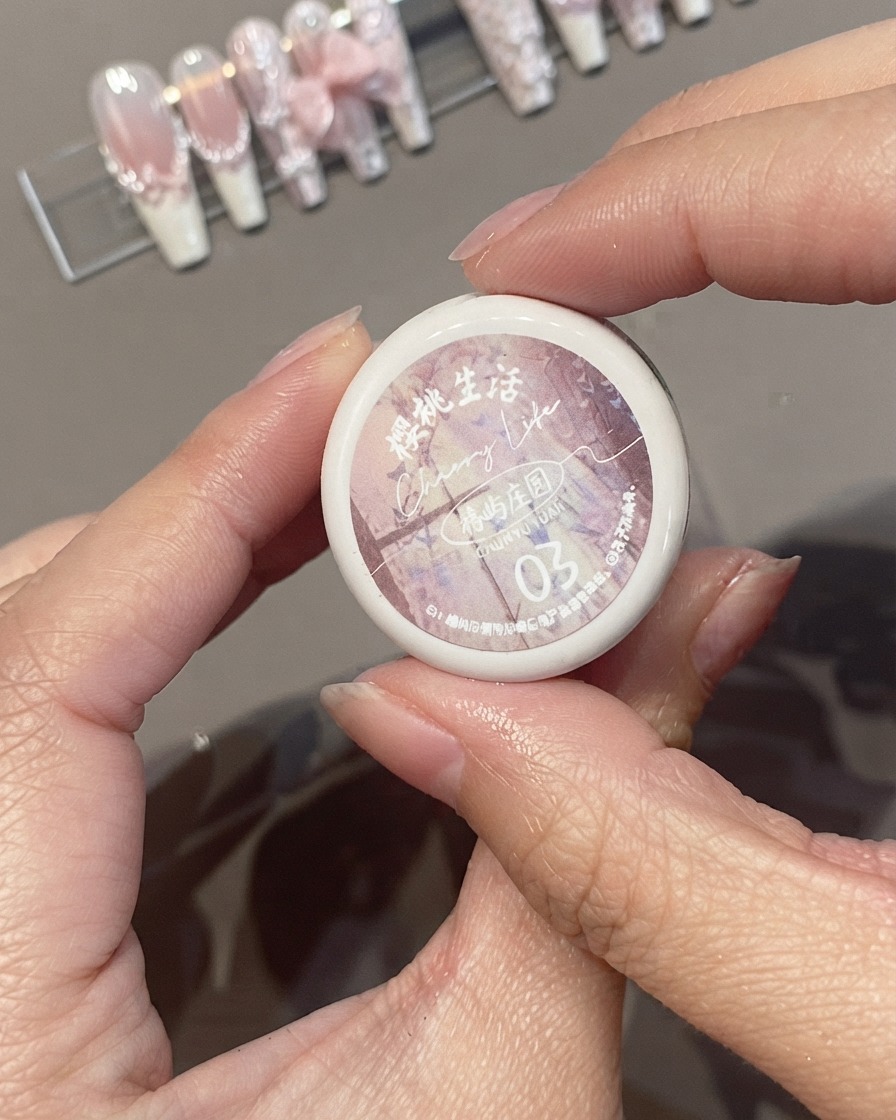
Apply a thin layer of Cherry Life Spring Rain Garden color, number 03, evenly across the nail surface. Keep the layer thin to prevent wrinkling and ensure even curing.
Tip: Applying thin coats prevents pooling around the edges and gives a smoother, more translucent finish. - 3Apply second coat and cure
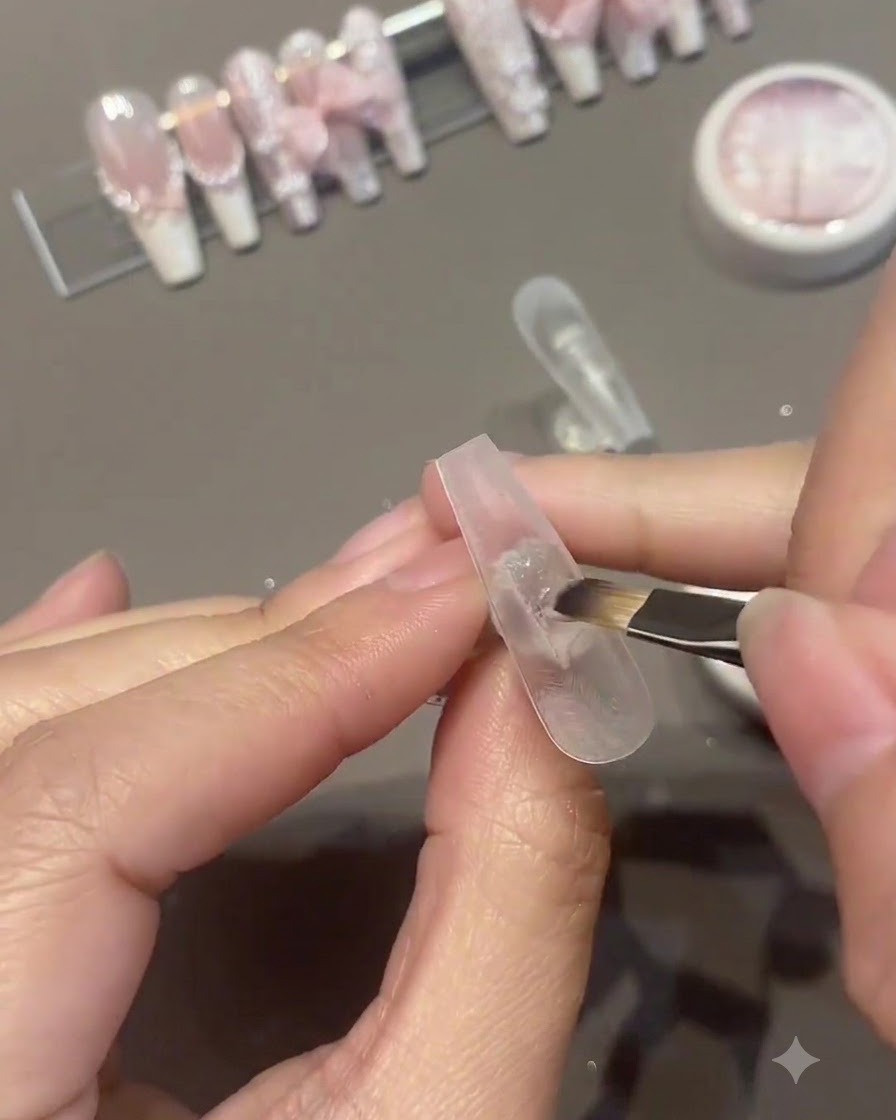
Apply the second thin coat of the pink gel polish to build up the color intensity. Once applied evenly, place the nail under the UV or LED lamp to cure completely.
Tip: Ensure full coverage along the free edge to seal the color and prevent premature chipping. - 4Draw lines with white spider gel
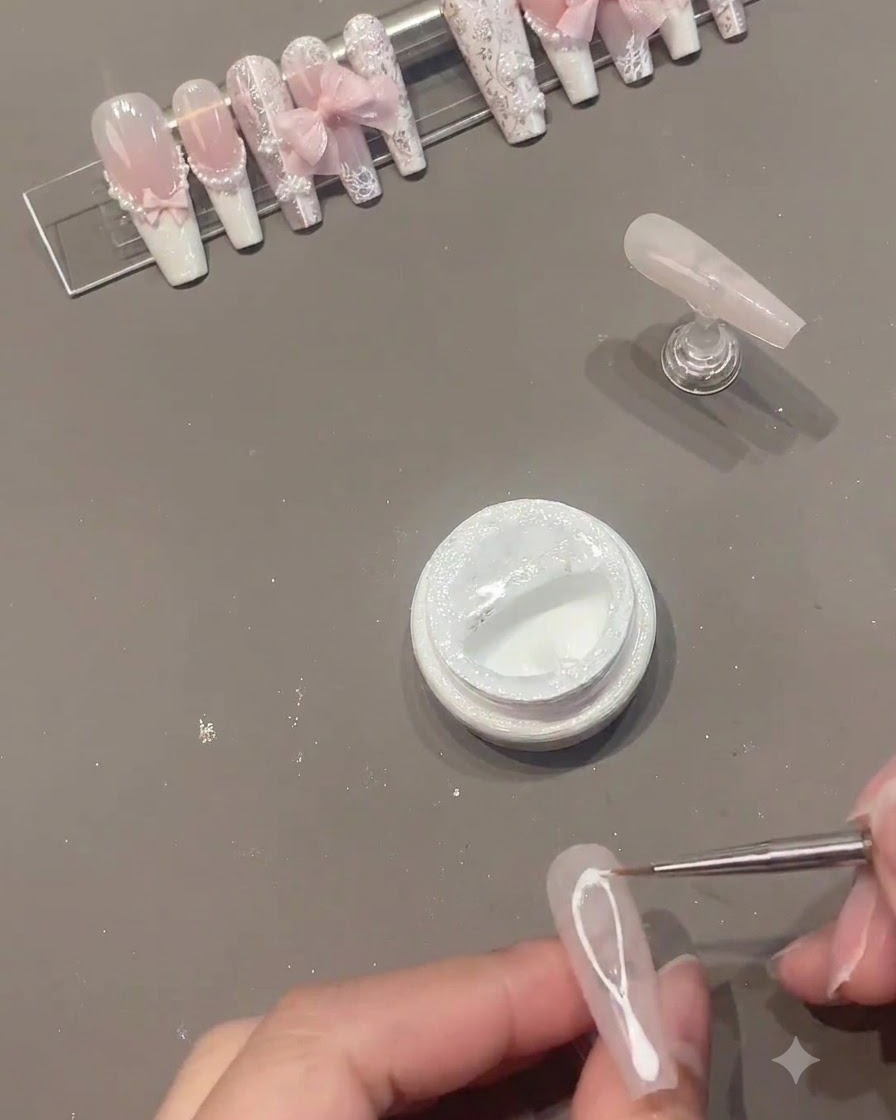
Dip a fine liner brush into white spider gel and draw precise lines across the middle of the nail. The stretchy consistency of the gel allows you to pull straight lines easily.
Tip: Keep a light hand and pull the brush smoothly away from the surface to create clean, unbroken spider gel strands. - 5Cure white spider gel
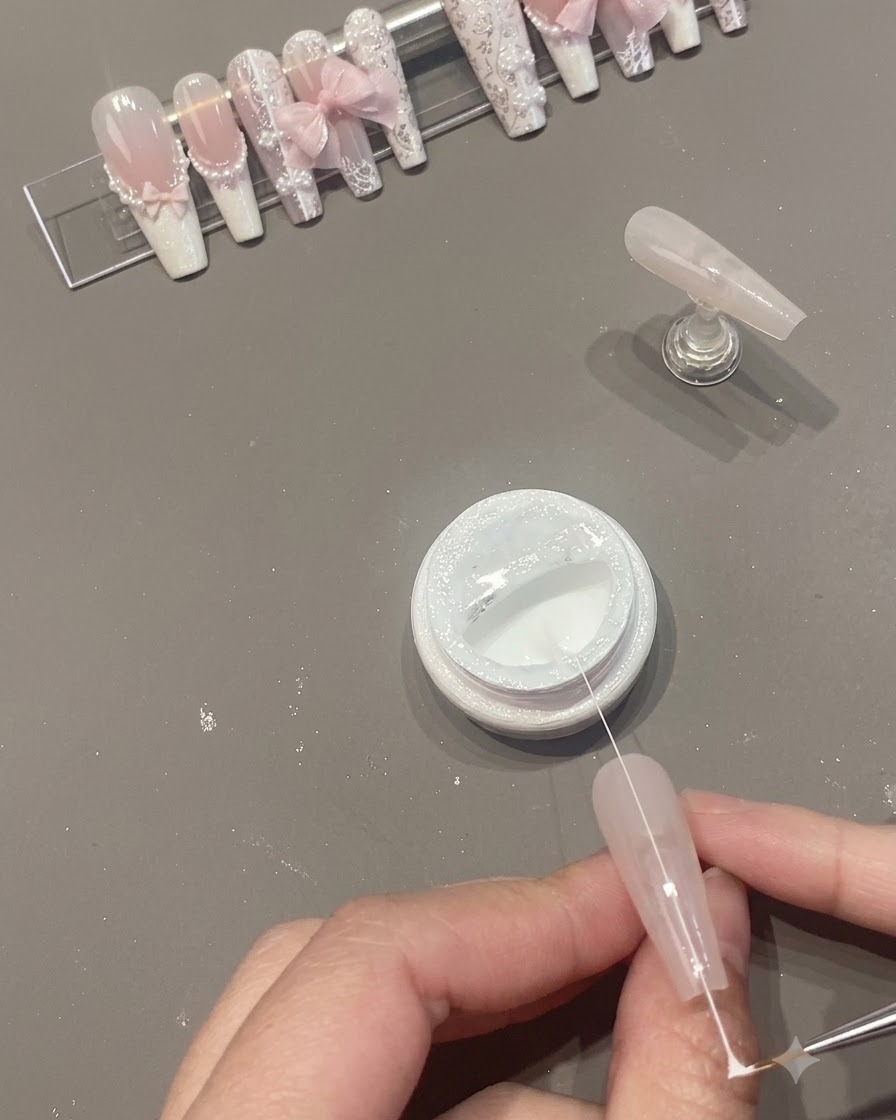
Place the nail under the UV lamp to cure the white spider gel lines. This locks the design in place so it wont smudge during subsequent steps.
Tip: Check that the spider gel has set fully under the lamp before moving on to avoid distortion. - 6Apply white gel polish to right half
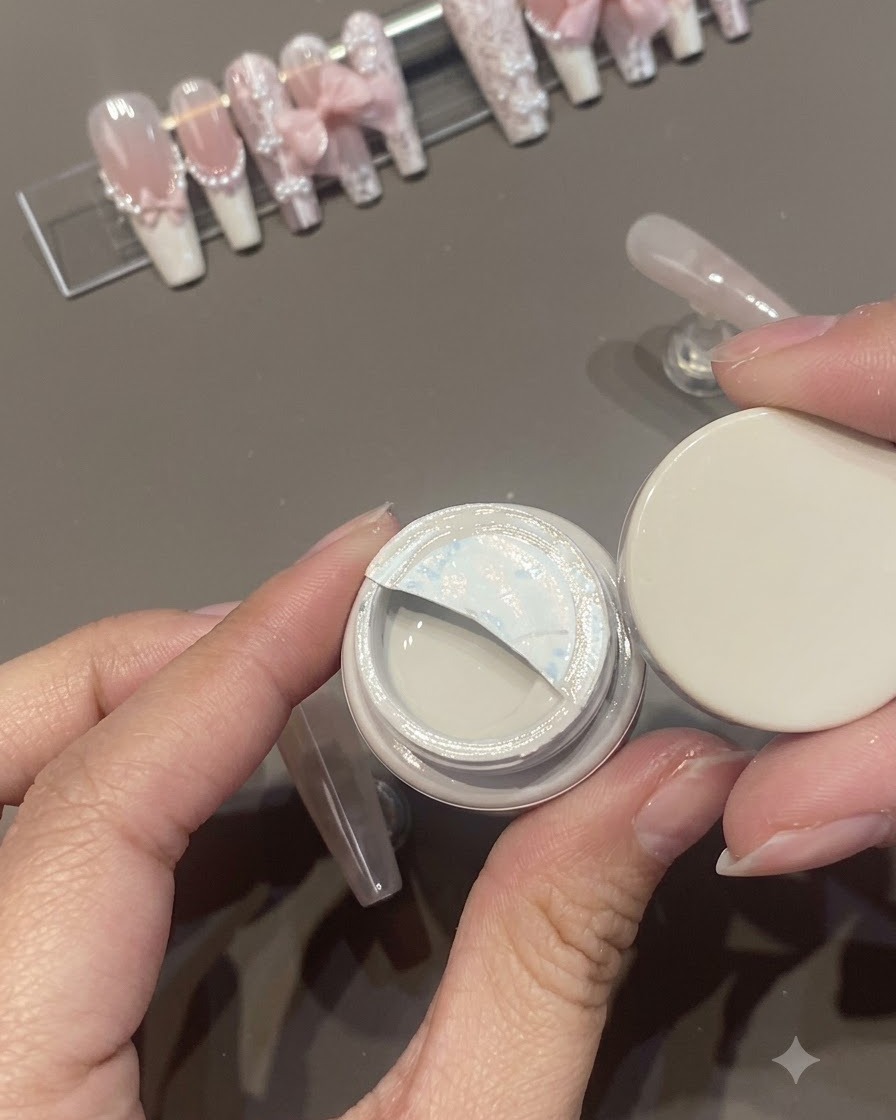
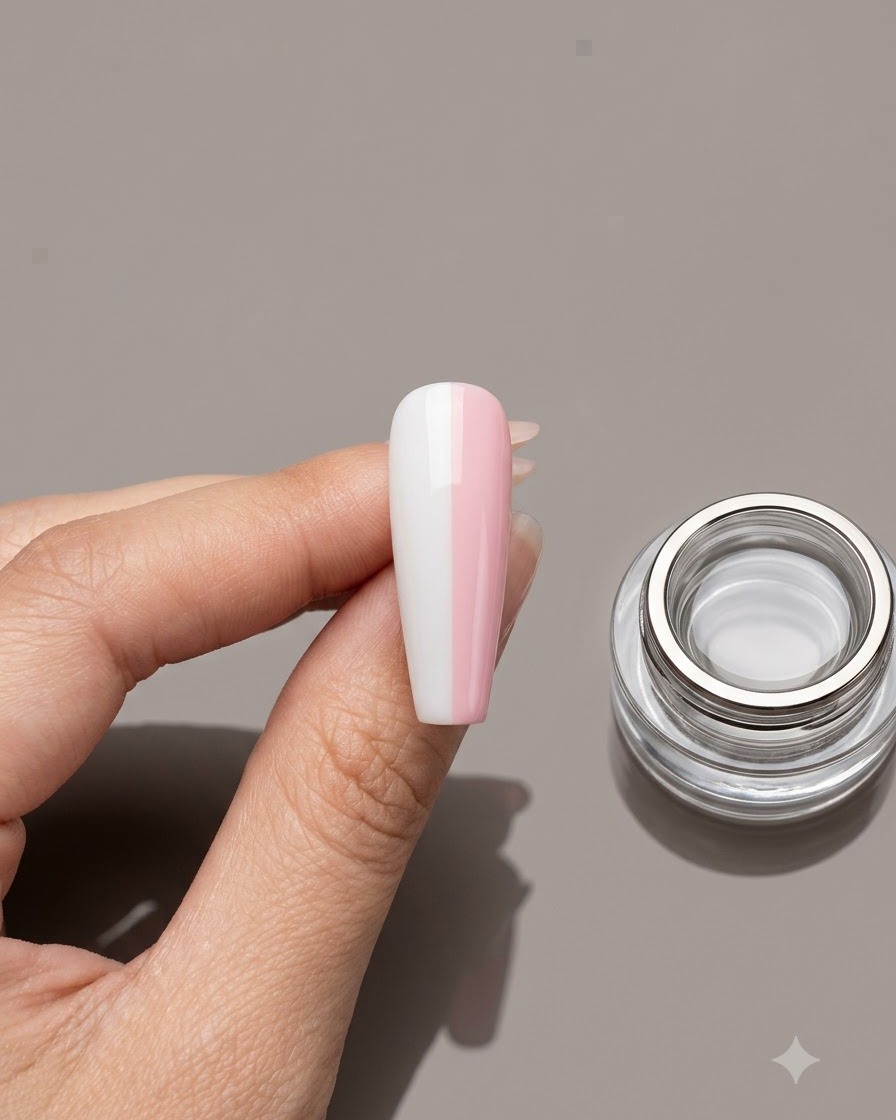
Apply Dorryla color gel 071 to the right half of the nail to create a split-color or blocked background effect. Cure the gel under the lamp after application.
Tip: Use a steady hand along the dividing line to keep the boundary sharp and clean. - 7Apply matte top coat
Apply a smooth, even layer of matte top coat over the entire nail surface, ensuring complete coverage from cuticle to free edge, and cure under the UV or LED lamp.
Tip: Make sure the matte top coat is applied evenly without pooling to achieve a uniform velvety finish after curing. - 8Stamp white floral pattern
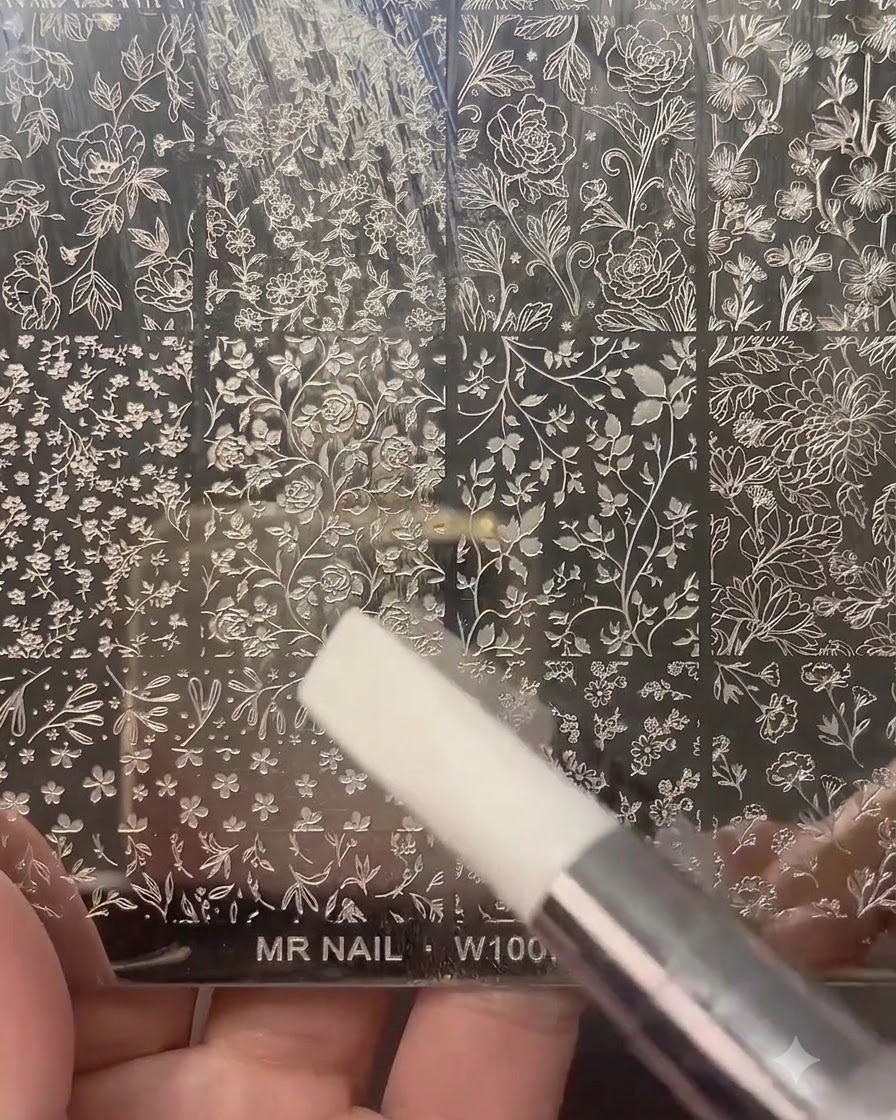
Apply white stamping gel onto the engraved metal plate, scrape off the excess, and use a silicone or clear stamper to pick up the floral lace design before pressing it smoothly onto the prepared nail surface.
Tip: Work quickly when picking up and transferring stamping gel so the pattern does not dry out on the stamper head. - 9Rub magic mirror powder
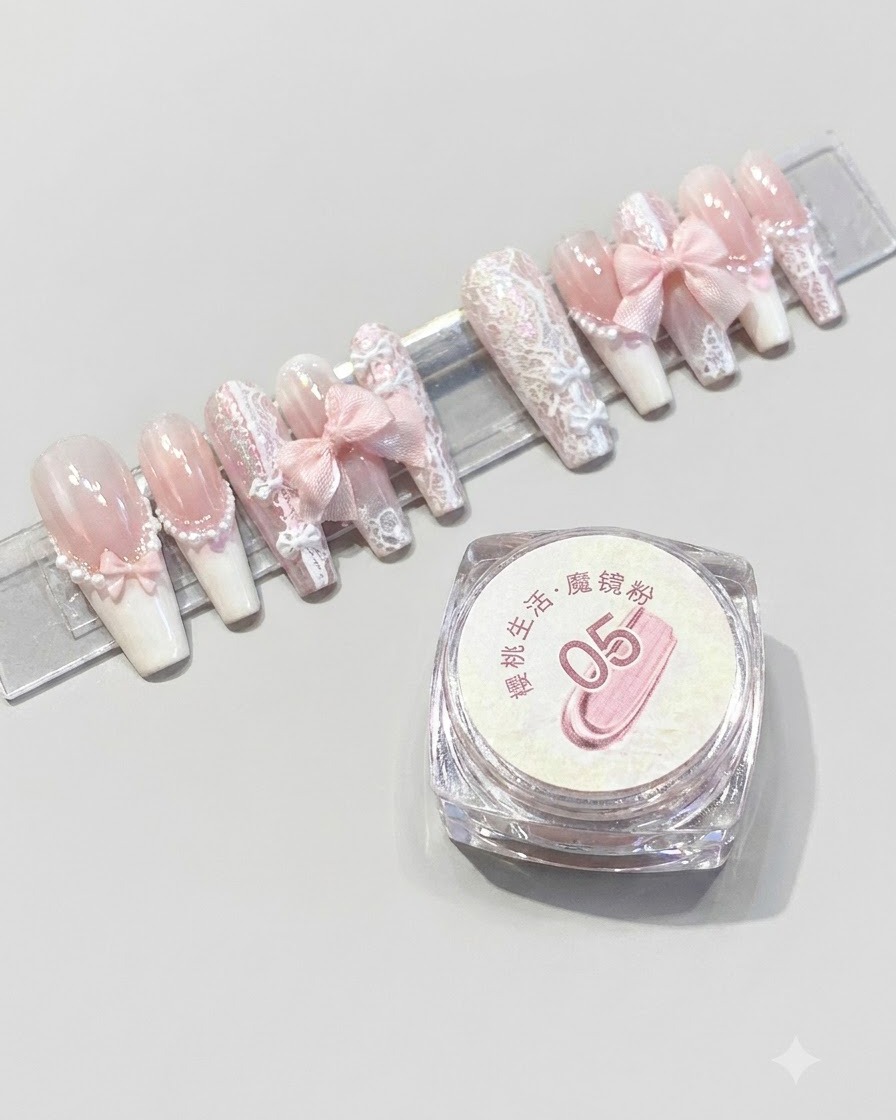
Using an applicator, gently buff and rub Cherry Lifes magic mirror powder, number 05, directly over the cured stamped floral design to create a luminous chrome effect.
Tip: Buff the powder gently using small circular motions so it adheres only to the sticky residue of the stamped pattern. - 10Encapsulate with flexible base coat
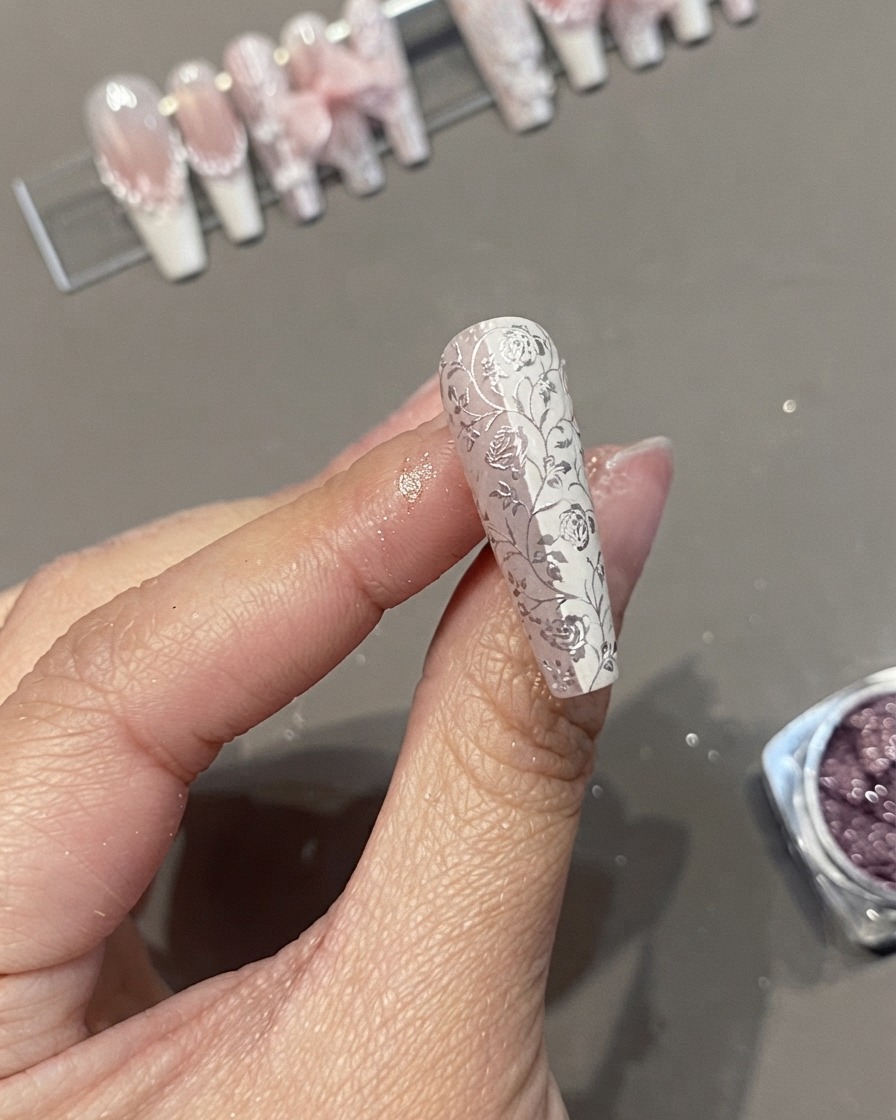
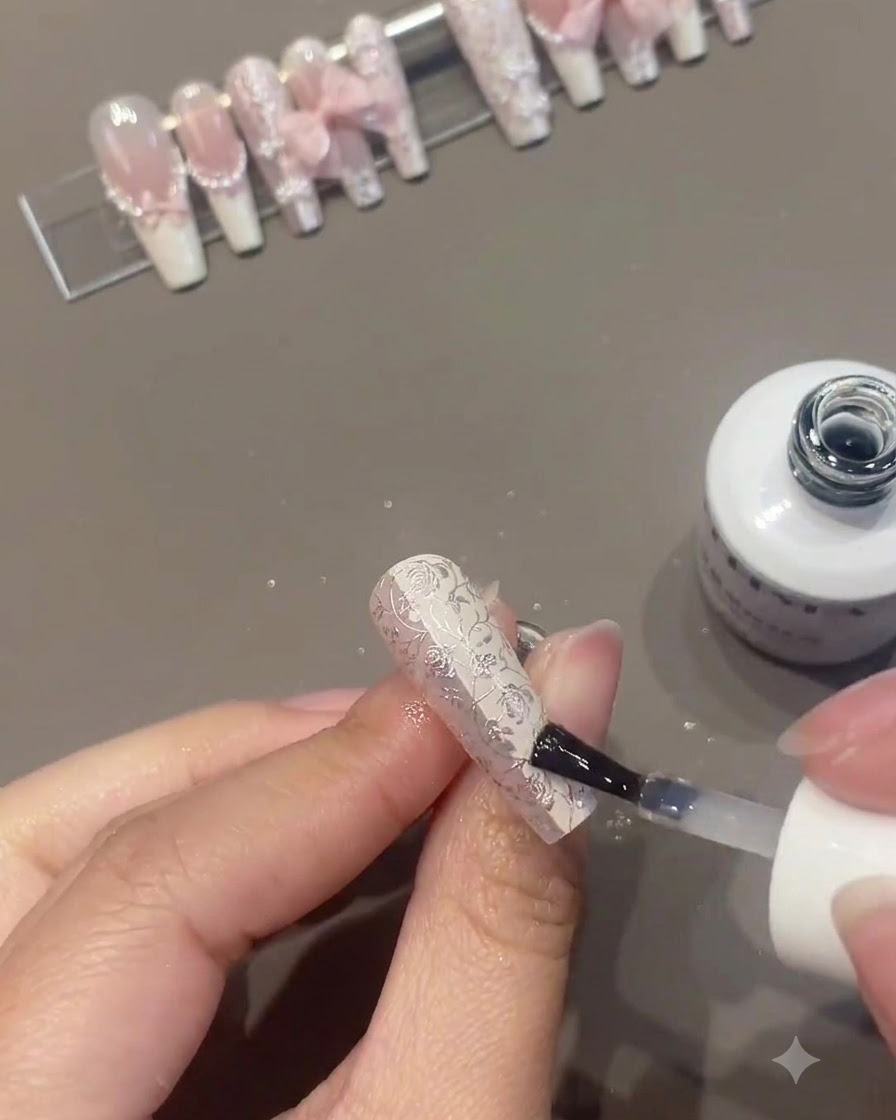
Brush a thin layer of flexible base coat over the entire decorated nail surface to thoroughly seal and encapsulate the chrome floral patterns and prevent chipping.
Tip: Cap the free edge with the flexible base coat to ensure the encapsulated design is fully protected from everyday wear. - 11Apply white spider gel accents
Use a fine liner brush dipped in white spider gel to draw delicate accent lines and dimensional details over the nail art, enhancing the intricate national-style design.
Tip: Pull the spider gel steadily to create crisp, fine lines without breaking the strand prematurely. - 12Place pearl embellishments
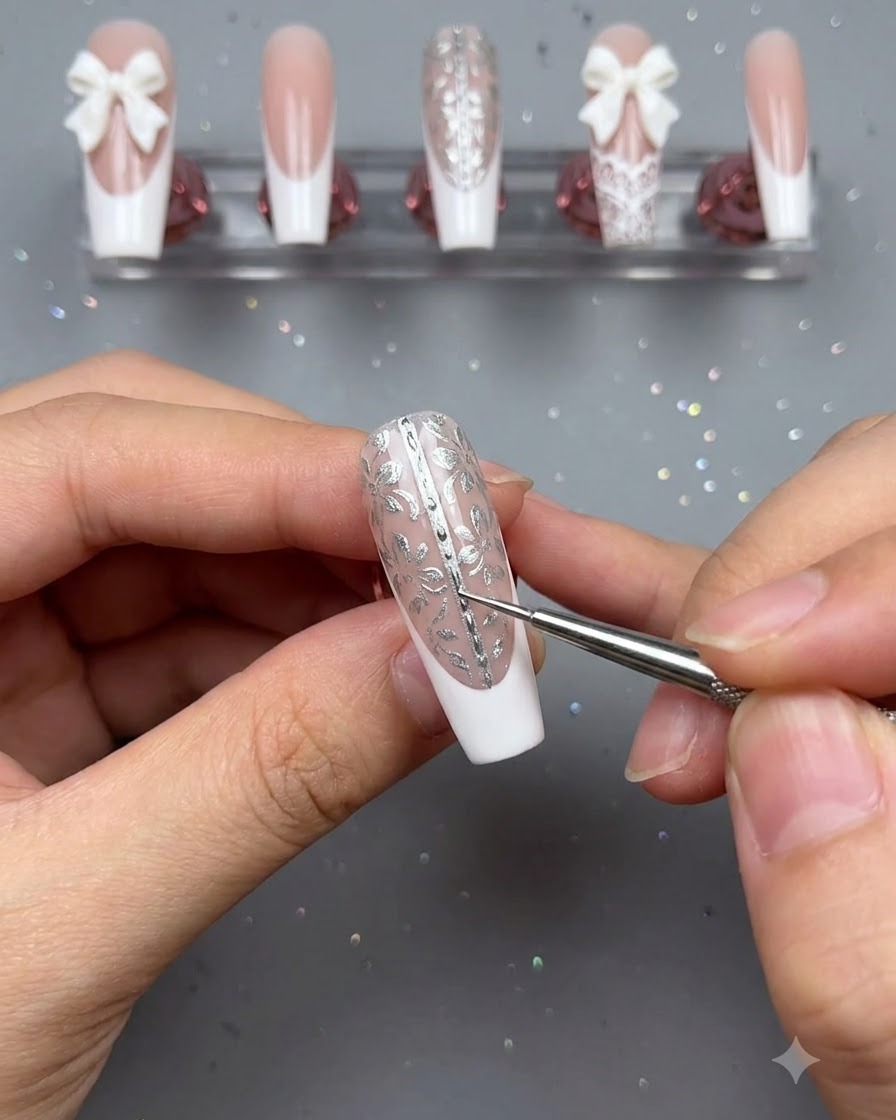
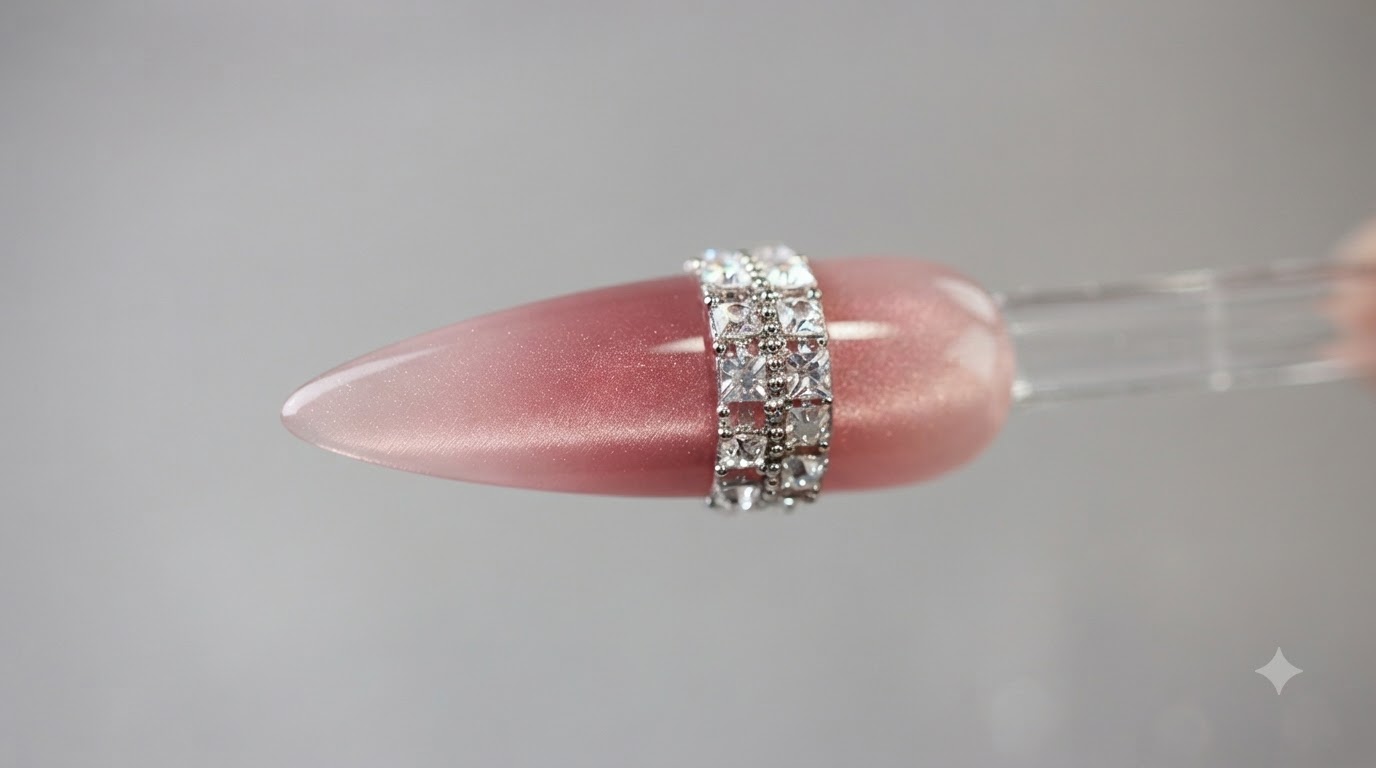
Pick up small pearls using precision tweezers and place them carefully in a structured button-like pattern along the center line of the nail, then cure to lock them securely in place.
Tip: Place a tiny dot of clear builder gel or rhinestone glue underneath each pearl to anchor it firmly before curing. - 13Apply final top coat and cure
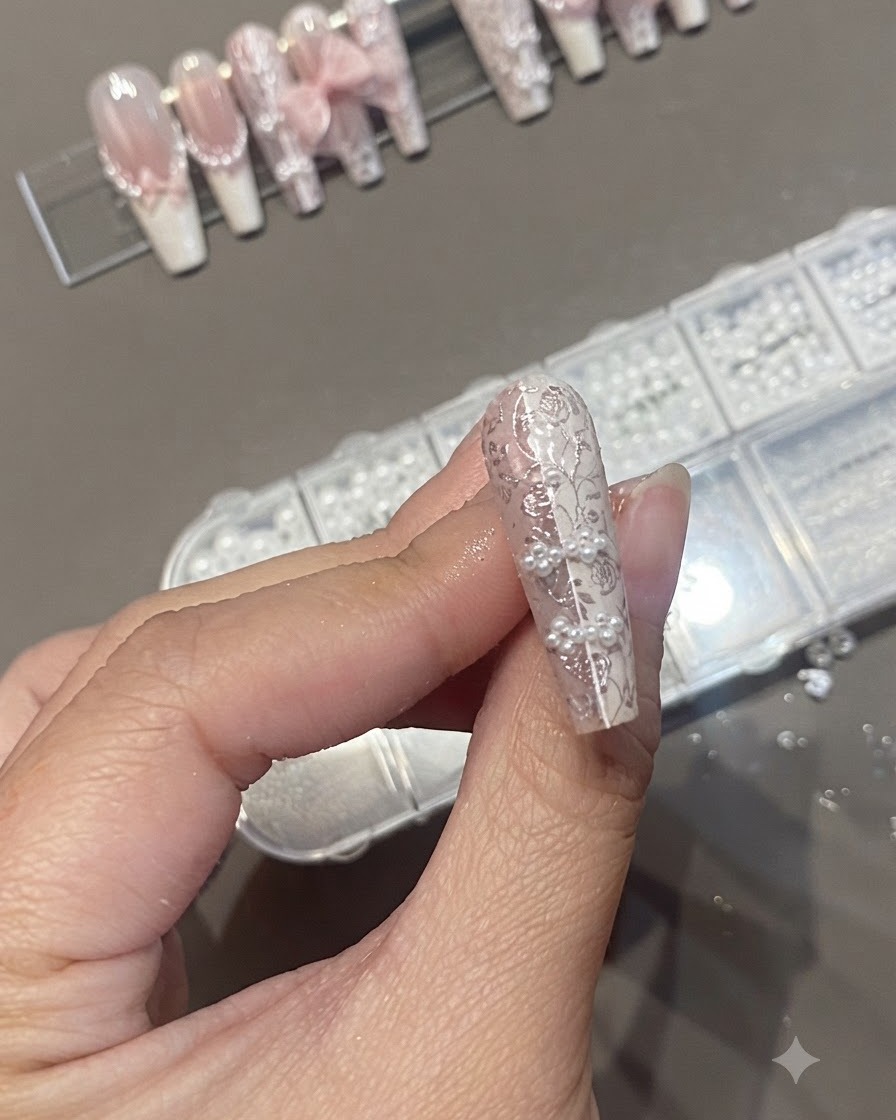
Apply a final sealing top coat over the entire nail to firmly encapsulate the pearls and decorative elements, then cure under the UV or LED lamp to ensure a long-lasting, glossy finish.
Tip: Make sure the top coat fully seals around the edges of any embedded pearls to prevent them from catching or falling off.