Clear Flash Ring Cat Eye Nail Art — Sparkling Designer Tutorial
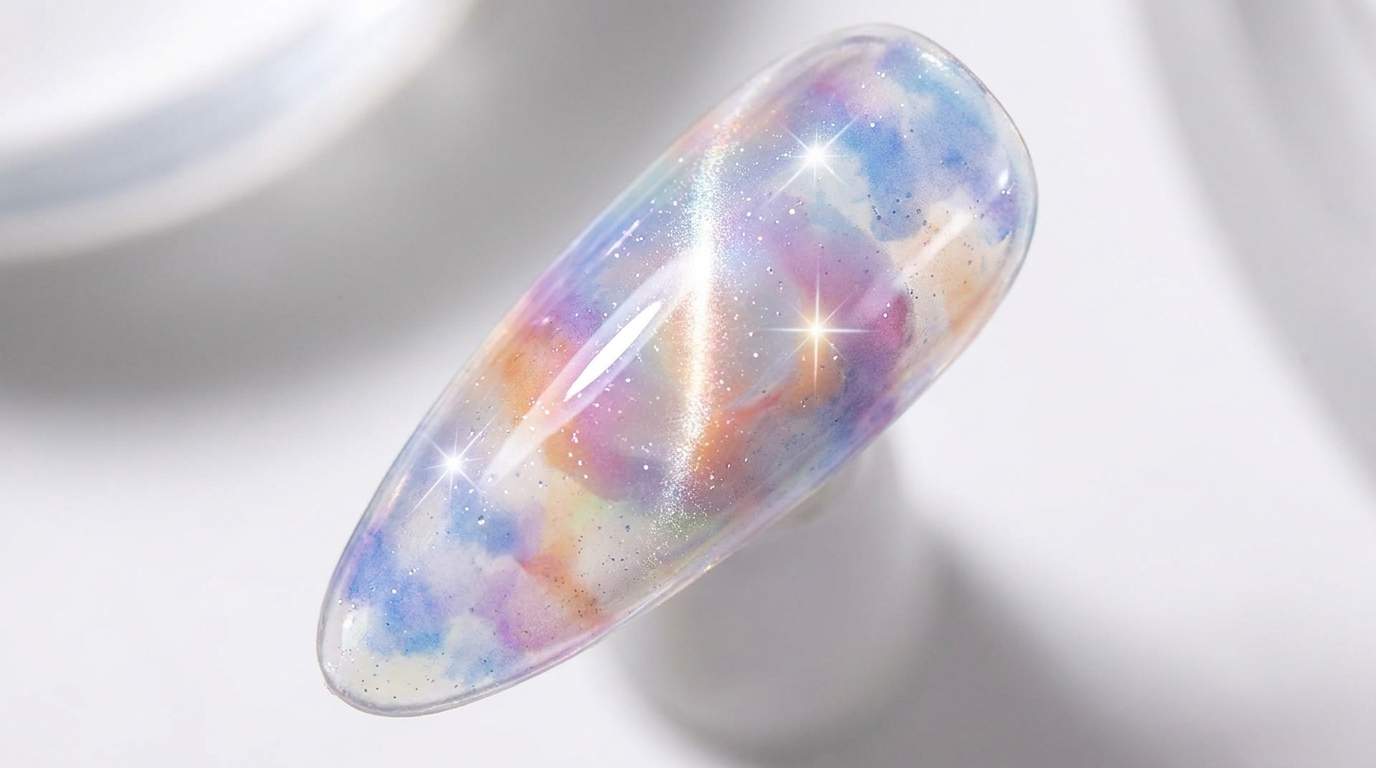
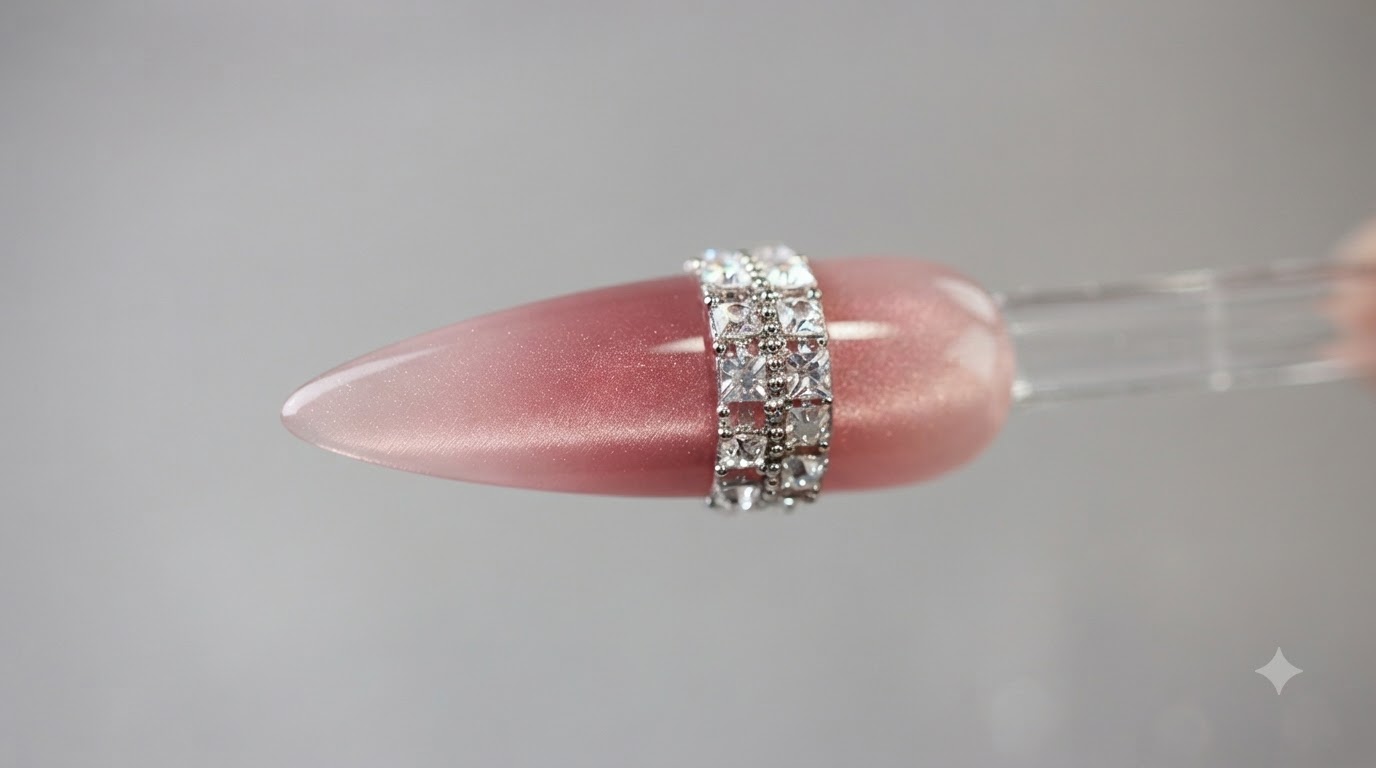
Create an ultra-trendy clear flash ring cat eye nail design featuring a sparkling rhinestone ring embellishment and a seamless French cat-eye gradient.
The clear flash ring nail trend combines high-end cat-eye effects with brilliant rhinestone detailing for a look that mimics luxury jewelry. Using a precise sweeping technique and custom magnet placement, this step-by-step guide helps you achieve salon-quality sparkle at home.
Steps
- 1Apply jade D04 nude pink base coat
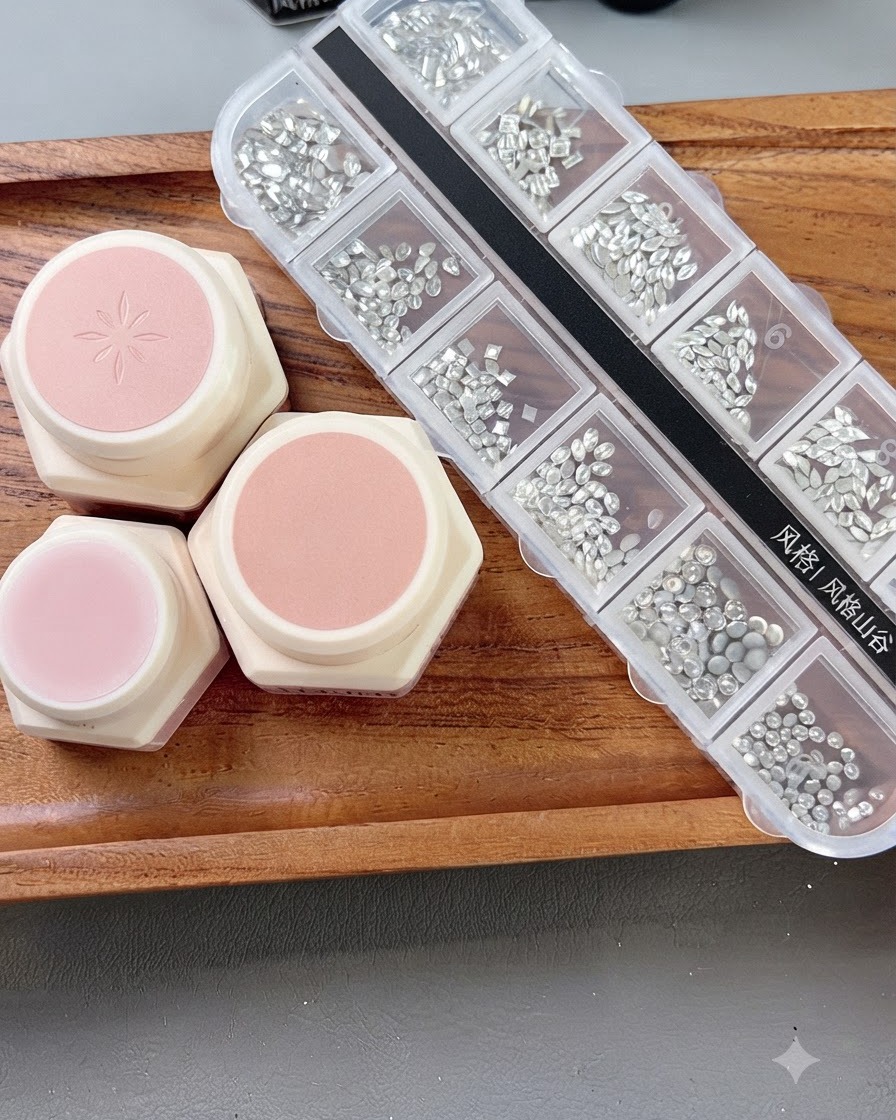
Take jade D04 gel, which features an ultra-gentle nude pink shade, and brush an even layer onto the nail plate as your base coat. This creates a delicate and refined foundation for the subsequent nail art steps.
Tip: Apply a thin and consistent layer to ensure smooth coverage and proper curing without bulkiness. - 2Showcase cured nude pink base
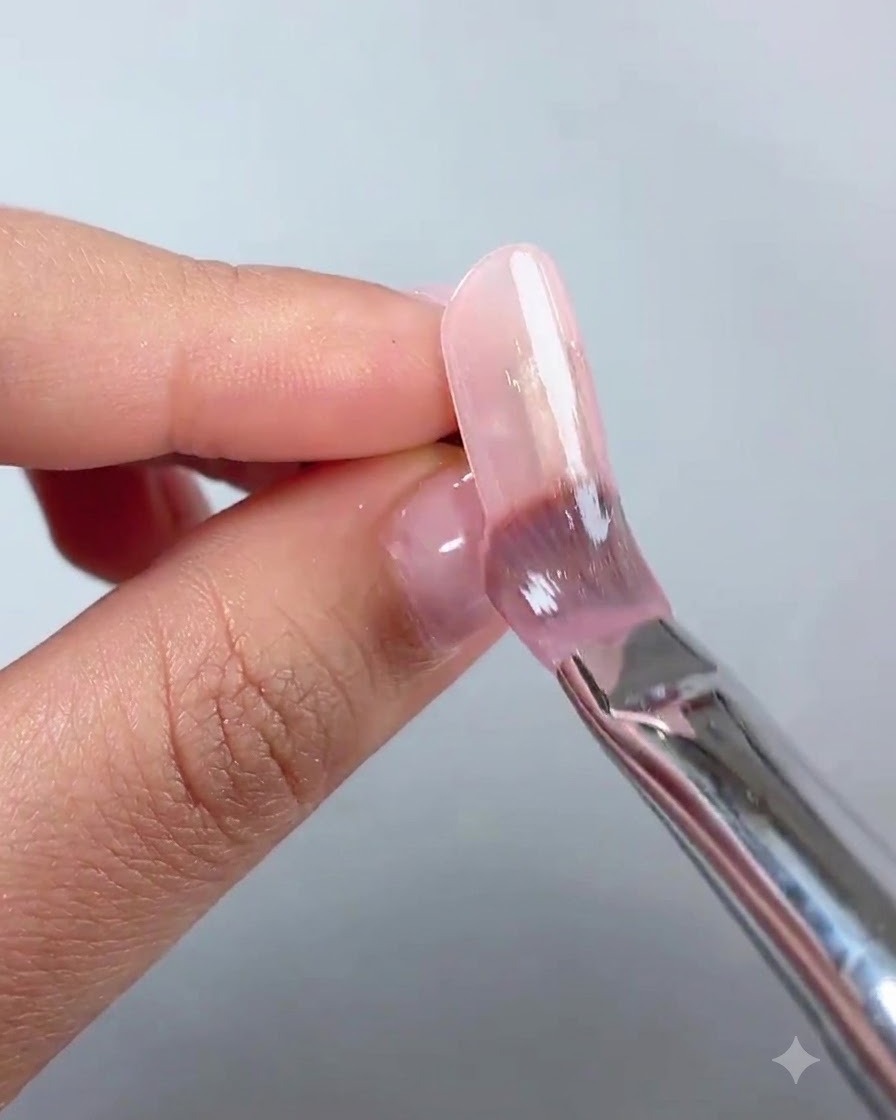
Display the fully cured nude pink base coat on the nail. The surface exhibits a delicate, ultra-gentle nude pink tone that provides a smooth and refined foundation for subsequent gradient and art steps.
Tip: Check that the surface is fully set and tacky-free or properly wiped depending on the base gel requirements before moving to the next color. - 3Apply blush gradient with gentle shade 07
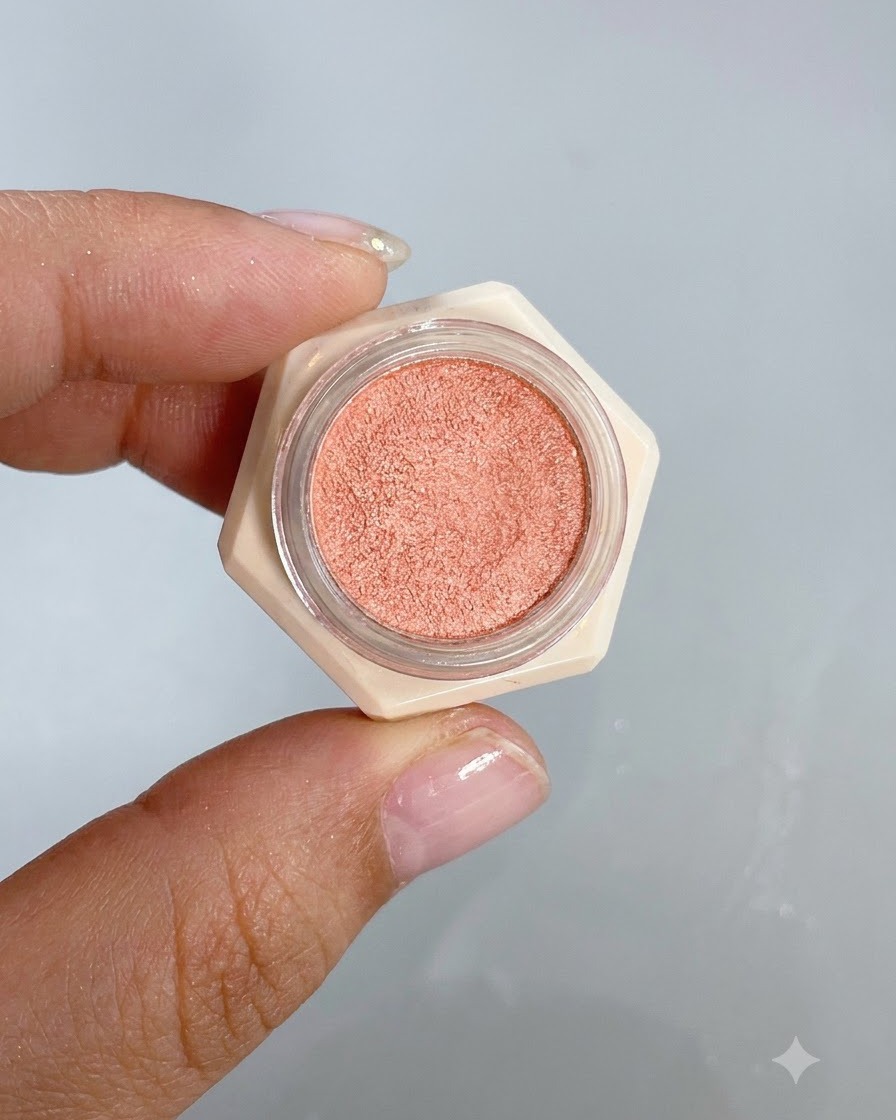
Using gentle shade 07 color gel, dab a small amount in the middle of the nail to create a soft, beautiful blush gradient effect.
Tip: Keep the application concentrated in the center and blend outwards softly for a natural gradient look. - 4Brush water clear 01 at the front edge
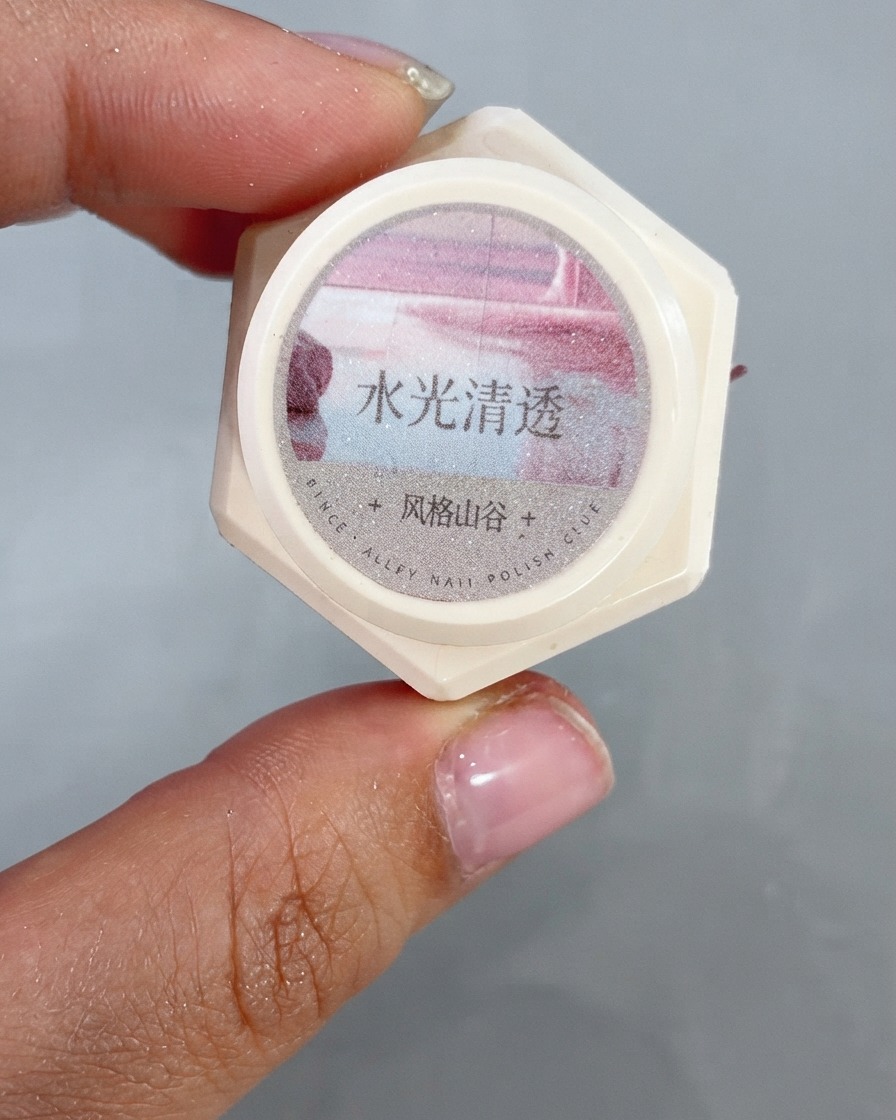
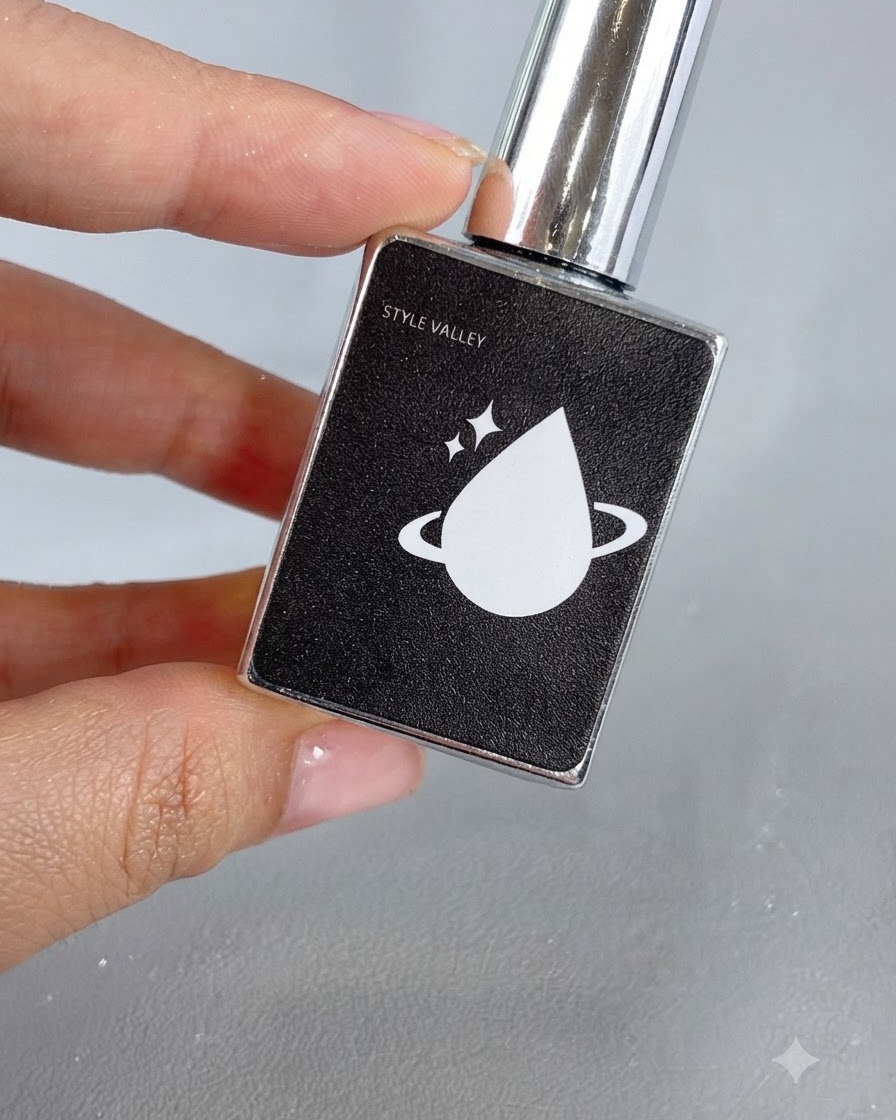
Brush water clear 01 gel lightly at the front edge of the nail. Using Style Valleys sweeping brush with its soft, fine, and dense bristles, drag it backwards at a 45-degree angle to create a seamless, effortless gradient.
Tip: Keep the brush angle consistent at 45 degrees to achieve a smooth and flawless transition across the surface. - 5Blend gradient with sweeping brush
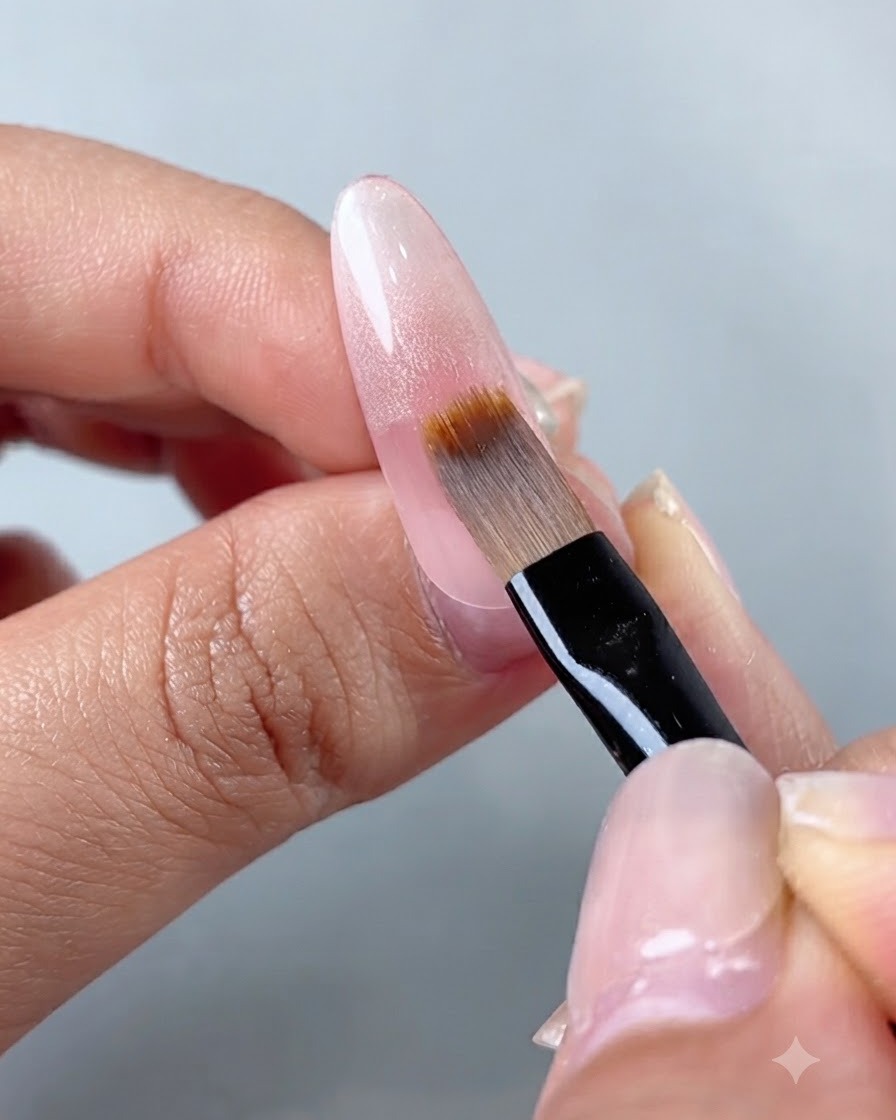
Take Style Valleys sweeping brush—featuring soft, fine, and dense bristles with an extremely thin side profile—and drag it backwards at a 45-degree angle. This technique effortlessly blends the colors to create a seamless, professional gradient.
Tip: Maintain a light touch at a 45-degree angle so the bristles glide smoothly without disrupting the underlying color concentration. - 6Create wide light band with magnet
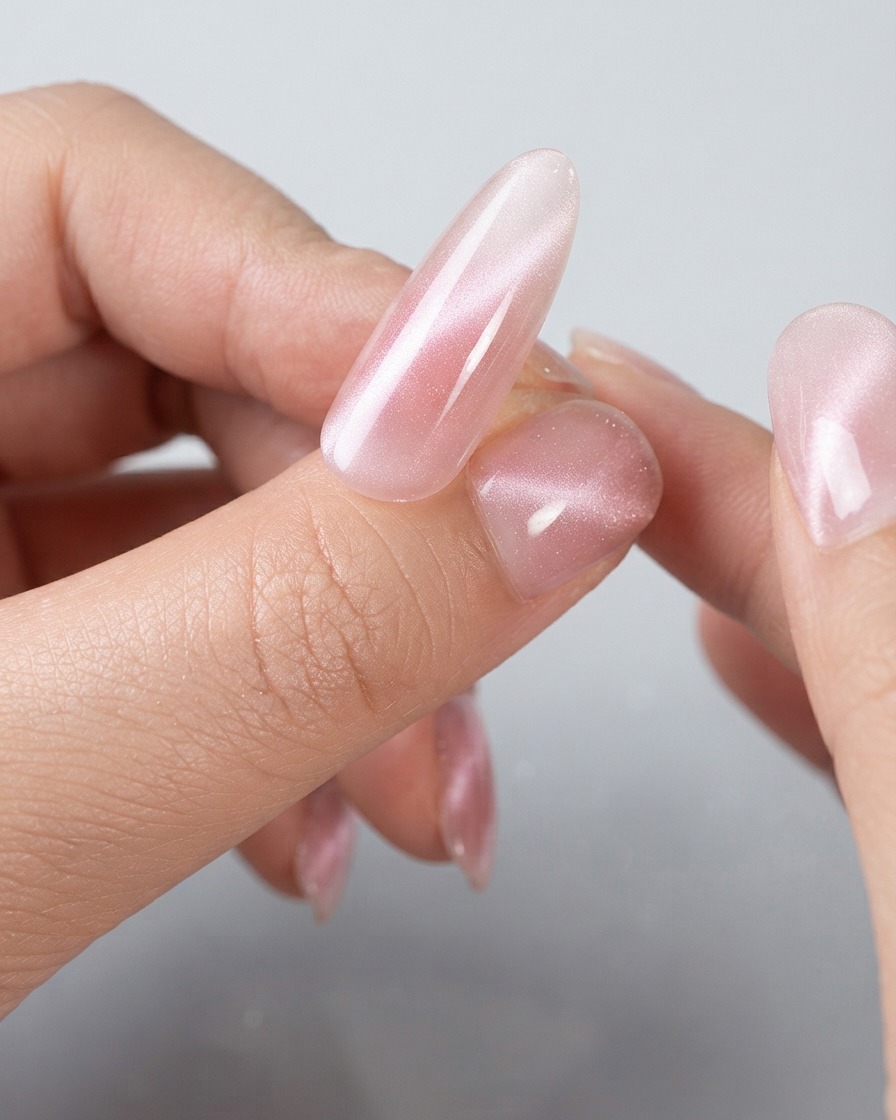
Pass the treasure magnet back and forth over the cat-eye gel layer to manipulate the magnetic particles. Draw a wide light band across the nail surface, then suction a crisp French cat eye effect right at the fingertip for a brilliant finish.
Tip: Keep the magnet steady and close to the nail surface without touching it to achieve a sharp, high-definition light reflection. - 7Draw wide light and suction French cat eye
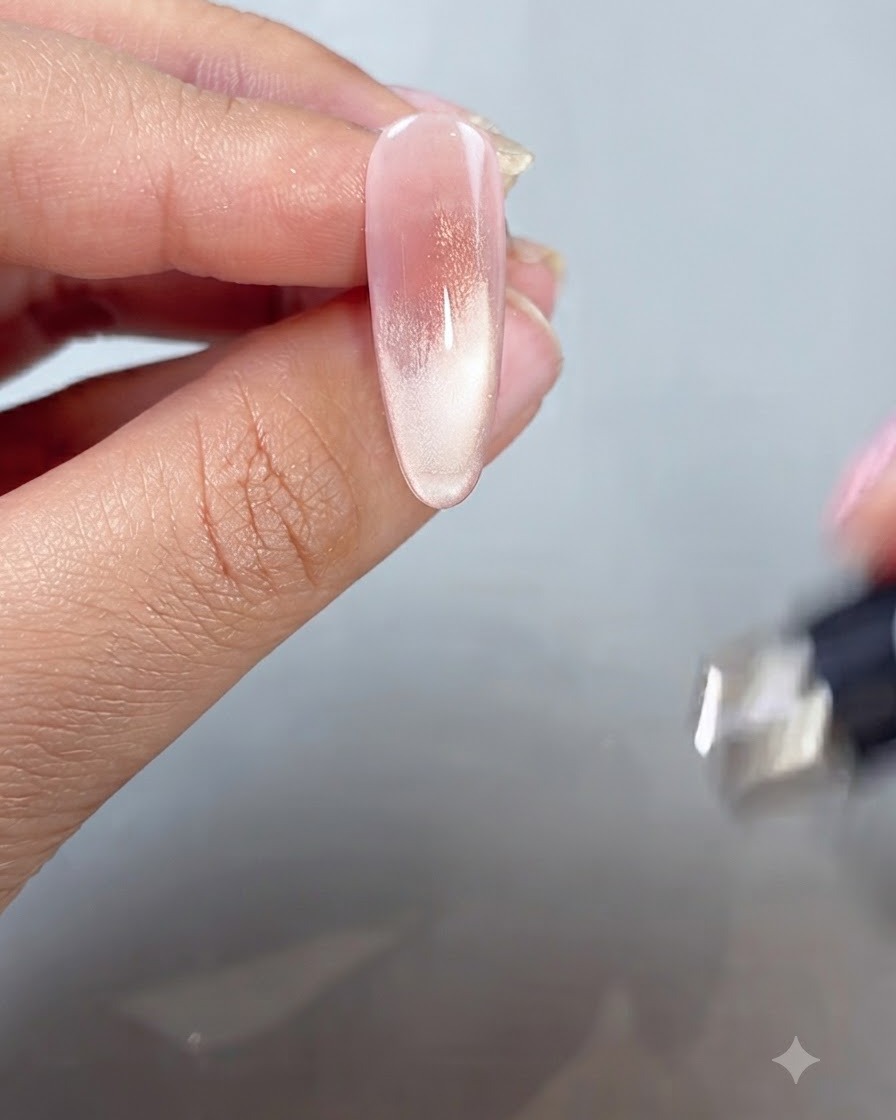
Use the treasure magnet to move back and forth to draw a wide light, then suction a French cat eye at the fingertip. This produces an ultra-bright and highly appealing luminous effect.
Tip: Hold the magnet steady and close to the nail for a few seconds to pull the magnetic particles into a sharp, crisp line. - 8Apply smooth top coat
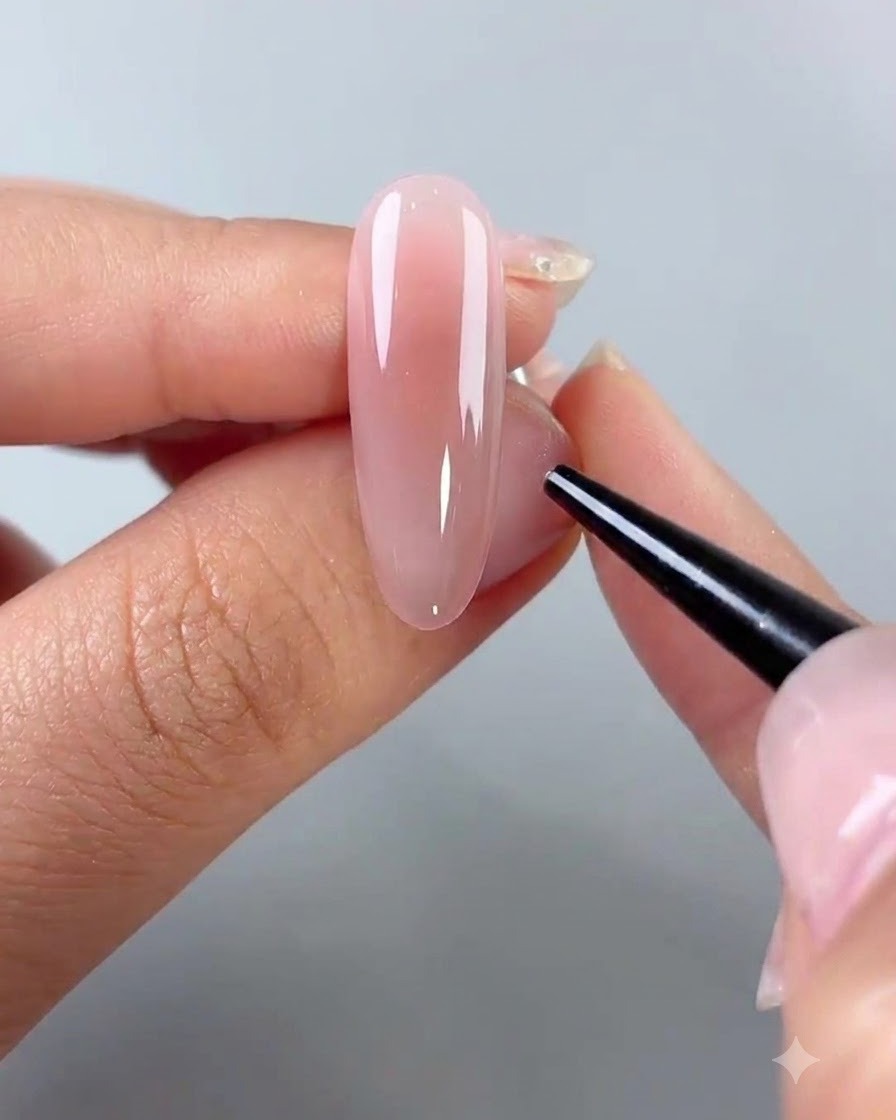
Apply a thin layer of smooth top coat over the cured nail to seal in the design and provide long-lasting shine and protection.
Tip: Ensure all edges are properly capped with the top coat to prevent chipping and lifting. - 9Apply steel beads and diamond ring design
Apply strong diamond-welding gel to the middle section and stick a row of small steel beads using a liner brush. Choose Style Valleys rhinestone set of ultra-sparkling small square diamonds and splice them into the shape of a ring in the upper and lower parts for an ultra-sparkling and extremely delicate finish.
Tip: Use a precision tool or wax picker to place tiny beads and diamonds accurately into the wet welding gel before curing. - 10Place square diamonds to form ring
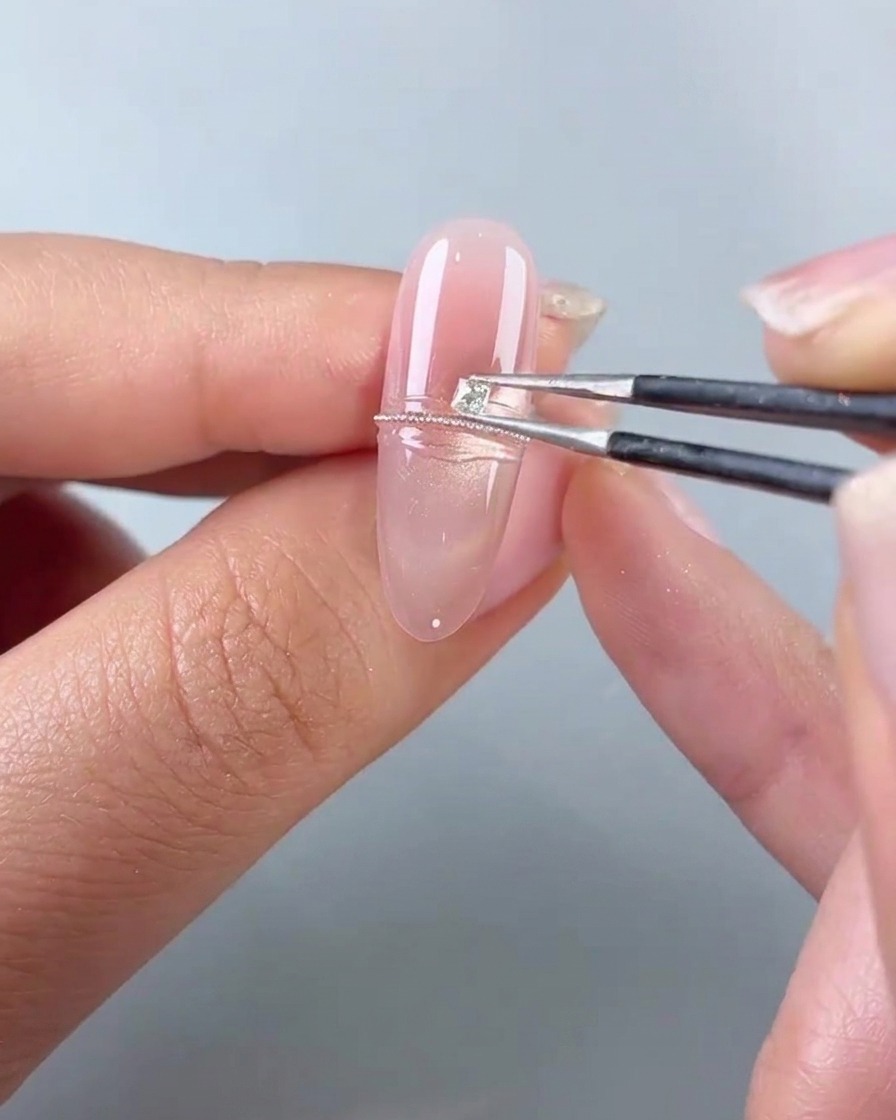
Using precision tweezers, pick up ultra-sparkling small square diamonds and carefully place them both above and below the previously applied row of steel beads. Arrange them meticulously to create a complete and cohesive ring-like shape across the nail surface.
Tip: Work quickly if using a non-cured placement gel, or flash-cure briefly to lock each diamond in place so they do not shift. - 11Secure rhinestones with non-wipe gap-filling gel
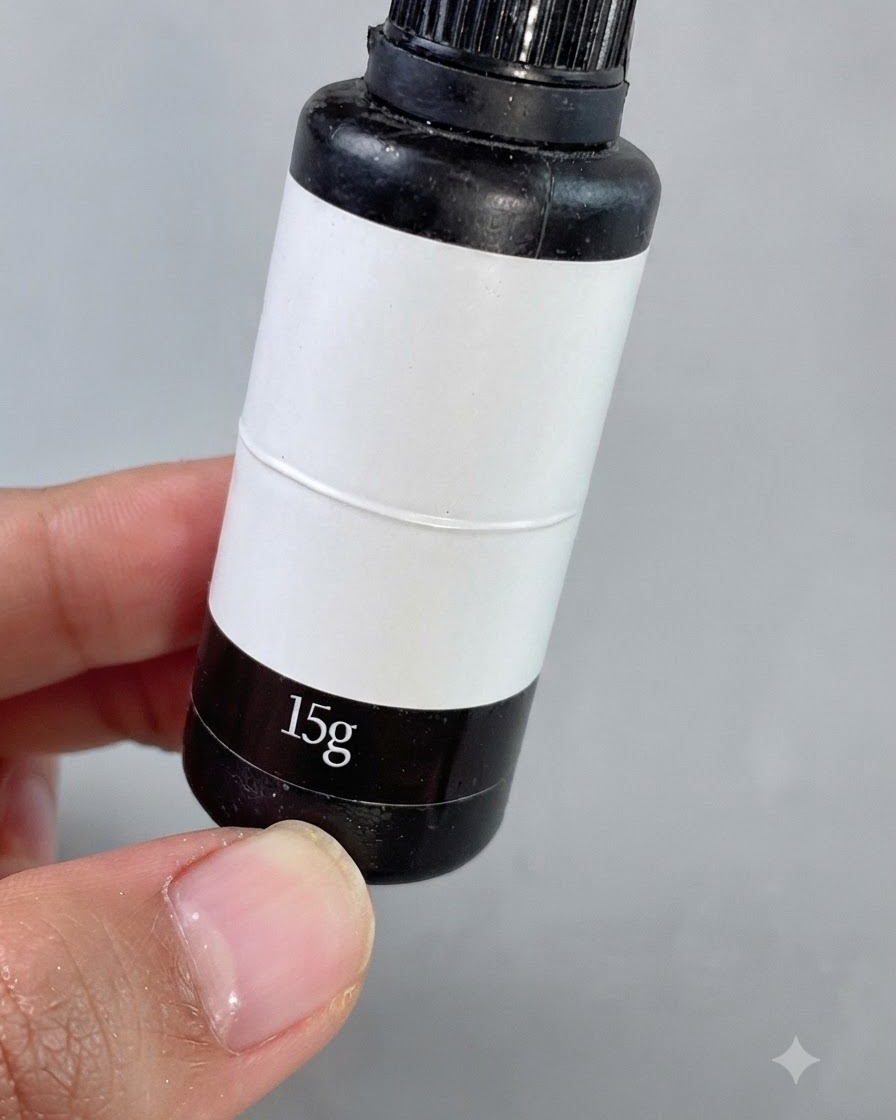
Using a fine detail brush, carefully apply non-wipe gap-filling gel around the edges and base of the applied rhinestones and steel beads. This seals the embellishments in place and prevents them from catching on hair or clothing. Cure thoroughly under the UV or LED lamp.
Tip: Ensure the gap-filling gel completely encapsulates the base of the gems without covering their sparkling facets. - 12Cure the completed nail design
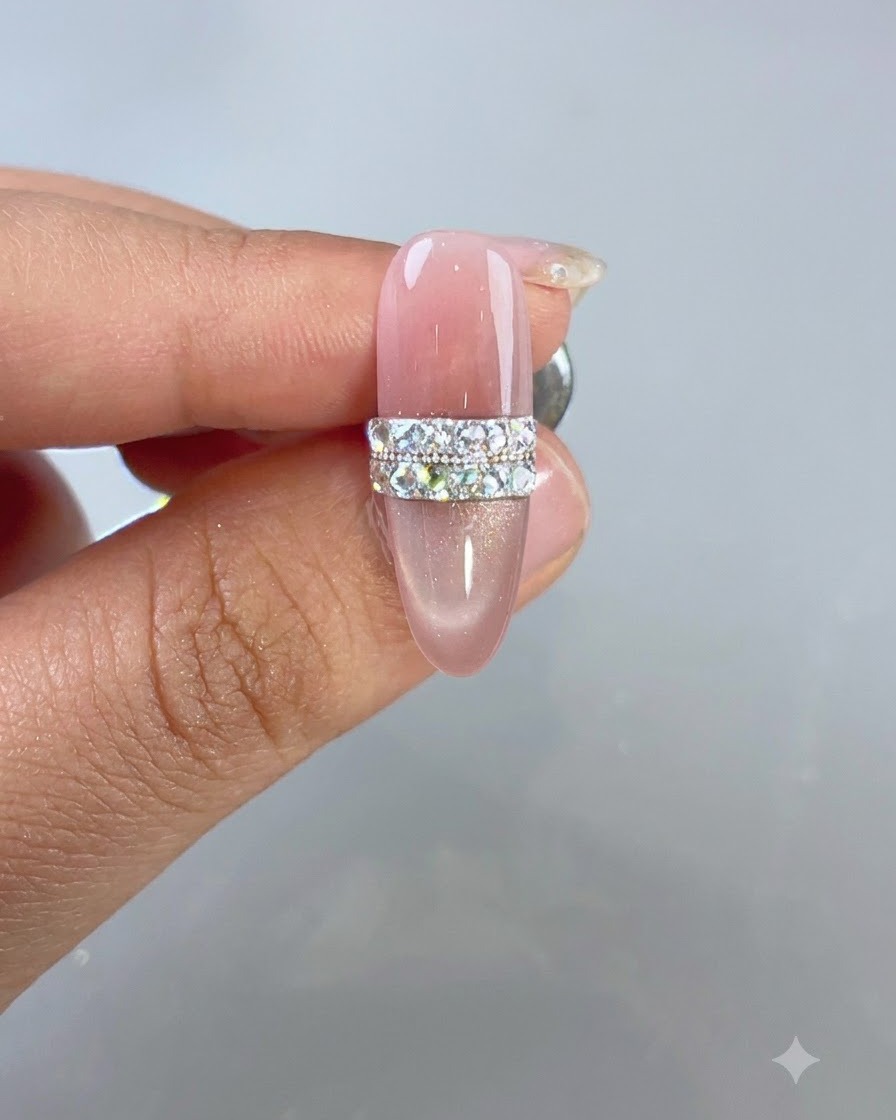
Place the fully embellished nail under a UV or LED lamp and cure according to the gap-filling gel and top coat manufacturer instructions. This firmly locks the ring design, rhinestones, and protective sealing gel into place.
Tip: Ensure your hand is positioned directly under the strongest LED diodes to fully cure the thick gap-filling gel around the large crystals.