Dreamy Pearl Aurora Nail Art — Ethereal Watercolor
Cat-Eye Tutorial
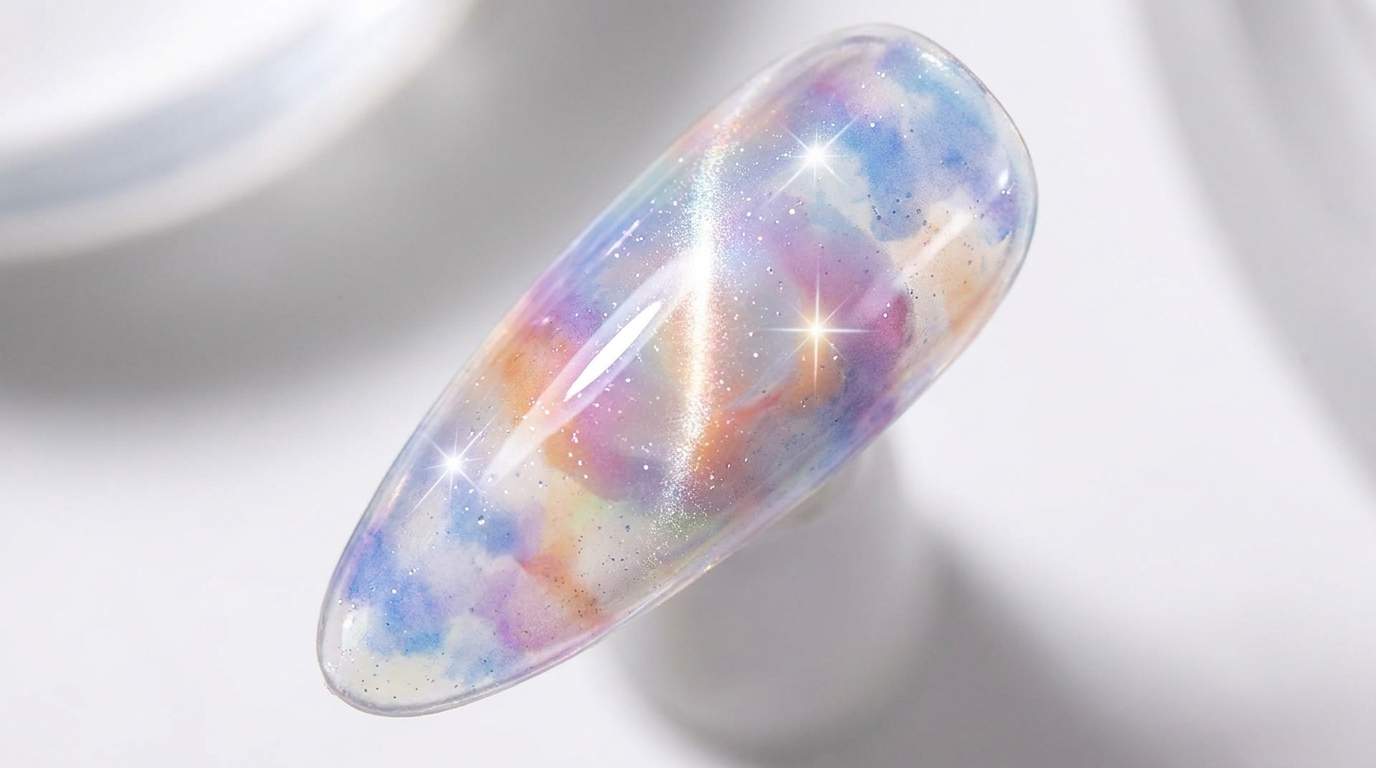
Create an enchanting pearl aurora nail design featuring floating watercolor inks, luminous cat-eye depth, and sparkling star-burst highlights.
Aurora and glass bead nail trends continue to captivate nail art lovers worldwide with their mesmerizing dimension and ethereal glow. This tutorial combines velvet matte textures, blooming watercolor inks, and magnetic cat-eye gel to build a multi-layered masterpiece that catches the light from every angle.
Steps
- 1Apply velvet matte top coat
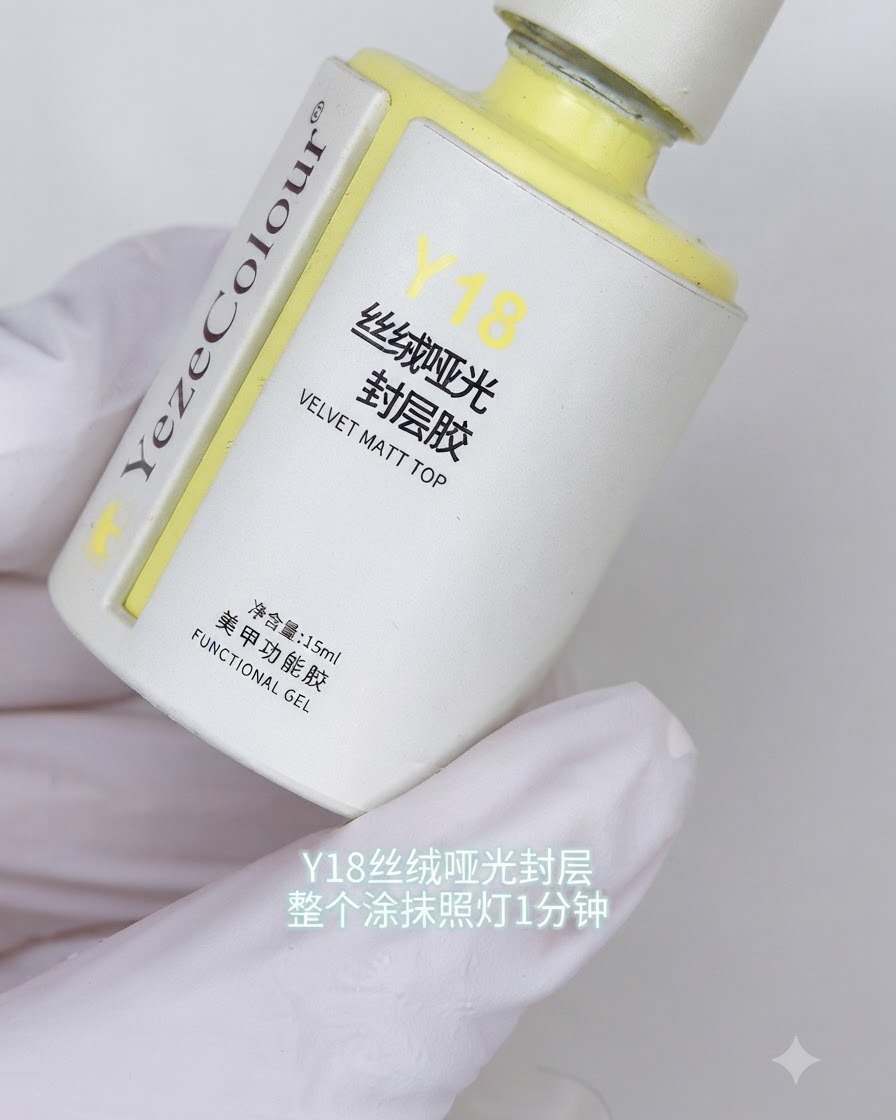
Apply a full layer of Y18 velvet matte top coat to the nail tip. This creates the necessary matte foundation and texture for the subsequent watercolor blooming and design layers.
Tip: Ensure the top coat covers the entire nail surface evenly to create a uniform base for product adhesion. - 2Cure the matte top coat
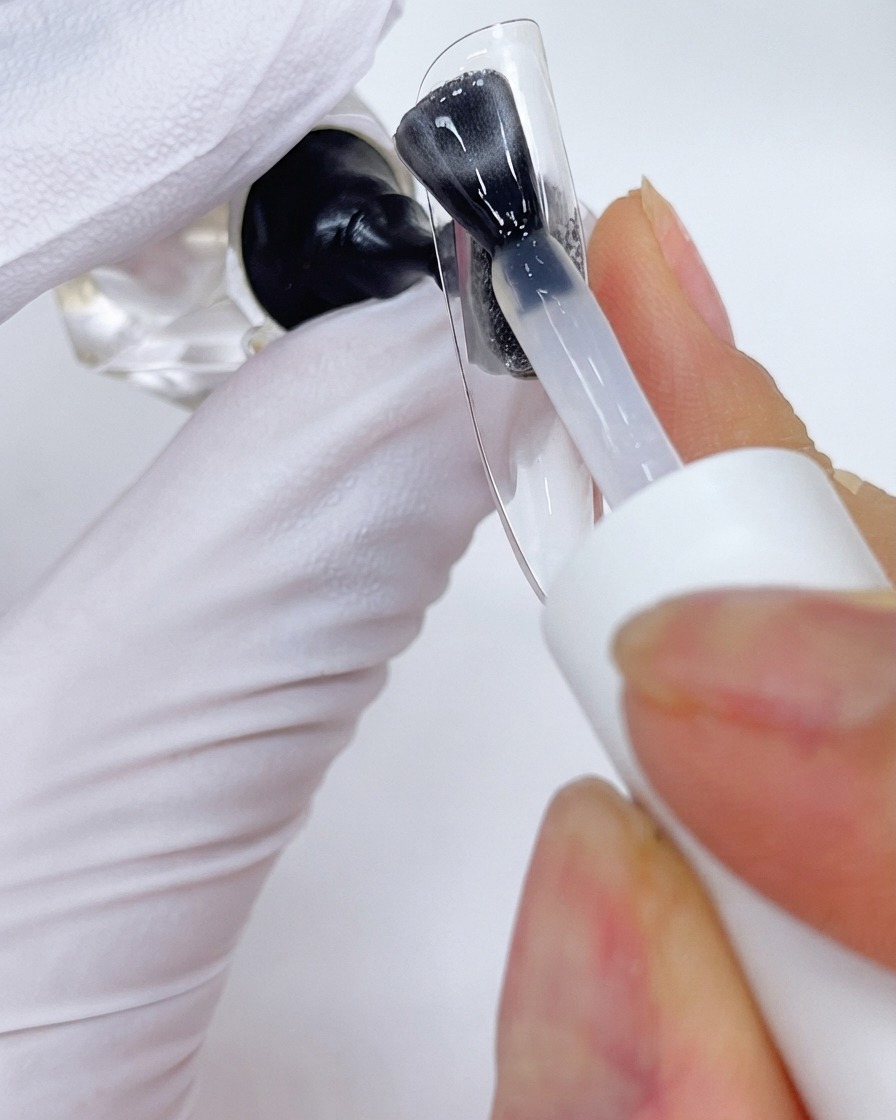
Cure the Y18 matte top coat under a UV/LED lamp for one minute to fully set the layer before starting the nail art process.
Tip: Always follow the recommended curing time to ensure the base layer is completely dry and stable. - 3Apply white painting gel
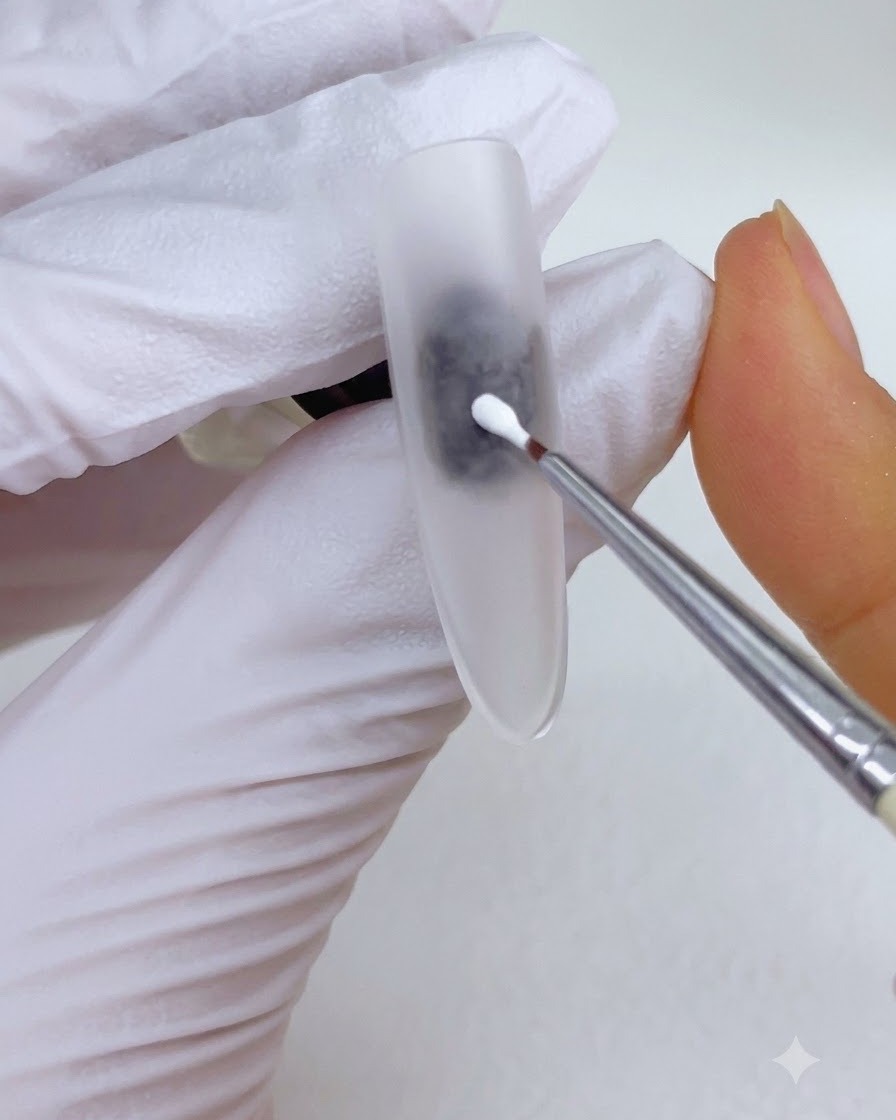
Apply a small dot of white painting gel to the center of the nail using a fine brush to start forming the pearl base shape.
Tip: Keep the initial dot small so you can easily blend and expand it to the desired size without excess product. - 4Blend white gel into a soft circle
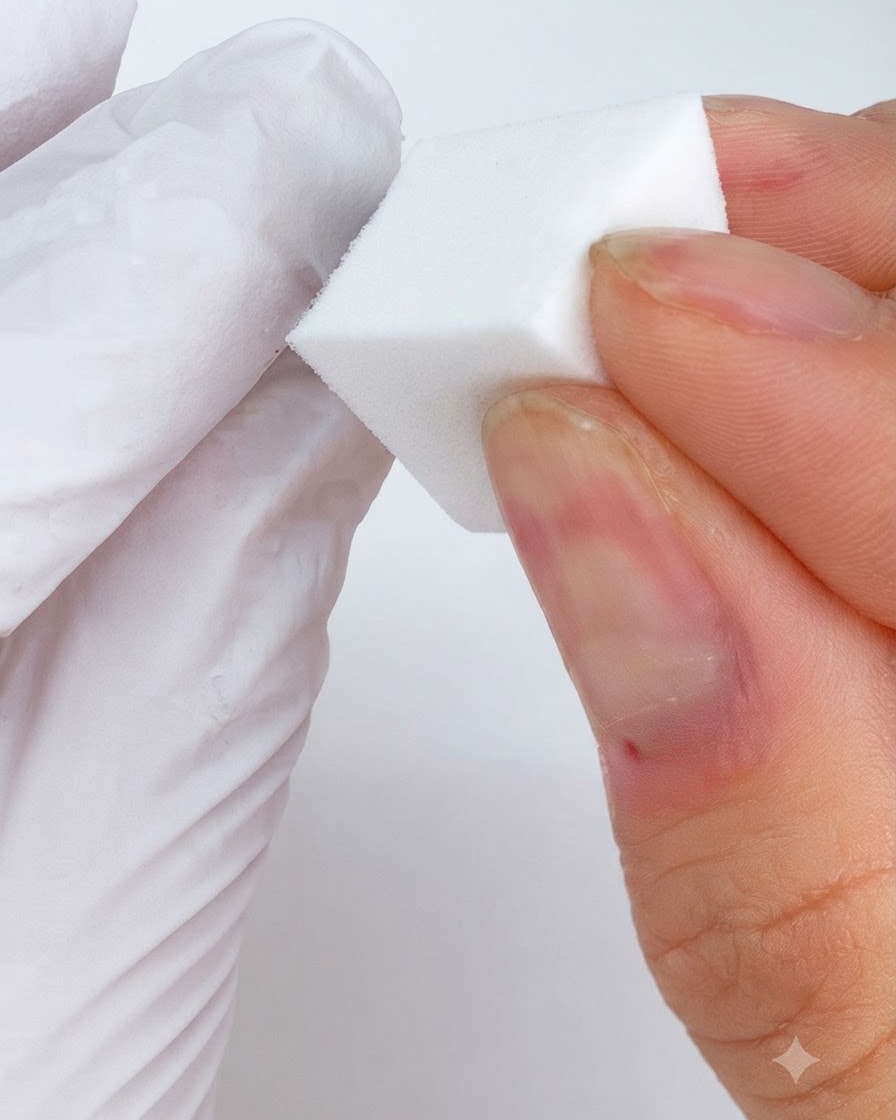
Use a sponge to gently tap and diffuse the edges of the white gel into a soft, blurry circular shape on the nail surface.
Tip: Dab lightly with the sponge to avoid harsh lines and achieve a smooth gradient edge. - 5Build opacity and cure
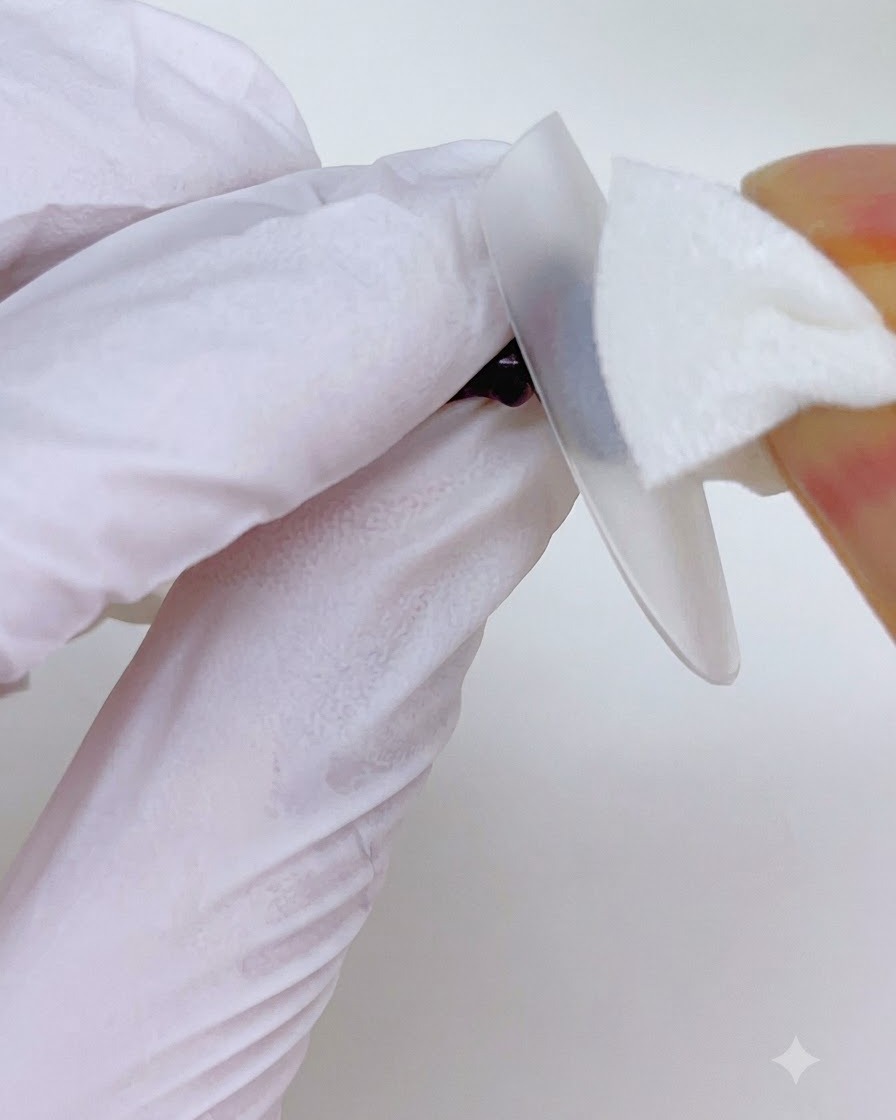
Repeat the application and blending process of white gel to increase opacity and color saturation, then cure under the lamp.
Tip: Building thin layers prevents the gel from wrinkling during curing while ensuring rich color density. - 6Apply pearl powder
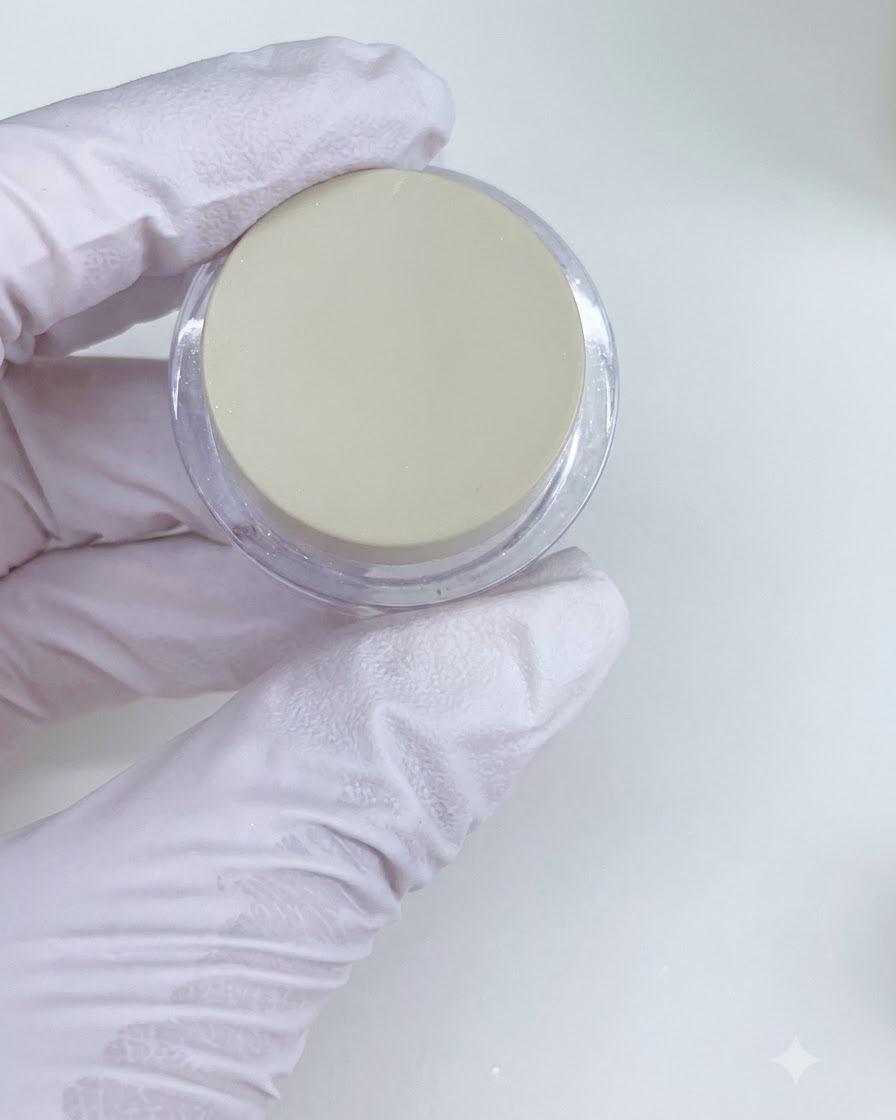
Take pearl powder LP04 and gently rub it over the cured white circular area on the nail surface. This creates a lustrous, iridescent pearlescent finish that serves as the luminous background for the design. After application, cure the nail if required, and then wipe away any excess powder.
Tip: Apply the powder using a silicone tool or a clean eyeshadow applicator for an even, smooth distribution without wasting product. - 7Apply magnetic cat eye gel
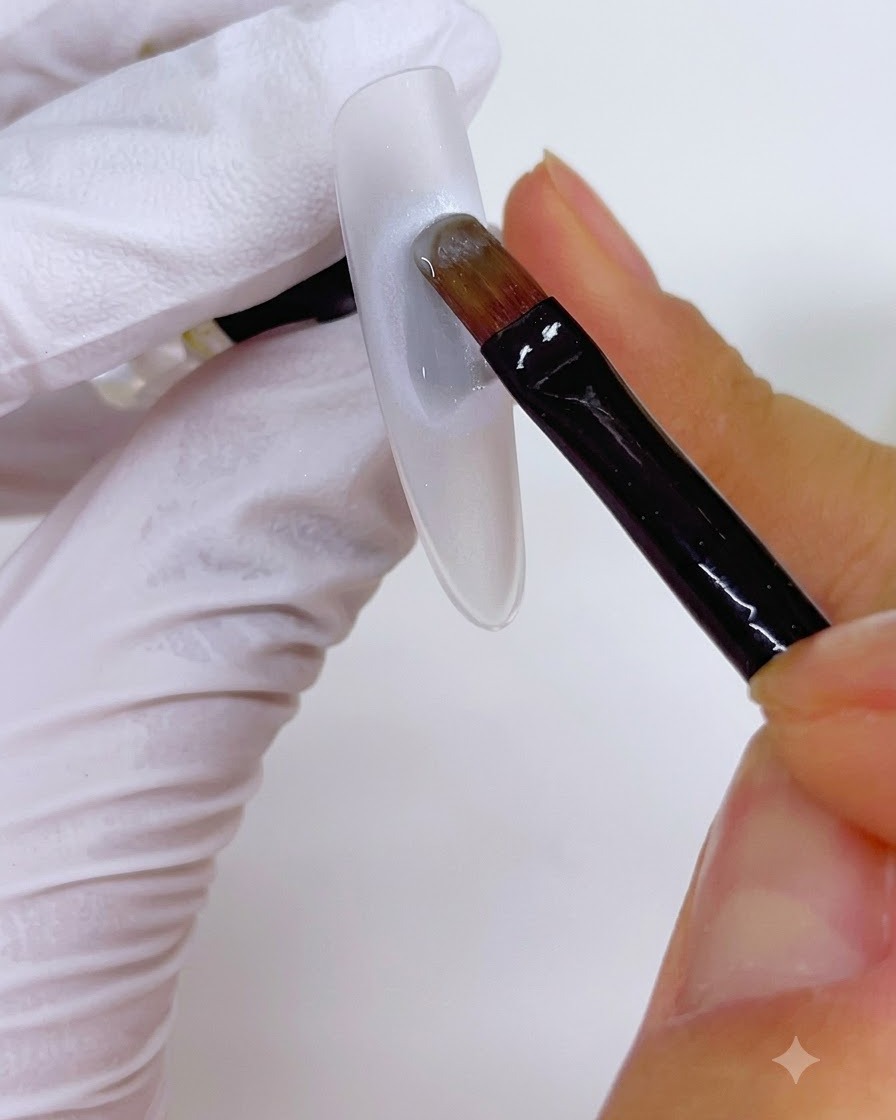
Apply a thin layer of M12 magnetic cat eye gel directly over the pearl-covered circular area using a fine brush. This layer acts as the dynamic base that will create depth and dimension when activated with a magnet.
Tip: Keep the layer thin and evenly spread over the circle to ensure the cat eye particles move smoothly. - 8Create glass bead effect with magnet
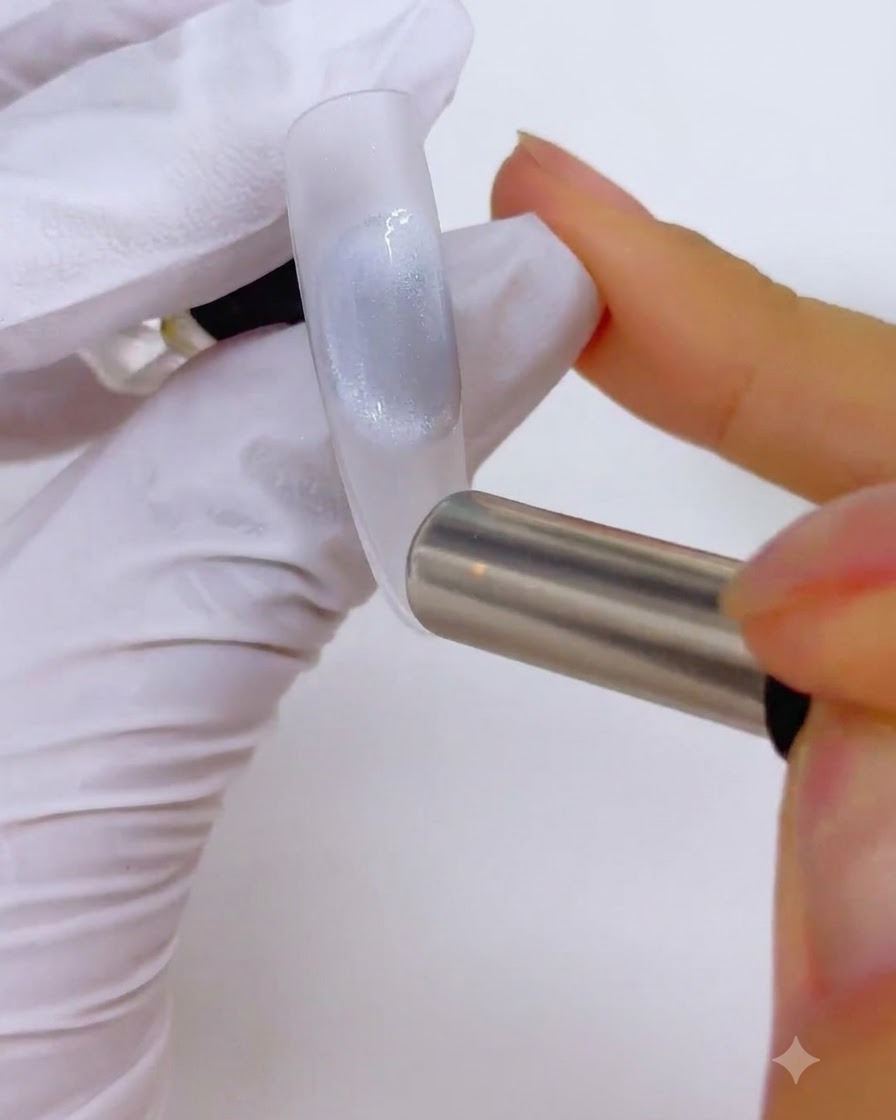
Hold a strong magnet close to the uncured cat eye gel to draw the magnetic particles into a concentrated shape, mimicking a glass-like bead with dimension and pearlescent depth.
Tip: Position the magnet carefully to shape the light reflection precisely where desired before curing. - 9Cure cat eye gel
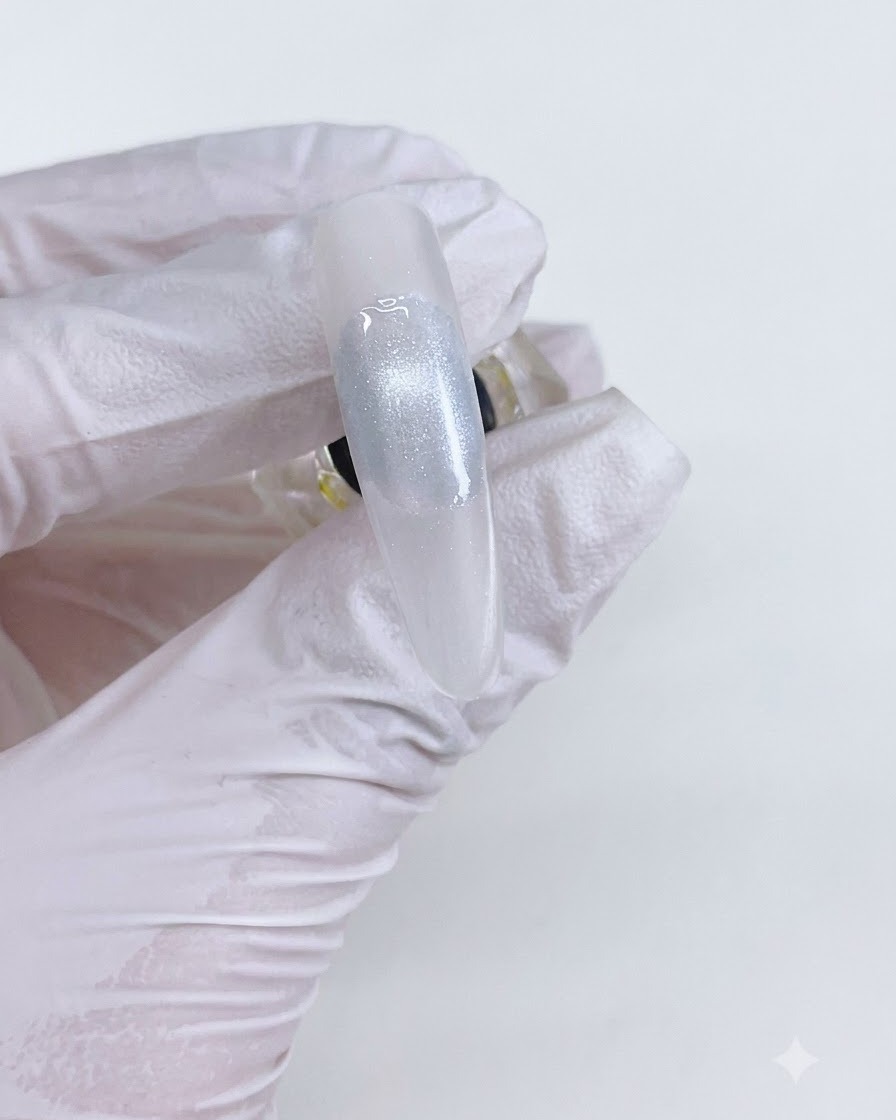
Place the nail under a UV or LED lamp to cure the cat eye gel, locking in the glass-like bead shape and pearlescent effect.
Tip: Ensure a full cure so the gel doesnt shift before the next application layer. - 10Apply velvet matte top coat
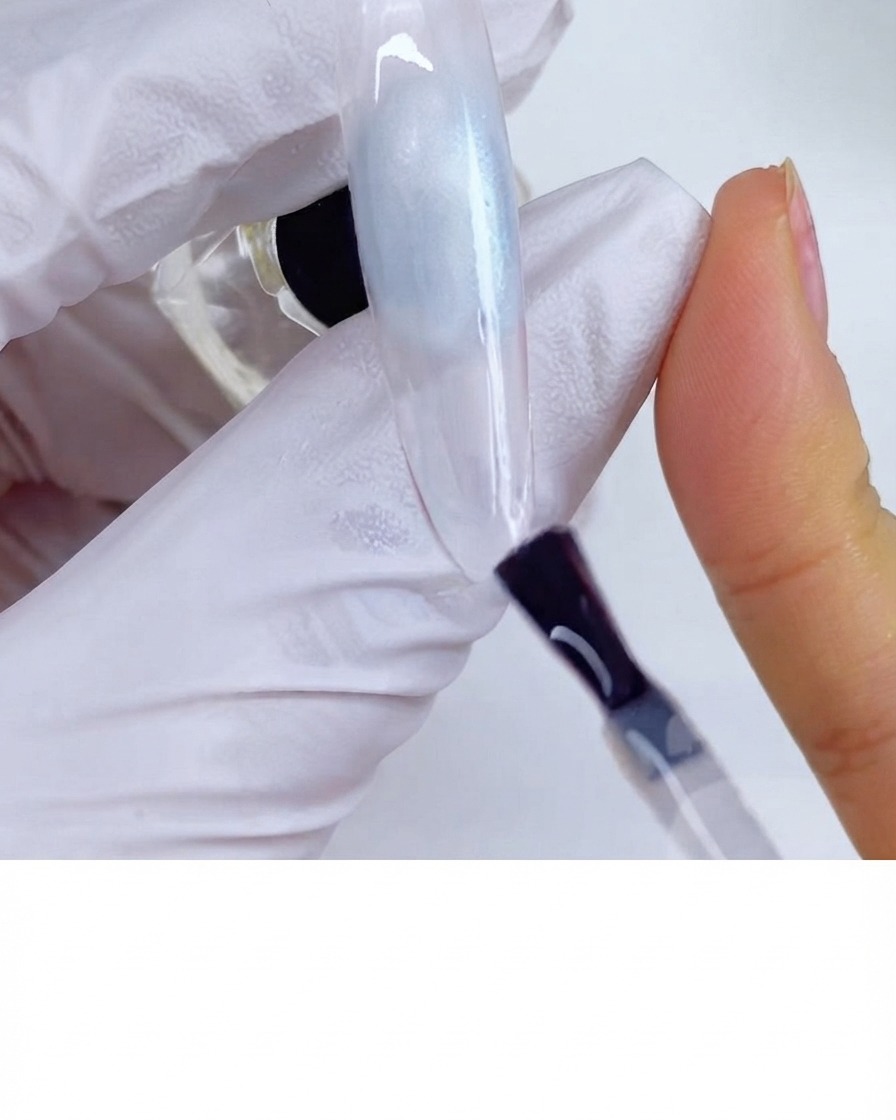
Apply a layer of Y18 velvet matte top coat over the entire nail surface and cure. This matte base prepares the surface by controlling the spread of the upcoming watercolor blooming inks.
Tip: Ensure the matte top coat is fully cured and clean for optimal ink diffusion control. - 11Apply sky blue blooming ink
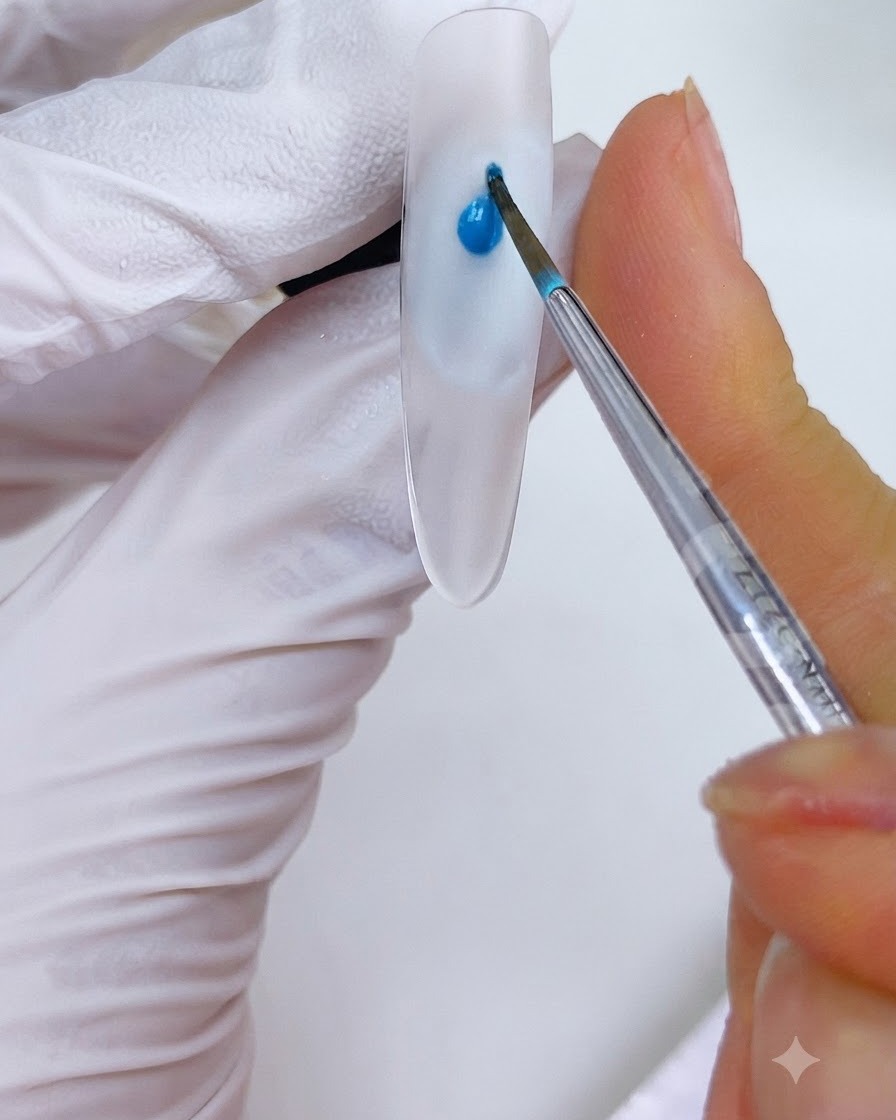
Using a fine liner brush, apply a small block of sky blue watercolor blooming ink to the top left area of the circle.
Tip: Place the ink precisely where you want the primary color accent to begin diffusing. - 12Apply Blue-Purple Color Block
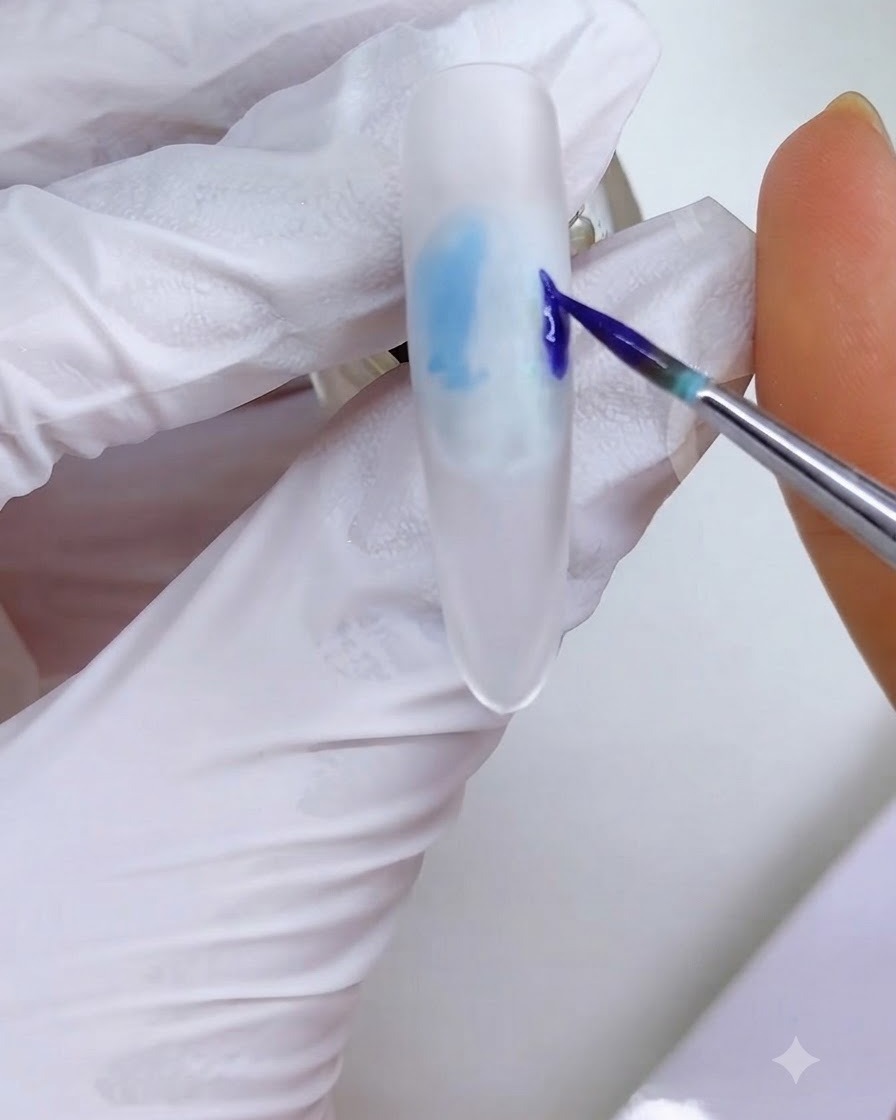
Using a fine liner brush, apply a small block of blue-purple watercolor blooming ink to the right side of the prepped white circular area. Work quickly while the surface is damp to allow the ink to spread and blend organically.
Tip: Keep the brush strokes light and controlled to prevent overloading the nail with excess liquid ink. - 13Apply Magenta Ink Blocks
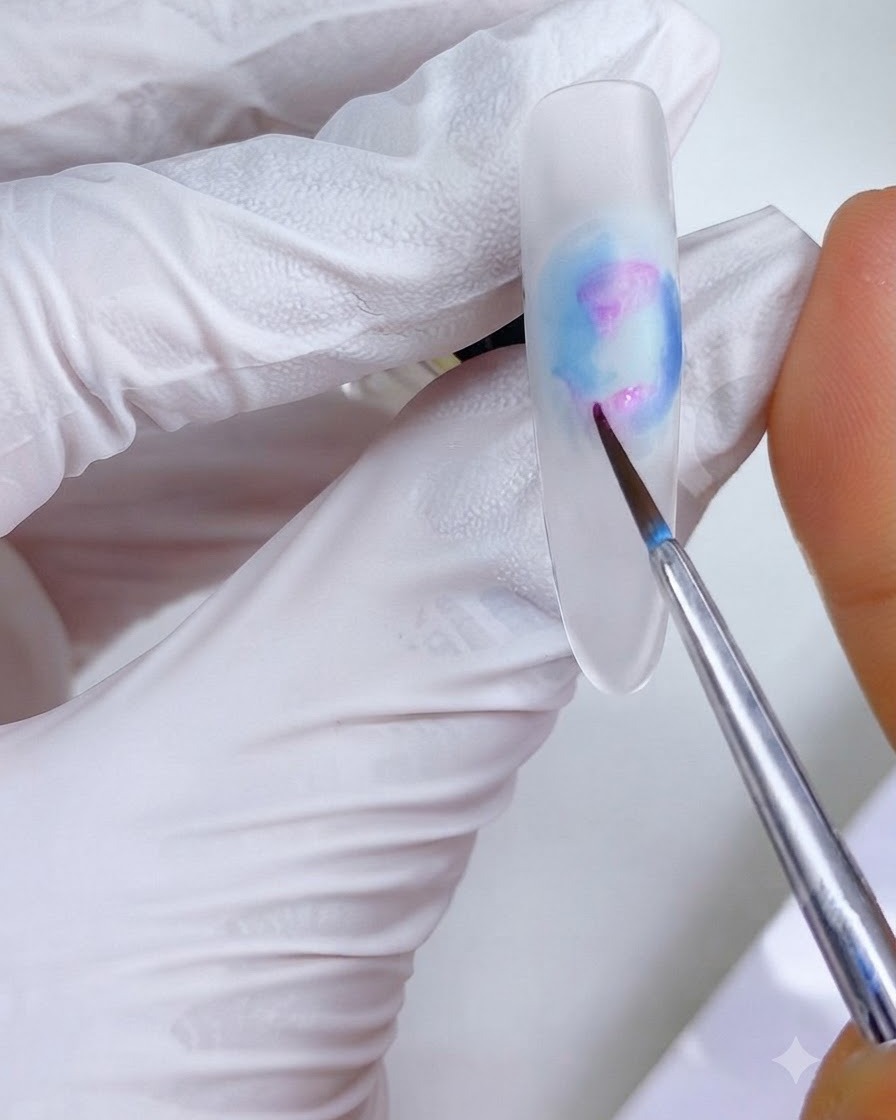
Using a fine liner brush, apply magenta watercolor blooming ink blocks to the top and bottom left areas surrounding the center. This adds vibrant contrasting undertones to the blooming design.
Tip: Maintain spacing between the color blocks so they can blend naturally during the diffusion step. - 14Apply Center Orange Ink Block
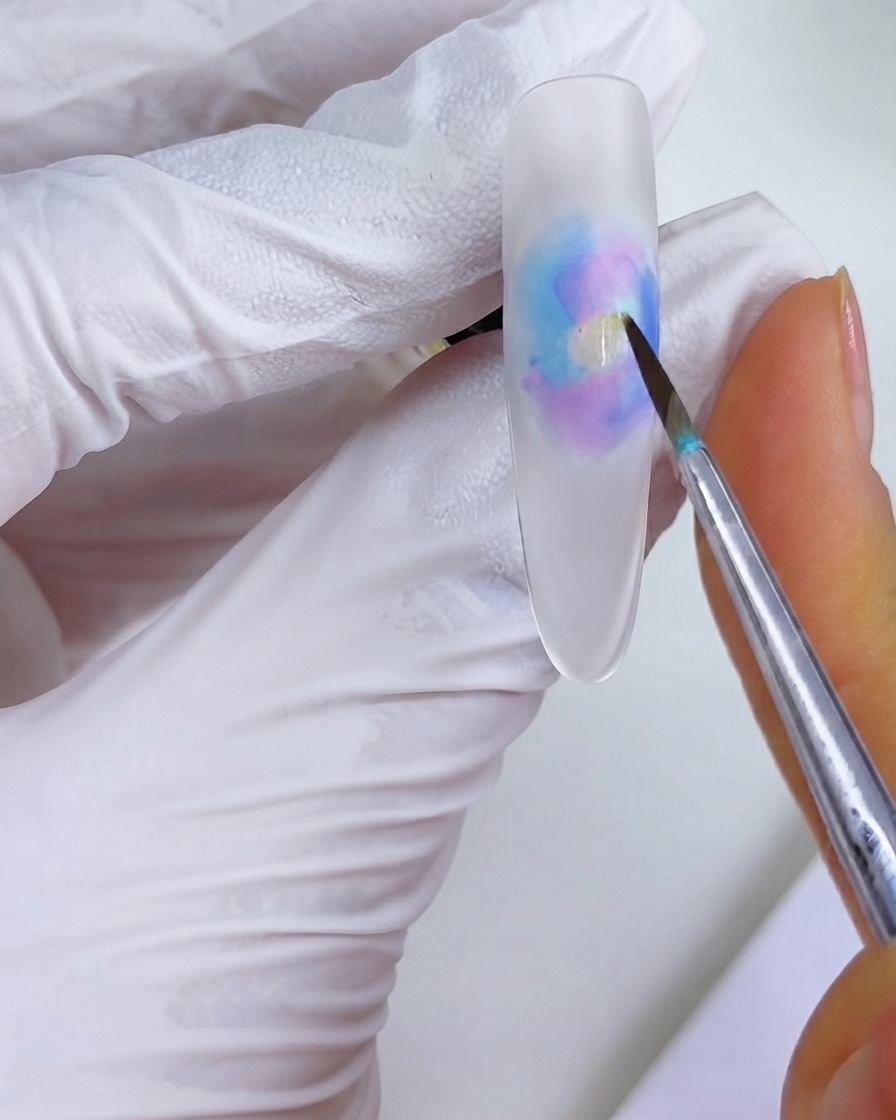
Carefully apply a small block of orange watercolor blooming ink to the center of the design area using your fine liner brush. This adds warmth and depth to the multi-colored gradient effect.
Tip: Place the center ink drop precisely where you want the warmest focal point of the watercolor bloom to originate. - 15Diffuse Colors with Cleanser
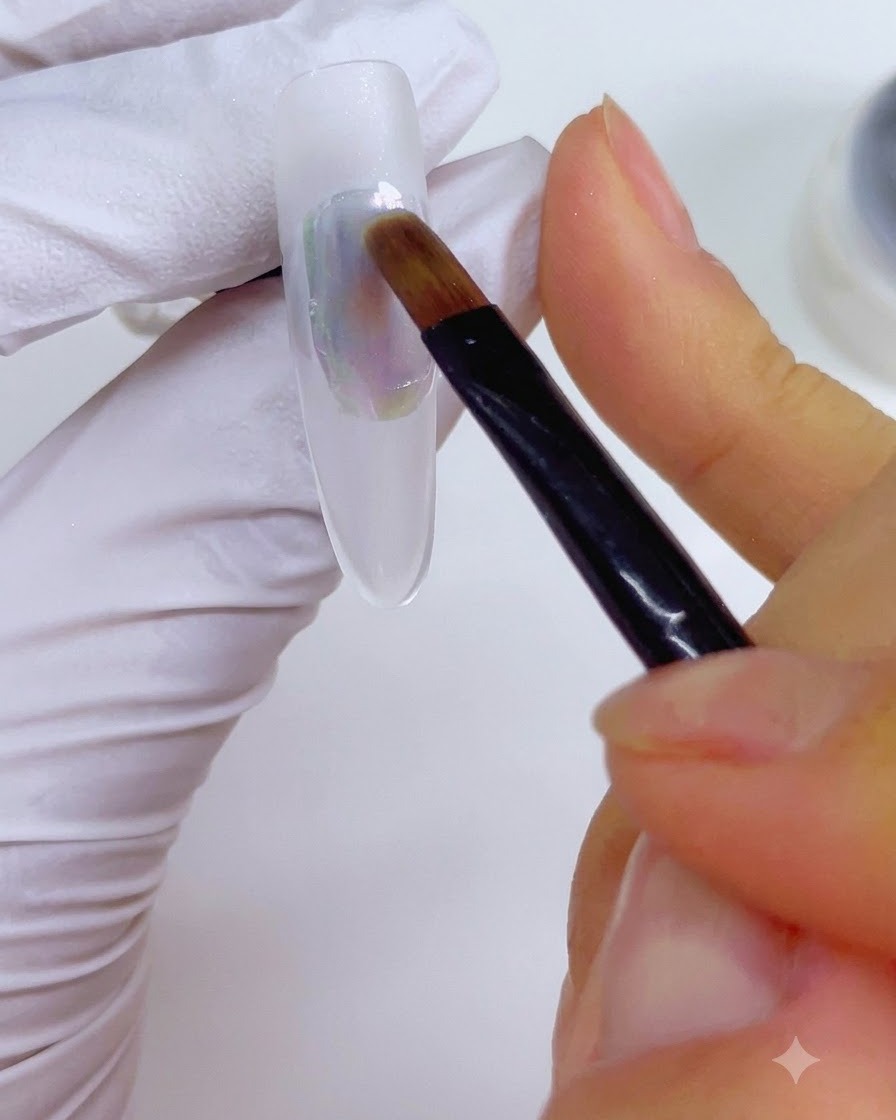
Take a clean detail brush lightly dipped in nail cleanser to gently work across the applied watercolor inks. Diffuse and soften the colors by following the natural contours of the pearls structure to merge them smoothly.
Tip: Ensure your brush is only slightly damp with cleanser so it moves the ink without completely washing it away. - 16Build structure with high-transparency top coat
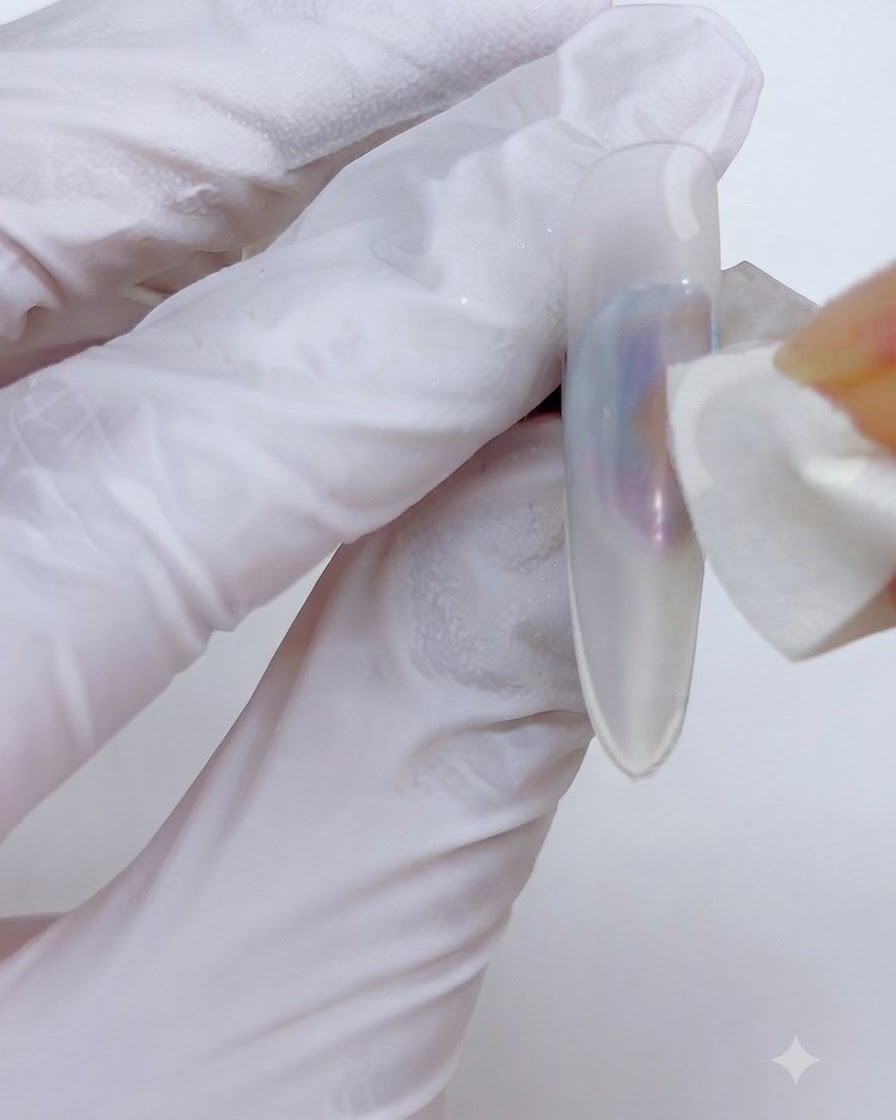
Apply a layer of Y16 high-transparency chrome top coat over the circular area, building it up like a structured gel overlay to add dimension and depth. Ensure the gel is evenly distributed to encapsulate the design elements before curing.
Tip: A structured overlay gives the pearlescent circle a realistic glass-bead or bubble effect. - 17Flash-cure the structured gel
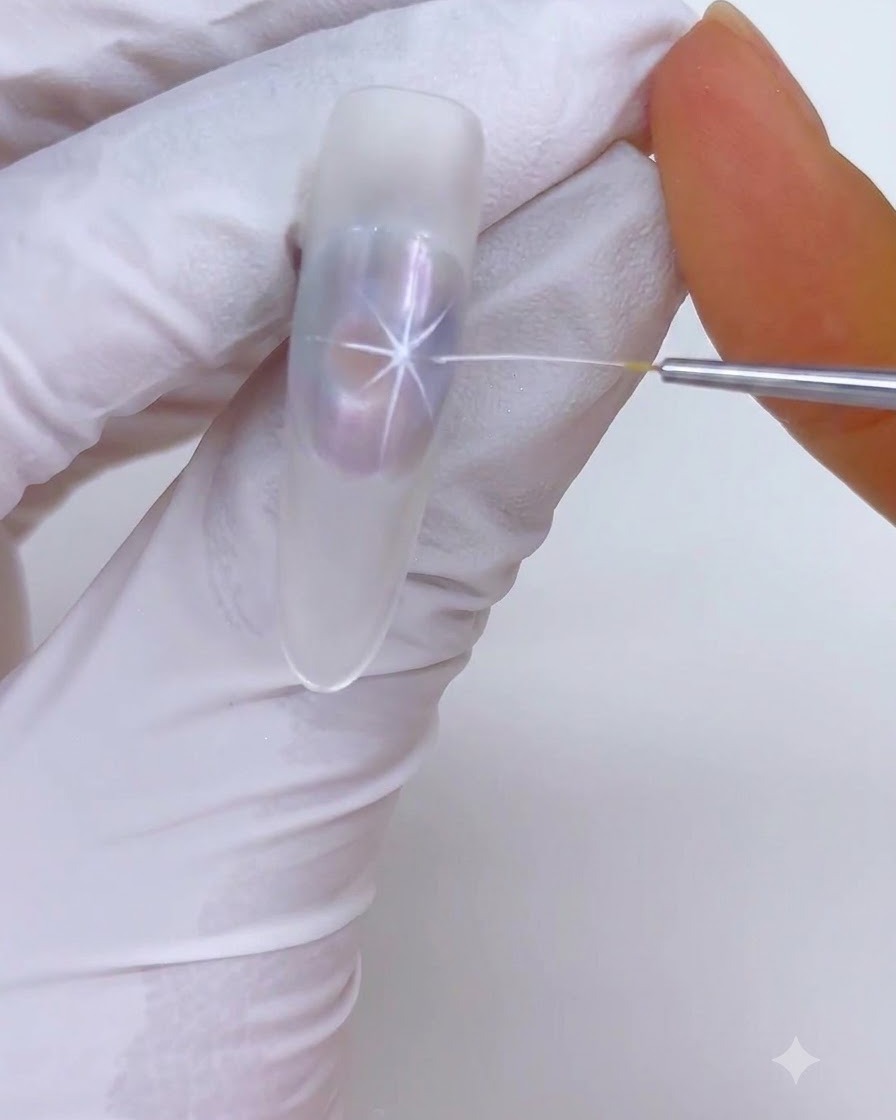
Hold a portable handheld UV/LED lamp directly over the nail to immediately flash-cure the structured top coat. This locks in the domed shape and prevents the gel from sagging or running before it can be fully cured in a main lamp.
Tip: Flash-curing is essential for maintaining precise dimensional nail art shapes without slumping. - 18Apply LP03 pearl powder to blue areas
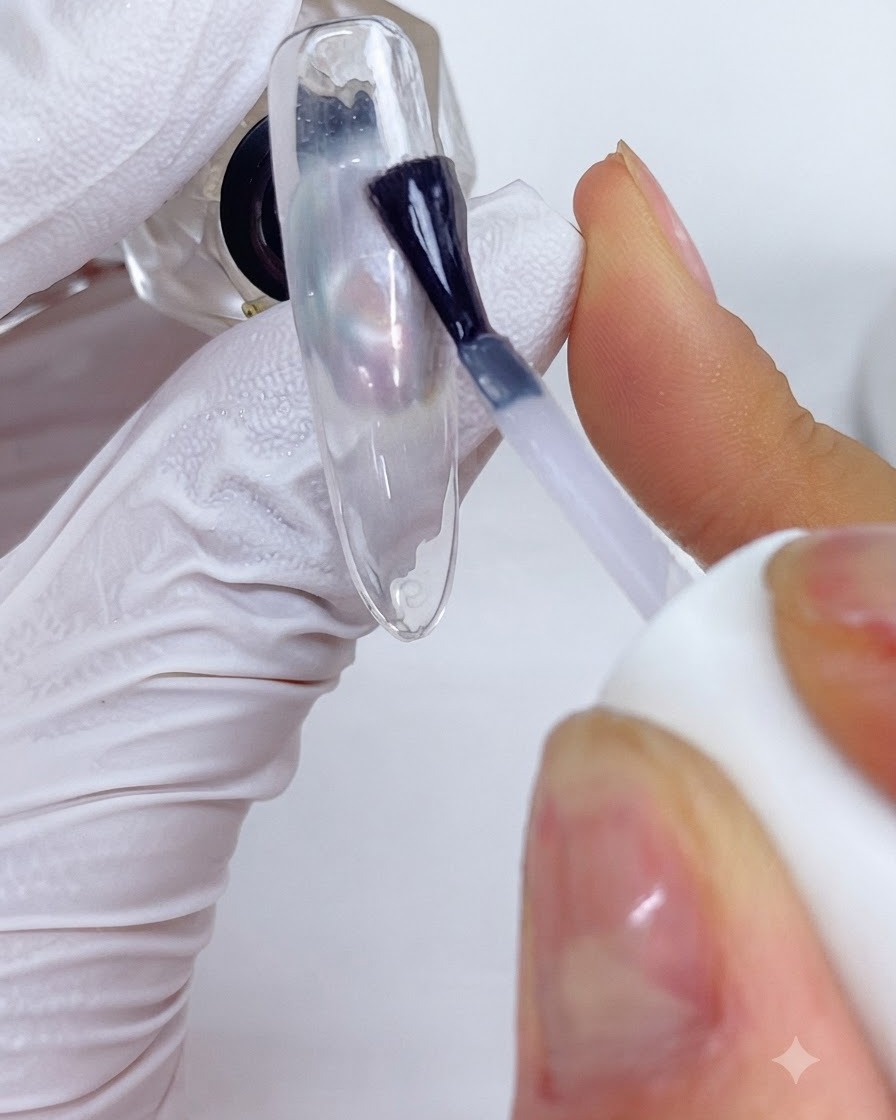
Using an eyeshadow applicator, carefully apply LP03 pearl powder specifically onto the blue watercolor areas of the design. This enhances the color vibrancy and adds a shimmering pearlescent dimension that catches the light differently depending on the viewing angle.
Tip: Use a dedicated applicator brush for each color family to avoid cross-contamination of the pearl powders. - 19Apply LP02 pearl powder to orange areas
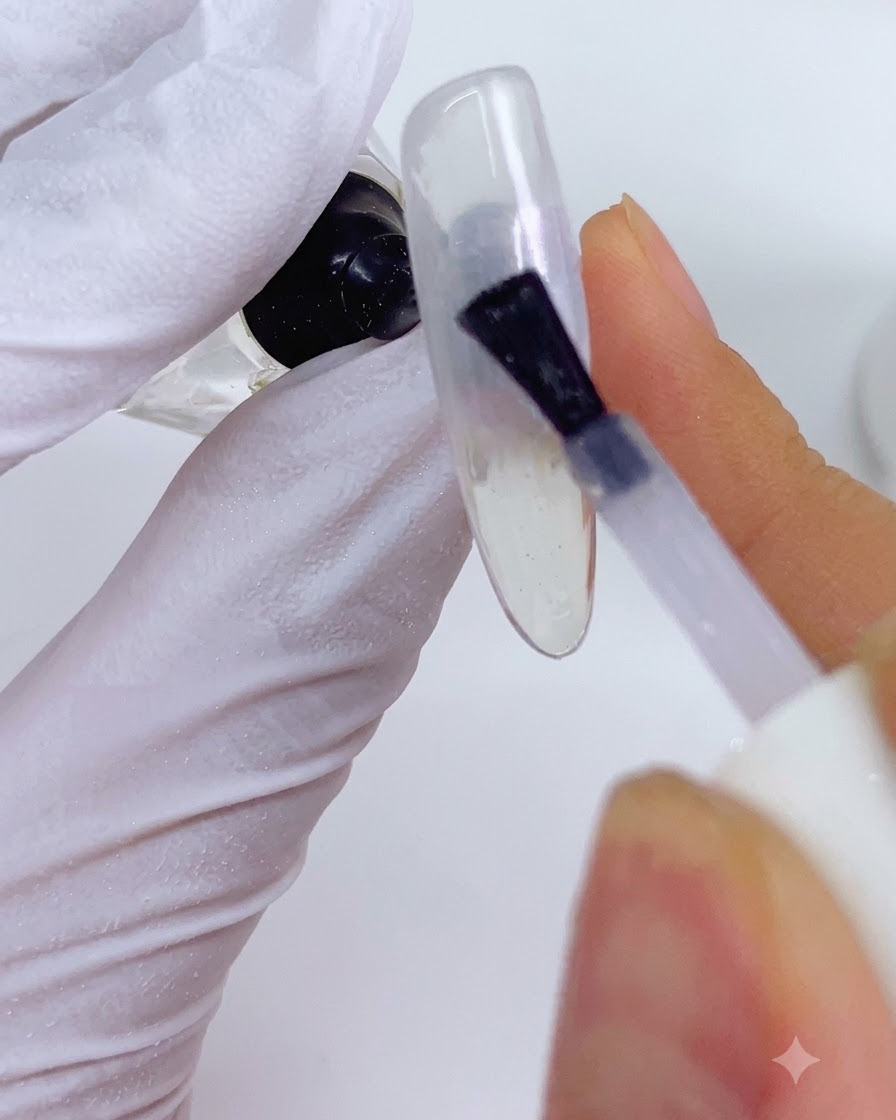
Using the eyeshadow applicator, carefully apply LP02 pearl powder over the orange watercolor gradient sections. This highlights the warm tones within the design and complements the cool blue and purple elements, building a multidimensional aurora effect.
Tip: Tap off excess powder from the applicator before touching the nail to prevent muddying the surrounding colors.