Sweet and Cool Chrome Hearts Nail Art — Step-by-Step Tutorial
Master the trendy sweet and cool Y2K aesthetic with pink glitter flakes, metal stamping plates, and intricate rhinestone and pearl clusters.
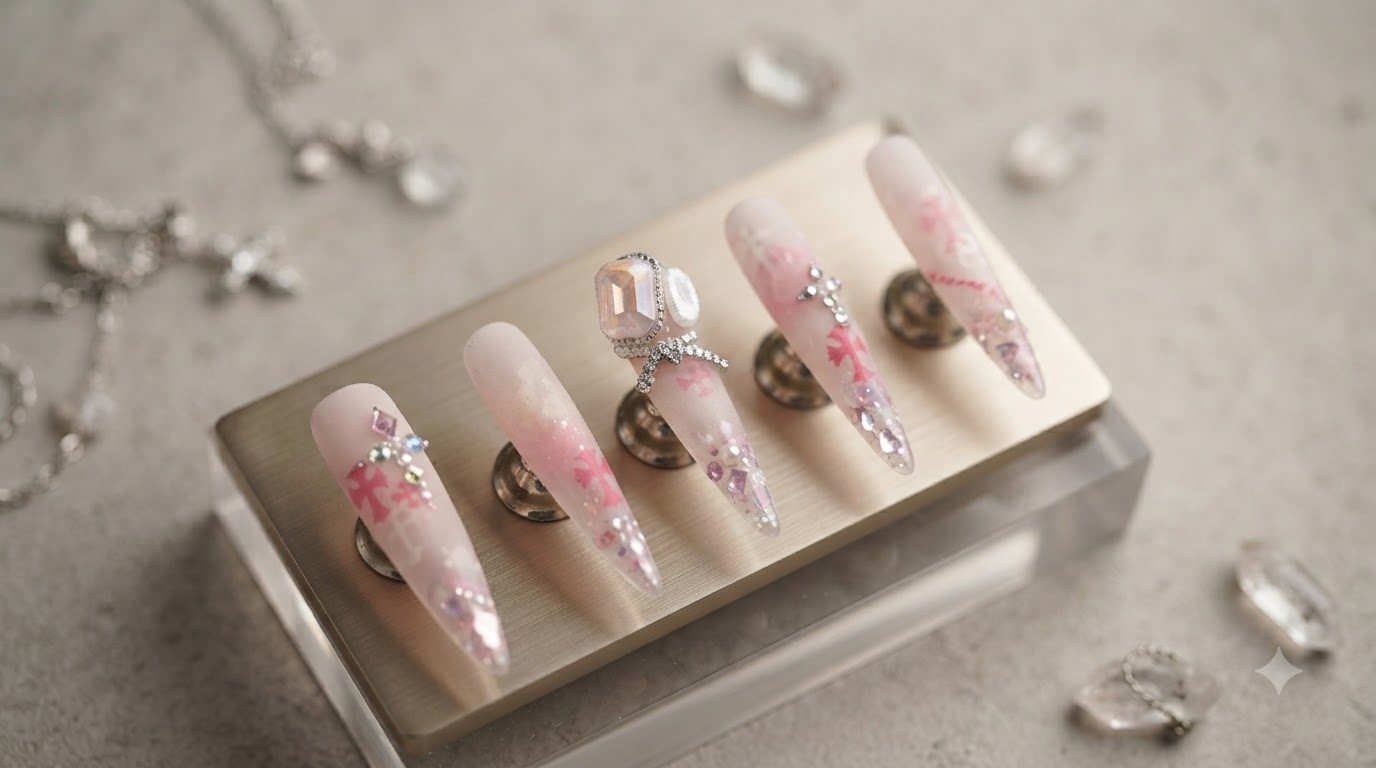
The sweet and cool nail trend combines edgy metallic Chrome Hearts motifs with soft, dreamy pink gradients and delicate pearls. This tutorial walks you through creating a high-end designer look using stamping plates and precise rhinestone placement right at home.
Steps
- 1Apply pink glitter flakes base
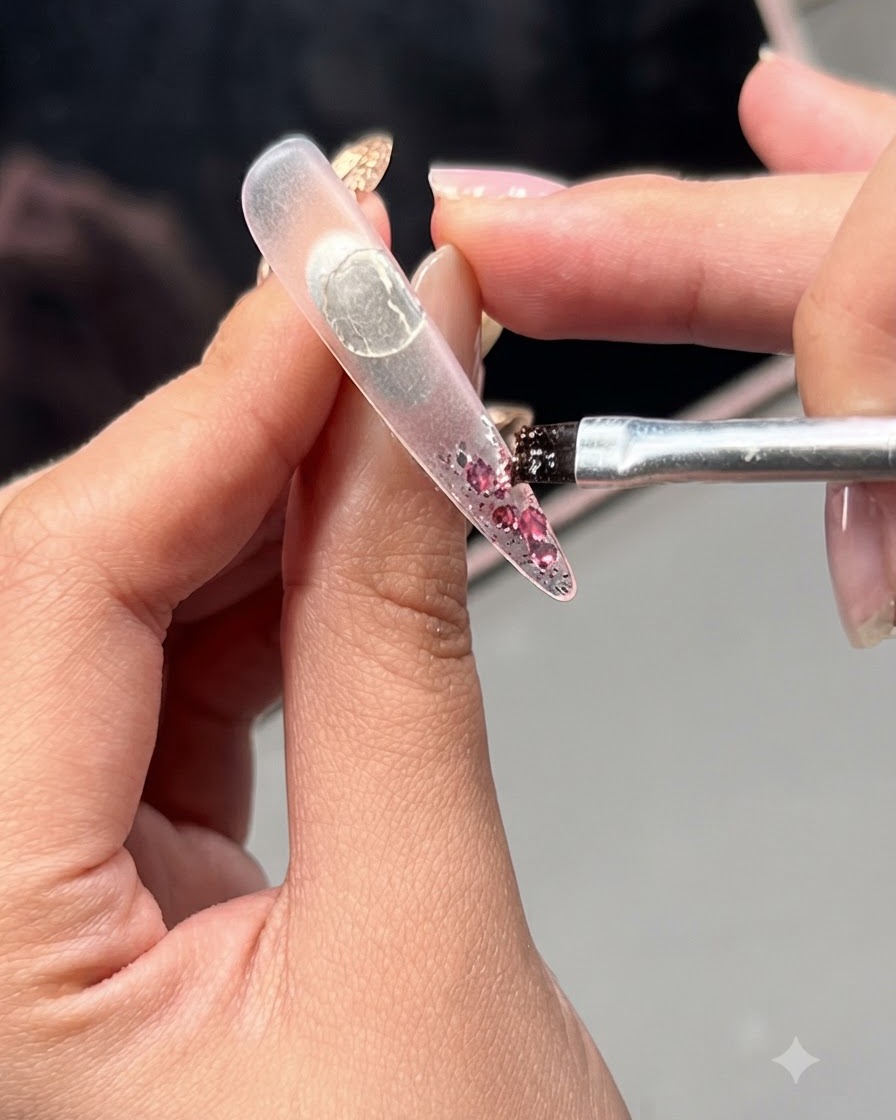
Using a brush, carefully apply a layer of pink glitter flakes directly onto the nail plate to serve as a sparkling base for the design.
Tip: Distribute the glitter flakes evenly across the nail surface to ensure balanced coverage before encapsulation. - 2Encapsulate with reinforcement gel
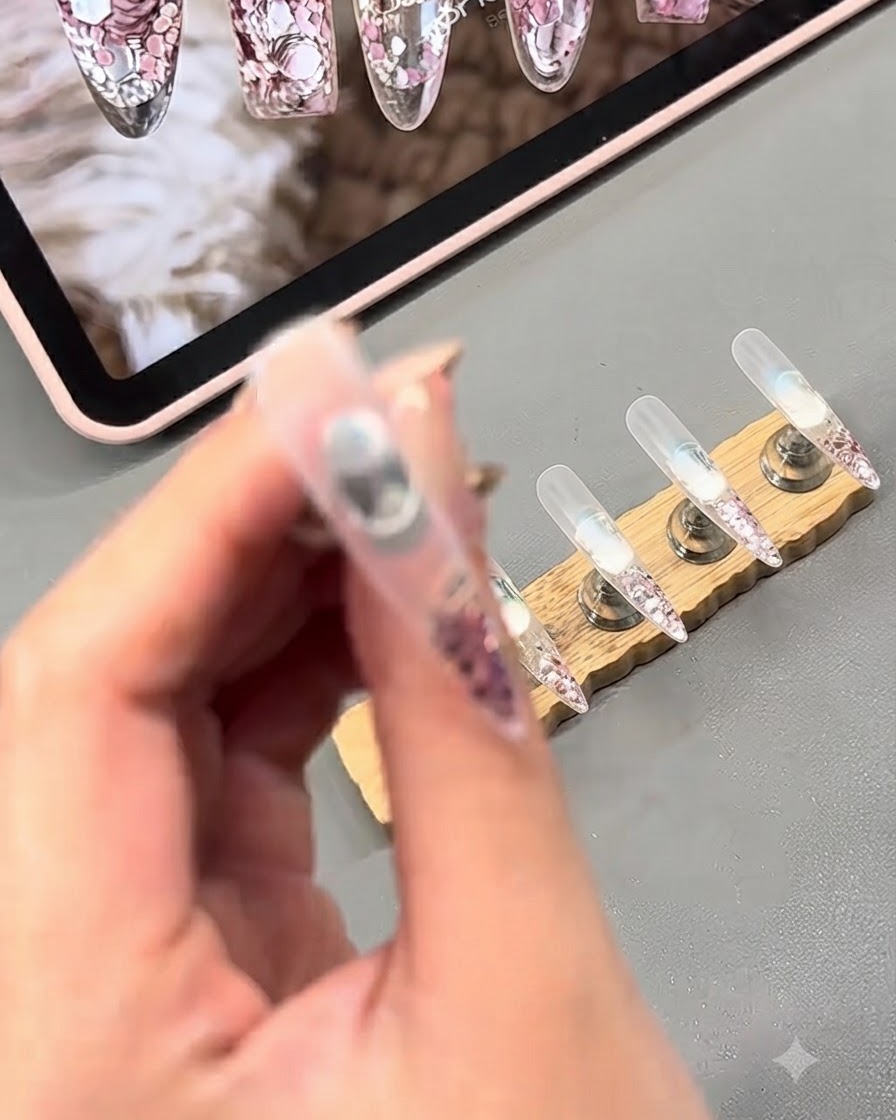
Apply a layer of clear reinforcement gel over the pink glitter flakes to completely wrap, encapsulate, and smooth out the textured surface.
Tip: Make sure the reinforcement gel covers all the glitter edges completely to prevent any sharp points from poking through. - 3Flip the nail stand to self-level
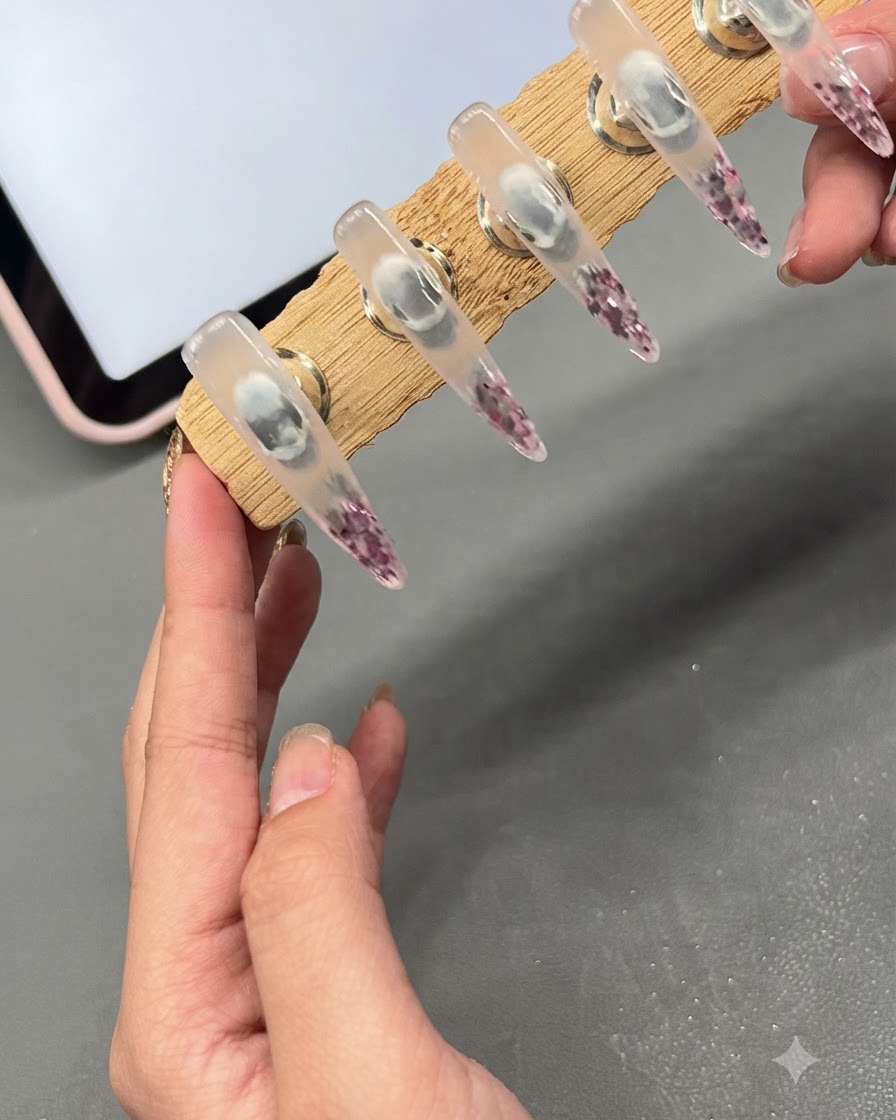
Flip the nail stand upside down briefly to allow the reinforcement gel to self-level naturally, eliminating any uneven texture or bumps.
Tip: Allowing the gel to self-level upside down creates a smooth, perfect apex and prevents the product from pooling at the edges. - 4Wipe off the inhibition layer
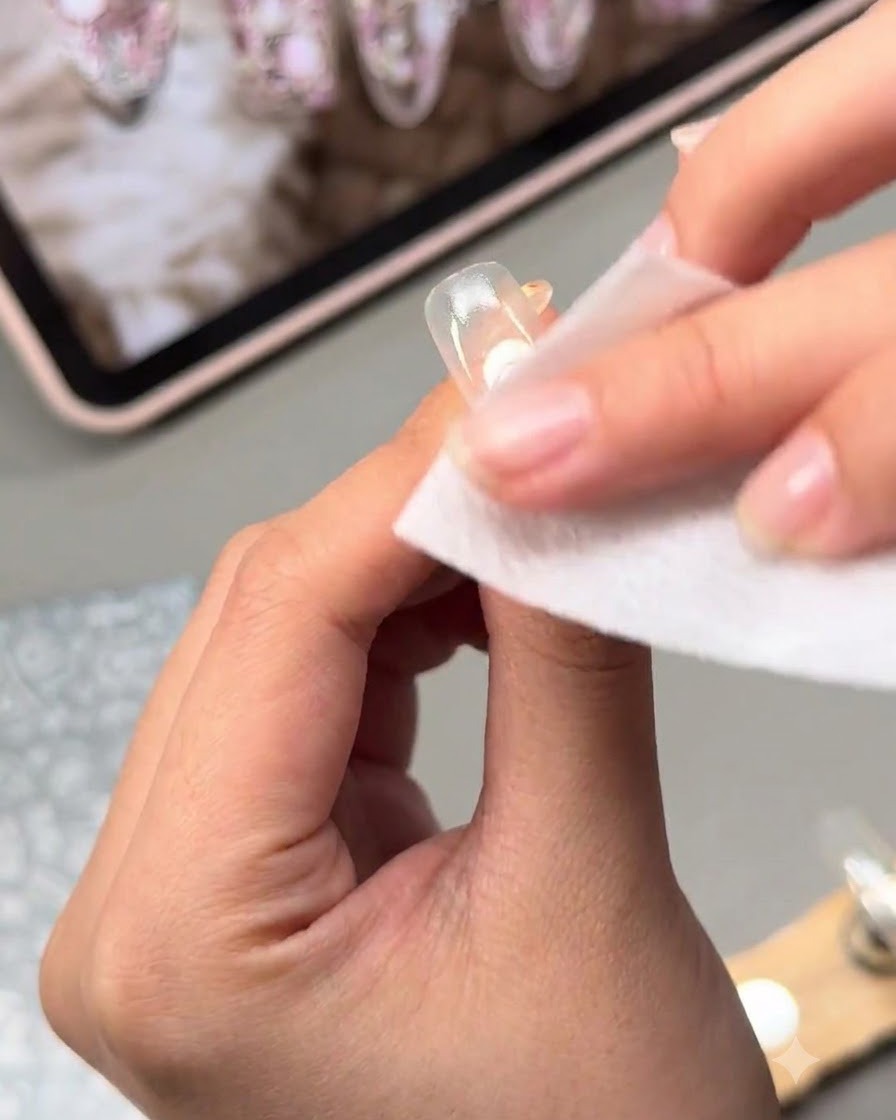
Use a lint-free wipe dampened with cleanser to thoroughly wipe clean the sticky inhibition layer from the surface of the cured nail.
Tip: Ensure the inhibition layer is completely removed so that subsequent layers adhere properly without peeling. - 5Apply nude transition base gel
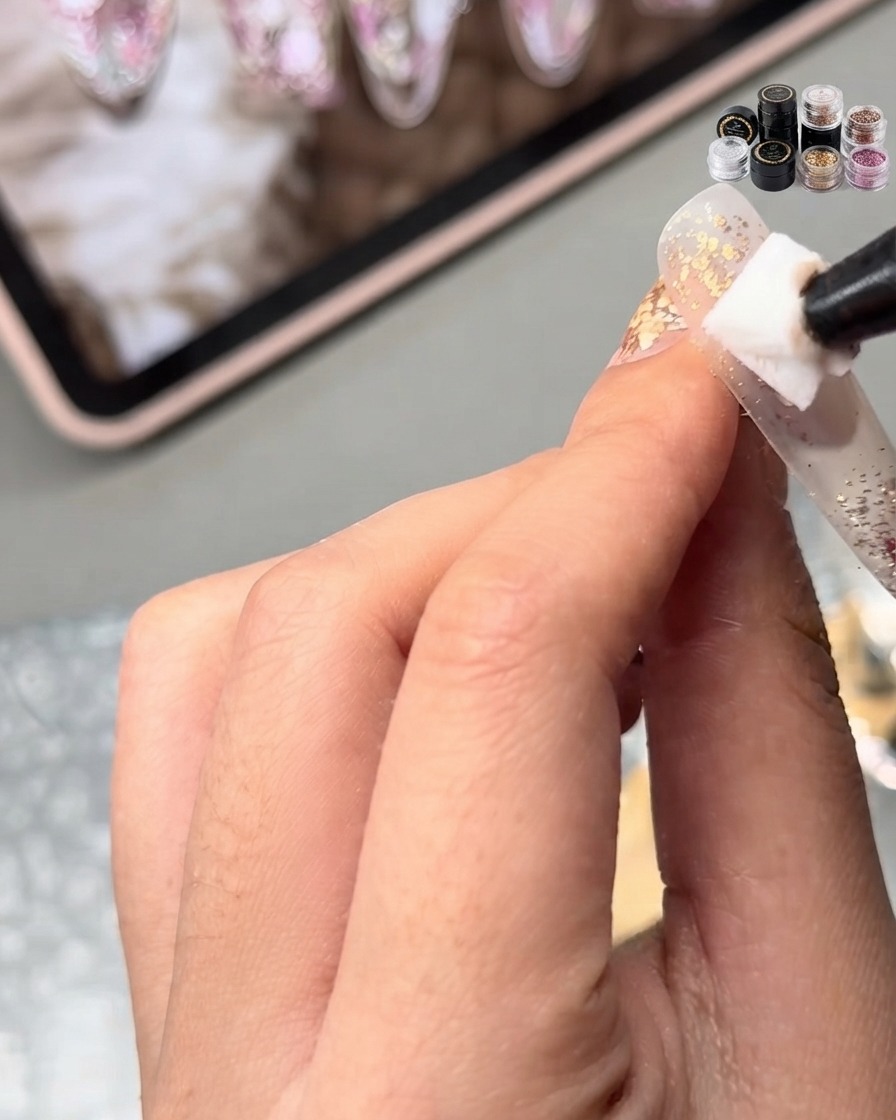
Gently pat on a layer of nude transition base gel over the nail to create a smooth, unified foundation tone for the subsequent nail art steps.
Tip: Patting the gel instead of heavy brushing helps maintain an even thickness without disturbing the underlying structure. - 6Apply and scrape stamping polish
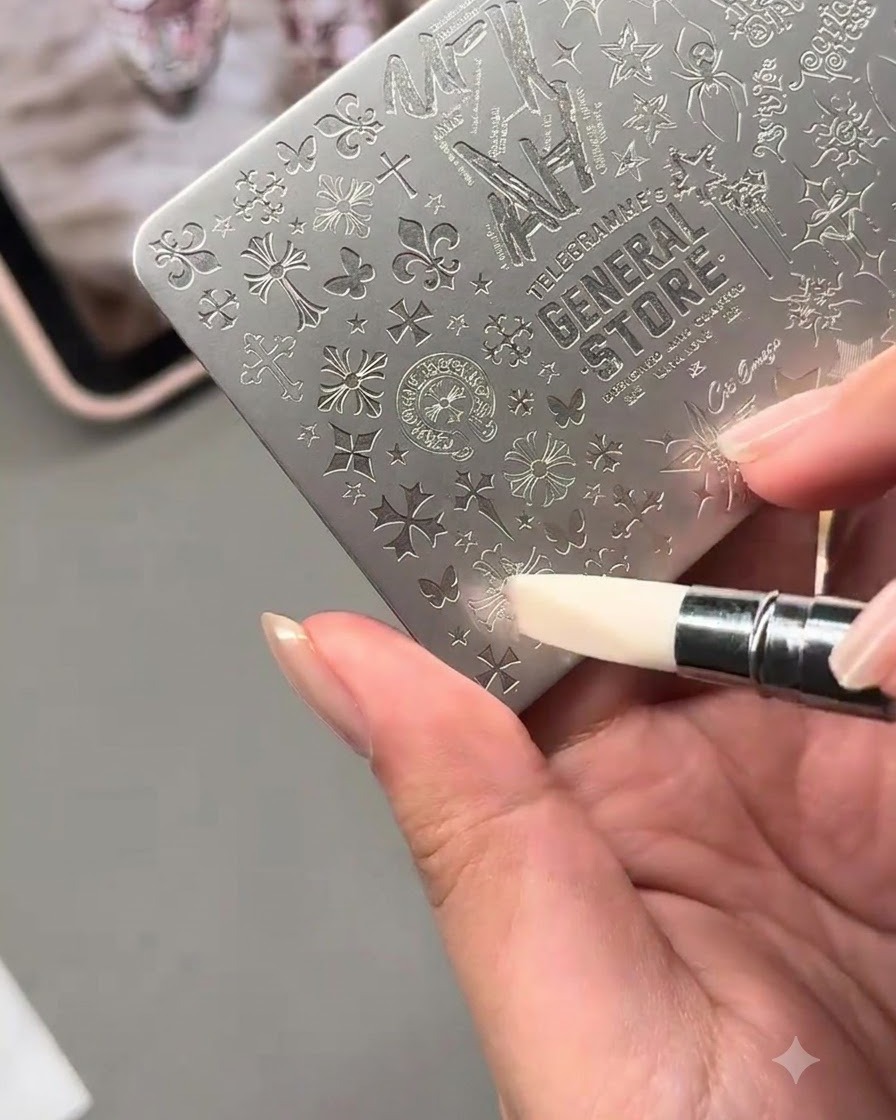
Apply stamping polish onto your chosen pattern on the metal stamping plate, then use a card to scrape the excess polish flat across the plate.
Tip: Hold the scraper at a 45-degree angle and swipe quickly across the plate for a clean transfer. - 7Pick up stamped design
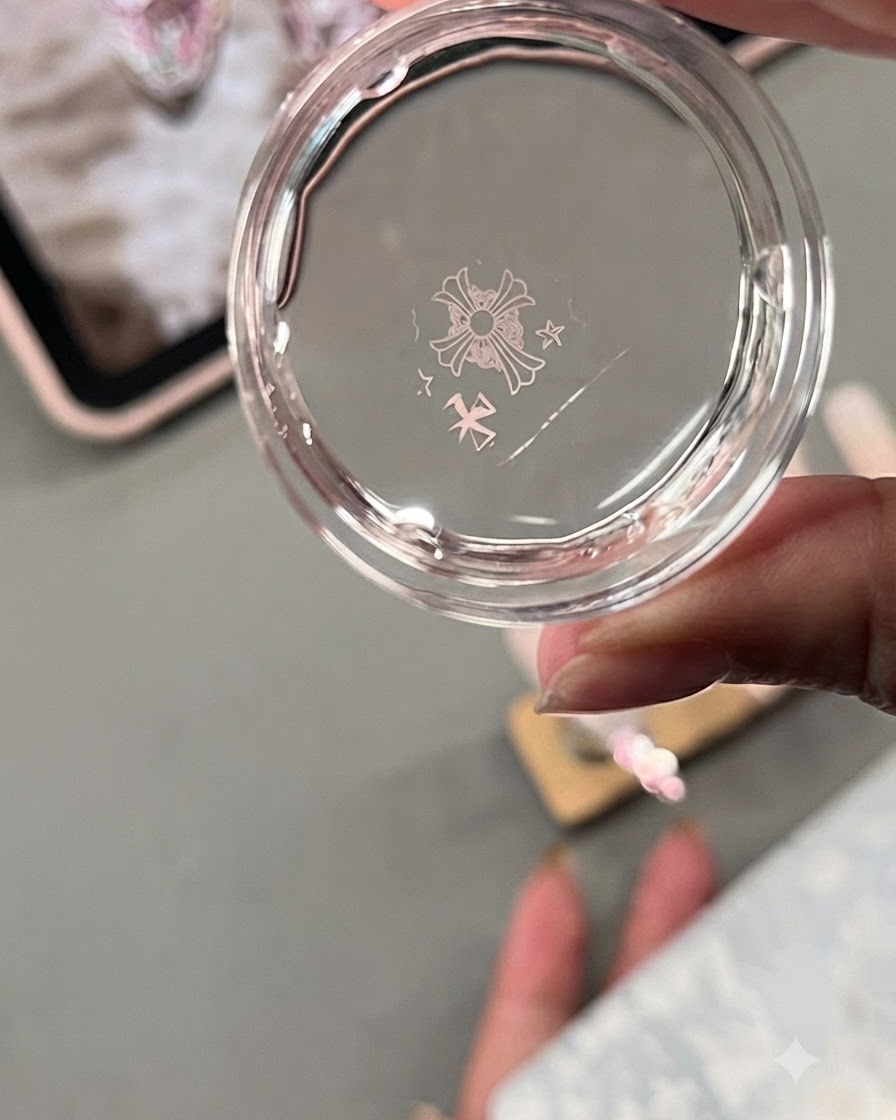
Roll the clear jelly stamper head gently over the metal plate to pick up the stamped pattern clearly without distortion. Ensure the pressure is even so the intricate lines transfer completely onto the stamper head.
Tip: Roll the stamper gently from side to side rather than pressing straight down to avoid air bubbles and smudging. - 8Transfer stamp design to nail
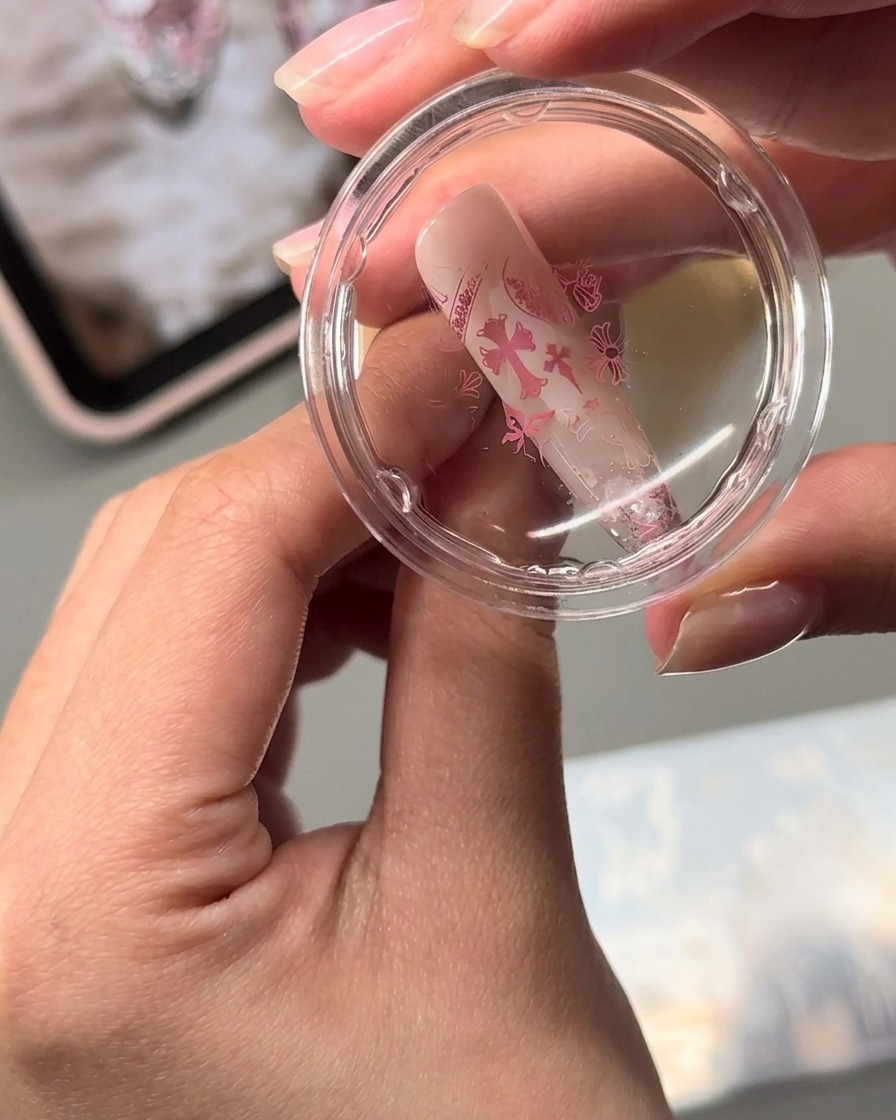
Transfer the Chrome Hearts heart stamp design onto the prepared nail surface by gently pressing and rolling the stamper onto the nail. Align the pattern carefully to fit the length and width of the nail tip.
Tip: Lightly touch a lint roller to the stamper head if dust or lint is picked up before stamping onto the nail. - 9Apply rhinestones and pearl embellishments
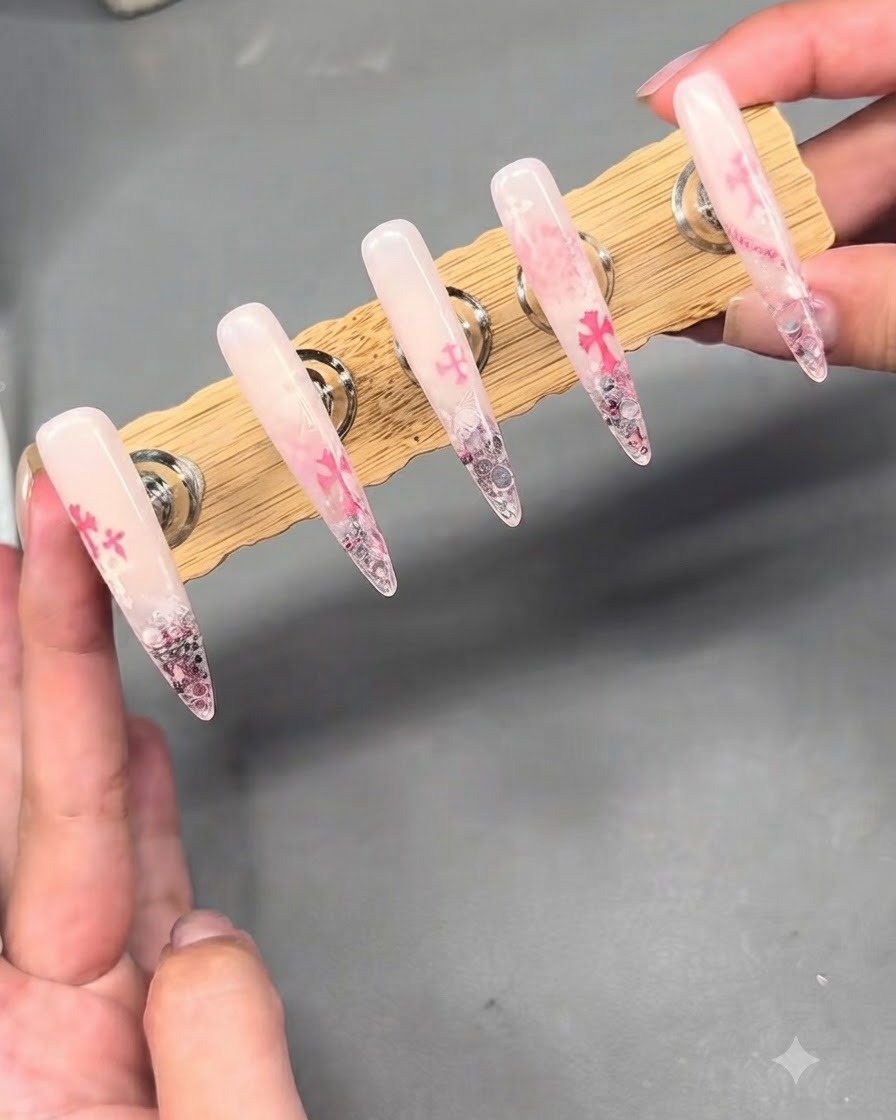
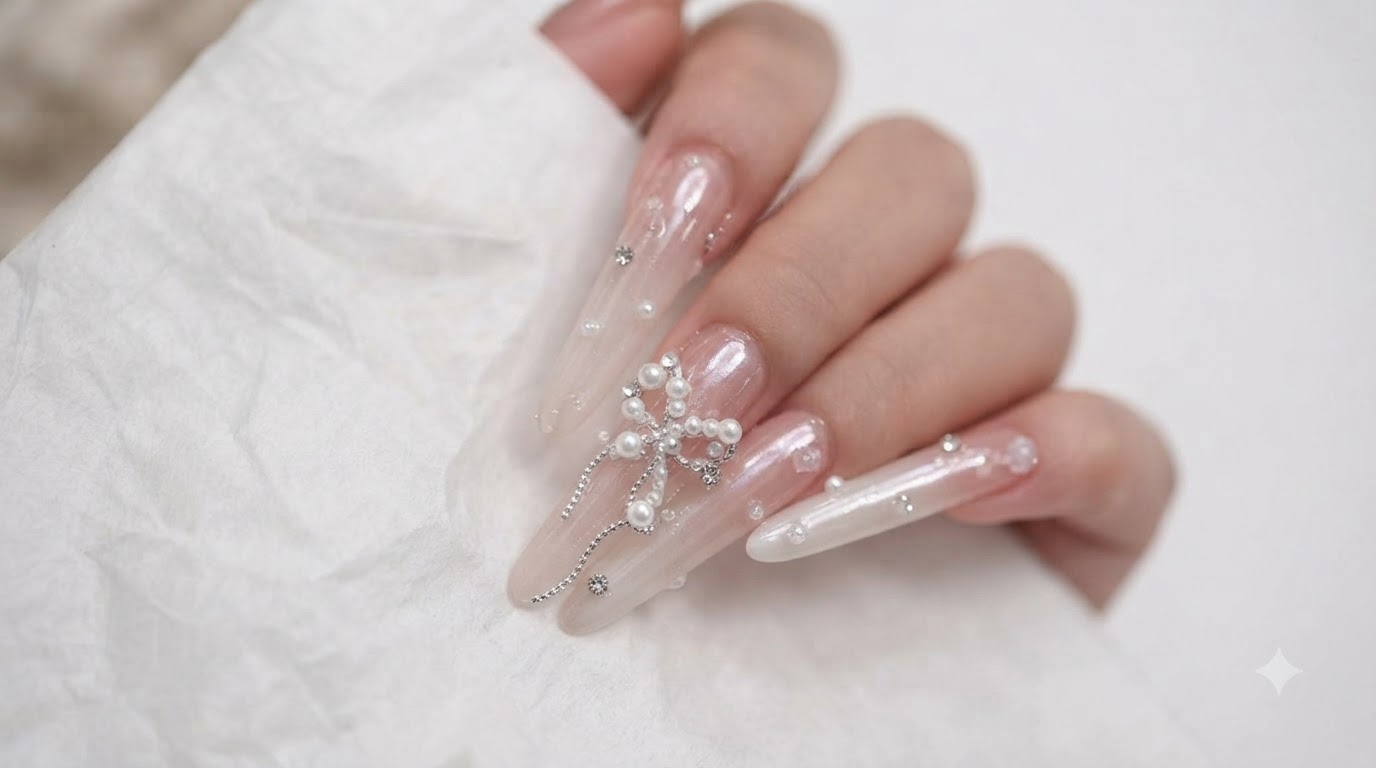
Apply rhinestone gel glue to the desired area on the nail surface. Place a pearl and position a colorful small rhinestone at its center, pressing gently to secure them in place before curing.
Tip: Use a wax picker tool to easily pick up and place small rhinestones and pearls with precision. - 10Add steel balls and cure
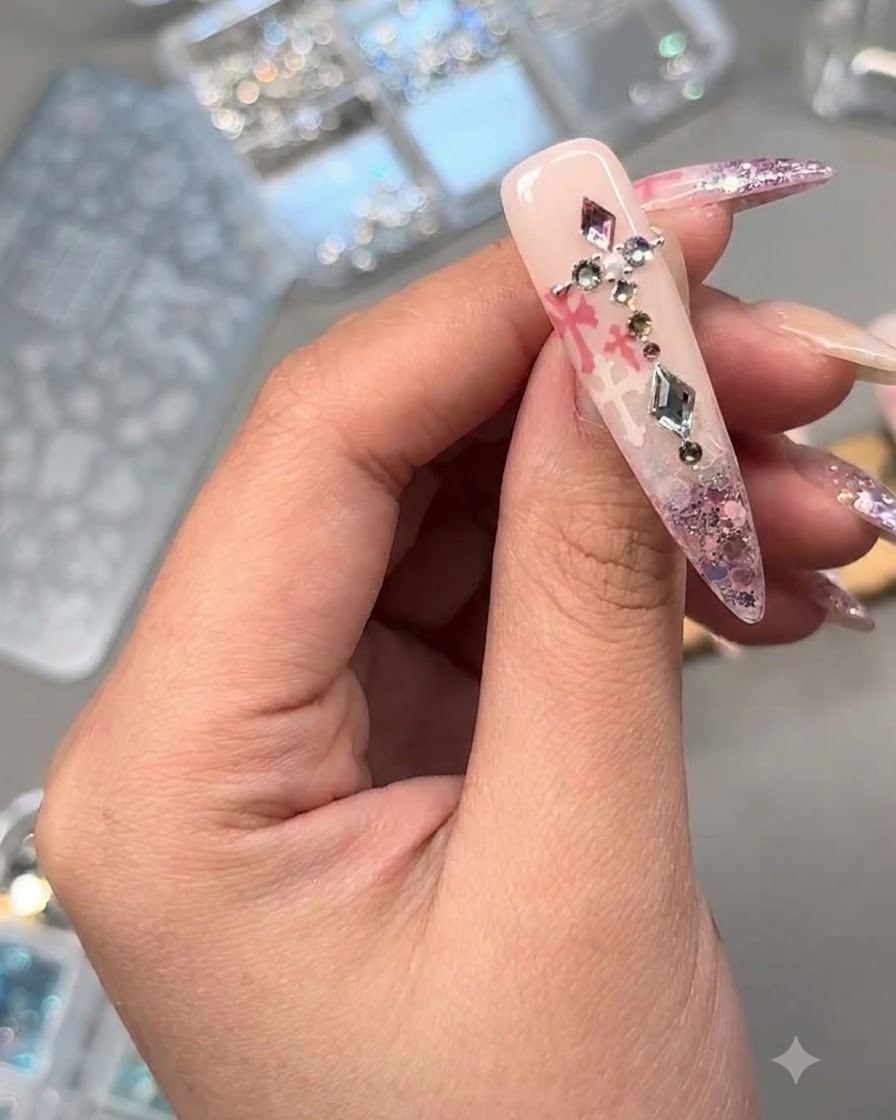
Place small steel balls in the surrounding gaps around the pearl and rhinestones to complete the detailed arrangement. Once satisfied with the placement, cure the nail under a UV or LED lamp to lock everything in securely.
Tip: Ensure all tiny steel balls and gems are firmly pressed into the gel glue before curing so they do not catch or fall off. - 11File surface for large rhinestone adhesion
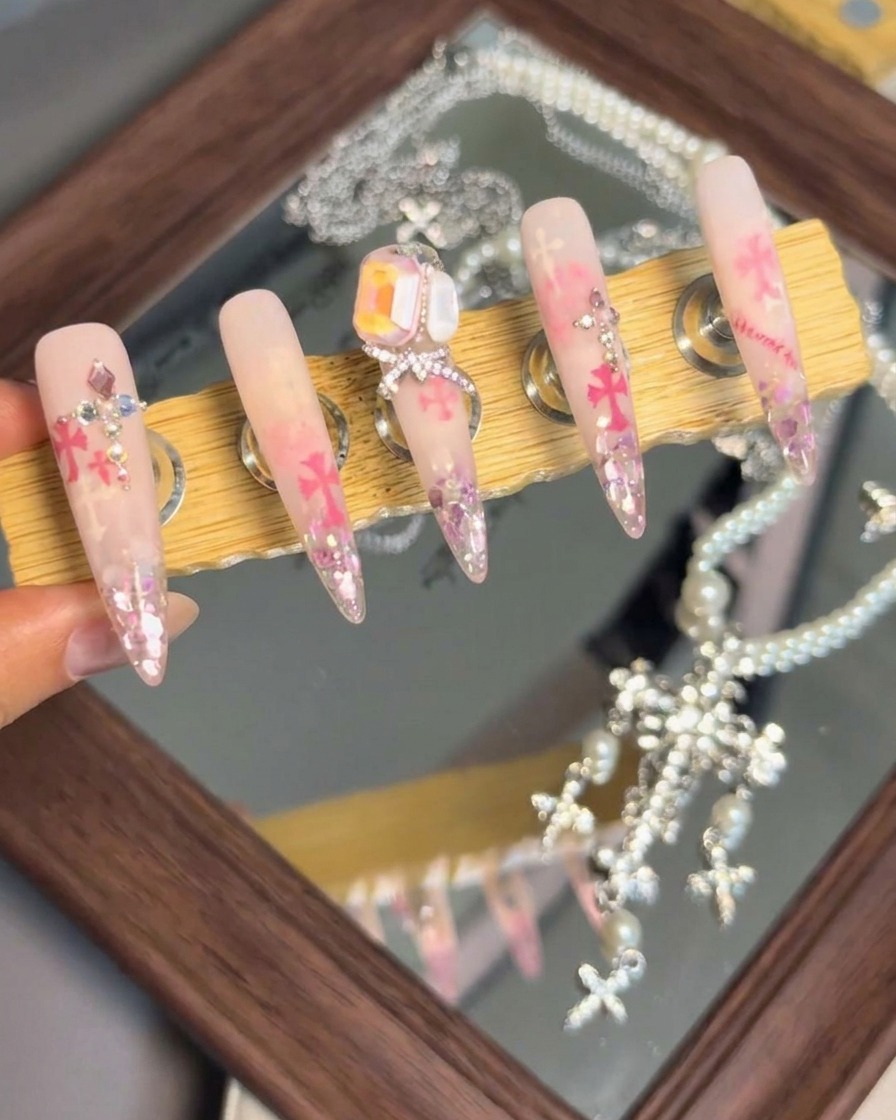
File the surface of the middle finger nail lightly where the large rhinestone will be placed to create texture and improve glue adhesion. Wipe away any dust before applying the adhesive gel.
Tip: Lightly roughing up the top coat surface prevents heavy charms and large crystals from sliding off or popping off prematurely. - 12Position large rhinestone and bowknot charm
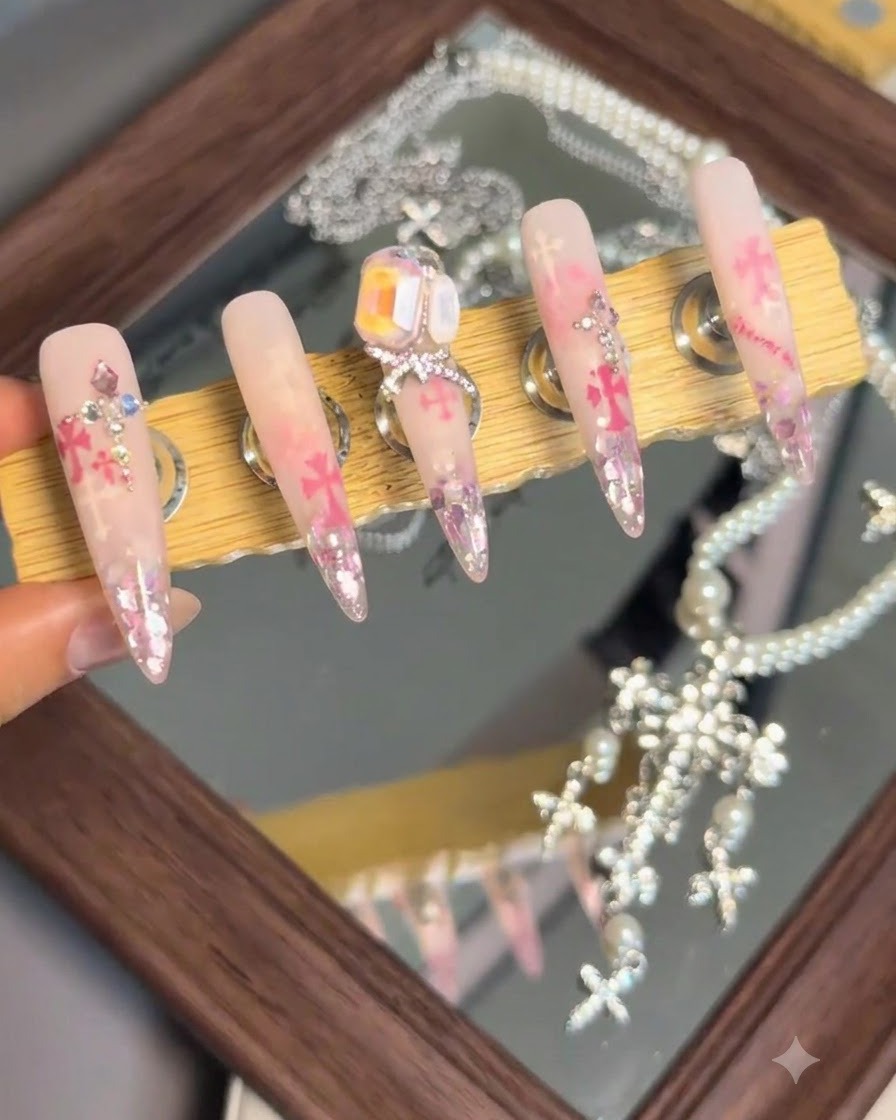
Position a large statement rhinestone and a delicate bowknot charm on the middle finger nail over the prepared adhesive gel. Adjust their alignment so they sit harmoniously before curing under the lamp.
Tip: Double-check the alignment from multiple angles to ensure large charms are centered straight down the nail axis. - 13Add small steel balls to embellish charms
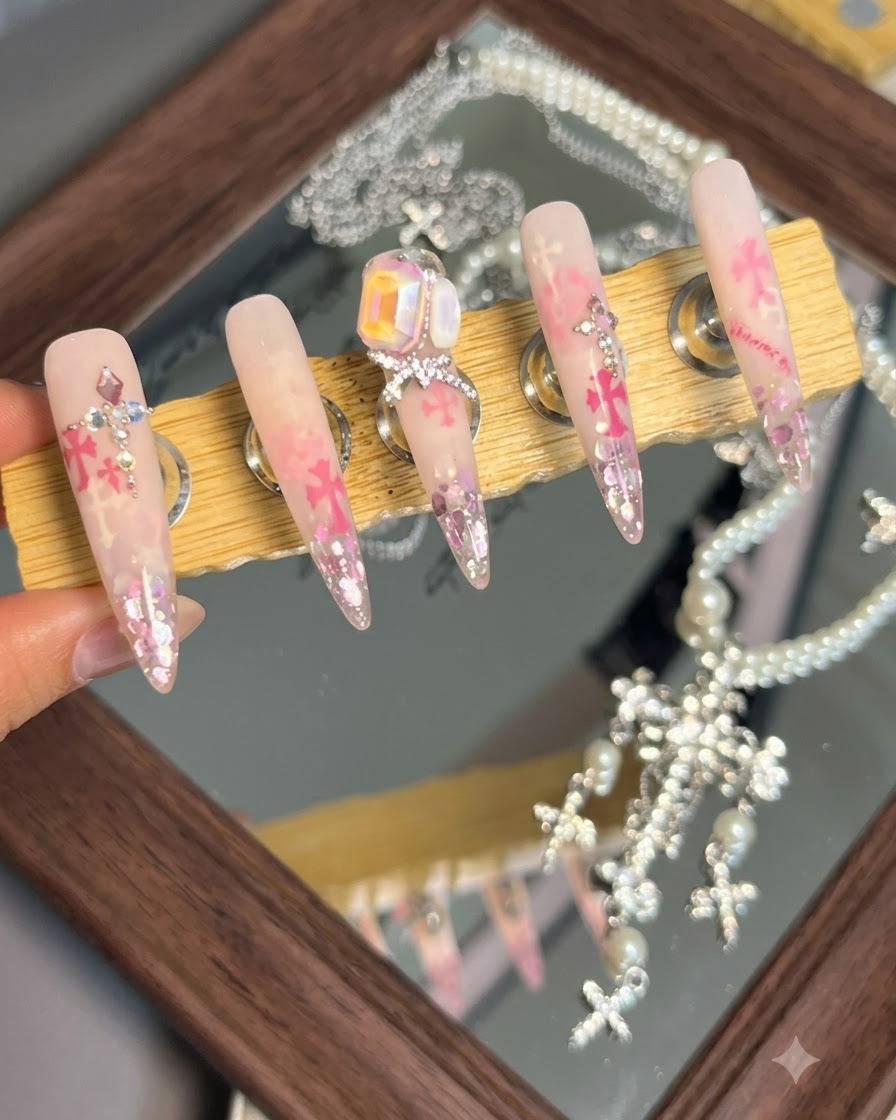
Using a fine-tipped detailing tool or wax pencil, carefully pick up and place small steel balls into the crevices and gaps around the larger charms and rhinestones on the middle finger nail. This fills empty spaces, frames the stones, and gives the overall design a polished, cohesive, and professional finish.
Tip: Work quickly if your placement gel cures under ambient light, or use a non-cure bead gel to ensure everything stays in place before final curing.