Moonlight Pearl
Diamond Ribbon Ethereal Gel Nails Tutorial
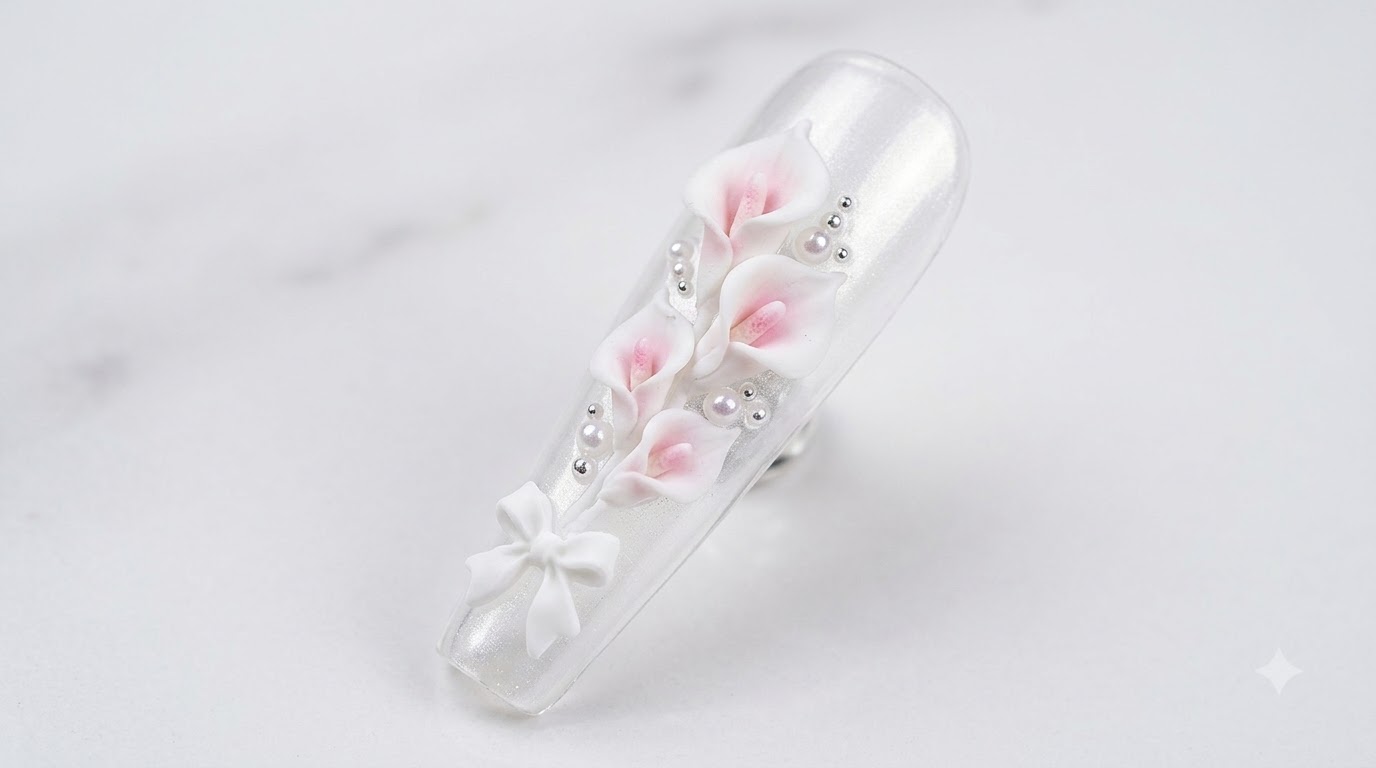
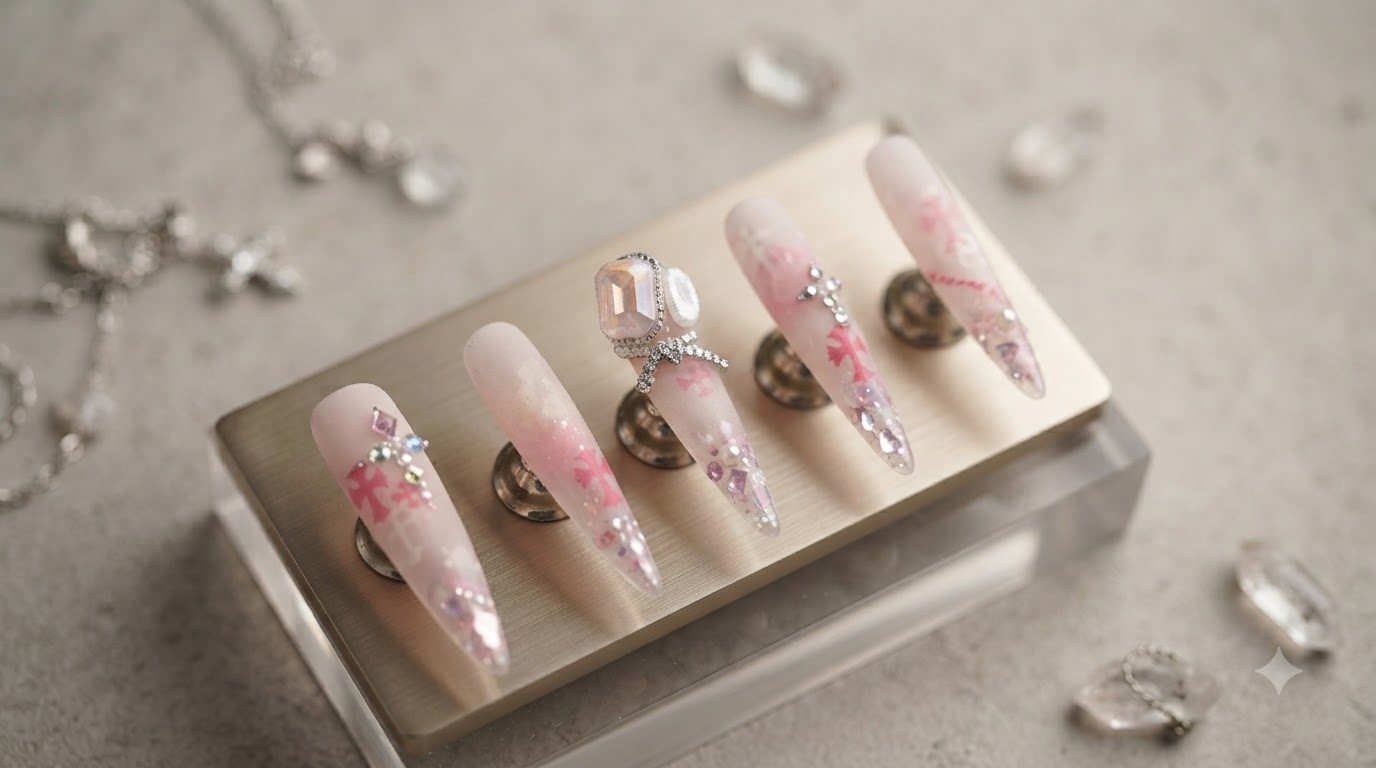
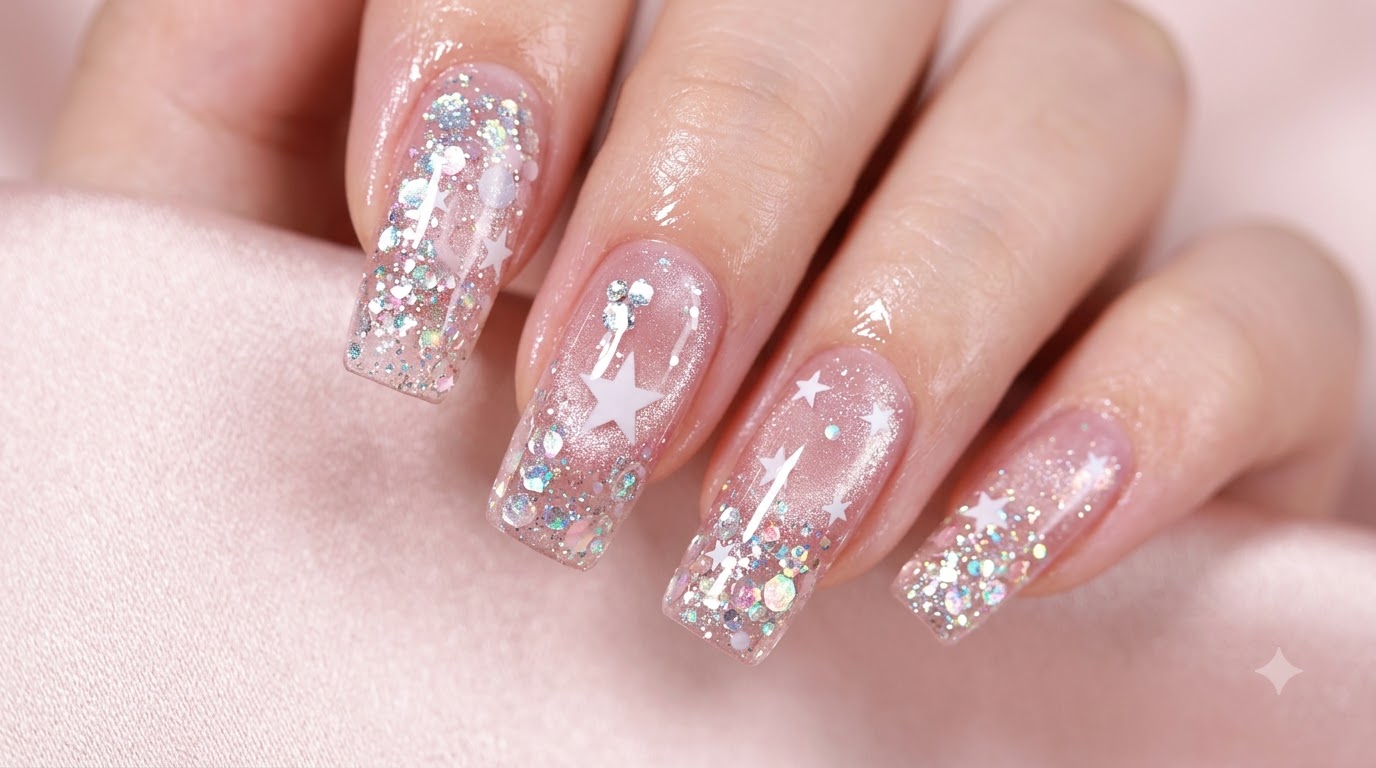
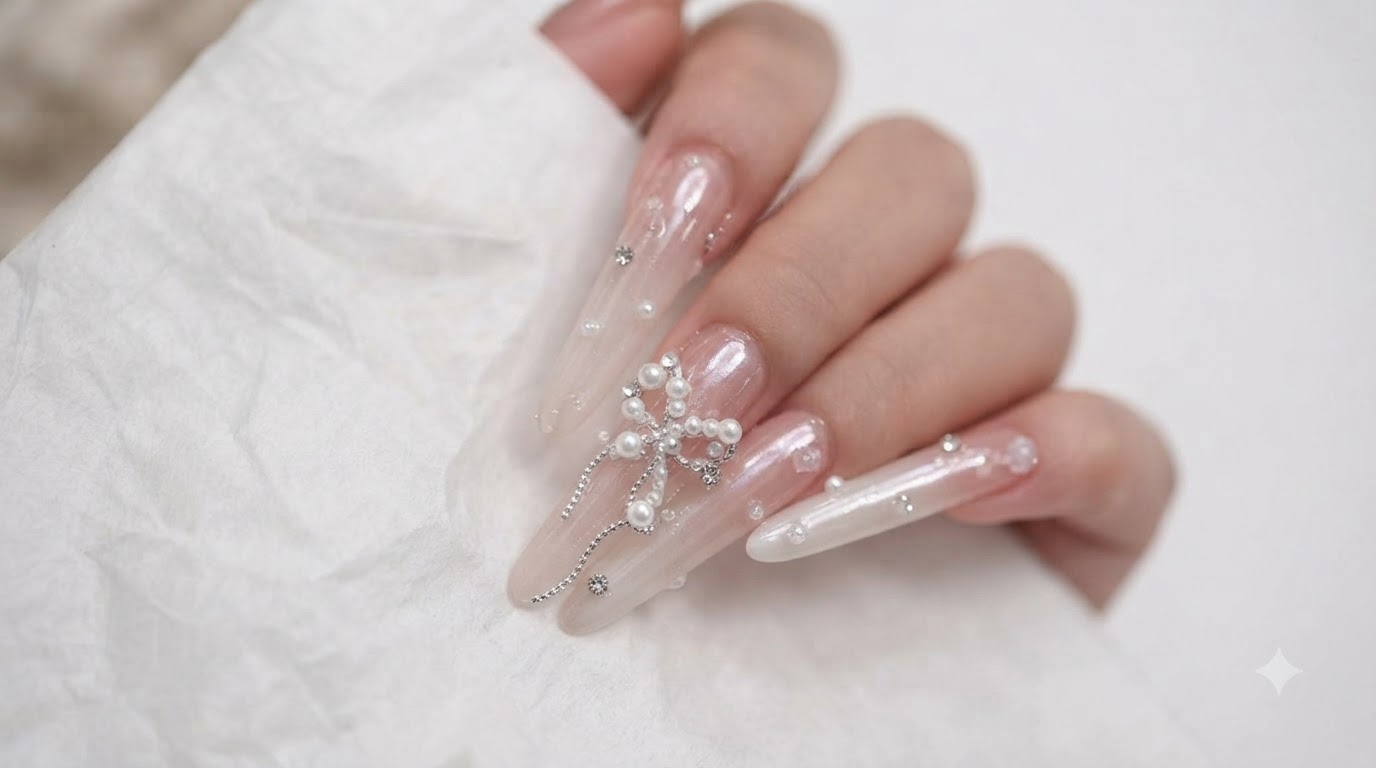
Create enchanting ethereal gel nails featuring a moonlight chrome gradient, sparkling rhinestones, and an intricate pearl butterfly ribbon on the accent finger.
This ethereal nail look combines a soft nude pink and white ombre gradient with the mystical glow of moonlight chrome powder. Accentuated by delicate rhinestone clusters and a stunning handcrafted pearl butterfly ribbon, it brings a truly magical, dreamy aesthetic to long extensions.
Steps
- 1Apply Nude Pink Base Gel
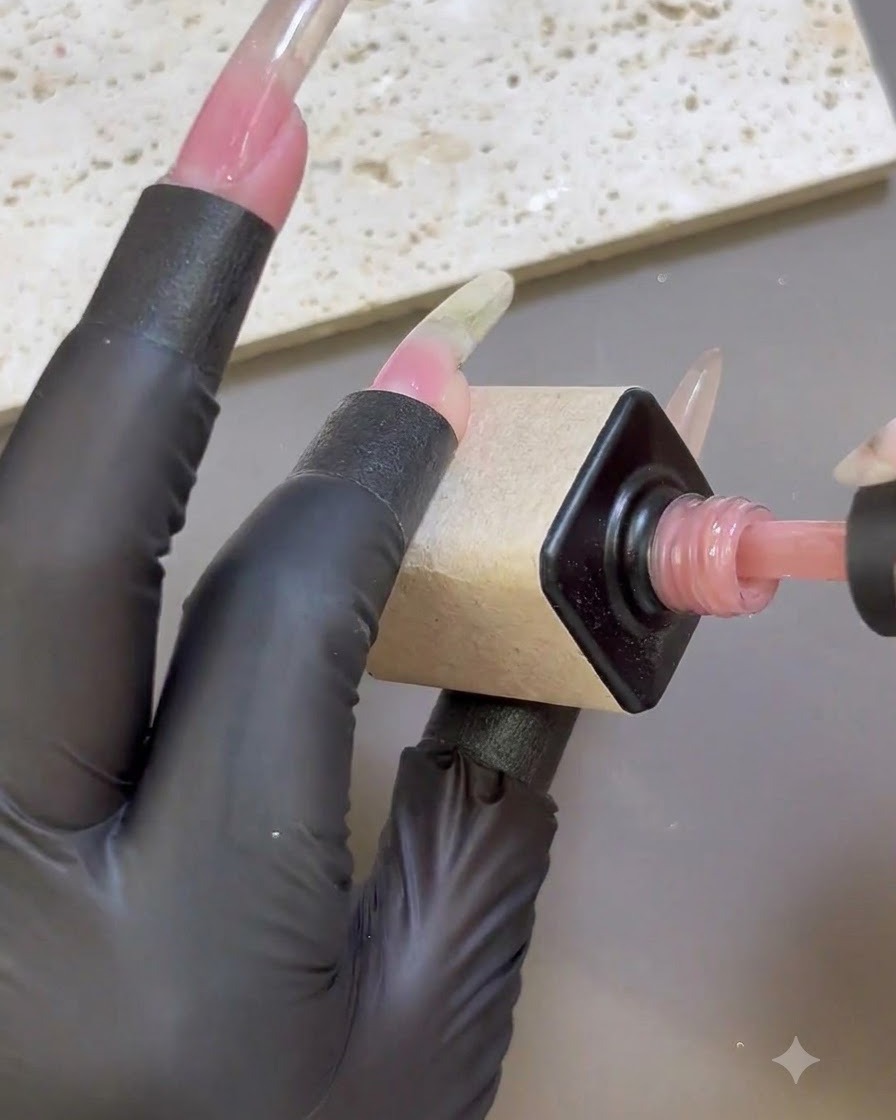
Brush an even layer of nude pink base gel onto the nail extension form, ensuring complete and smooth coverage. This establishes the foundational color tone and prepares the surface for the subsequent gradient layers. Work steadily to avoid any pooling near the edges.
Tip: Apply in thin, controlled strokes to prevent streaks and ensure an even foundation for the ombre effect. - 2Apply Second Coat of Gel
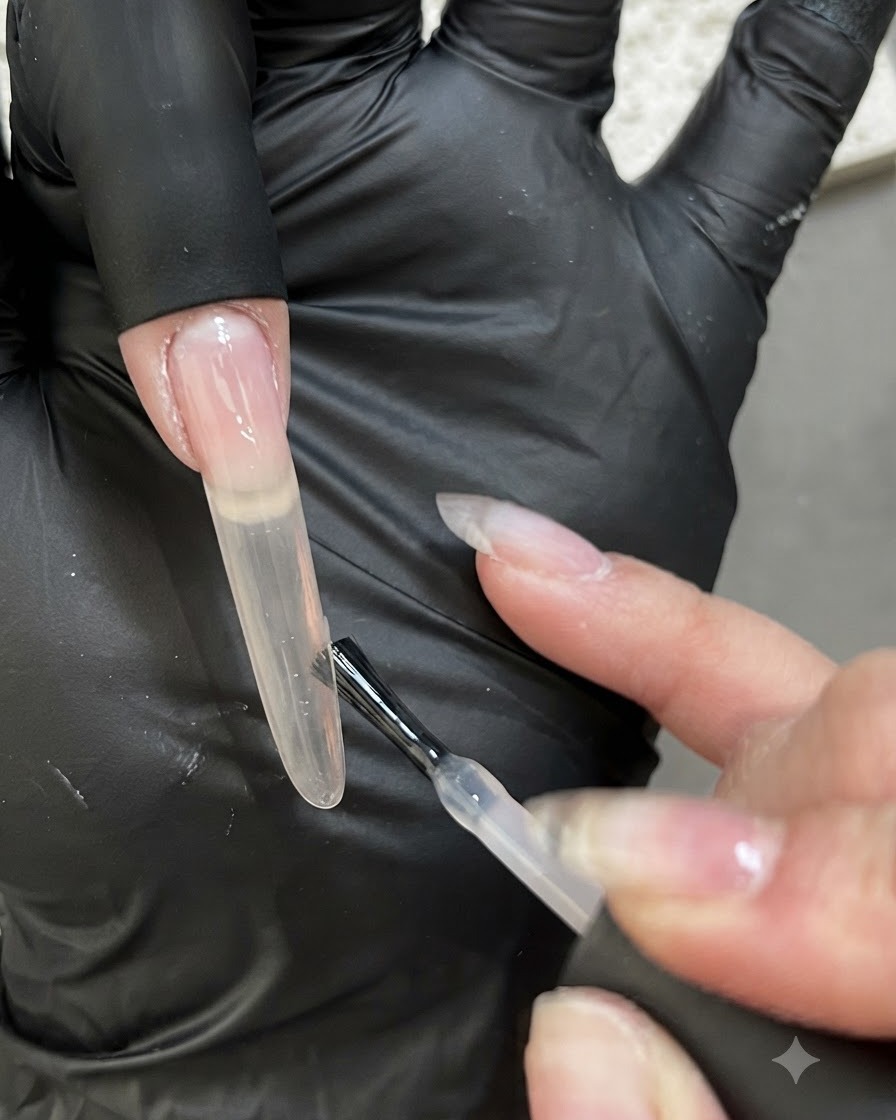
Apply a second coat of nude pink gel, making this layer slightly thicker than the first to deepen the color and build structural integrity. Ensure the gel is distributed smoothly across the nail extension form without any gaps or uneven patches.
Tip: A slightly thicker second coat enhances color opacity and provides a sturdy base for the upcoming ombre gradient. - 3Duplicate Nail Extension Forms
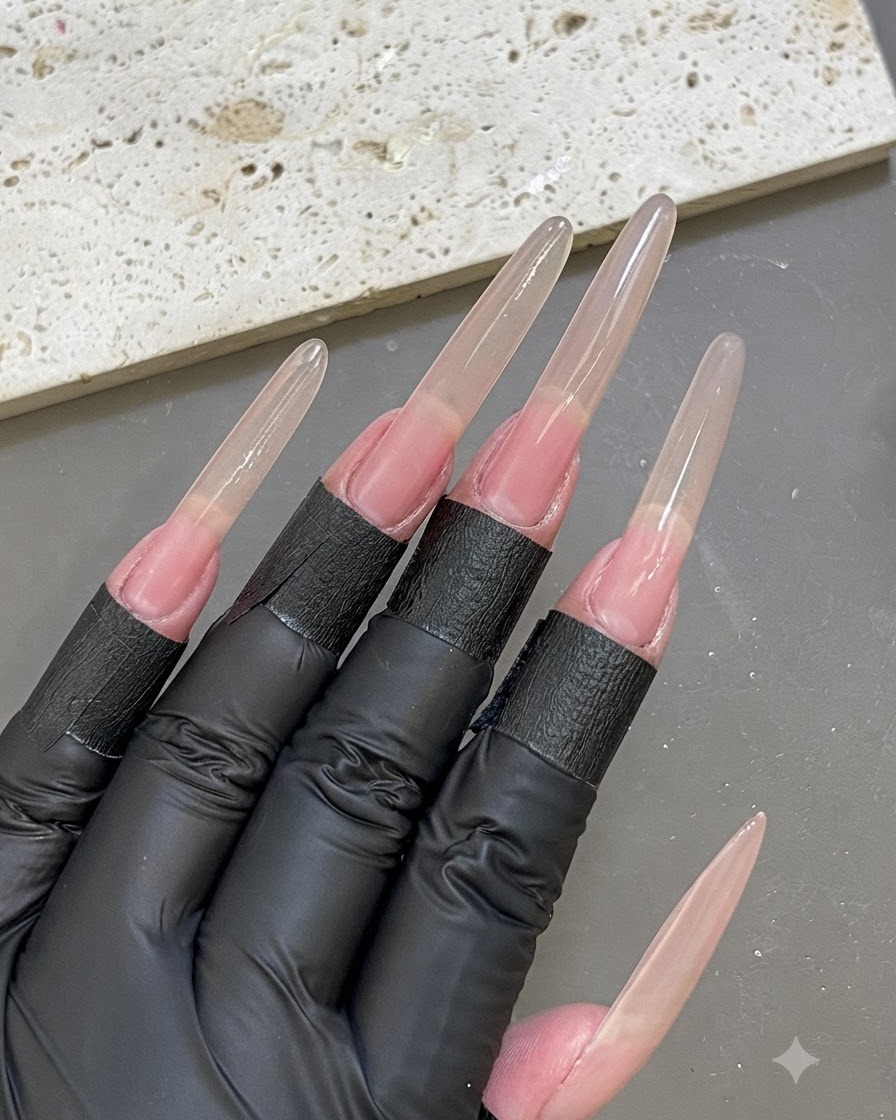
Duplicate and align nail extension forms across all fingers to maintain a uniform length and shape throughout the manicure. Verify that each form is securely positioned and consistent before proceeding with the color application.
Tip: Check alignment across all fingers simultaneously to ensure symmetrical length and shape before curing. - 4Prepare White Gel on Sponge
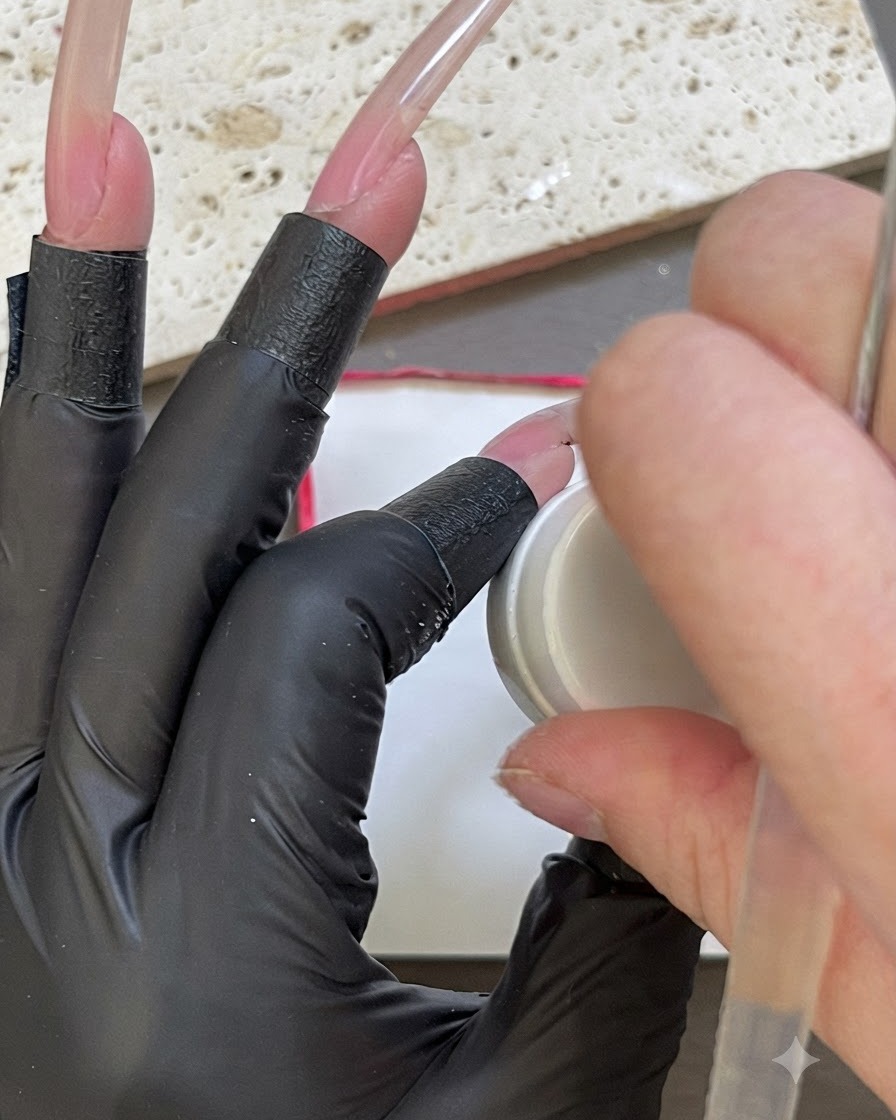
Pick up a small amount of white gel using a clean cosmetic sponge, distributing it evenly across the surface of the sponge. This preparation is essential for creating a smooth, feathered gradient transition on the nail tip.
Tip: Use a minimal amount of gel on the sponge to avoid heavy texture or clumping during the patting process. - 5Create Ombre Gradient Effect
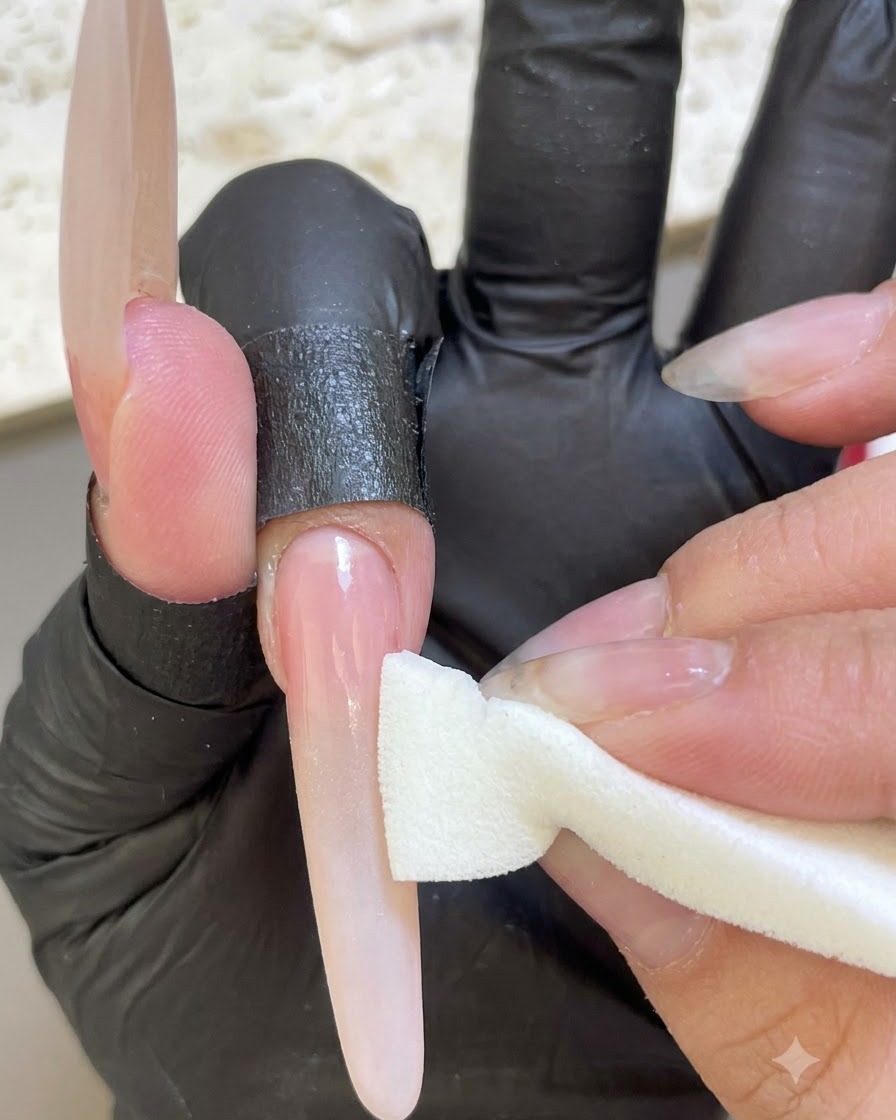
Gently pat the white gel onto the nail tip using the sponge, repeating the motion a few times to build a seamless fade. This technique ensures a natural, soft transition from the nude pink base to the bright white tip.
Tip: Light, repeated tapping motions create a softer, more gradual fade than heavy, pressing strokes. - 6Cure and Apply No-Wipe Top Coat
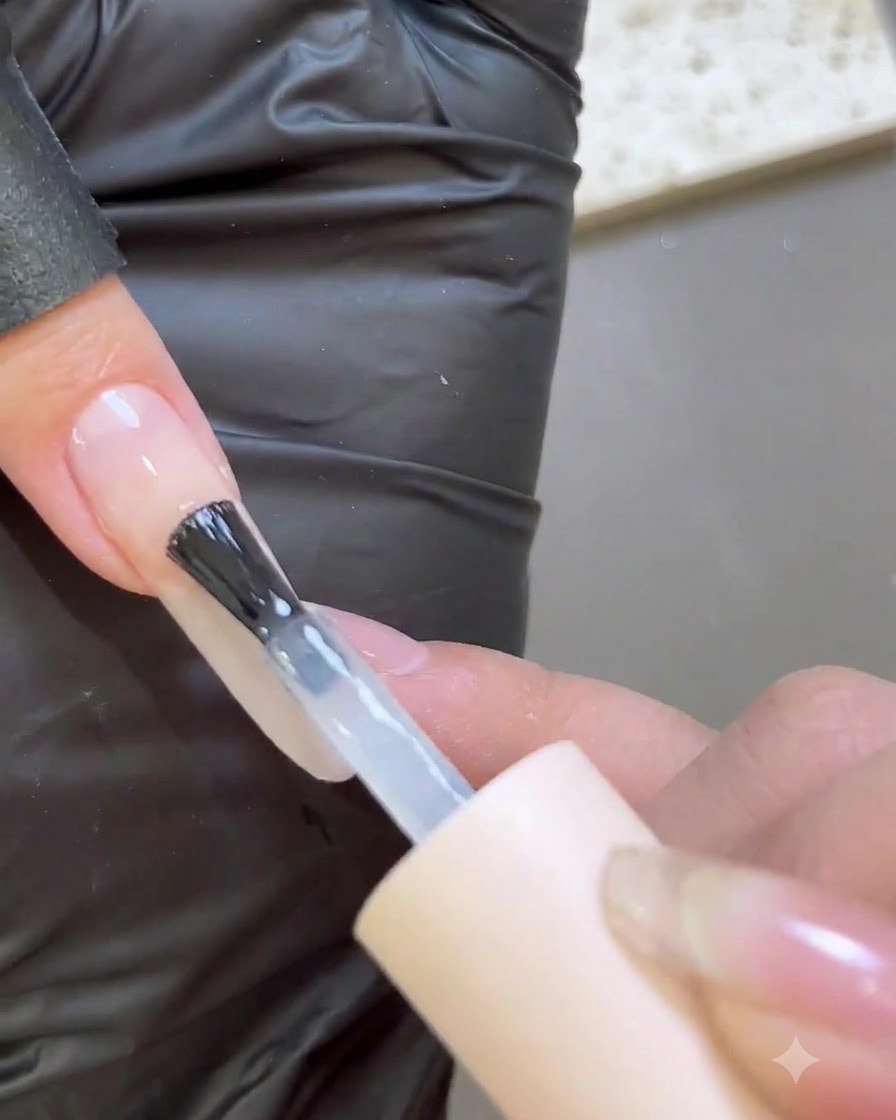
Cure the gradient under a UV or LED lamp to set the design, then apply a coat of no-wipe top coat over the surface. This seals the ombre layers and prepares the nail for the subsequent chrome powder application.
Tip: Ensure complete curing under the lamp so the top coat provides a smooth, tacky-free surface for rubbing powder. - 7Apply moonlight chrome powder
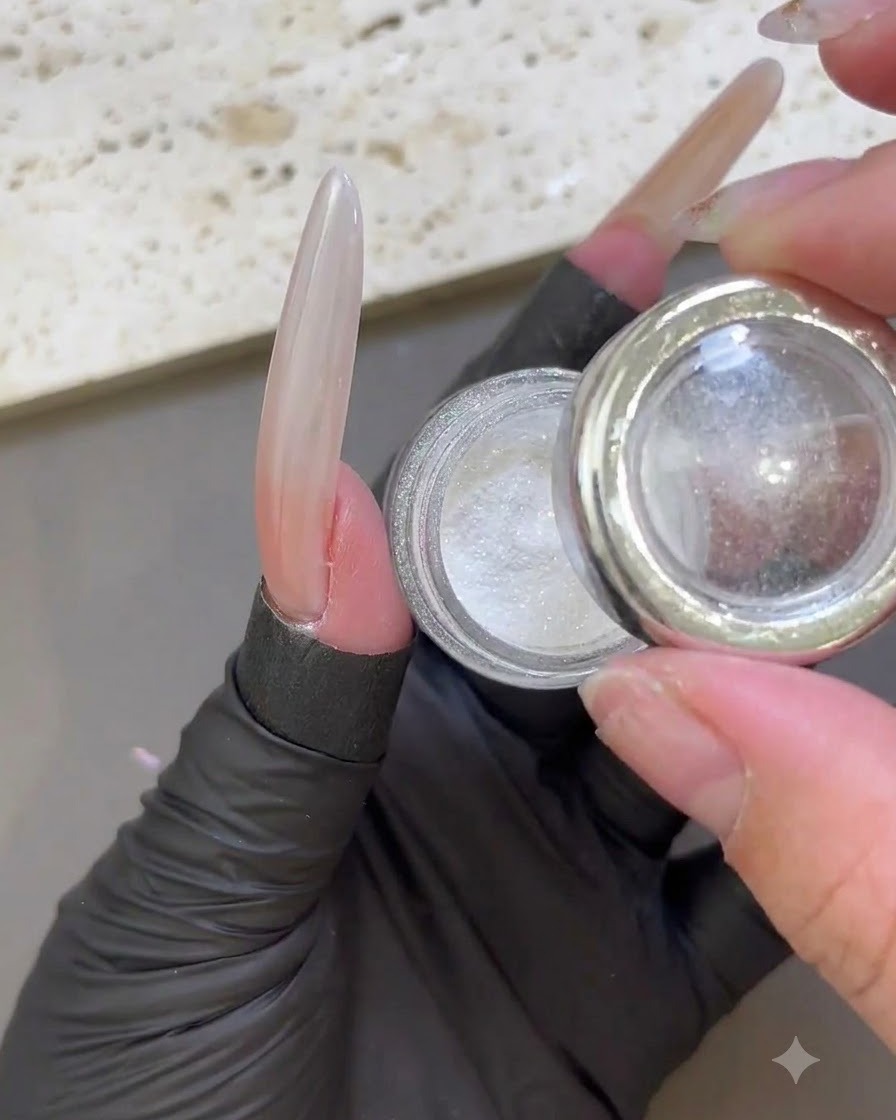
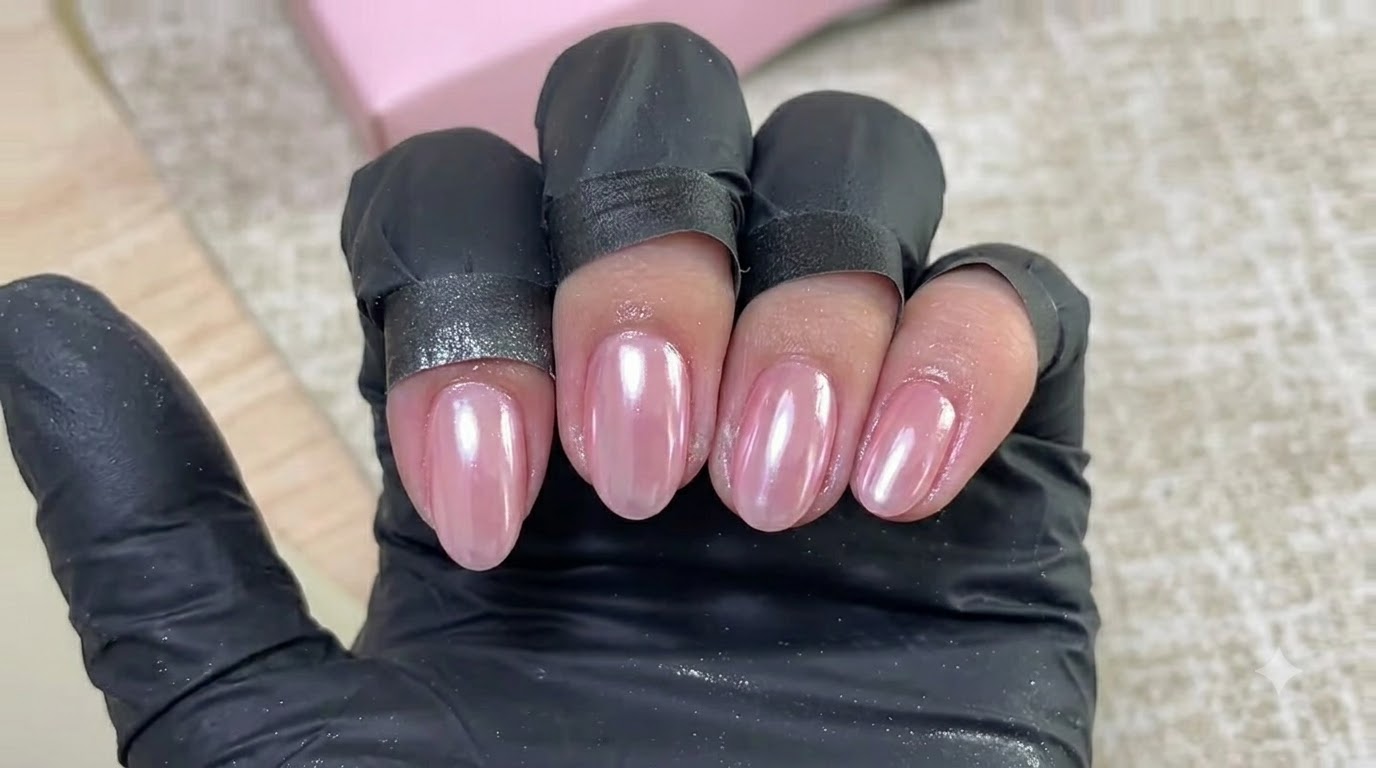
Take a small amount of moonlight chrome powder and rub it directly onto the cured top coat surface of the nail. Gently buff the powder in circular motions using your finger or an applicator until a smooth, pearlescent sheen covers the nail entirely.
Tip: Apply the powder while the surface is still slightly warm right after curing, or onto a non-wipe top coat, to ensure optimal adhesion of the chrome flakes. - 8Smooth and blend moonlight powder
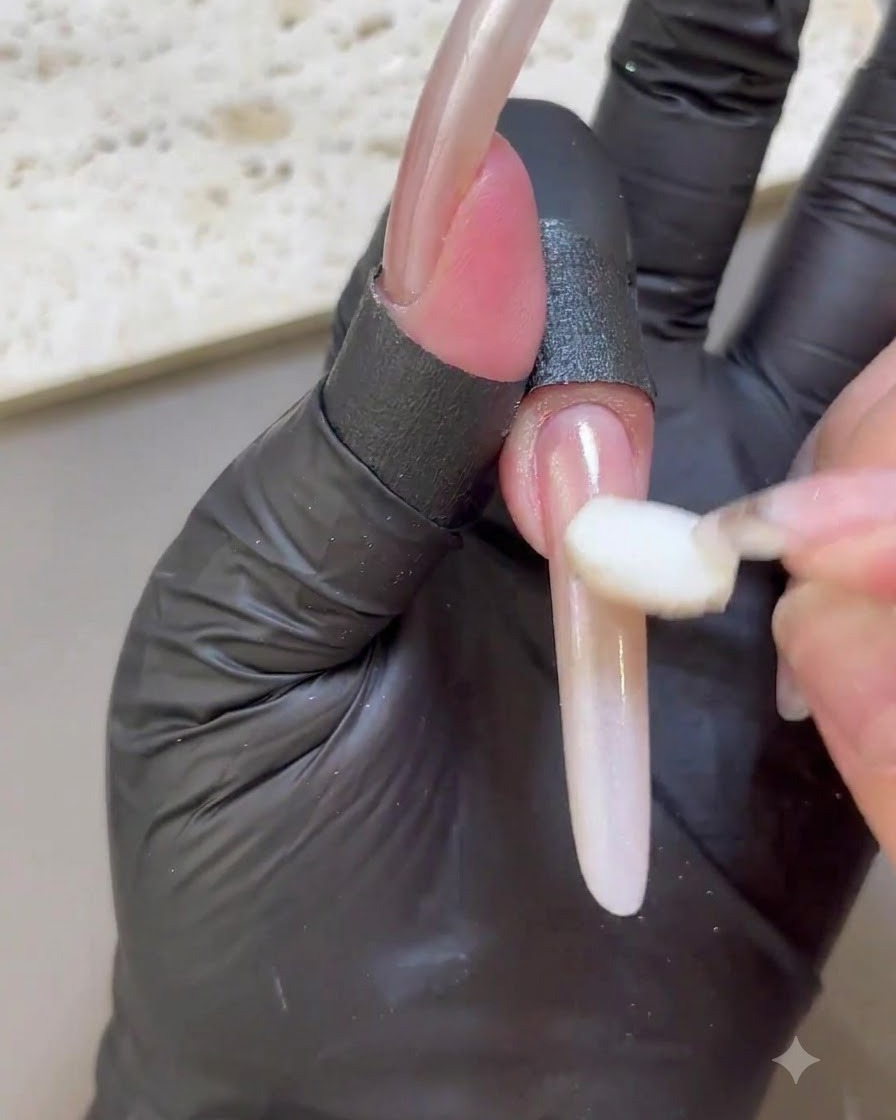
Using a clean gloved finger or a soft sponge applicator, gently smooth and buff the moonlight powder across the nail surface. This ensures an even distribution of the pearlescent pigment, creating a seamless and natural ethereal glow.
Tip: Buffing with your finger provides subtle warmth and pressure that helps lock the micro-powders flat against the surface. - 9Cure and sweep away excess powder
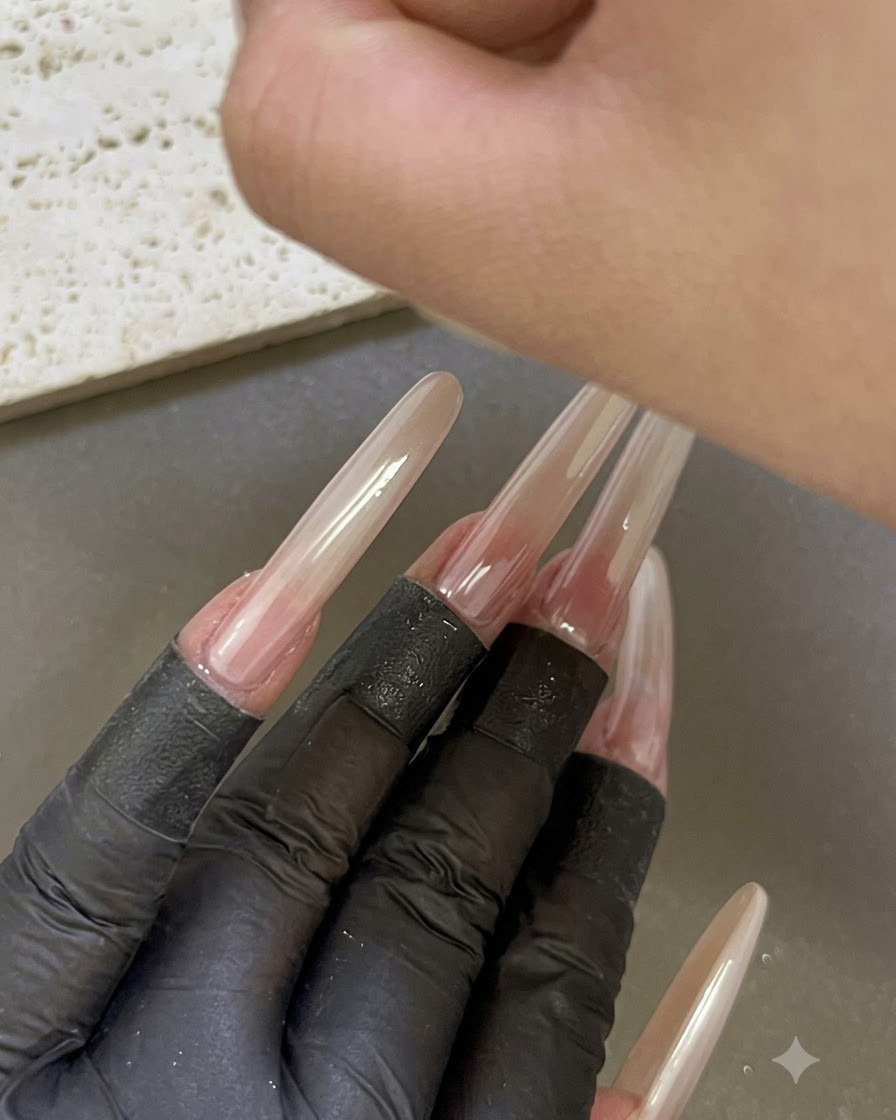
Place the hand under the UV or LED lamp to cure the application, then use a soft dust brush to thoroughly sweep away any loose or excess powder particles lingering around the nail plate and surrounding skin.
Tip: Make sure all stray powder particles are completely brushed off before sealing, otherwise they can get trapped under the top coat and cause dull spots. - 10Seal edges with base gel
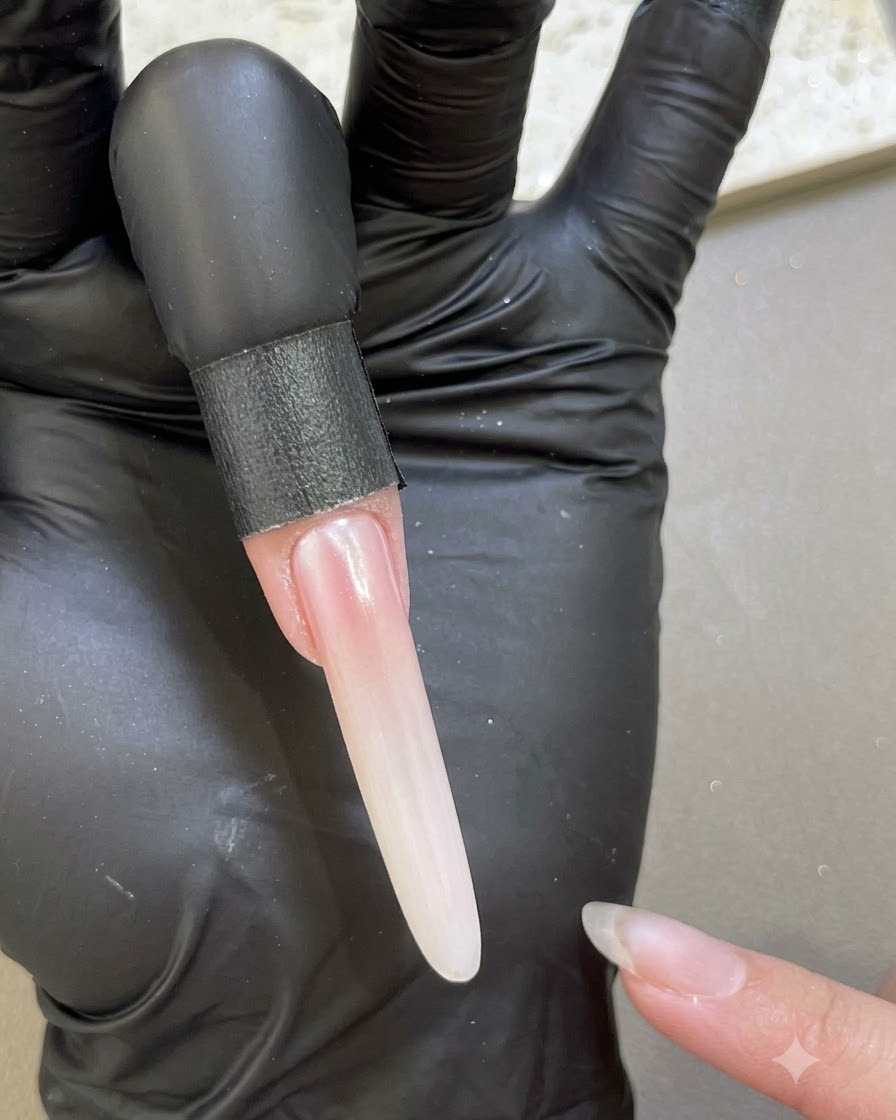
Apply a thin line of base gel carefully along the sidewalls and free edge of the nail. This sealing step anchors the layers together, prevents chipping or peeling at the tips, and ensures long-lasting durability.
Tip: Be extremely precise when wrapping the free edge to avoid making the tip look bulky or thick. - 11Apply tempered top coat
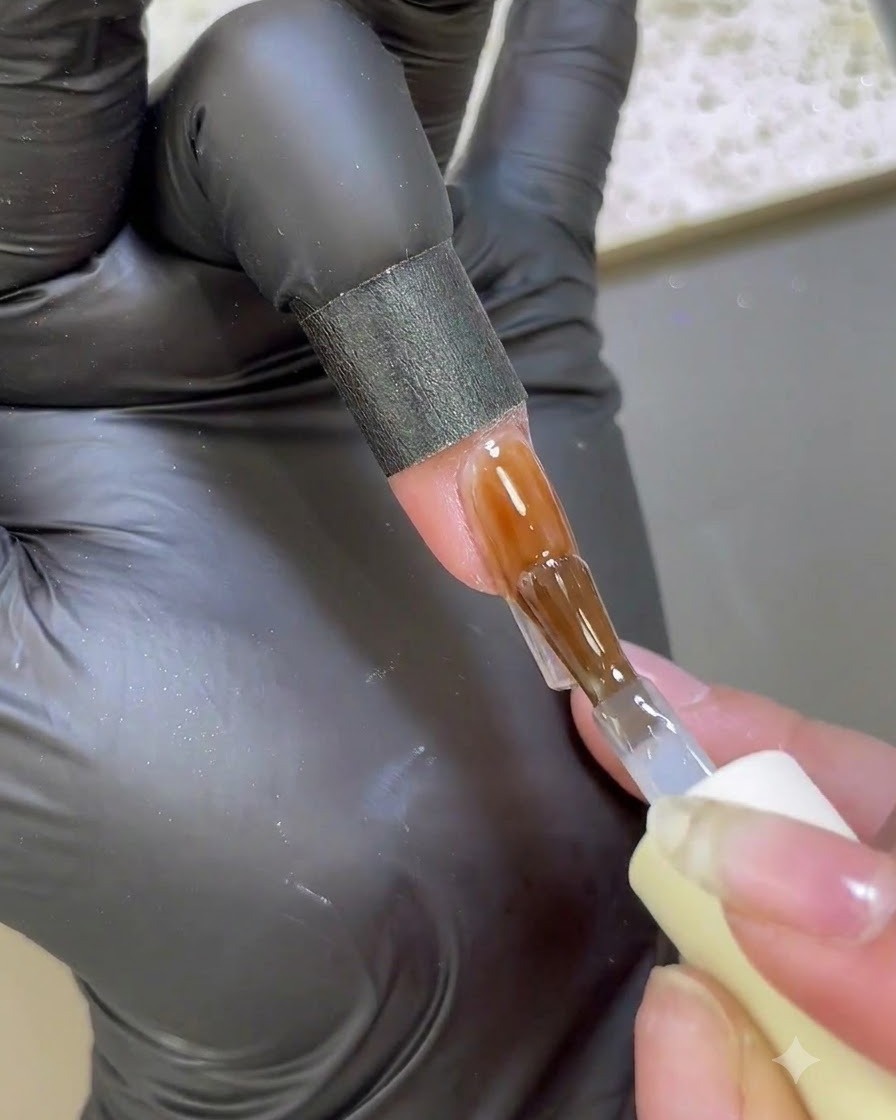
Apply a generous yet even coat of tempered top coat over the entire surface of the nail. This high-gloss protective layer shields the chrome finish and underlying art from scratches, wear, and fading.
Tip: Cap the free edge carefully with the top coat to prevent the chrome finish from wearing off at the tips. - 12Place rhinestones and pearls
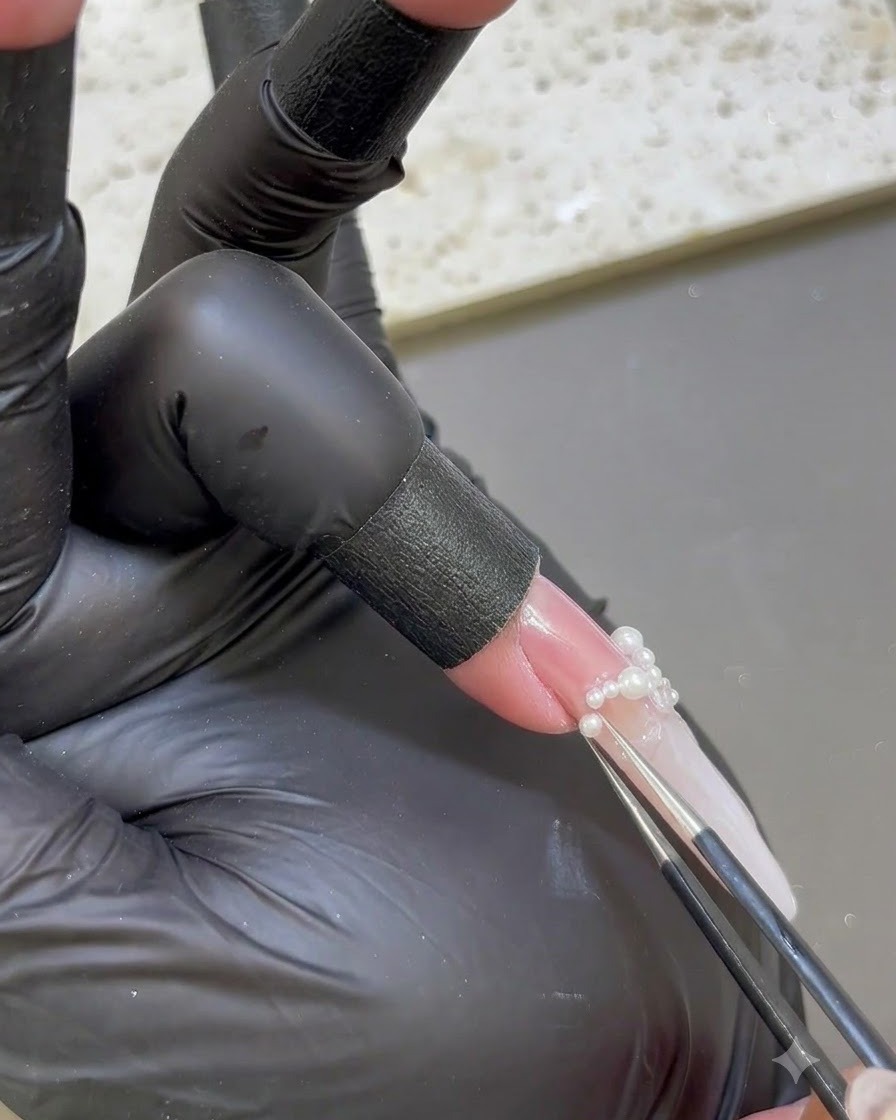
Using precision tweezers, pick up small pearls and rhinestones and arrange them onto the tacky nail surface or wet top coat. Piece them together to form an intricate ethereal butterfly ribbon or clustered accent design near the cuticle area.
Tip: Dip the tip of your tweezers into a tiny bit of top coat or base gel to pick up small pearls and rhinestones much more easily. - 13Arrange pearl butterfly ribbon
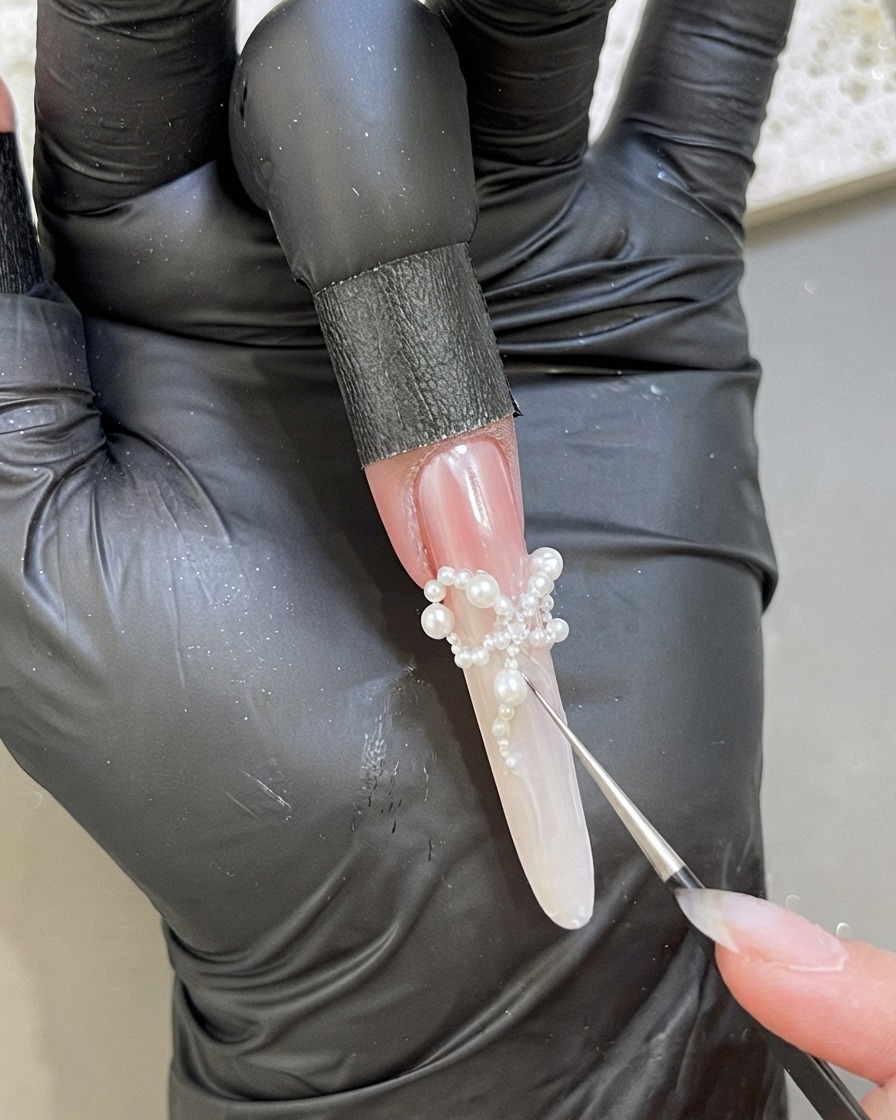
Using fine tweezers, carefully place and arrange pearls on the middle finger to construct an ethereal butterfly ribbon design. Position each pearl precisely into the tacky gel base to secure its placement before curing.
Tip: Work in small sections with your placement gel so the pearls dont shift out of position while you are arranging the intricate bow shape. - 14Add rhinestones and tiny pearls
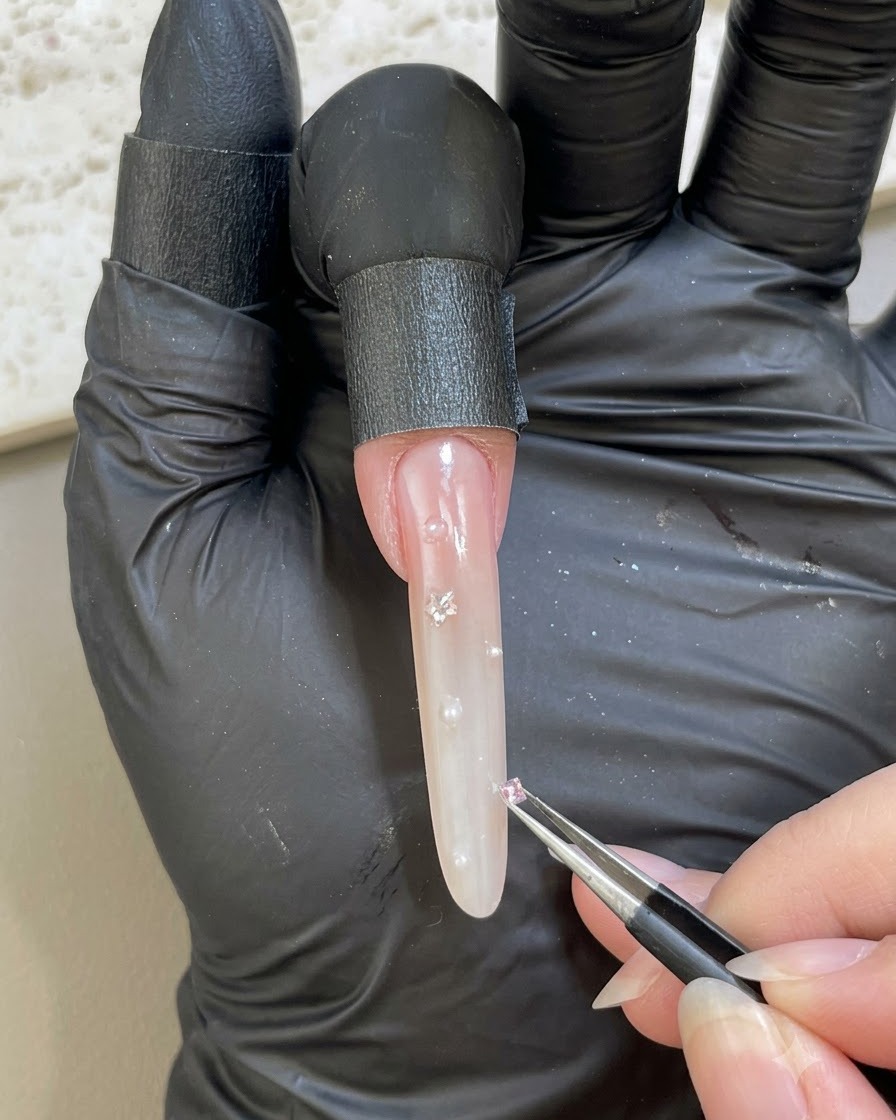
Place scattered small rhinestones and tiny pearls along the nail surface to finalize the detailing. Once all embellishments are arranged according to the design, cure under the lamp to lock everything securely in place.
Tip: Press down gently on each rhinestone and pearl to ensure it is fully embedded into the gel layer so it wont snag or fall off.