Sparkly Starry Cat Eye Sequins Nail Art — Step-by-Step Tutorial
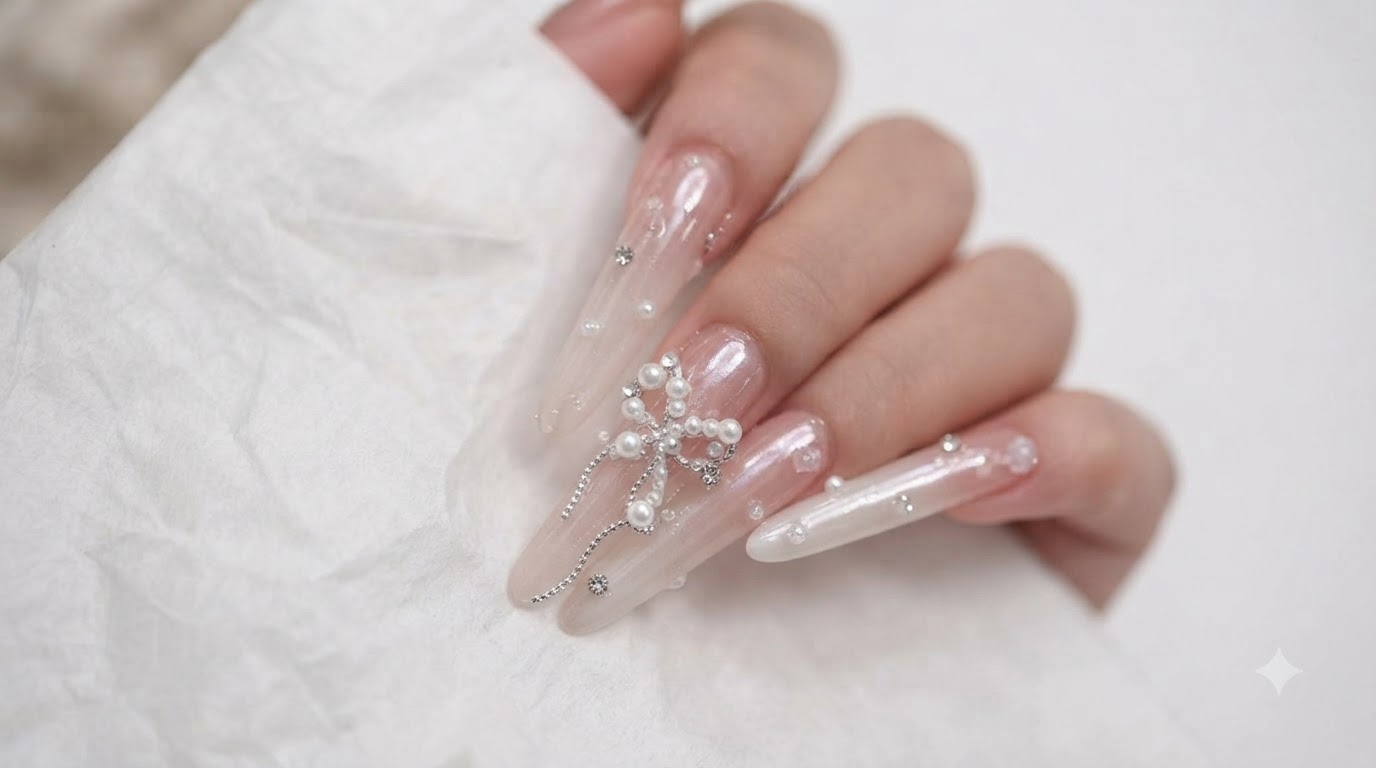
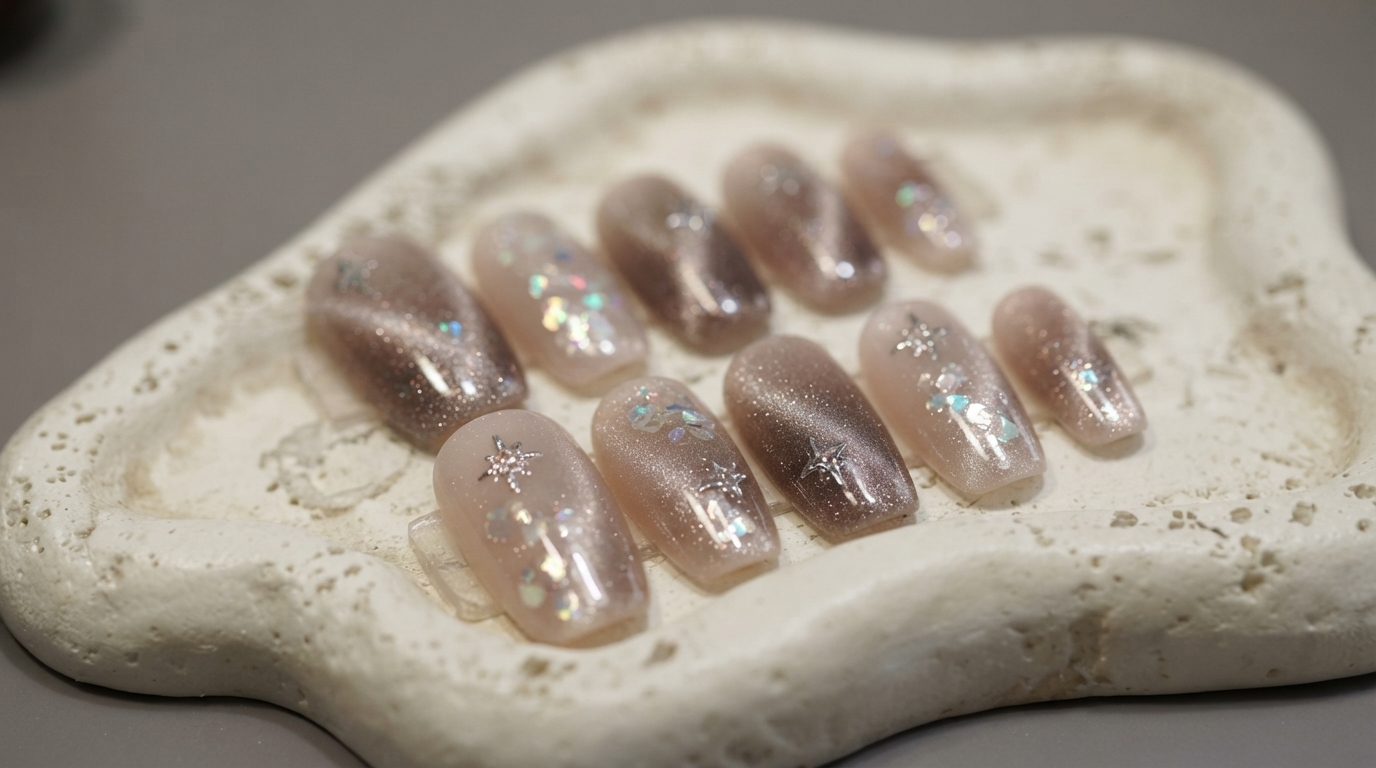
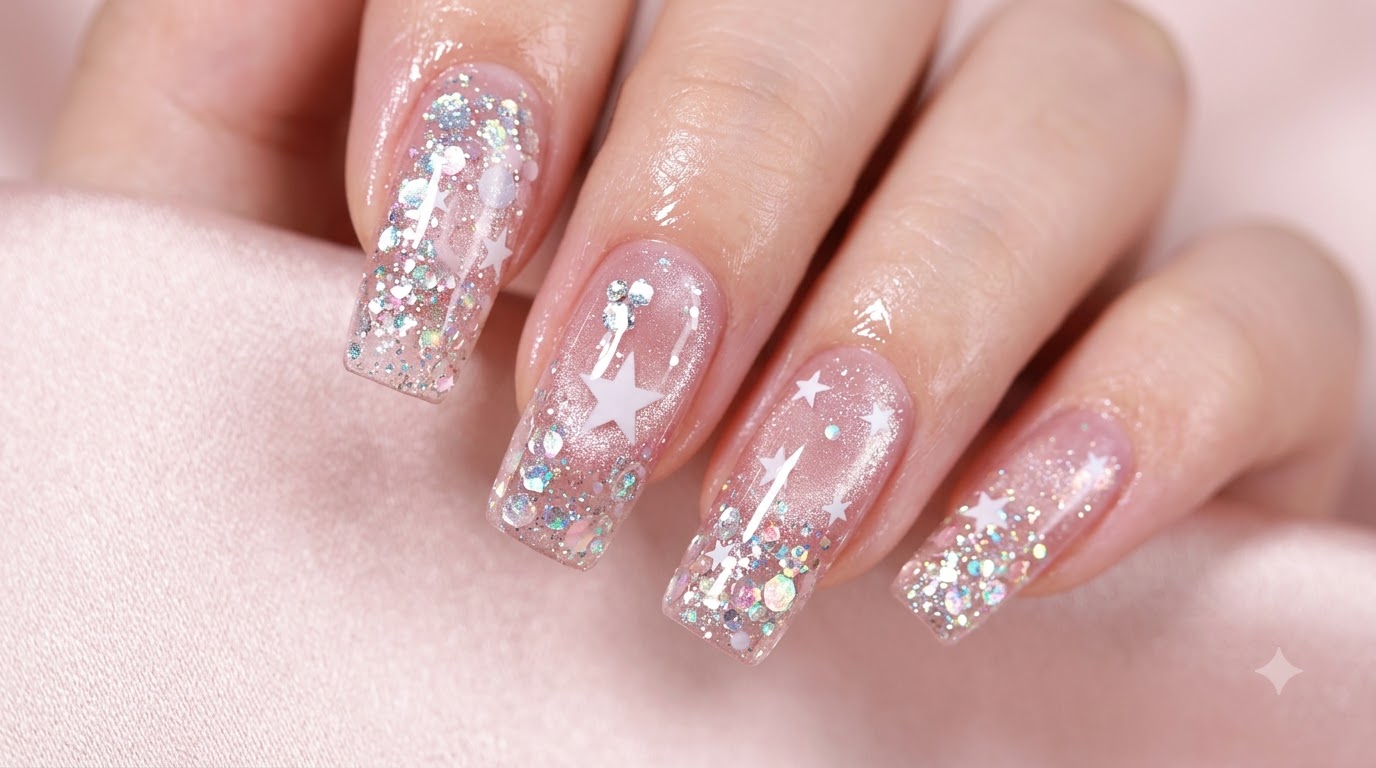
Dazzle with this starry cat eye sequin nail art featuring pink duochrome glitter gradients and stamped crystal stars.
Cat eye gels and encapsulated sequins combine to create a mesmerizing, multi-dimensional finish that shifts magically under different lights. This tutorial walks you through blending rich pink duochrome sequins with a sheer nude cat eye and crisp white star accents for a look that is both versatile and stunningly bright.
Steps
- 1Prep the natural nail
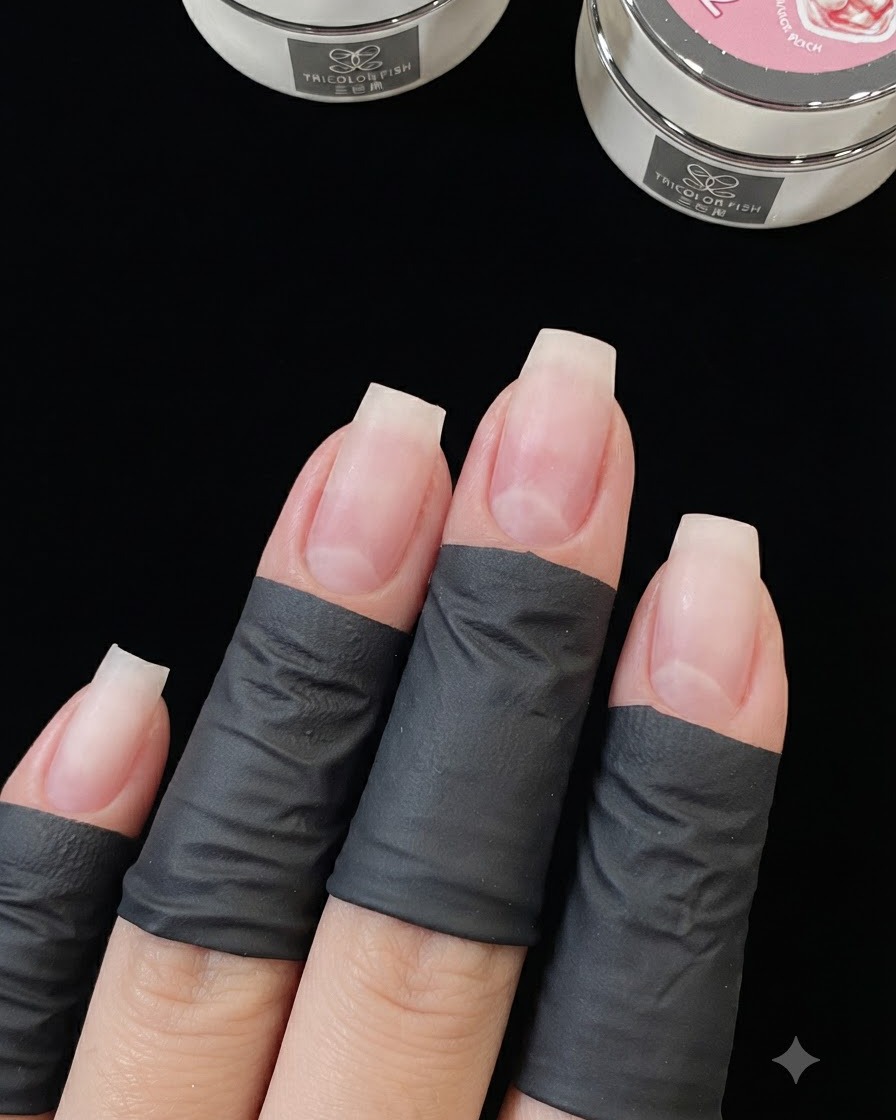
Start with natural nails prepped and ready. Apply a layer of builder gel focusing on the lower smile line near the free edge. This creates an even base and structural support before applying the decorative sequins.
Tip: Ensure the builder gel is smoothed out completely so it blends seamlessly with the natural nail bed. - 2Select the chunky sequins
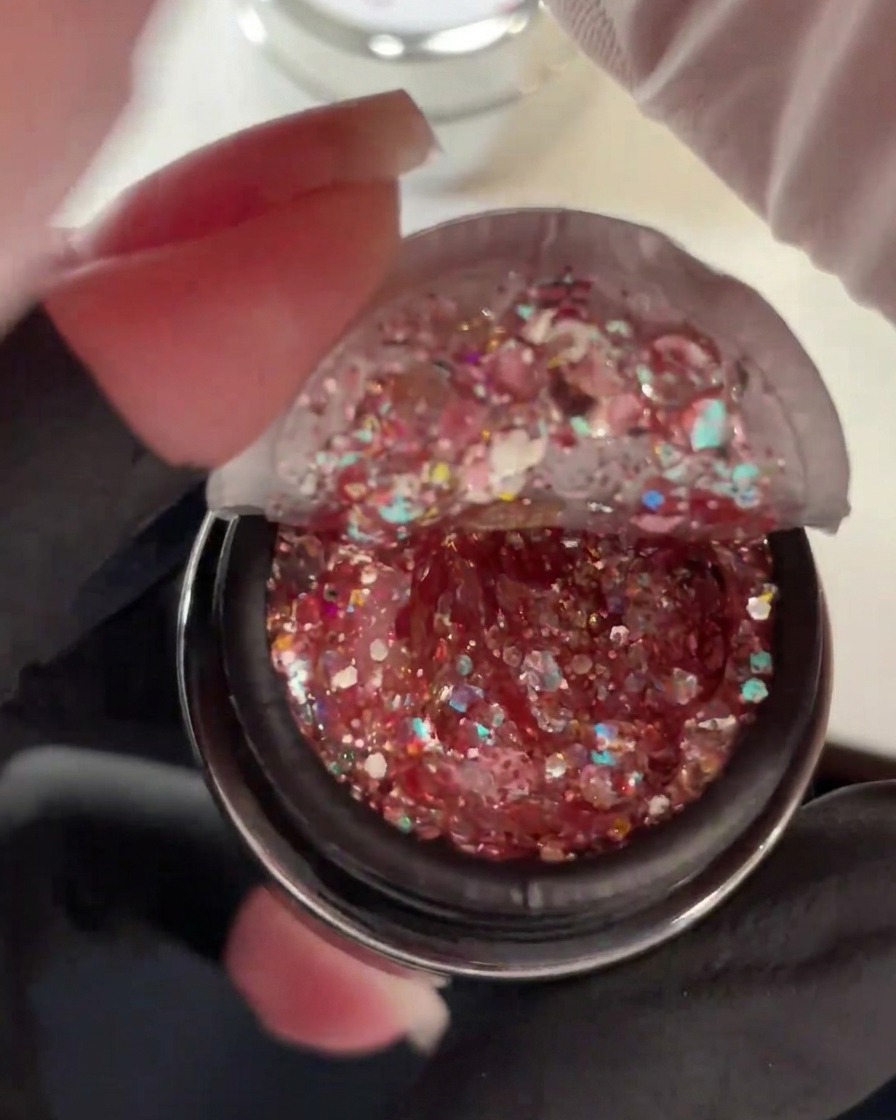
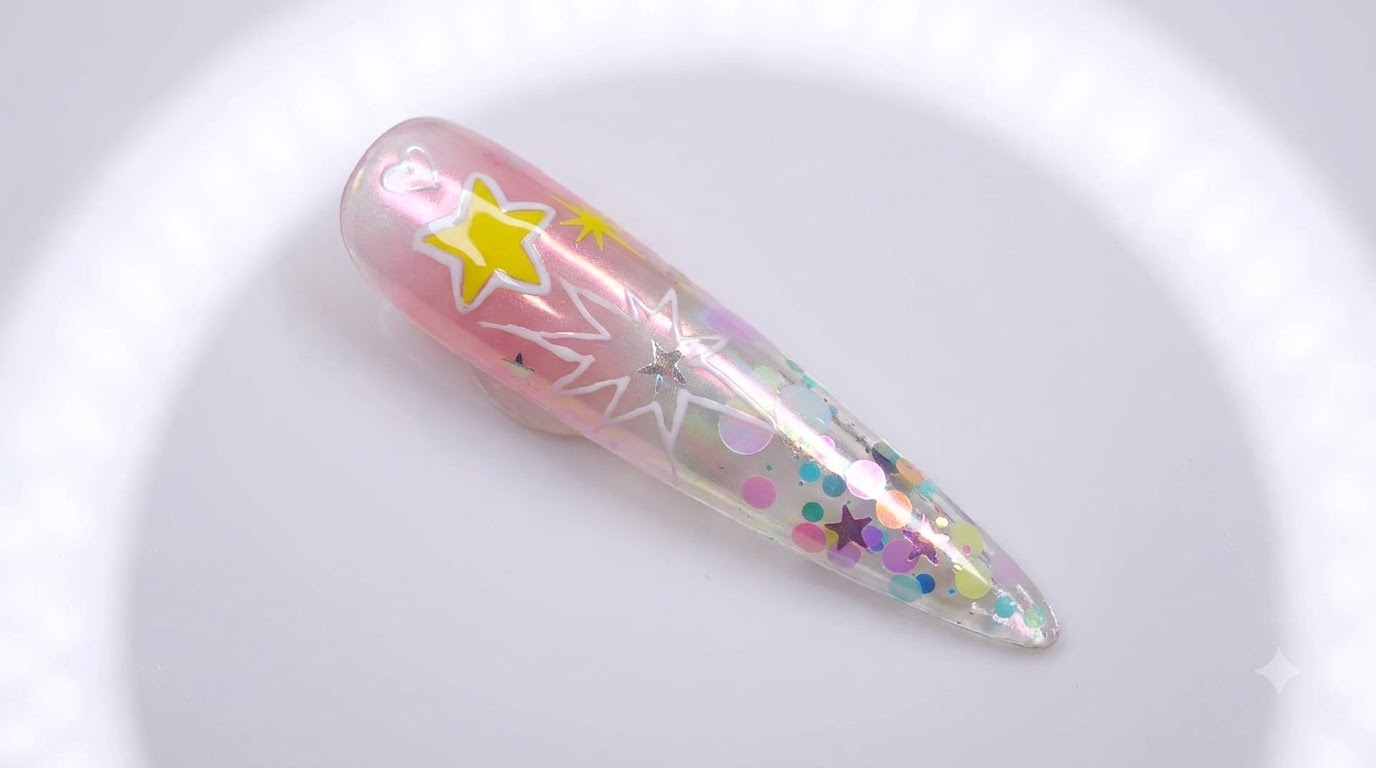
Prepare a pot of pink-toned chunky glitter mixed with duochrome sequins. This rich, multi-dimensional mix will provide a fairy-like, sparkling effect that catches the light beautifully under both bright and dim settings.
Tip: Stir the glitter pot gently before use to ensure the different sizes and colors of sequins are evenly distributed. - 3Place sequins on the nail
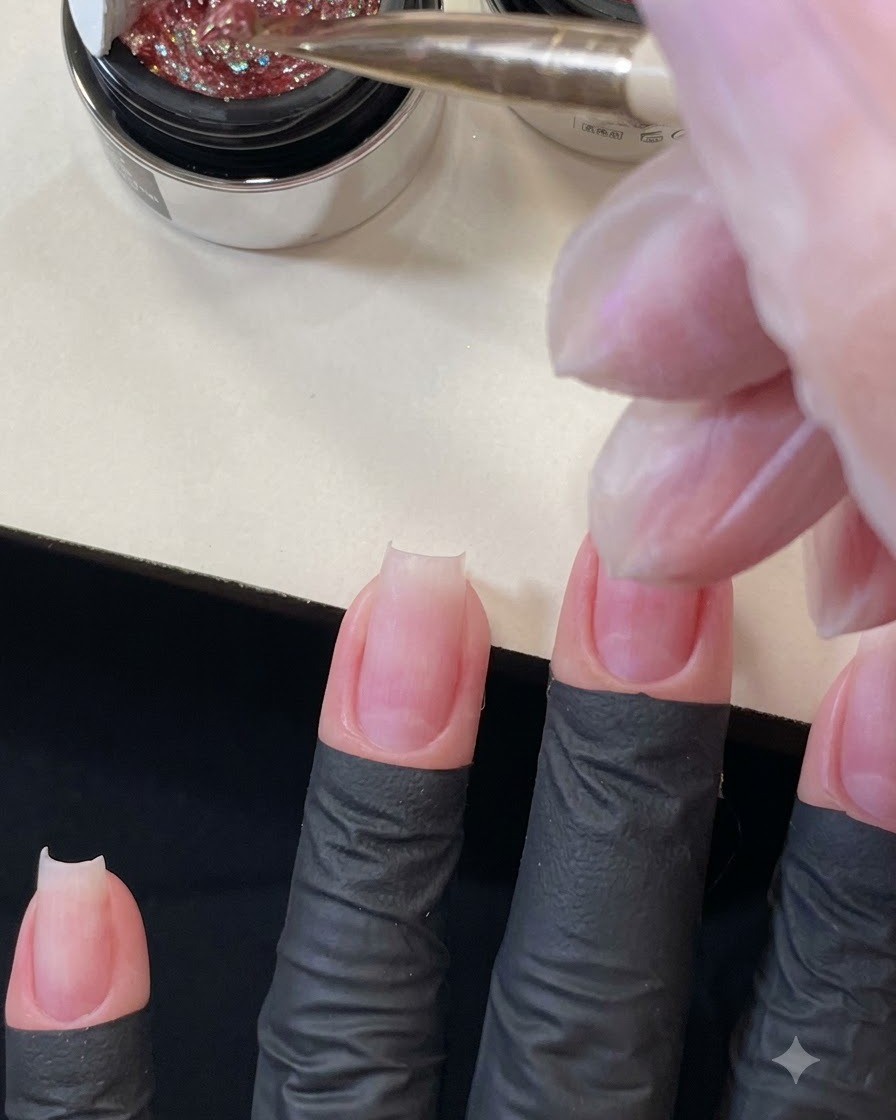
Using a flat gel brush, pick up a small amount of the chunky sequin mix. Place the sequins right in the middle of the middle fingernail. Starting in the center allows you to easily control the gradient effect we will build next.
Tip: Use a patting motion with your brush to deposit the sequins without dragging the underlying builder gel. - 4Create the sequin gradient
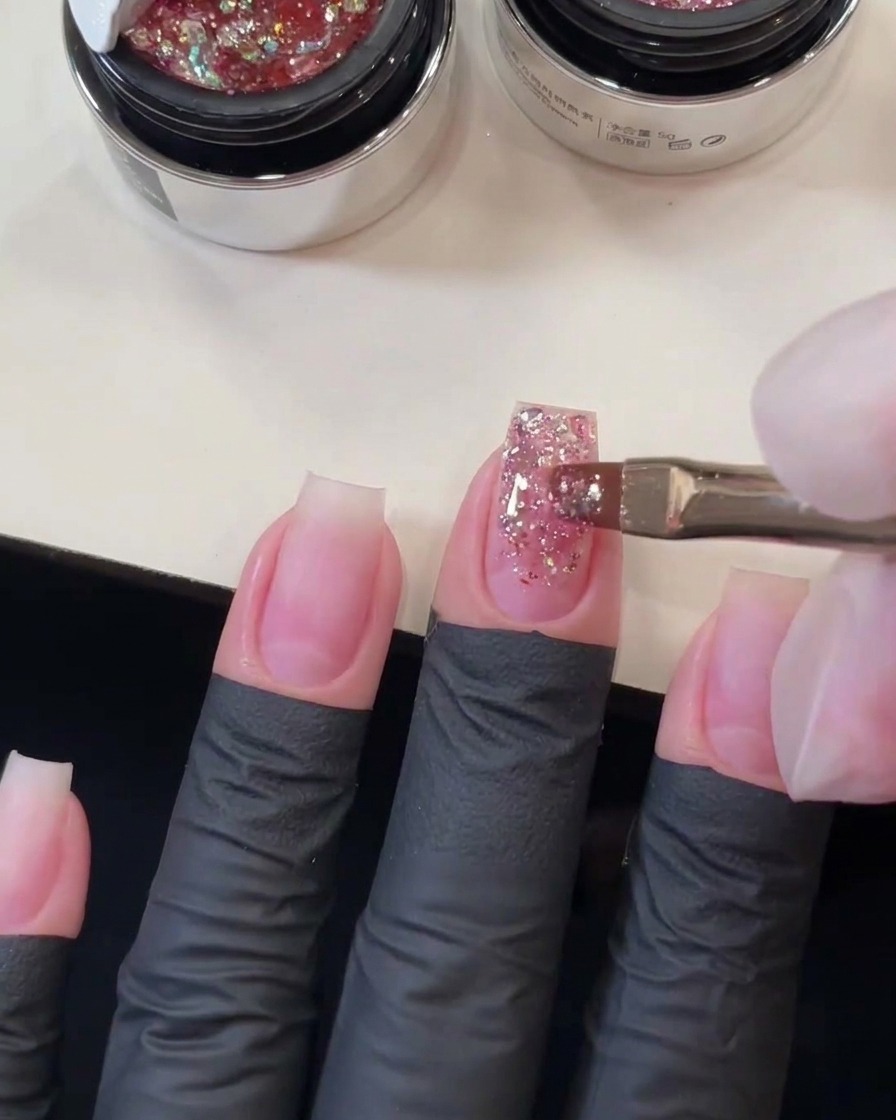
Gently sweep the flat brush downwards, pulling the chunky pink sequins from the midpoint toward the free edge of the nail. This dragging motion disperses the glitter, creating a beautiful, fading gradient effect towards the tip.
Tip: Wipe your brush clean periodically if it picks up too much gel, ensuring you are only moving the sequins rather than adding unnecessary bulk. - 5Add extra sequins for dimension
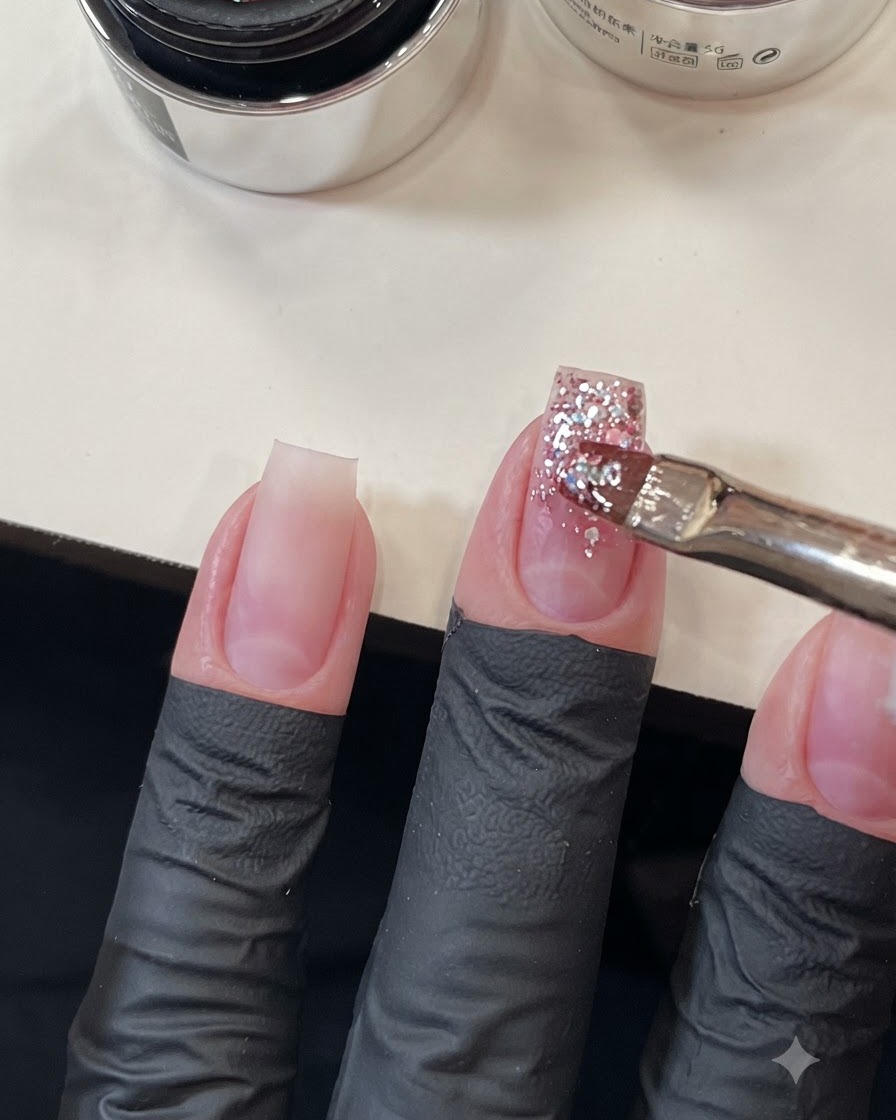
To make the design even richer, use the corner of your brush to pick up and place a few additional pieces of different colored sequins near the edges and top of the gradient. This extra embellishment enhances the multi-dimensional, fairy-like look.
Tip: Hand-placing individual large sequins can help fill gaps and balance the overall glitter gradient. - 6Encapsulate and build the apex
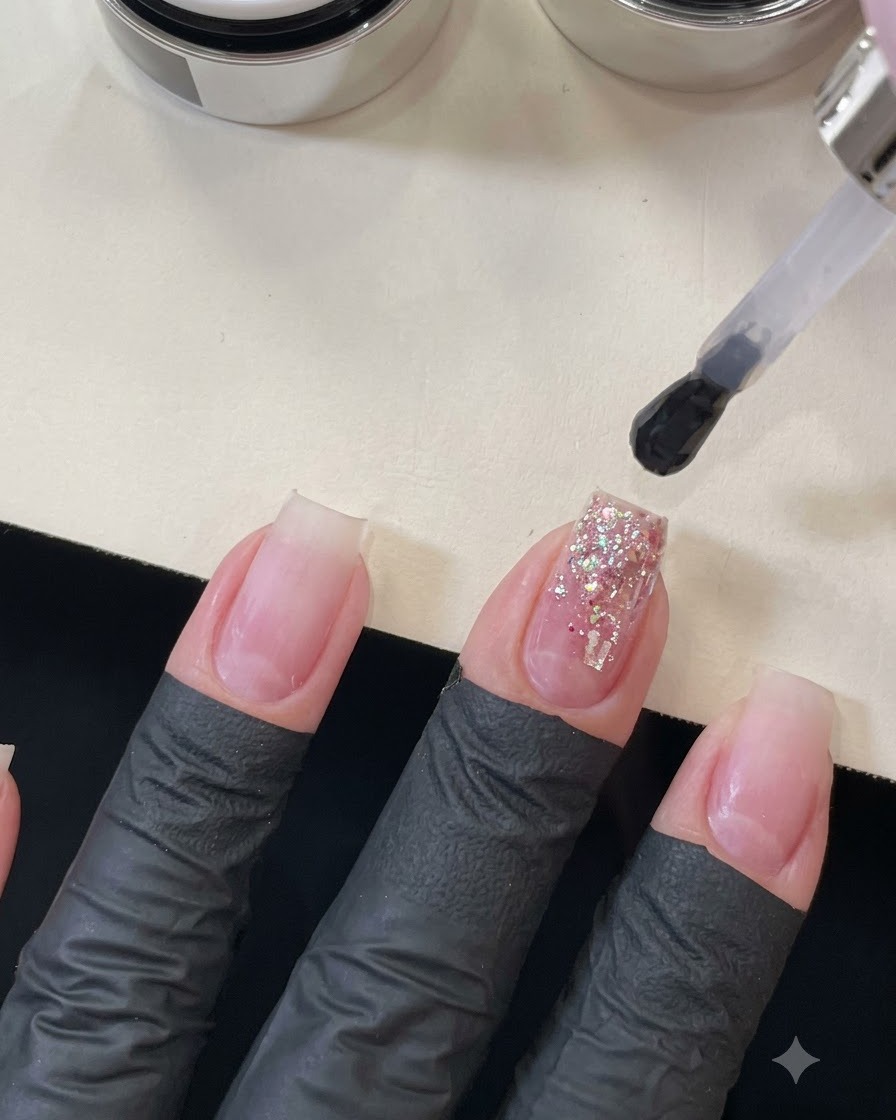
Because the chunky sequins create an uneven surface, apply a thick layer of clear builder base gel over the entire nail. Float the gel over the glitter to encapsulate the design, level the nail surface, and build a strong structural apex.
Tip: Let the clear self-leveling gel settle for a few seconds before curing to ensure a perfectly smooth surface, minimizing the filing needed later. - 7Cure the builder gel
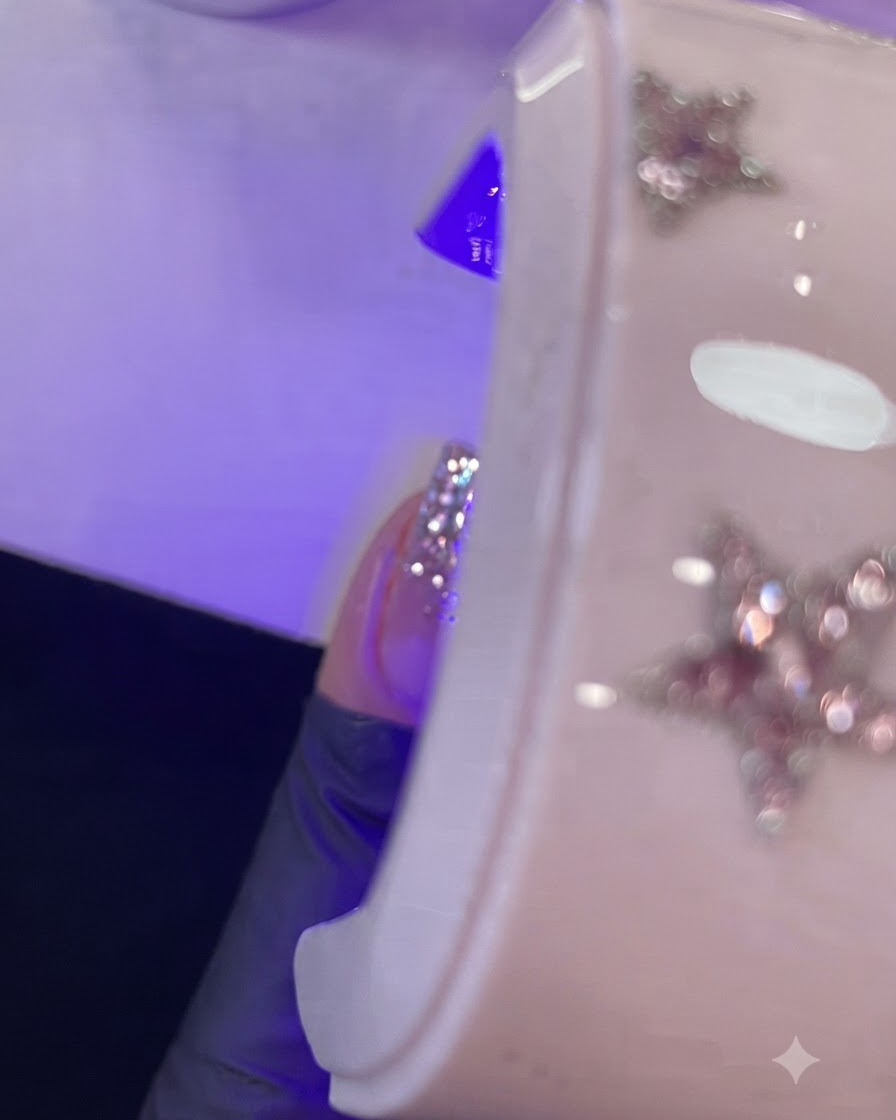
After building the apex and leveling the nail surface with builder gel, place the finger under a mini UV or LED lamp to fully cure the product. Ensure the nail is properly positioned under the light so all sides cure evenlycite: 1.
Tip: Keep the finger steady under the lamp to ensure an even, complete cure of the gel. - 8Buff the nail surface
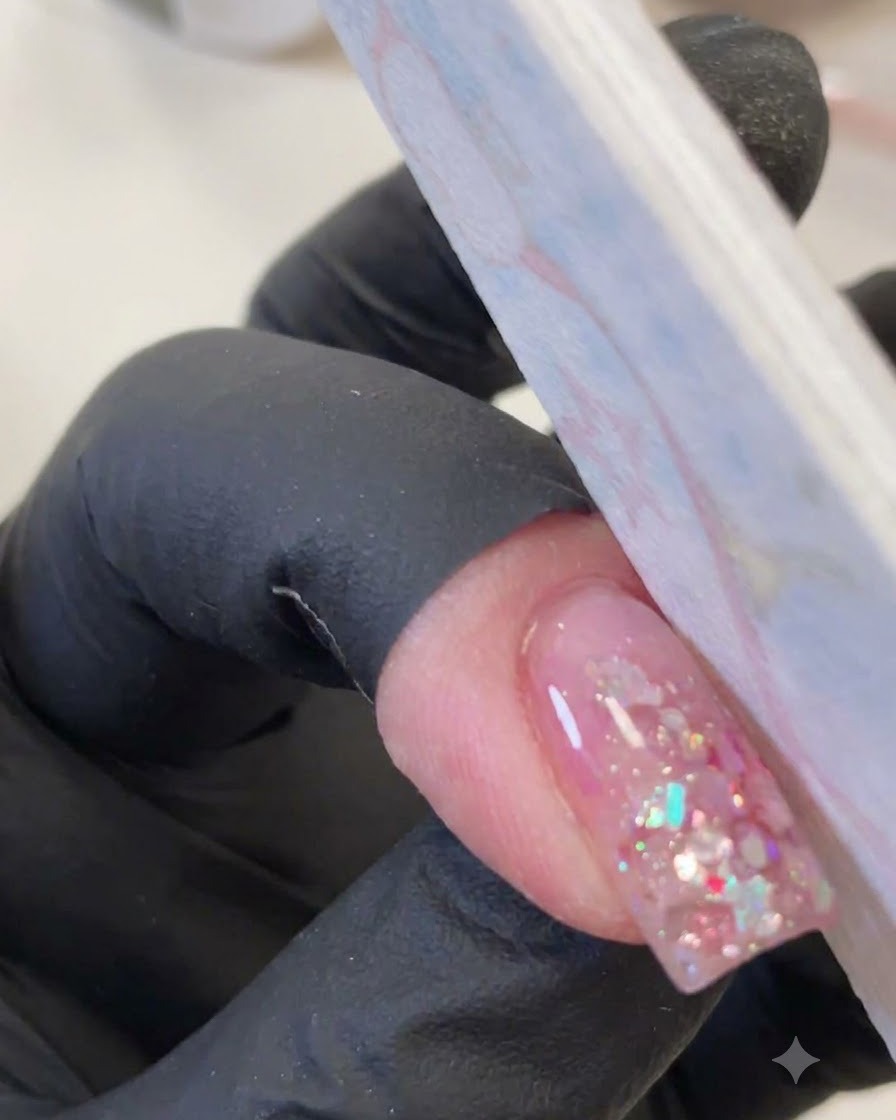
Once the sticky layer is removed, feel the nail surface for any uneven spots. Use a nail buffer to gently smooth out the encapsulated sequins and create a perfectly level base for the next stepscite: 1.
Tip: Buff gently to ensure you do not file away the encapsulated sequins or the apex you just built. - 9Apply and activate cat eye gel
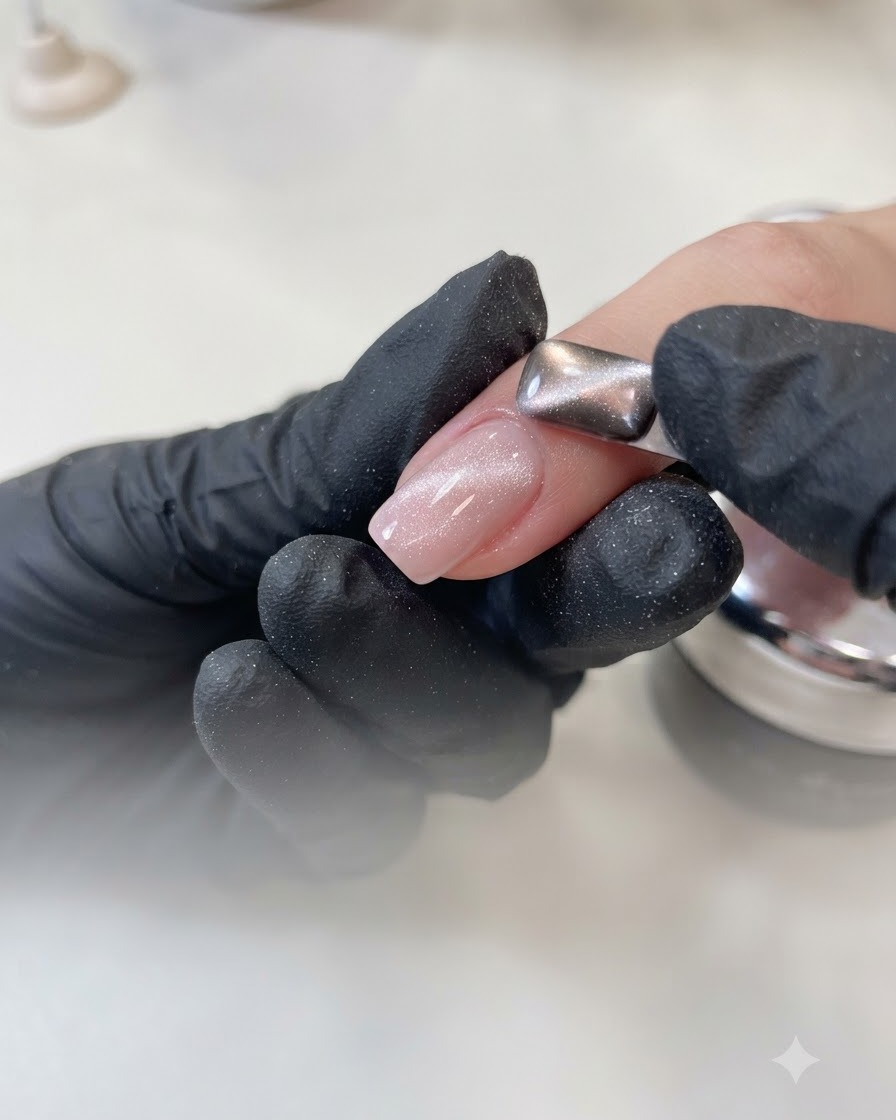
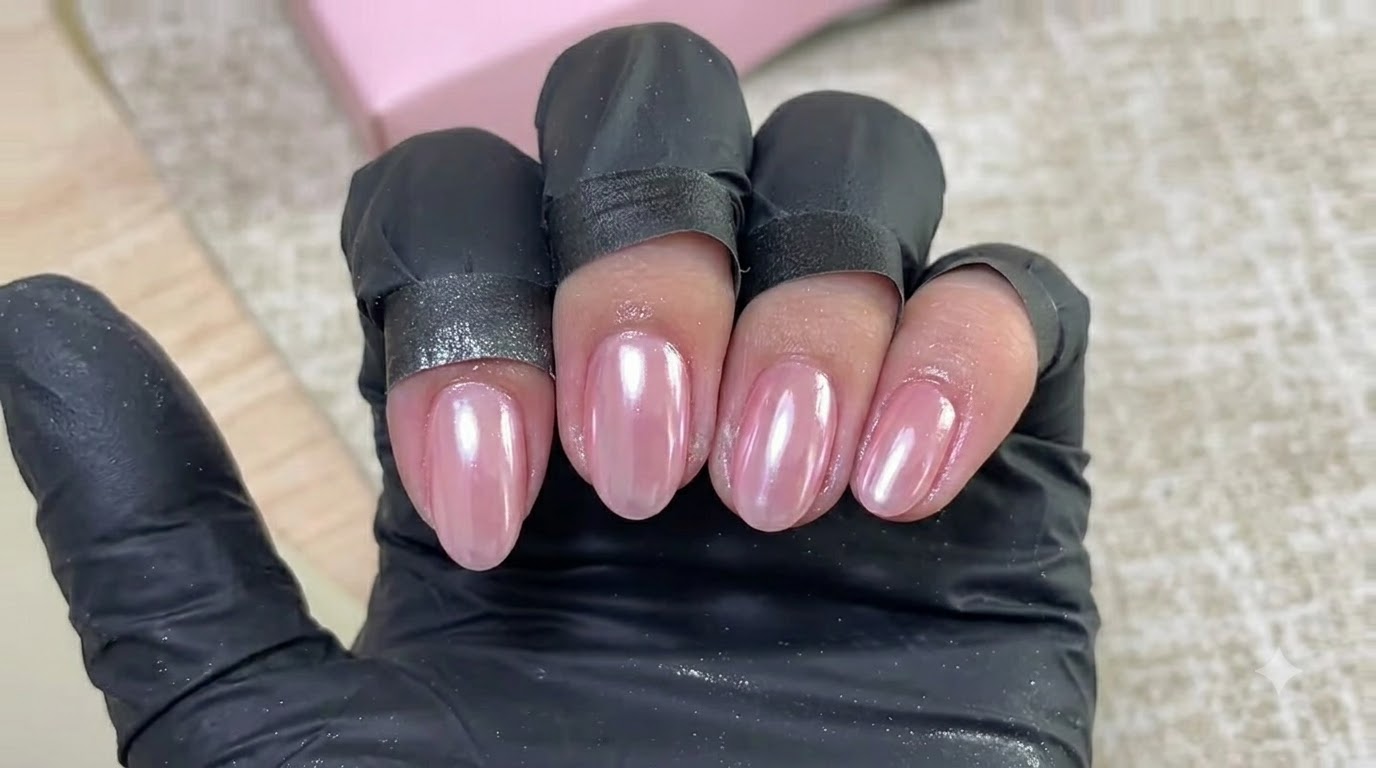
Layer a sheer, nude-colored cat eye gel over the buffed nail. Then, use a magnetic tool to push the magnetic particles, focusing the sparkling cat eye effect mostly towards the lower half of the nailcite: 1.
Tip: Hold the magnet steady for a few seconds to lock the magnetic particles into your desired pattern before curing. - 10Activate the cat eye effect
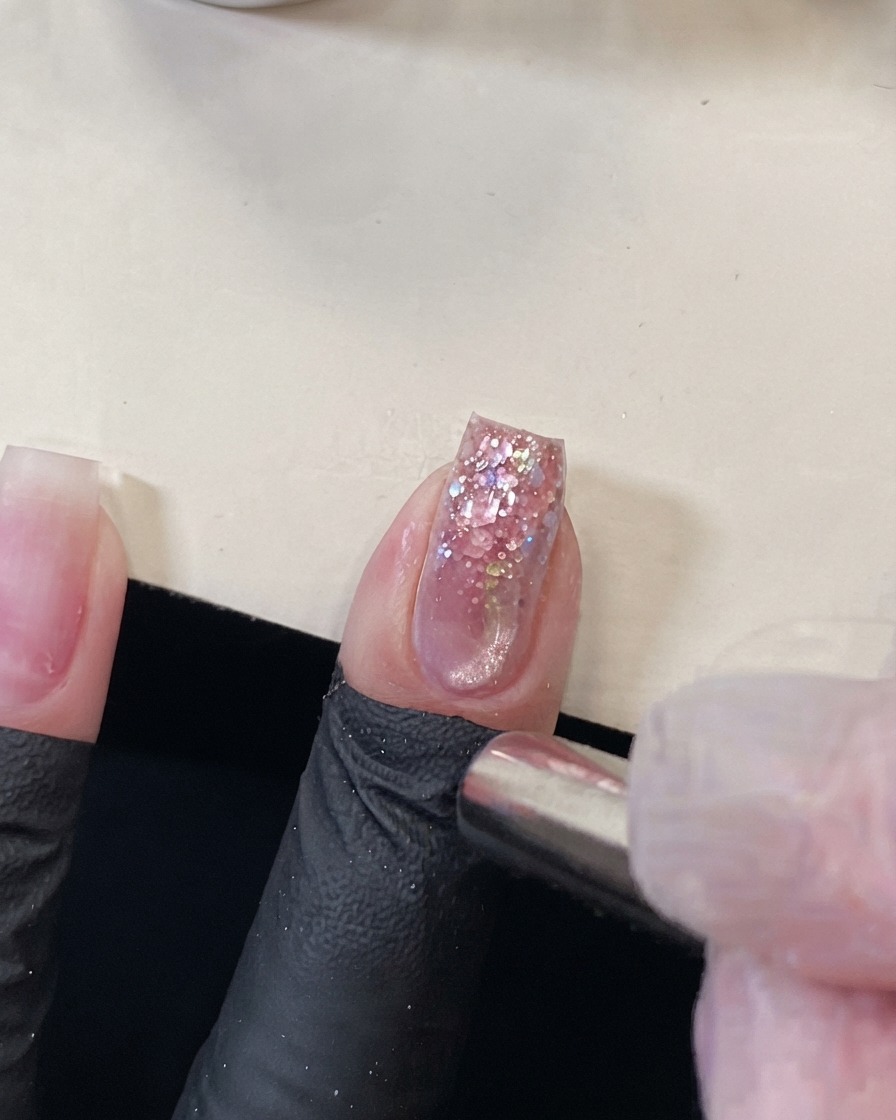
While the sheer nude cat eye gel is still wet, hold a cylindrical magnetic tool near the tip of the free edge. The magnet will repel the magnetic shimmer, pushing the metallic particles up towards the lower half and cuticle area to create a beautiful, dynamic glow.
Tip: Keep the magnet steady for about 3-5 seconds to give the magnetic particles enough time to lock into place before curing. - 11Apply the hollow star sticker
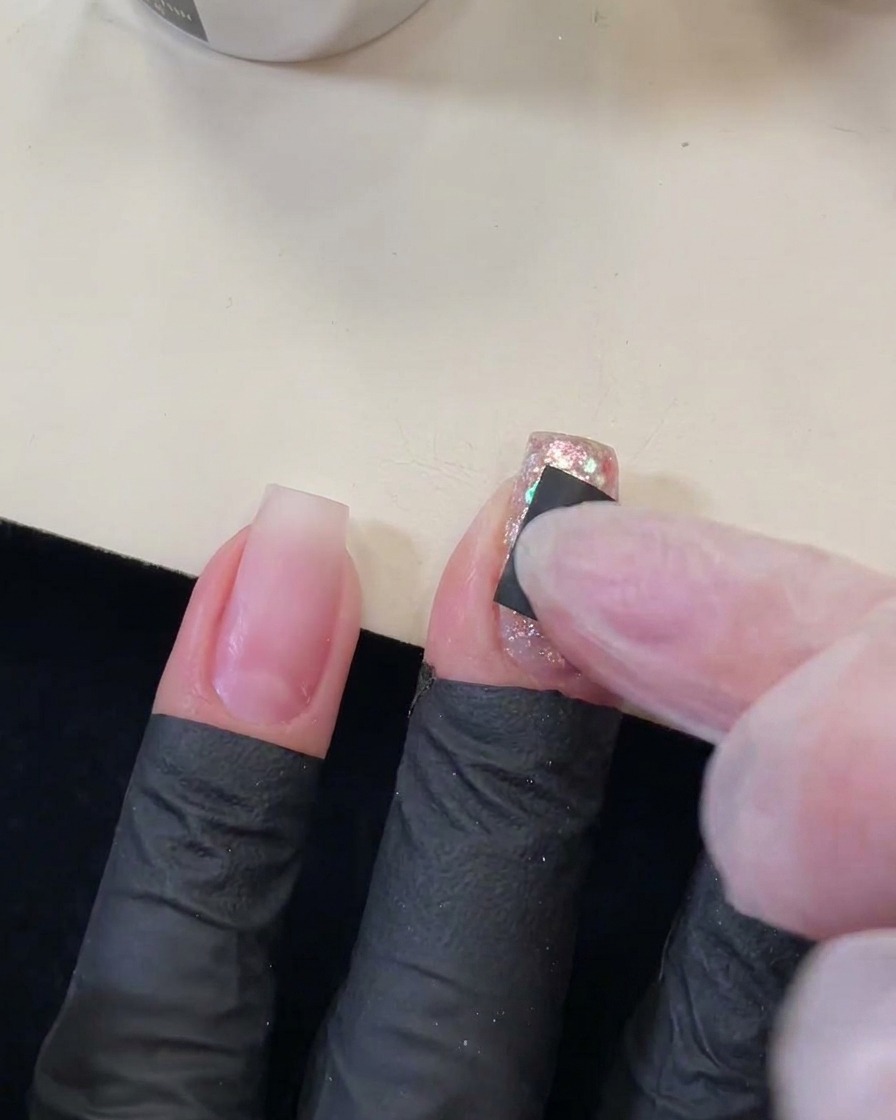
Take a hollow star stencil sticker and carefully place it directly onto the center of the cured cat eye nail. Ensure the edges of the star cutout are pressed down firmly to prevent the next layer of gel from bleeding underneathcite: 1.
Tip: Use tweezers to precisely position the stencil sticker without transferring oils from your fingers to the nail surface. - 12Dab white gel over the stencil
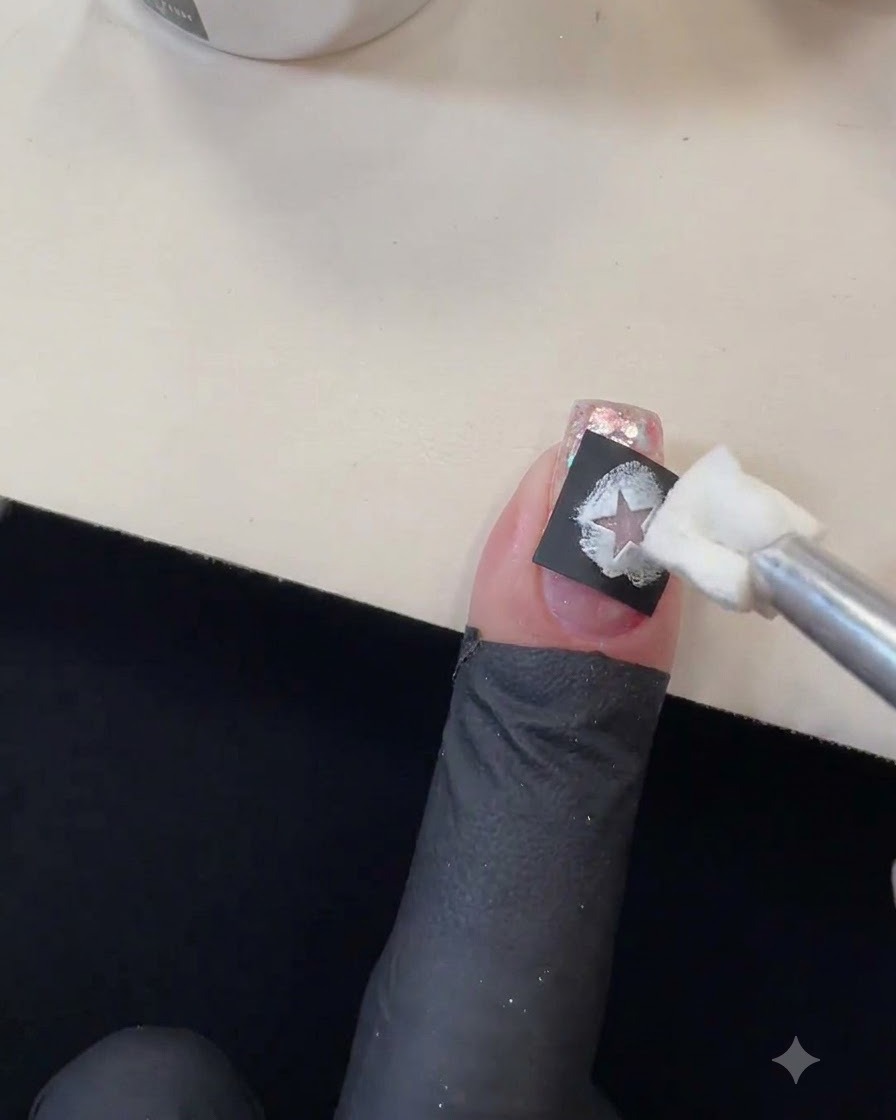
Using a small sponge applicator, dab white gel polish over the hollow star sticker to fill in the pattern. This technique creates a crisp, dimensional star shape on top of the cat eye and sequin layerscite: 1.
Tip: Dab lightly with the sponge rather than swiping, to keep the white gel opaque and prevent it from seeping under the stencil. - 13Apply glossy top coat
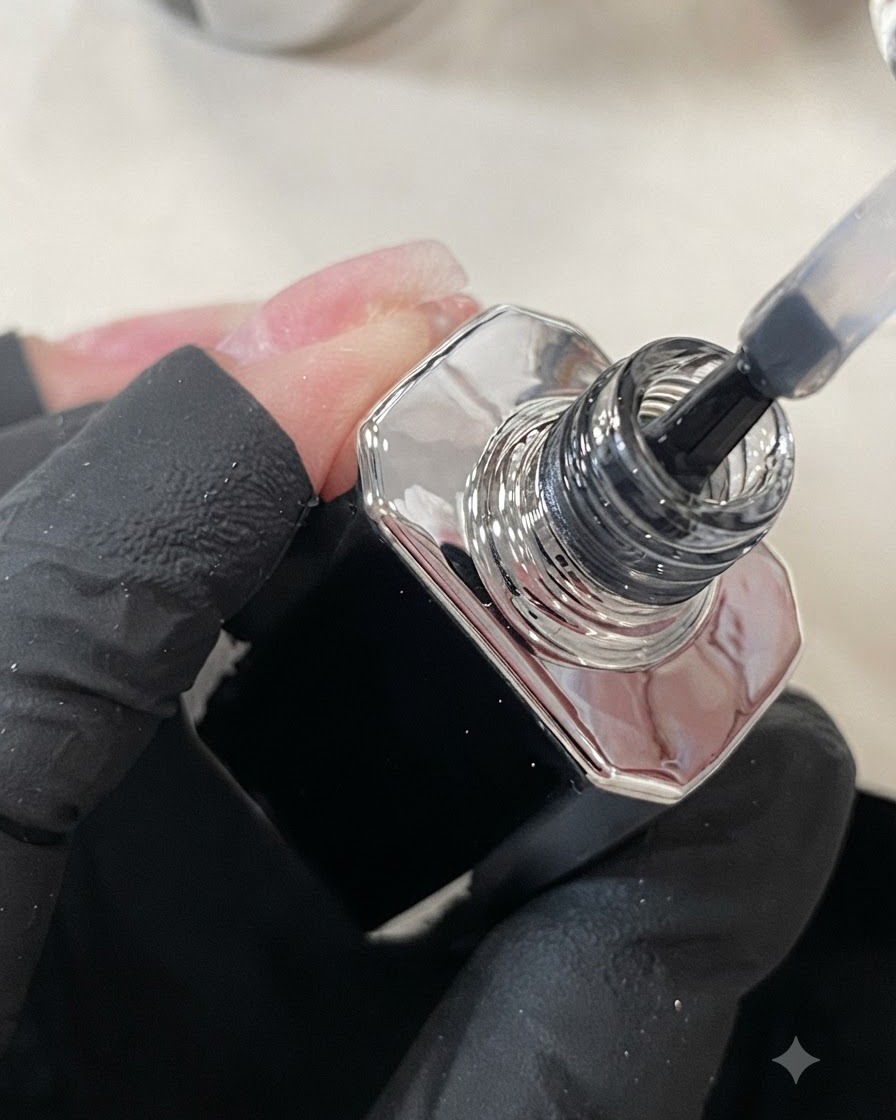
Apply a layer of glossy no-wipe top coat evenly over the middle finger nail to seal the sequin and star design. Ensure the entire surface and free edge are fully covered for maximum protection and shine.
Tip: Cap the free edge with top coat to prevent chipping and lifting. - 14Apply Pink Sequin Gel
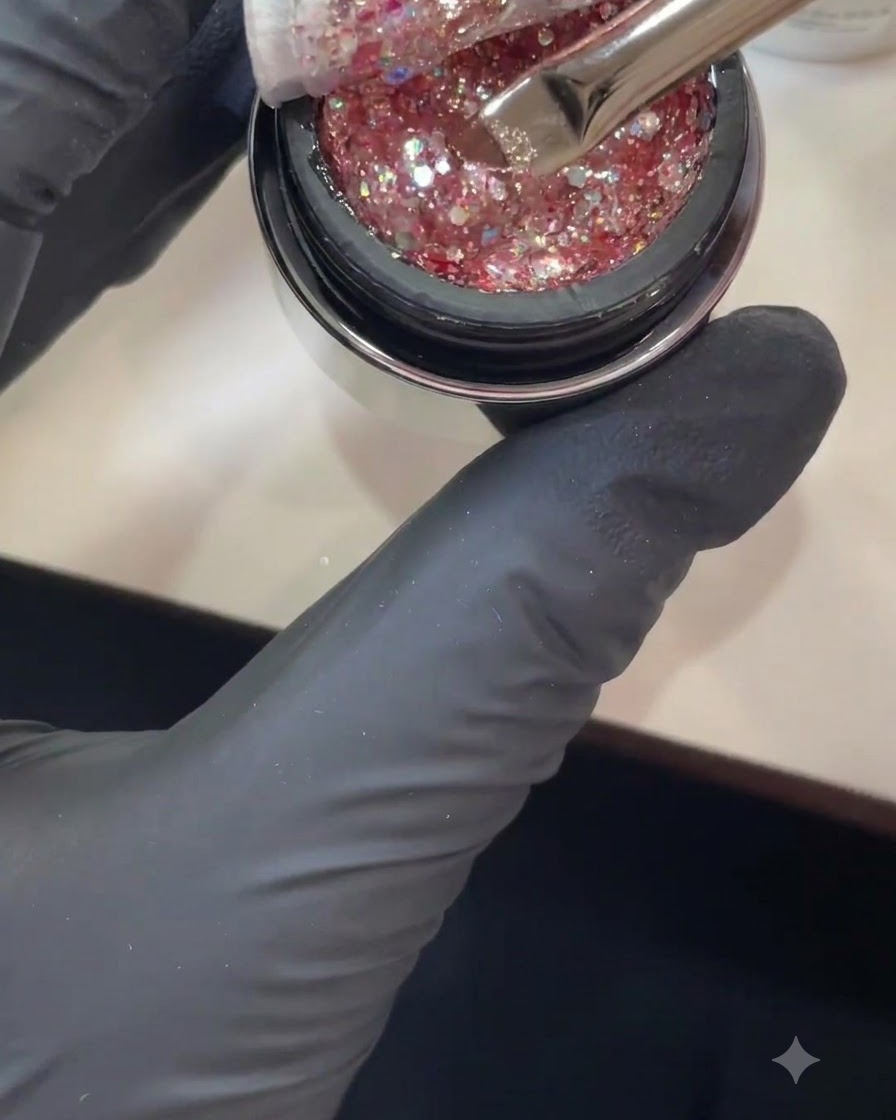
Take a small amount of the pink sequin gel on your brush and apply it near the cuticle area of the ring finger. This serves as the starting point for creating a gorgeous reverse gradient effect.
Tip: Do not overload your brush with too many large sequins at once; place them strategically for a balanced look. - 15Create Reverse Gradient
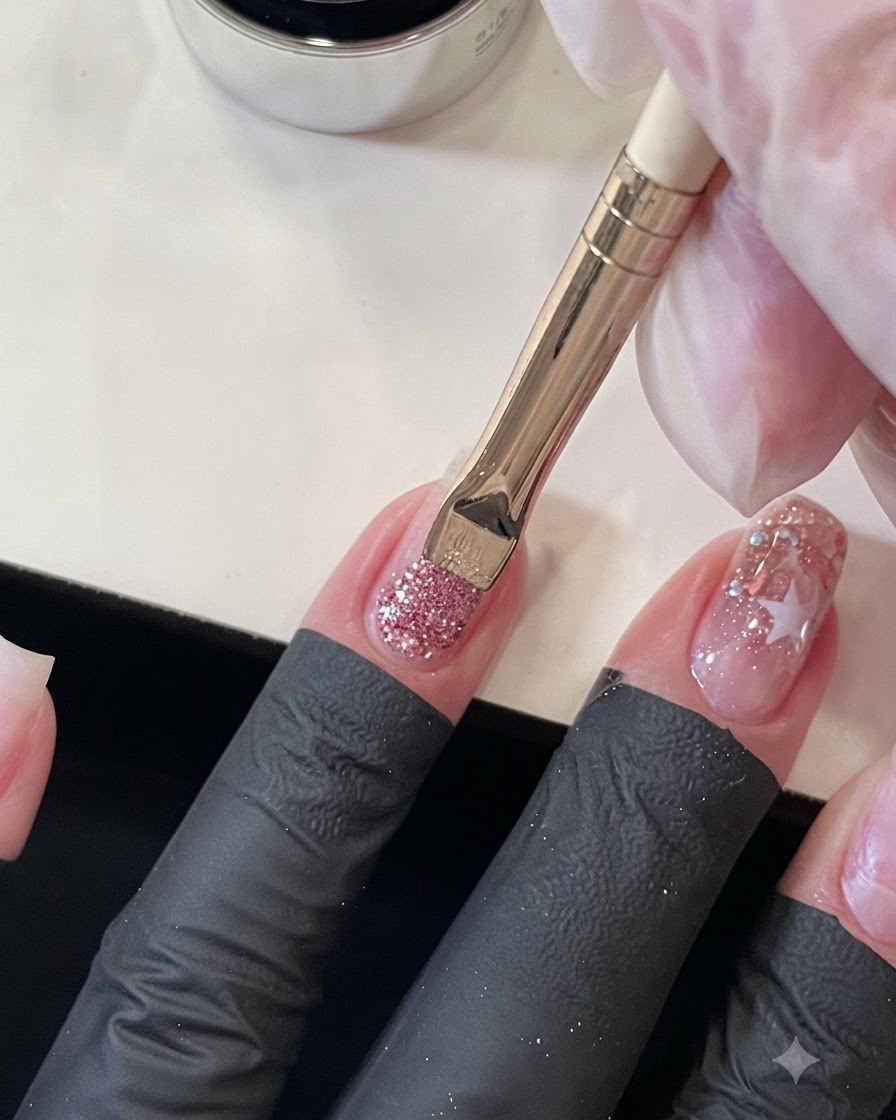
Gently drag and pull the sequins down from the cuticle area towards the free edge to fade them out, forming a stunning reverse gradient effect on the ring finger nail.
Tip: Spread out individual larger sequin pieces manually with the brush tip if they cluster too densely. - 16Dab White Gel Over Star Stencil
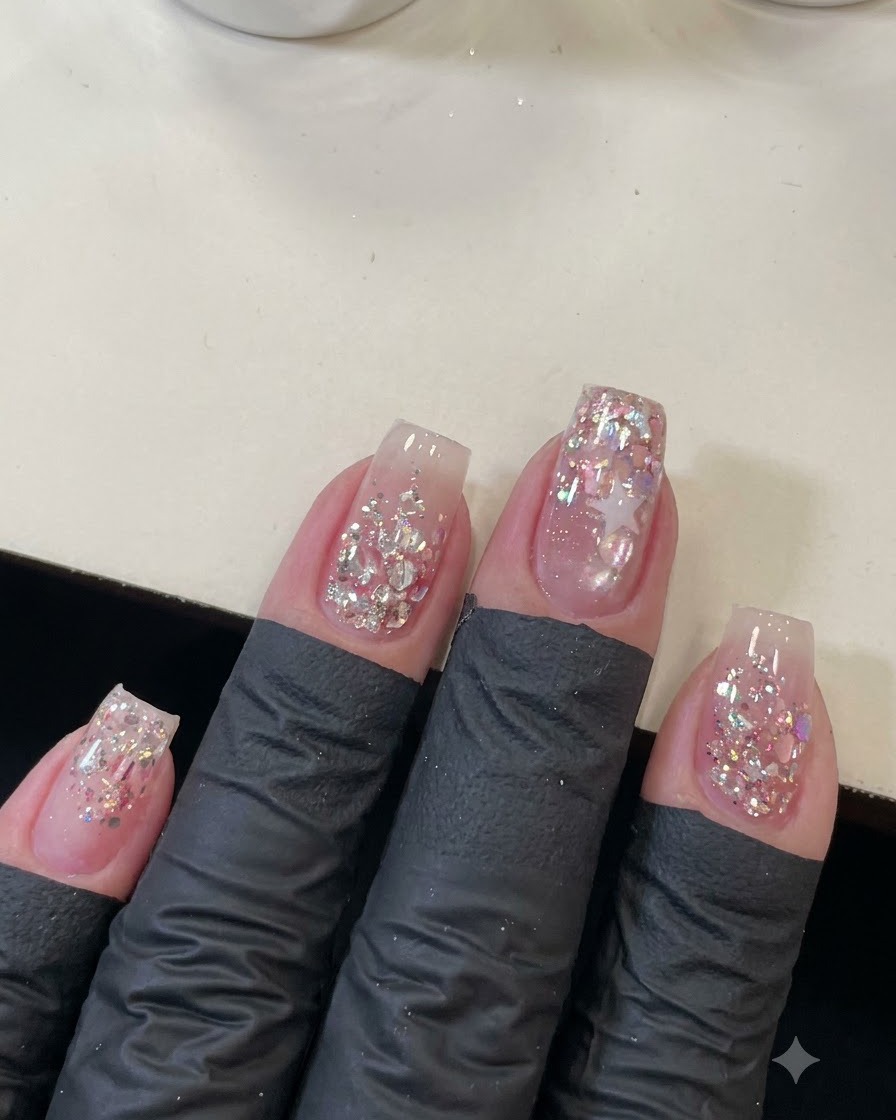
Position a hollow star sticker stencil on the desired nail and use a small makeup sponge to dab white gel paint directly over the cutout area, building up a clean white star pattern.
Tip: Dab lightly with the sponge to avoid bleeding gel underneath the edges of the stencil sticker. - 17Remove Star Stencil
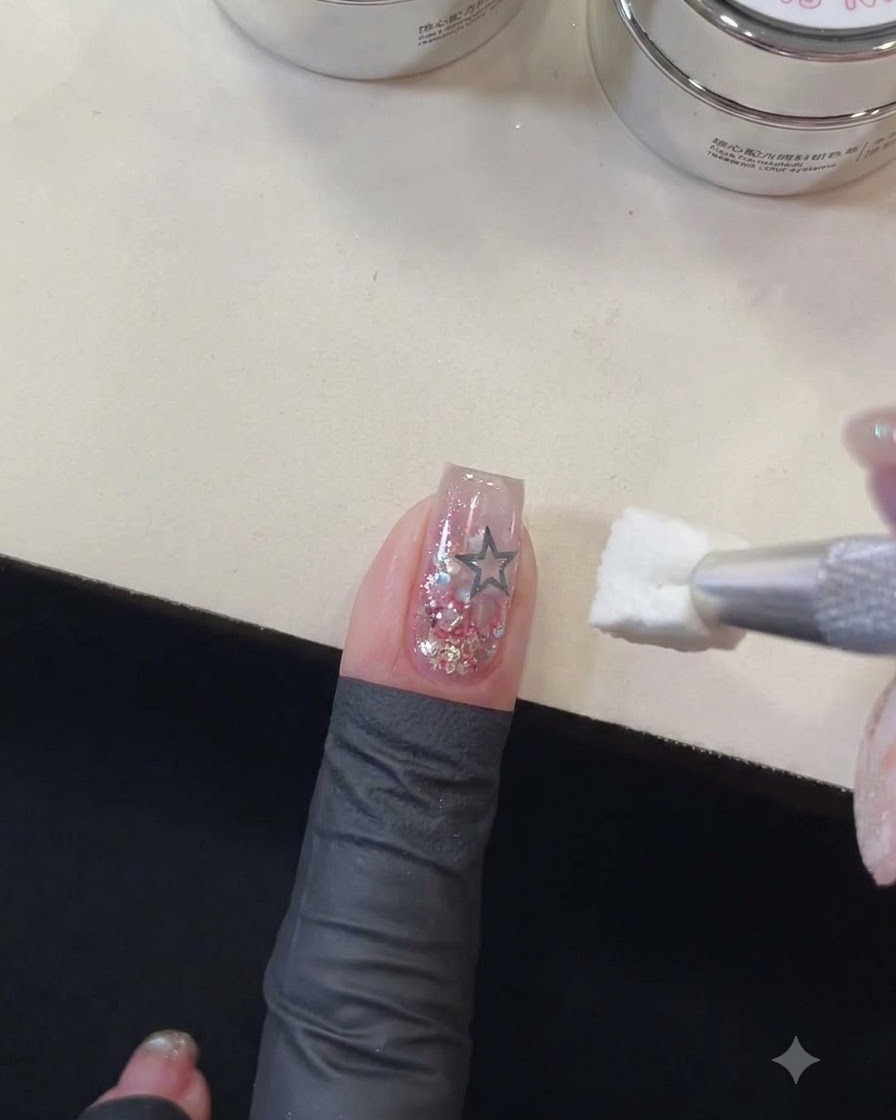
Carefully and slowly peel off the hollow star stencil sticker using precision tweezers while the white gel is still wet or immediately before curing, revealing a crisp white star shape underneath.
Tip: Pull the sticker away at a low angle to keep the painted star edges sharp and clean. - 18Brush glossy top coat on index finger
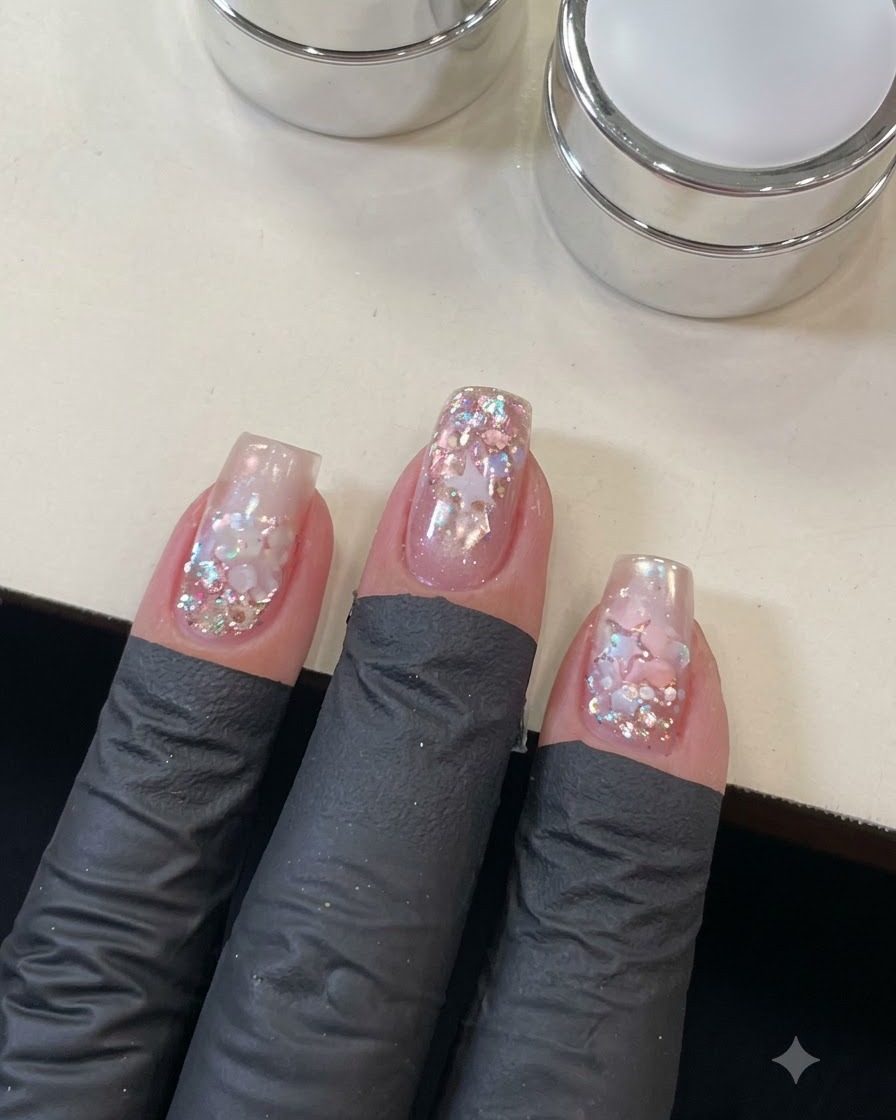
Brush glossy top coat smoothly over the completed star and sequin design on the index finger. Make sure to encase all decorative elements to give the nail a smooth, glass-like finish before curing.
Tip: Be gentle when brushing over textured nail art to avoid displacing the embedded pieces.