Aurora Explosion Star Stiletto Nails — Step-by-Step Tutorial
Create dazzling celestial stiletto nails featuring an aurora chrome finish, colorful sequins, and hand-drawn star constellations.
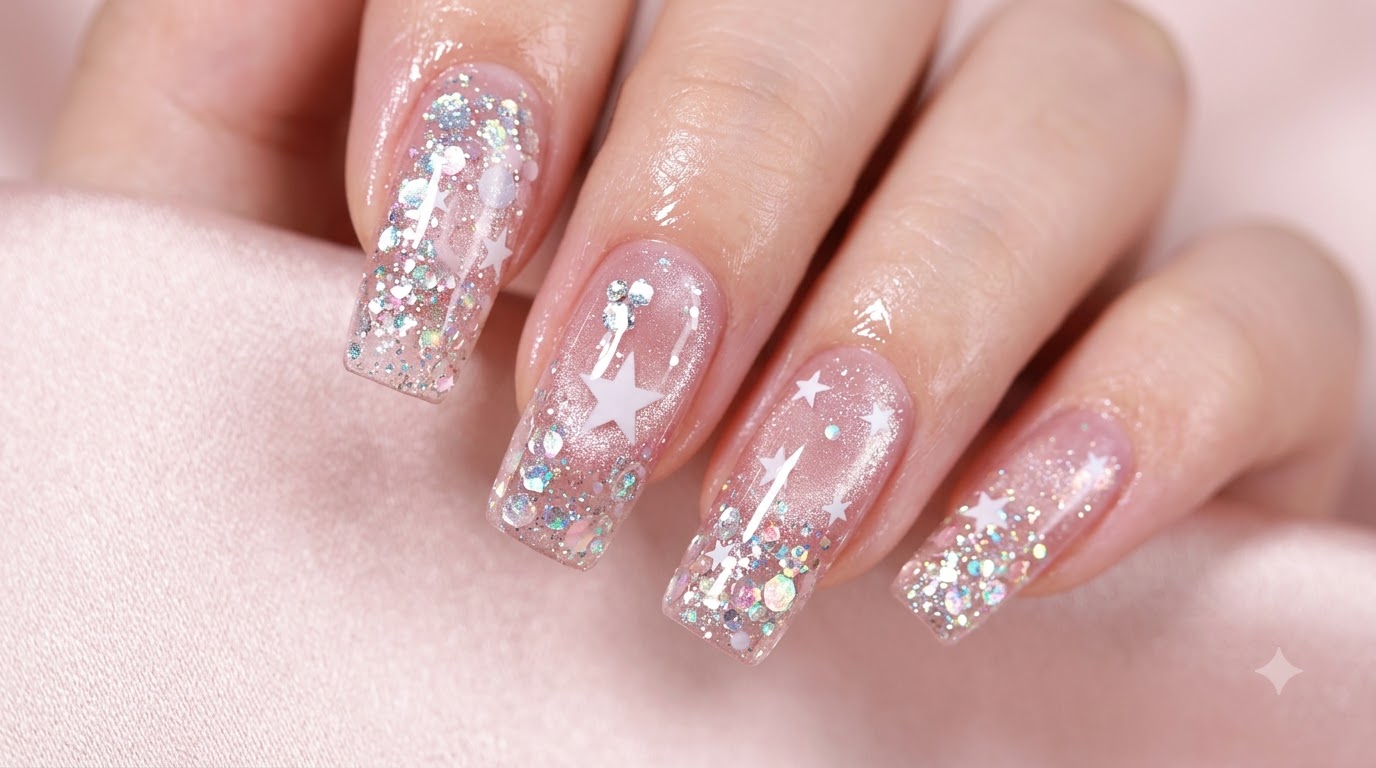
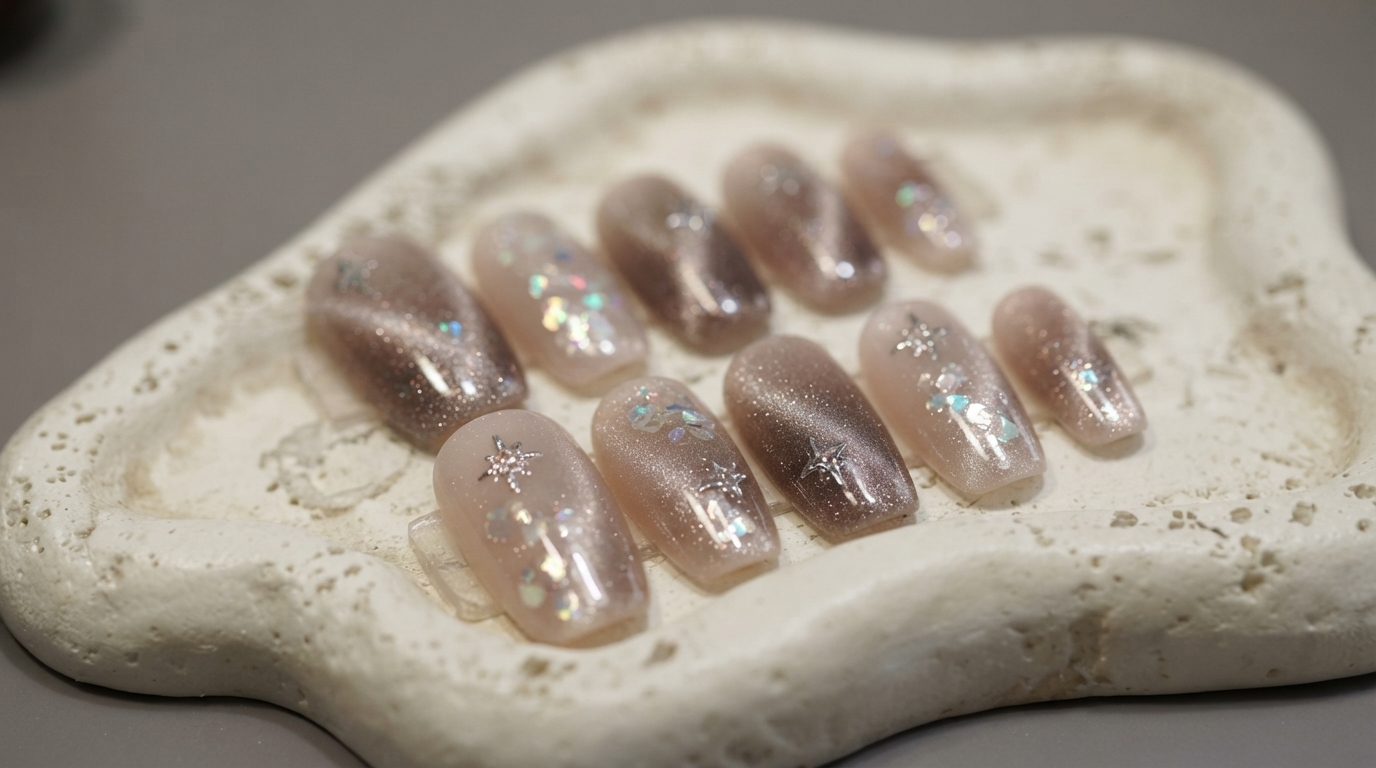
Celestial nail art continues to capture imaginations, and this Jiang Chenglan-inspired design brings a magical cosmic vibe straight to your fingertips. Combining a vibrant pink gradient, trapped colorful glitter, and sparkling chrome with delicate hand-drawn starbursts, this look is both playful and remarkably luminous.
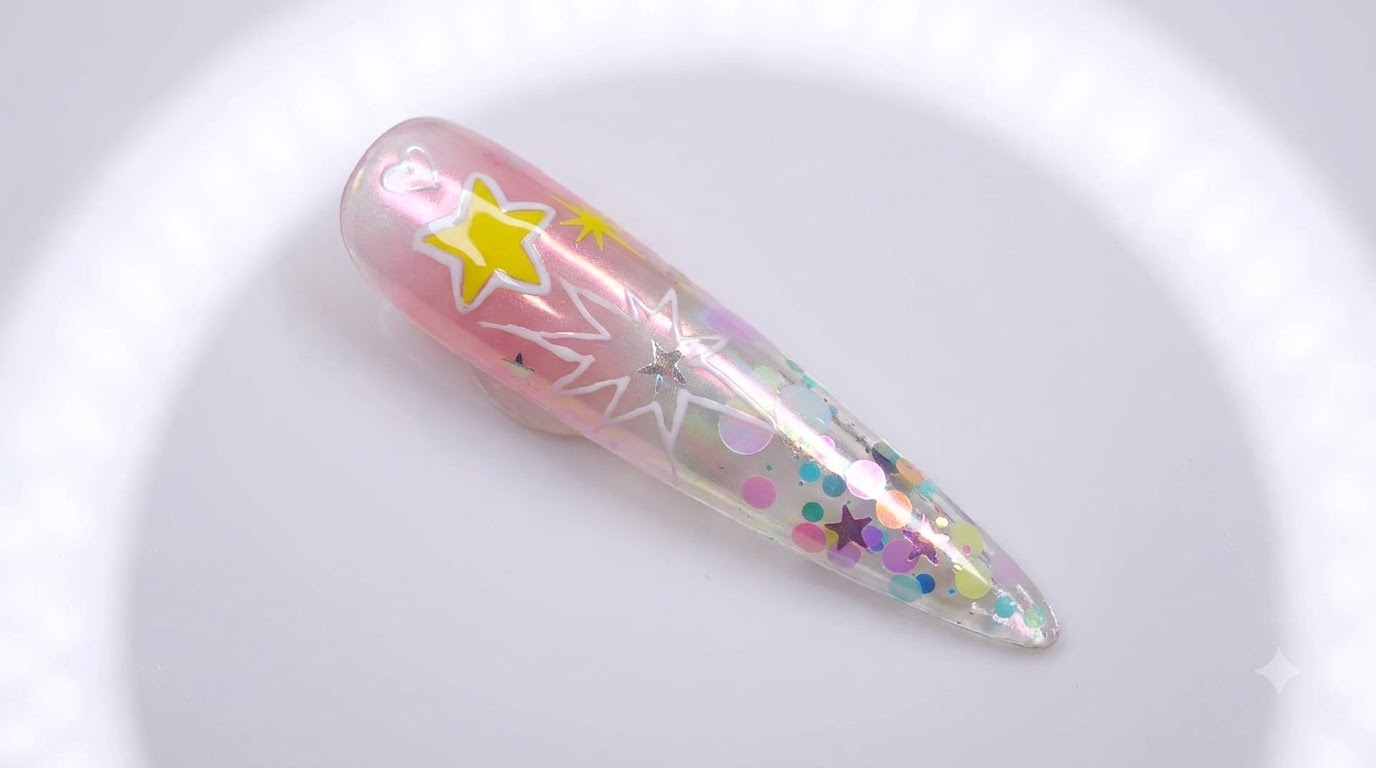
Steps
- 1Apply clear base gel
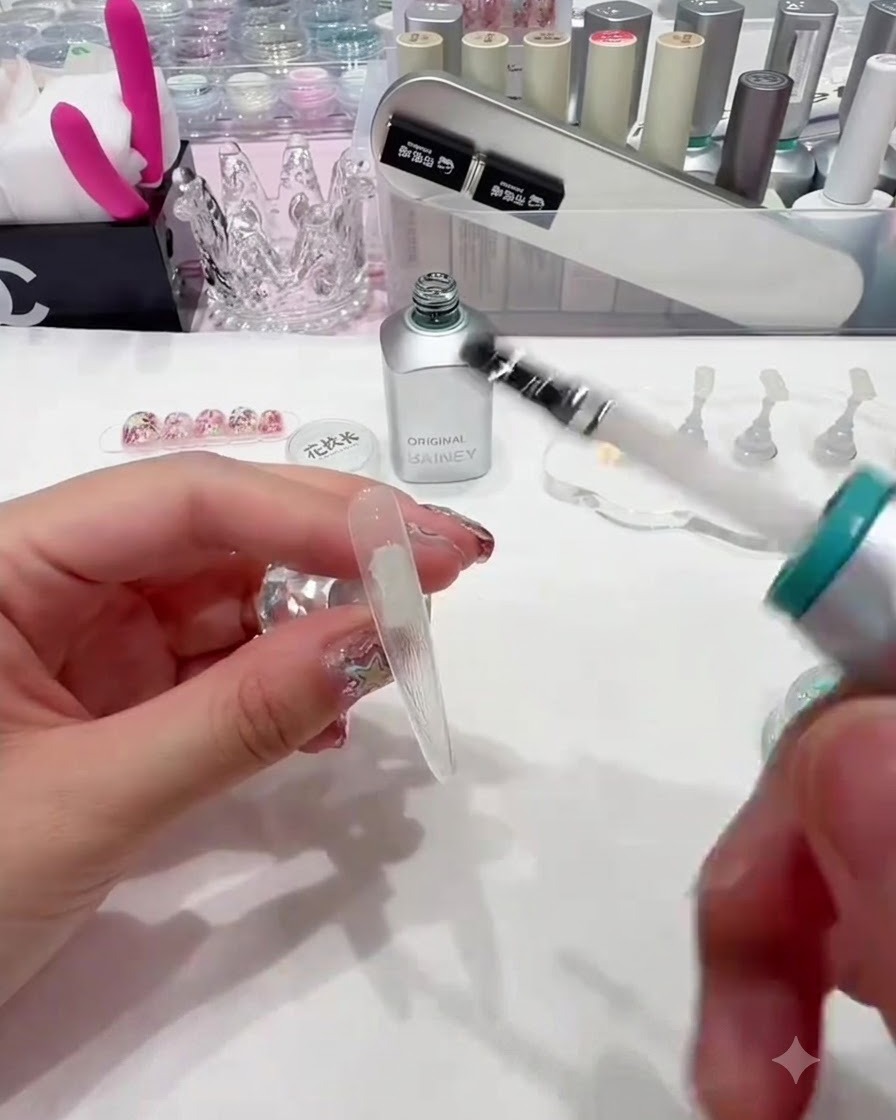
Begin by applying a thin, even layer of clear base gel over the entire transparent nail tip using the brush from the bottle. Do not cure this layer just yet, as it will act as a sticky adhesive for the sequin placement.
Tip: Leaving the base gel uncured is essential for gripping the sequins and holding them exactly where you place them. - 2Position the colorful sequins
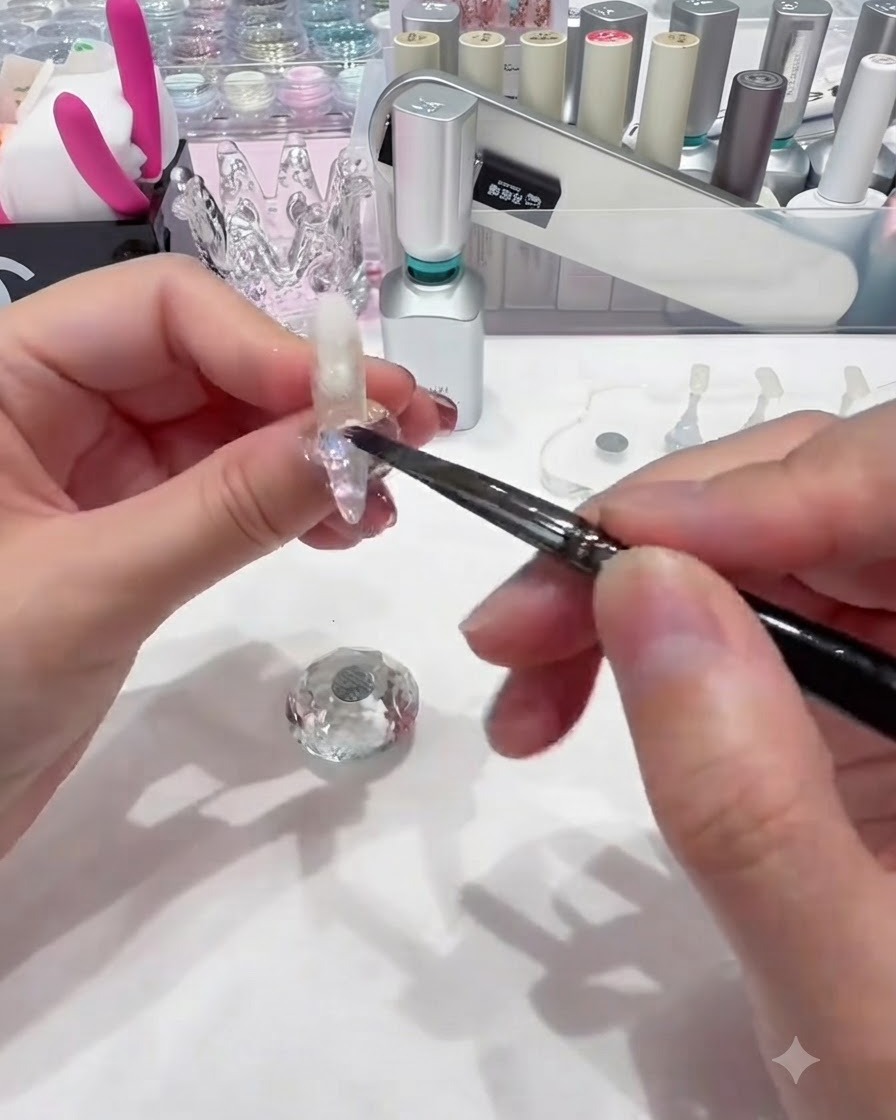
While the base gel is still wet, pick up a mixture of colorful circular sequins using a nail brush. Gently place the cluster onto the lower half of the nail, near the cuticle area.
Tip: A slightly damp brush will make it much easier to pick up loose glitter and sequins without scattering them. - 3Spread out the sequins
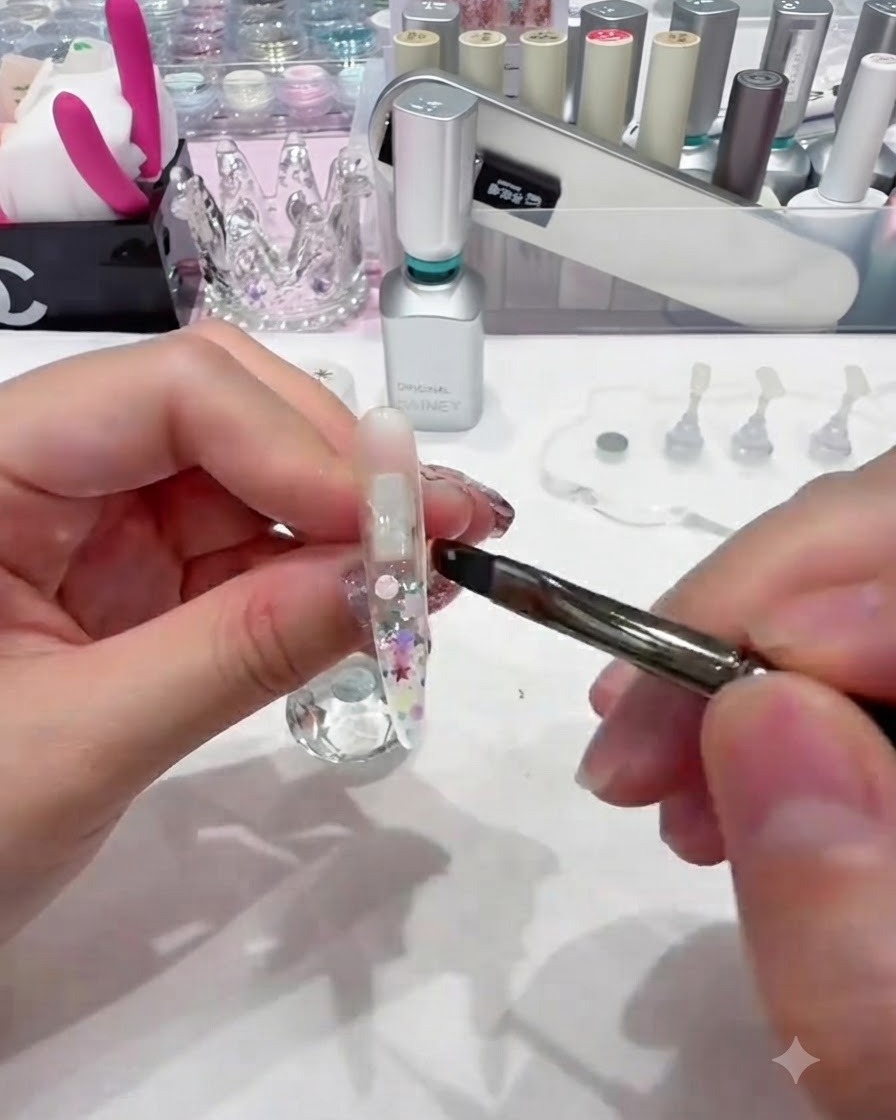
Using the edge of your nail brush, carefully manipulate and spread the colorful sequins outwards. Distribute them evenly across the mid-section and down towards the tip of the nail for a scattered effect, then cure.
Tip: Avoid clumping large sequins too closely together to ensure the encapsulation layer remains smooth. - 4Apply leveling builder gel
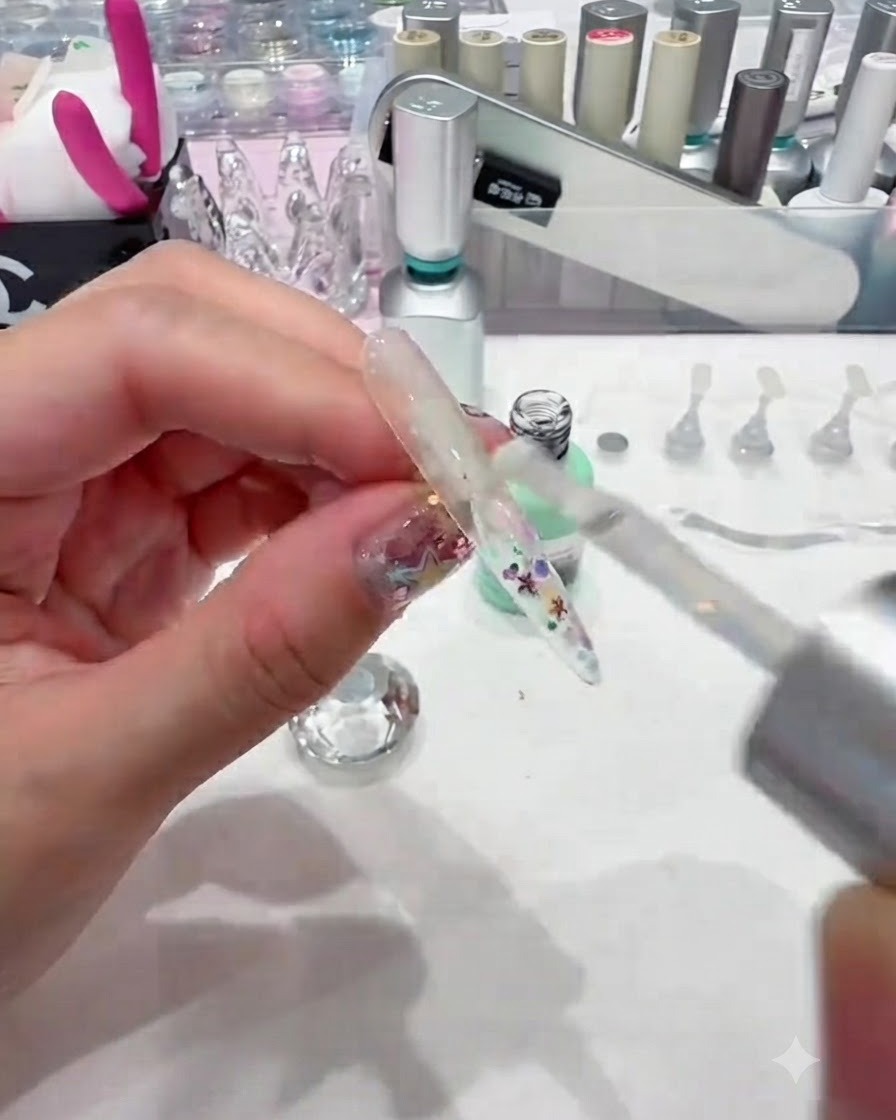
To encapsulate the glitter and smooth out any bumpy texture, apply a generous layer of clear leveling builder gel over the entire nail. Allow the gel to self-level until the surface is completely smooth, then cure it.
Tip: If the gel isnt leveling perfectly, hold the finger upside down for a few seconds so gravity pulls the gel into an even arch. - 5Dab a pink gradient
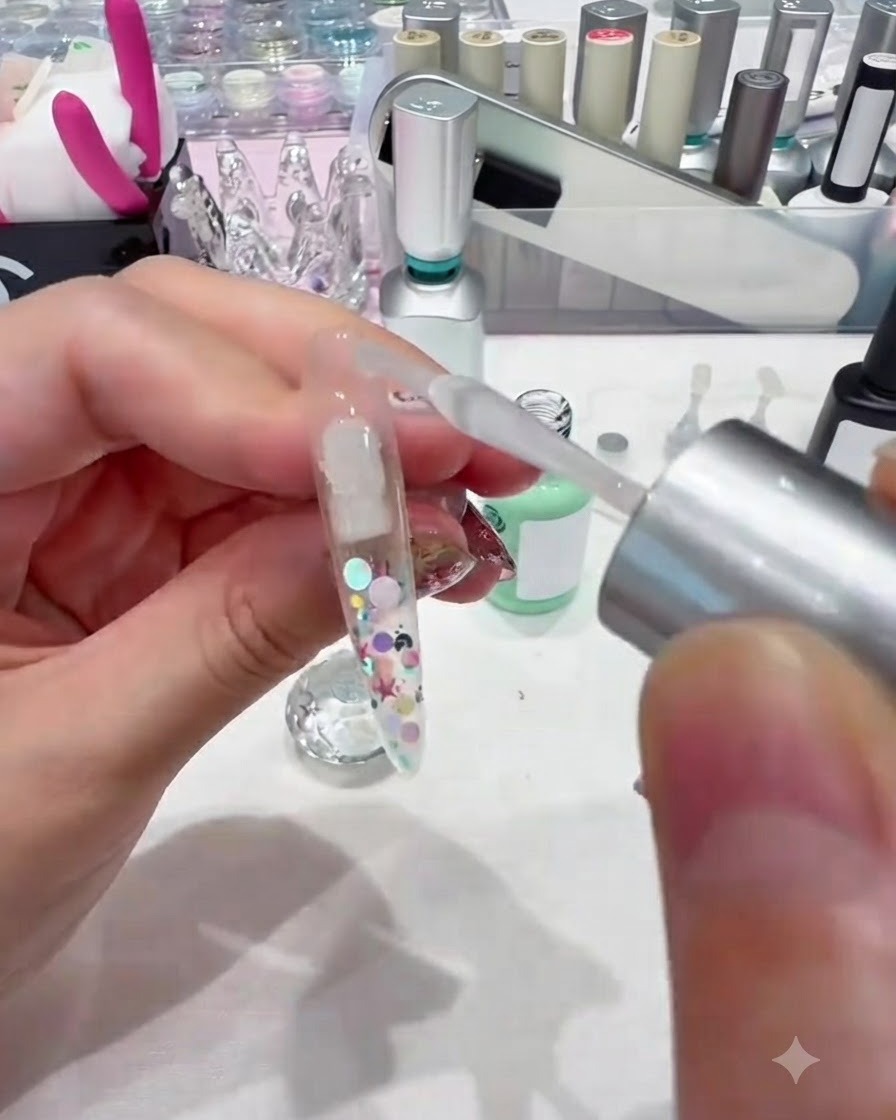
Take a small square piece of makeup sponge using tweezers and gently dab a light pink gel gradient onto the cuticle area. Build up the color softly to create a smooth transition before curing under the lamp.
Tip: Dab lightly with the sponge to avoid heavy patches and create an even, smoky gradient effect. - 6Apply powder-adhering top coat
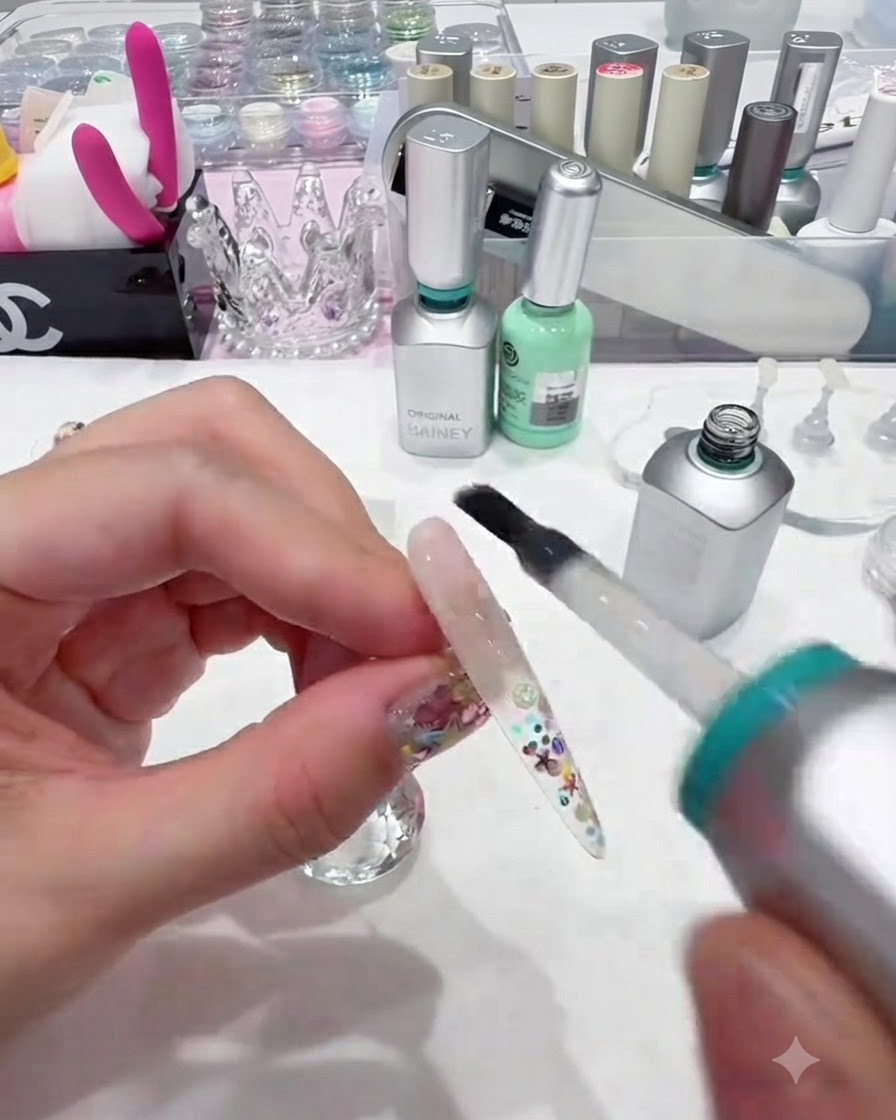
Brush an even layer of a special non-wipe powder-adhering top coat over the entire nail. It is vital to apply this smoothly to prepare the surface for a flawless aurora chrome powder application. Cure the top coat fully under the lamp.
Tip: Cure this specific top coat for at least 60 seconds. An under-cured top coat will cause the chrome powder to look grainy or dull. - 7Apply aurora chrome powder to cuticle
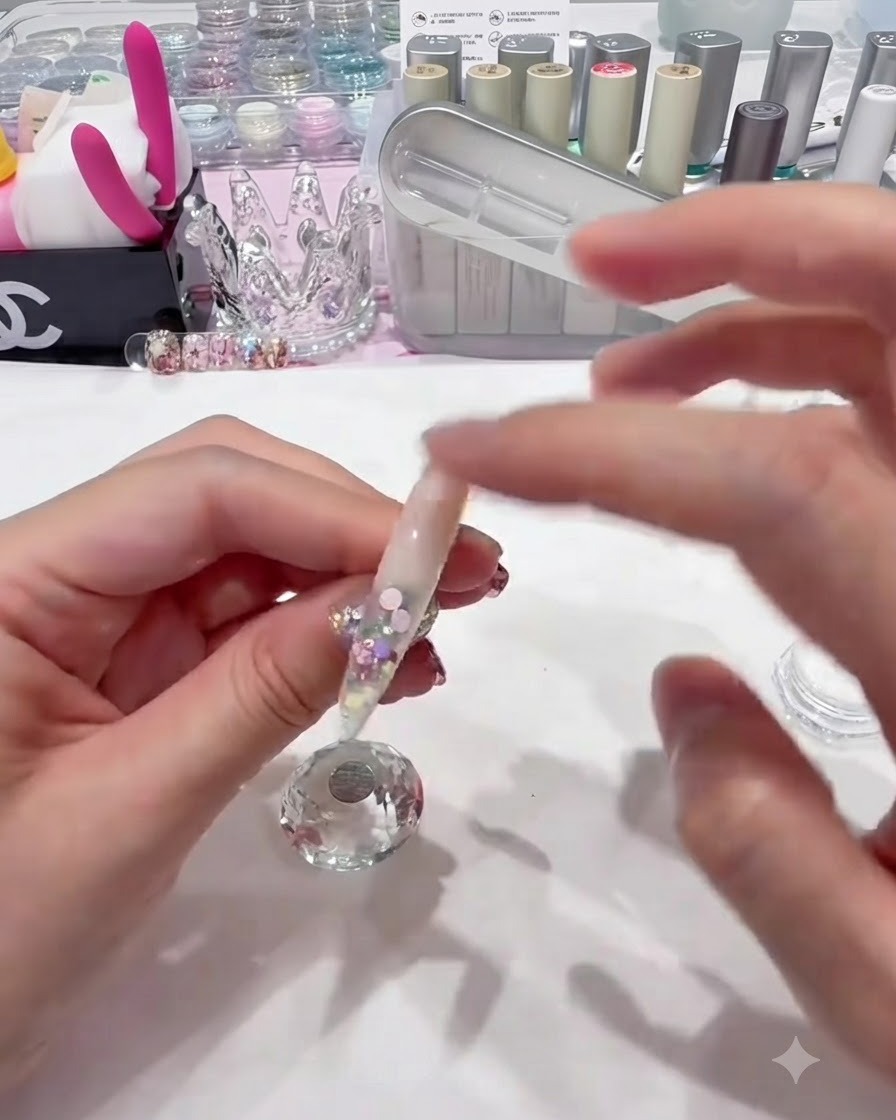
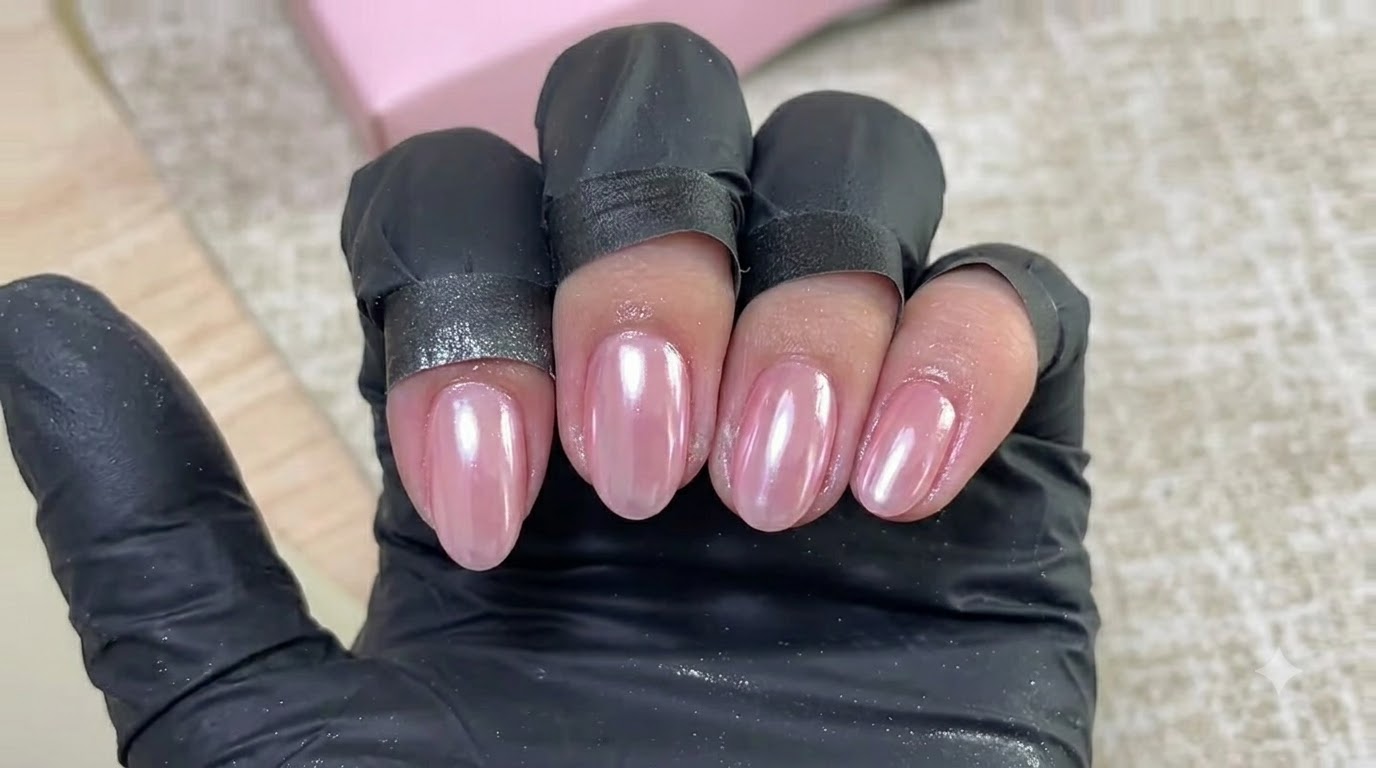
Using a bare fingertip, firmly rub iridescent aurora chrome powder onto the cured top coat at the cuticle area to create a dazzling, multi-dimensional reflective shine.
Tip: Apply firmly with your fingertip to ensure the powder adheres smoothly and evenly to the tacky surface. - 8Blend chrome powder down the nail
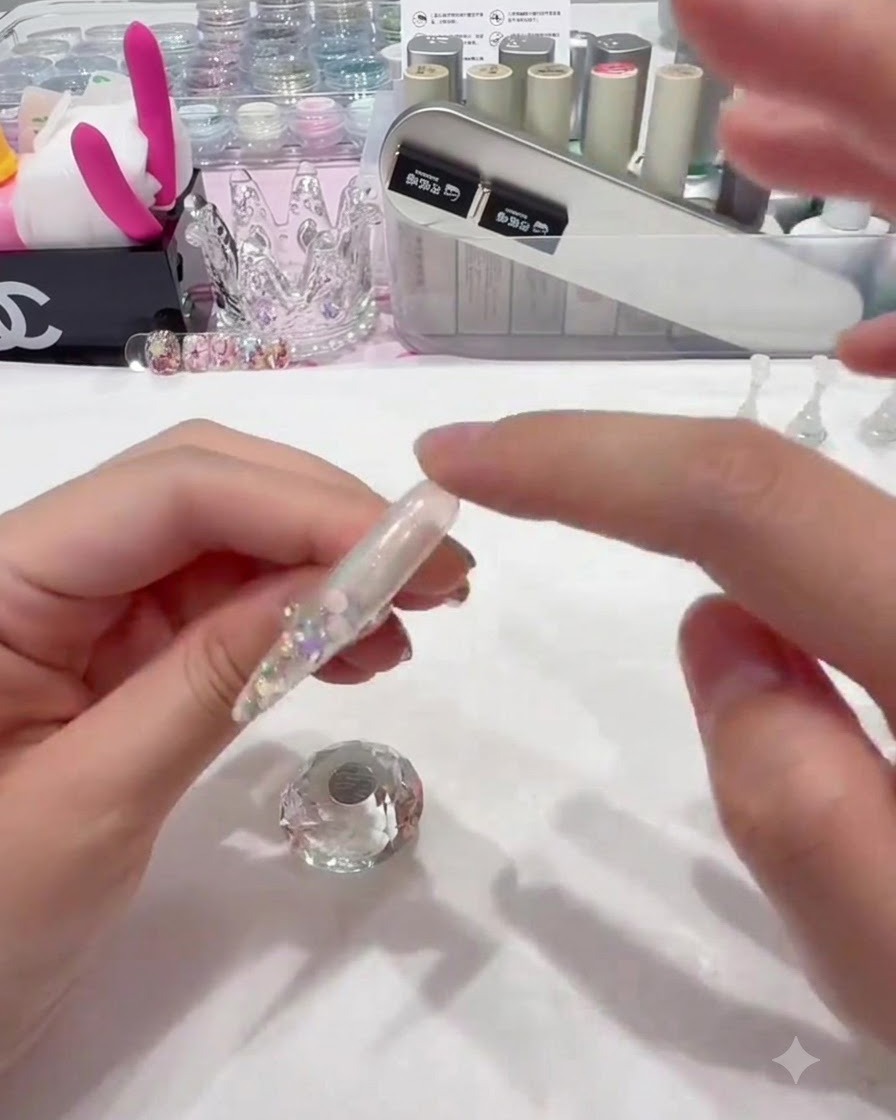
Continue using your fingertip to vigorously rub the aurora chrome powder down the entire length of the nail all the way to the tip, ensuring complete coverage and maximum shine.
Tip: Rub with strength and keep going until the surface is completely mirrored and high-shine. - 9Apply encapsulation gel
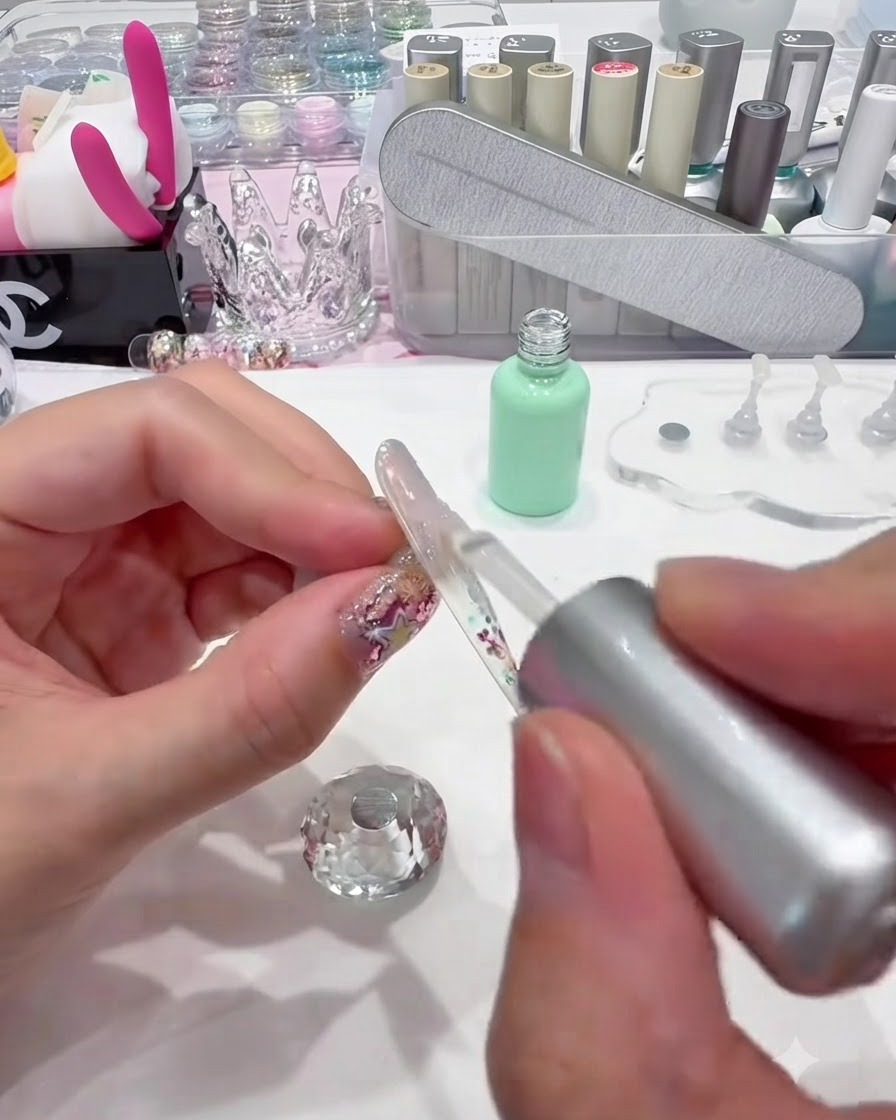
Brush a layer of clear encapsulation builder gel evenly over the entire surface of the nail to completely seal and protect the aurora chrome powder layer underneath. Make sure to cover the edges smoothly and cure thoroughly under your UV or LED lamp to lock in the shine.
Tip: Cap the free edge carefully with the builder gel to prevent the chrome powder from chipping or wearing off at the tips. - 10Apply a yellow star decal
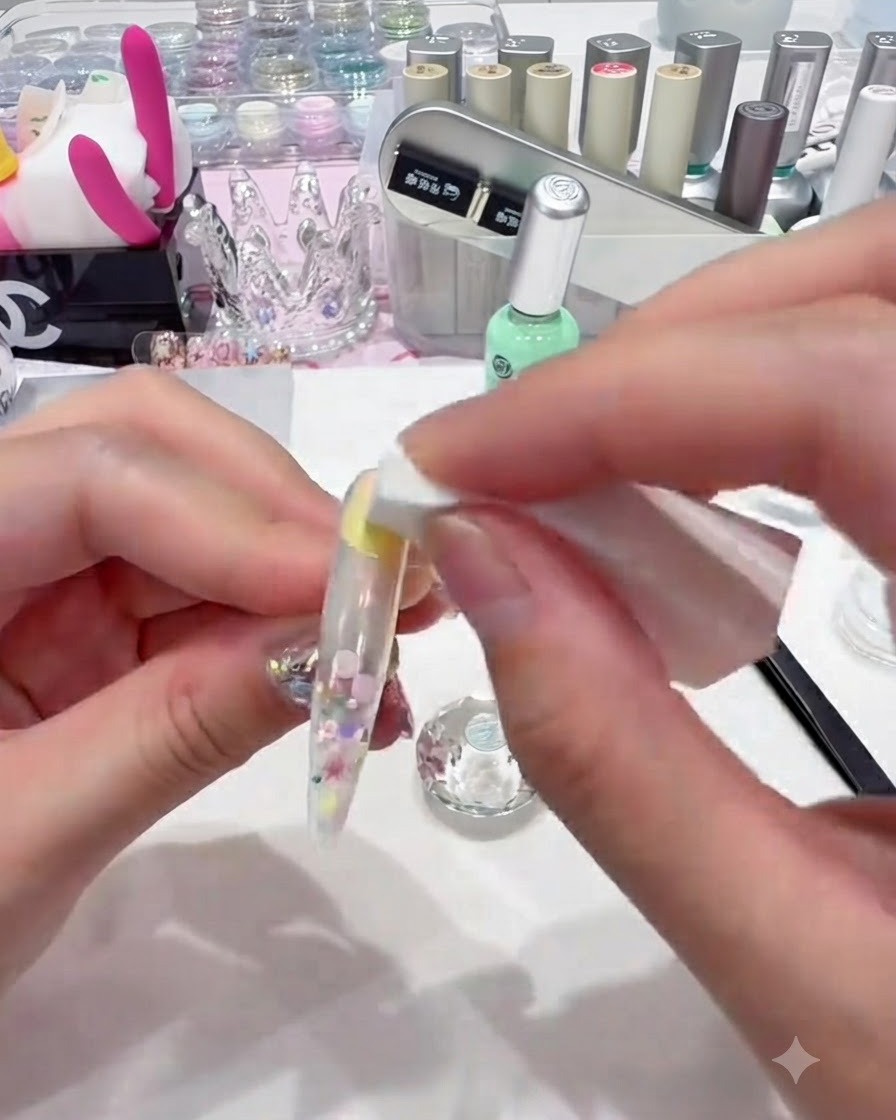
Using fine tweezers, carefully place a yellow star decal sticker near the center-left of the nail surface, gently pressing it down to secure it flat against the gel layer.
Tip: Press down firmly on the edges of the sticker to prevent any lifting before sealing. - 11Outline the star decal
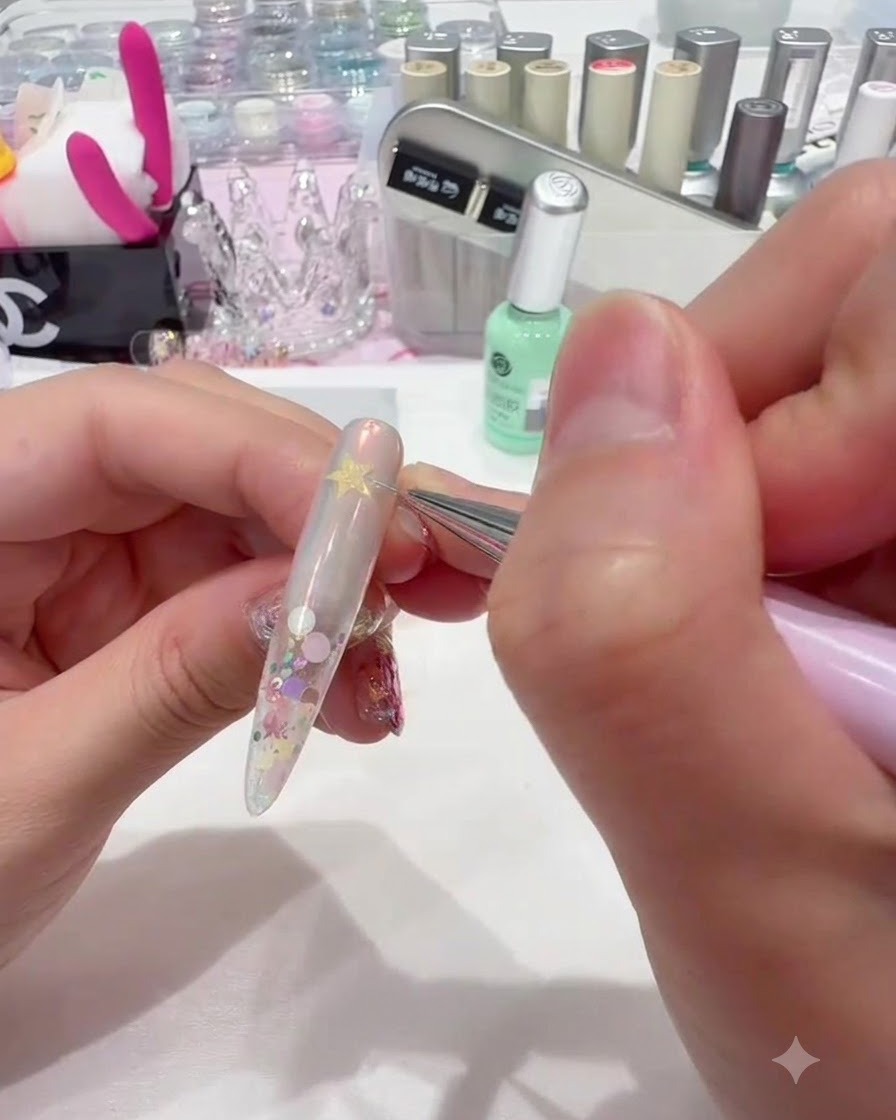
Using a very fine liner brush loaded with white gel polish, carefully trace a clean outline around the edges of the yellow star sticker to make the design pop.
Tip: Keep your hand steady and use minimal gel on the brush tip for crisp, thin lines. - 12Draw an explosion star
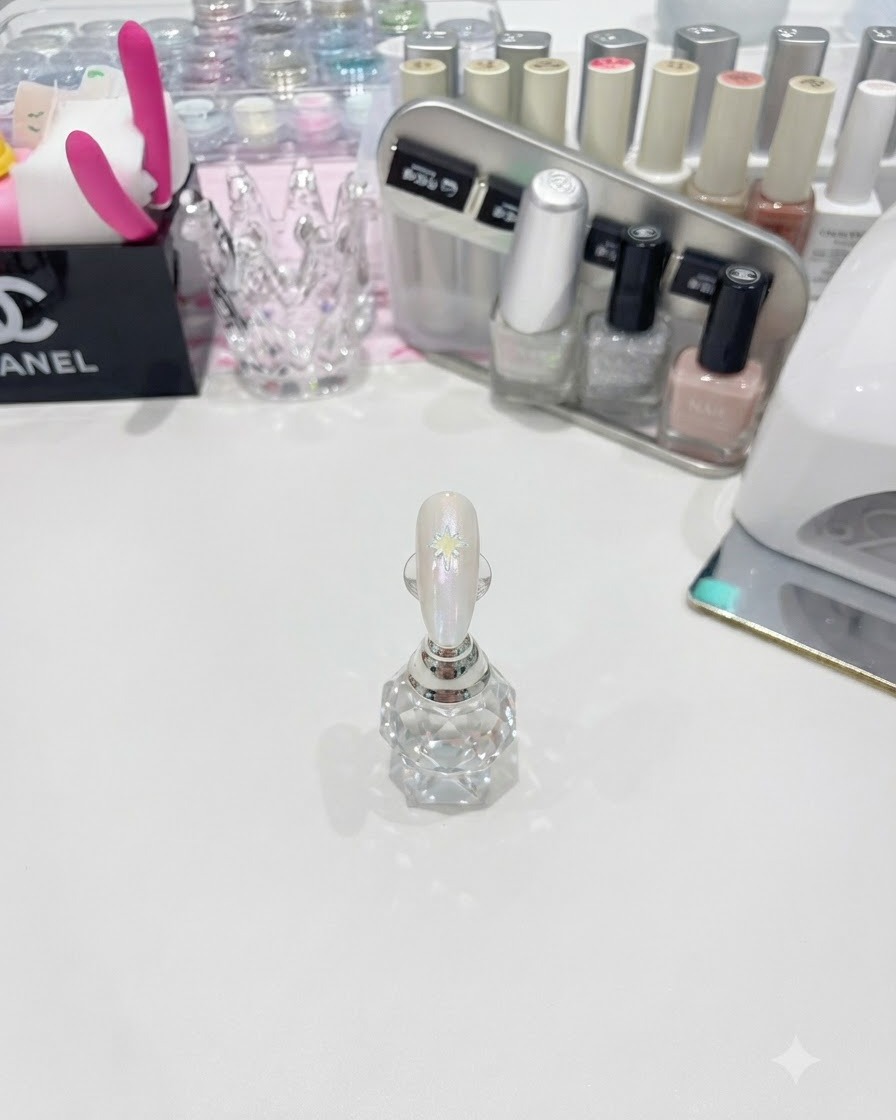
Using a fine liner brush and white gel, carefully draw a large multi-pointed explosion star design below the previous star. Keep your hand steady to ensure crisp, clean lines.
Tip: Draw the center dots first and pull out the sharp points smoothly for a balanced explosion star. - 13Paint a four-point star
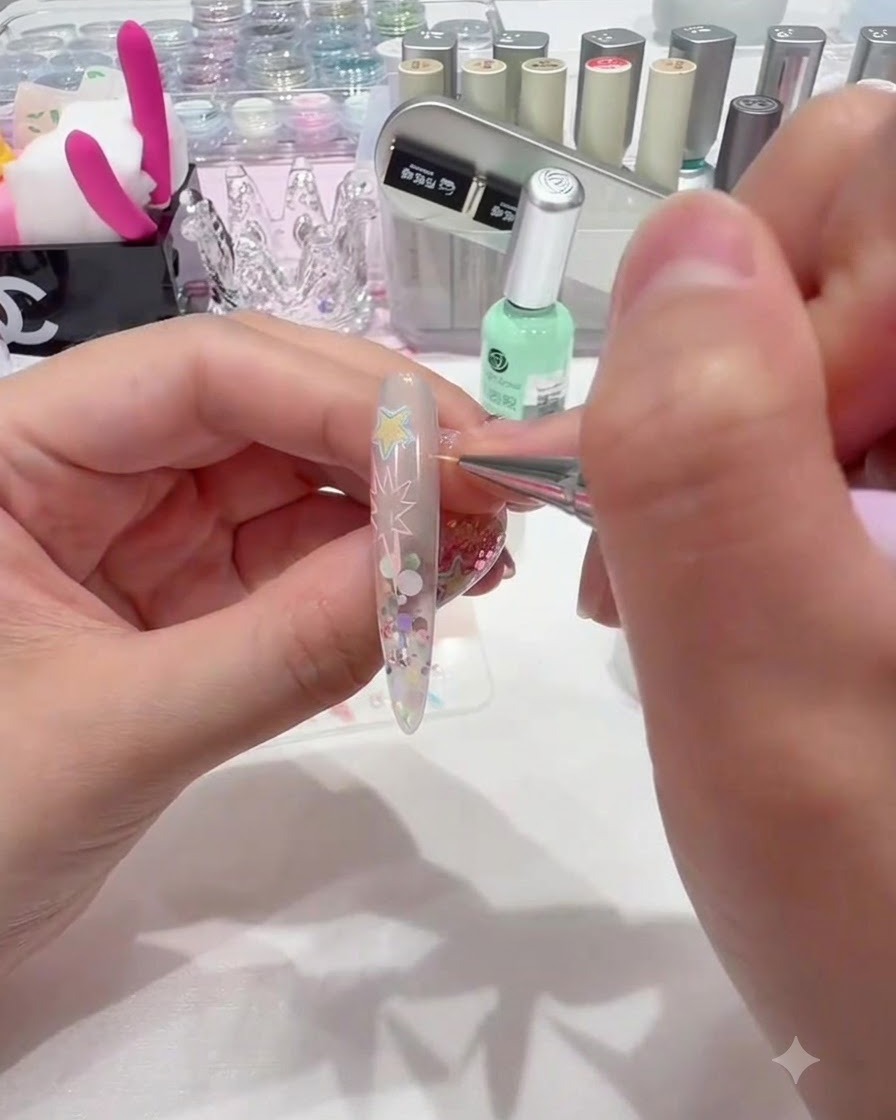
Using a fine liner brush, carefully paint a delicate smaller four-point star near the tip of the nail. Draw precise lines extending outward from a central point to create a crisp, detailed star shape that complements the existing nail art elements.
Tip: Keep a light hand and use a small amount of gel on the very tip of your liner brush for fine, sharp lines. - 14Outline a heart shape
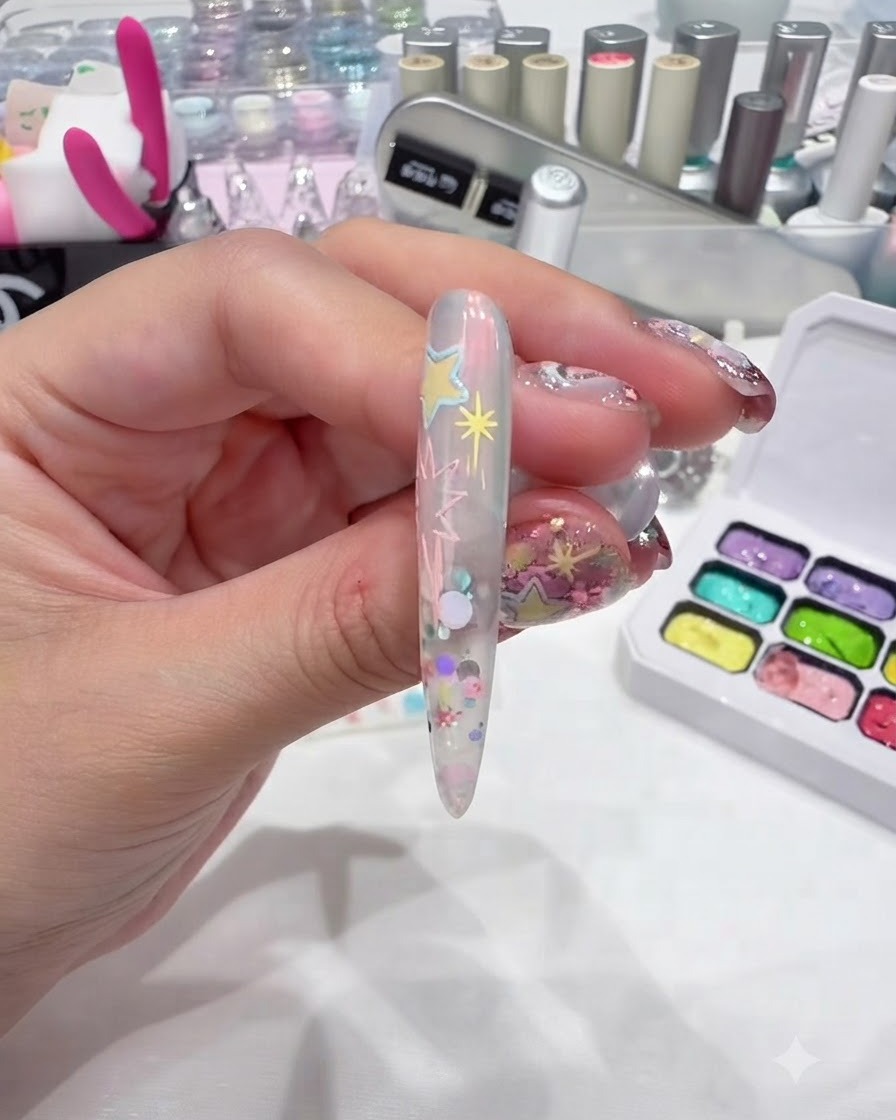
Use the liner brush to draw the outline of a small heart shape near the cuticle area. Take your time to shape the curves symmetrically for a neat accent.
Tip: Place a couple of tiny dots to anchor the top lobes of the heart before connecting them. - 15Add accent dots and lines
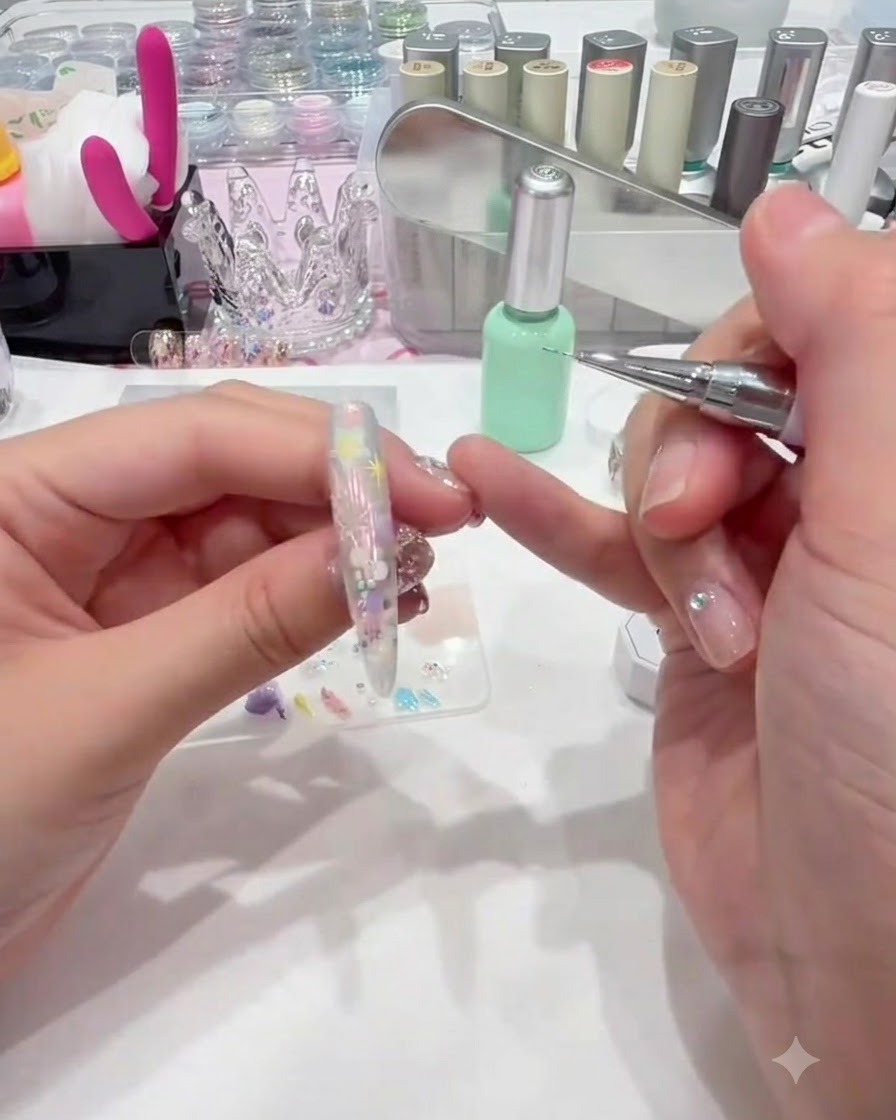
Using a dotting tool or the fine tip of your liner brush, place small accent dots and draw short connecting lines between the previously drawn star and heart elements. This ties the design together and fills the composition with whimsical detail.
Tip: Vary the size of your dots slightly to create a more dynamic and professional-looking celestial constellation effect. - 16Place star glitter pieces
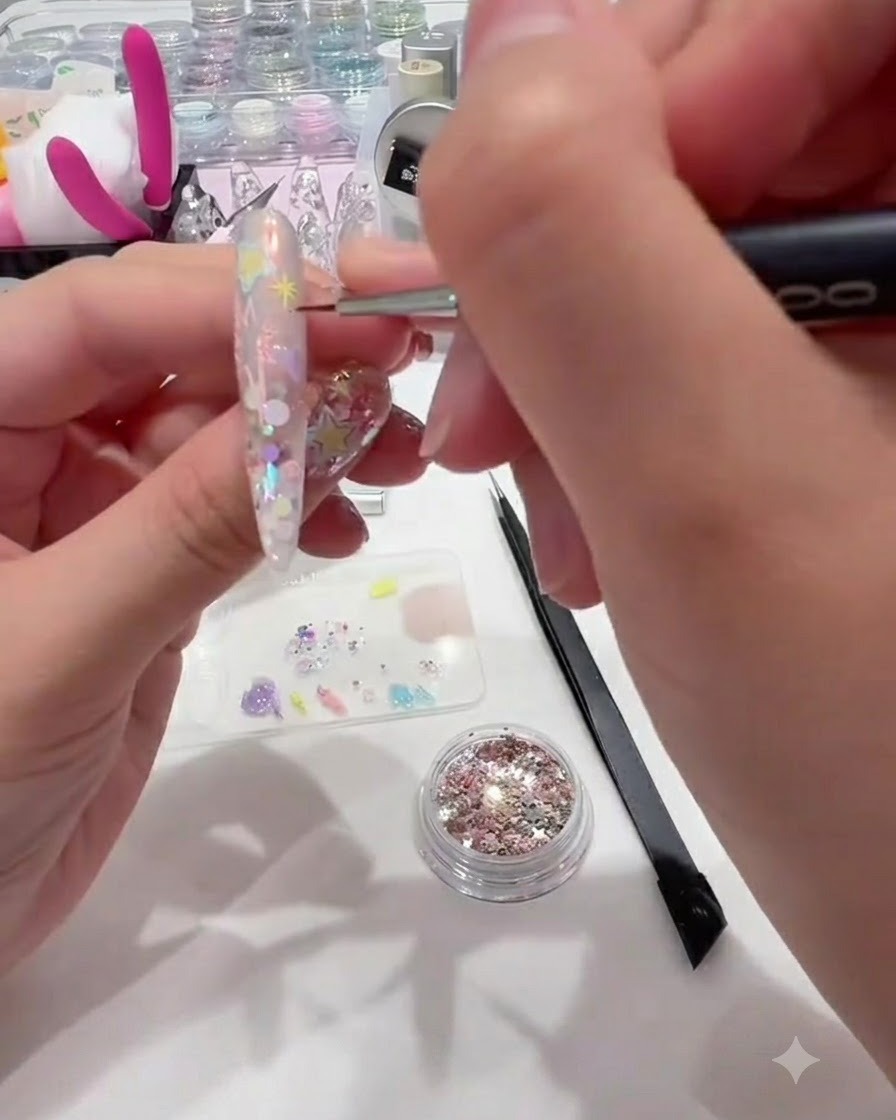
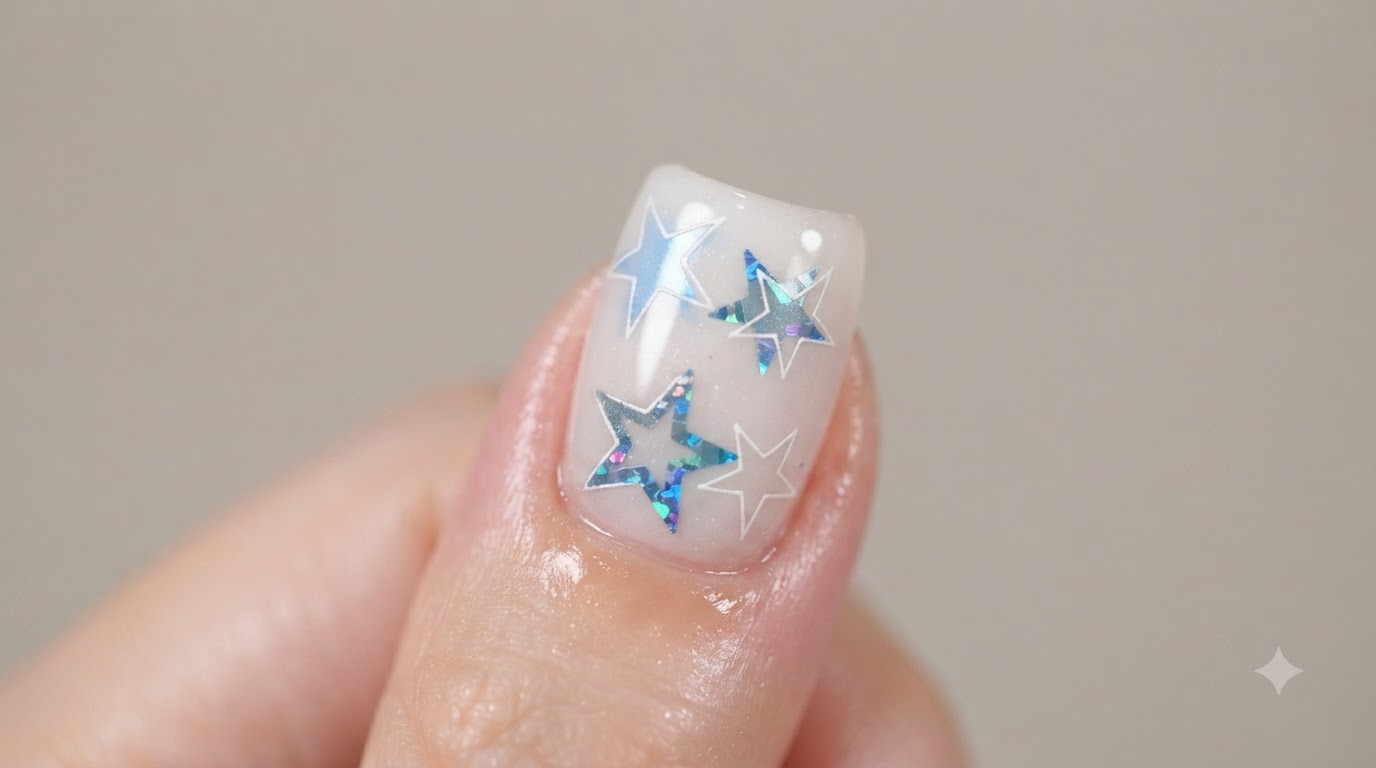
Use a fine pickup tool or the moistened tip of a brush to select tiny individual star-shaped glitter pieces from your collection. Carefully place them into the empty spaces around the design to enhance the magical, starry theme before curing.
Tip: Press each glitter piece flat against the gel layer so it adheres securely and doesnt stick up past the final top coat.