Dreamy Bubble Star Cat Eye Nails — Step-by-Step Tutorial
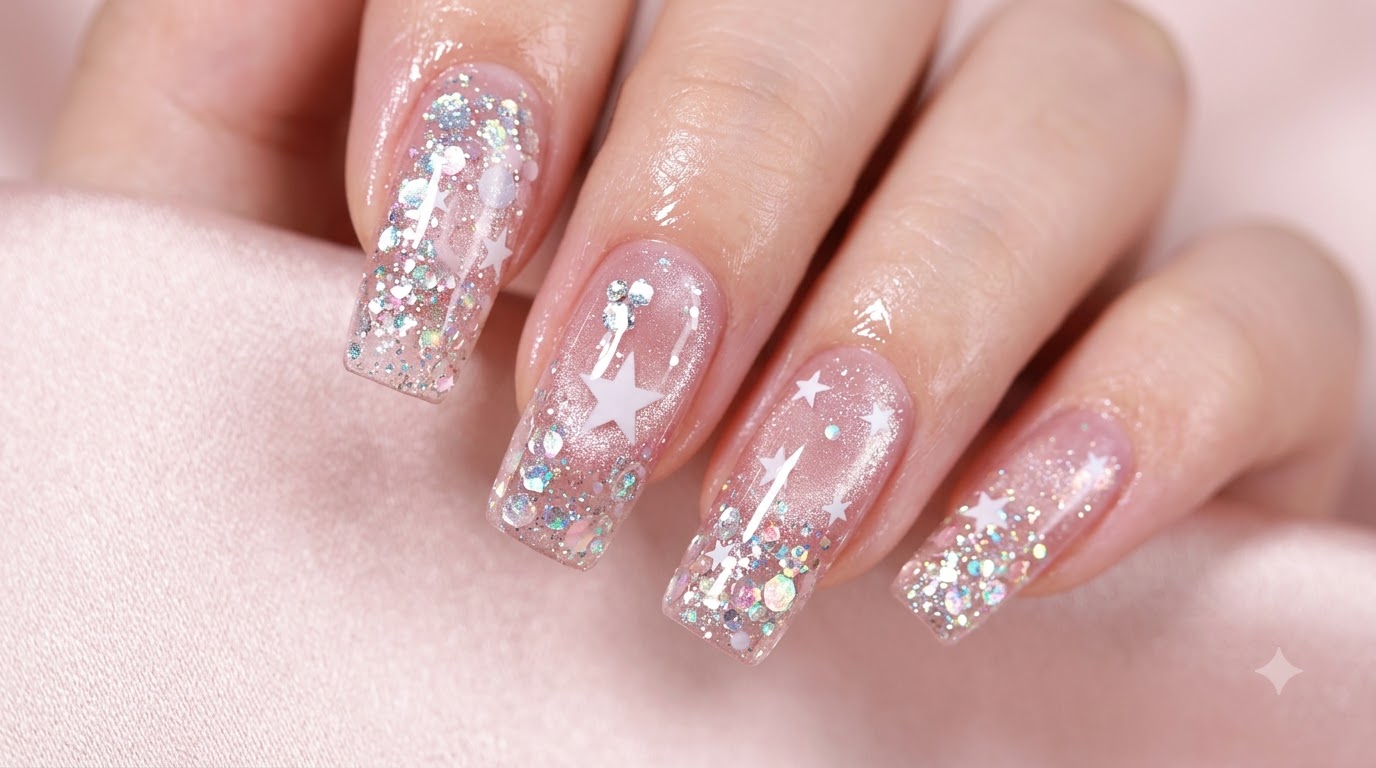
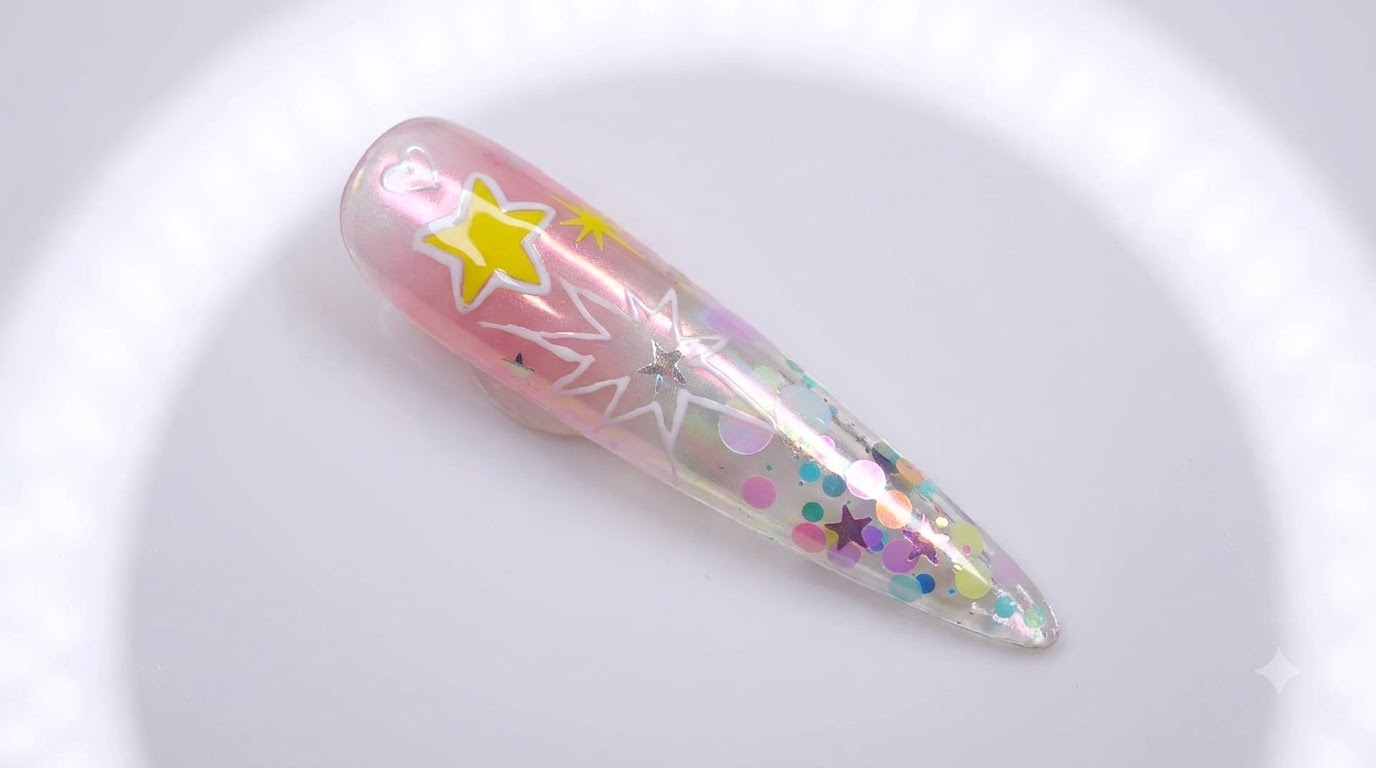
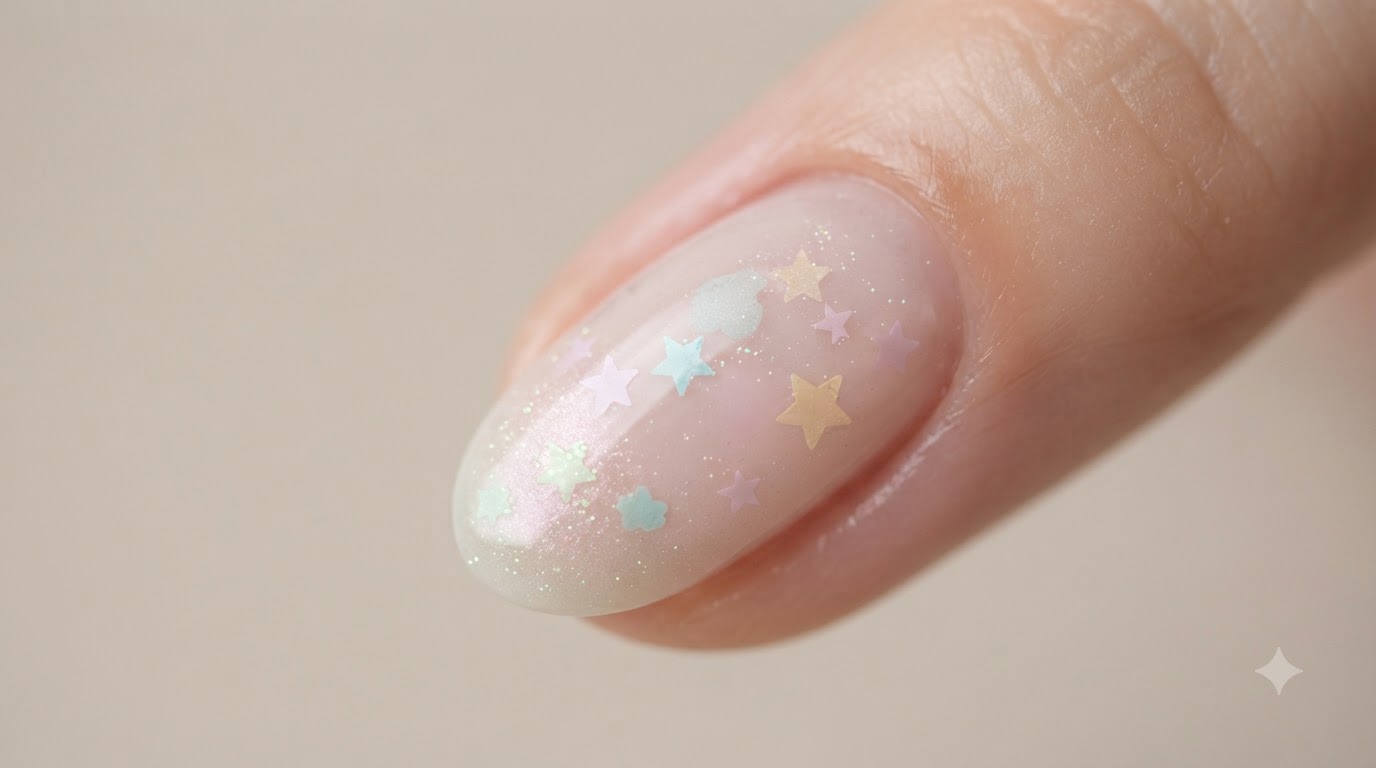
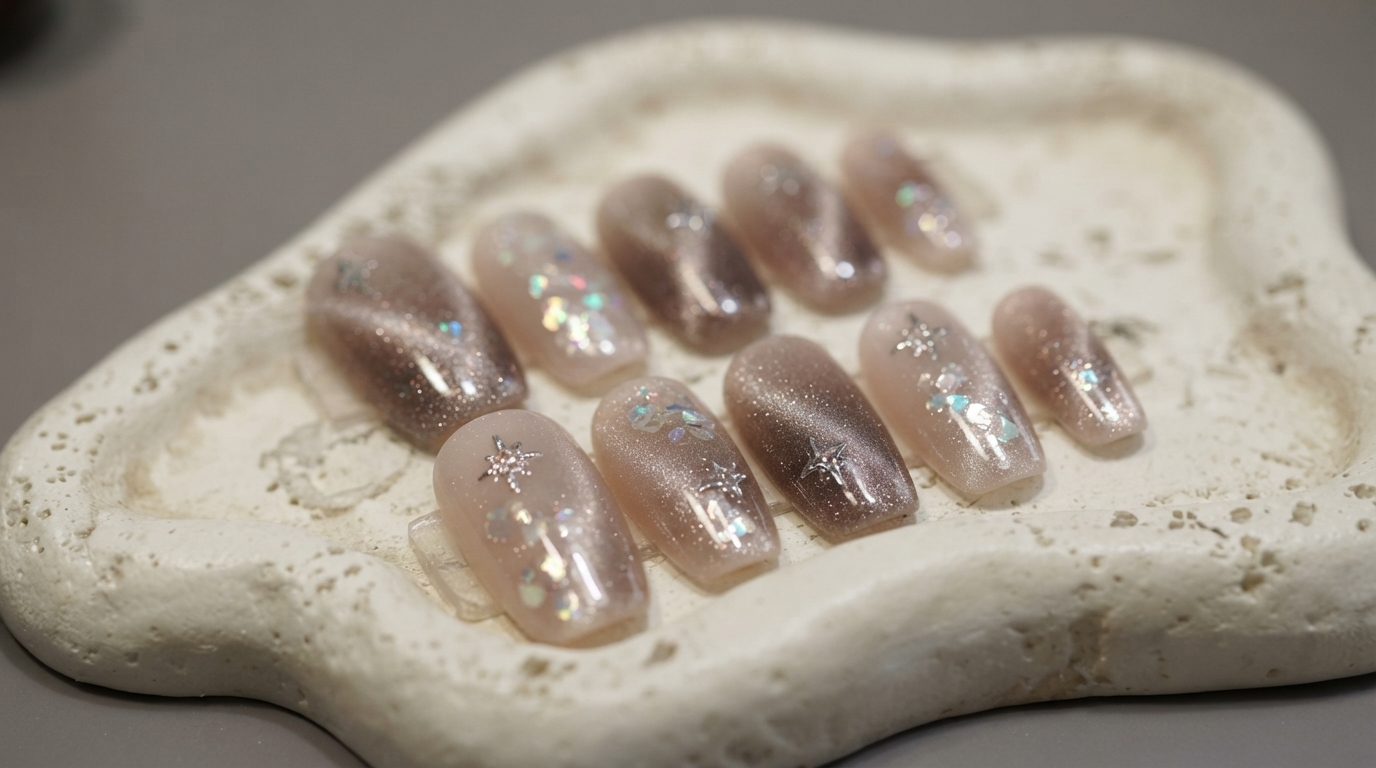
Create dreamy bubble star nails featuring a milky translucent base, shimmering cat-eye glitter, iridescent flakes, and hollow star nail art.
Combining celestial motifs with the mesmerizing depth of cat eye polish and iridescent bubble flakes creates a truly magical aesthetic. Perfect for anyone wanting a unique galaxy inspired manicure with a soft frosted finish.
Steps
- 1Apply nude pink base gel
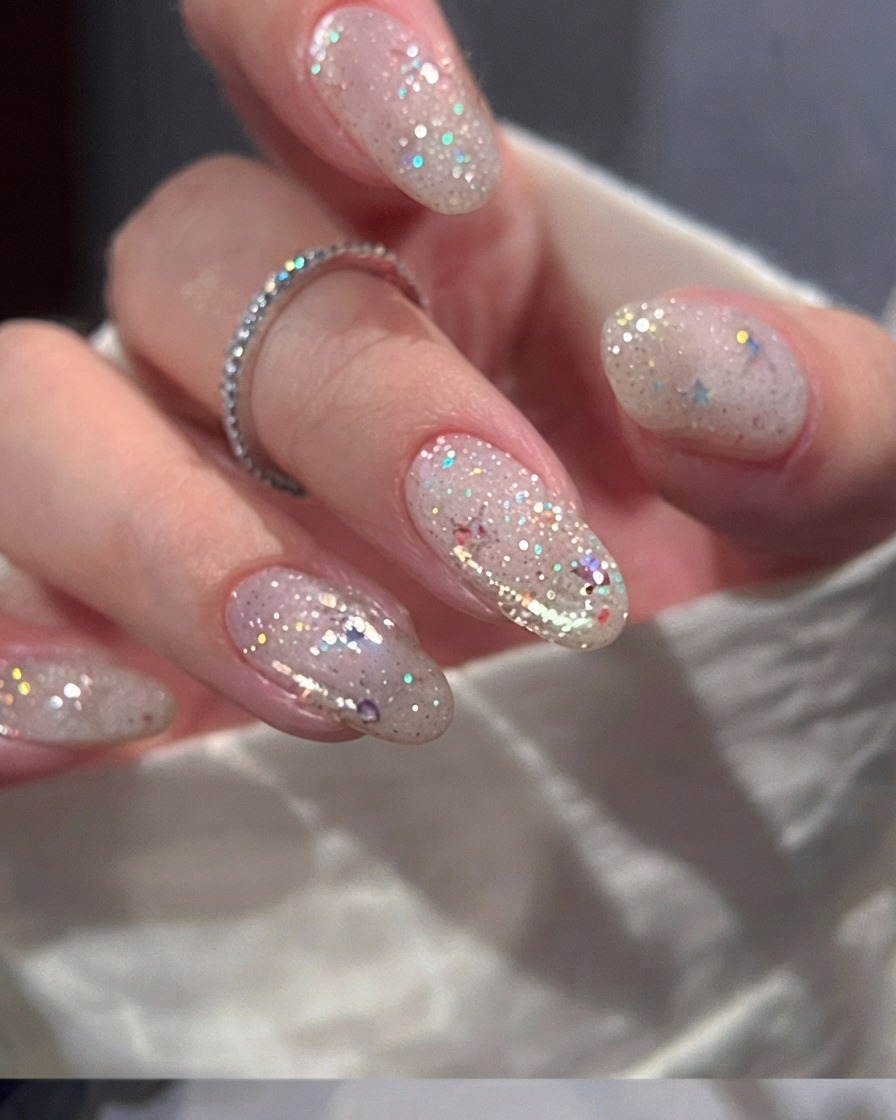
Apply a thin, even layer of nude pink gel over the prepped nail surface using a gel brush, covering the entire nail plate carefully. Make sure to cap the free edge for better durability before curing under the UV/LED lamp.
Tip: Apply in thin layers to prevent wrinkling or uneven curing under the lamp. - 2Wipe off the floating layer
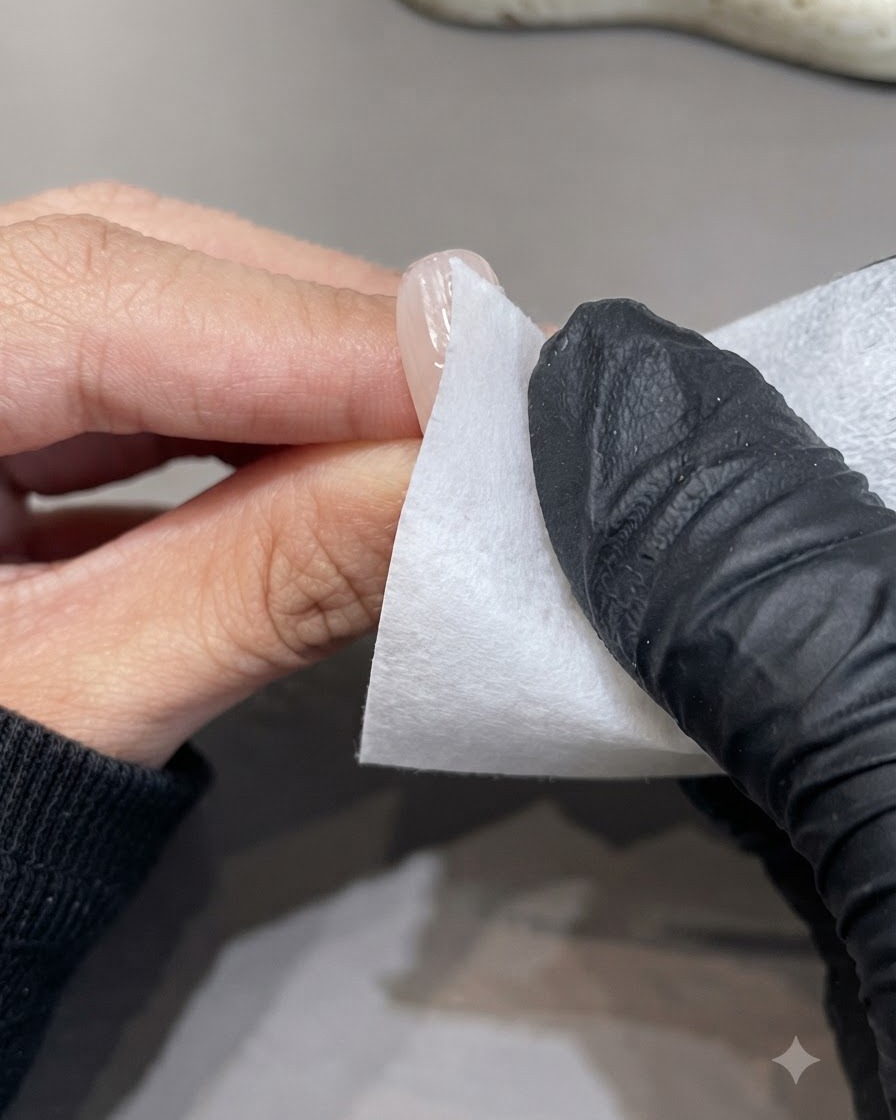
Take a clean lint-free wipe saturated with cleanser and gently wipe down the cured nail surface to remove the sticky inhibition layer. This prepares the surface clean and smooth for the next application step.
Tip: Ensure the wipe is lint-free so no fibers get stuck in the tacky layer of the gel. - 3Create a gradient effect with a sponge
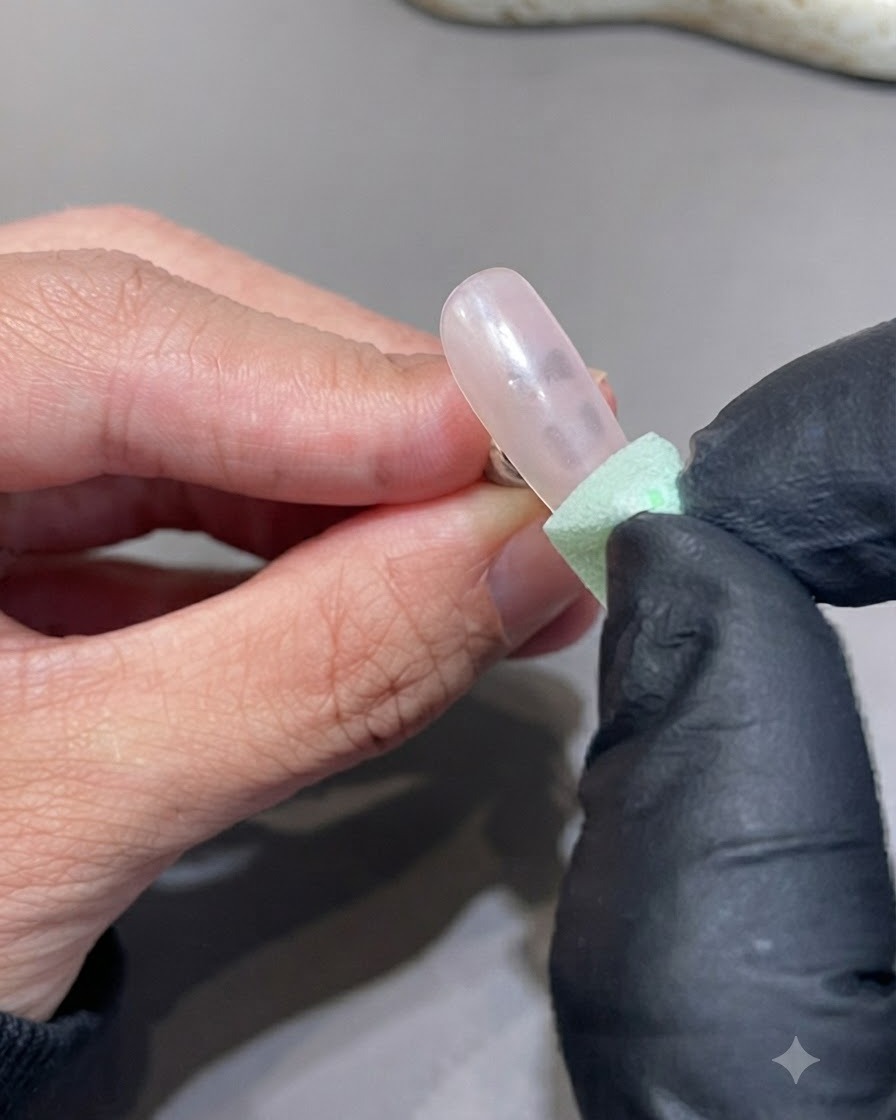
Take a small makeup sponge and gently pat color onto the nail tip to build a soft, seamless gradient effect. Lightly dab upwards toward the center of the nail to feather out the transition.
Tip: Use light, tapping motions with the sponge to avoid creating harsh lines or texture bumps. - 4Apply shiny cat eye gel with glitter
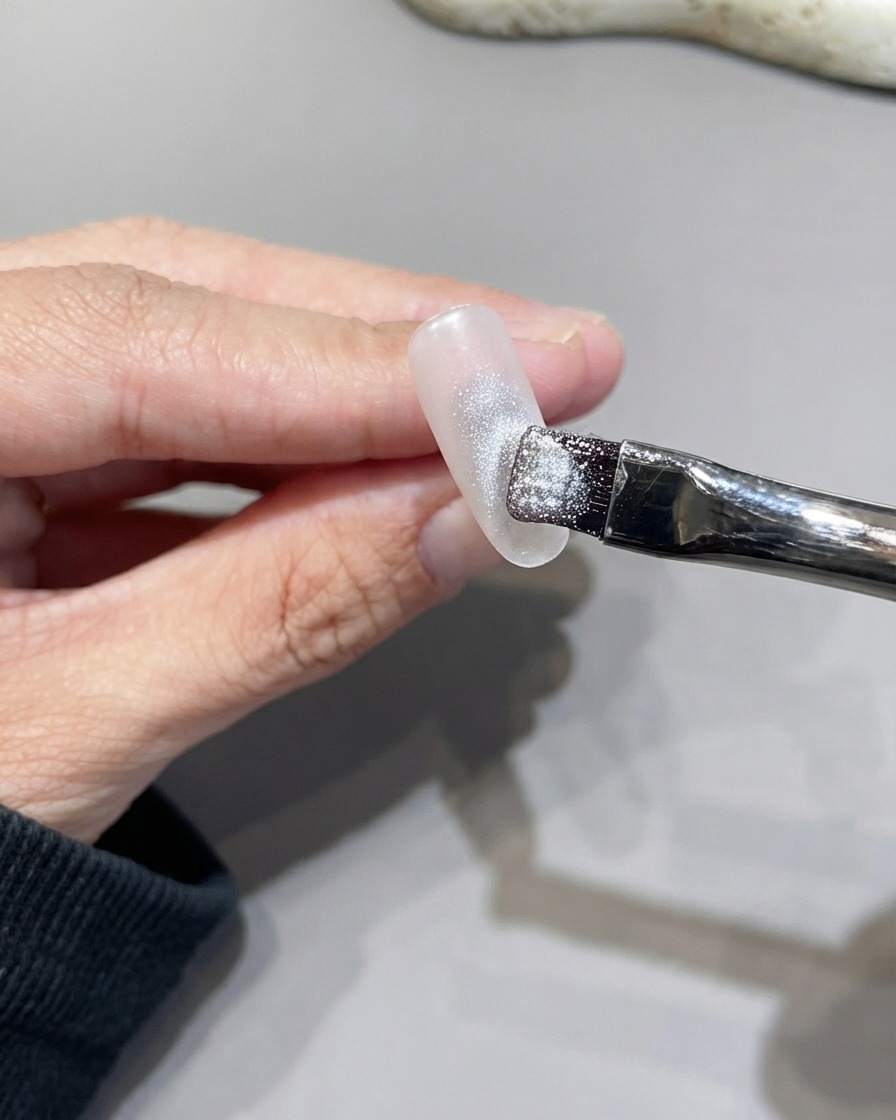
Brush a layer of shiny cat eye gel containing fine glitter evenly across the entire nail plate. Ensure full coverage from cuticle to free edge so the magnetic particles can catch the light uniformly.
Tip: Stir or roll the bottle gently if needed to distribute the glitter evenly throughout the cat eye gel. - 5Magnetize for a side-light cat eye effect
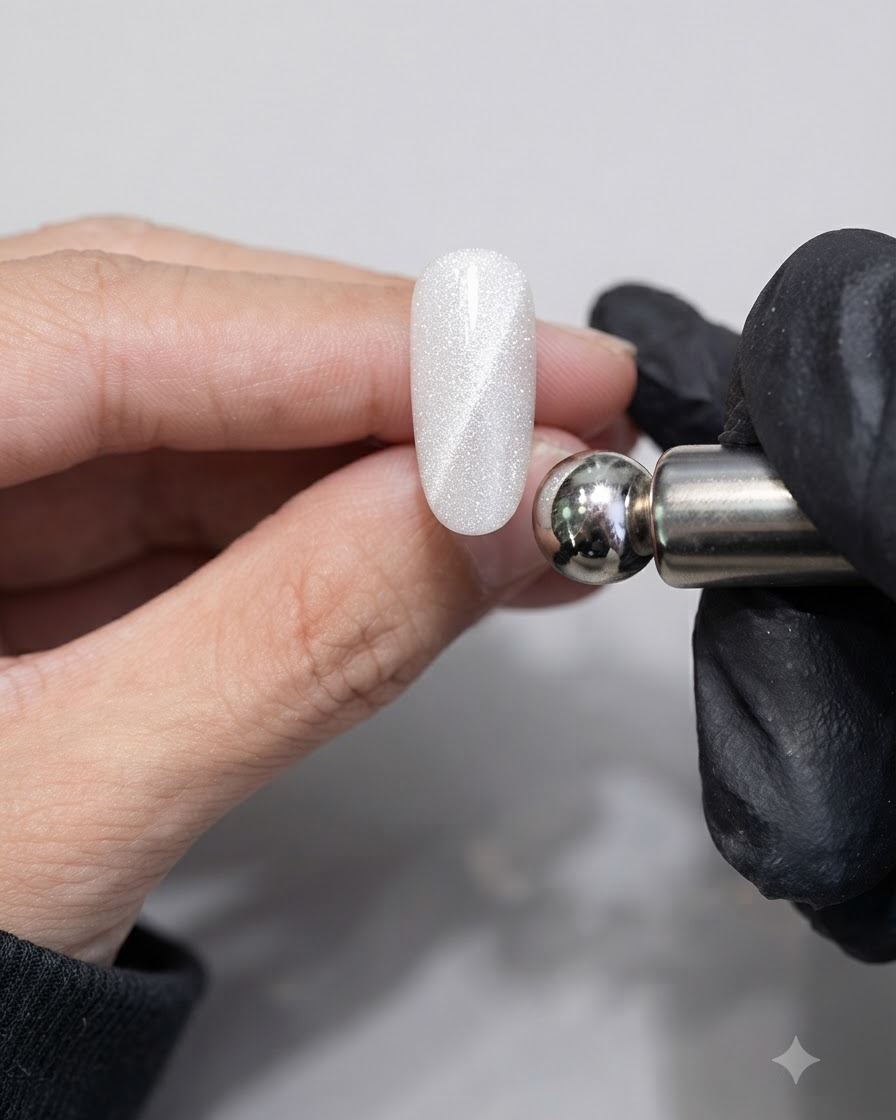
Hold a magnetic wand close to one lateral side of the wet cat eye gel without touching the surface. Keep it steady for a few seconds until the metallic particles shift to form a bright side-light stripe, then cure immediately.
Tip: Cure the nail immediately after positioning the magnet so the shifting glitter particles do not disperse back out. - 6Place bubble sequin flakes
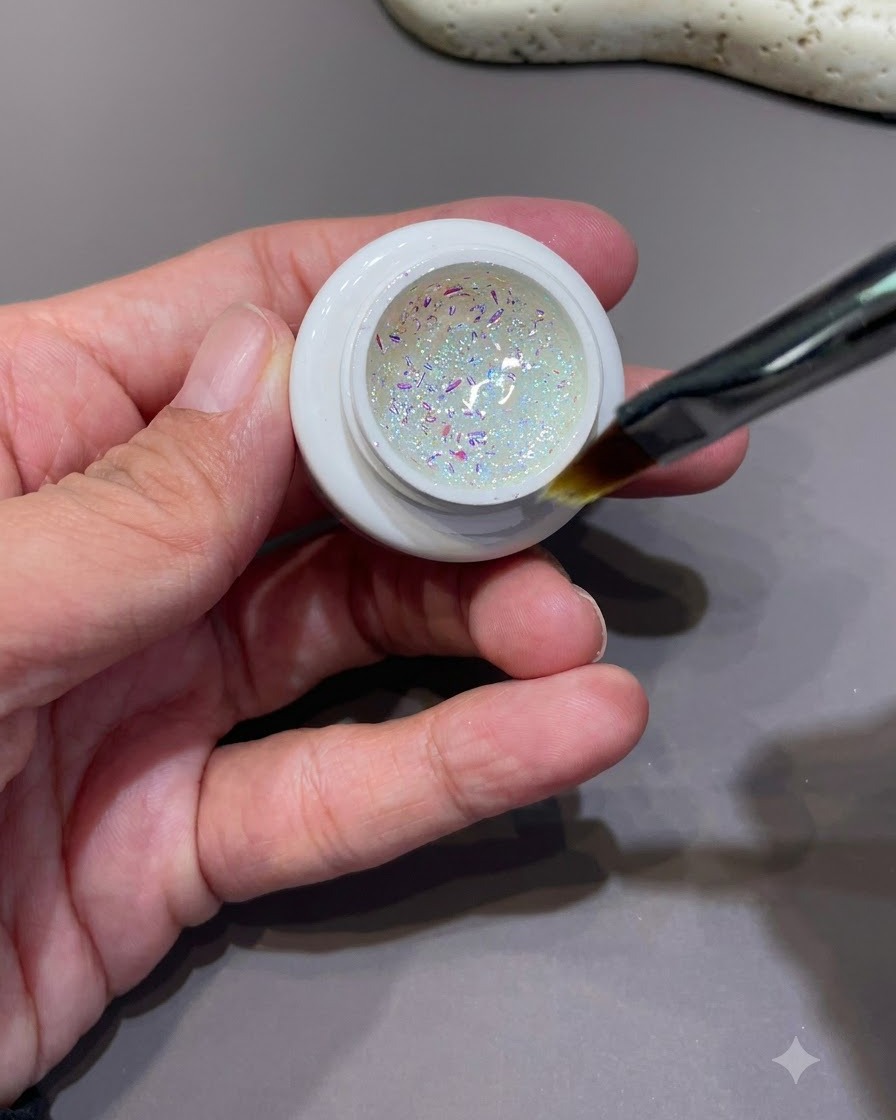
Pick up small iridescent bubble sequin flakes using a detail brush or dotting tool and dab them sparsely along the diagonal axis of the nail. Avoid covering the entire surface to keep the delicate, spaced-out bubble look.
Tip: Place sequins into a wet base or clear gel layer so they adhere firmly before curing. - 7Apply reinforcing gel
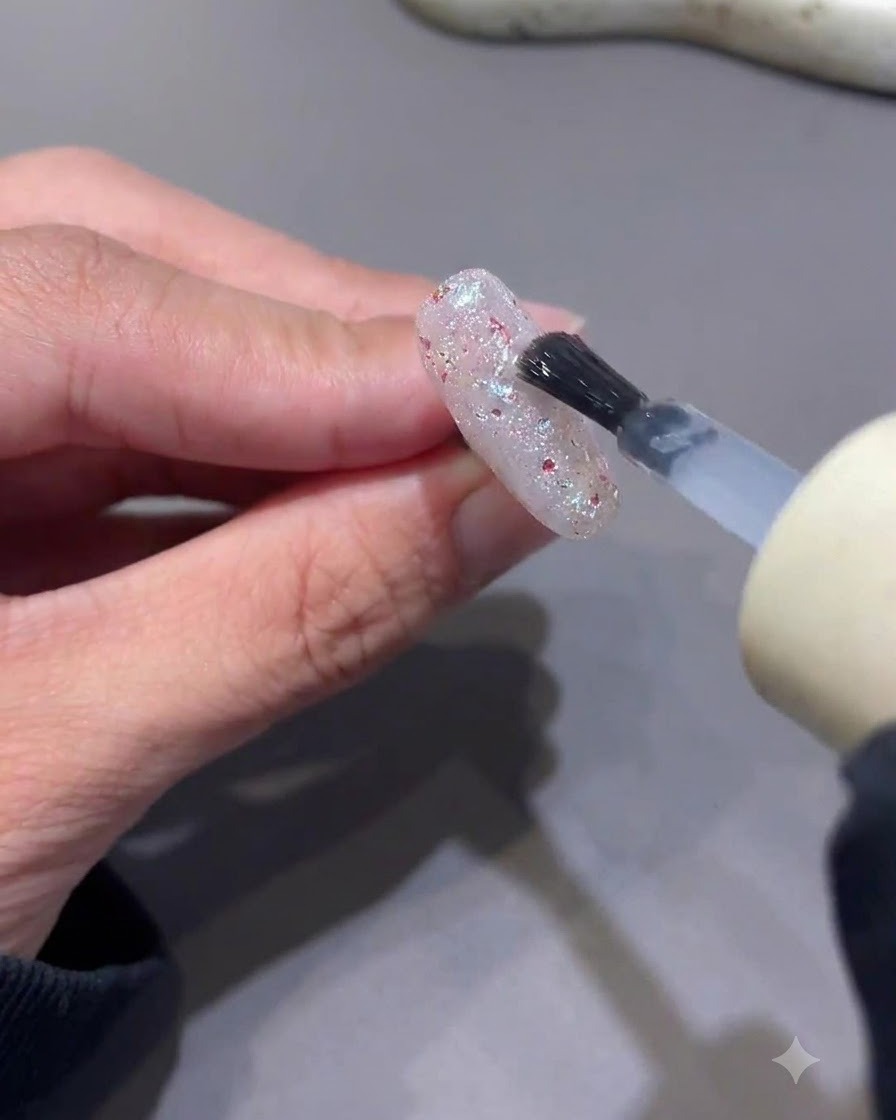
Brush a layer of clear reinforcing gel over the decorated nail surface to add thickness, structure, and level out any uneven areas from the sequins. Cure under the lamp once applied and smoothed out.
Tip: Reinforcing gel helps encapsulate thick nail art elements securely so they do not catch or peel off. - 8Wipe sticky layer and file
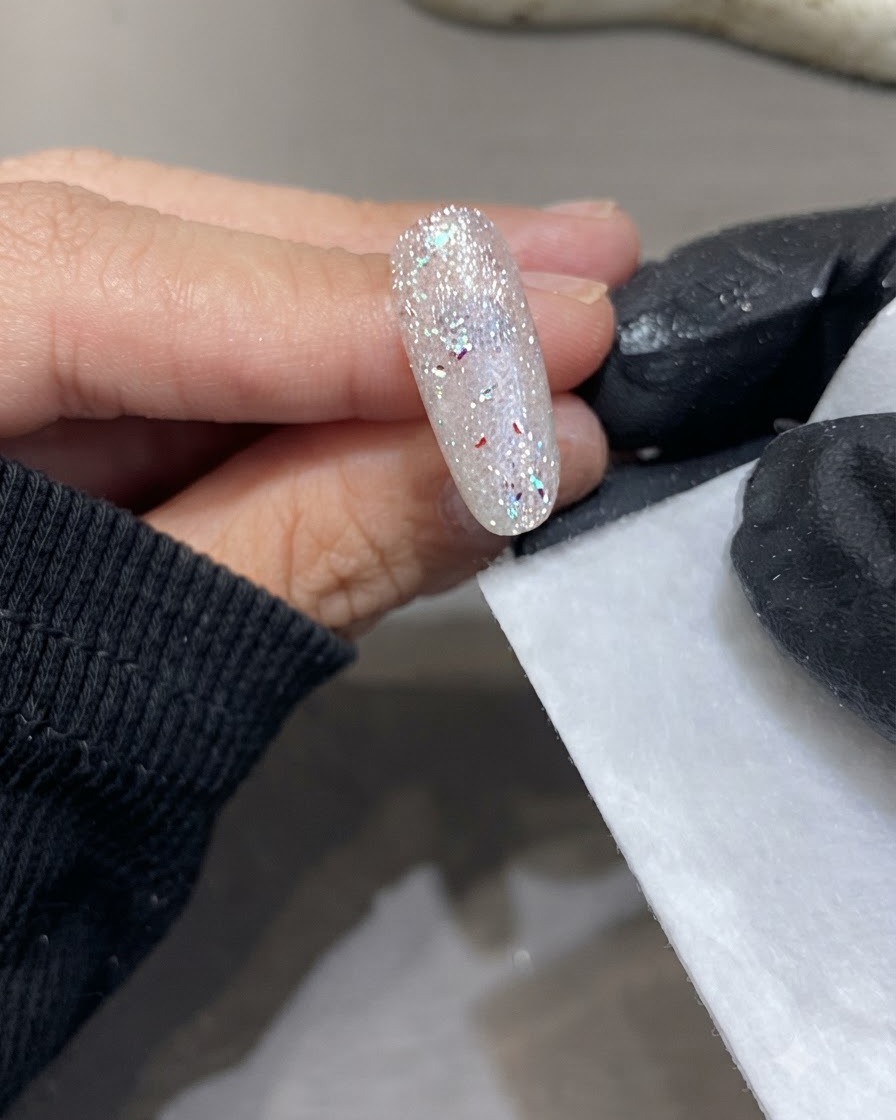
After curing the reinforcing gel, wipe away the sticky inhibition layer using a lint-free wipe. Take a nail file and gently smooth out any rough or uneven spots on the surface or edges.
Tip: Filing after the reinforcing gel layer ensures your matte top coat goes on completely smooth. - 9Apply matte top coat
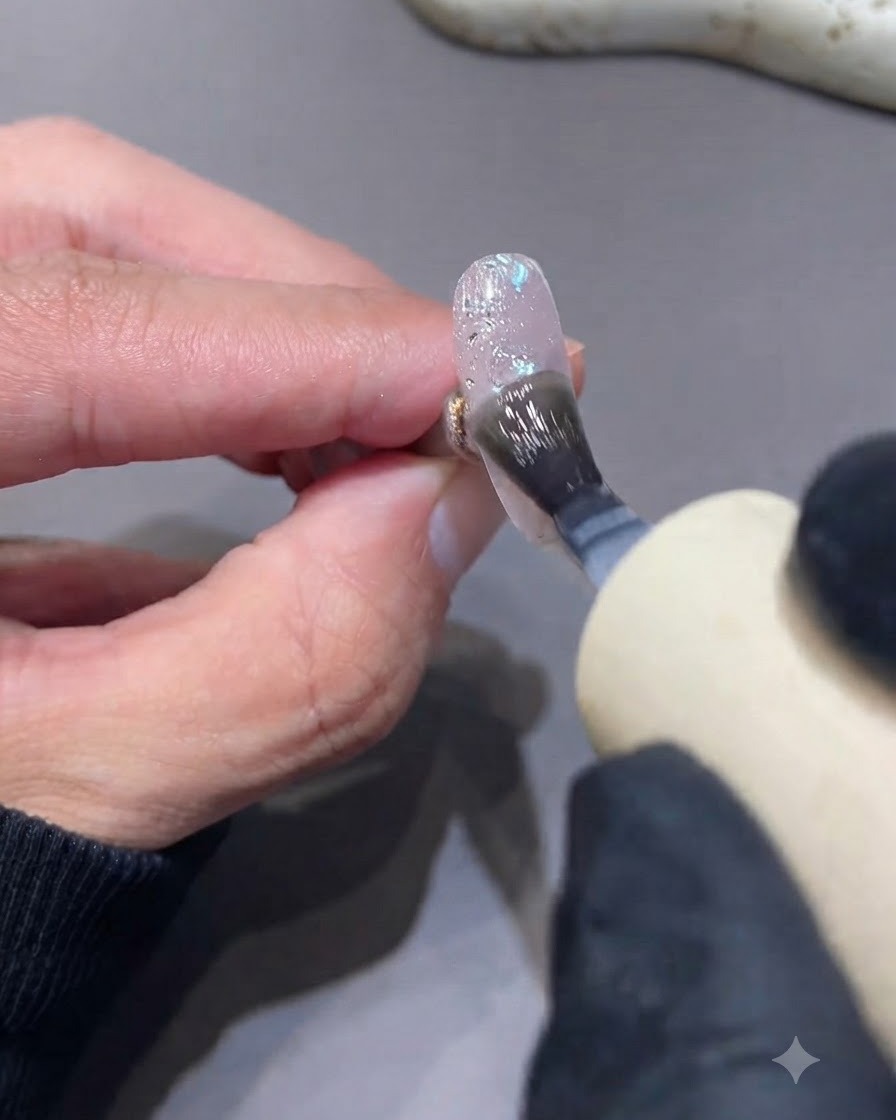
Apply a thin and even layer of matte top coat over the entire nail surface. This will create a soft frosted texture contrast against the sparkly elements underneath.
Tip: Make sure to cover the entire nail evenly without pooling around the cuticles. - 10Place star sticker
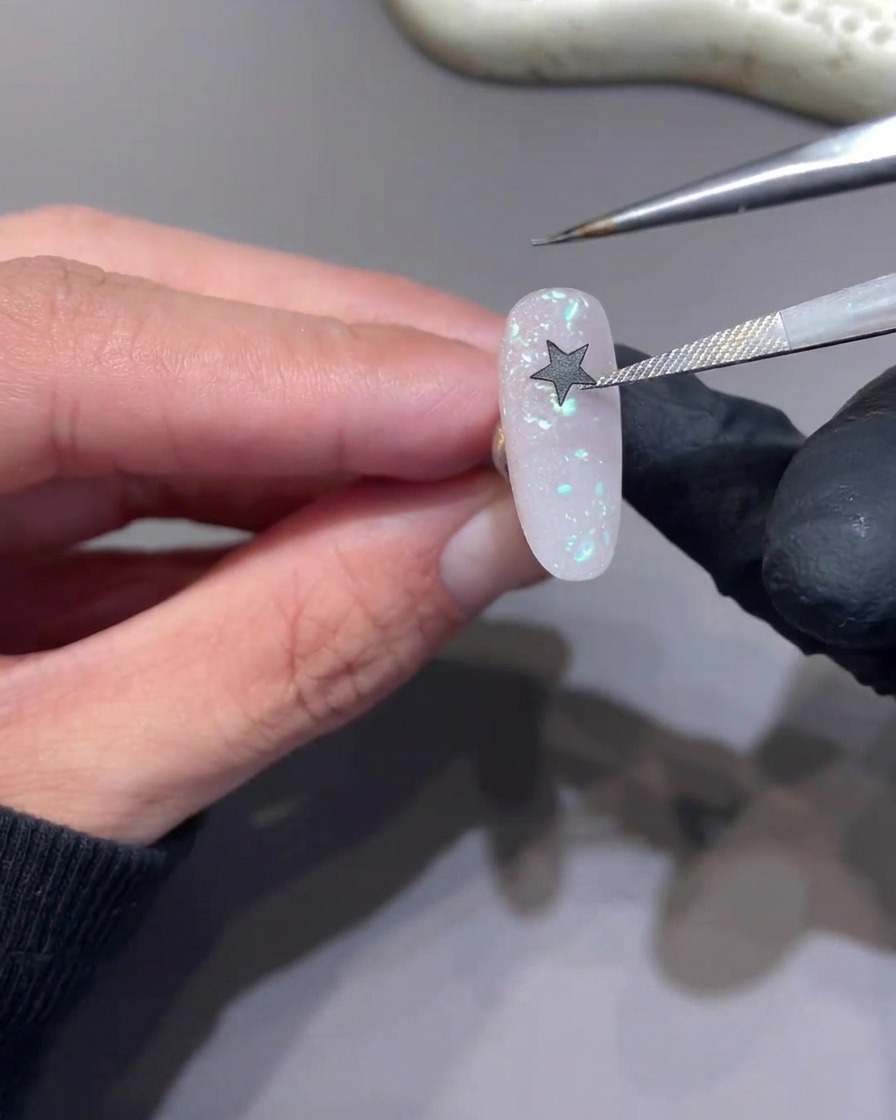
Using a pair of precision tweezers, pick up a star sticker and carefully place it directly onto the section of the nail containing the sequin flakes. Press down gently to secure it.
Tip: Tweezers give you precise placement control so the sticker sits exactly where you want it. - 11Dab white gel with sponge
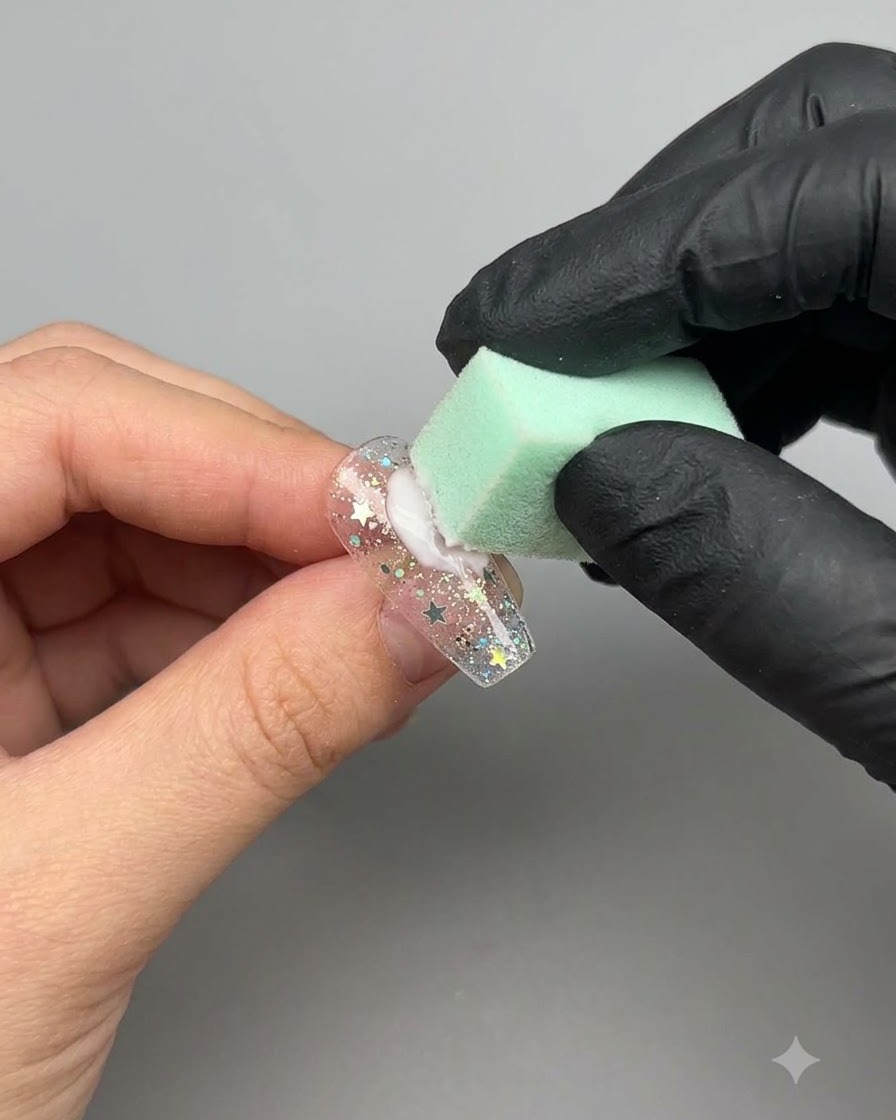
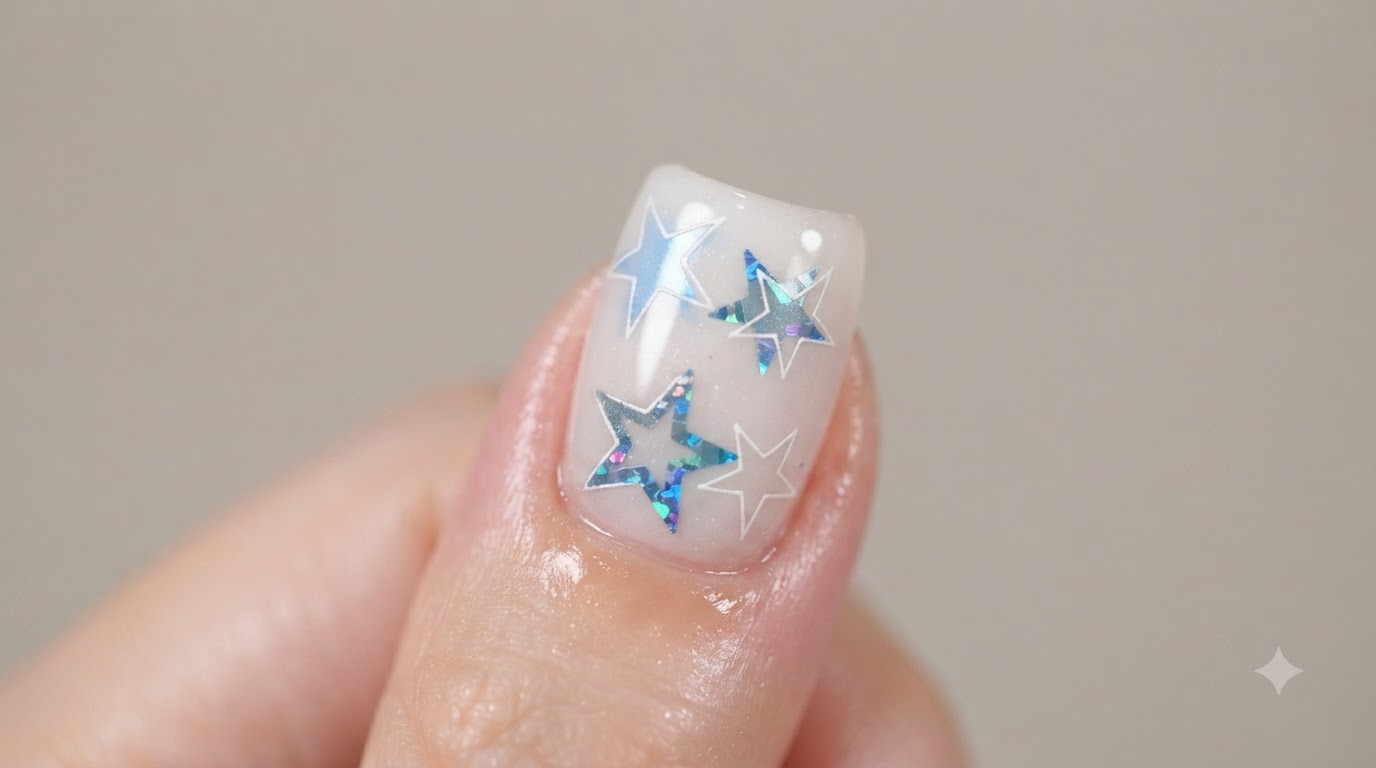
Take a small sponge applicator dipped in white gel and gently dab it directly over the star sticker and surrounding area. This creates a faded, dreamy background effect around the star outline.
Tip: Use a light patting motion with the sponge to avoid shifting the sticker out of place. - 12Remove sticker for hollow effect
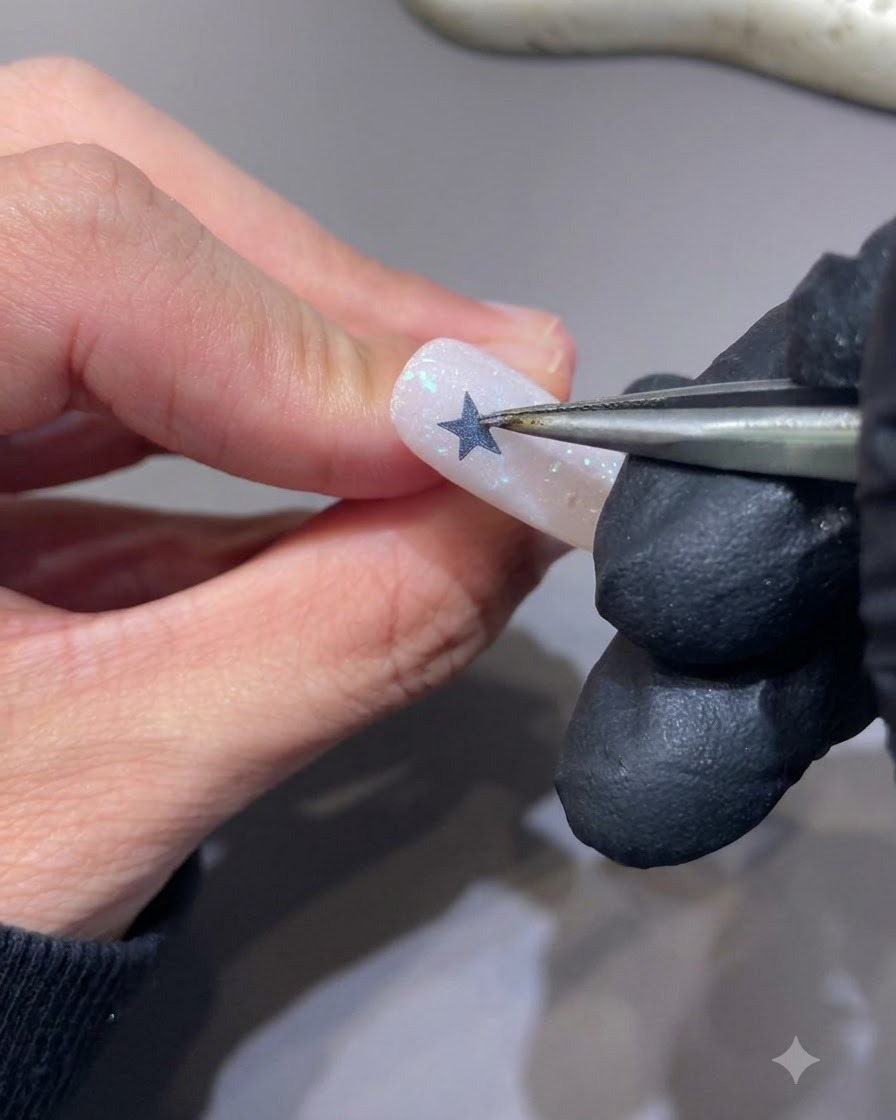
Carefully peel and tear off the star sticker using tweezers while the white gel is in place, revealing a clean hollow star design underneath. Cure the layer under the lamp.
Tip: Remove the sticker gently and steadily to keep the sharp edges of the hollow star crisp.