Macaron Star Gel Nail Art — Step-by-Step Tutorial
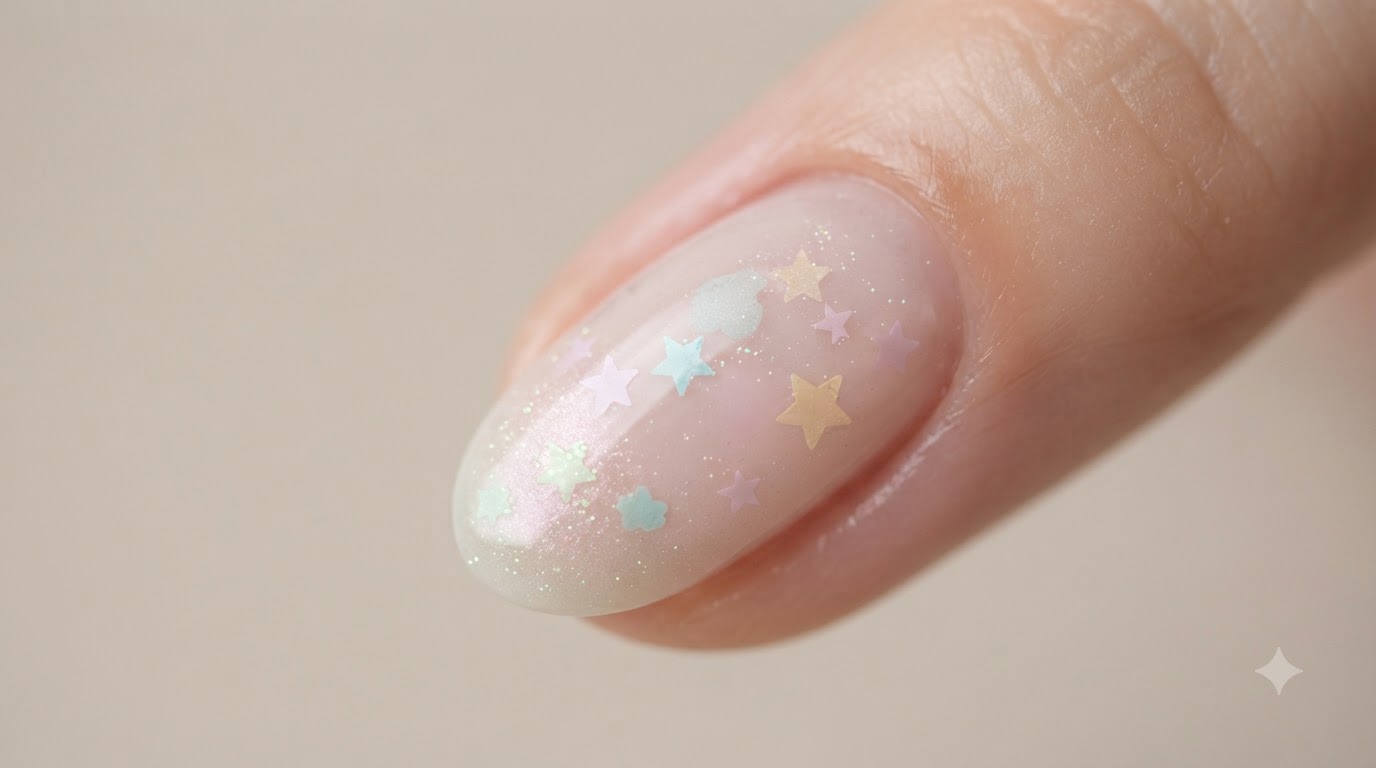
Create dreamy summer nails featuring pastel macaron star glitters, sparkling frost white shimmer gel, and a soft pink blush gradient effect.
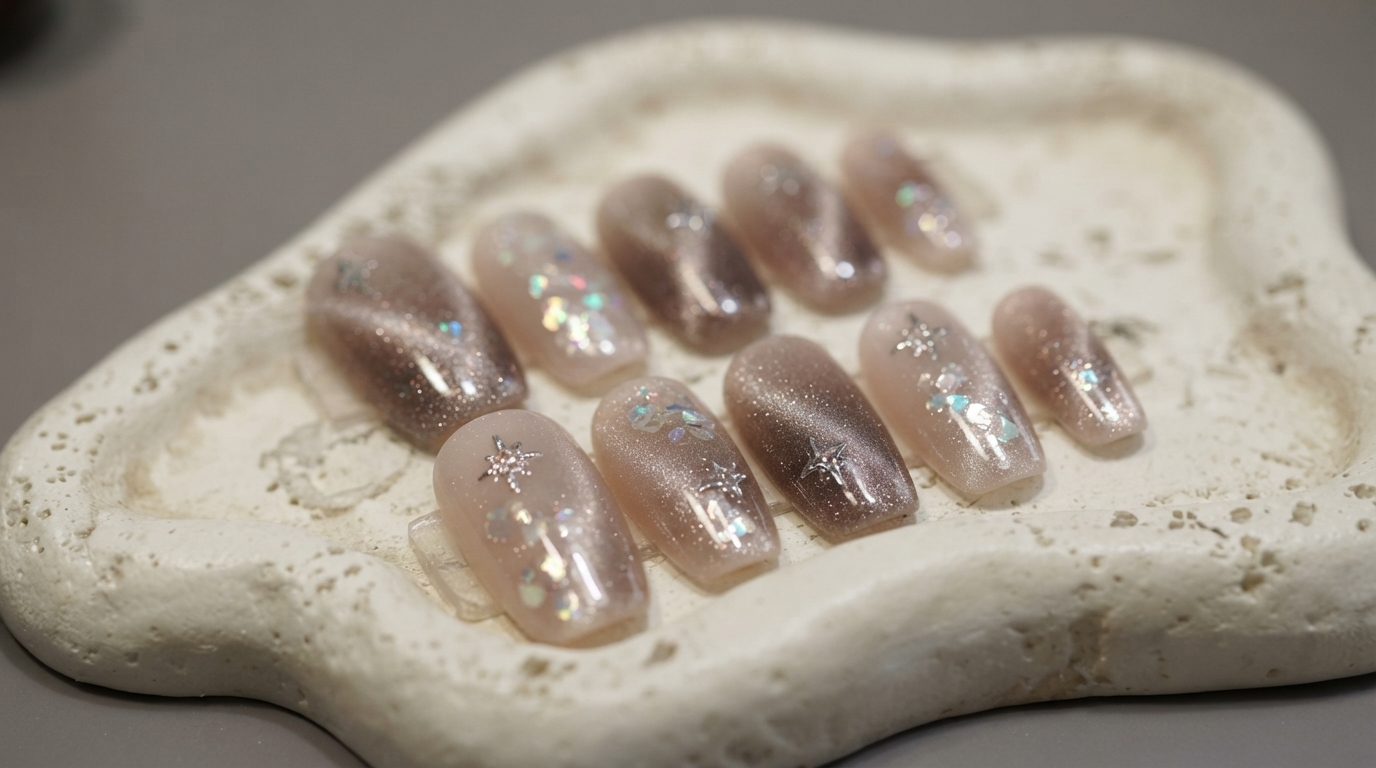
Macaron-inspired nail art is the ultimate trend for a sweet, whimsical summer manicure. This look combines translucent pastel star glitters with a sparkling cat-eye frost effect and a delicate blush gradient, bringing a charming dimensional depth to your nails.
Steps
- 1Buffer and clean the proximal nail fold
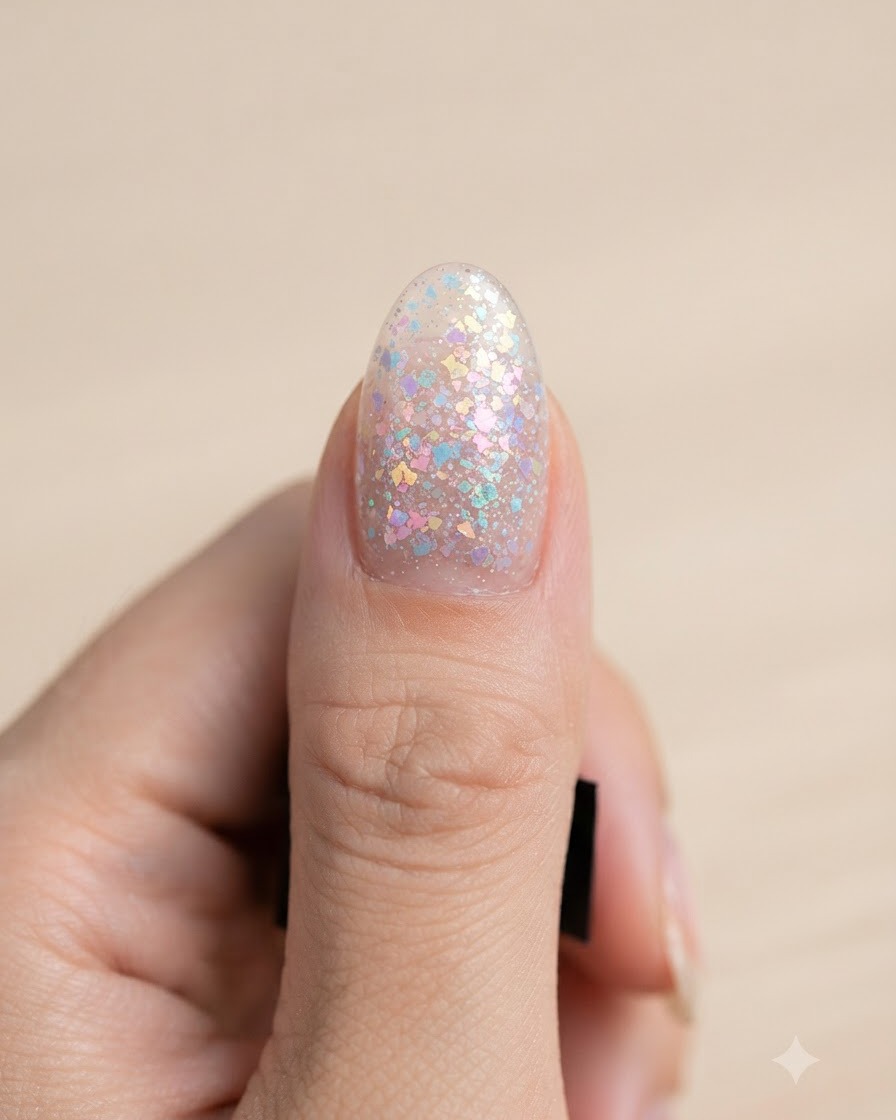
Using a green buffer block, gently smooth and clean around the proximal nail fold area to remove any remaining shine or dead skin. This prepares the surface for proper product adhesion and ensures a clean application line near the cuticle.
Tip: Be gentle around the cuticle area to avoid irritation or over-buffing the natural nail plate. - 2Apply gel base coat
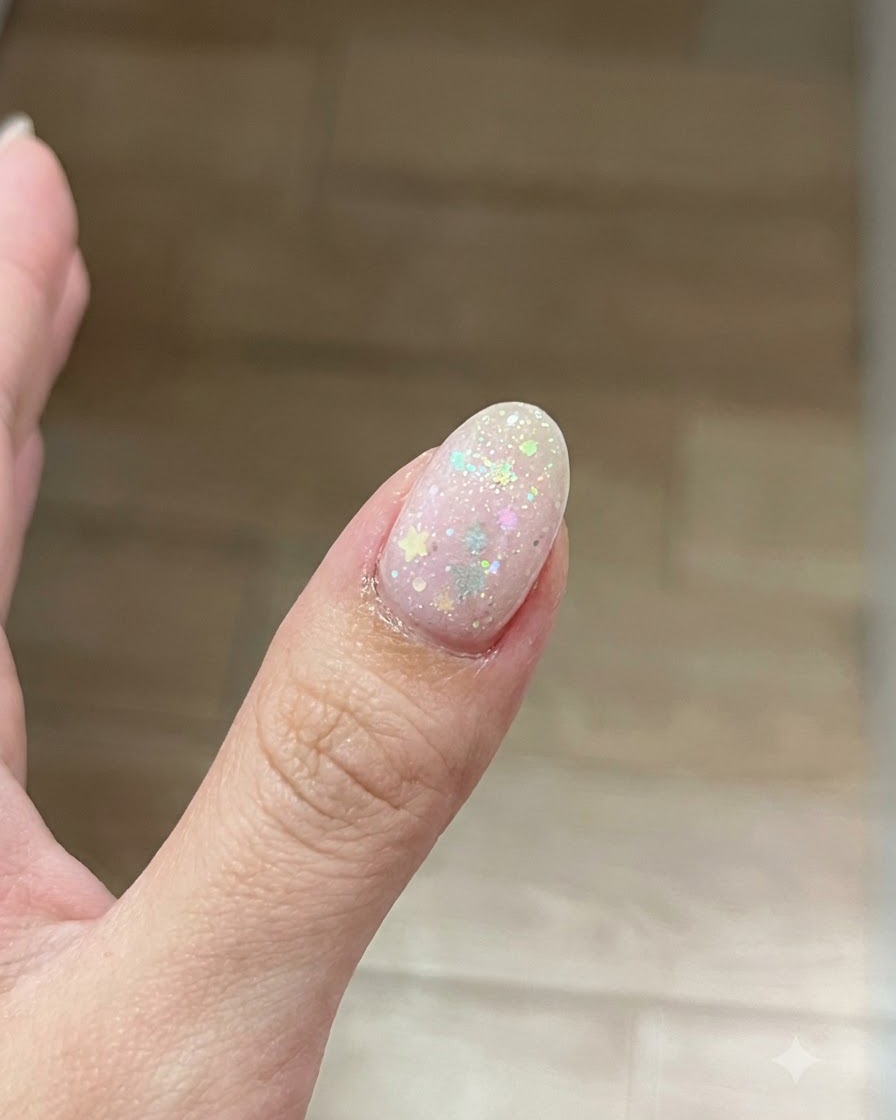
Apply a thin layer of base gel evenly over the prepped nail plate. Make sure to cover the entire nail surface without flooding the surrounding skin. Cure under a UV or LED lamp as required.
Tip: Applying a thin and even layer prevents lifting and ensures a smooth foundation for subsequent steps. - 3Place the star glitters
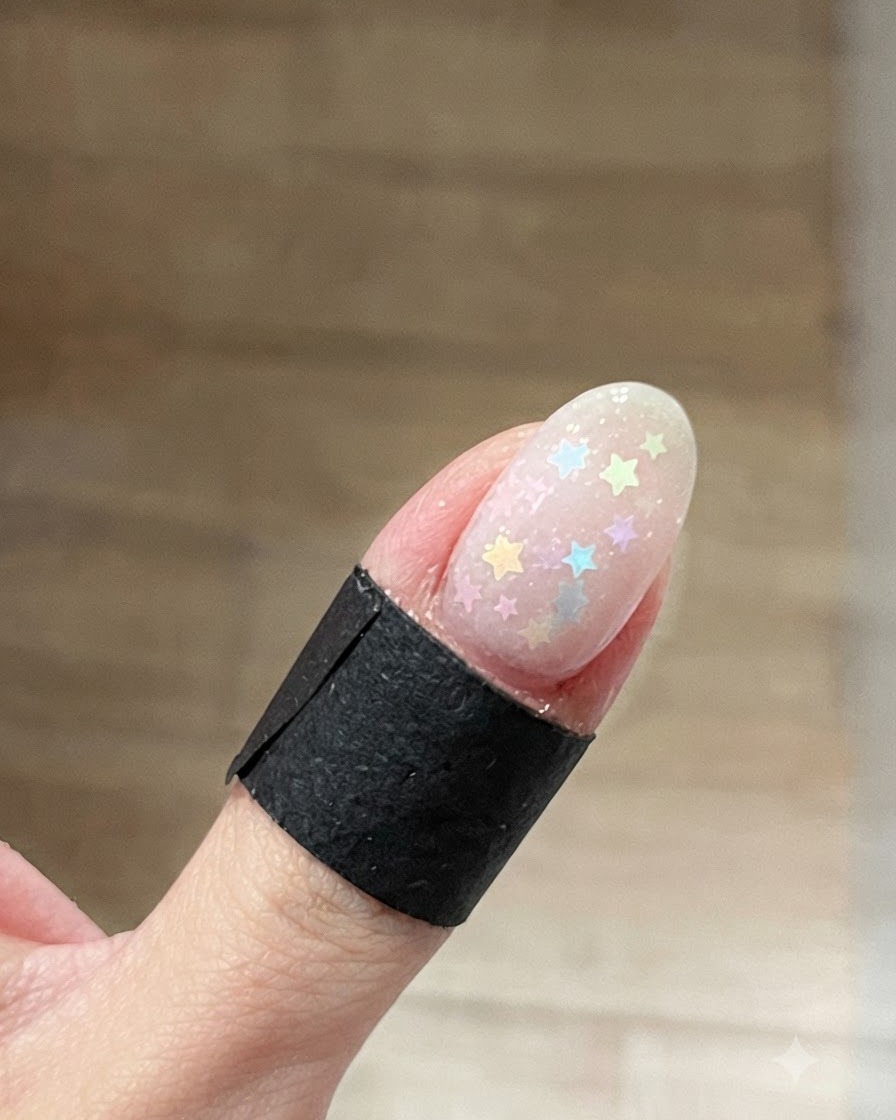
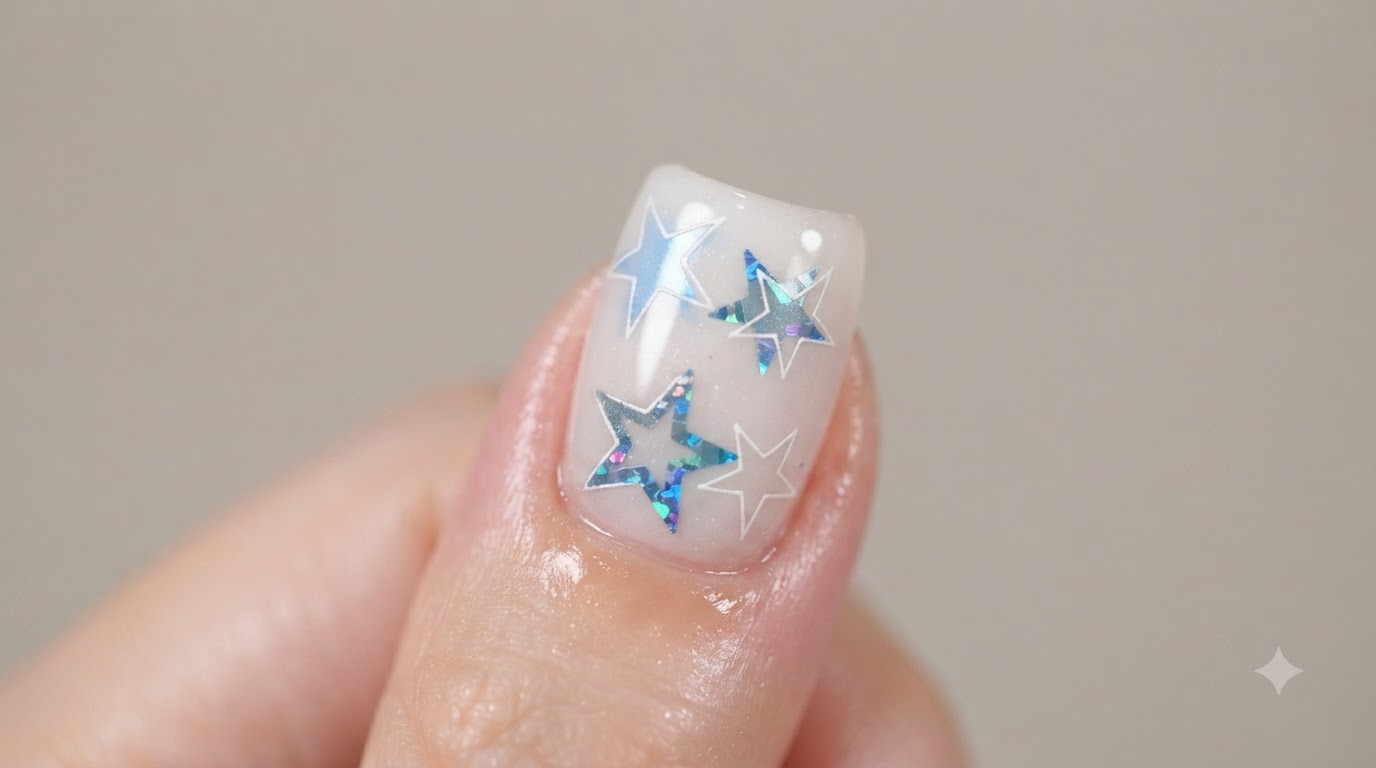
Place the individual multi-colored star glitters directly onto the wet base gel layer. Space them evenly across the nail plate so the pastel macaron colors clearly stand out. Do not cure yet, as the wet base is needed to hold the glitters securely in place.
Tip: Using a wax-tipped tool or a fine detail brush with a tiny bit of base gel makes picking up and positioning the glitters much easier. - 4Apply the shimmer gel
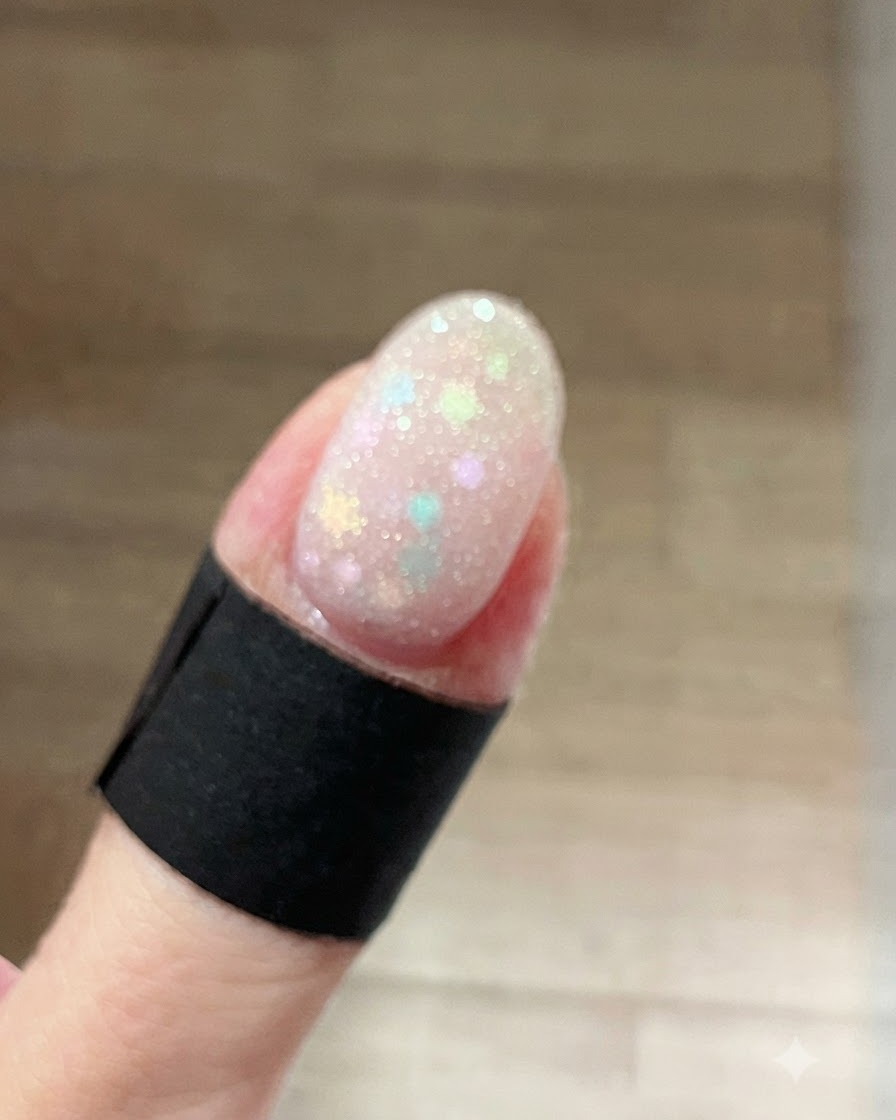
Apply an even layer of the Doryla frost white shimmer gel over the entire nail using a flat gel brush. Because this gel has a clear base, it provides a gorgeous, dense sparkle without covering up the macaron stars underneath.
Tip: Float your brush lightly over the surface of the nail to ensure you dont accidentally move or drag the star glitters below. - 5Create the cat-eye effect
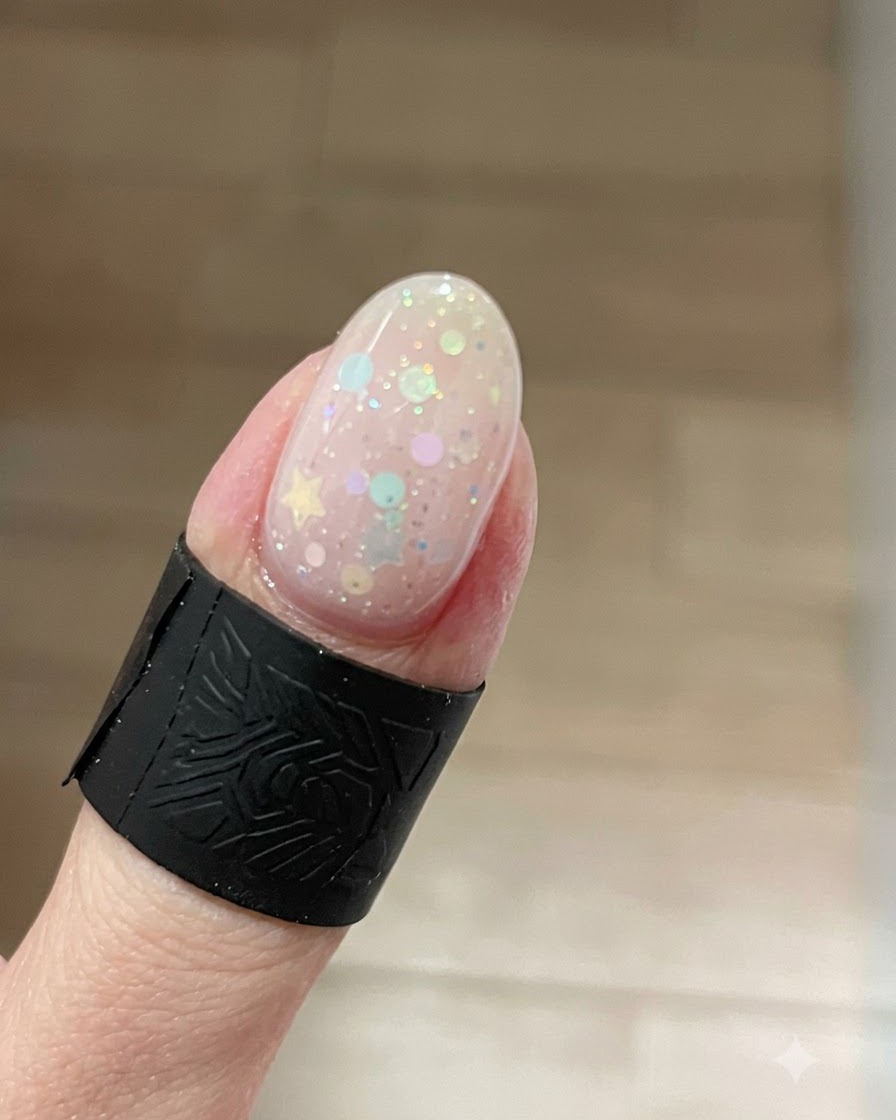
While the frost white shimmer gel is still uncured, use a magnetic stick to push the magnetic particles toward the free edge of the nail. This concentrates the light at the tip, creating a stunning cat-eye effect. Once you achieve the perfect glow, cure the nail fully.
Tip: Hold the magnet steady for a few seconds to give the magnetic particles enough time to fully shift into place before pulling it away. - 6Wipe inhibition layer
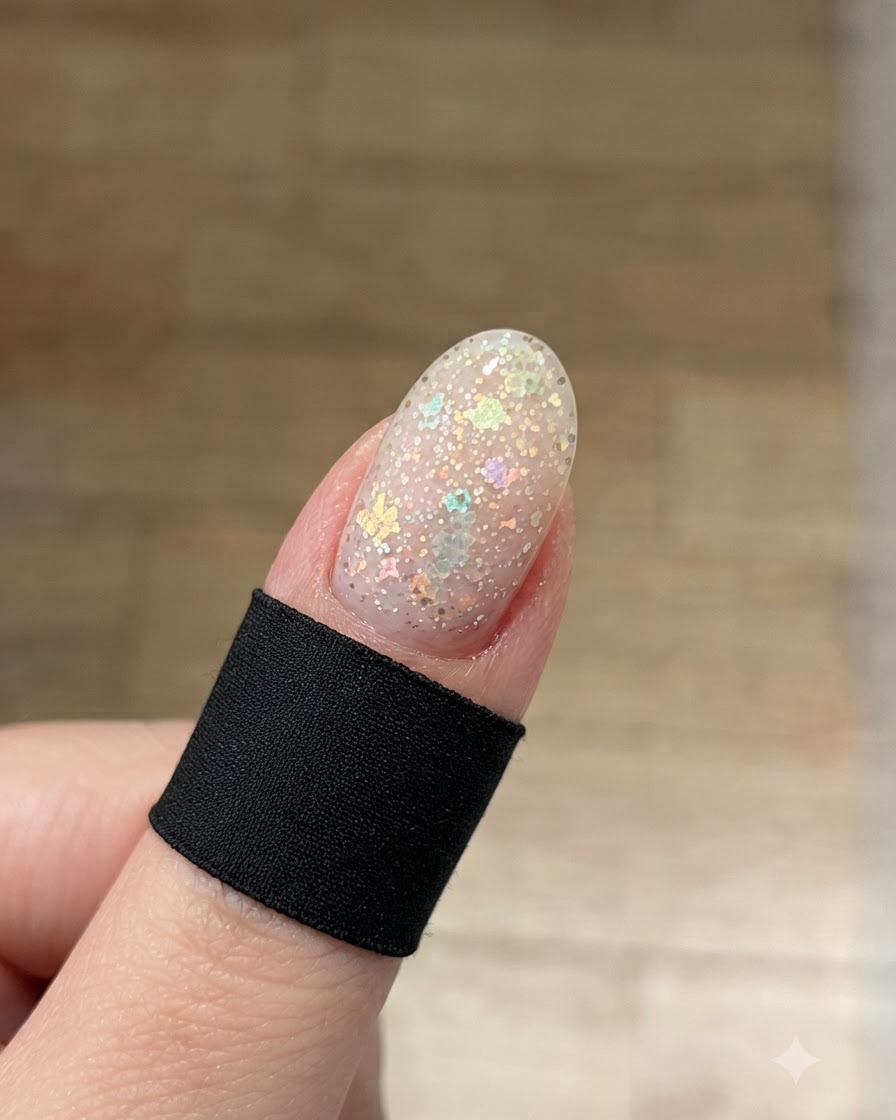
Take an alcohol-soaked pad and gently wipe the nail surface to remove the sticky inhibition layer left after curing. This creates a clean, non-tacky surface ready for the next layer of application.
Tip: Ensure the pad is damp but not dripping wet to efficiently clear the tacky residue without disrupting the surface. - 7Create a blush nail effect with dusty pink gel
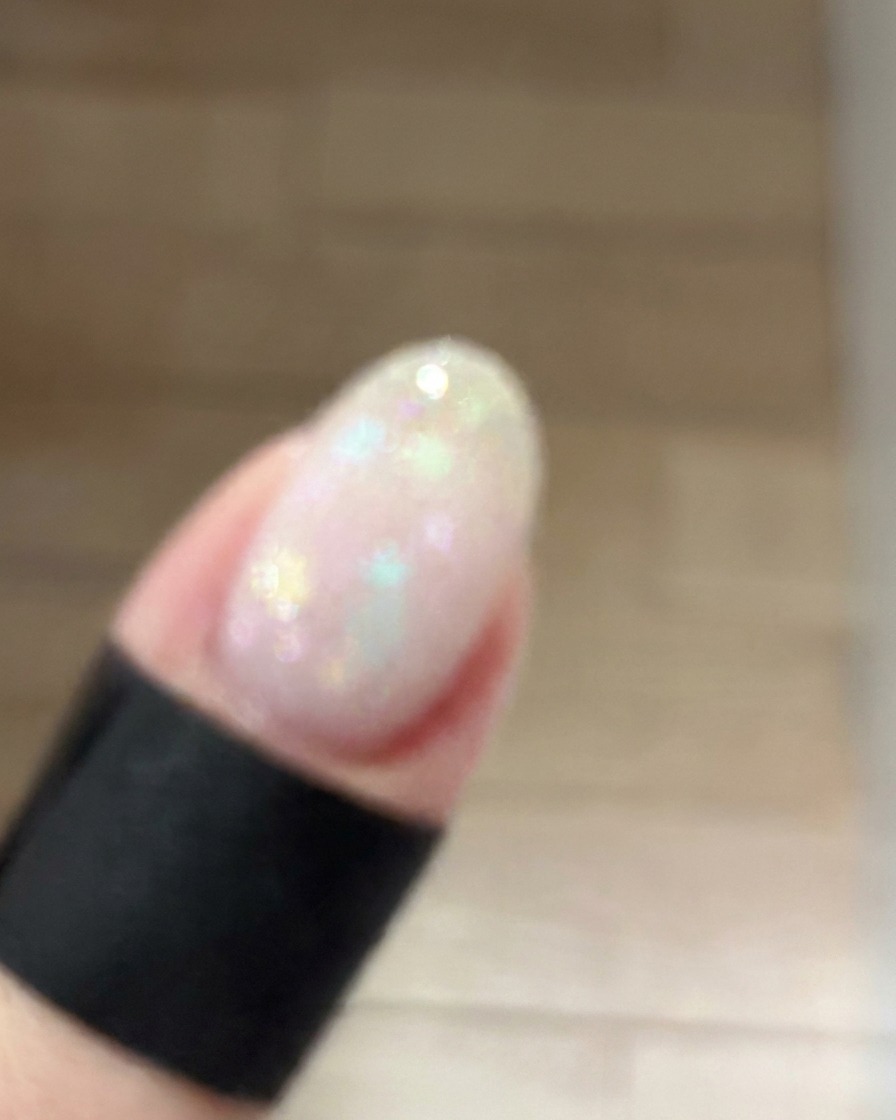
Take number 45 dusty pink gel and pat it lightly onto the nail using a makeup sponge to build a soft blush effect. You can extend the color toward the cuticle area to create a gentle, diffused gradient look.
Tip: Pat lightly with the makeup sponge to keep the color gradient smooth and natural without harsh lines. - 8Pat on pink blush color
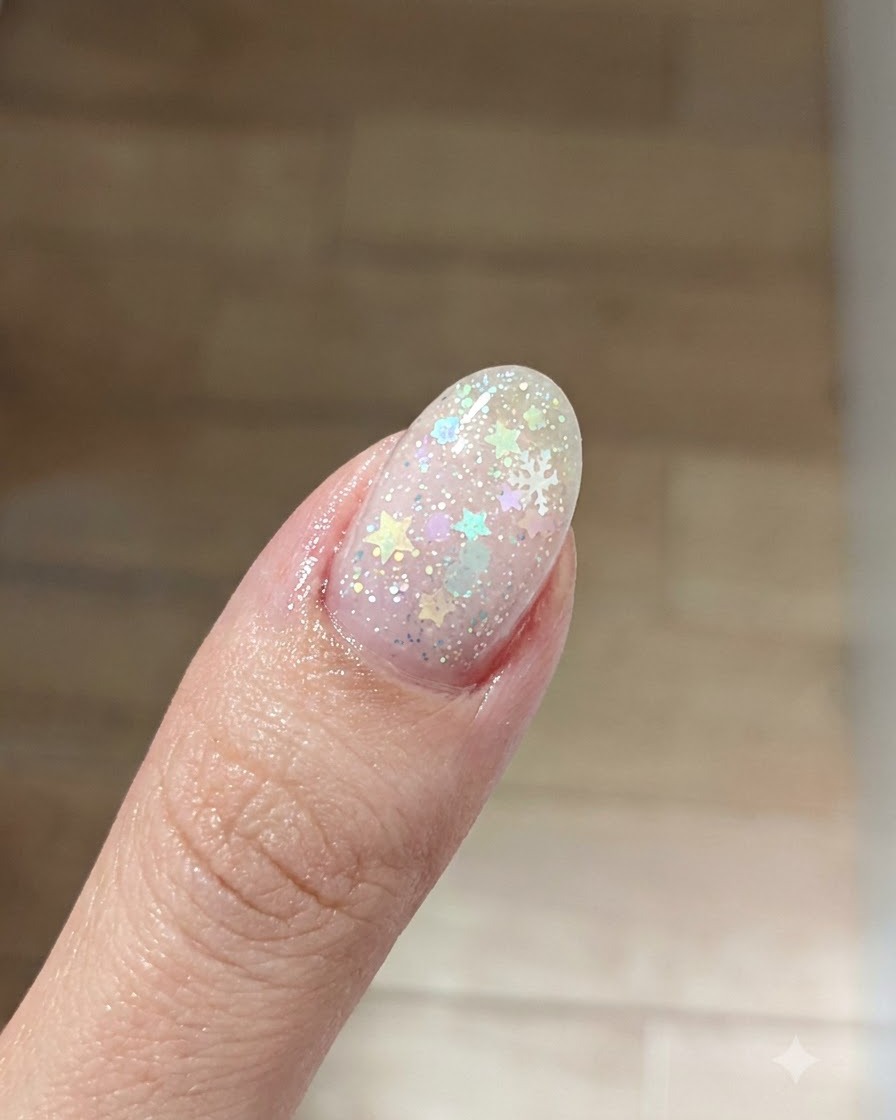
Take the dusty pink color gel and gently pat it onto the nail plate, diffusing the pigment to create a soft blush effect. You can extend the color softly toward the cuticle area for a seamless gradient look.
Tip: Use light, tapping motions with your sponge or brush to achieve an even, translucent cloud-like color distribution. - 9Apply another layer of base gel
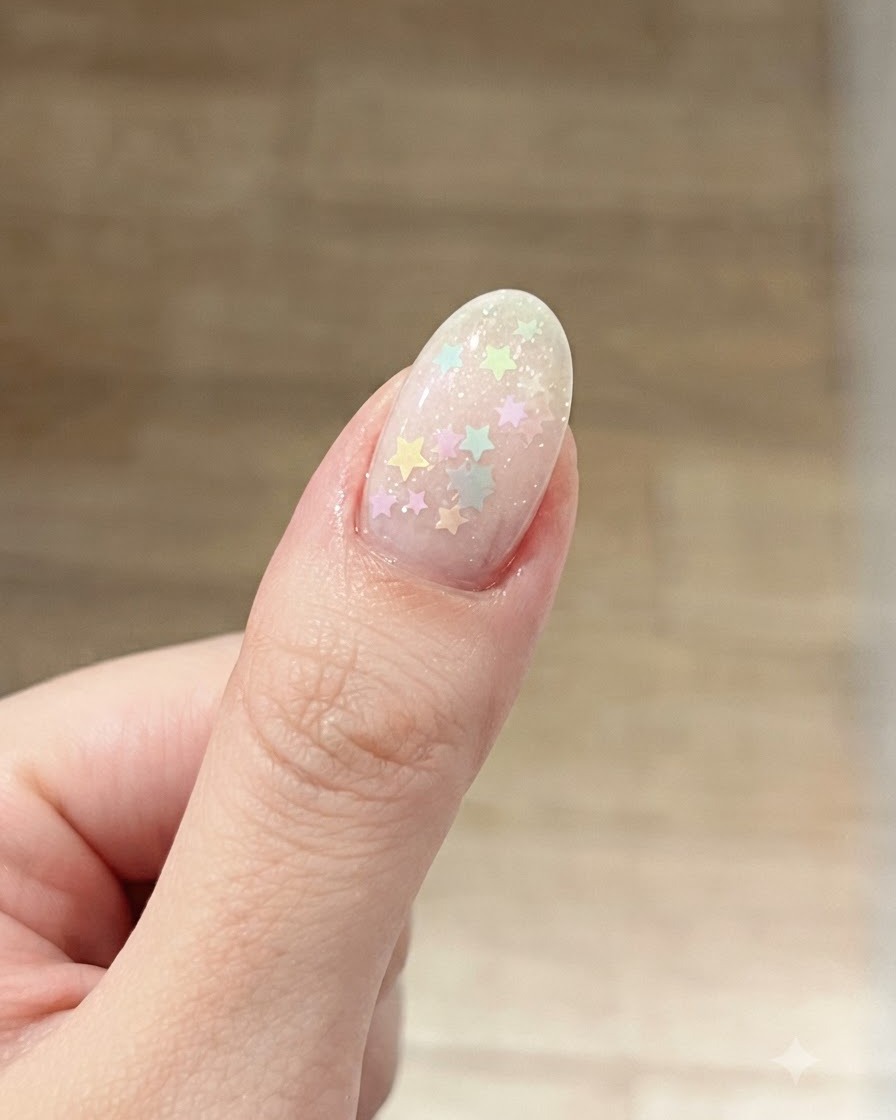
Apply another thin layer of base gel directly over the existing nail design and embedded elements. This encapsulates the design securely and adds depth between the layers before final construction and top coat.
Tip: Keep this layer controlled and even to avoid adding unnecessary bulk to the overall nail shape. - 10Add the second layer of stars
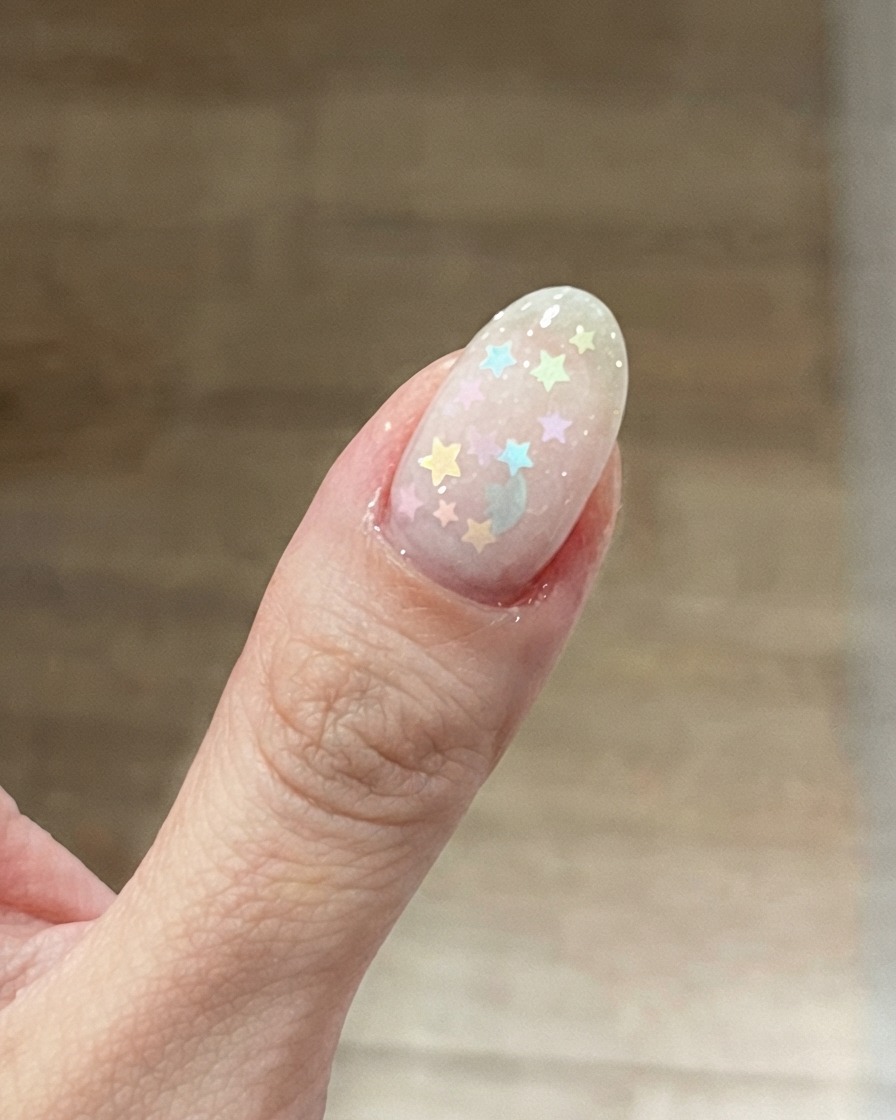
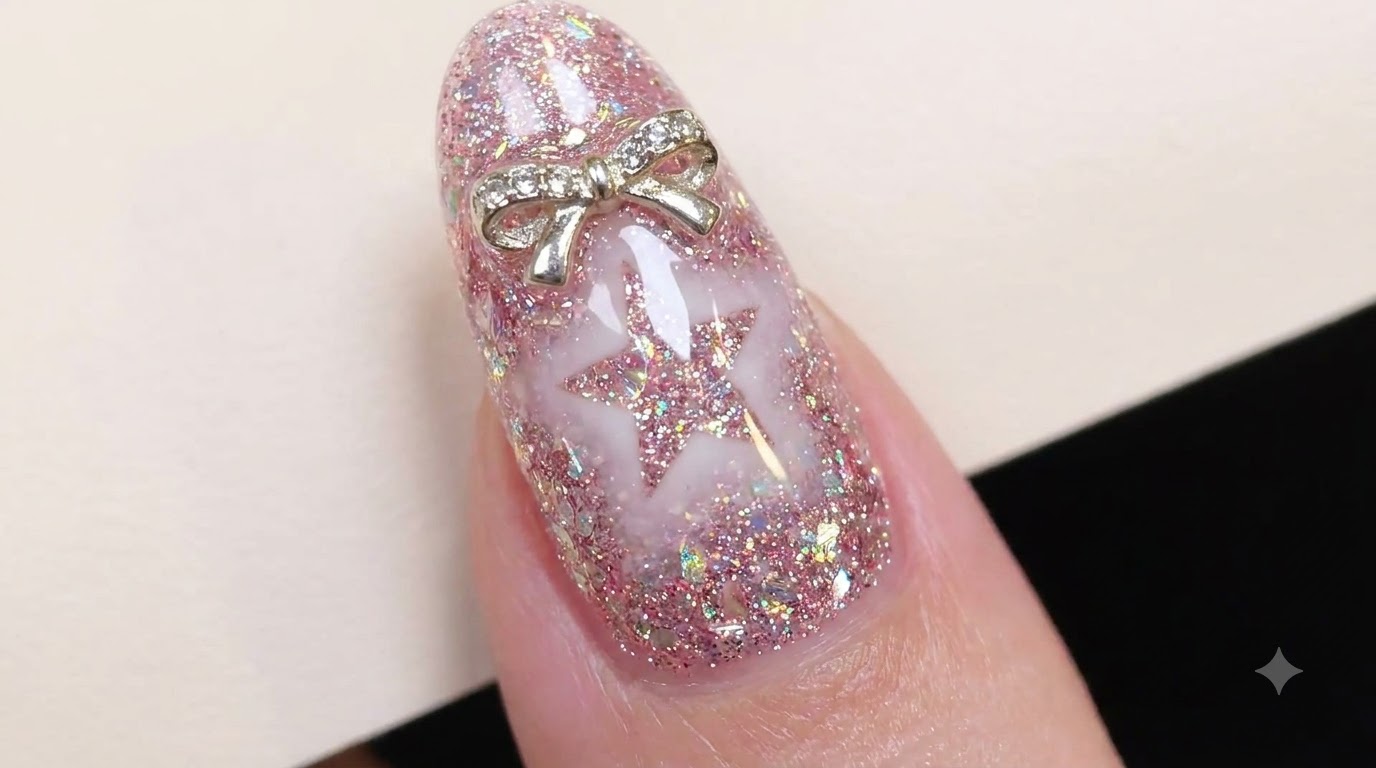
Apply another thin layer of base coat over the blush effect, then place additional star glitters on top. Layering the stars between coats creates a beautiful dimensional look, giving the illusion of depth with light and dark elements embedded in the gel.
Tip: Space out the glitters carefully so the dusty pink blush effect underneath can still peek through. - 11Apply top coat
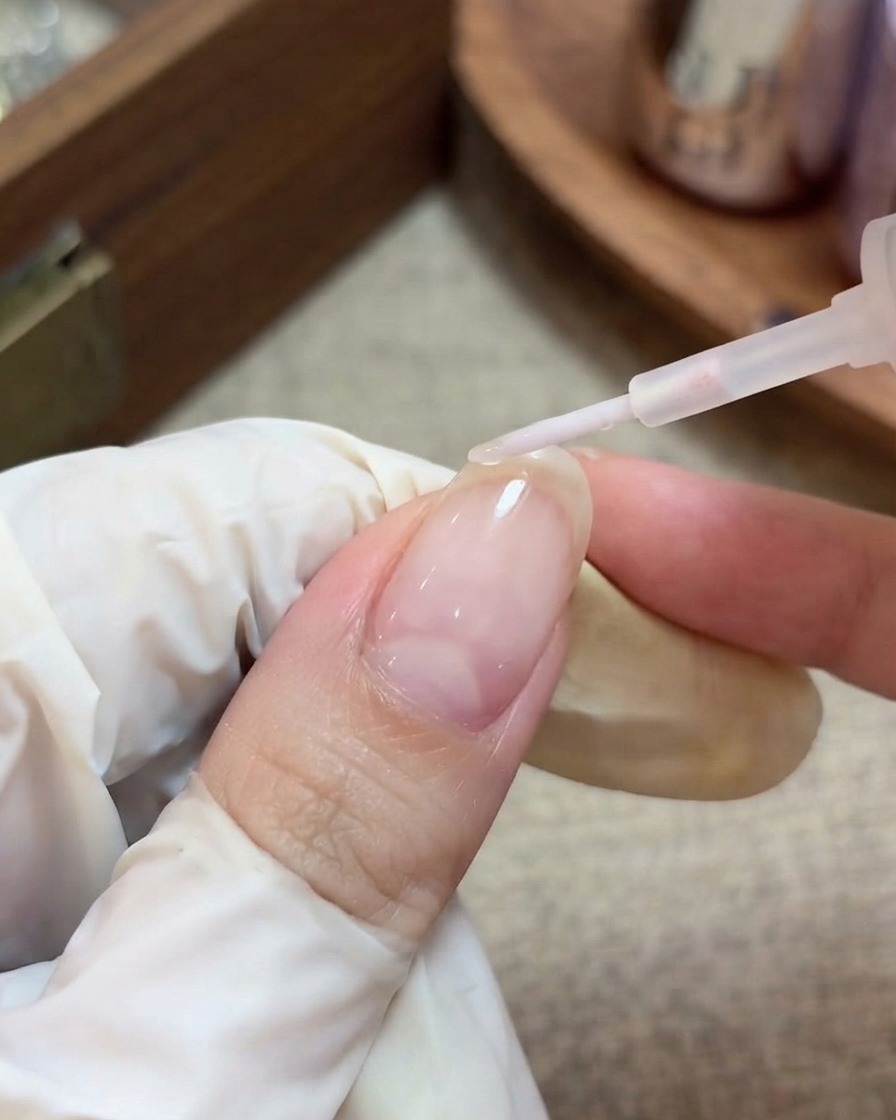
Finish the design by applying a final layer of glossy top coat. Brush it evenly over the entire nail to seal in the star glitters and structure gel, making sure to cap the free edge for long-lasting wear. Cure fully in your lamp.
Tip: Applying the top coat with a light touch helps prevent dragging the gel underneath and ensures a perfectly smooth, glassy finish.