Matte Pink Negative Space Heart Nails
Encapsulated Sequins
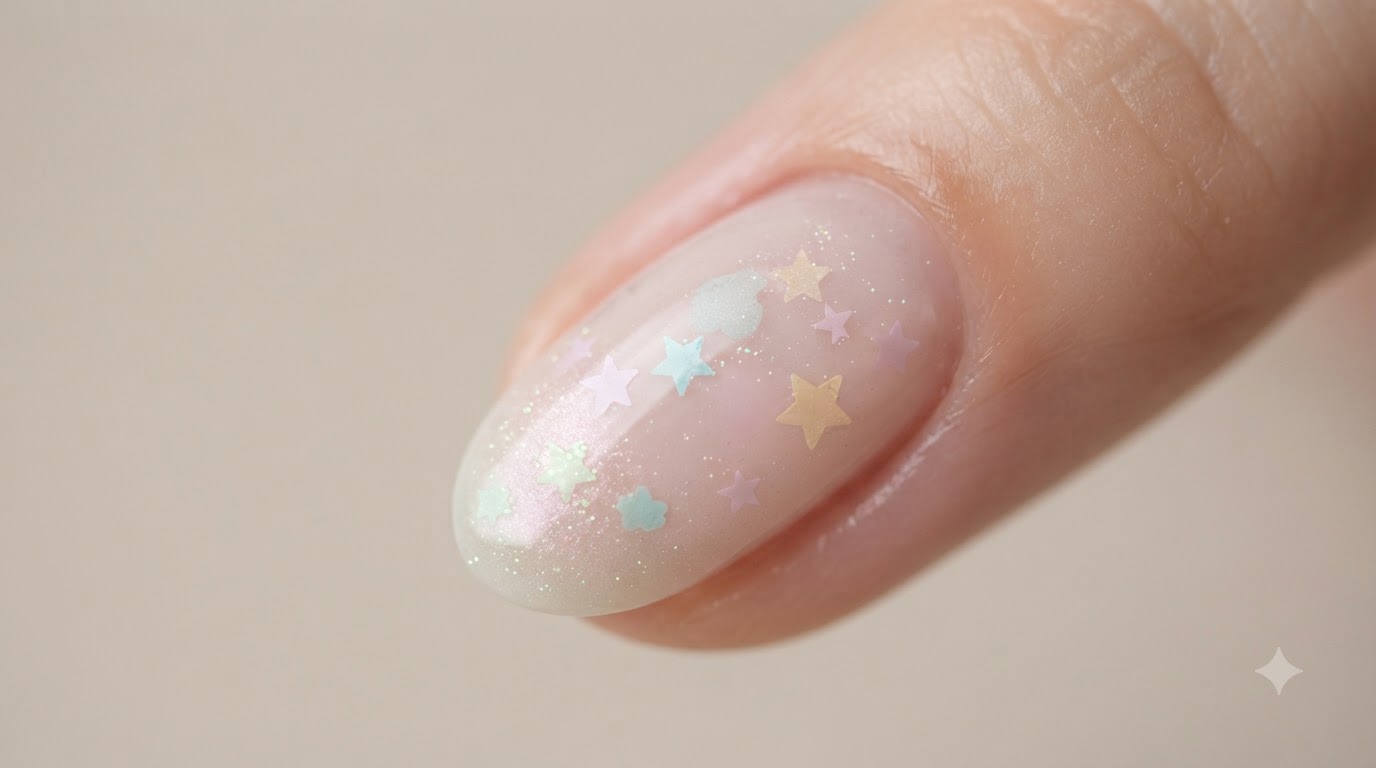
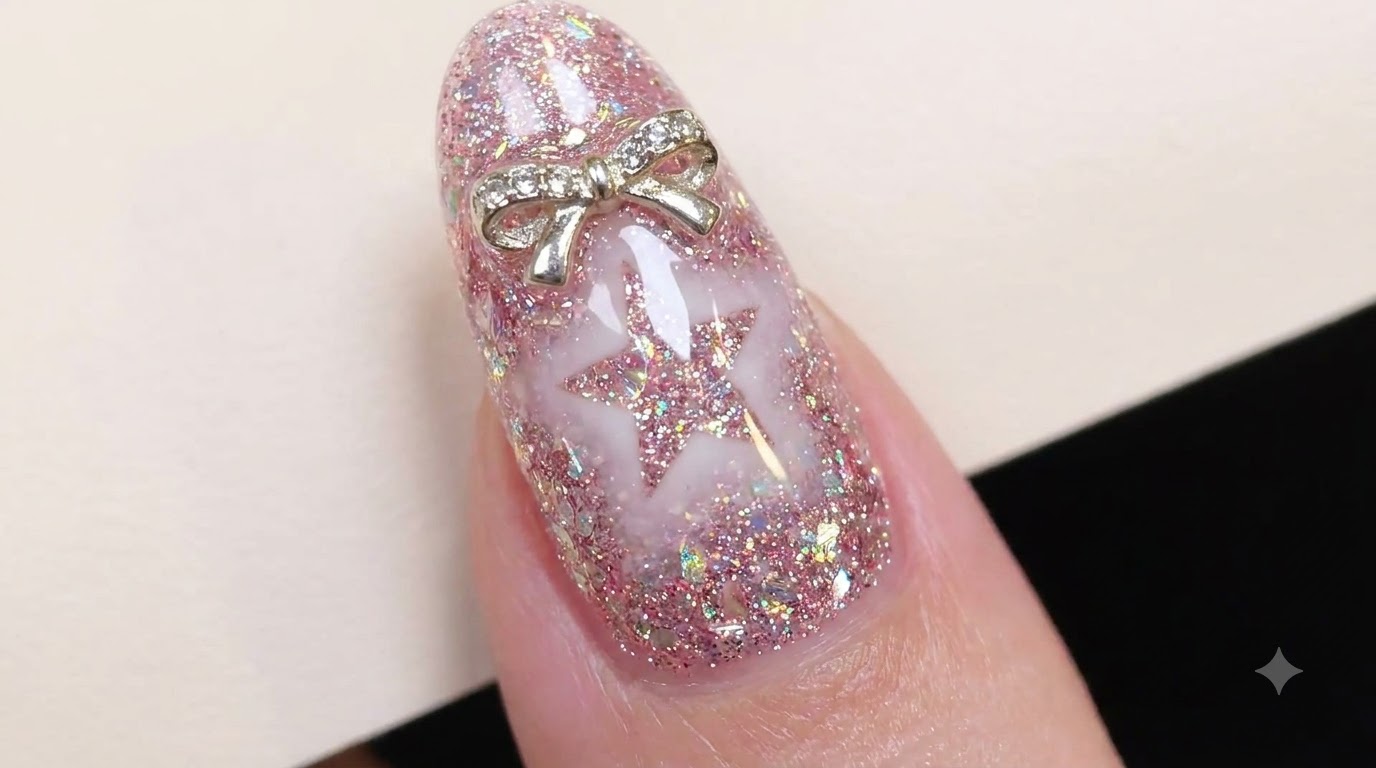
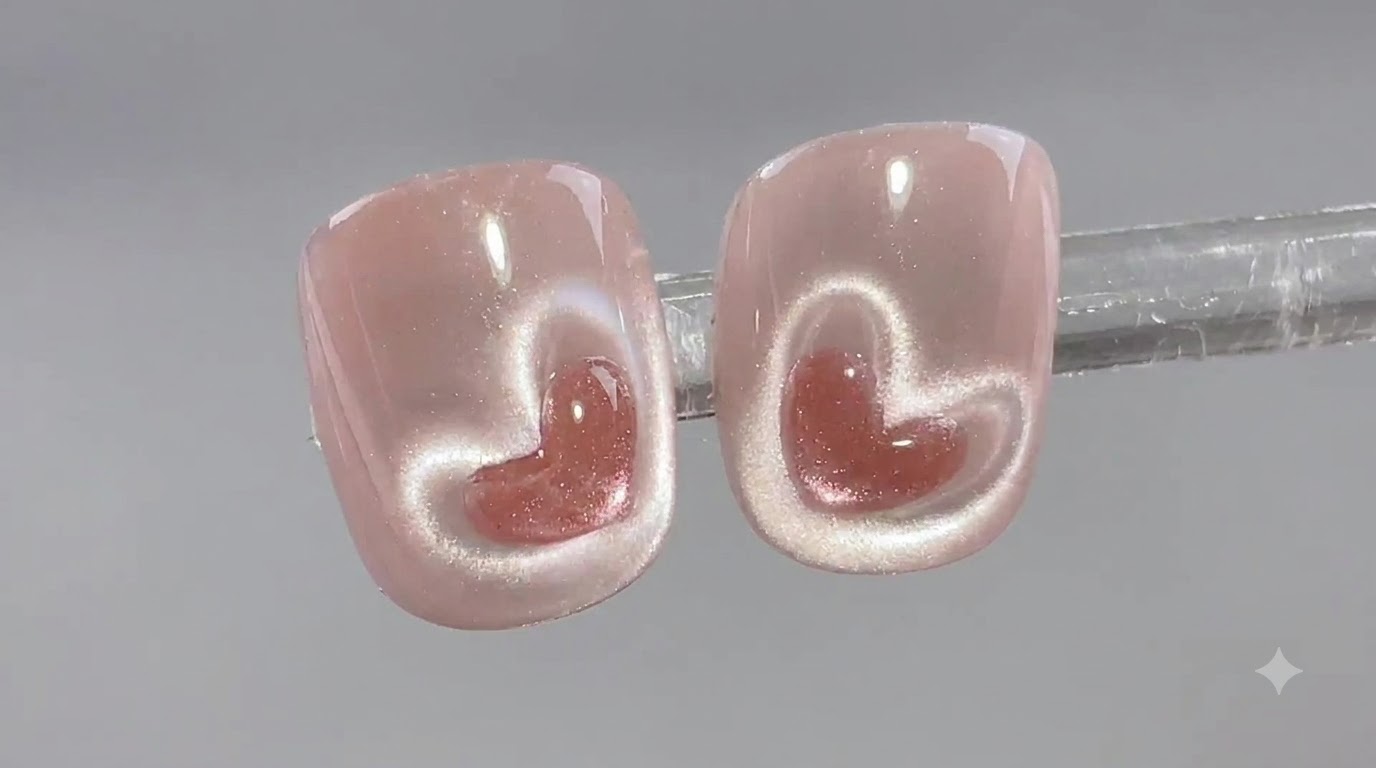
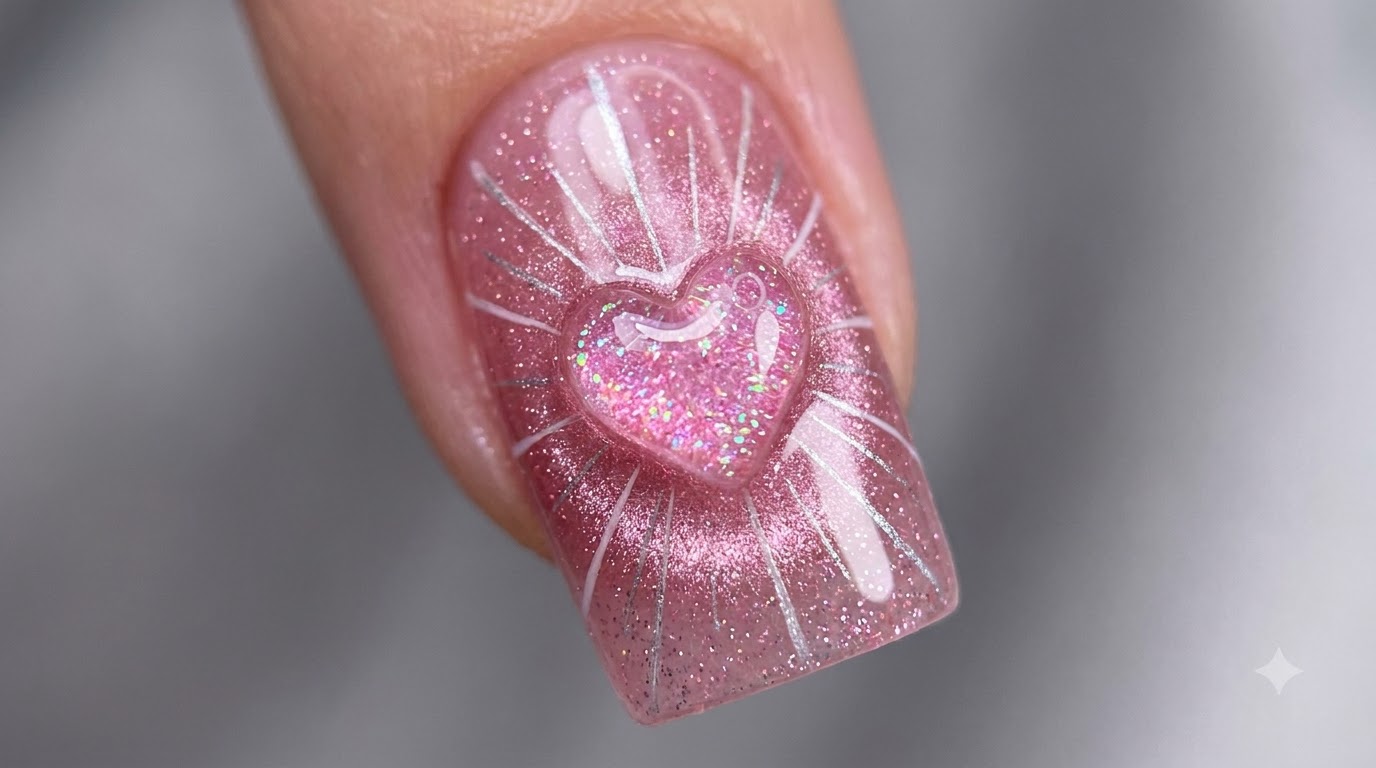
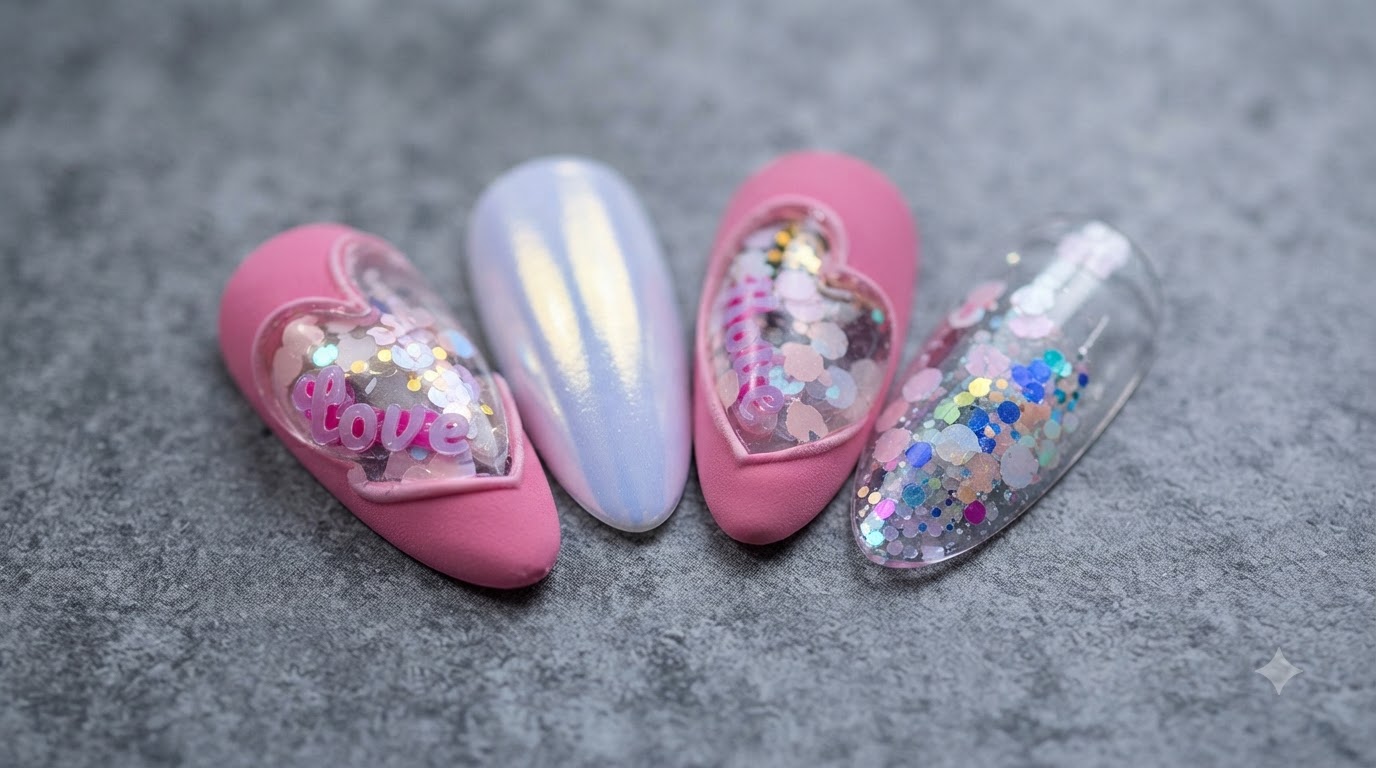
Create stunning negative space heart nails featuring chunky holographic sequins under a 3D raised gel border and chic matte pink finish.
Negative space nail art paired with tactile 3D elements creates an eye-catching, multidimensional look that stands out. This style combines a soft bubblegum pink matte background with a clear window revealing sparkling iridescent sequins, finished with a glossy raised heart outline for a gorgeous contrast of textures.
Steps
- 1Apply clear builder gel layer
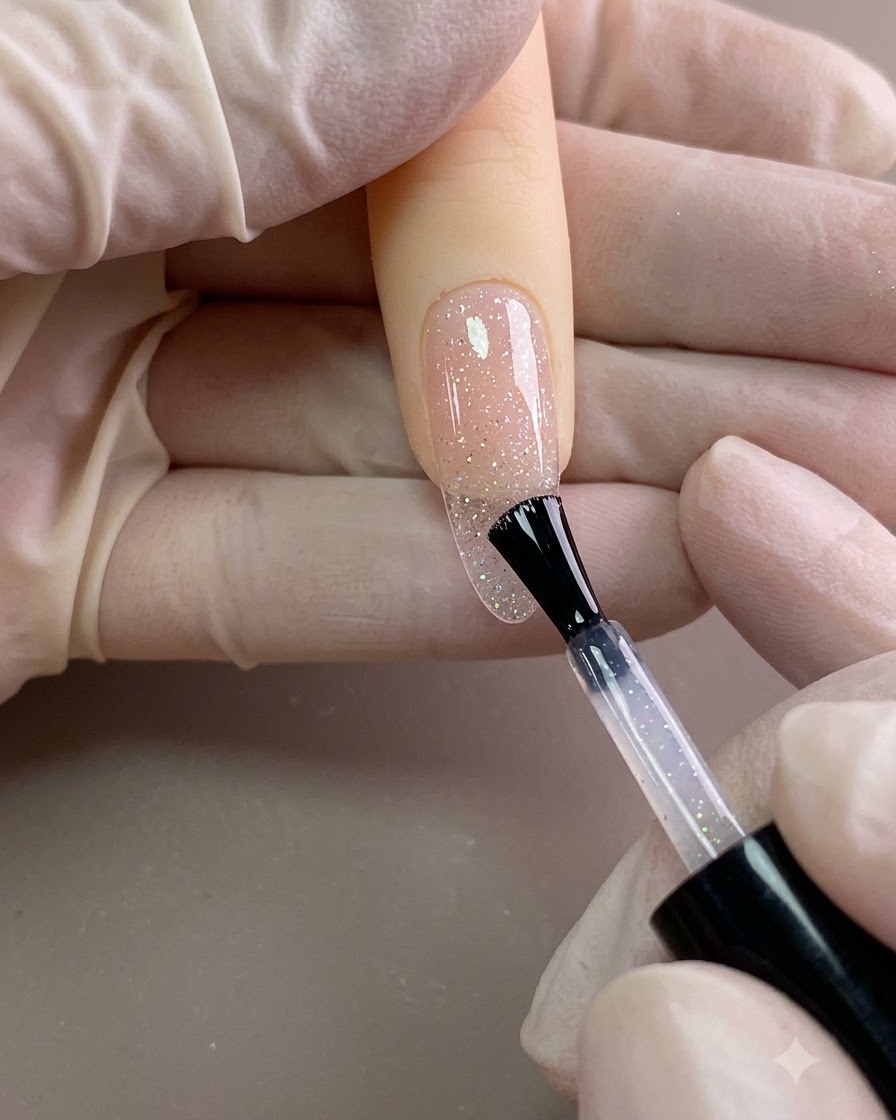
Take a broad application brush and smooth an even layer of clear builder gel over the entire surface of the transparent nail tip. Ensure the gel covers the nail evenly without pooling at the edges to create a solid foundation for the upcoming sequin placement.
Tip: Apply a moderate, uniform layer so the sequins have enough wet surface to stick into without floating around. - 2Place chunky iridescent sequins
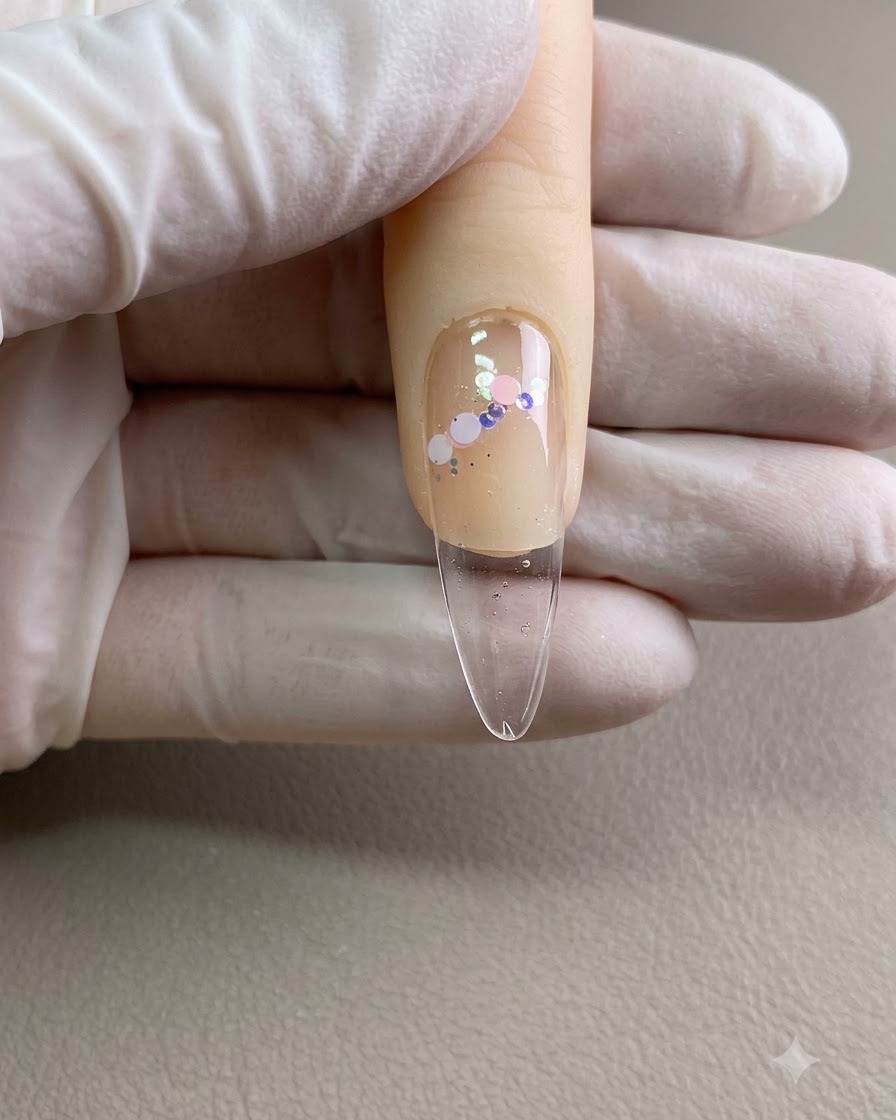
Using a small flat brush or dotting tool, carefully pick up and place large, chunky iridescent sequin pieces onto the uncured wet gel surface. Arrange them in a loose decorative diagonal cluster near the upper portion of the nail.
Tip: Press the sequins gently into the wet gel so they lay flat and wont lift during encapsulation. - 3Encapsulate sequins with builder gel
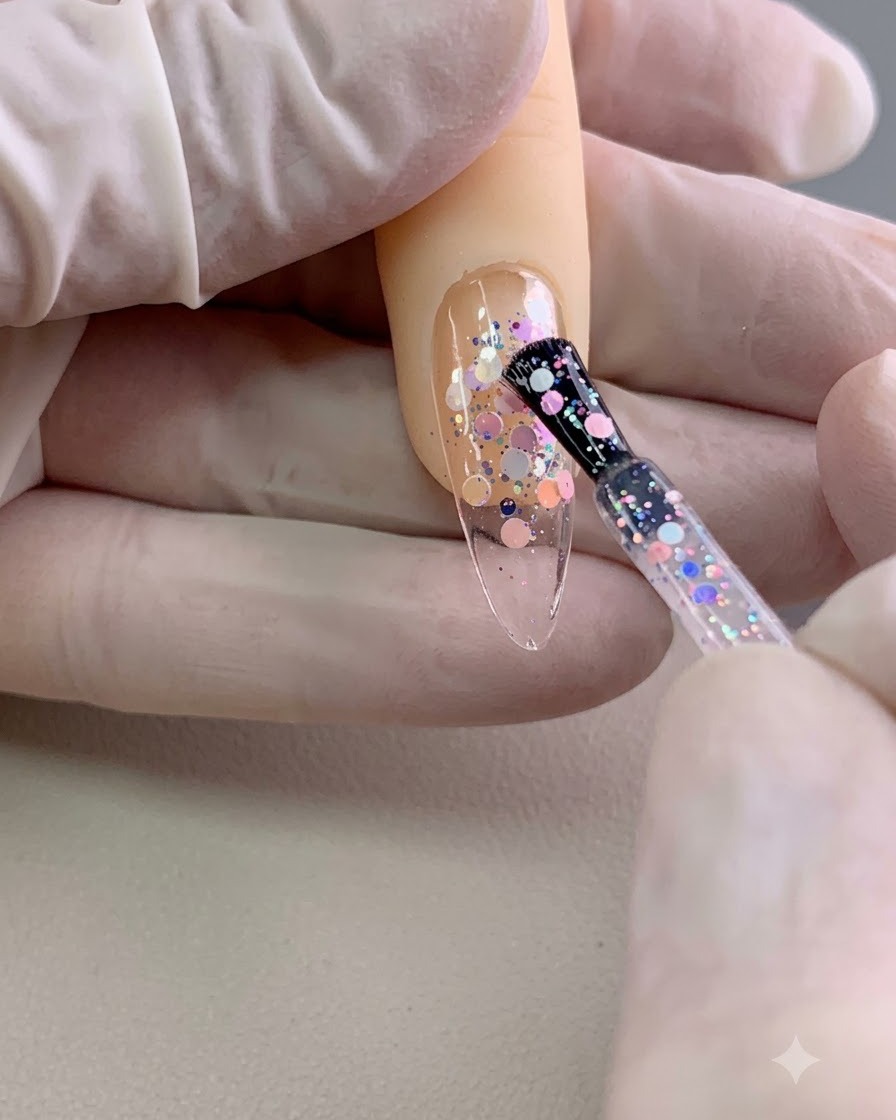
Using a broad brush, apply a second, thicker layer of clear builder gel over the entire nail structure. This step completely encapsulates the embedded sequins and levels out the nail surface to remove any bumpy texture.
Tip: Make sure the apex has enough gel to provide structural strength and fully cover the thickest sequins. - 4Outline top arches of the heart
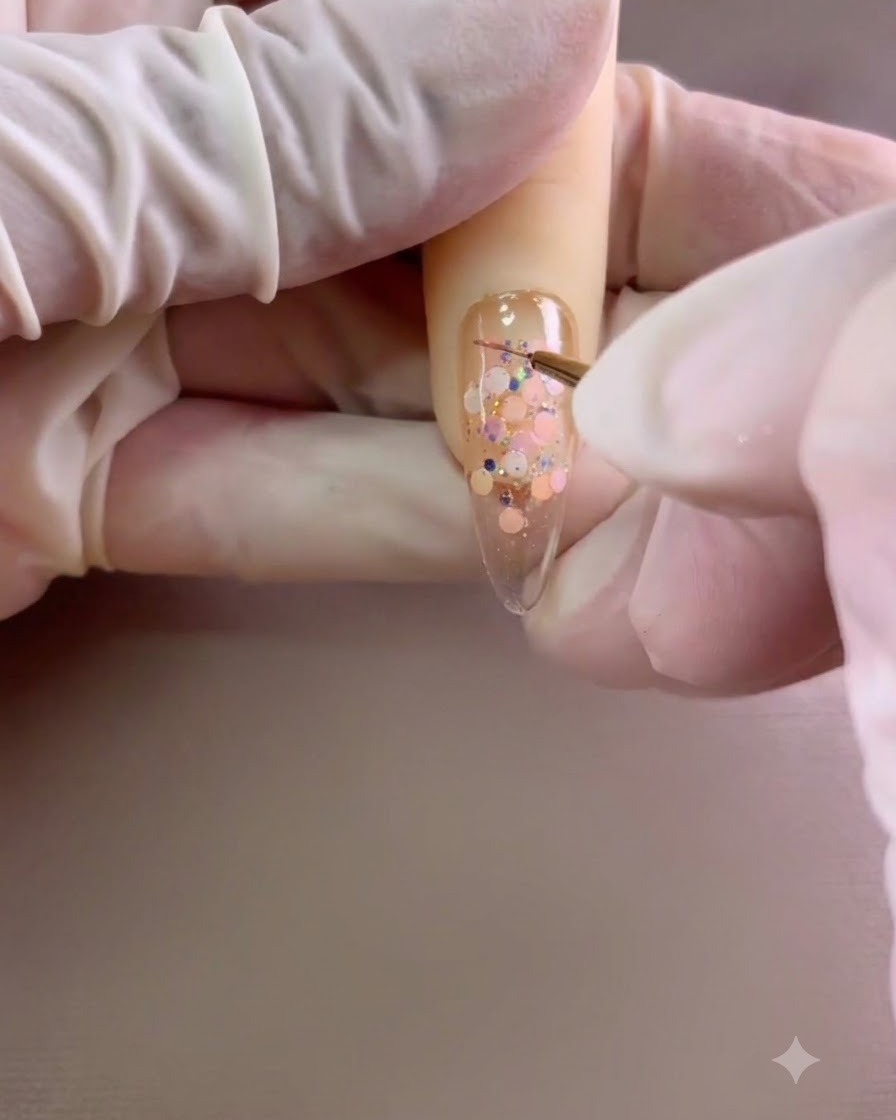
Dip a fine liner brush into opaque pink gel and draw the top two curves and arches of a heart shape directly over the encapsulated sequin layer. Keep your hand steady to create clean, crisp outlines.
Tip: Wipe excess gel off the liner brush to maintain a sharp, thin tip for precise line work. - 5Form the bottom point of the heart
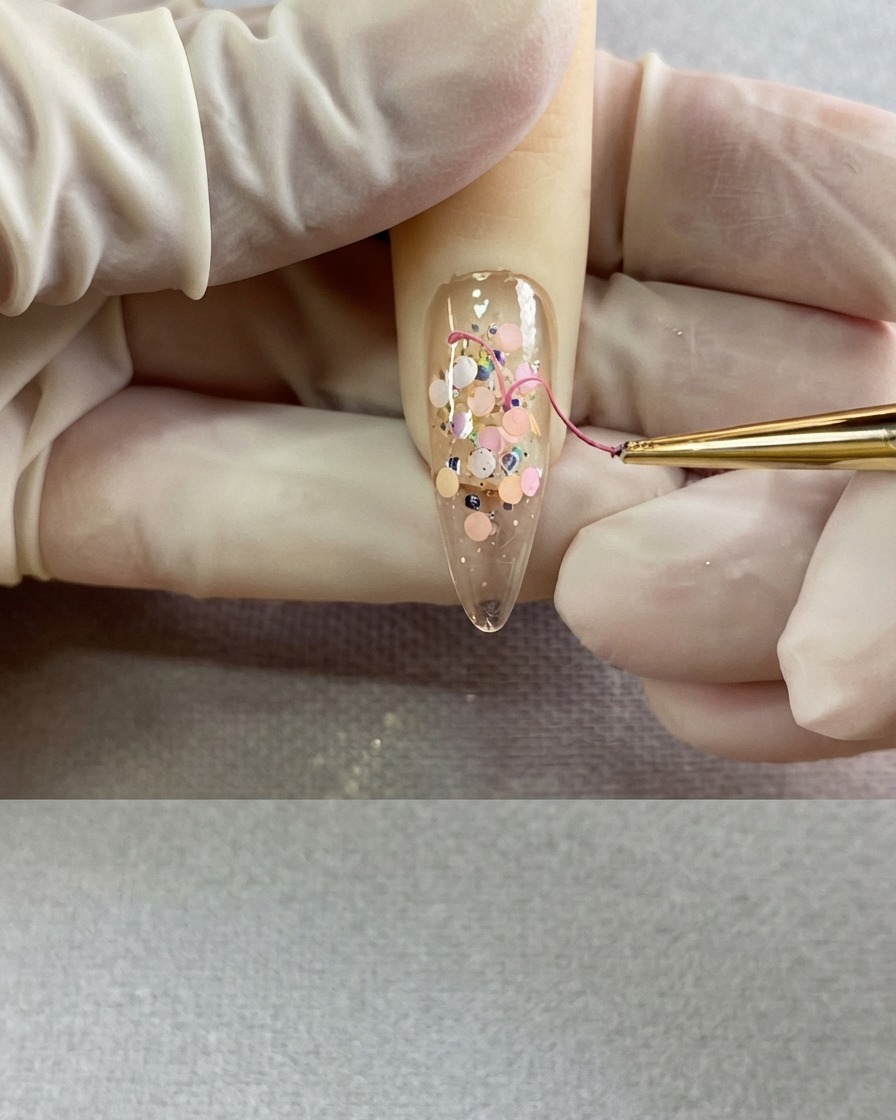
Using the fine liner brush, continue pulling the pink gel downwards from the previously drawn arches to converge into a sharp, neat bottom point of the heart shape.
Tip: Connect the lines smoothly to ensure a symmetrical and well-proportioned heart design. - 6Fill in the background around the heart
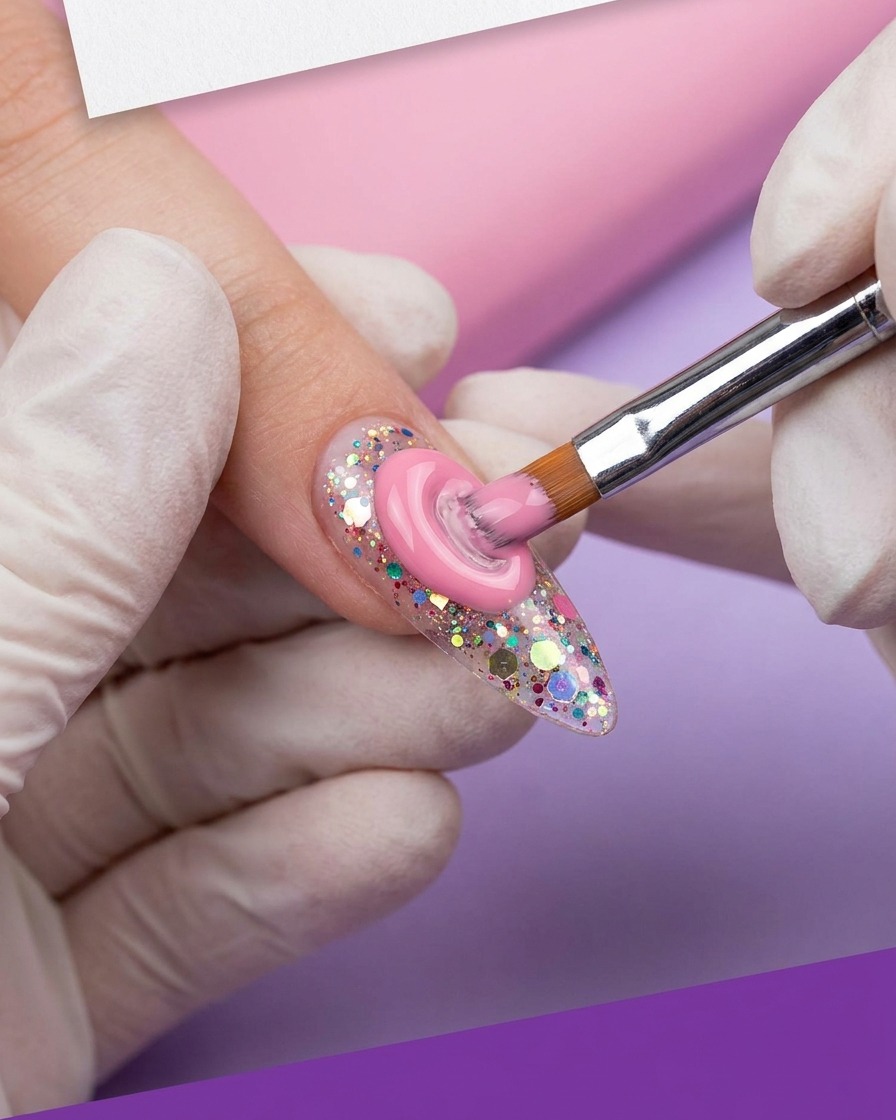
Take a brush to fill in the remaining outer edges and sidewalls of the nail with the pink gel, carefully framing the clear sequin heart left untouched in the center.
Tip: Take your time around the borders of the heart to keep the negative space crisp and clean. - 7Apply matte top coat
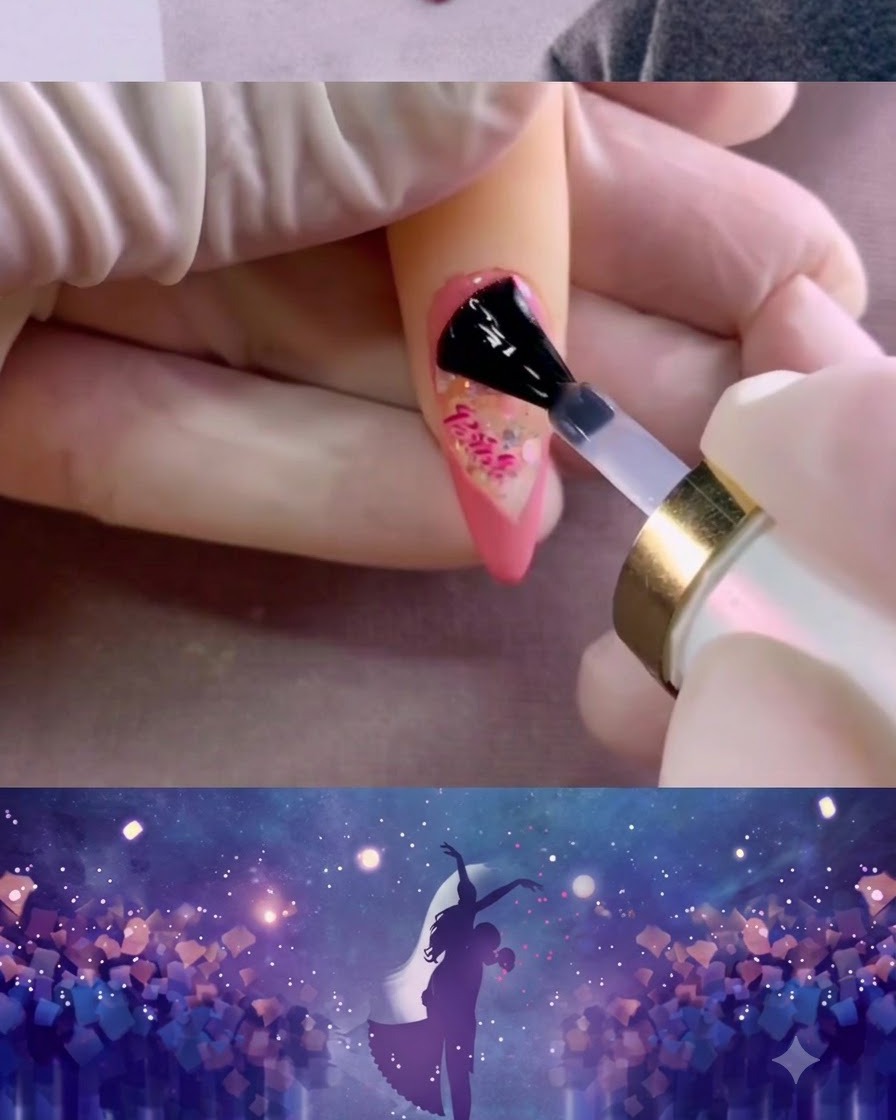
Apply an even layer of matte top coat over the entire nail surface, making sure to cover both the pink gel exterior and the encapsulated heart design. This creates a contrasting velvet-like texture against the glossy elements. Cure under the lamp for 60 seconds.
Tip: Ensure the matte coat covers all edges evenly so no shiny spots remain on the pink background. - 8Outline heart with 3D embossing gel
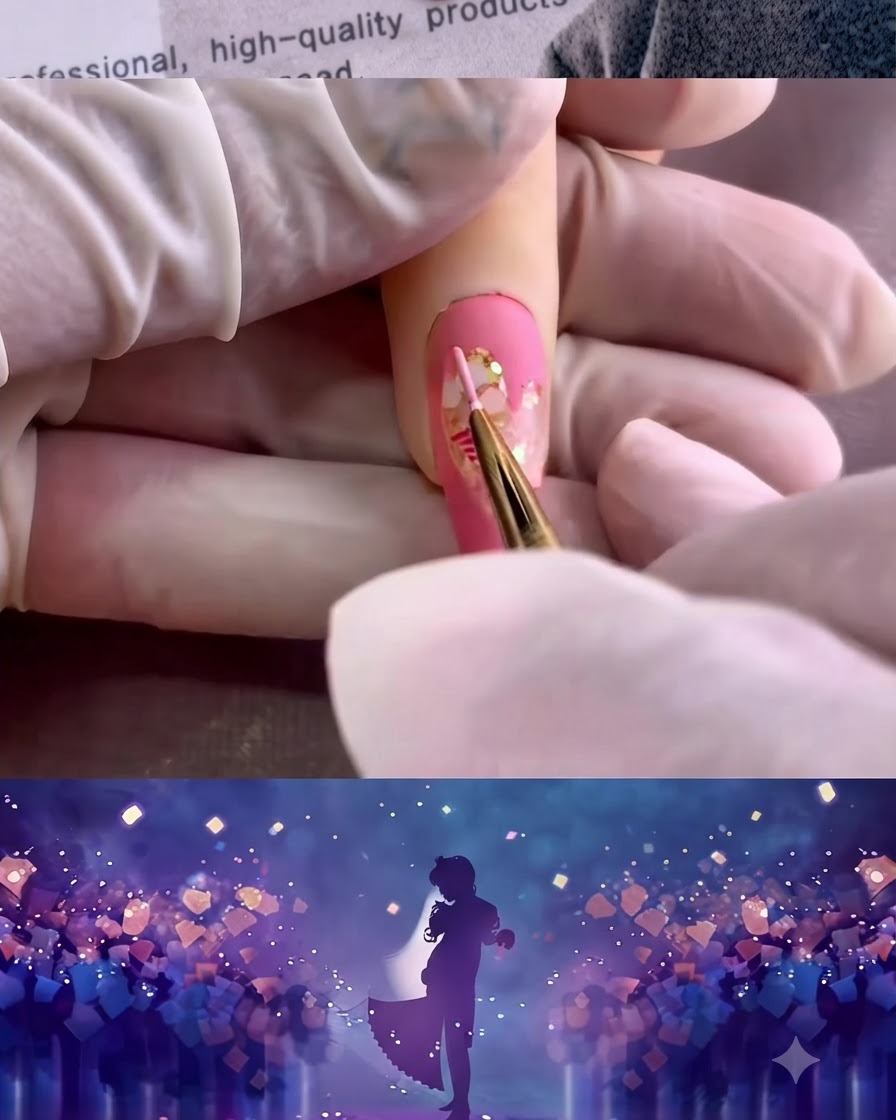
Using a fine liner brush and clear 3D embossing gel, carefully trace along the perimeter of the heart shape to create a raised, dimensional border. Cure under the lamp for 60 seconds.
Tip: Keep the line consistent in thickness to give the heart a clean, professional embossed finish. - 9Complete 3D heart outline
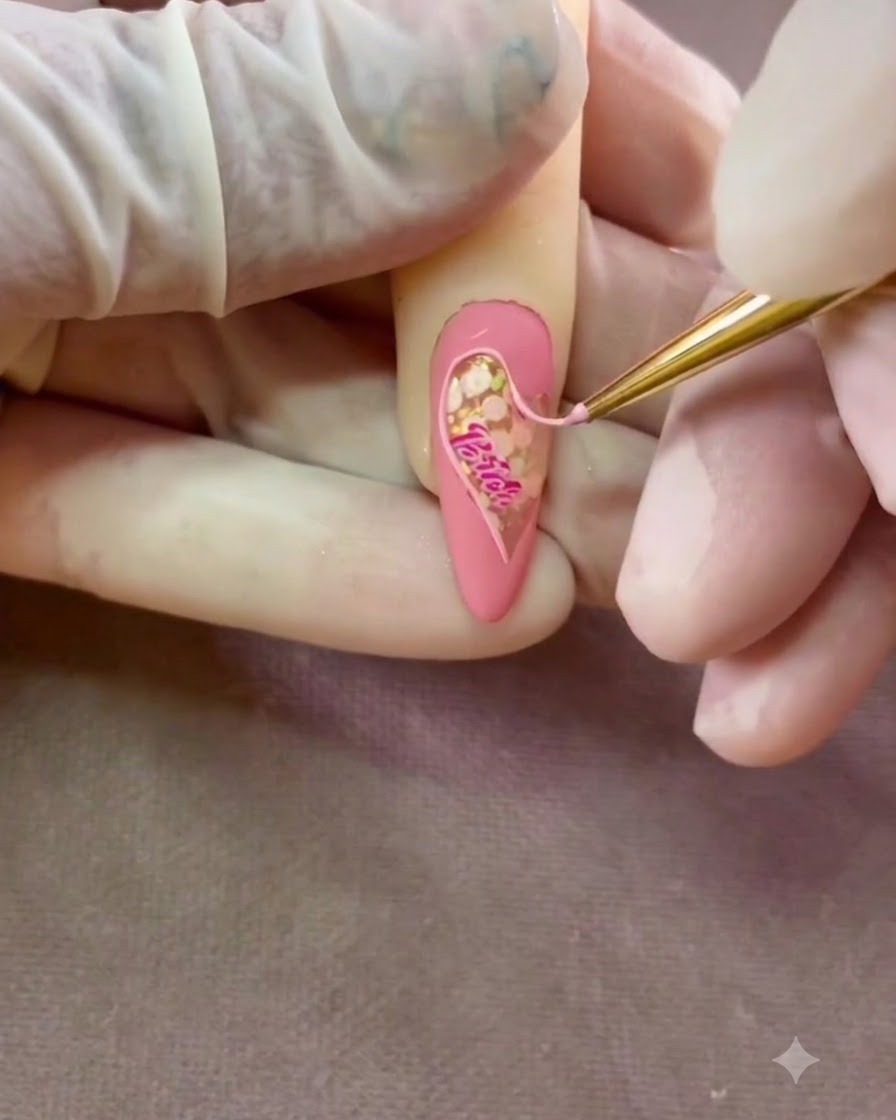
Continue tracing with the fine liner brush and clear embossing gel to finish the outline, carefully forming and completing the sharp point at the bottom of the heart shape. Cure for 60 seconds.
Tip: Take your time on the sharp tip of the heart to ensure it looks symmetrical and clean. - 10Apply glossy top coat to heart center
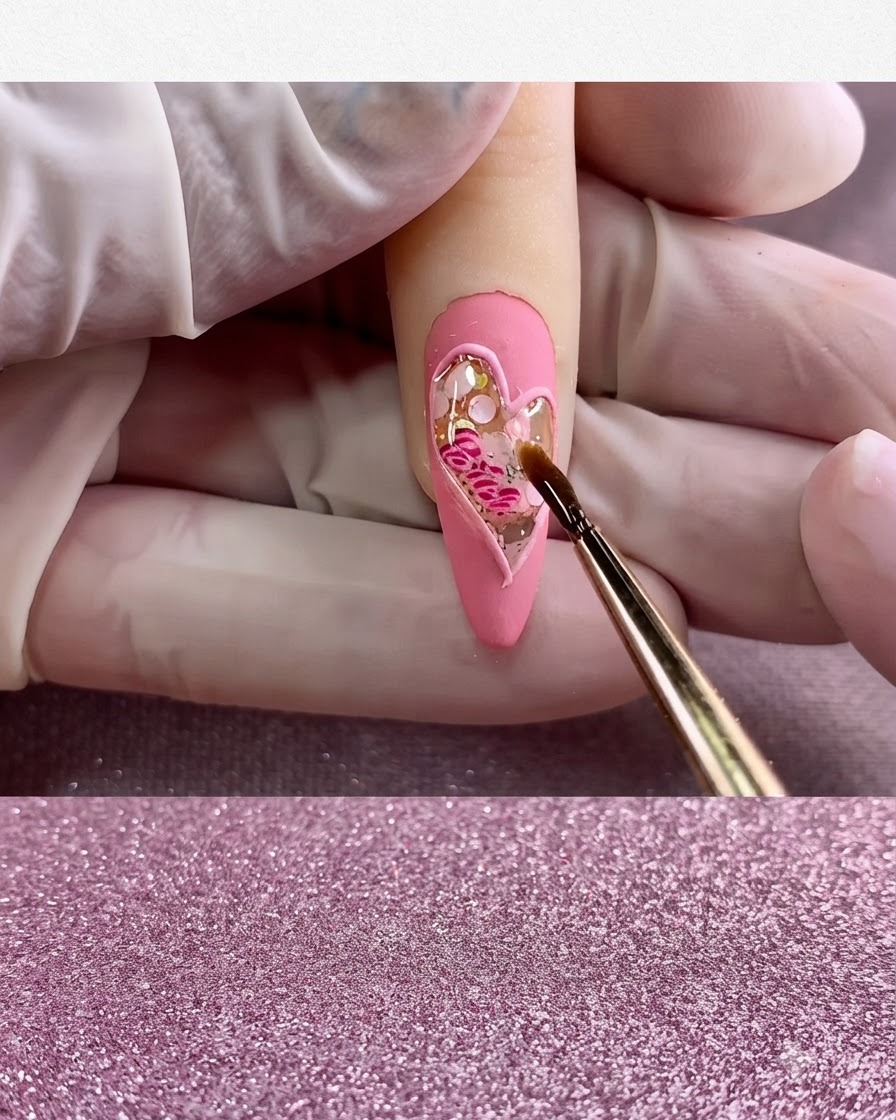
Using a fine brush, carefully apply a clear glossy top coat only inside the center of the heart. This makes the encapsulated sequins sparkle and provides a striking contrast against the surrounding matte pink finish. Cure for 60 seconds to complete the look.
Tip: Be precise with the glossy top coat to avoid spilling over into the matte pink border.