Pink Heart Cat Eye Nails — Step-by-Step Magnetic Nail Art Tutorial
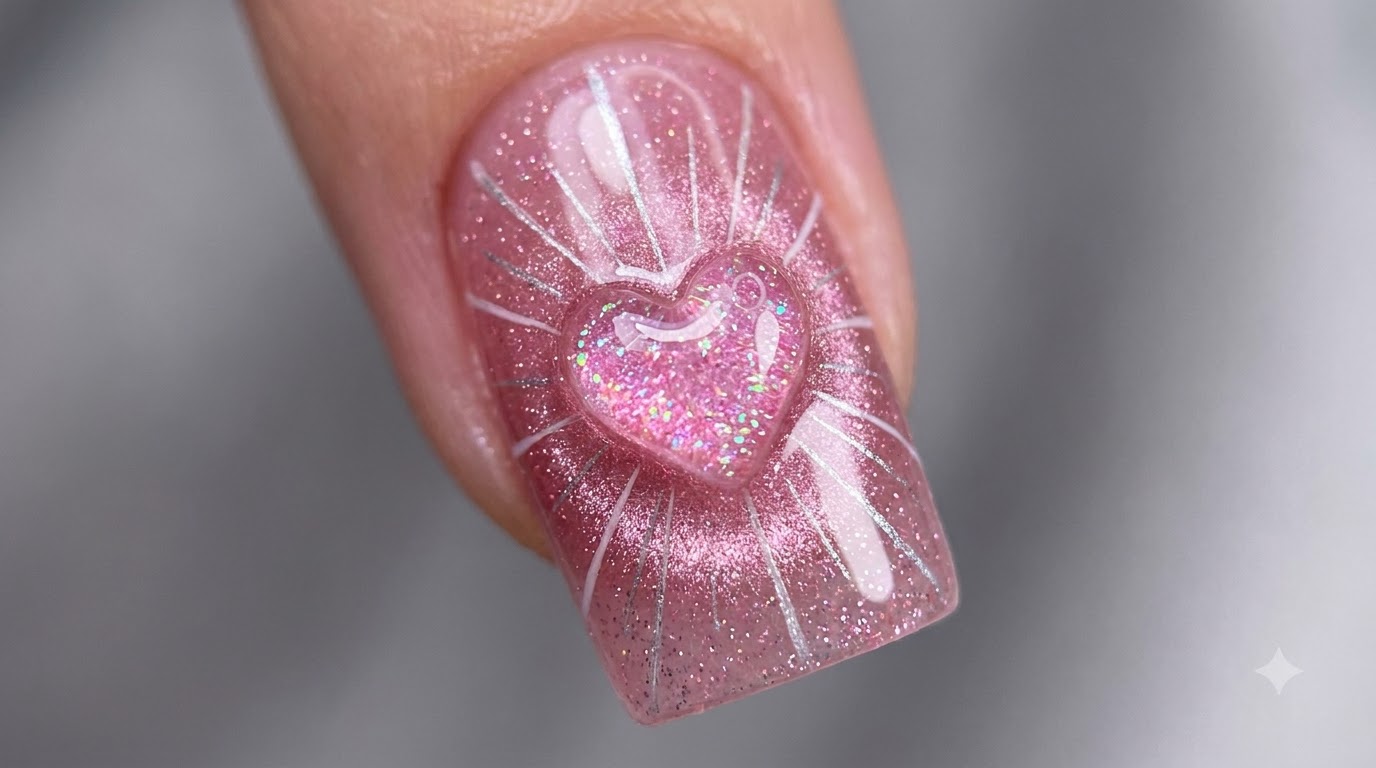
Learn how to create trendy pink heart cat eye nails using magnetic shimmer gels and a custom hairpin tool for a stunning 3D glowing effect.
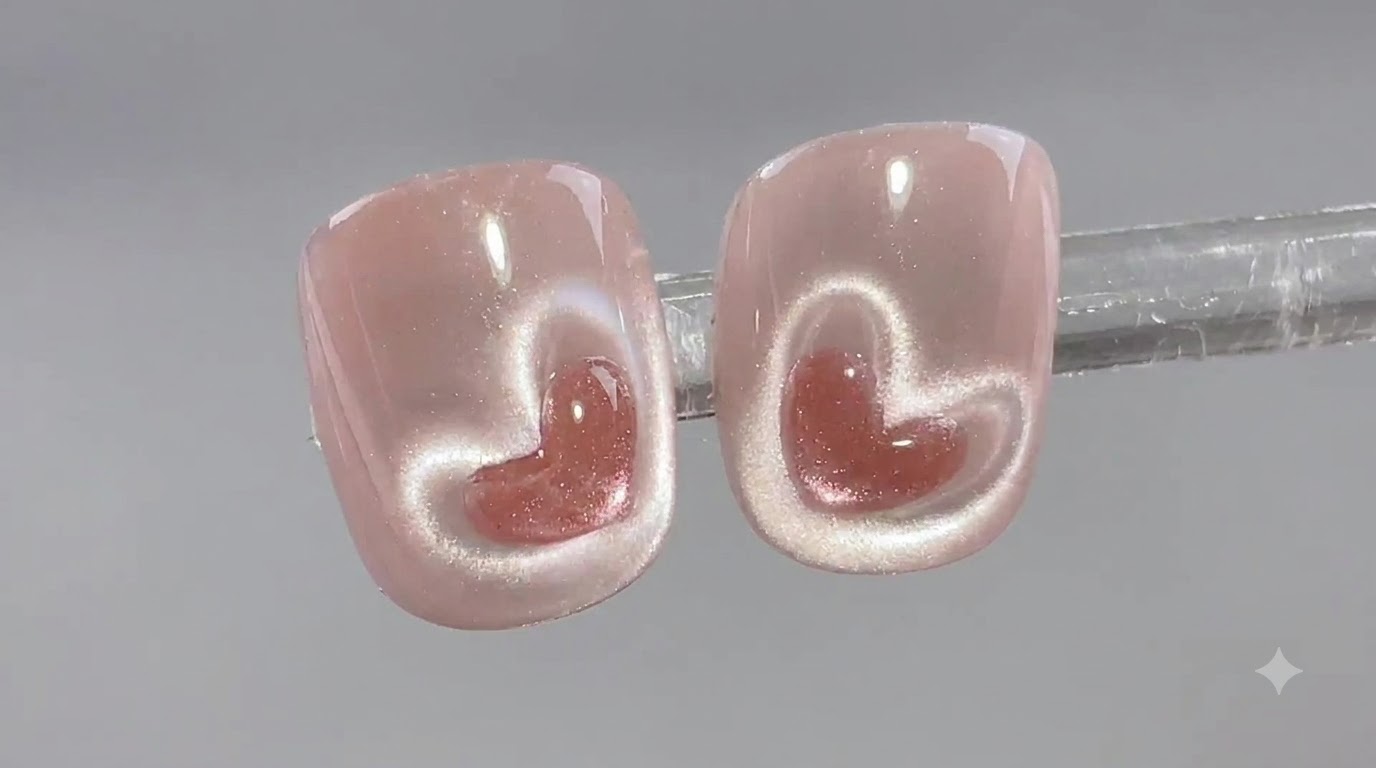
Cat eye nail art continues to dominate nail trends, and adding a 3D volumetric heart takes the look to a whole new level. By using a clever custom magnetic technique with a hairpin, you can easily sculpt sharp, glowing hearts that catch the light from every angle. This tutorial guides you through each precise step to achieve professional salon-quality results right at home.
Steps
- 1Apply clear cat eye gel
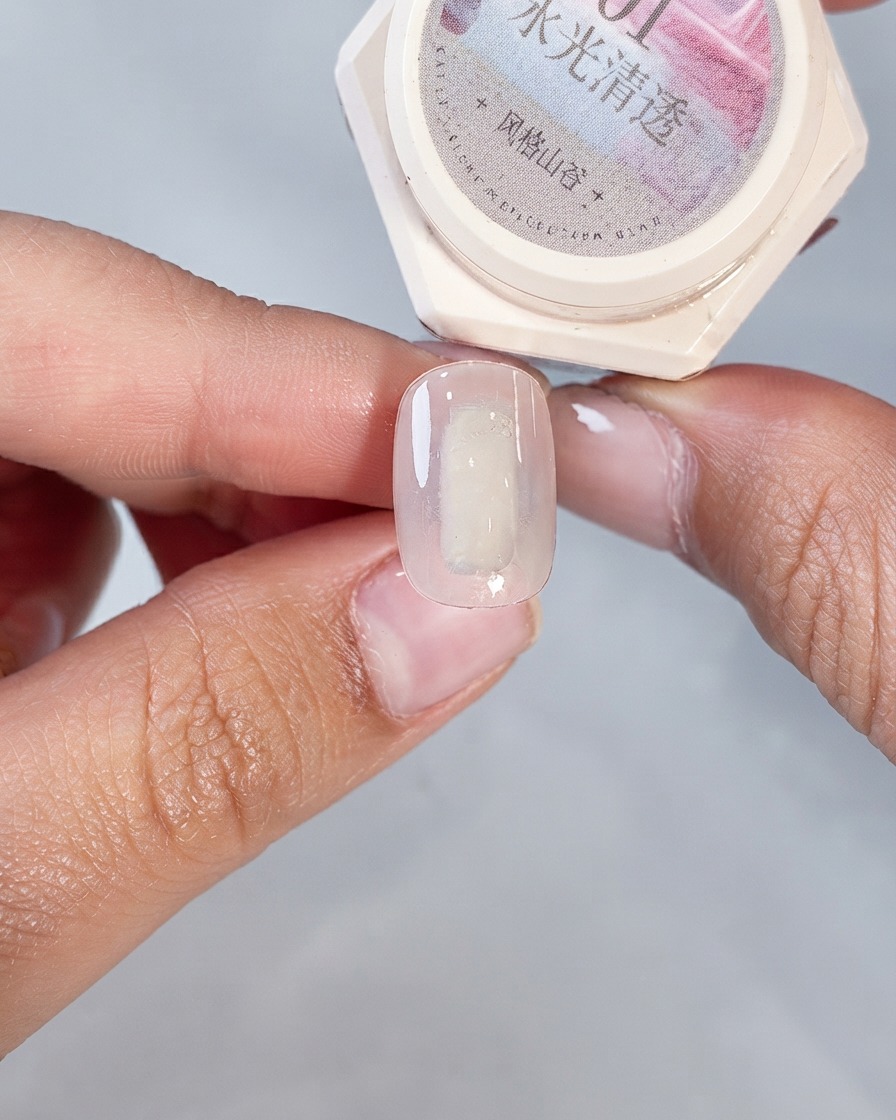
Apply a generous layer of Shui Guang Clear No. 1 cat eye gel over the cured base color. Do not cure yet, as you will need the gel wet to manipulate the magnetic particles in the next steps.
Tip: Keep the layer even to ensure the magnetic particles move fluidly when exposed to the magnet. - 2Shape wide cat-eye light band
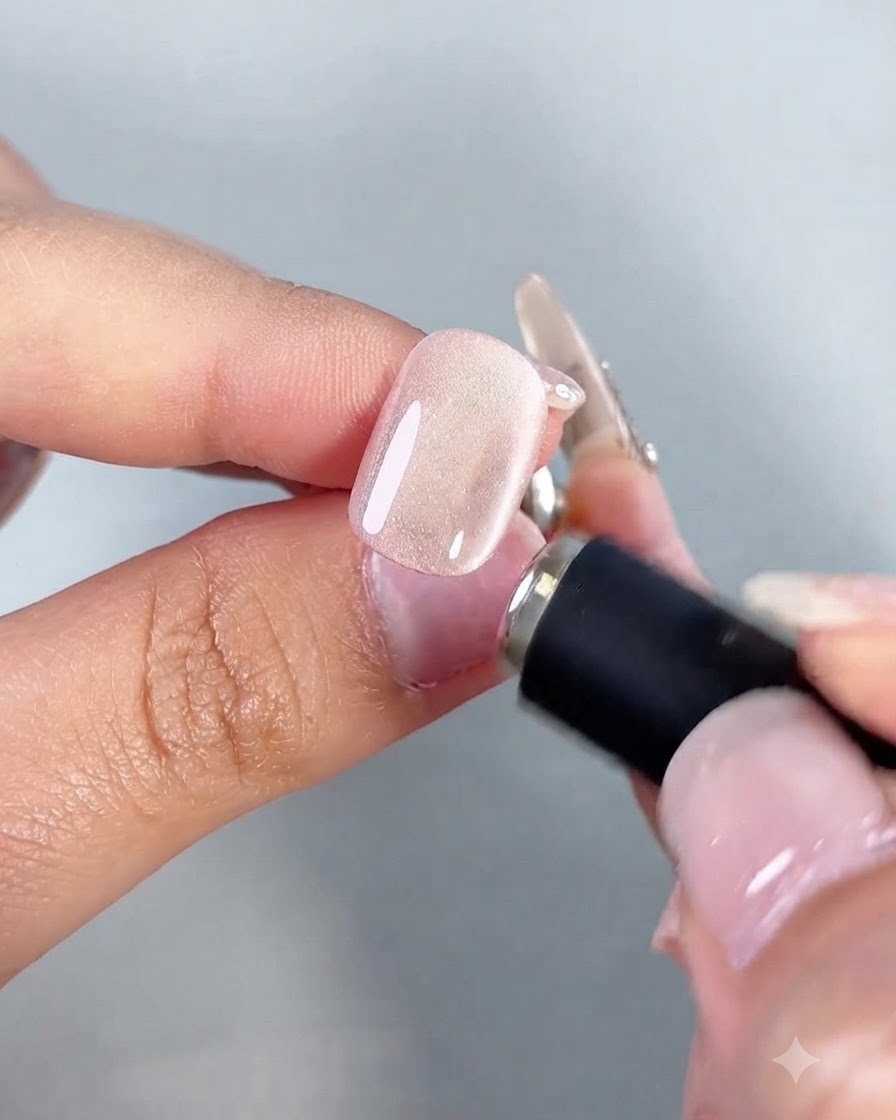
Hold a magnetic tool close to the nail surface and sweep it gently from side to side. This movement pulls the magnetic particles together to form a wide, glowing light band across the nail.
Tip: Do not touch the wet gel surface with the magnet; keep it hovering closely to control the shimmer spread. - 3Attach twisted hairpin to magnet
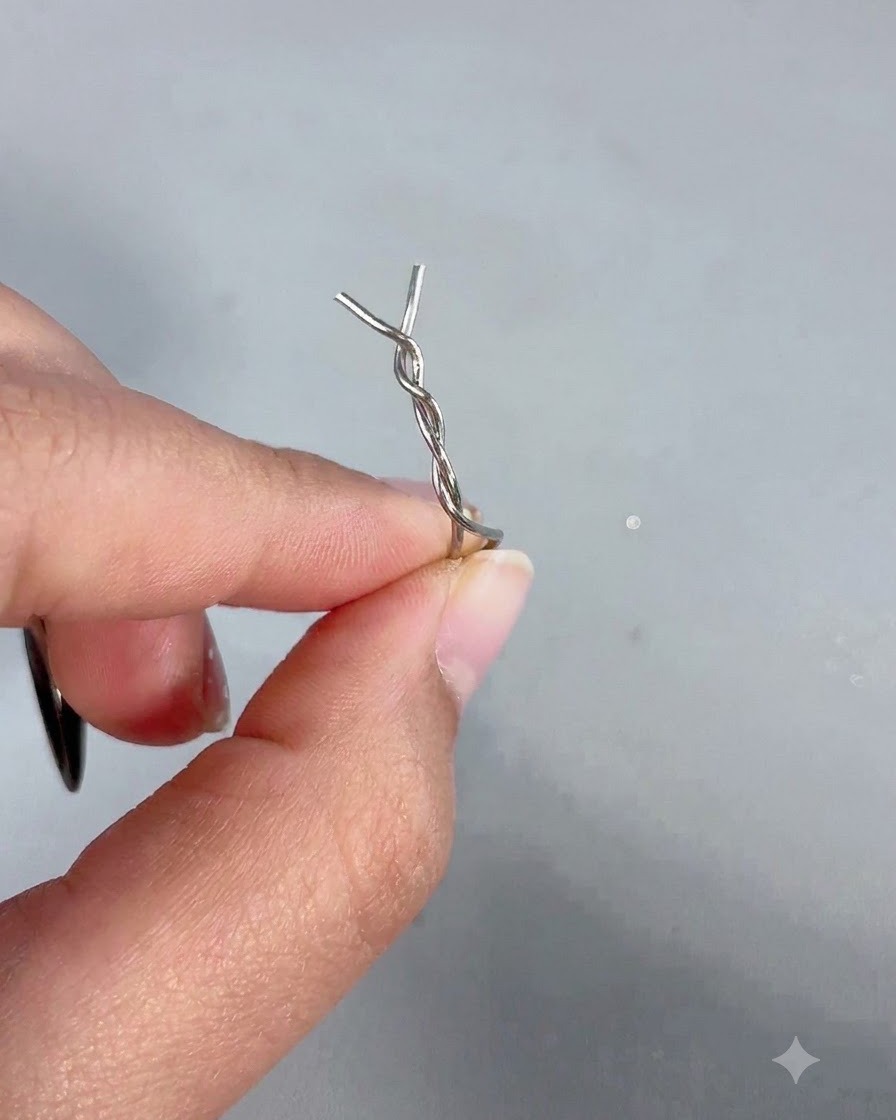
Take a small twisted metal hairpin or wire tool and attach it securely to the tip of your magnetic wand. This combined tool will serve as a specialized custom magnet to sculpt intricate shapes.
Tip: Ensure the hairpin is firmly attached so it does not shift or drop during the magnetic drawing process. - 4Position pin for heart shape
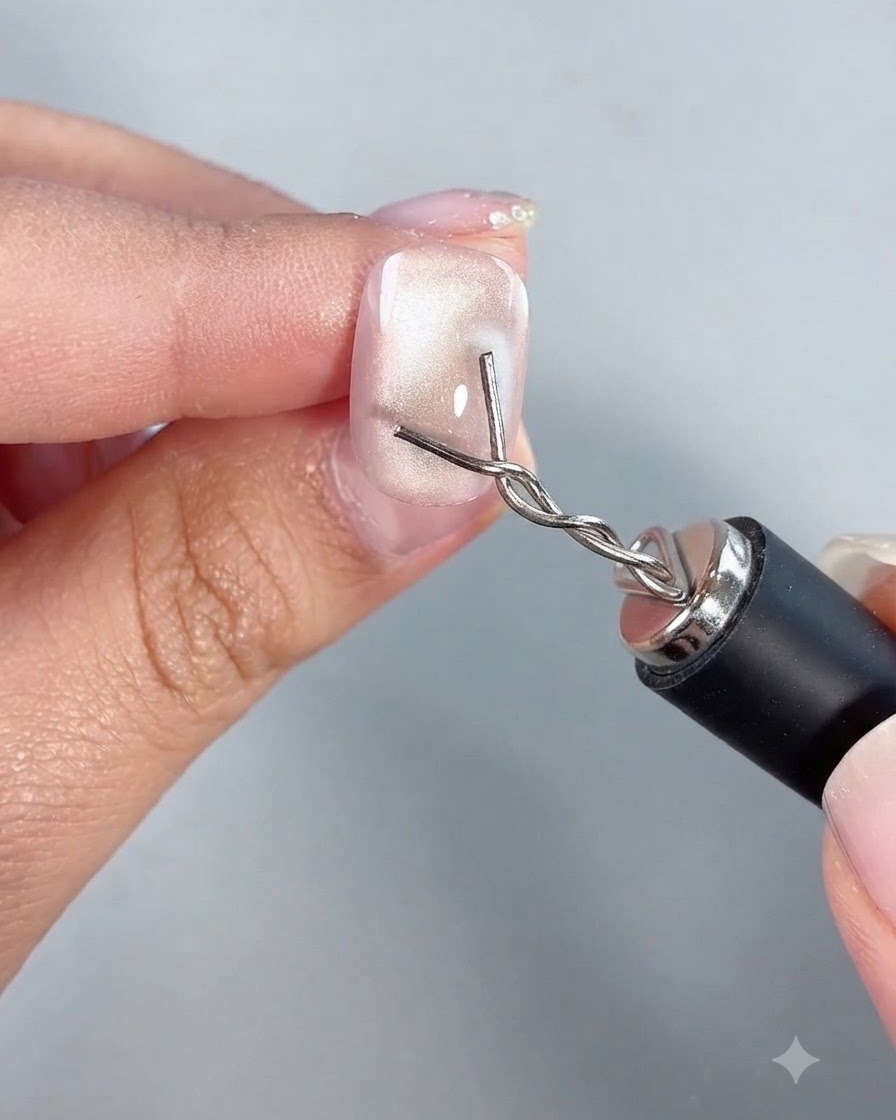
Carefully align the tip of the magnetized twisted pin near the bottom right corner of the nail. Hover it lightly over the surface to draw the cat eye particles into the indentation of a heart shape.
Tip: Make subtle adjustments to the angle of the pin to get the symmetry of the heart outline just right. - 5Set the heart shape
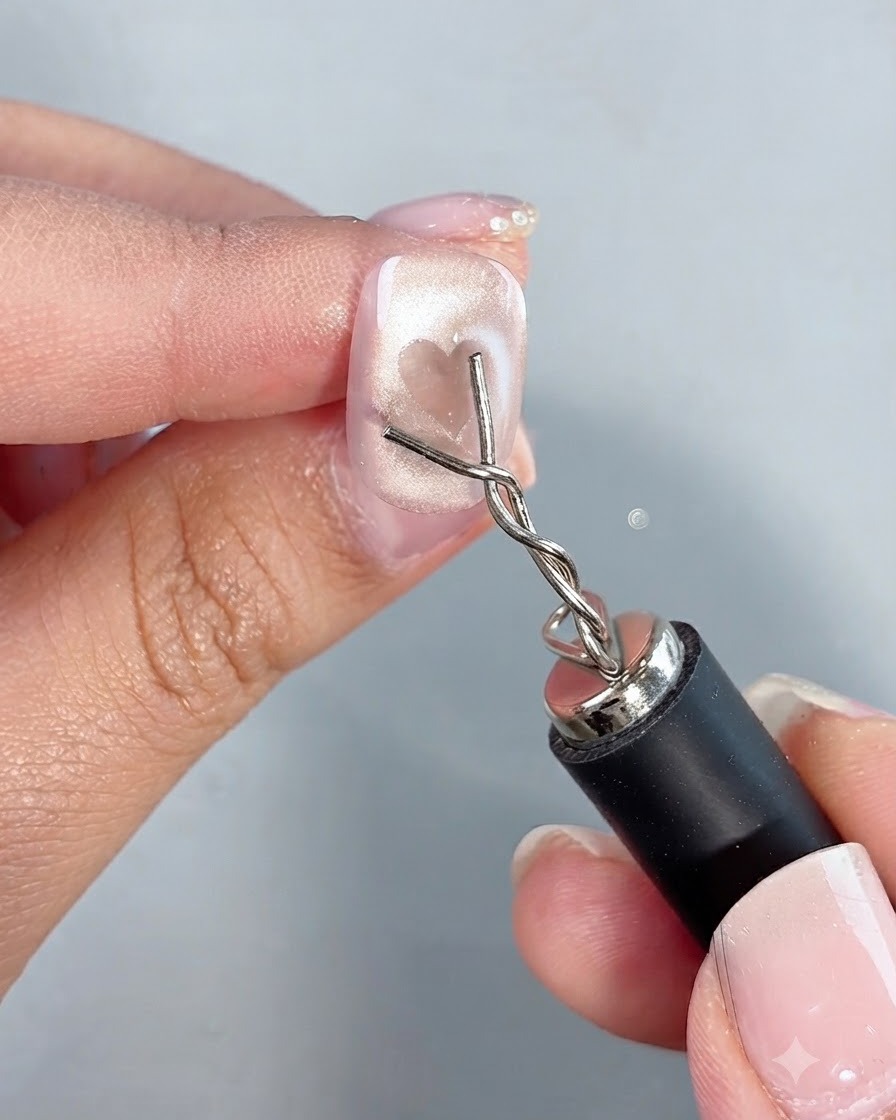
Once the cat-eye particles form a sharp and clear heart shape, quickly pull the magnet straight away from the nail. Instantly cure under a UV/LED lamp to lock the design in place before the particles disperse.
Tip: A swift withdrawal prevents the magnetic field from distorting the clean edges of the heart. - 6Draw a smaller heart outline
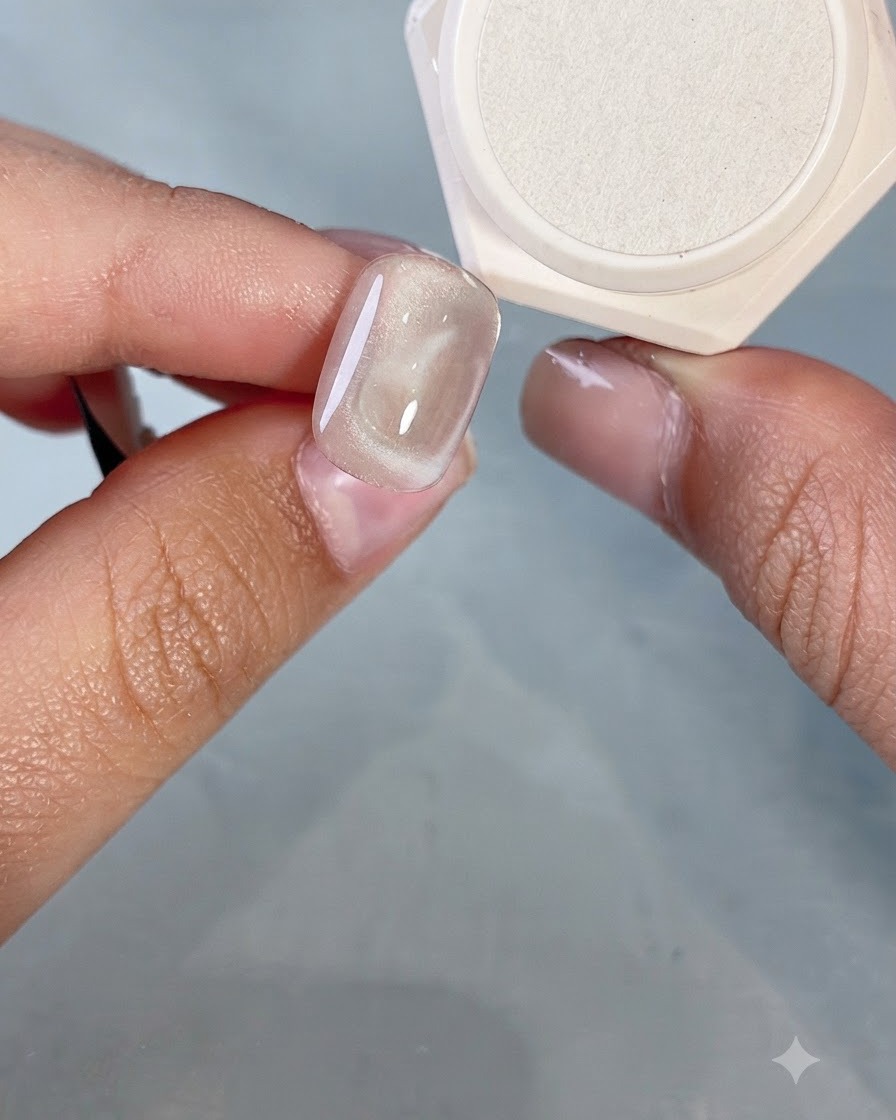
Using a fine liner brush and Shui Guang Clear No. 5 cat eye gel, carefully paint a small heart outline directly inside the existing cat-eye heart shape. This creates depth and dimension for the 3D heart effect.
Tip: Keep your hand steady and use only a minimal amount of gel to ensure the lines remain thin and precise. - 7Magnetize the inner heart
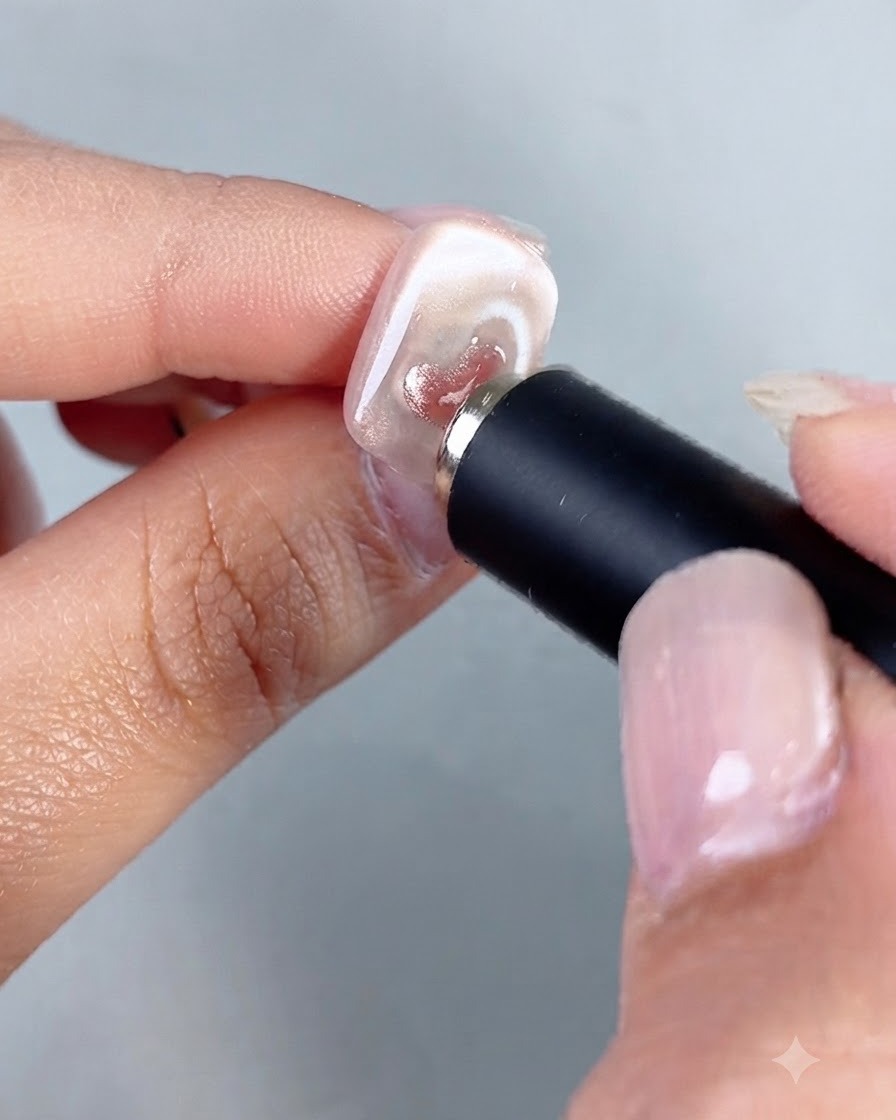
Before curing the inner heart, use your cylindrical magnetic tool once again. Hover the magnet close to the freshly painted smaller heart to draw the magnetic particles together, concentrating the shimmer to make the inner heart pop with brightness.
Tip: Keep the magnet steady and close to the gel without touching it to get the sharpest magnetic pull. - 8Apply top coat
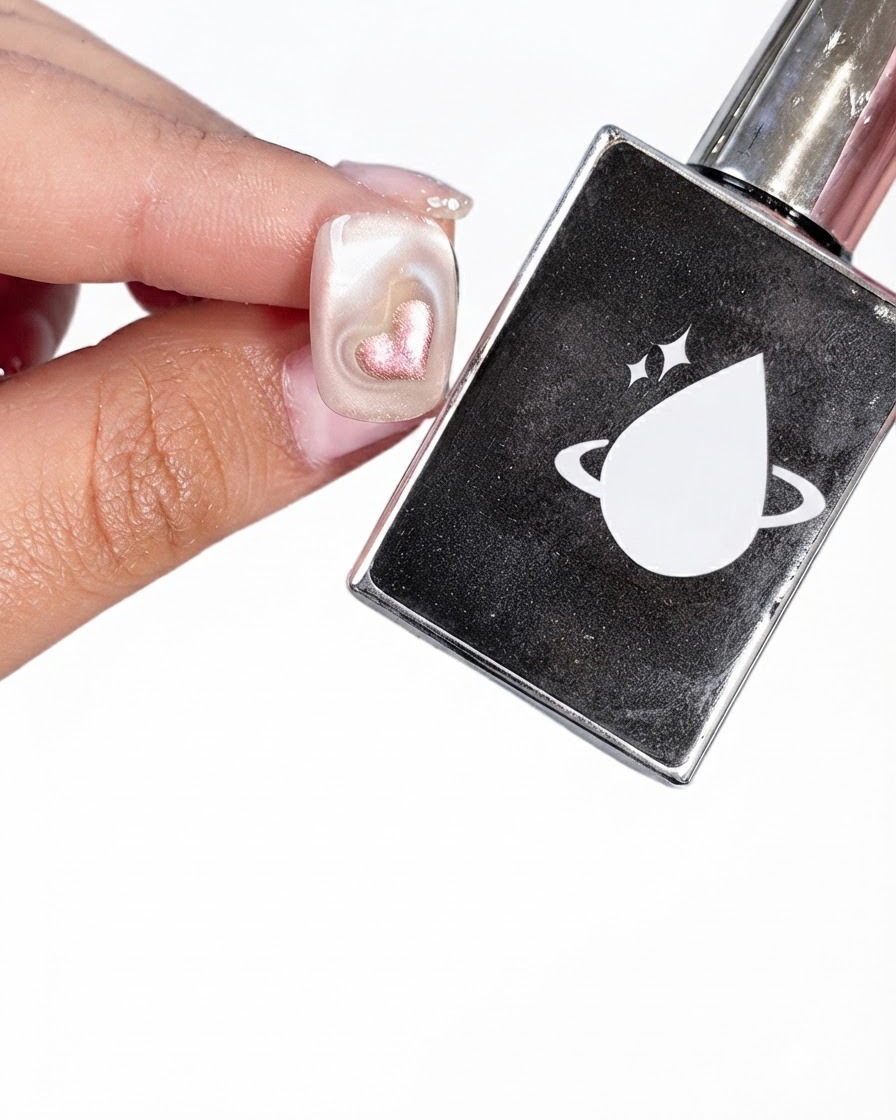
Once the inner heart is cured, apply an even layer of Style Valley smooth top coat over the entire nail. This seals in your magnetic design, smooths out the surface, and provides a glossy, protective finish for the next step.
Tip: Make sure to cap the free edge of the nail with the top coat to prevent premature chipping. - 9Add a 3D effect
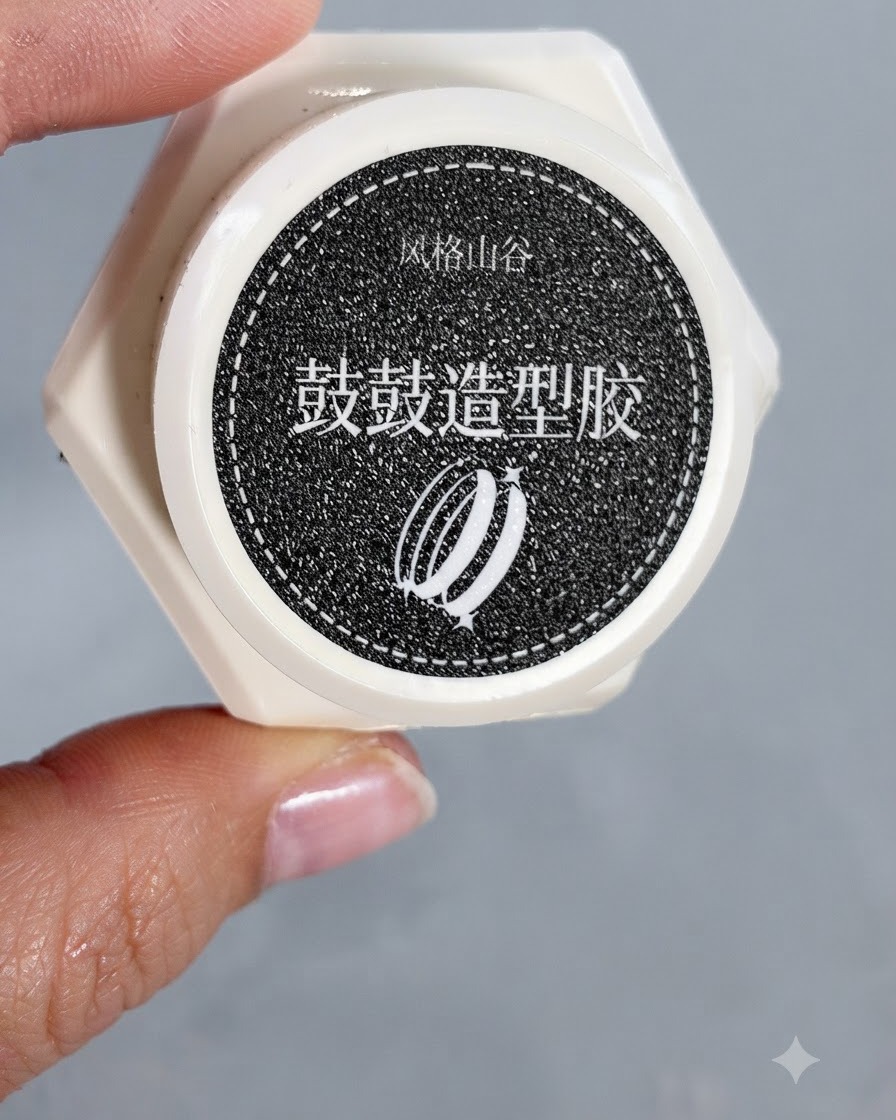
To make the design truly stand out, use a fine brush to pick up some chunky shaping gel. Carefully apply it directly over the small inner heart to build up a clear, 3D volumetric dome that magnifies the cat-eye shimmer beneath it.
Tip: Applying shaping gel requires a light touch—allow the gel to self-level slightly before curing to ensure a smooth, rounded dome.