3D Crystal Heart Acrylic Nail Art — Step-by-Step Tutorial
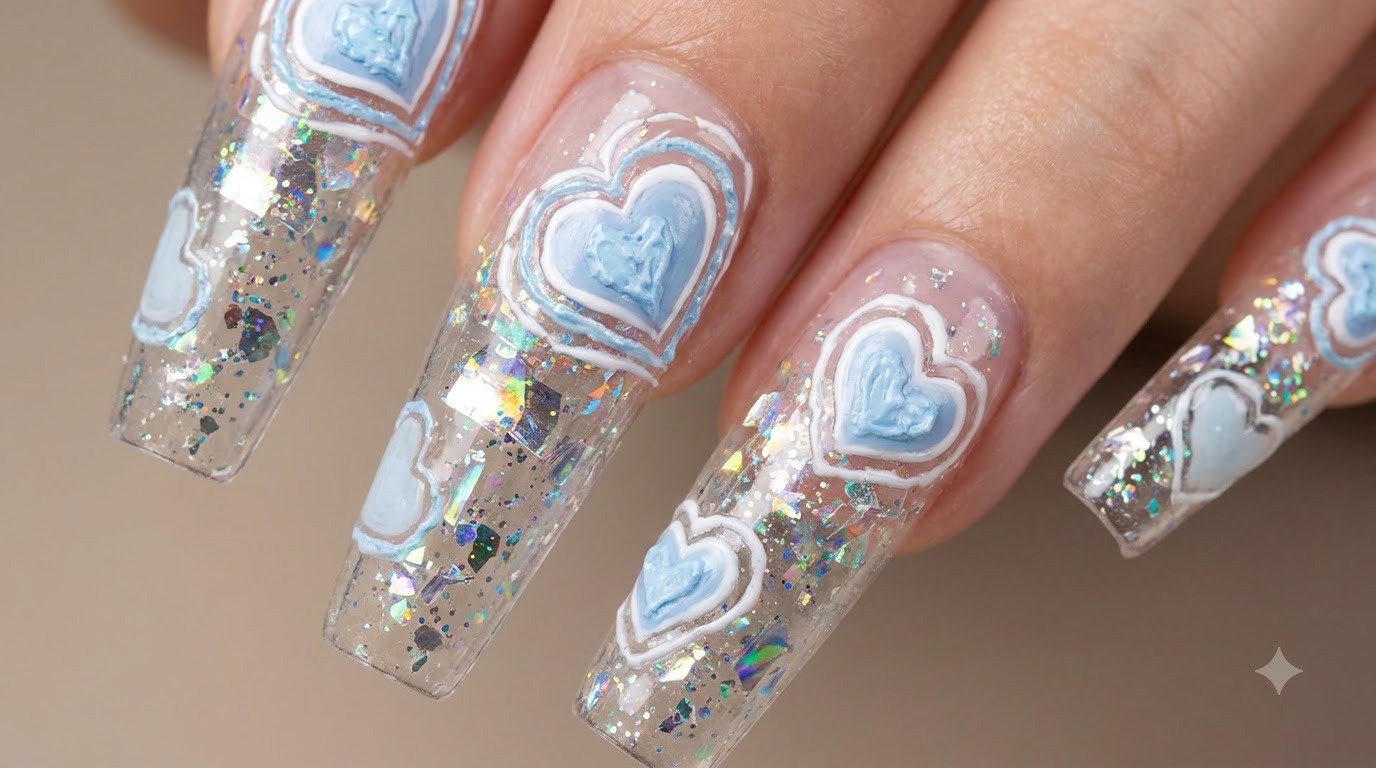
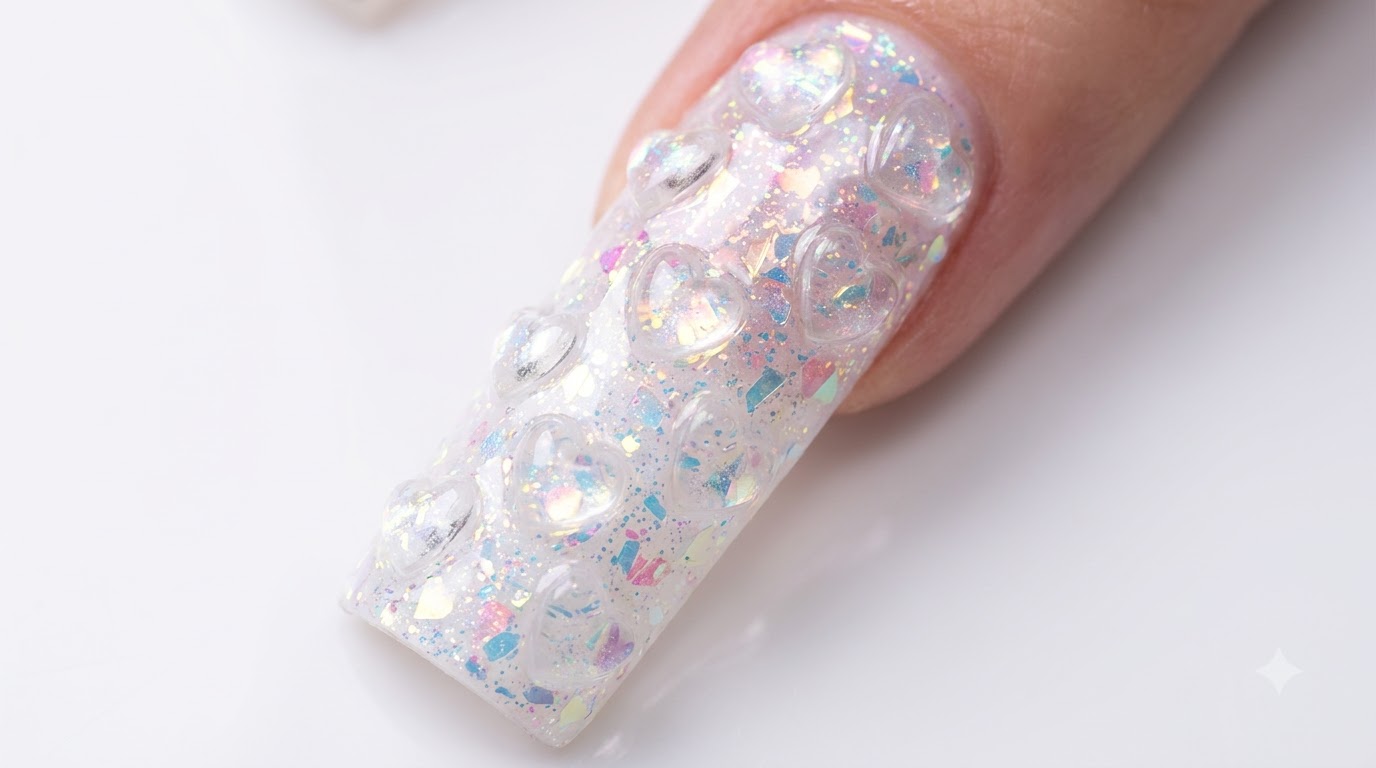
Learn how to sculpt dazzling 3D crystal heart nails with embedded iridescent flakes, white acrylic base, and a high-gloss finish.
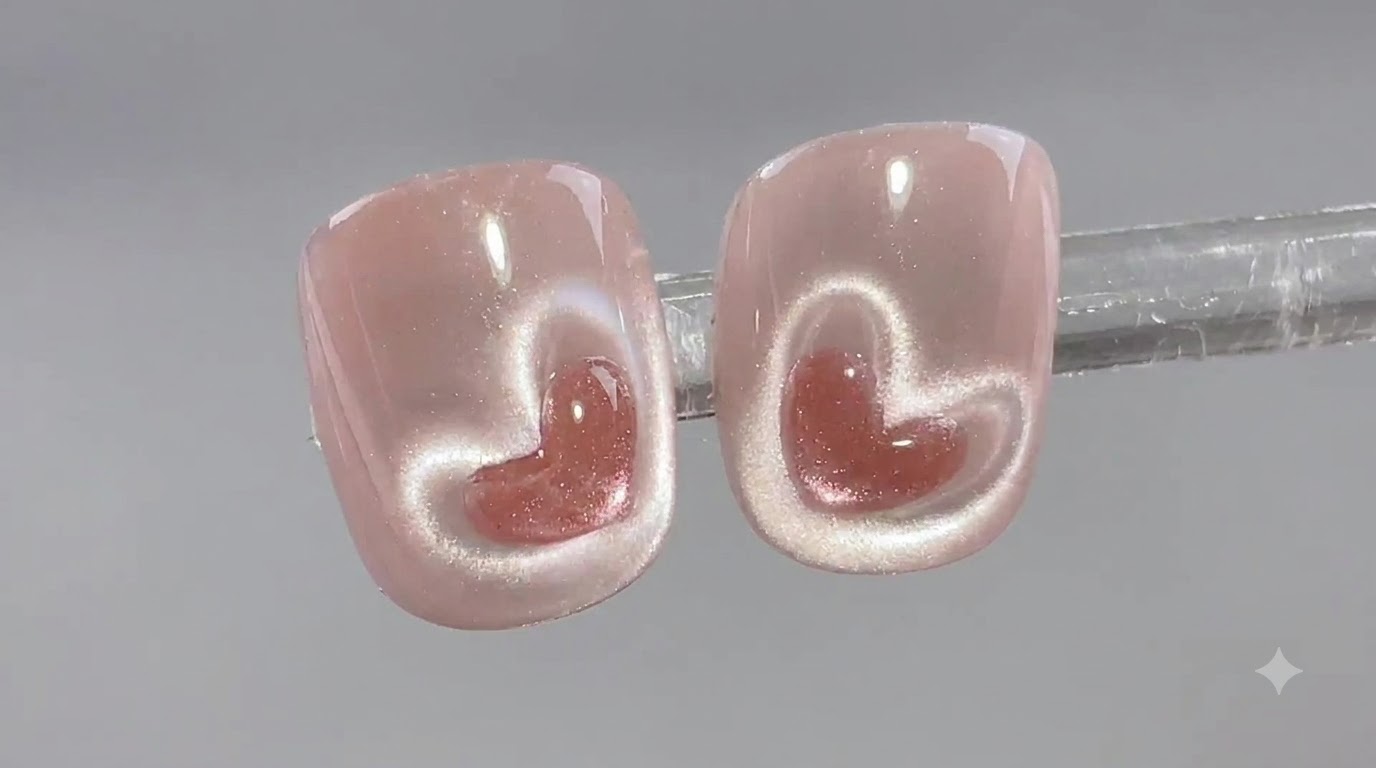
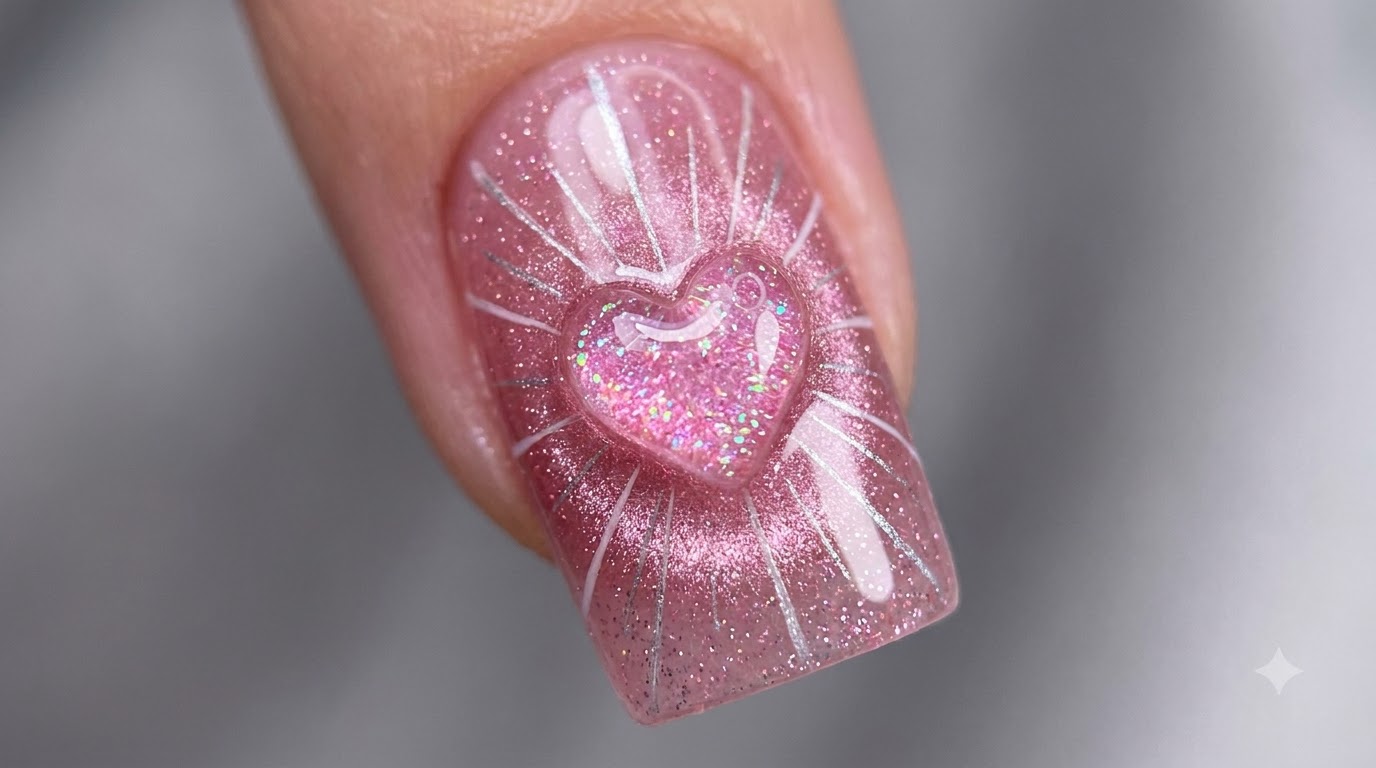
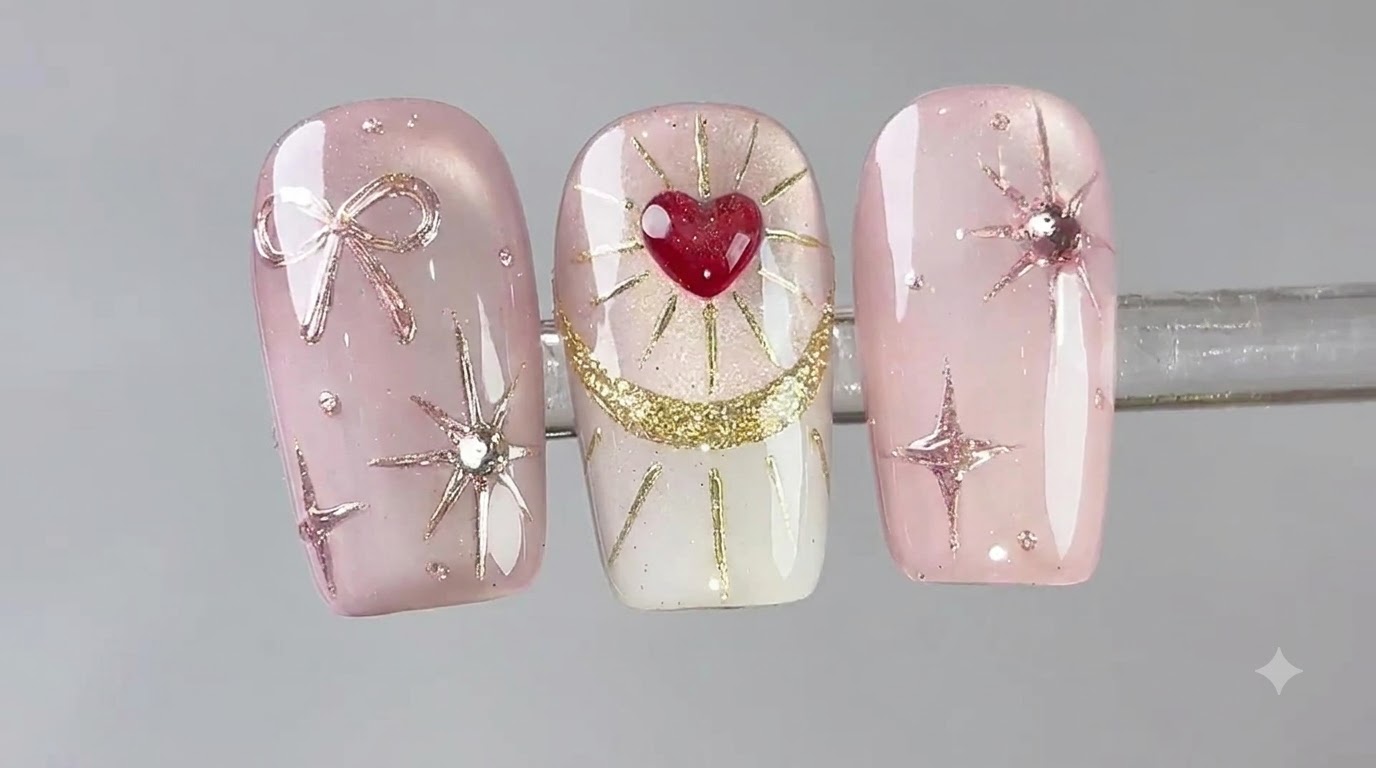
Dimensional acrylic nail art has taken the beauty world by storm, and this 3D crystal heart design offers the ultimate blend of elegance and trendsetting style. By embedding shimmering iridescent flakes beneath sculpted clear heart shapes and capping them for durability, you create a captivating multi-layered look that shines from every angle. Follow this professional step-by-step tutorial to master the technique at home.
Steps
- 1Apply first acrylic heart bead
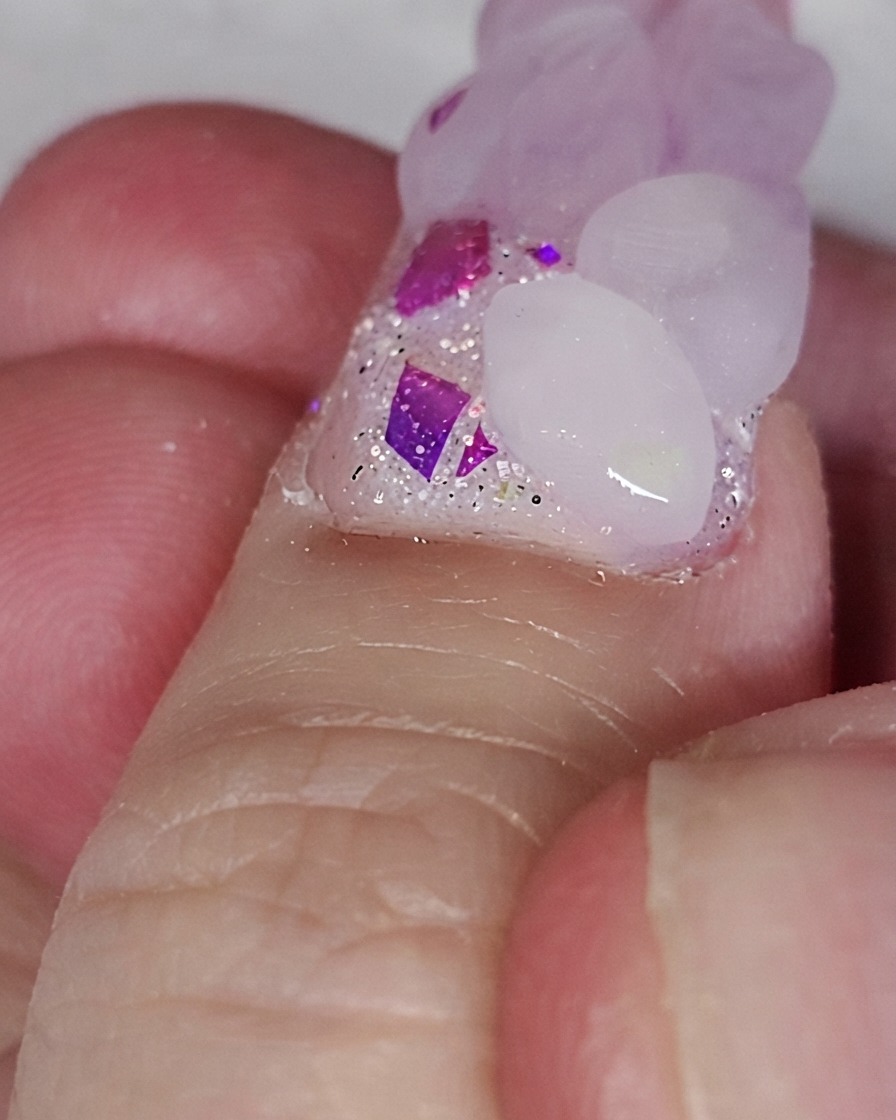
Pick up an acrylic bead with your brush and place it onto the prepped nail base, carefully shaping it into the first heart form. Work slowly while the acrylic is pliable to ensure clean, defined edges for the crystal design.
Tip: Ensure your liquid-to-powder ratio is balanced so the bead holds its shape without running. - 2Add Second Acrylic Heart
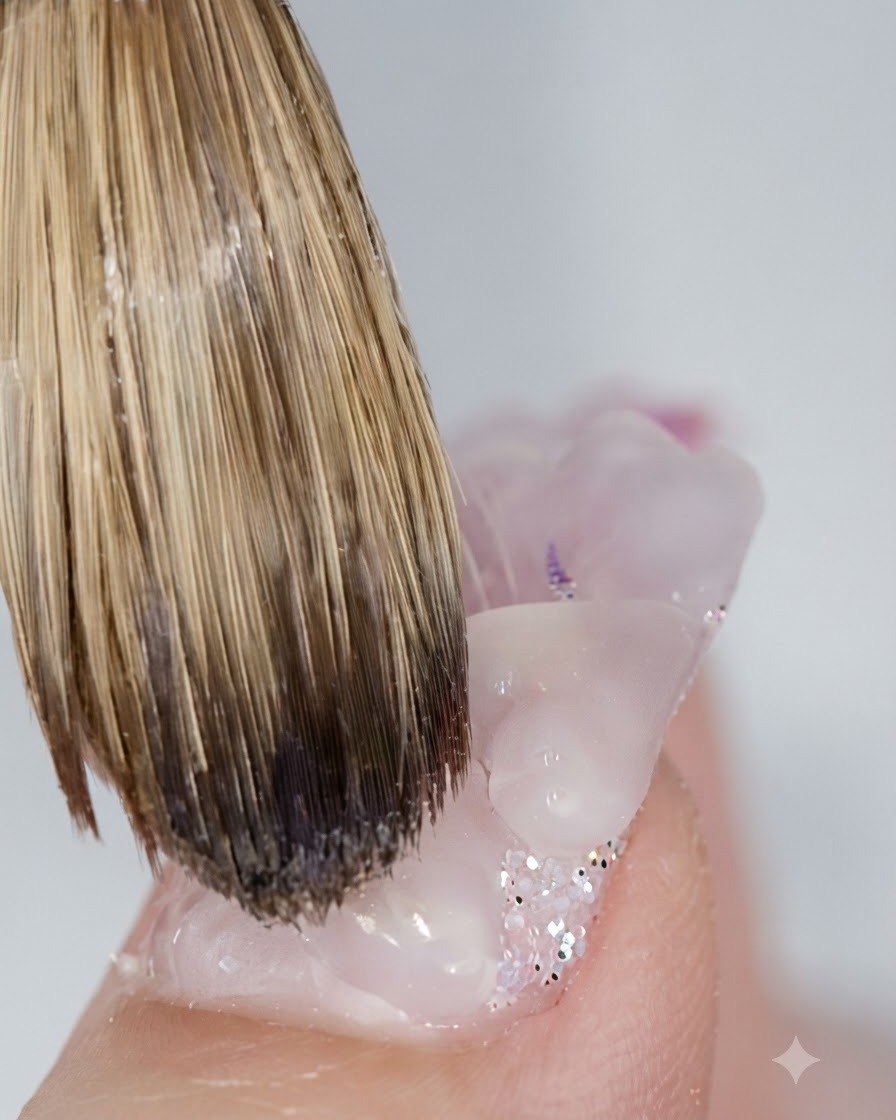
Take a new acrylic bead and place it adjacent to the first heart shape. Use the belly of your brush to press, push, and refine the edges into a distinct second 3D heart form.
Tip: Work quickly before the acrylic begins to polymerize and set completely. - 3Add third acrylic heart
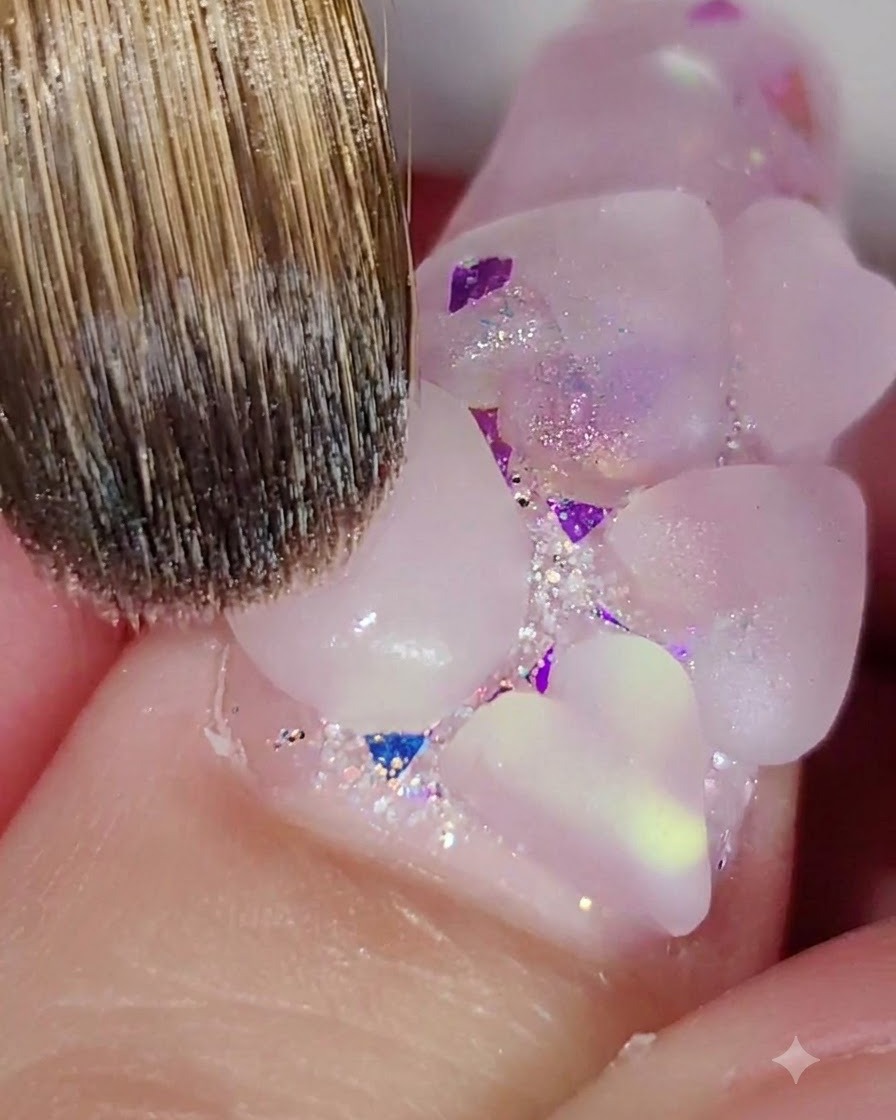
Place the third acrylic bead onto the nail surface adjacent to the previous shapes, sculpting it into a distinct heart form. Use the belly of your brush to press and pat the bead into alignment with the surrounding design.
Tip: Keep your brush clean and dampened with liquid to prevent acrylic from sticking to the bristles. - 4Refine heart edges
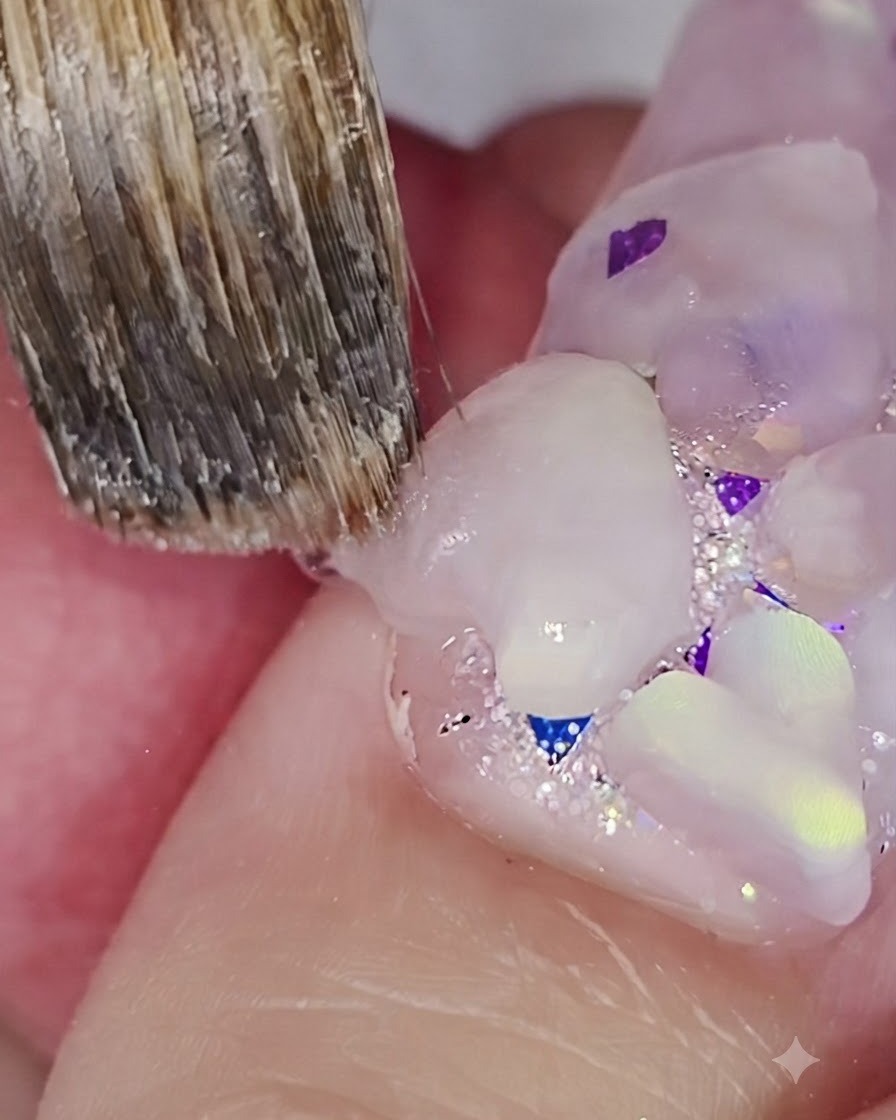
Using the tip of your acrylic brush moistened with monomer, gently press and refine the outer edges of the existing heart shapes. This sharpens the contours and ensures clean separation between each embedded crystal element.
Tip: Light pressure is key when refining edges to avoid distorting the dimensional shape of the hearts. - 5Add subsequent acrylic heart
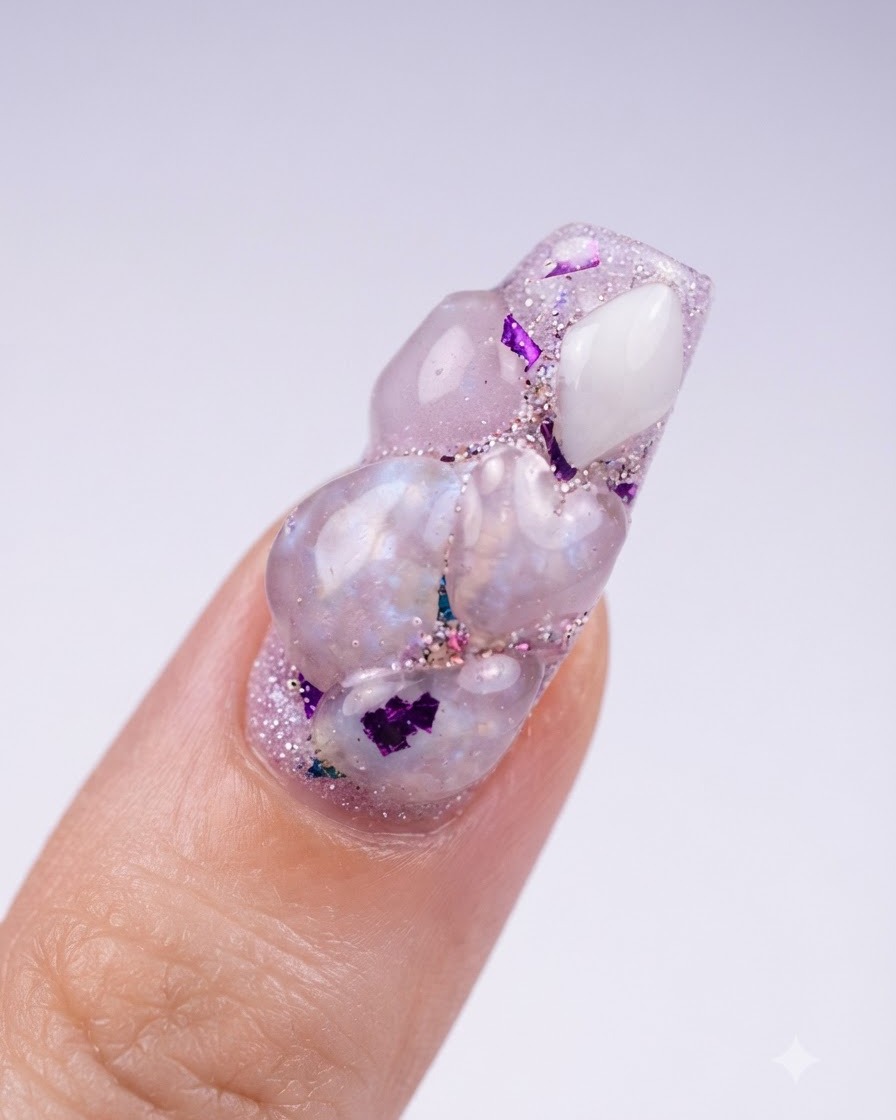
Continue building the 3D crystal arrangement by placing another acrylic bead onto the nail surface. Shape it immediately into a complementary heart form to expand the dimensional pattern across the nail.
Tip: Plan the placement of each heart in advance to ensure a balanced composition across the nail plate. - 6Fill gaps with small hearts
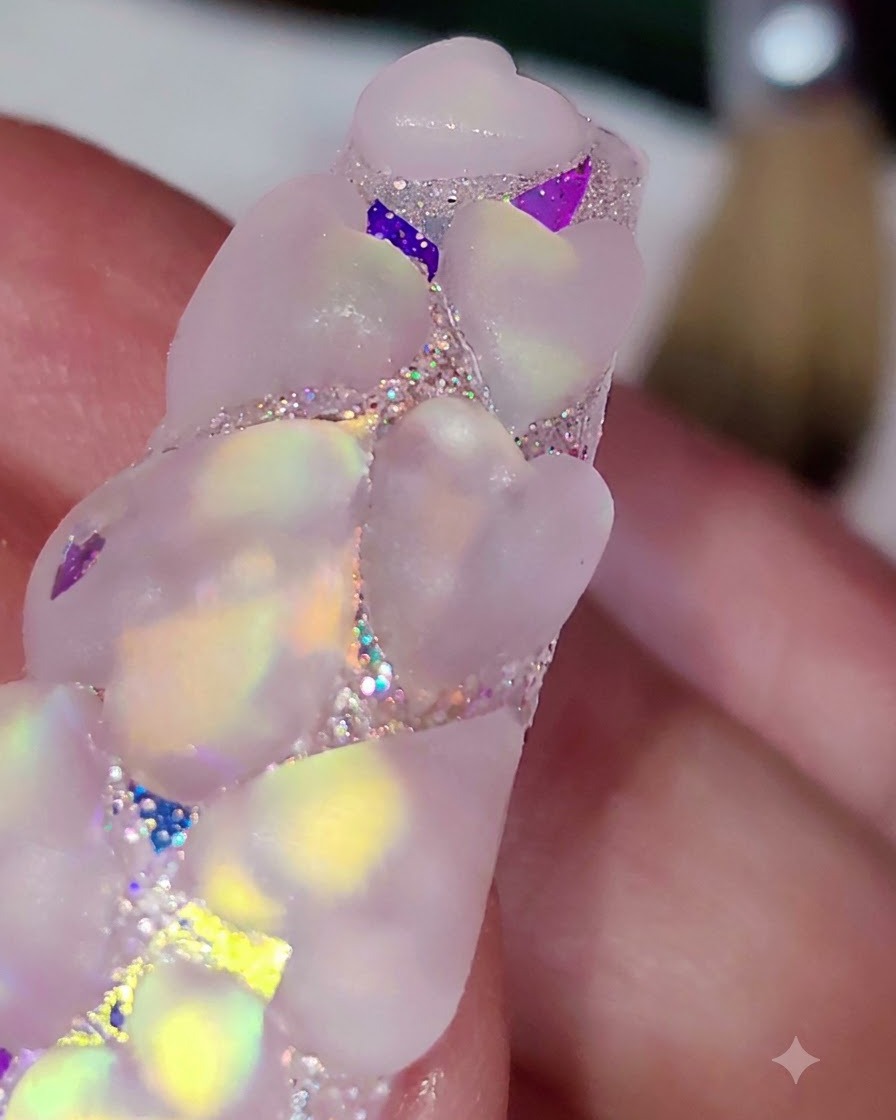
Mix smaller acrylic beads and place them carefully into any remaining gaps or empty spaces between the larger hearts. Sculpt these smaller beads to maintain the cohesive heart-shaped crystal aesthetic across the entire nail.
Tip: Work quickly with smaller beads as they polymerize and set faster than larger ones. - 7Final shape adjustments
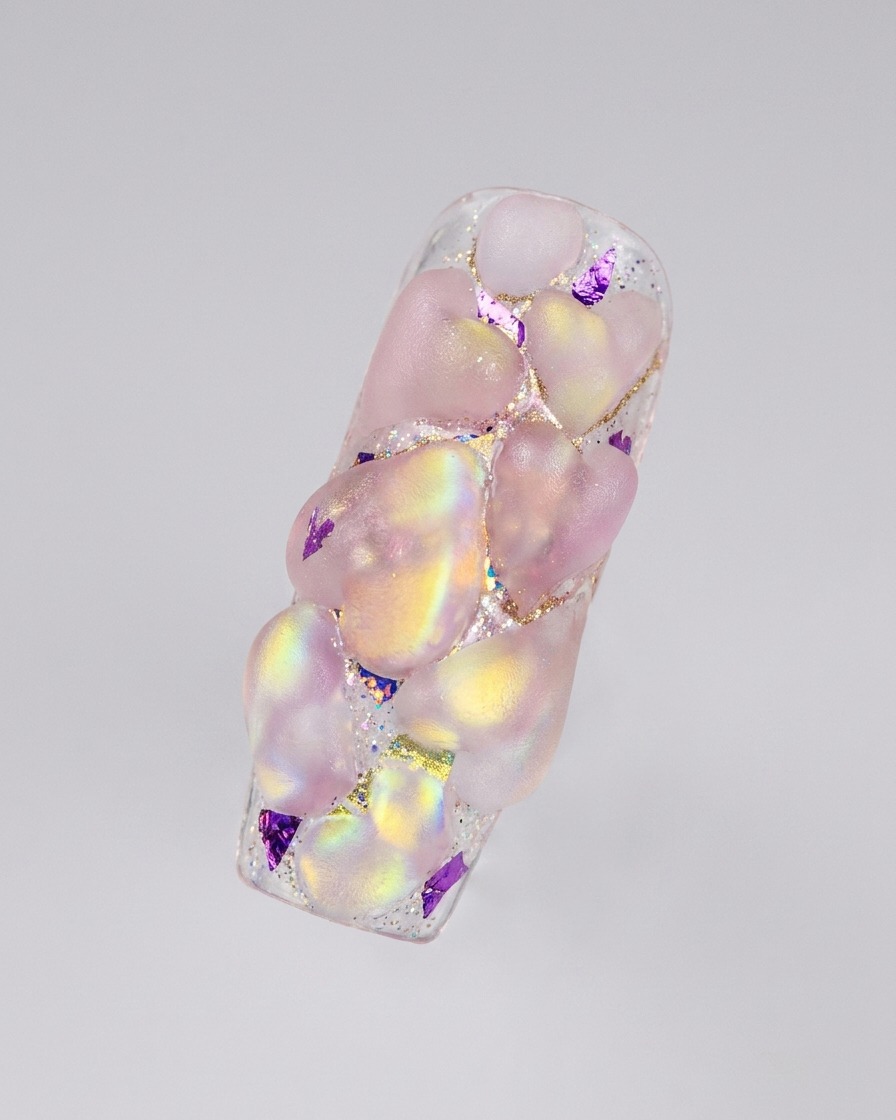
Perform final smoothing and adjustments on all heart shapes using a damp brush before the acrylic fully hardens. Check that every heart is symmetrical and well-proportioned as part of the overall design.
Tip: This is your last chance to fix minor surface imperfections with the brush before filing. - 8Cap with white acrylic
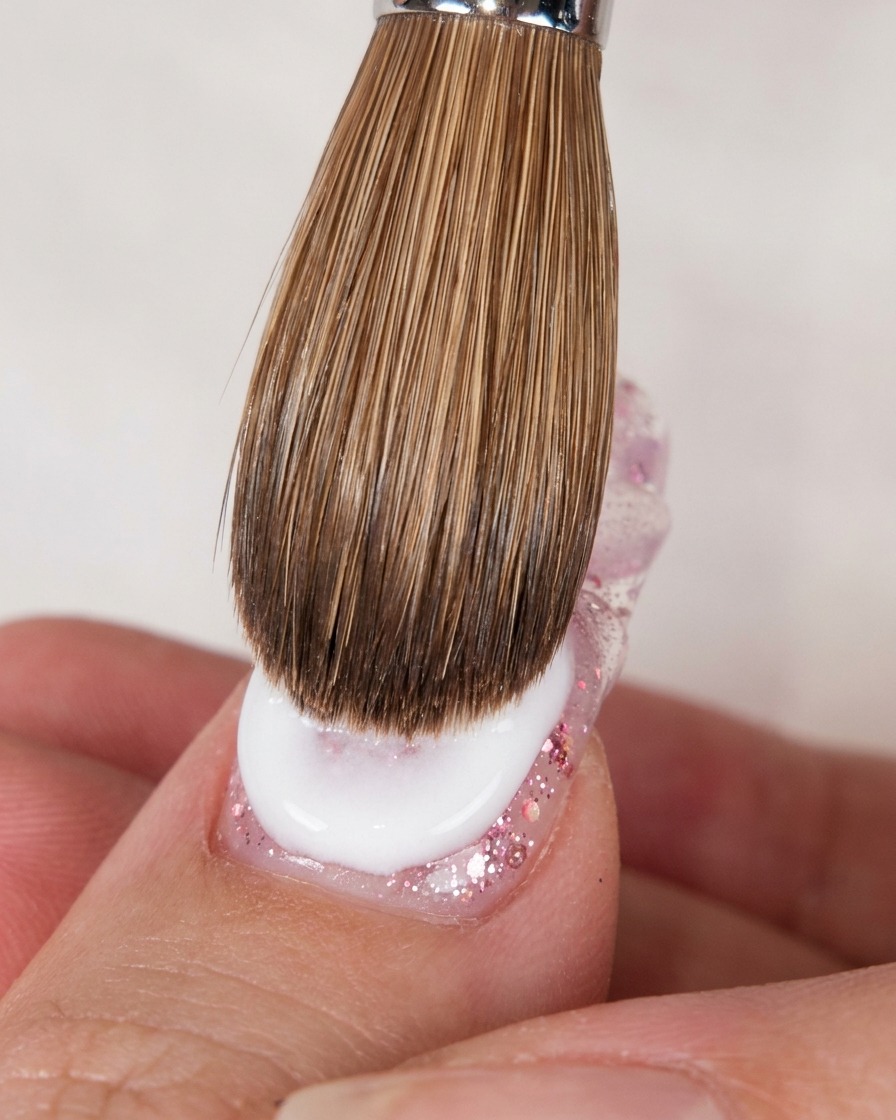
Pick up a bead of white acrylic and apply it evenly over the entire nail surface to cap the design. This layer provides essential structure to the nail and protects the embedded 3D heart elements during the subsequent filing and shaping process.
Tip: Work efficiently to spread the acrylic evenly before it begins to set, ensuring you do not create air bubbles over the 3D shapes. - 9Shape the surface with an electric file
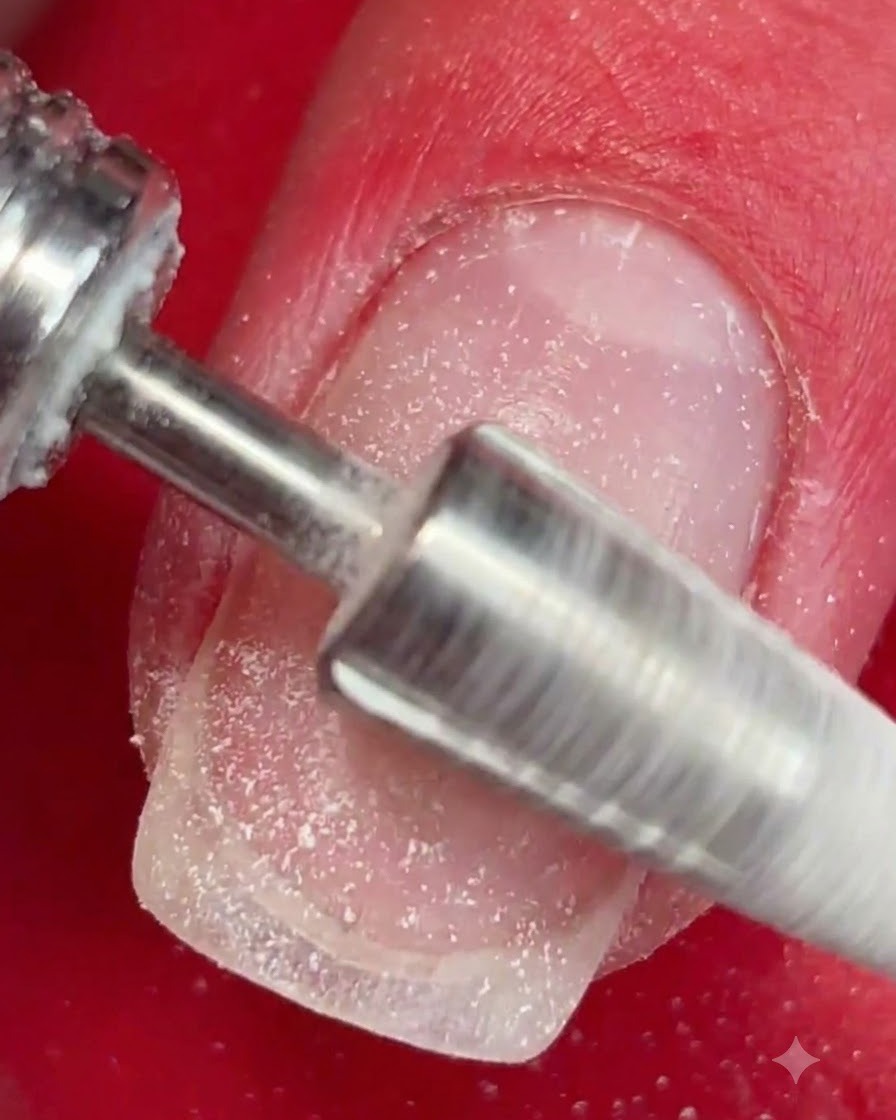
Using a carbide bit on your electric file, carefully refine the surface of the nail to smooth out the 3D heart shapes and create an even contour. Keep the file moving continuously to avoid generating too much heat or thinning the structure too much in one spot.
Tip: Use a light touch and medium speed to maintain control when shaping acrylic around delicate designs. - 10Refine the cuticle area
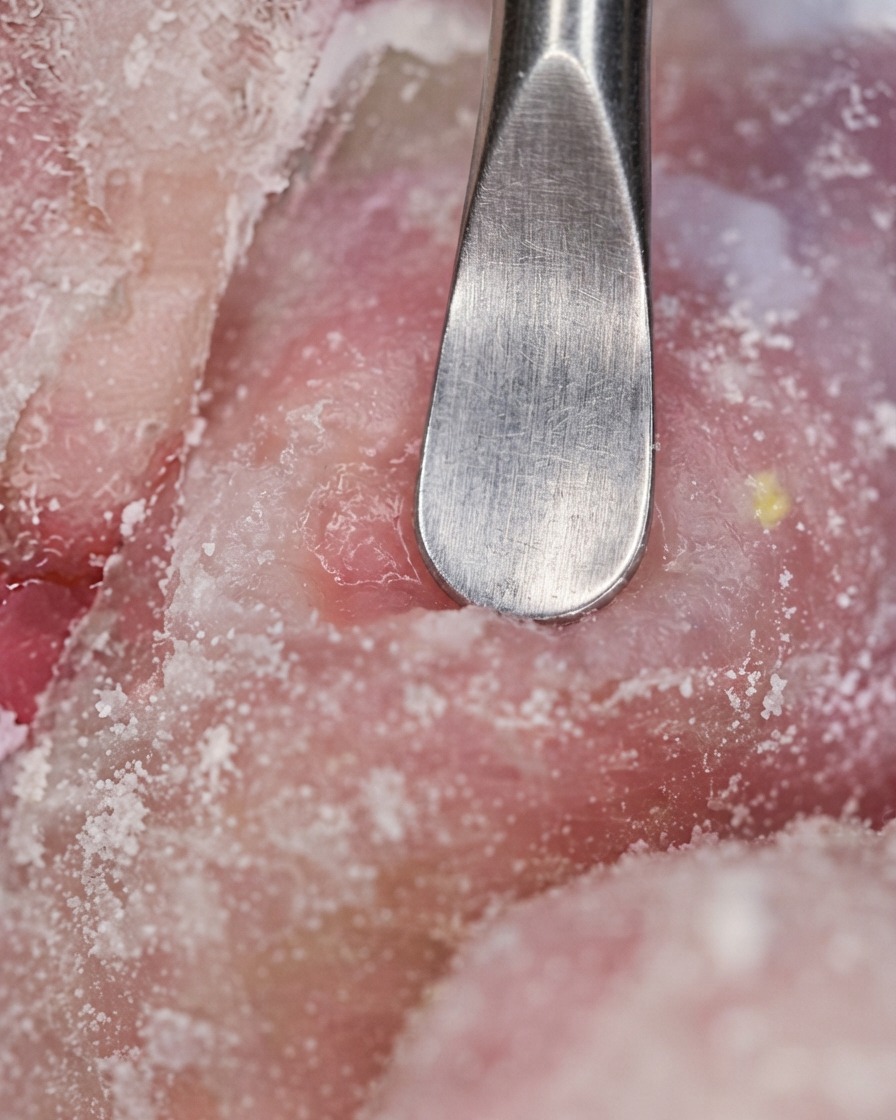
Carefully clean around the cuticle area to create a seamless, flush transition between the acrylic enhancement and the natural nail plate. Remove any excess product and smooth the surrounding surface to prepare for the final top coat.
Tip: A completely flush and smooth cuticle area is critical to preventing premature lifting as the nail grows out.