Glitter and Hand-Painted 3D Heart Nail Art Step-by-Step Tutorial
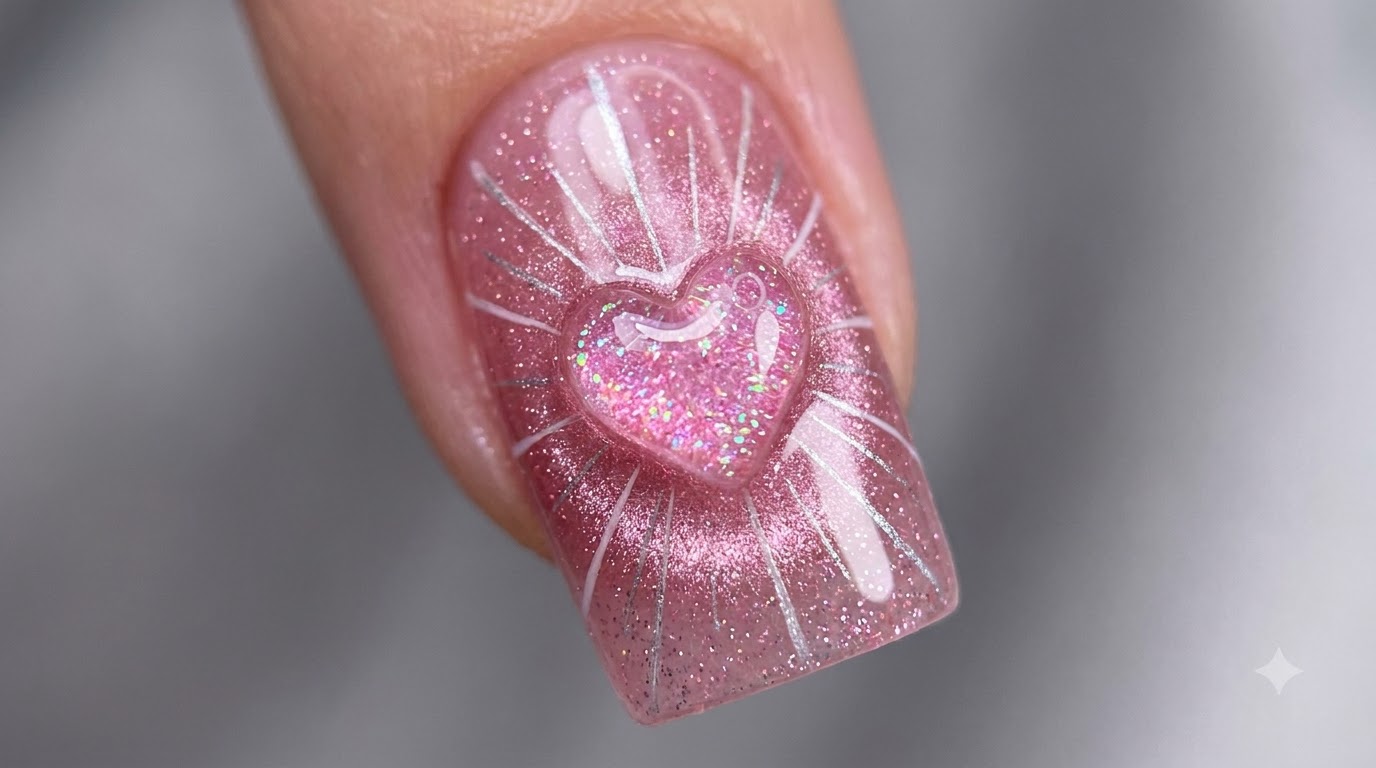
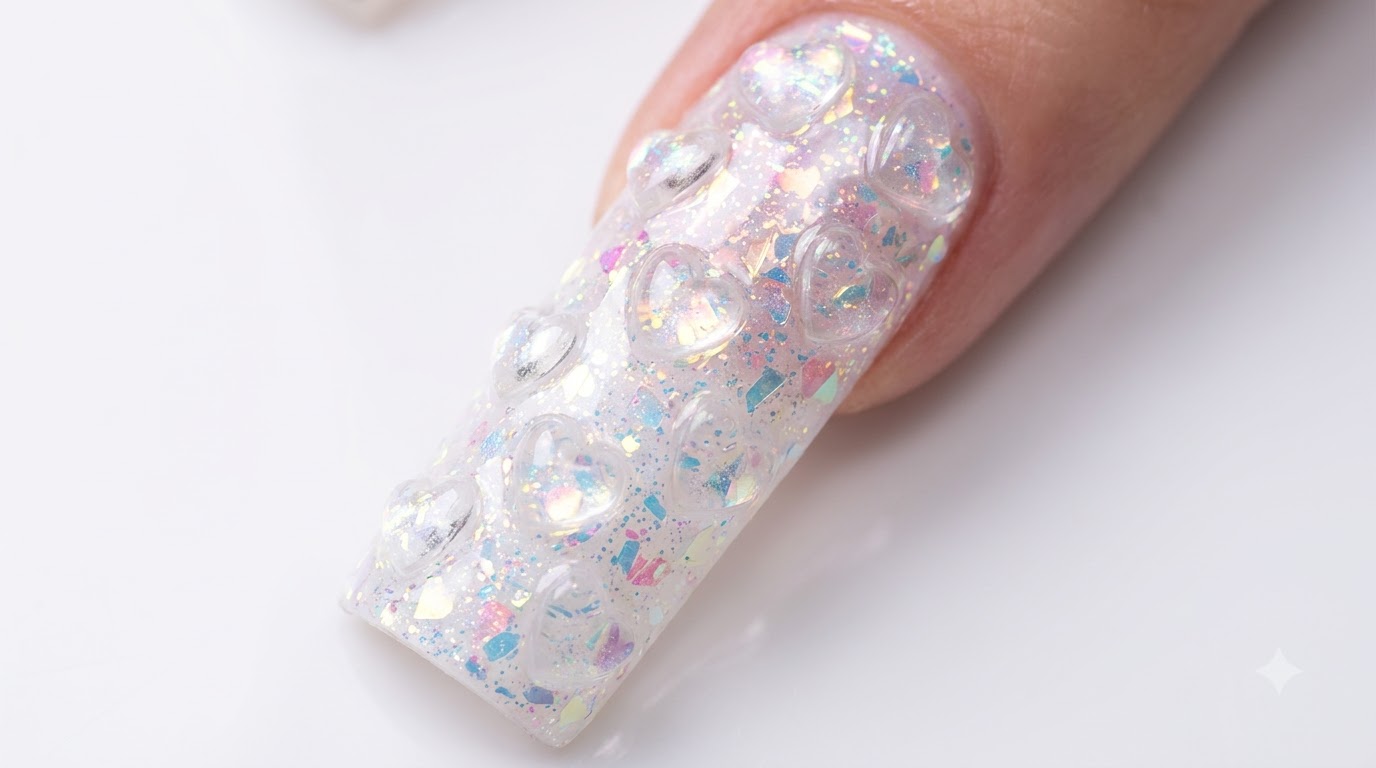
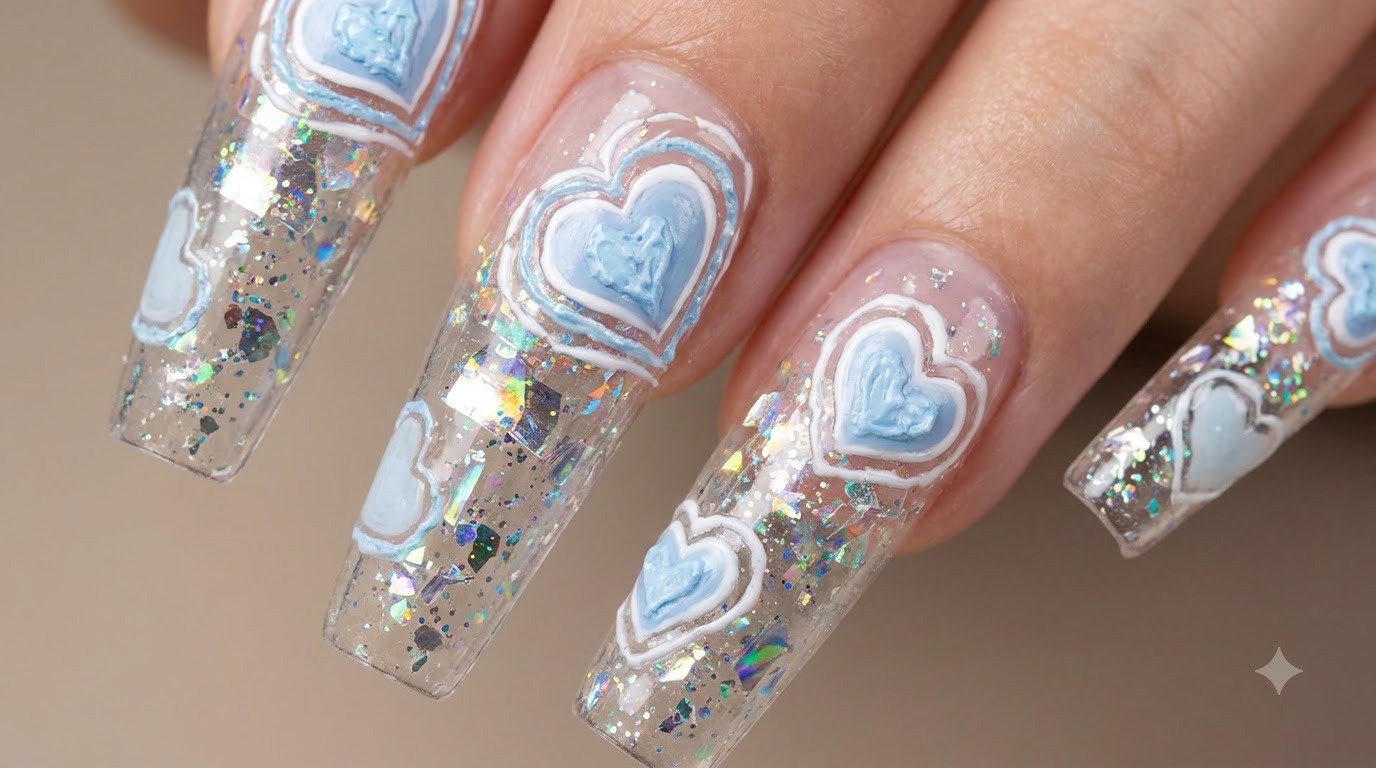
Create a stunning 3D nail design featuring light blue hand-painted hearts, encapsulated holographic glitter flakes, and brilliant dimensional outlines.
Encapsulated glitter combined with 3D nail art is a fantastic way to add immense depth and texture to long extensions. This magical, ethereal look pairs sparkling laser powders with delicate, embossed light blue hearts. Whether you are a seasoned nail technician or an adventurous beginner utilizing stickers as a foolproof guide, this layered technique creates a mesmerizing, multidimensional manicure that beautifully catches the light.
Steps
- 1Prepare the Clear Extension
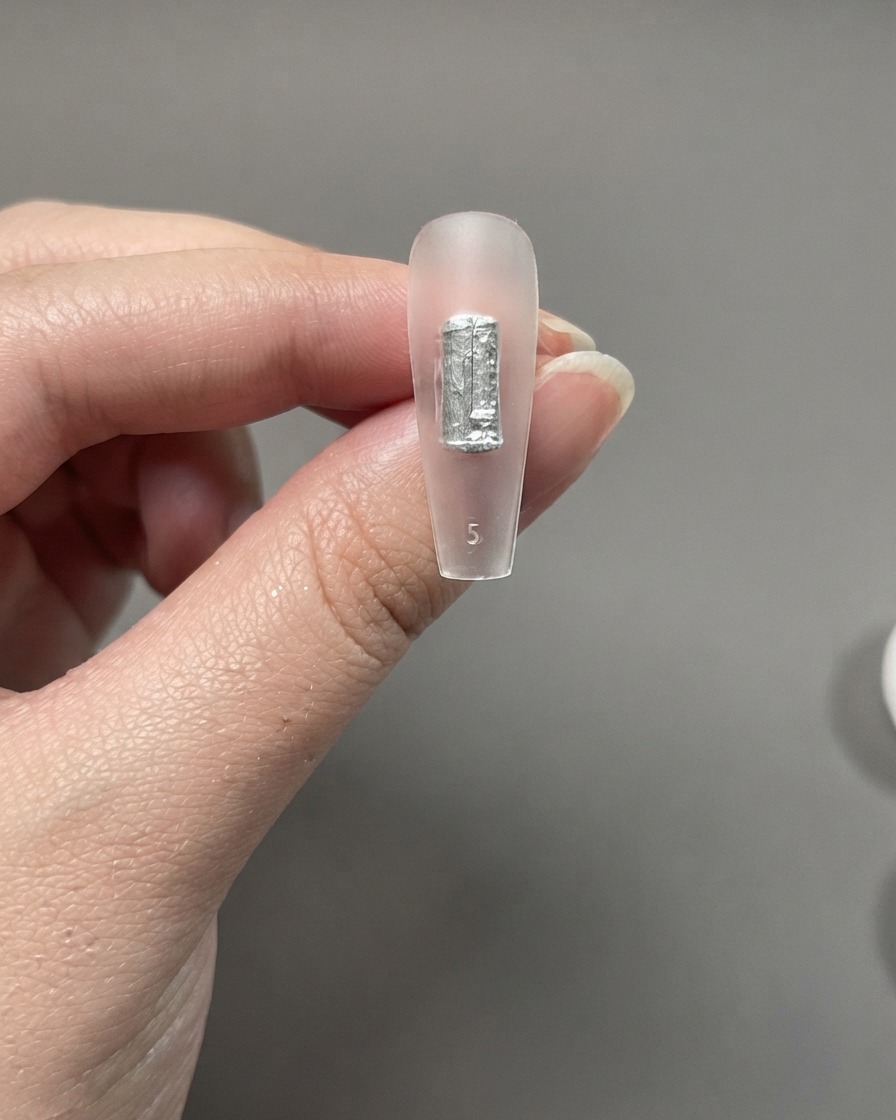
Begin by preparing the clear nail extension piece. Do not apply a standard base coat to the tip extension at this stage; instead, apply your initial preparation layer directly to the clean surface to create an optimal base for the glitter.
Tip: Make sure the surface is clean before applying the initial preparation layer. - 2Apply Glitter and High Gloss Powder
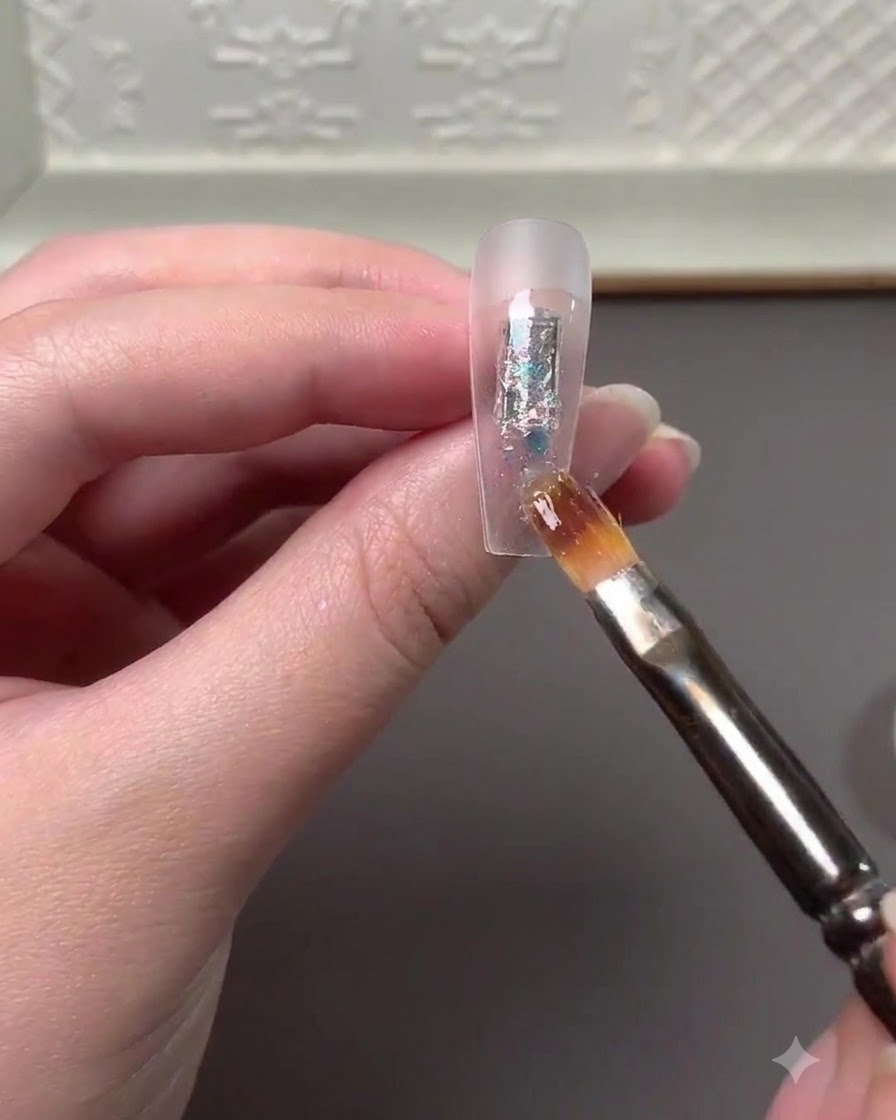
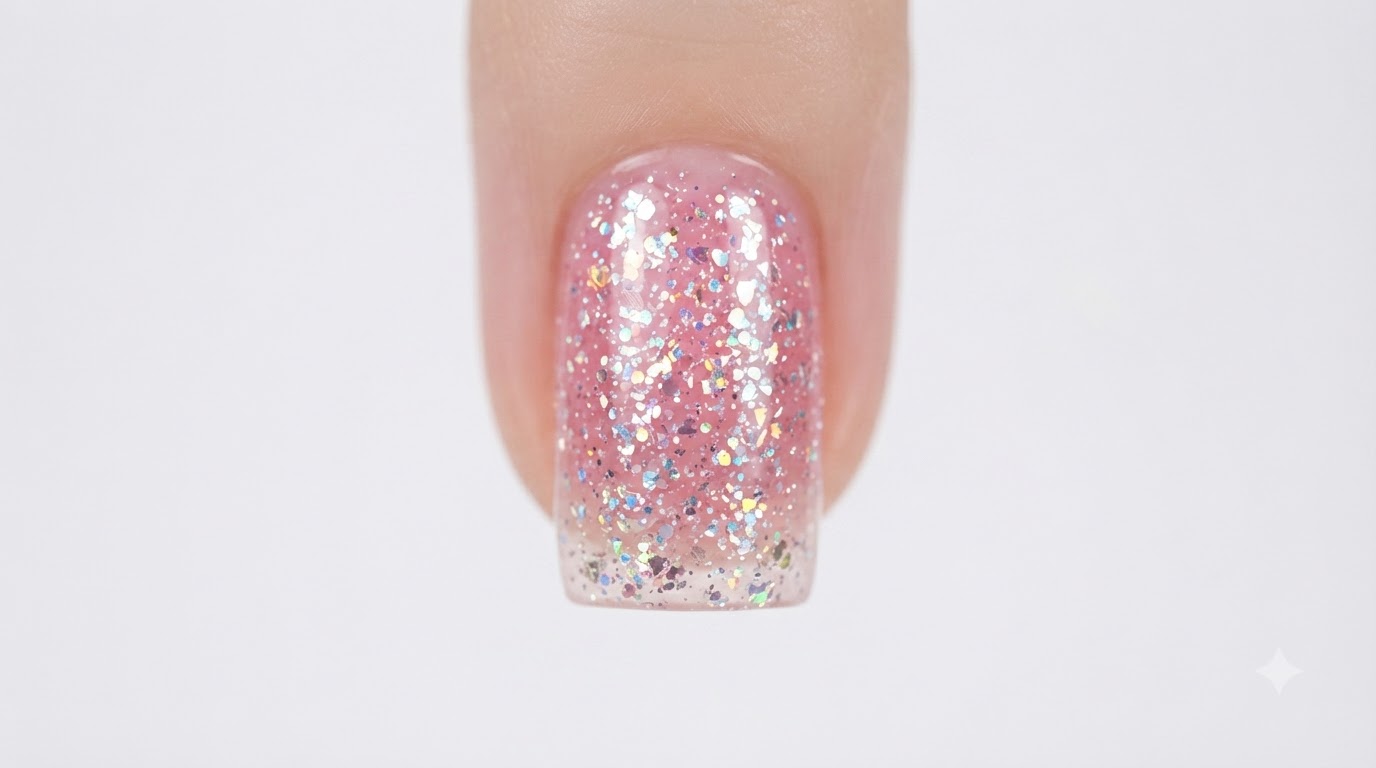
Using a nail brush, carefully pick up and apply glitter flakes combined with high gloss powder onto the prepared section of the nail tip extension to build texture and sparkle.
Tip: Distribute the glitter flakes evenly with the brush to maintain a balanced design. - 3Apply Reinforcement Sealing Layer
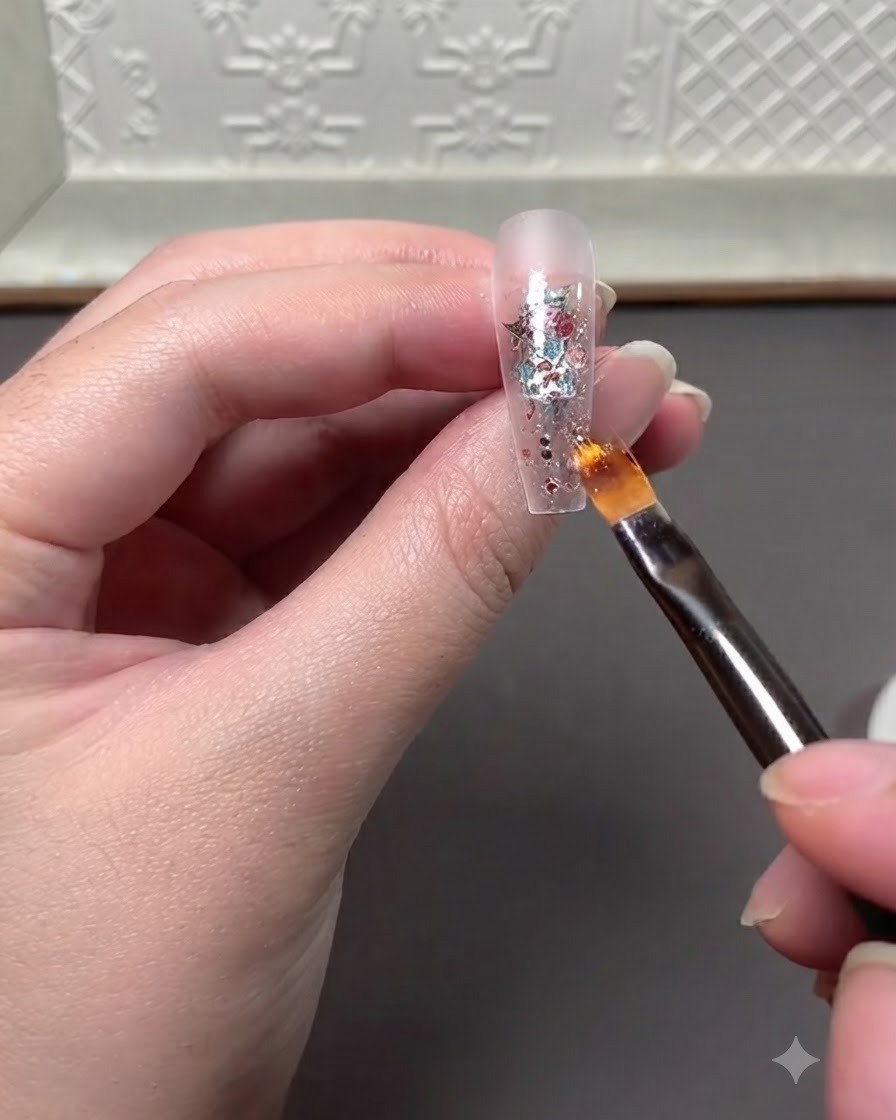
Apply a reinforcement sealing top coat gel directly over the glitter layer to secure the flakes and powder in place, ensuring durability and a smooth underlying structure for the next steps.
Tip: Cap the edges thoroughly with the reinforcement gel to prevent the glitter from lifting. - 4Apply Laser Powder Sealing Layer
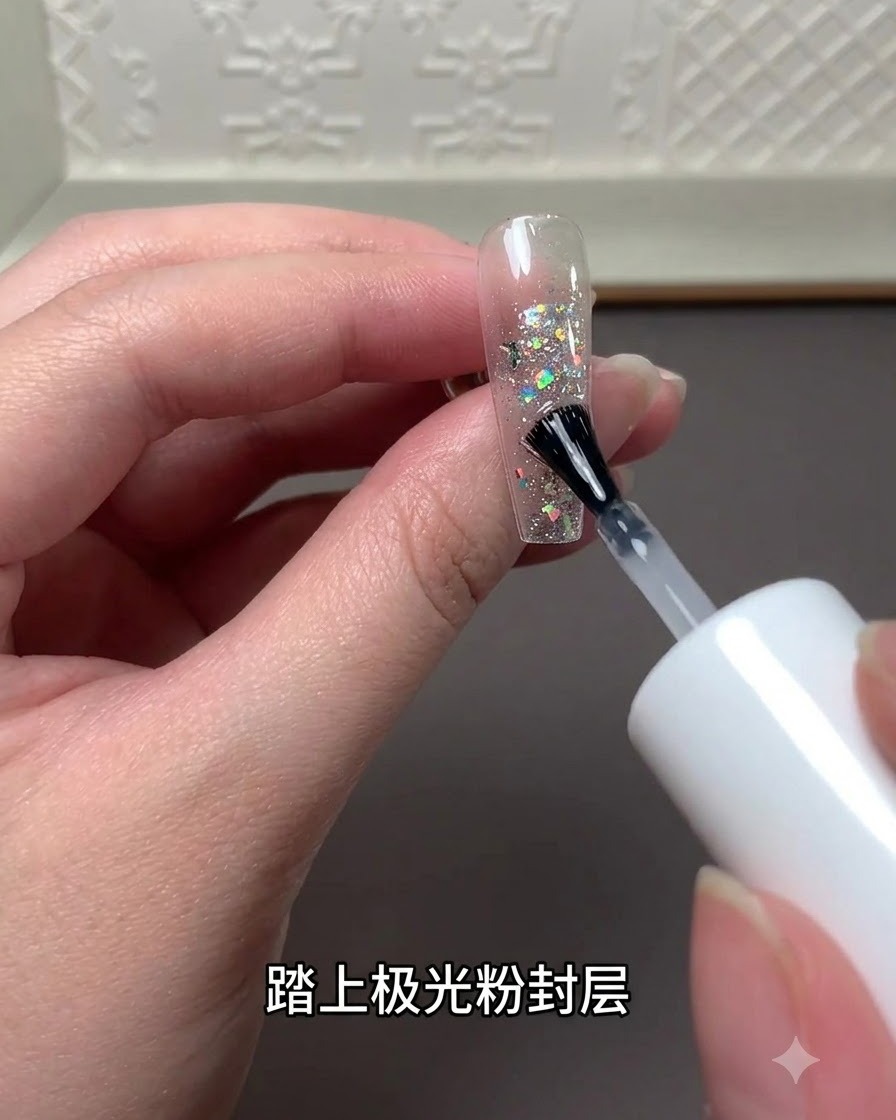
Apply a laser powder sealing top coat layer evenly across the entire nail surface. This adds a holographic or laser effect finish over the encapsulated design.
Tip: Apply in thin, smooth strokes to avoid pooling or uneven texture. - 5Cure Gel Under Lamp
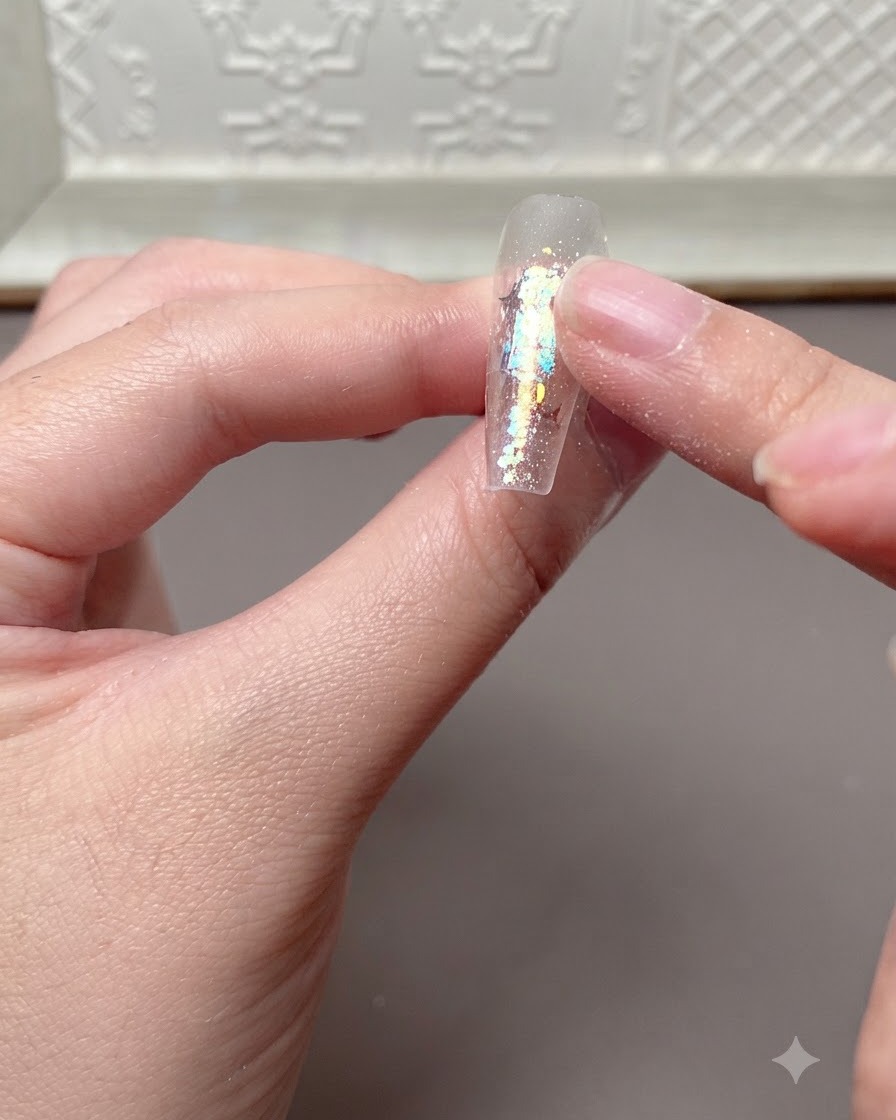
Place your hand under a UV or LED lamp to cure the gel layer completely. This hardens the product and sets the laser powder sealing layer before moving on to decorative elements.
Tip: Ensure proper curing time according to your gel and lamp specifications to prevent uncured spots. - 6Apply Heart-Shaped Stickers
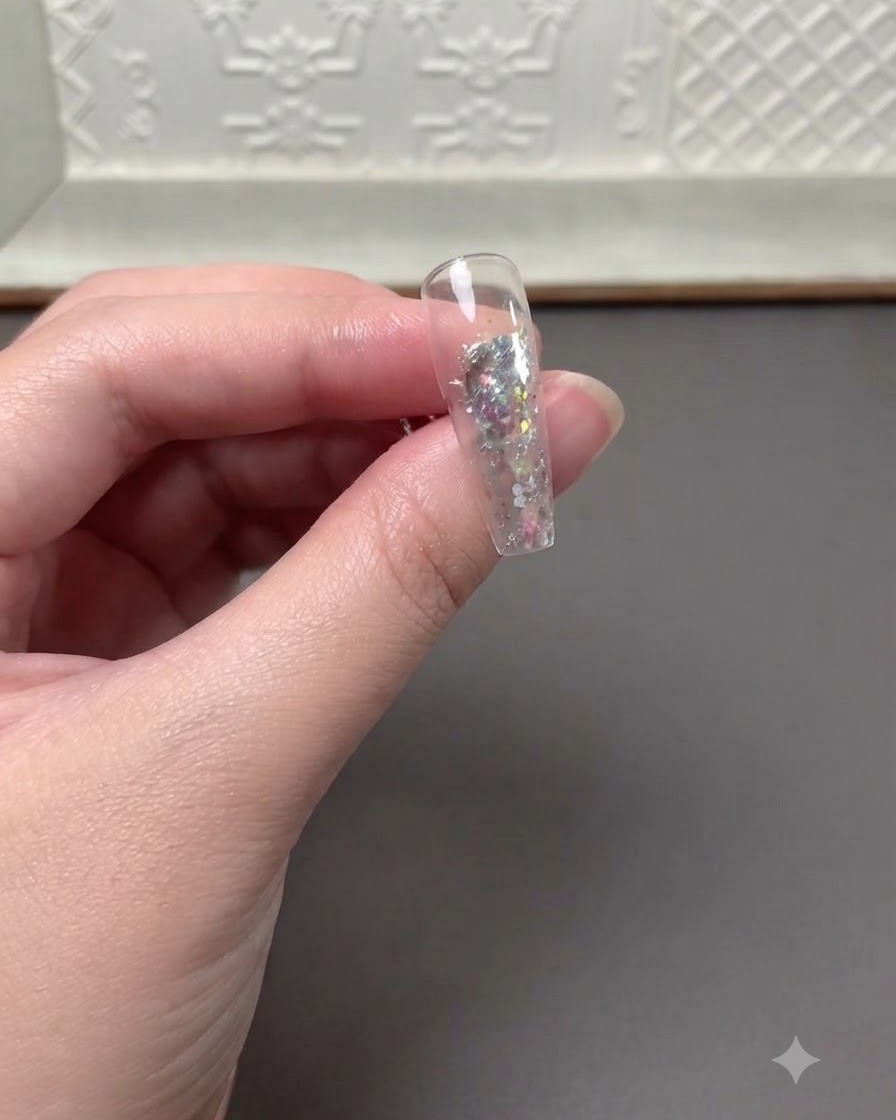
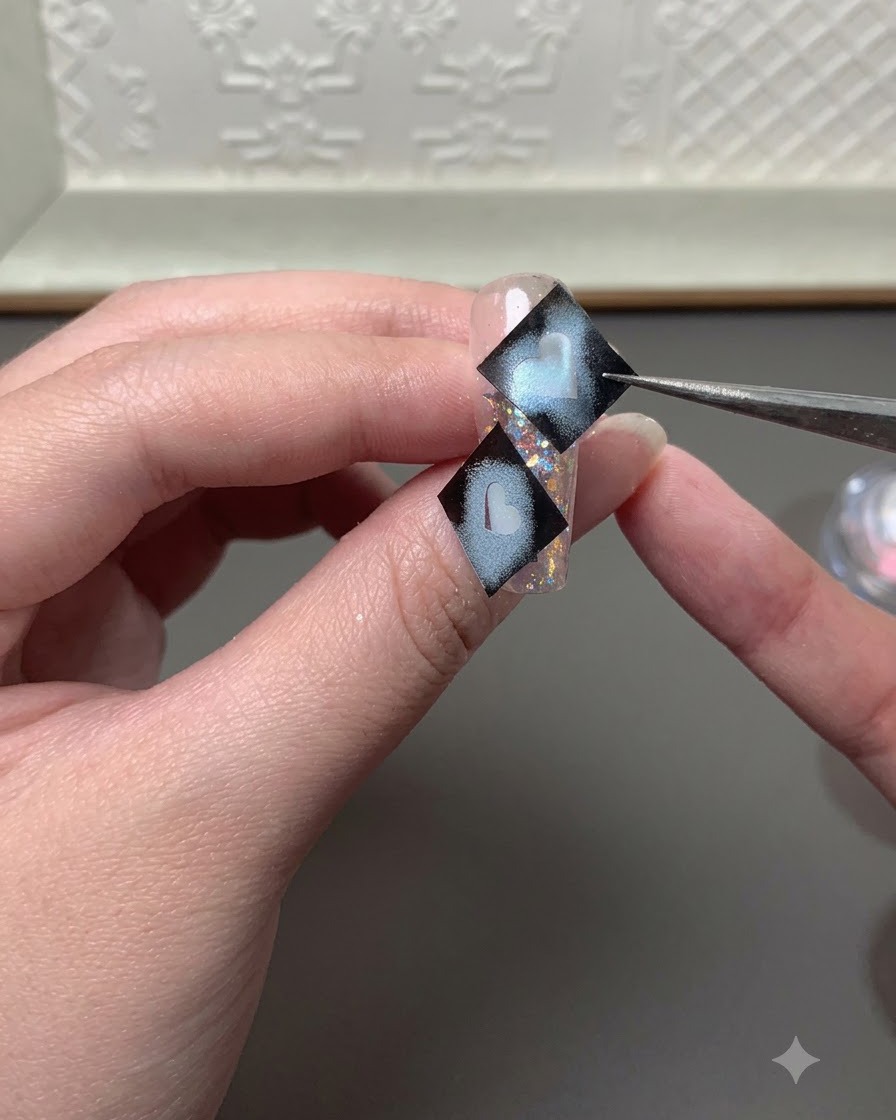
Using precision tweezers, pick up a black heart-shaped cutout sticker and carefully apply it onto the cured nail surface in your desired position.
Tip: Press down the edges of the sticker firmly with tweezers to ensure it adheres flatly without air bubbles. - 7Apply Patting Gel Over Stickers
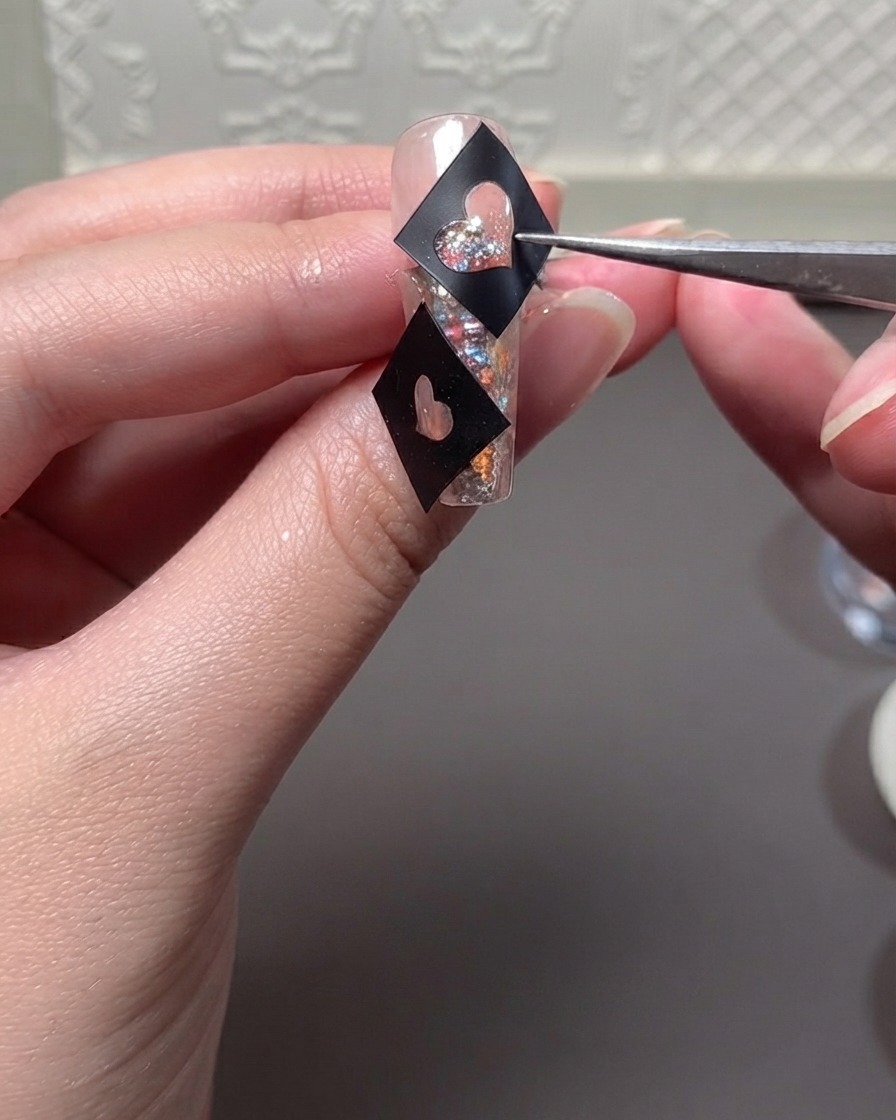
Using a precision tool, take a small amount of patting gel and dab it gently over and around the heart-shaped sticker area on the nail. This step helps secure the design elements and creates a smooth base for filling in color.
Tip: Pat the gel lightly rather than dragging it to keep the sticker flat and prevent air bubbles. - 8Fill Heart Shapes with Color
Take a fine liner brush with light blue color gel and carefully fill in the inner cavity of the heart shapes.
Tip: Keep your hand steady and work with small amounts of gel to avoid spilling past the edges. - 9Cure the Colored Hearts
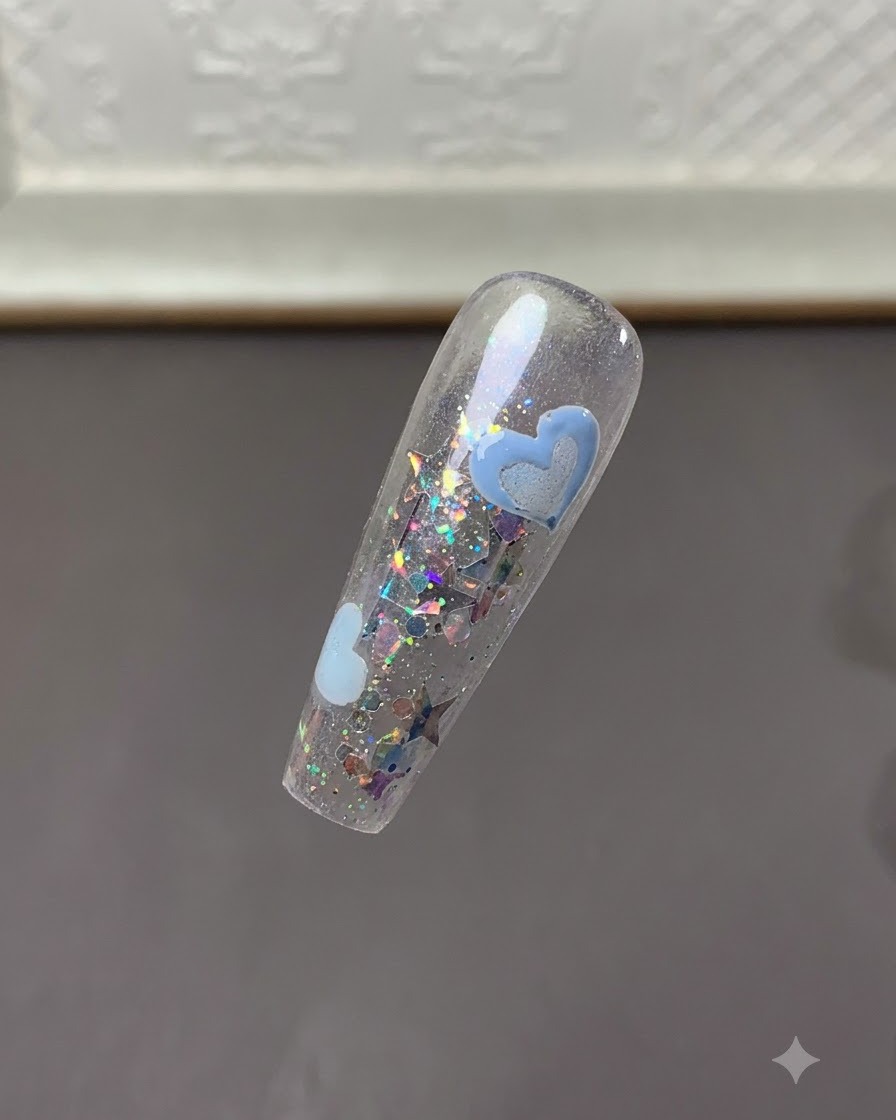
Place the nail under the UV or LED lamp to fully cure the newly filled blue heart design.
Tip: Ensure proper curing time according to your gel product specifications to prevent wrinkling or shifting. - 10Outline Painted Hearts in White
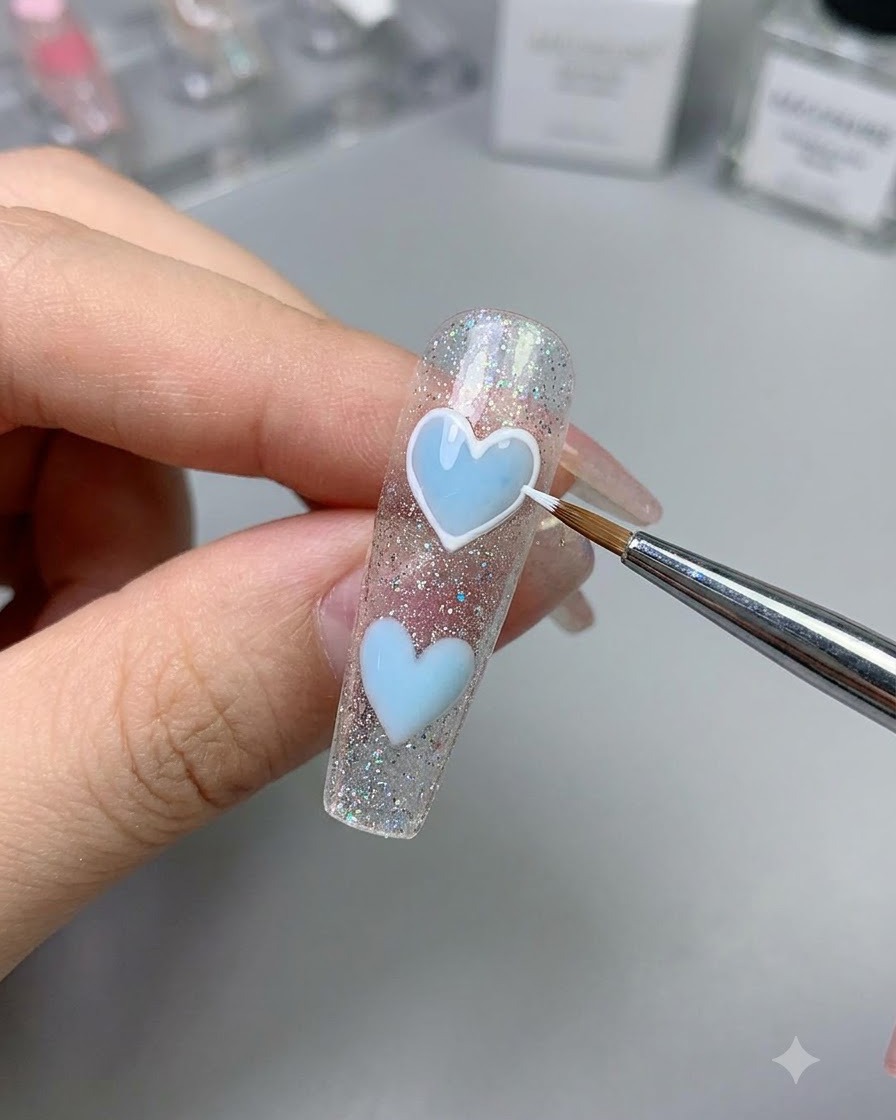
Using a fine brush and white color drawing gel, carefully trace the outer borders of the painted hearts.
Tip: Maintain a light touch with the tip of the brush to achieve a smooth, consistent white border line. - 11Thicken Outlines with Relief Gel
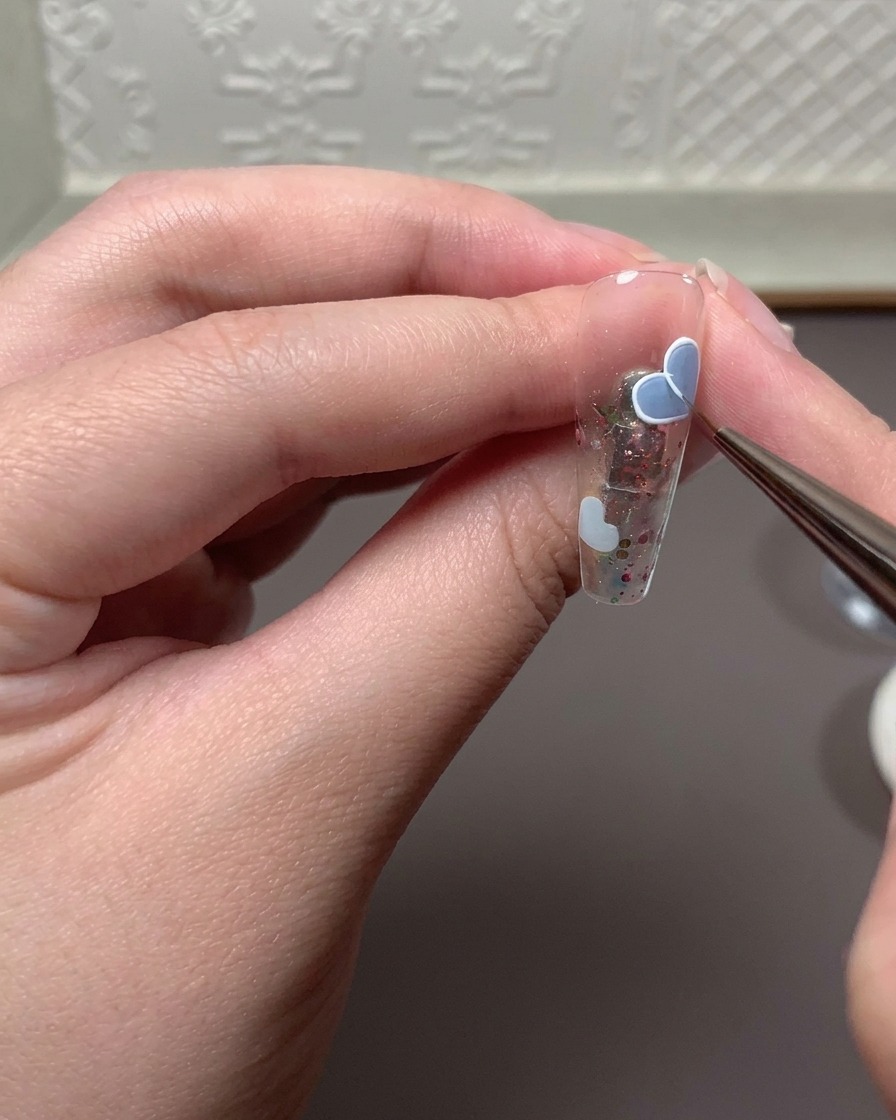
Combine relief or embossing gel with white color drawing gel to trace over and thicken the existing heart outlines for a dimensional effect.
Tip: Relief gel gives a nice raised look, so apply it deliberately to enhance the 3D depth. - 12Refine Details and Accent Lines
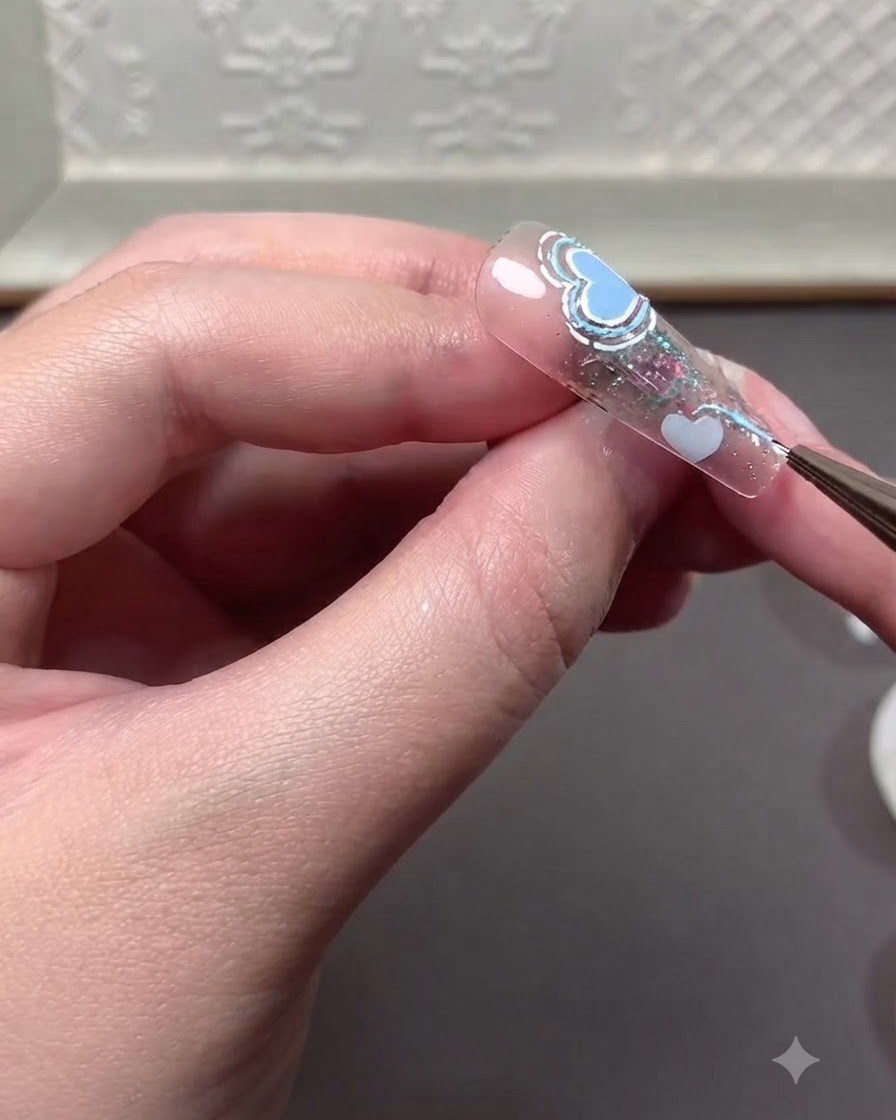
Refine the final details by adding accent lines and small decorative elements across the remaining heart designs on the nail tip.
Tip: Check all lines for symmetry and balance before curing your final design details. - 13Draw Final Accent Hearts with Relief Gel
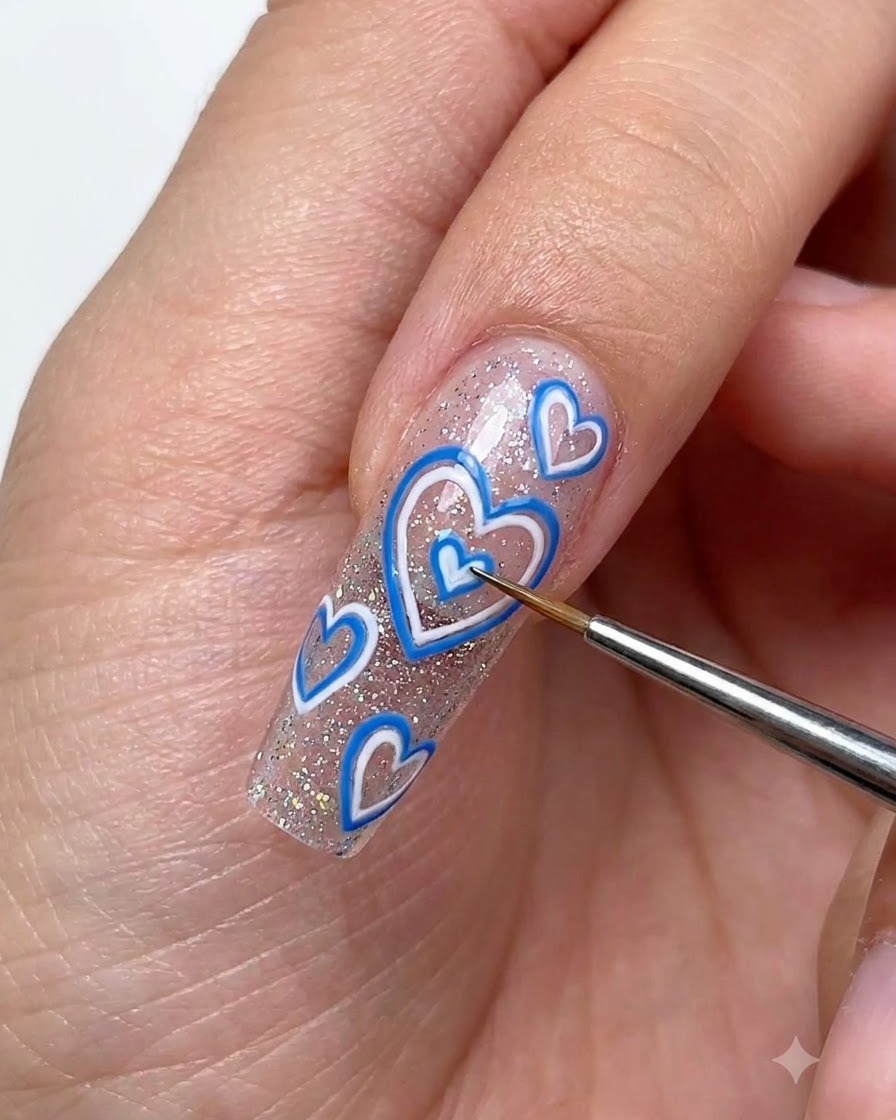
Using a fine detail brush and relief gel, draw smaller dimensional accent hearts around the existing design elements to finalize the nail art look. Cure under the lamp to set the 3D details permanently.
Tip: Relief gel holds its raised shape well without leveling out, making it ideal for creating prominent 3D outlines.