Flowing French Heart Nail Art Tutorial — Step-by-Step Gel Guide
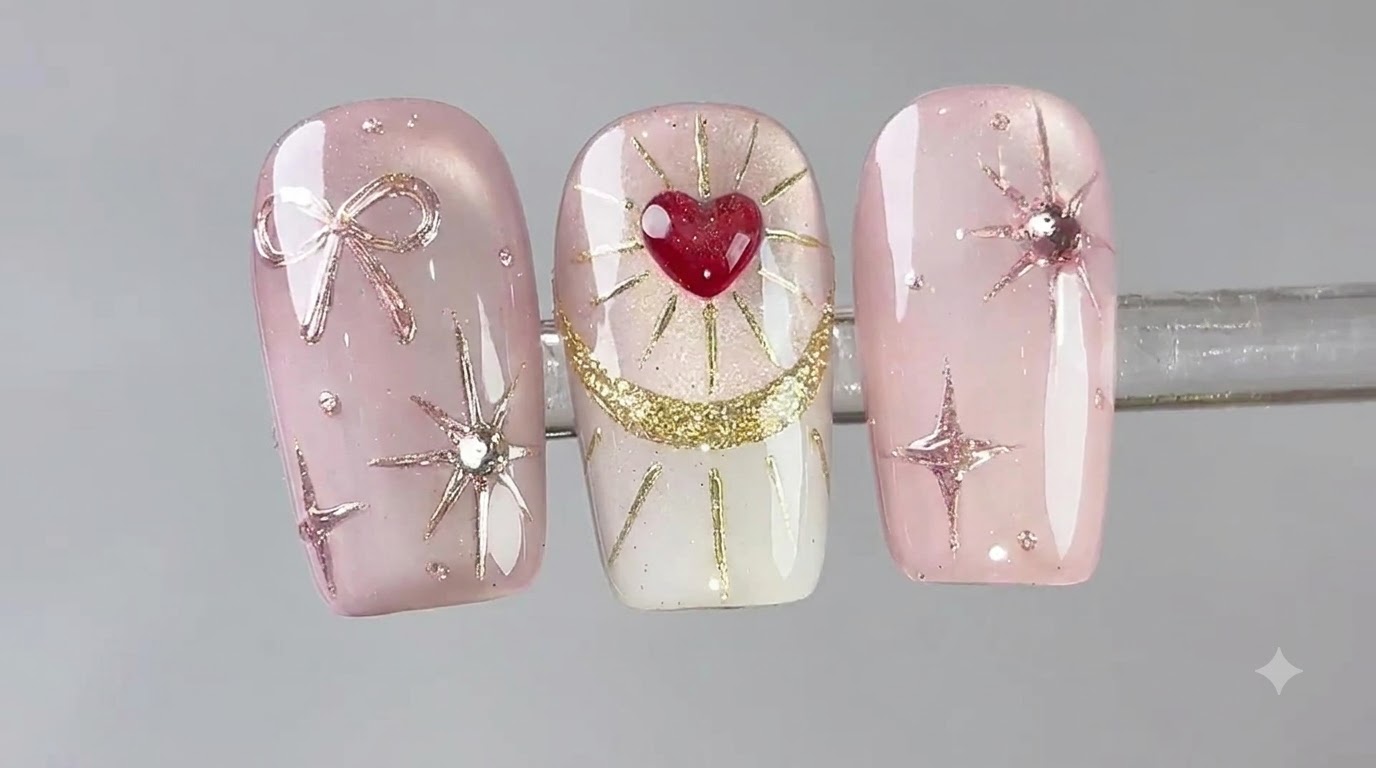
Learn how to create trendy flowing French heart nail art featuring cat-eye gradients, 3D red hearts, sparkling four-pointed stars, and delicate bows.
This stunning nail tutorial combines romantic elements with modern Korean-style gel art techniques. Featuring multidimensional cat-eye magnetic effects, mirror chrome powders, and a signature 3D red heart centerpiece, this look is an eye-catching statement design for any season.
Steps
- 1Apply Resin Base Gel
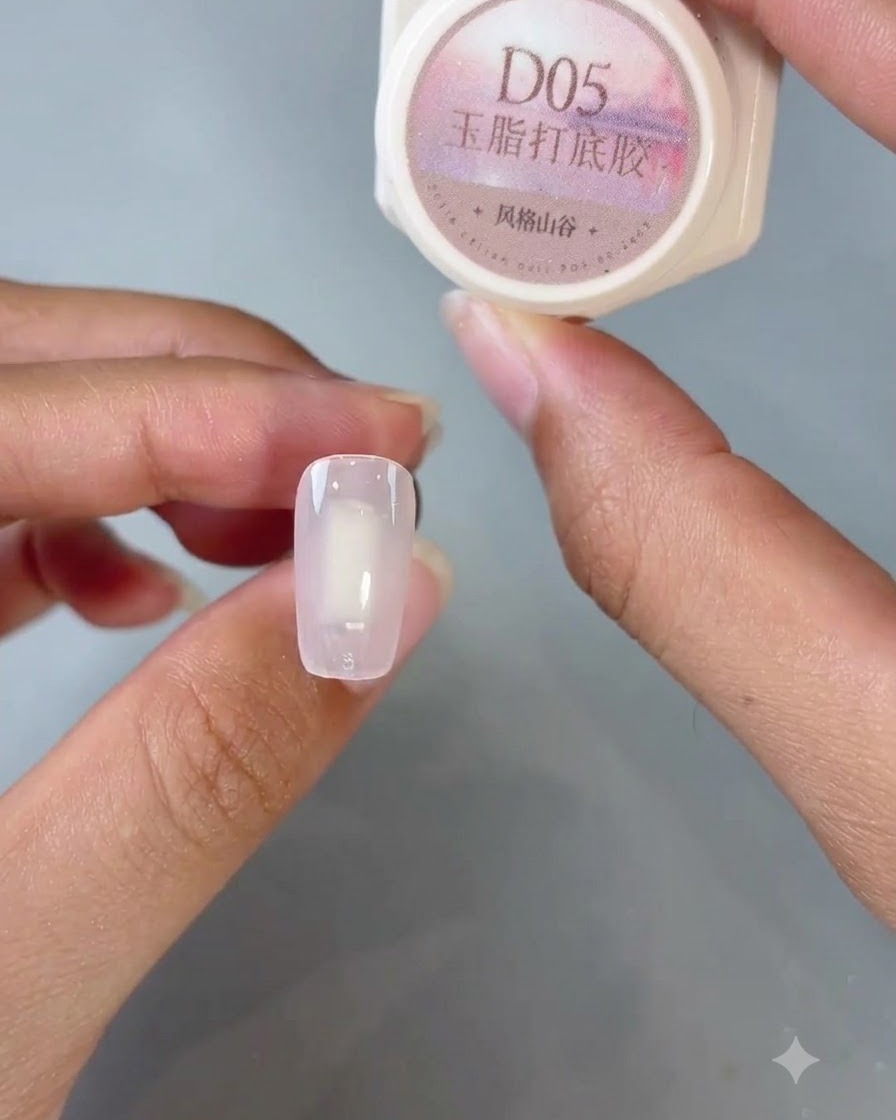
Apply a layer of D05 resin base gel evenly onto the prepped nail surface. Ensure complete coverage from the cuticle to the free edge, and cure under the lamp as required.
Tip: Make sure the base gel is applied in a thin, even layer to prevent bubbling or uneven curing. - 2Create Color Gradient
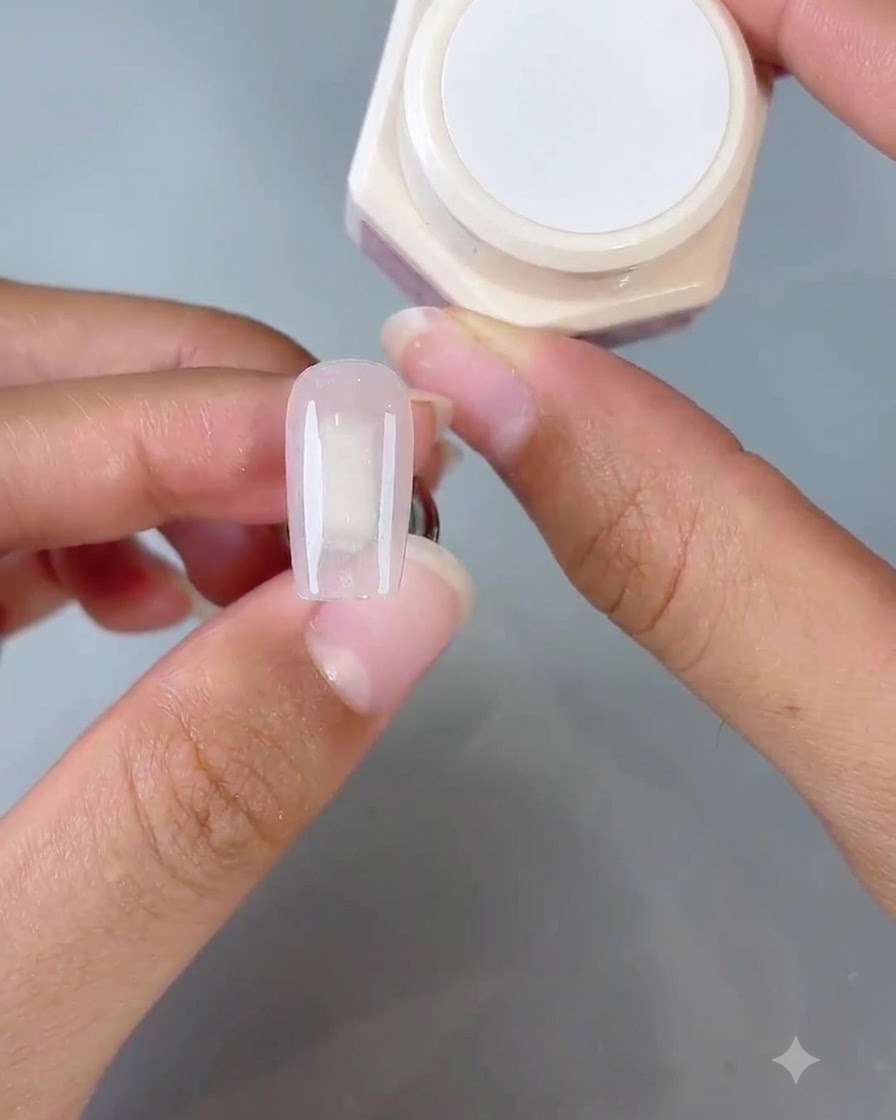
Take Gentle No. 1 gel and use a sponge applicator to gently pat a soft color gradient starting from the fingertip and blending inwards toward the center of the nail.
Tip: Pat lightly and build up the color gradually to avoid harsh lines in your gradient. - 3Apply Cat Eye Gel
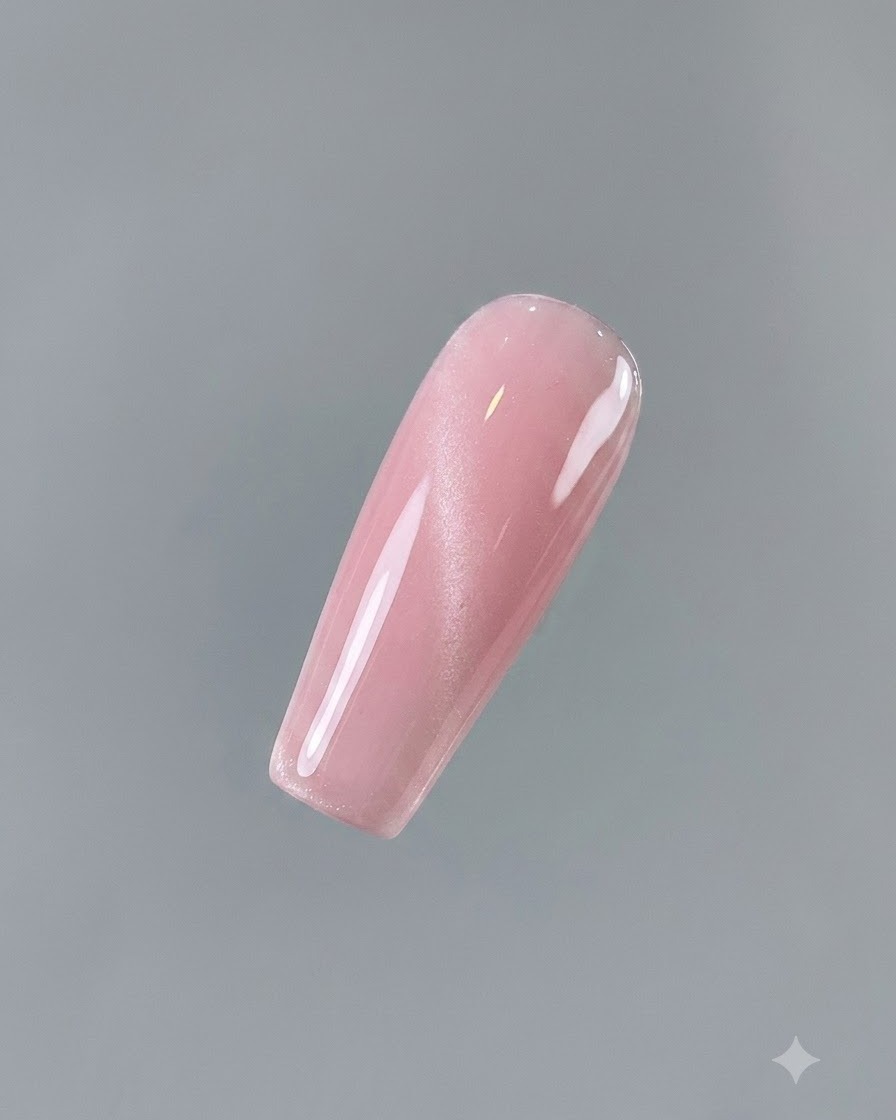
Apply a smooth layer of Aqua Clear No. 2 cat eye gel over the gradient base. This formula contains metallic particles that will create a shimmering, multidimensional effect when magnetized.
Tip: Keep the layer even so the magnetic particles can move freely and create a clean light beam. - 4Form Glass Bead Cat-Eye Effect
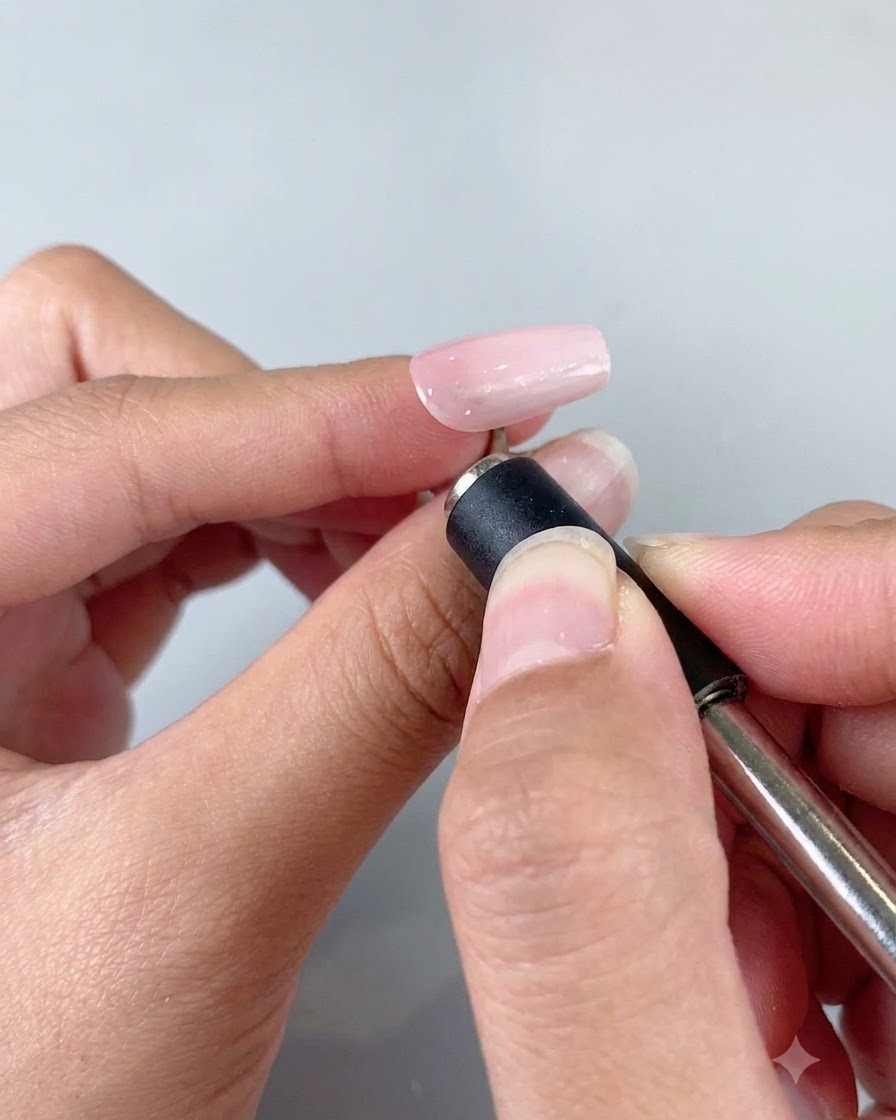
Hold the special magnetic wand close to the nail surface to attract the metallic particles. Move the magnet back and forth to draw a wide light beam, then circle around to concentrate the shimmer into a bright glass bead effect before curing.
Tip: Hover the magnet close to the surface without touching the wet gel to shape the light beam precisely. - 5Apply Anti-Powder Top Coat
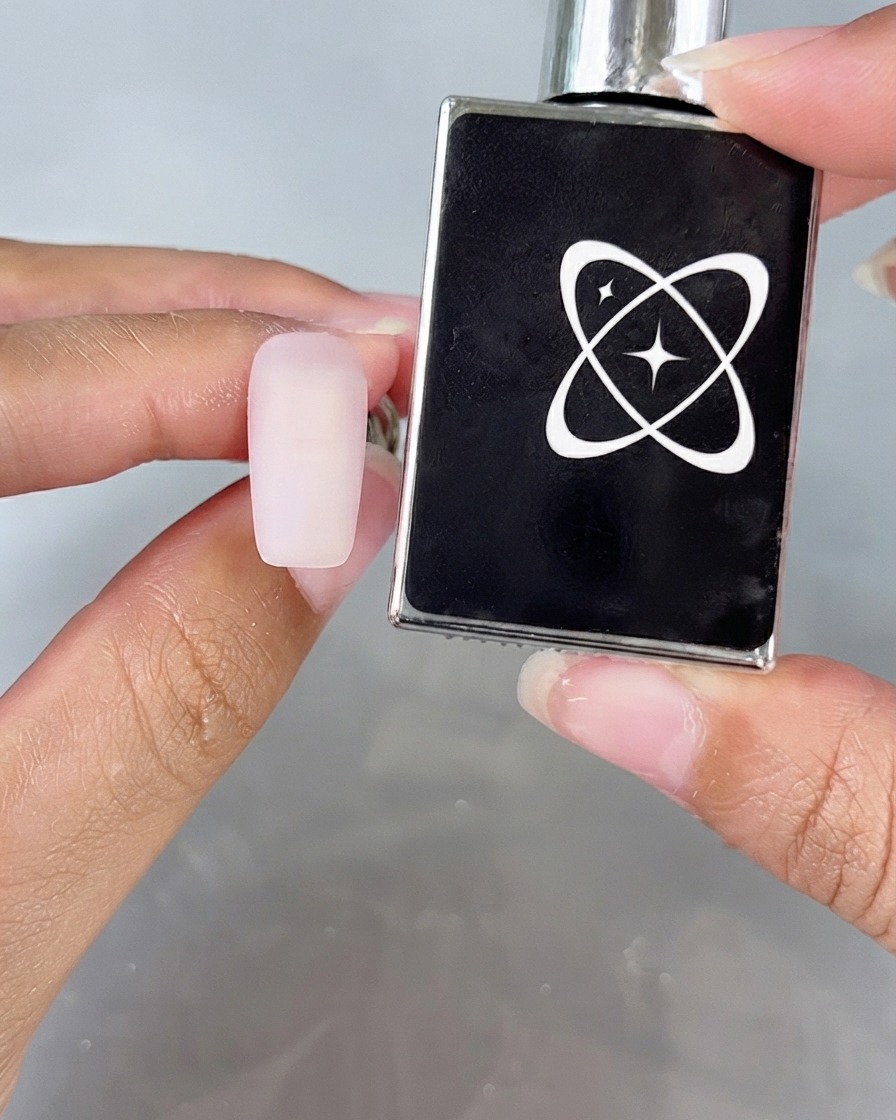
Apply a protective layer of anti-powder top coat over the cured cat-eye design and cure under the lamp. This seals the surface and prepares it cleanly for subsequent nail art powders.
Tip: Ensure the top coat is fully cured so mirror powder adheres only to the designated pattern areas later. - 6Outline Bow and Star Line Art
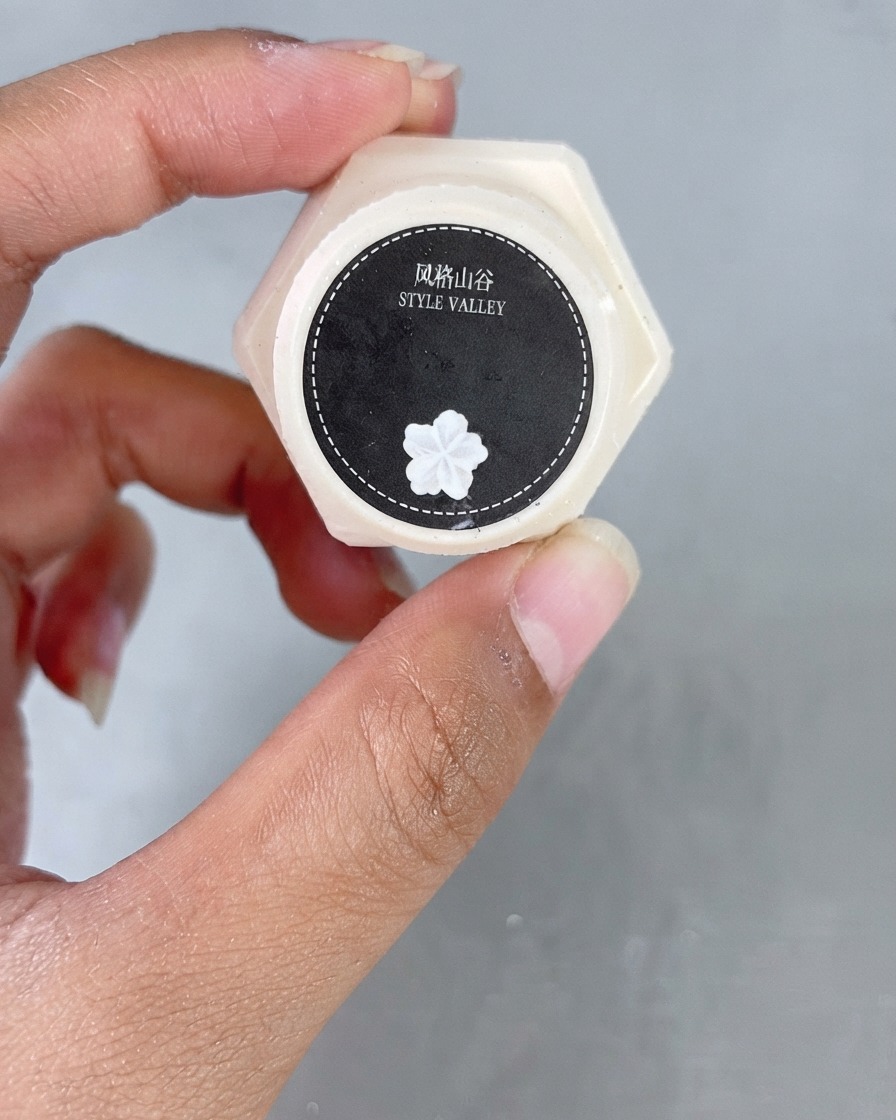
Using white art gel, draw an X-shaped positioning guide on the upper section and extend the lines into a delicate bow shape, then cure for about 45 seconds.
Tip: Keep your gel brush lines thin and sharp for a refined, detailed line art appearance. - 7Draw Four-Pointed Star and Dots
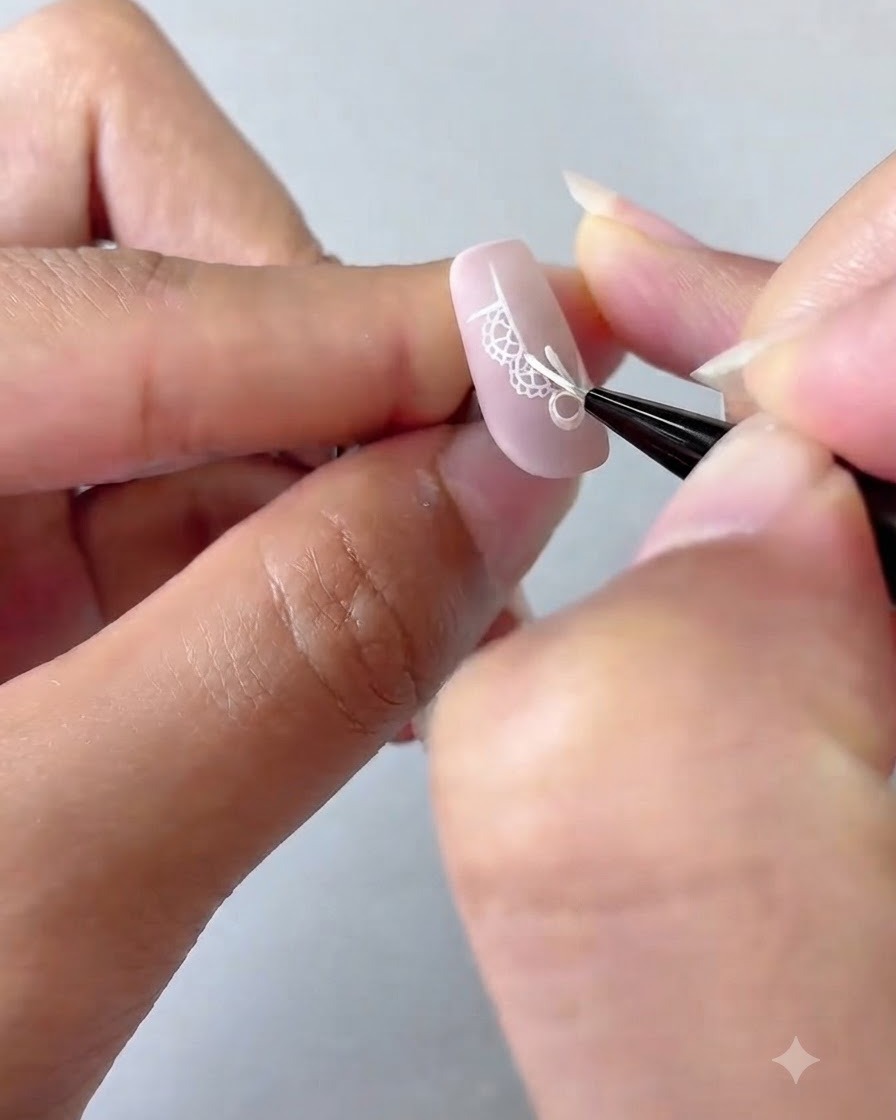
Using white art gel, draw a four-pointed star in the bottom right corner of the nail as a accent detail, then add small dot accents around the star to fill out the background before curing.
Tip: Keep your brush strokes light and precise to ensure the points of the star remain sharp and defined. - 8Cure the Nail Design
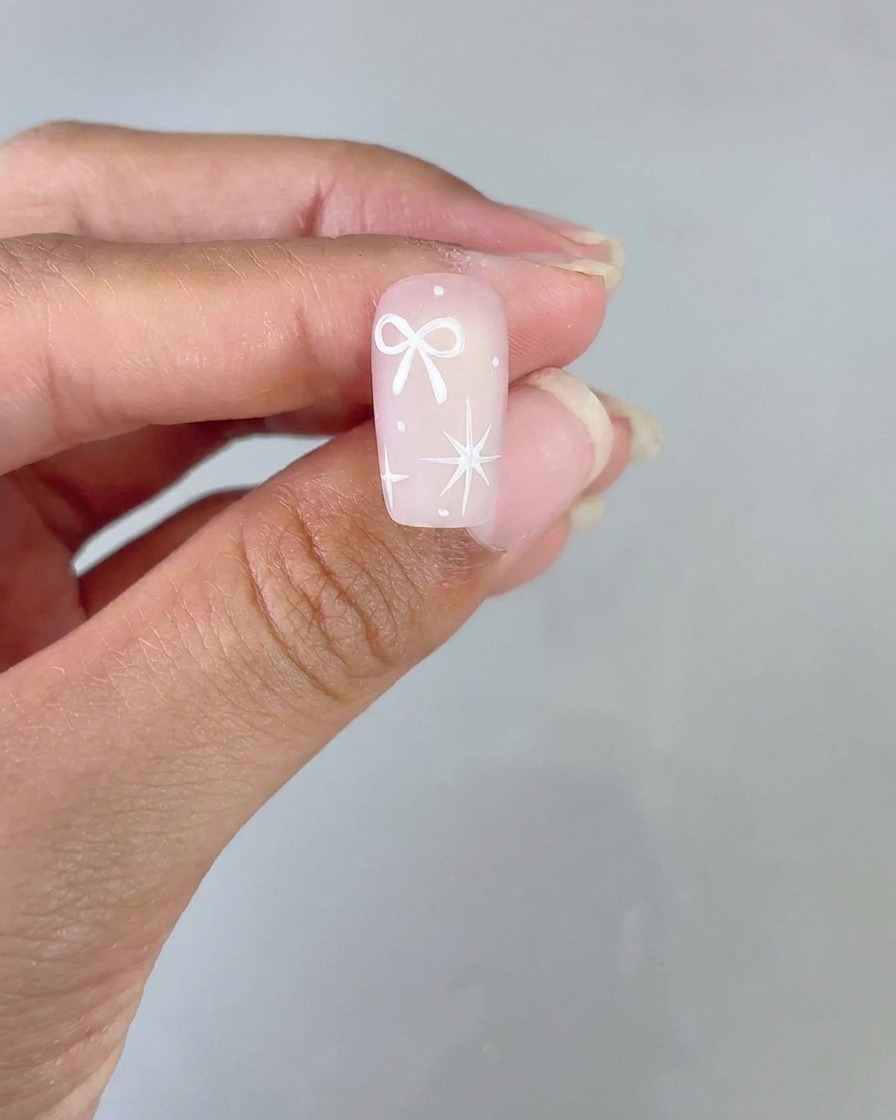
Place the decorated nail under a UV or LED lamp and cure the design for approximately 45 seconds to fully set the white art gel elements.
Tip: Ensure your hand is placed evenly under the light source to prevent any uncured spots on the detailed art. - 9Apply Light Peach Mirror Powder
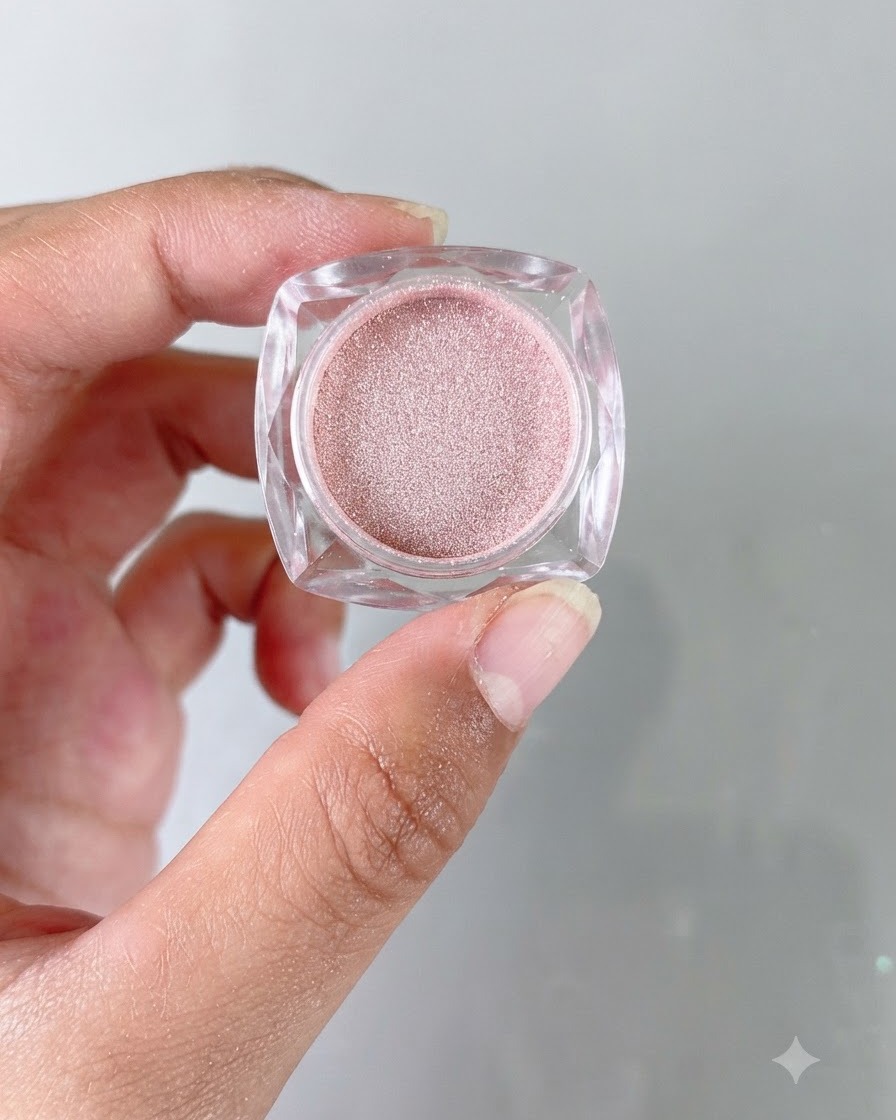
Take light peach mirror powder and gently rub color onto the cured pattern to create a metallic chrome finish, then brush away any excess powder.
Tip: Gently buff the mirror powder with a clean brush or applicator for a smooth, high-shine reflective finish. - 10Brush away excess powder
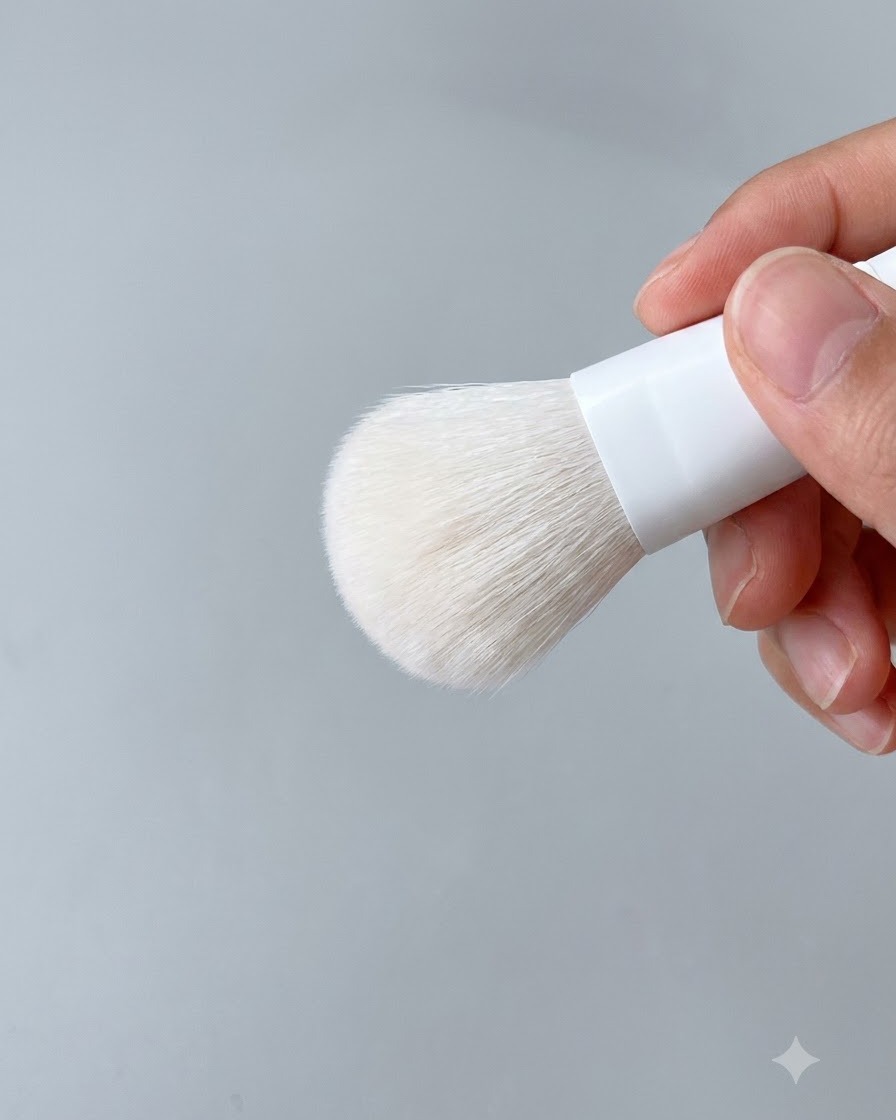
Use a soft, fluffy dusting brush to gently sweep away any floating powder dust from the nail surface. This step ensures the mirror powder only stays anchored to the raised art details, revealing the clean pink aesthetic underneath without unwanted glitter everywhere.
Tip: Always use a completely clean, dry brush to prevent smudging or scratching the delicate mirror powder finish. - 11Place the center crystal
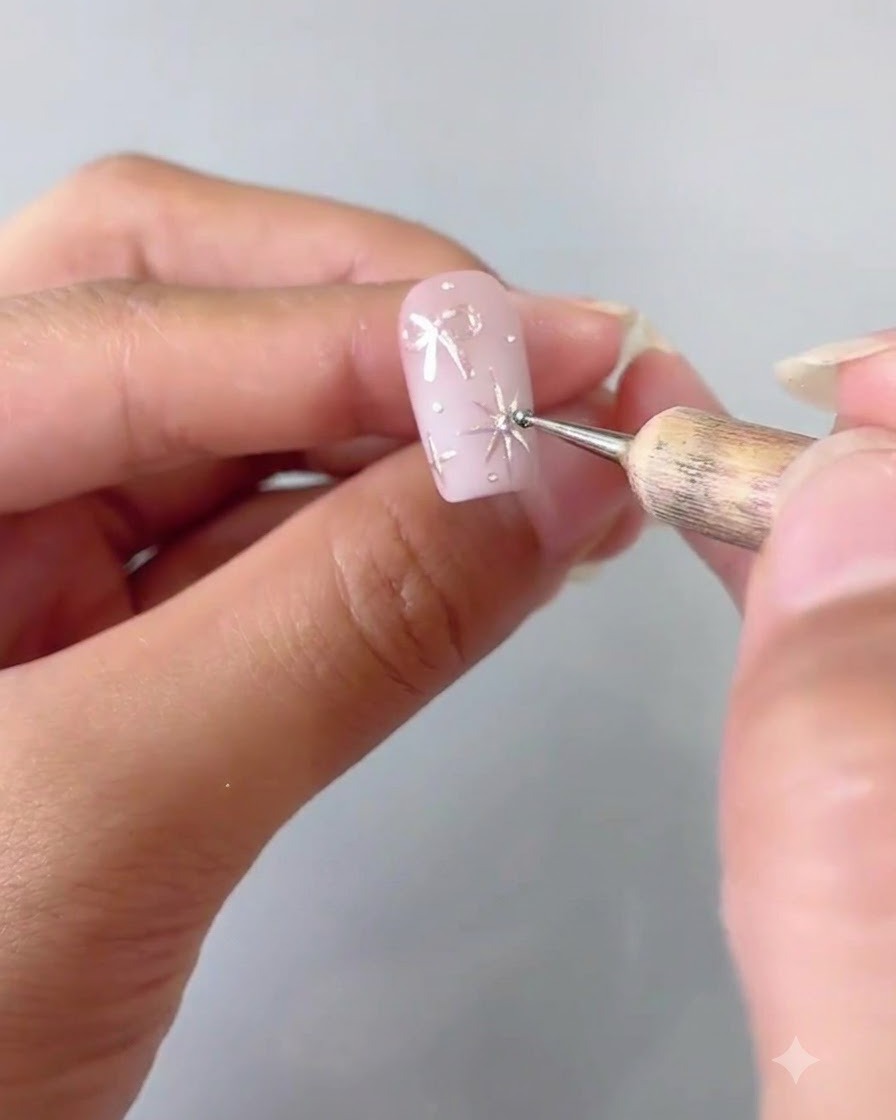
Carefully pick up a tiny crystal shard using a dotting pen or wax picker. Place the crystal directly onto the center of the silver four-pointed star to give the design an extra sparkling focal point and 3D dimension.
Tip: Apply a tiny dab of clear builder gel or dedicated gem glue exactly at the center of the star to securely anchor the crystal before curing. - 12Apply Anti-Powder Top Coat
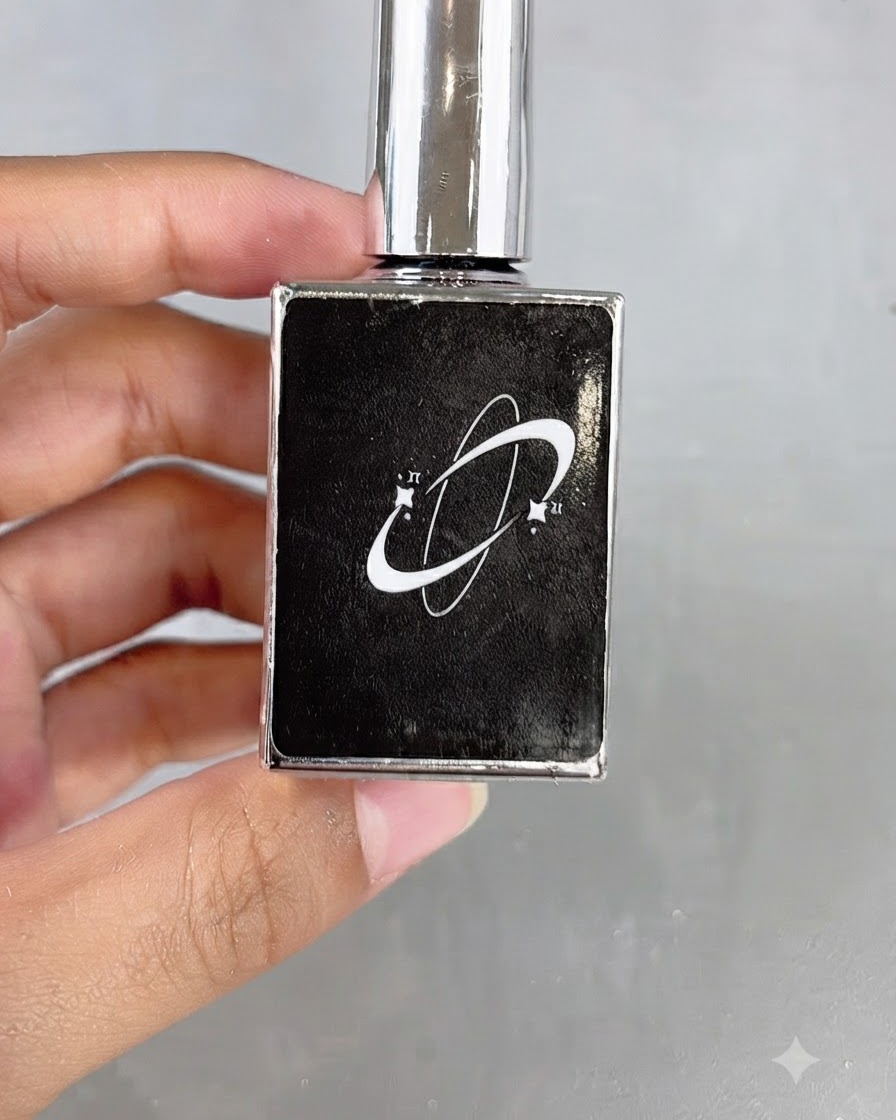
Apply a layer of anti-powder top coat over the entire nail to seal in the design and prevent powder residue from sticking or smudging. Ensure complete coverage across the entire nail surface before proceeding.
Tip: Sealing chrome or mirror powder properly with a specialized top coat prevents chipping and dulling. - 13Apply Smooth Top Coat and Finish
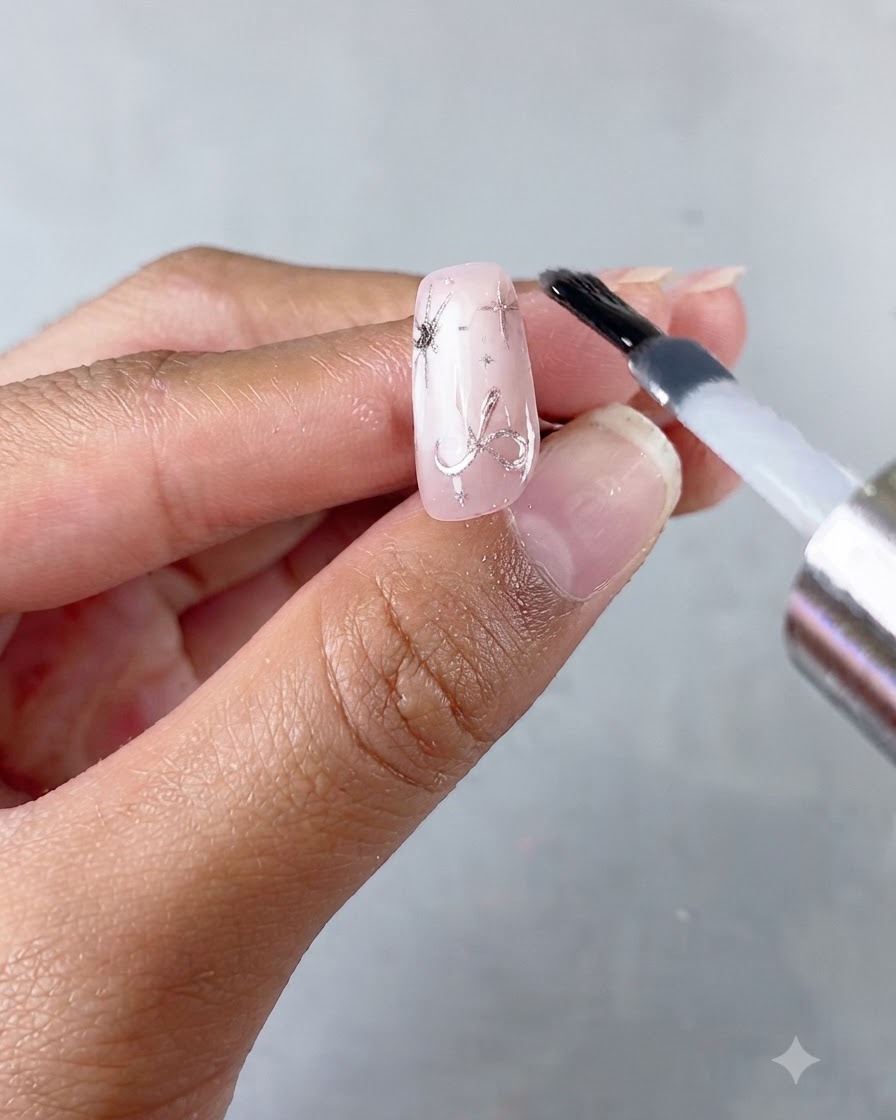
Apply a final layer of smooth top coat over the nail and cure it to lock everything in place, completing the detailed look for the first nail.
Tip: A smooth top coat gives the nail a flawless, glossy finish that enhances the embedded chrome and art details. - 14Apply Cat Eye Gradient Base
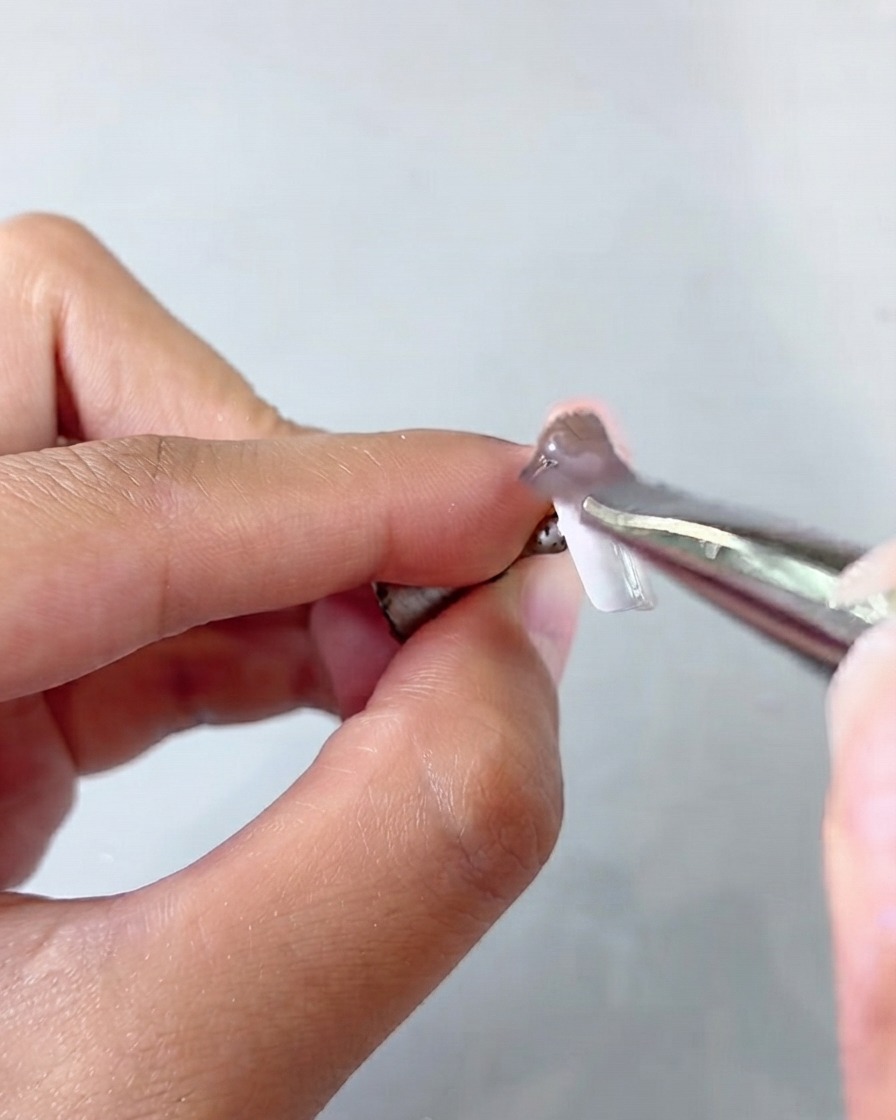
Start the second nail by applying a gradient layer of White Porridge No. 1 cat eye gel across the nail surface to create a luminous base.
Tip: Blend the product smoothly from the tip downward to achieve an even, translucent gradient effect. - 15Cure Cat Eye Base Coat
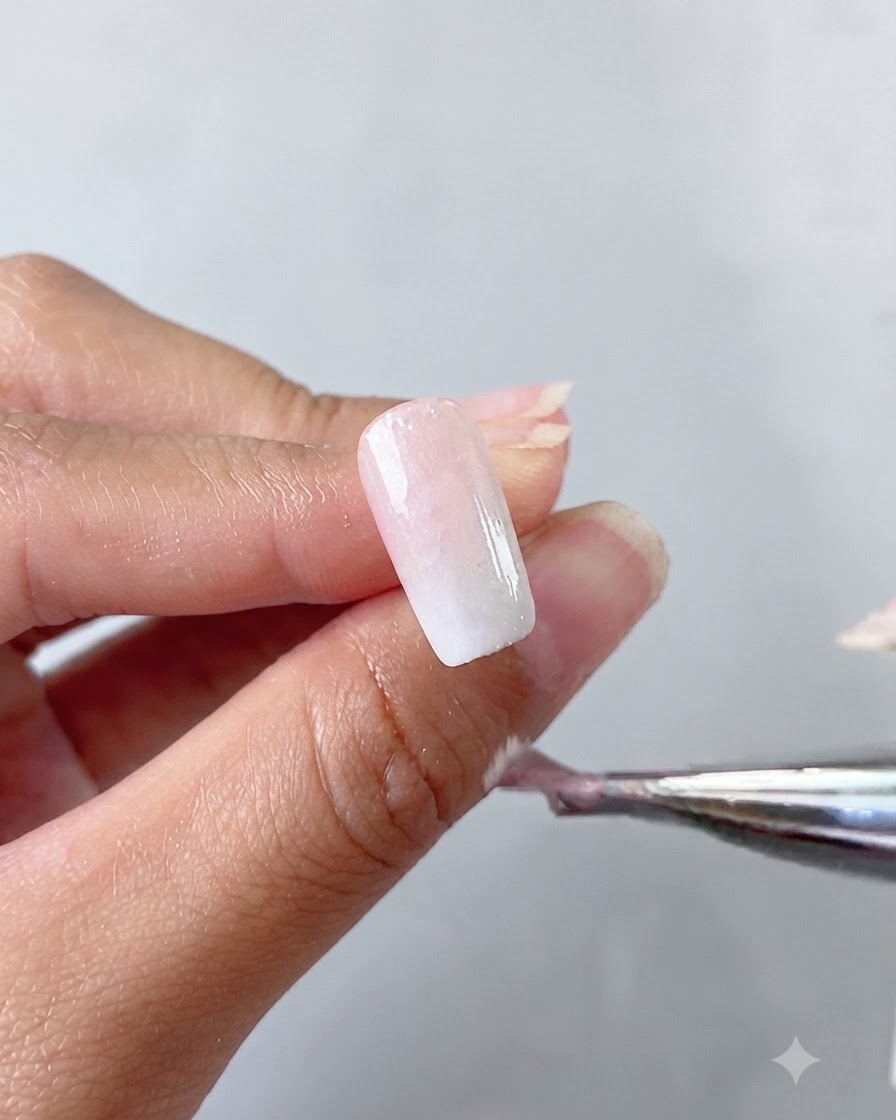
Place the nail under the UV or LED lamp to fully cure the cat eye gel base coat. This locks the background gradient and cat-eye light effect into place, creating a durable foundation for the subsequent nail art layers.
Tip: Ensure your hand is placed flat inside the lamp to cure the gel evenly across the entire nail bed. - 16Create French Cat-Eye Light Beam
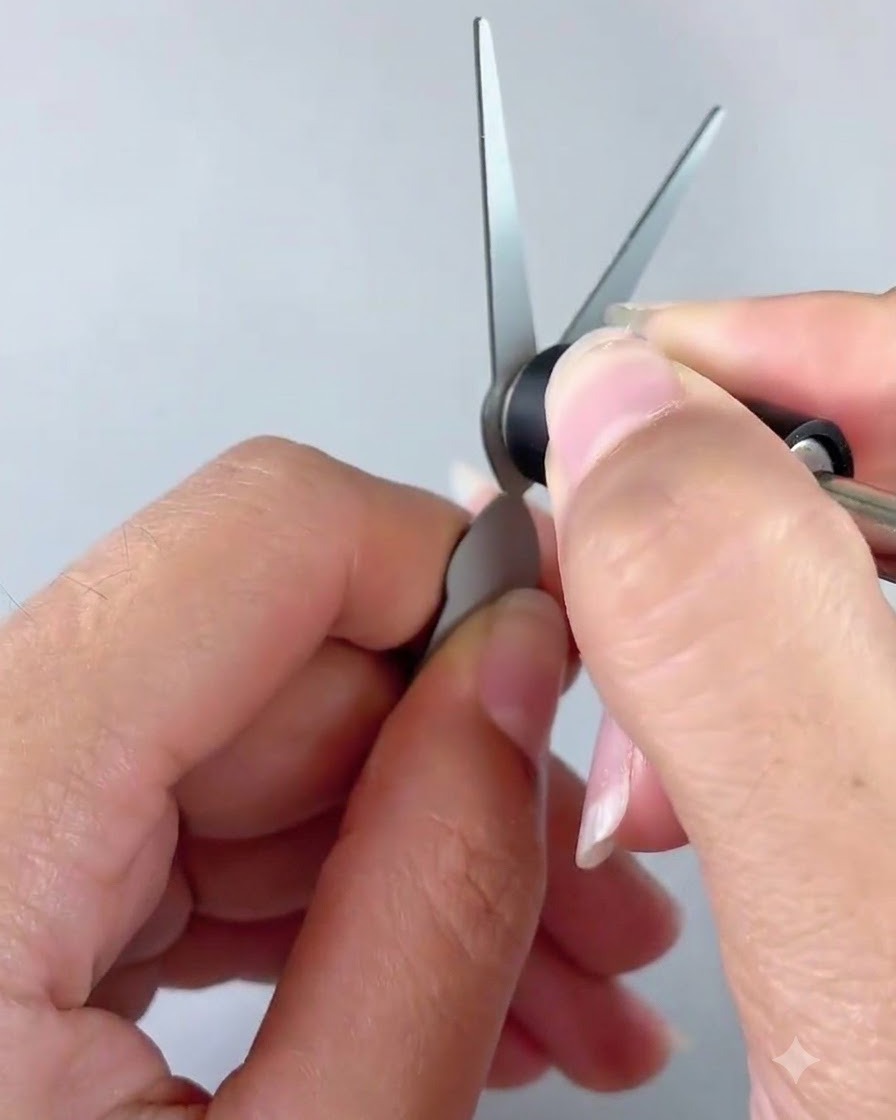
Position the specialized French magnetic tool around the fingertip to pull the magnetic particles into a precise curved French tip light beam, then cure to set.
Tip: Hold the French magnetic tool steady close to the nail edges to create a sharp, distinct curved light line. - 17Place two dots for heart shape
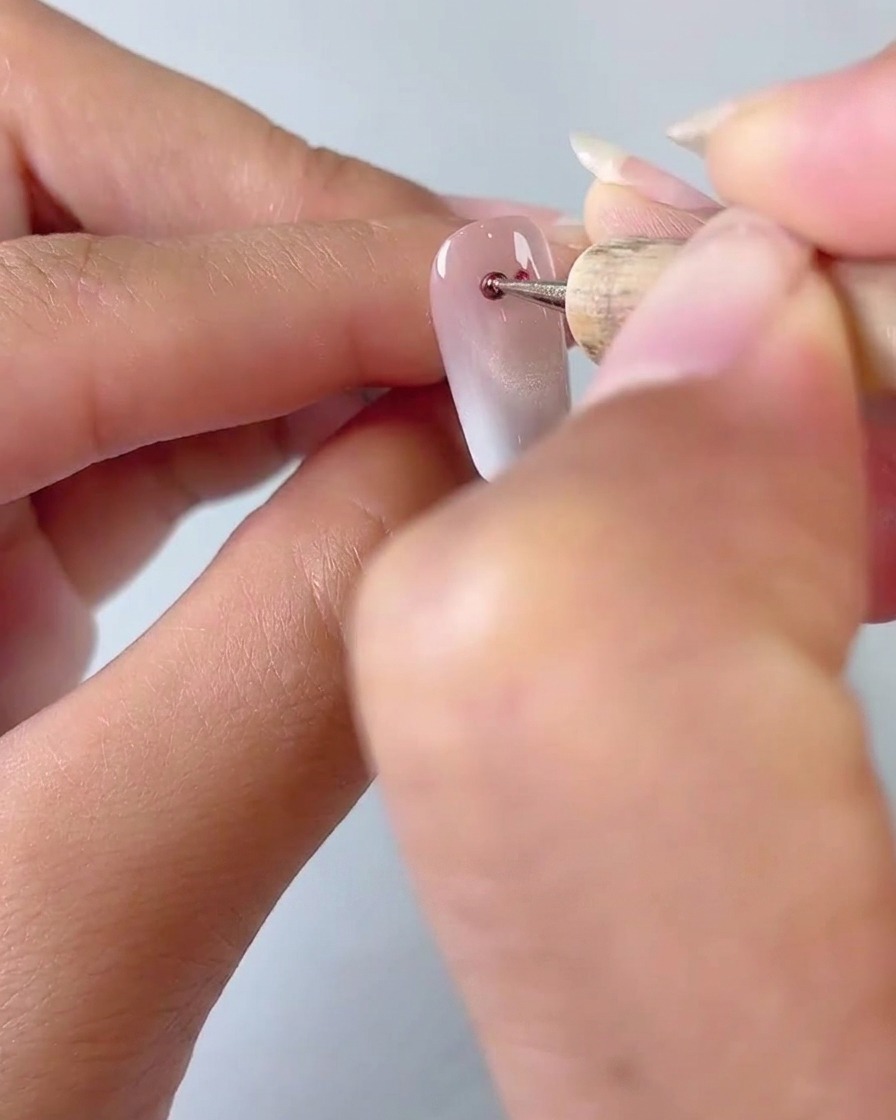
Using a fine dotting tool and red cat eye gel No. 3, place two equal dots side by side near the upper section of the nail plate. These dots will serve as the top lobes for your heart design, ensuring balanced symmetry before blending the shape downward.
Tip: Leave a small gap between the dots so they do not blend together prematurely before shaping the bottom point. - 18Shape the Red Gel Heart
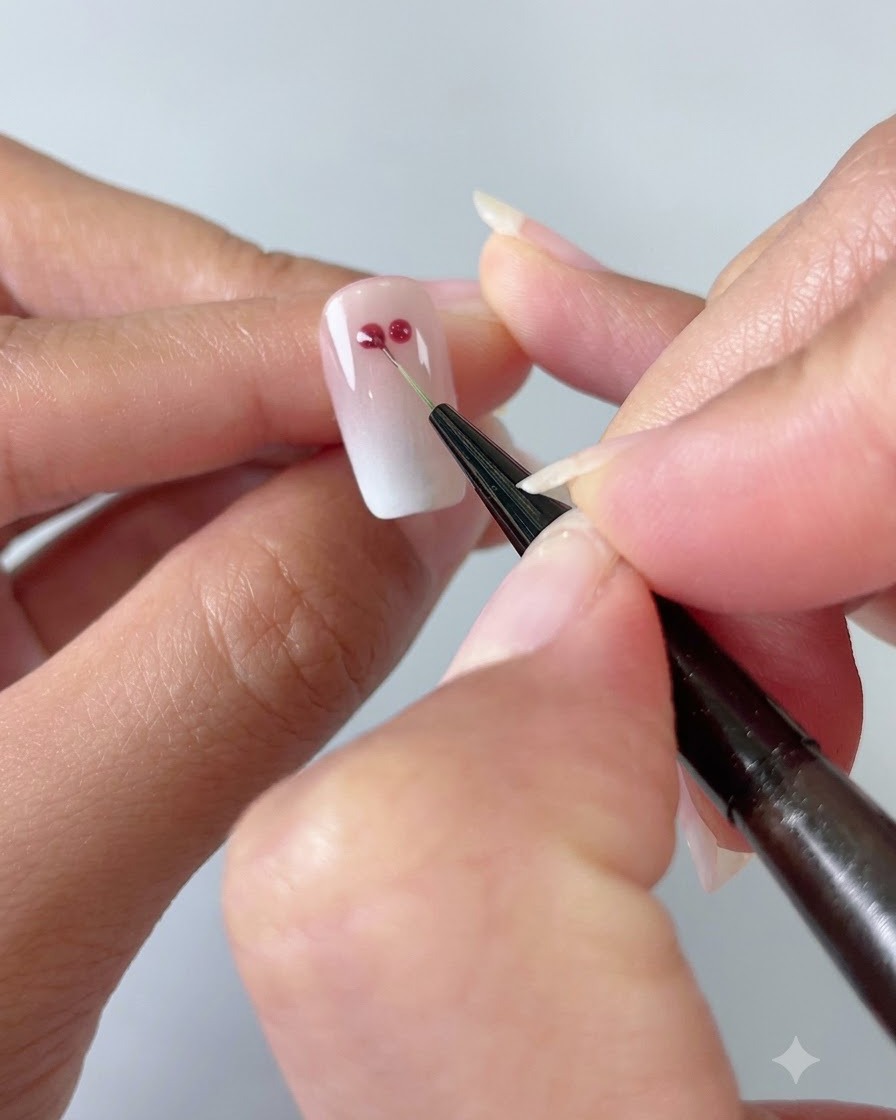
Using a fine-detail liner brush, carefully drag the lower edges of the red gel dots downward to connect them at a central point, forming a crisp and symmetrical heart shape.
Tip: Keep a light touch with the liner brush to pull the gel smoothly without scraping the underlying layer. - 19Magnetize the Red Heart
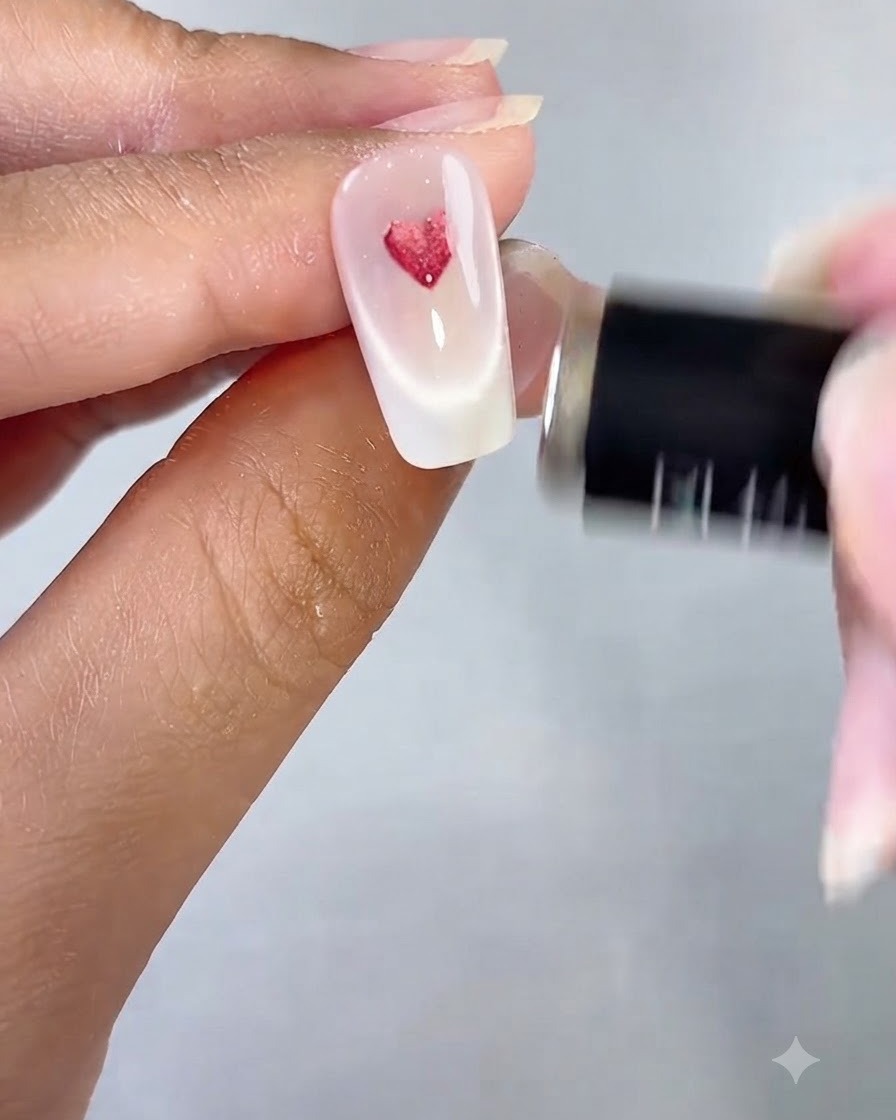
Bring a magnet close to the red cat-eye heart design to pull and concentrate the magnetic particles inside. This creates a vibrant, glowing 3D dimension and makes the heart shape shine brilliantly.
Tip: Move the magnet slowly to watch the light shift inside the heart until you achieve the desired glowing reflection. - 20Apply Final Anti-Powder Top Coat
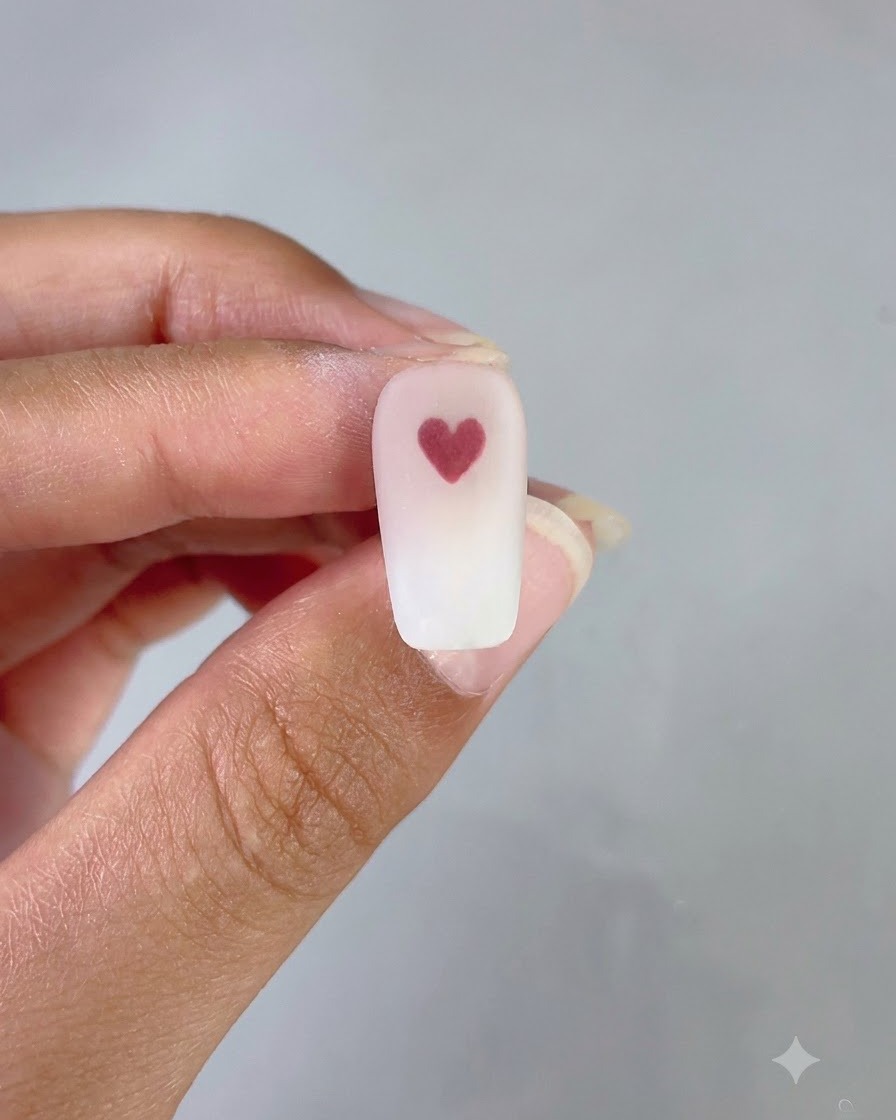
Apply a smooth layer of anti-powder top coat over the nail to protect the intricate details and secure the design. This prepares the surface for any final dimensional styling gel application.
Tip: Cap the free edge carefully with the top coat to prevent premature lifting and peeling.