Rainbow Glass Glitter Nail Art — Vibrant Gradient Step-by-Step Tutorial
Create an eye-catching rainbow glass glitter nail look featuring encapsulated floral flakes, crushed diamond gel, and a translucent multi-color gradient finish.
Rainbow glass glitter nails offer a stunning, multi-dimensional aesthetic that combines high-shine sparkle with vibrant, translucent color blocking. By layering crushed diamond gel underneath delicate glitter pieces and sealing them with building gel, you create a gorgeous encapsulated depth before painting a brilliant multi-color gradient across the surface. This look is perfect for anyone wanting a playful yet sophisticated manicure that catches the light from every angle.
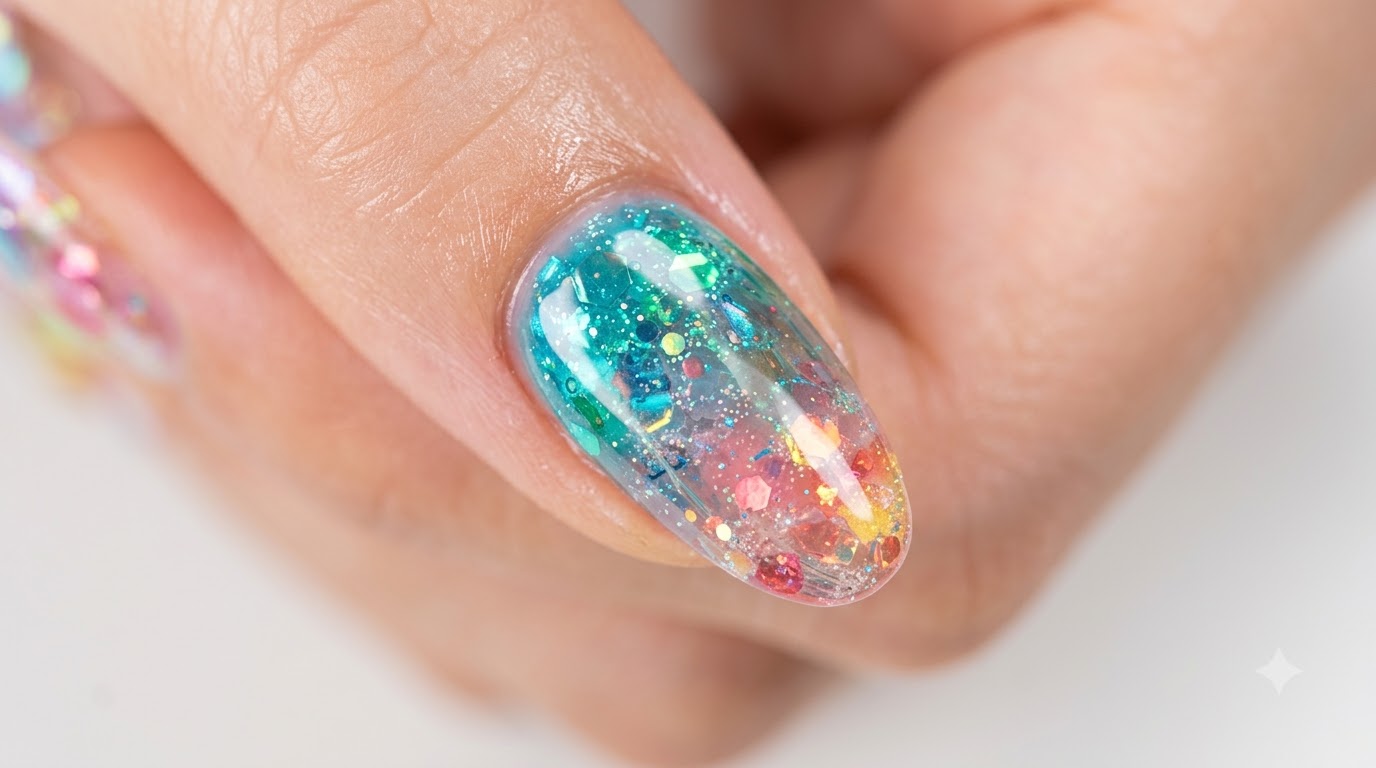
Steps
- 1Apply crushed diamond gel base
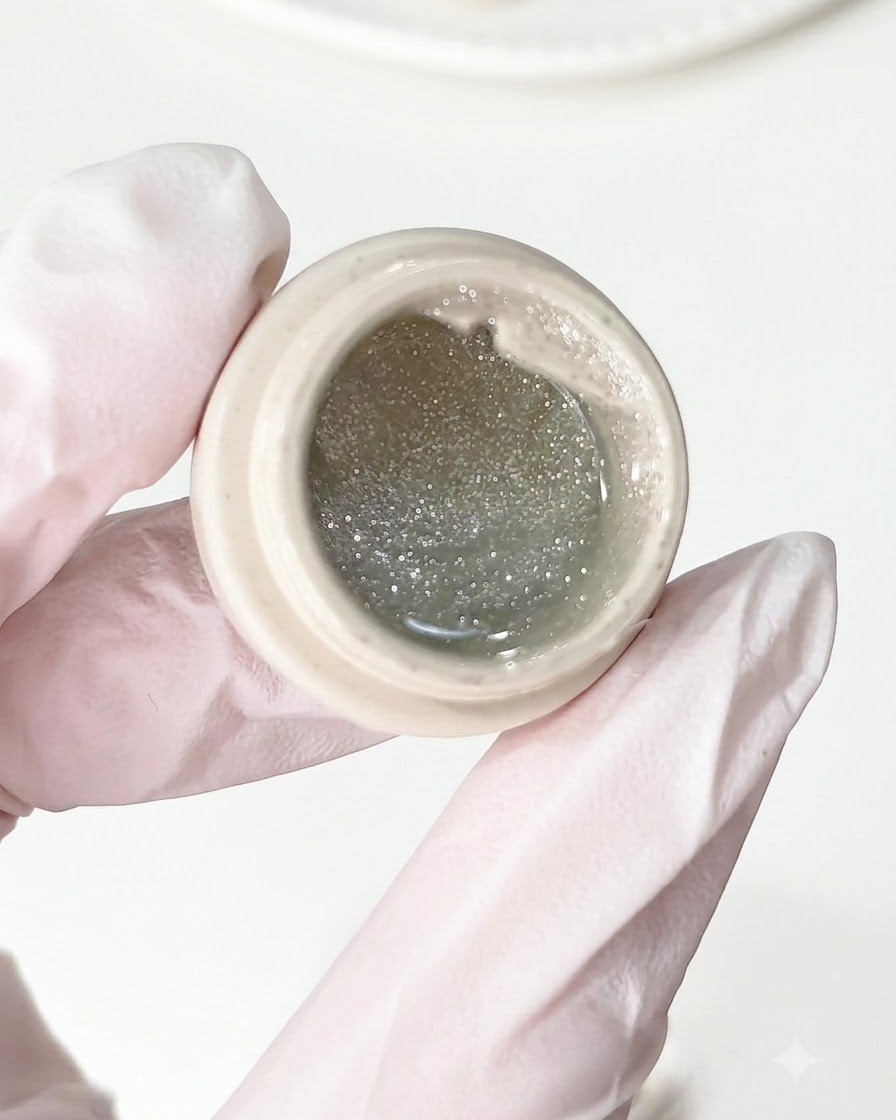
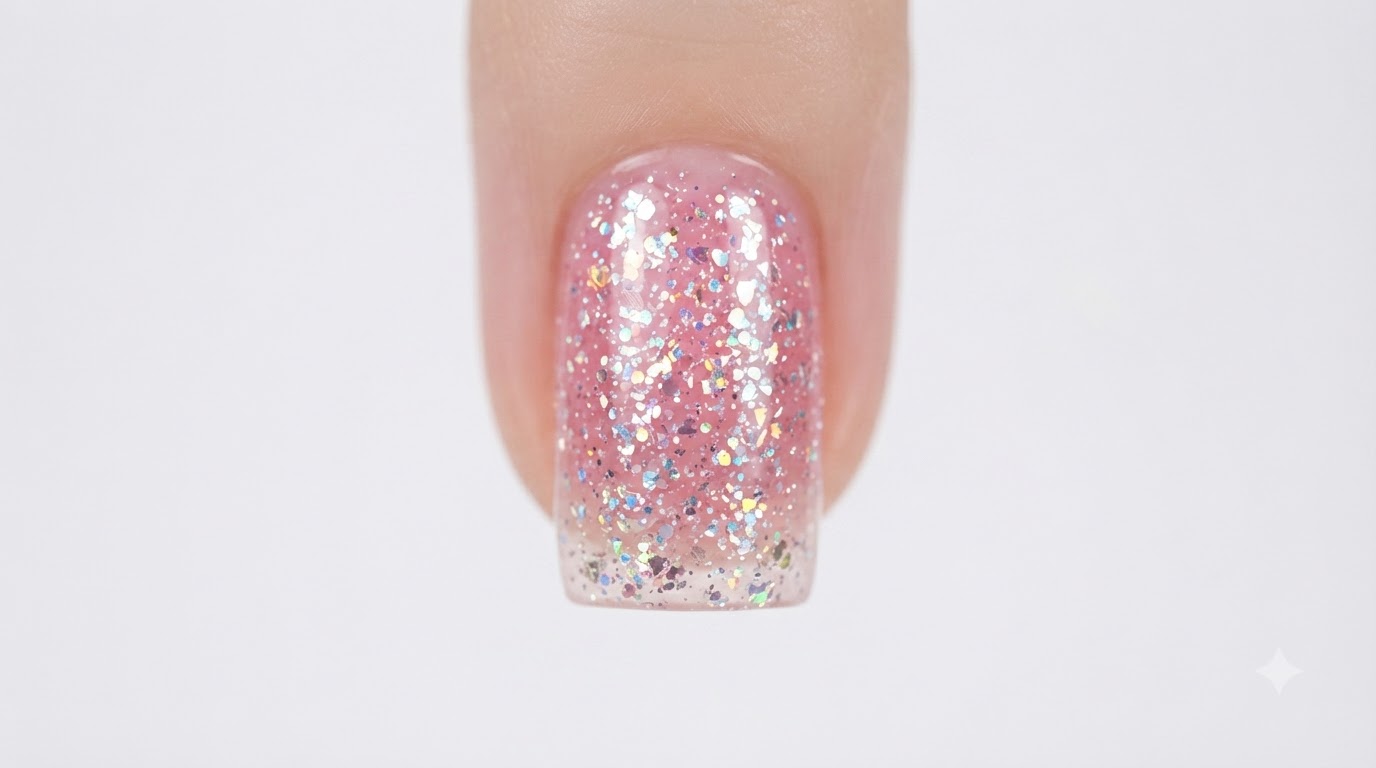
Take the crushed diamond gel and apply an even layer onto the nail base using your brush to create a sparkling, textured foundation for the glass glitter look.
Tip: Make sure to distribute the diamond particles evenly across the nail bed for a balanced sparkle. - 2Prepare the Glitter Material
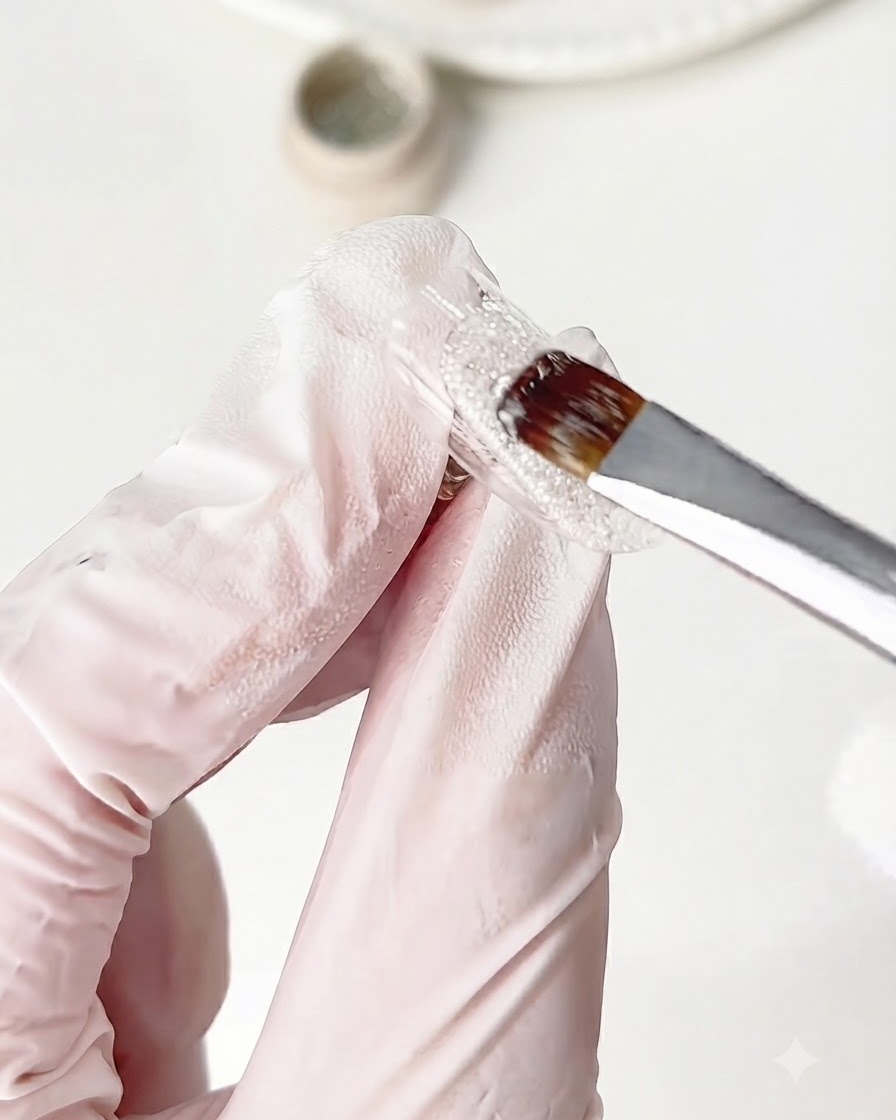
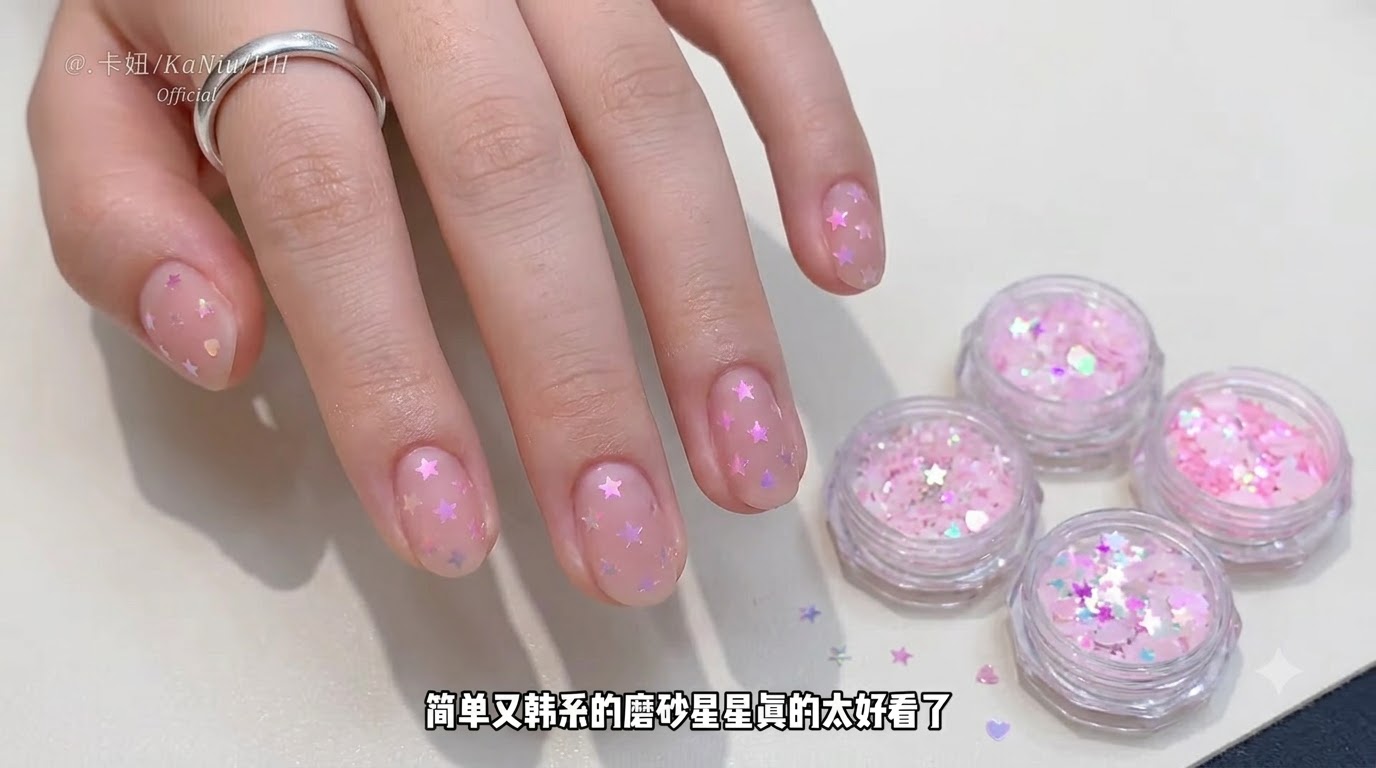
Showcase a small jar containing colorful flower and glitter flakes material that will be used for the nail art design.
Tip: Keep your decorative flakes organized and easily accessible before starting the application. - 3Apply Base Gel Layer
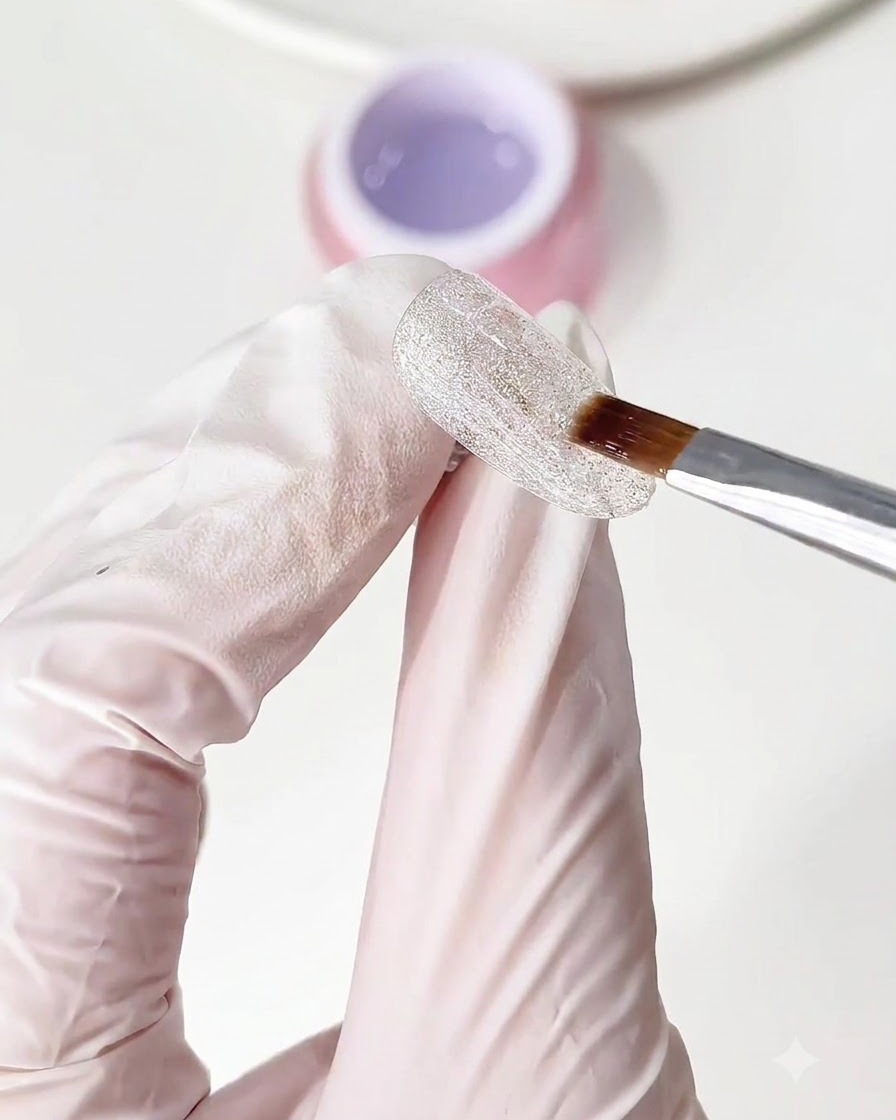
Apply a thin layer of base gel over the crushed diamond gel without curing it yet, preparing the surface to hold the decorative flakes.
Tip: Do not cure this layer so the glitter material can easily embed into the gel. - 4Embed Colorful Flower Glitter Pieces
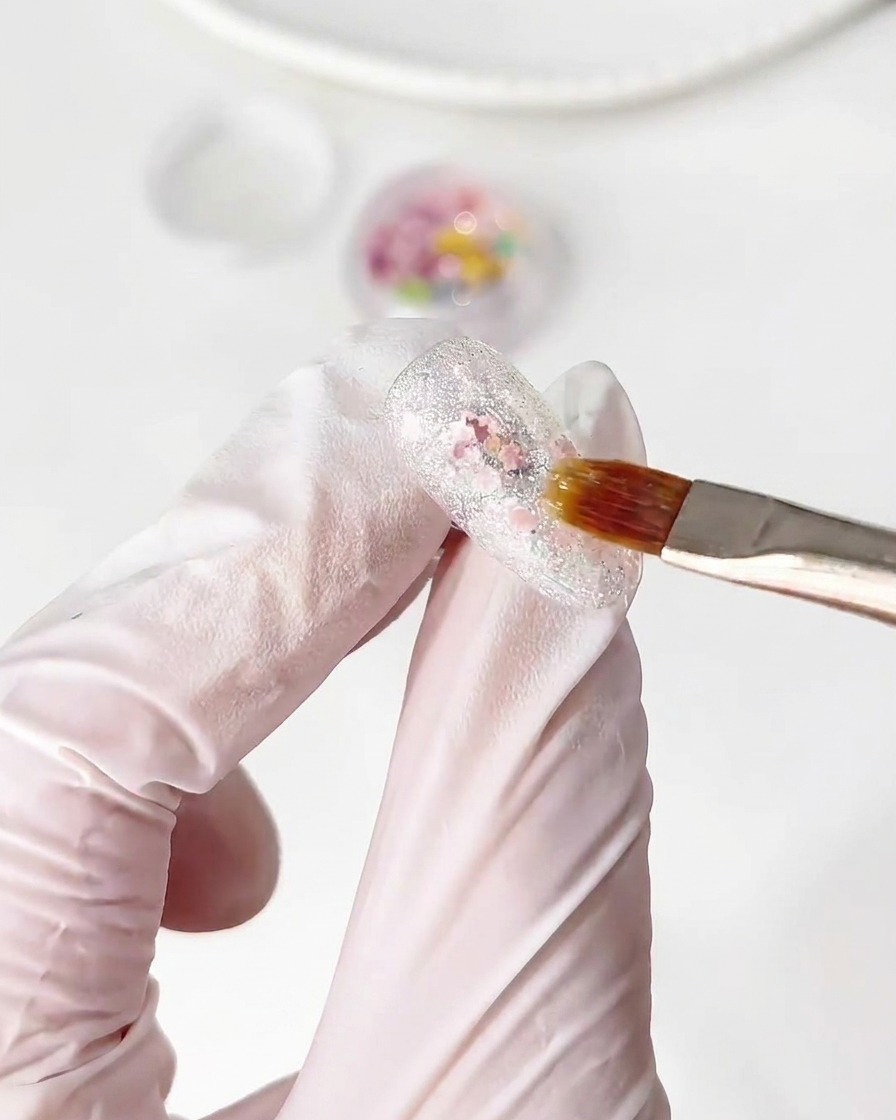
Pick up and place colorful flower glitter pieces onto the uncured base gel layer, carefully covering the entire nail surface to establish the core decorative element.
Tip: Distribute the flower pieces evenly across the nail to create a balanced, colorful glass effect. - 5Cure the Glitter Layer
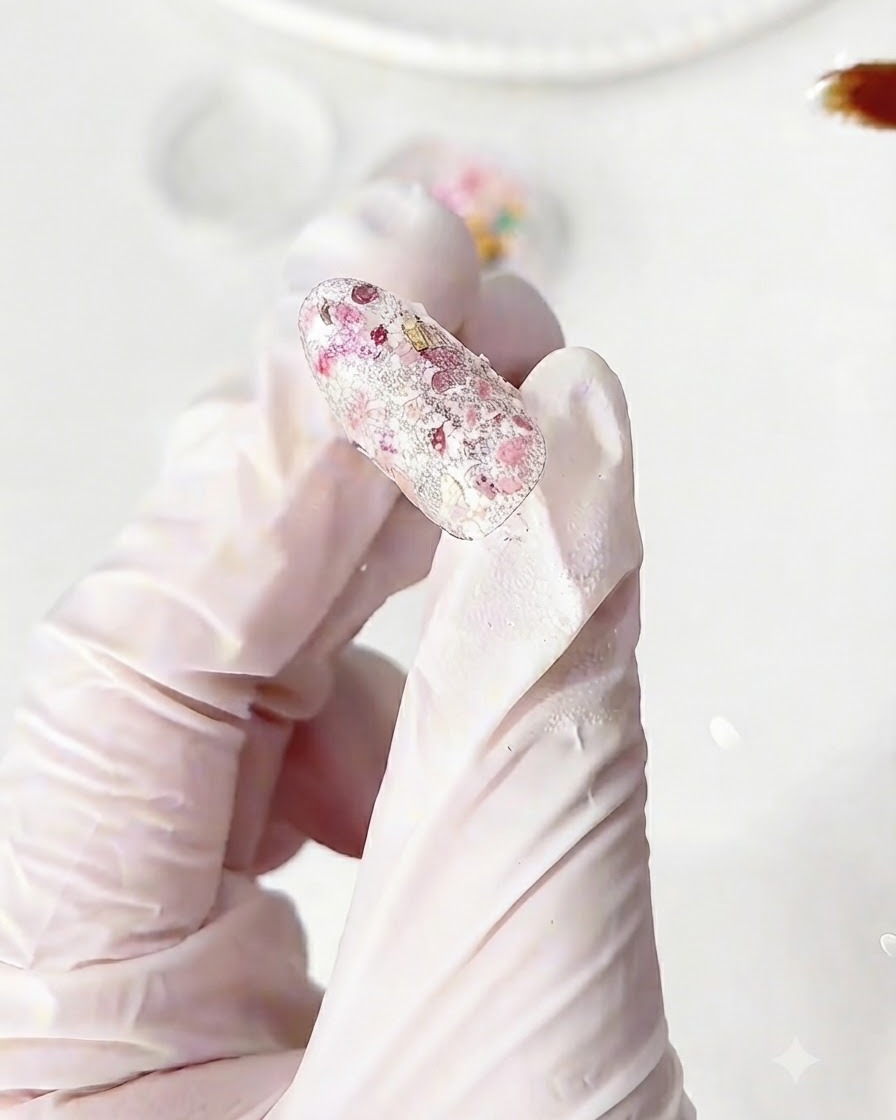
Place the hand under the UV or LED lamp to cure the base gel and lock the glitter placement layer securely in place.
Tip: Ensure a full cure cycle so the embedded elements do not shift during the next building phase. - 6Apply Building Gel for Leveling
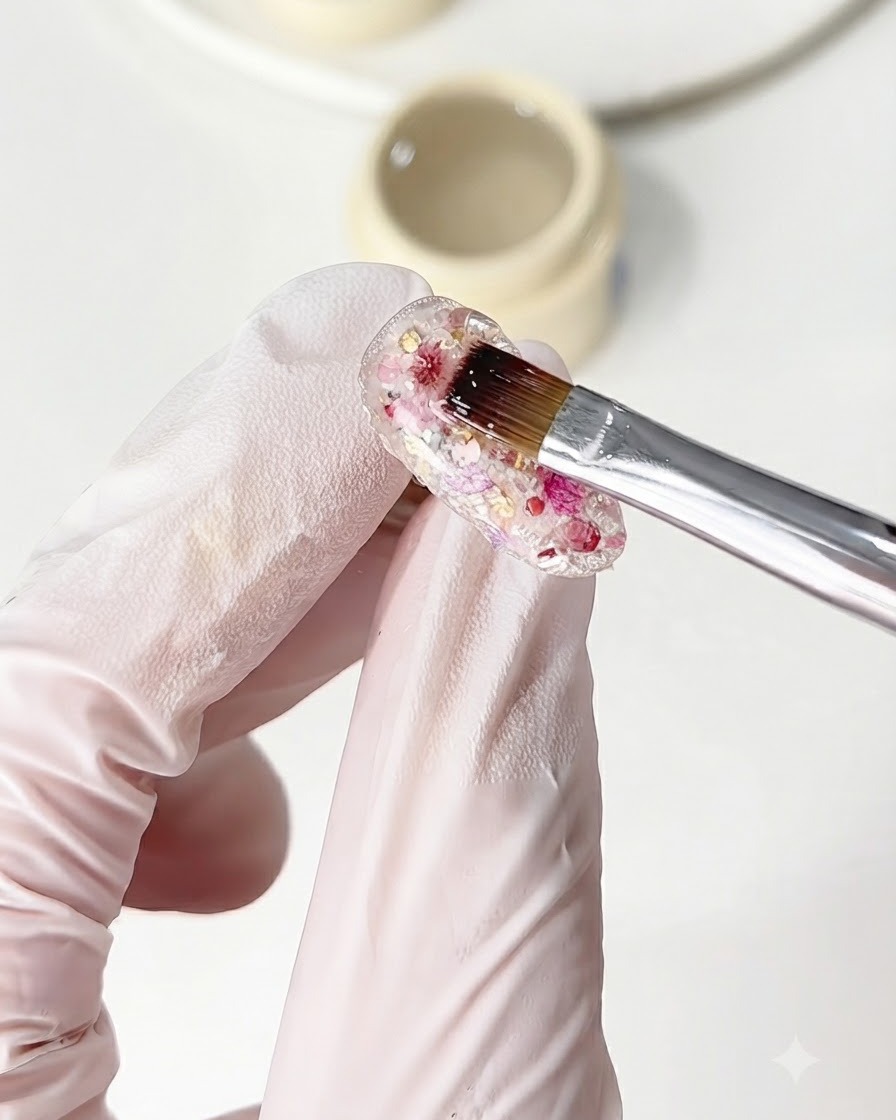
Apply building gel over the cured glitter layer to level out the nail surface and encapsulate all the textured elements.
Tip: Apply enough building gel to smooth out any bumps from the flower flakes, creating an even apex. - 7Apply Blue Glass Gel Section
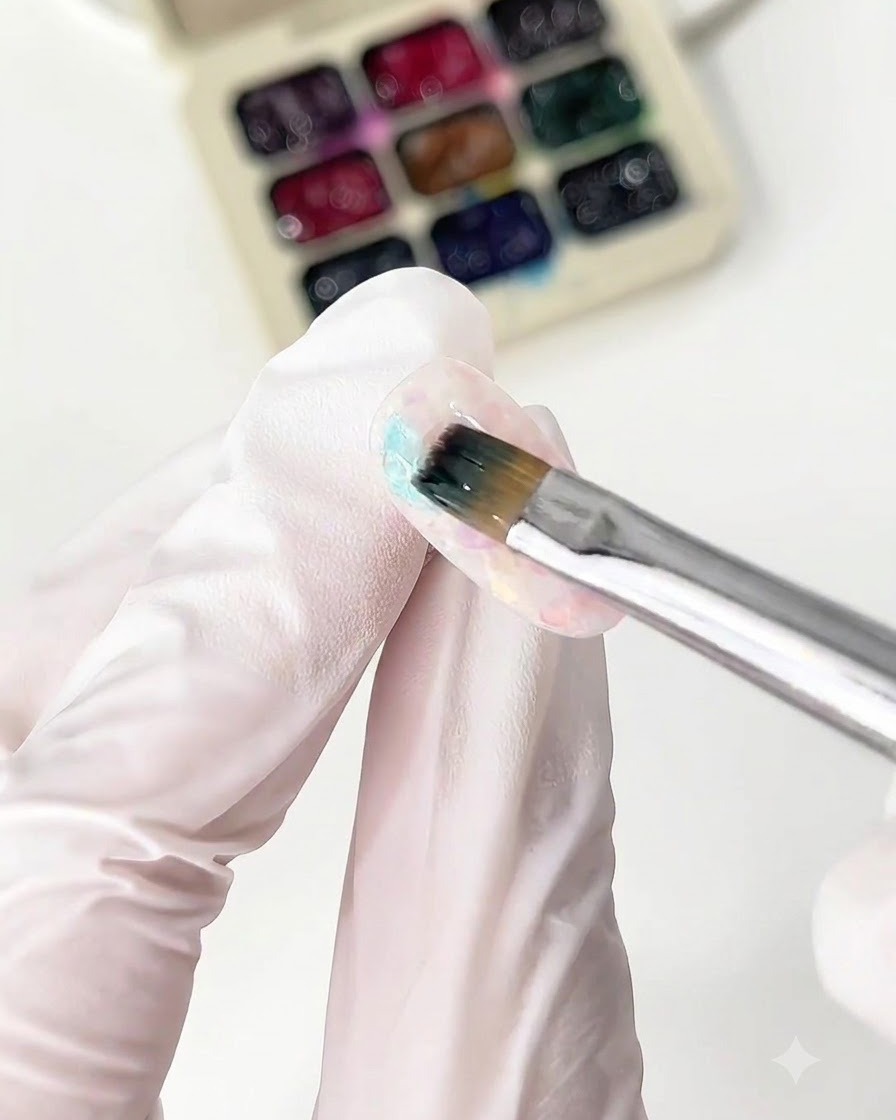
Take a fine brush and apply the blue glass gel onto the first section of the leveled nail surface, creating a transparent, colorful gradient foundation.
Tip: Keep the layer thin to maintain the translucent glass effect. - 8Apply pink glass gel
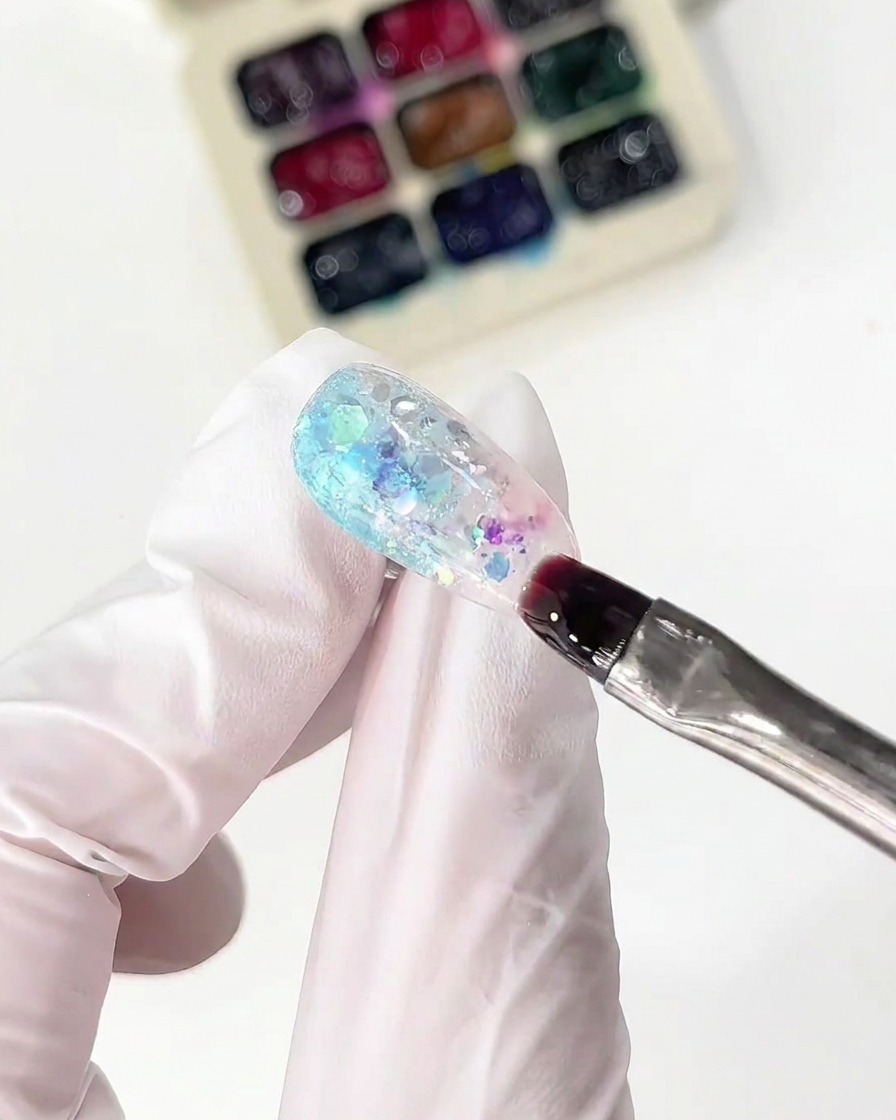
Apply the pink glass gel next to the blue section on the nail surface to continue building the multi-color gradient design.
Tip: Blend the edges slightly where the colors meet for a smooth transition. - 9Apply yellow and green glass gels
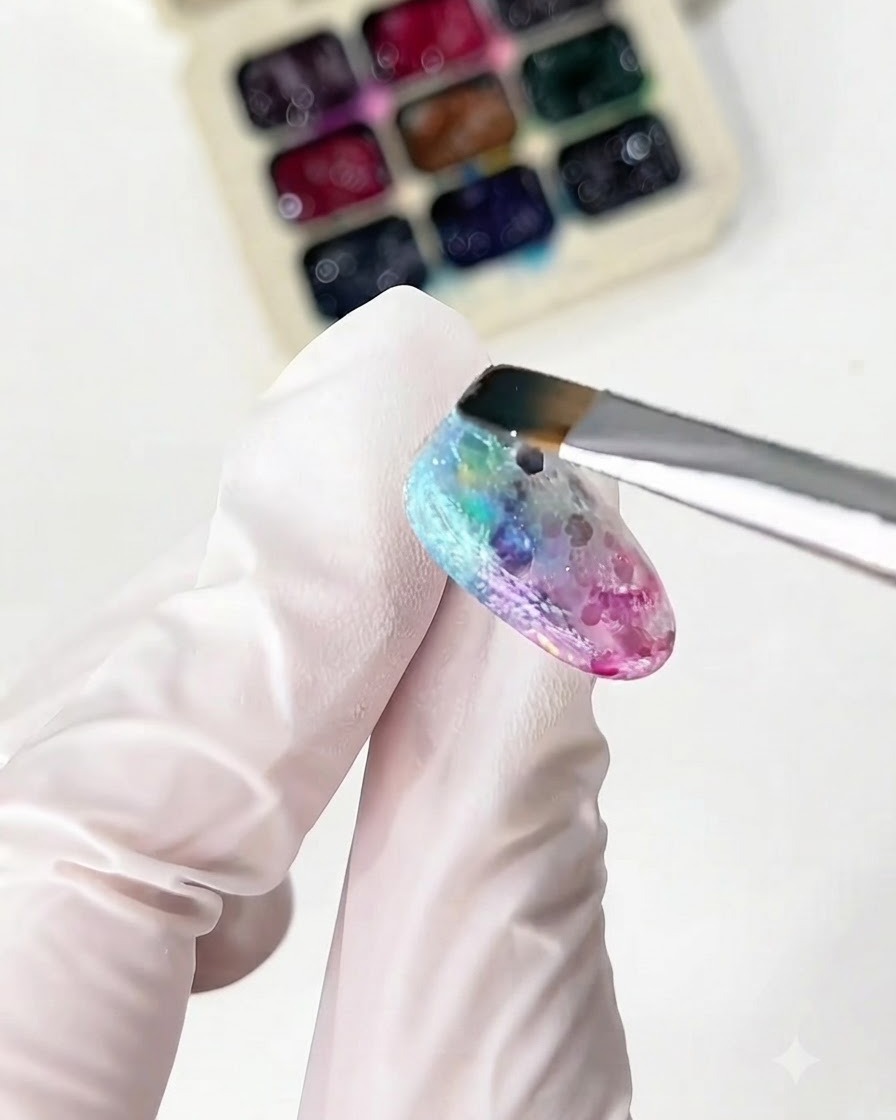
Continue the multi-color gradient design by applying yellow and green glass gels adjacent to the previous sections.
Tip: Work section by section to avoid muddying the colors. - 10Apply orange glass gel
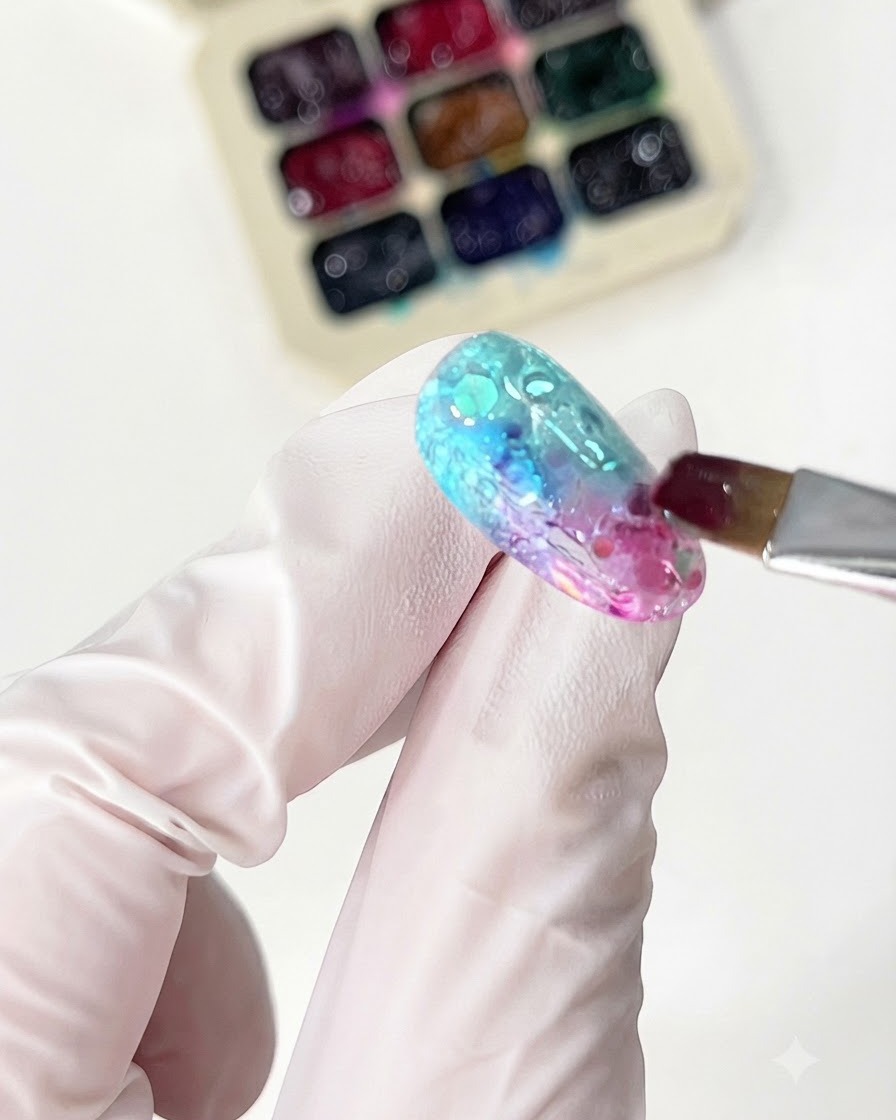
Apply the orange glass gel to complete the multi-color colorful glass gradient effect across the nail surface.
Tip: Ensure all color zones blend harmoniously before curing or finishing. - 11Apply Final Top Coat
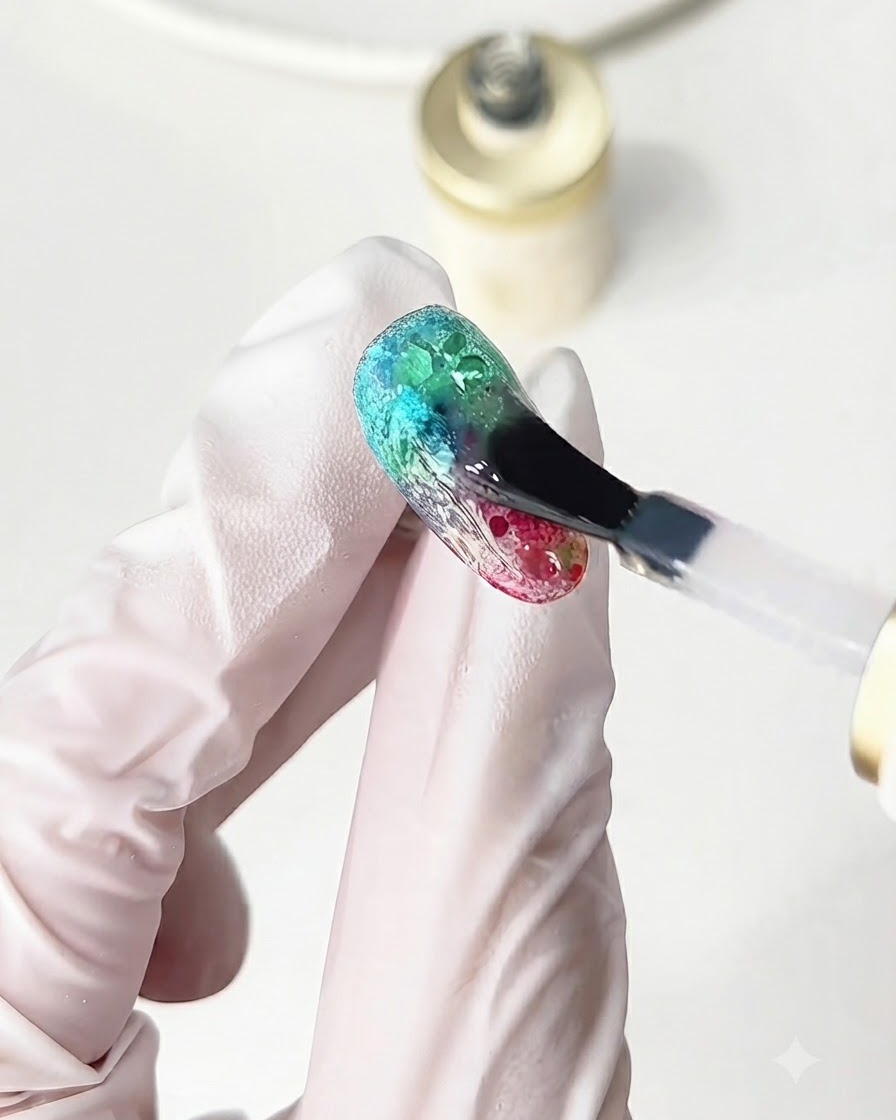
Apply a generous final layer of top coat over the entire colorful glass glitter nail design to seal the art and provide a high-gloss finish. Ensure all edges are neatly capped to prevent chipping. Cure under the UV/LED lamp according to your top coat instructions to lock in the brilliant multi-color glass effect.
Tip: Cap the free edge securely with top coat to protect the intricate layers beneath and extend the wear time of your nail art.