Star Firework Candy Nail Art — Step-by-Step Gel Tutorial
Create a magical star firework candy nail look using shimmering cat-eye gel, holographic stickers, and iridescent confetti. This tutorial guides you through the dazzling process.
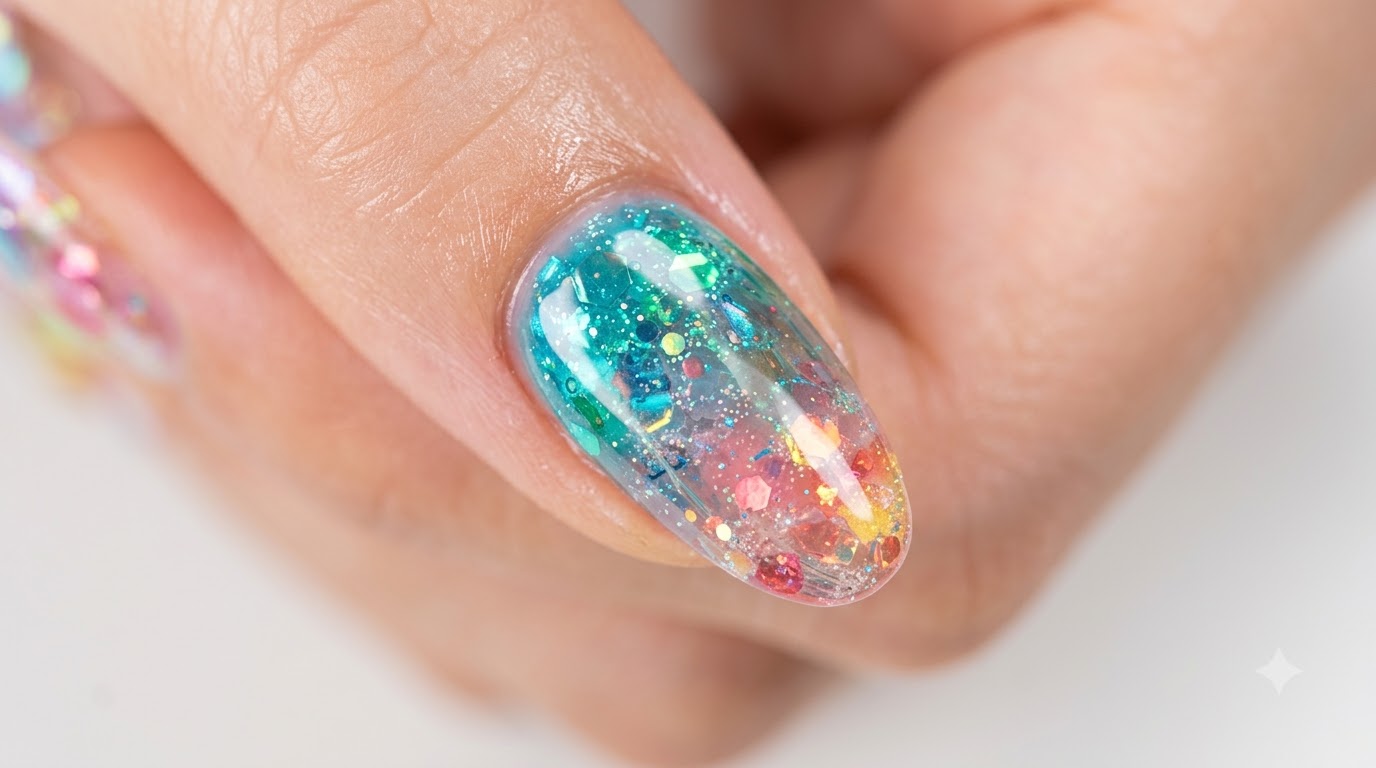
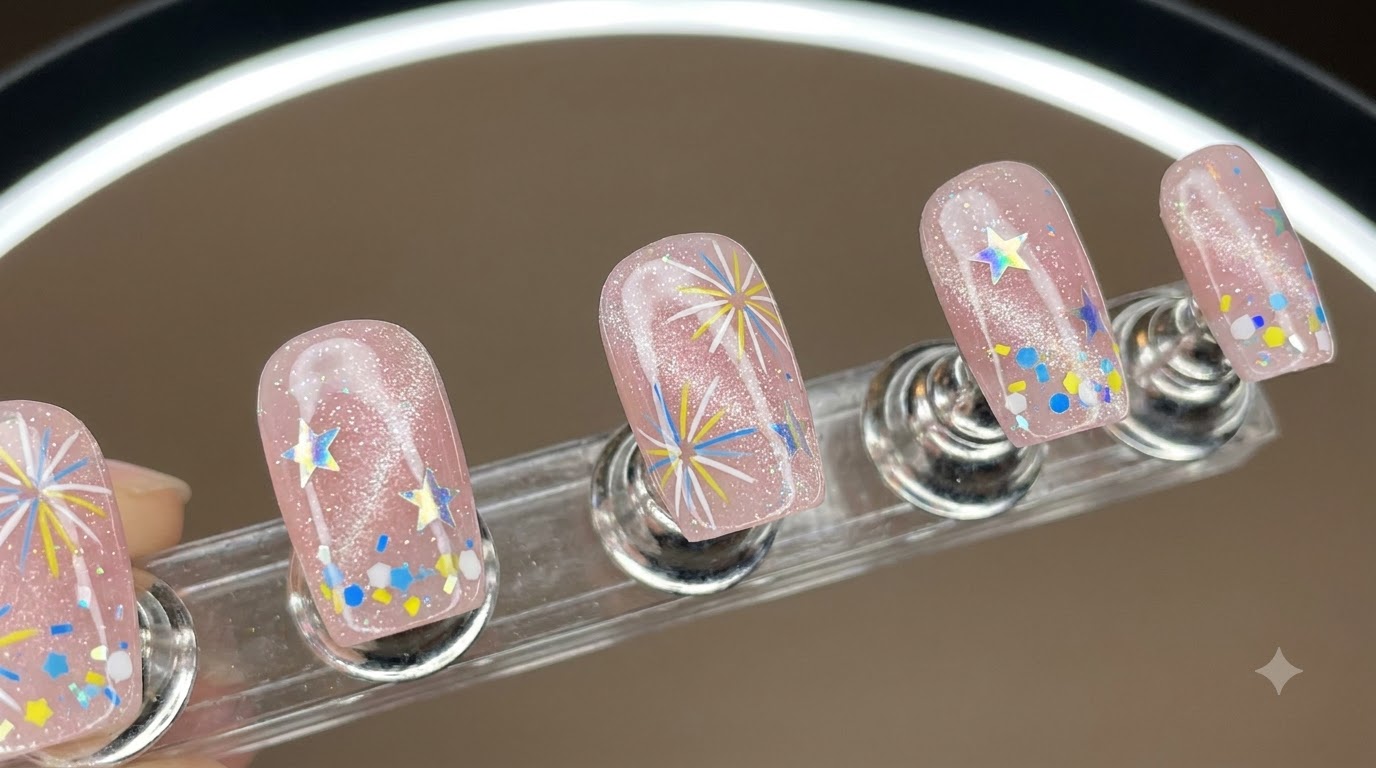
The star firework candy style is a whimsical and eye-catching trend that combines multiple textures for a stunning dimensional effect. By layering a translucent milky base with magnetic cat-eye glitter, delicate stickers, and hand-painted accents, this look achieves incredible depth. It is the perfect choice for anyone wanting a playful yet intricate manicure that beautifully catches the light.
Steps
- 1Open shimmering gel polish
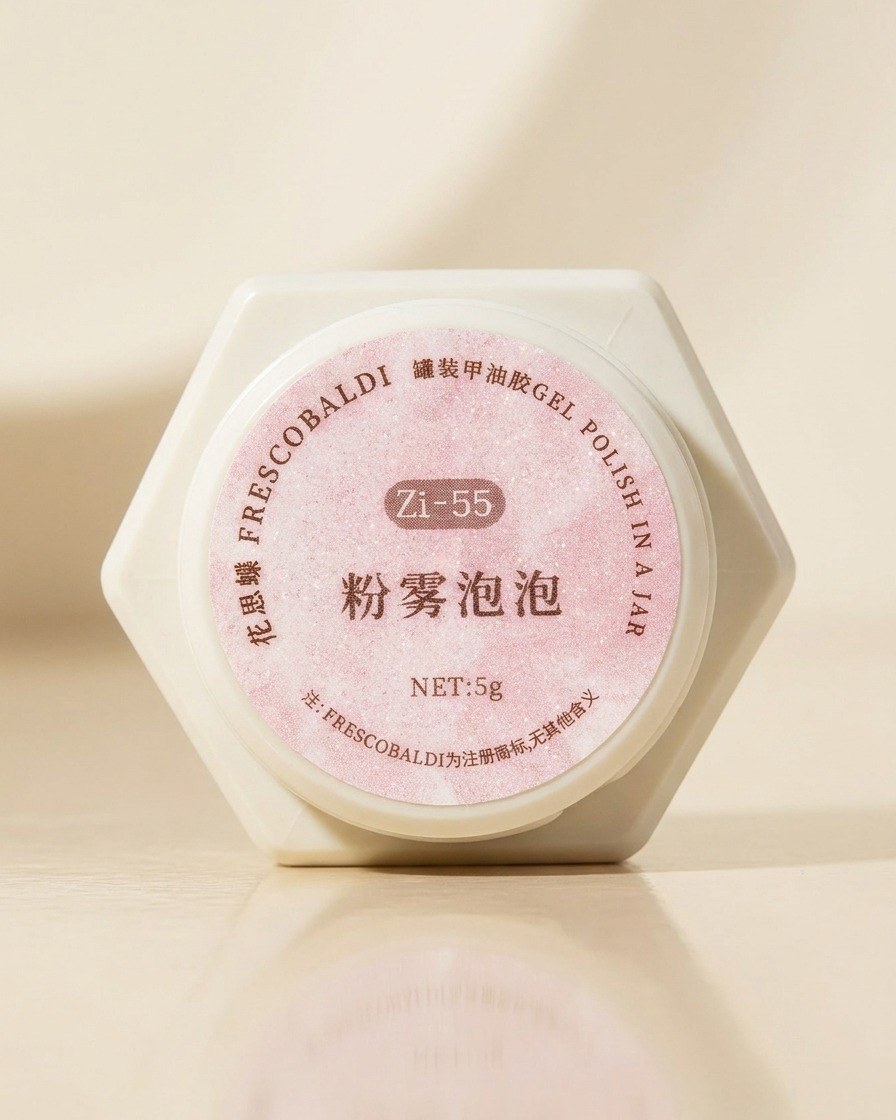
Carefully remove the lid from the jar of shimmering purple and pink cat-eye gel polishcite: 1. Ensure the workspace is clean and organized before you begin your nail art application.
Tip: Keep gel polish jars tightly closed when not in use to prevent them from thickening or curing prematurely under ambient light. - 2Apply cat-eye gel polish
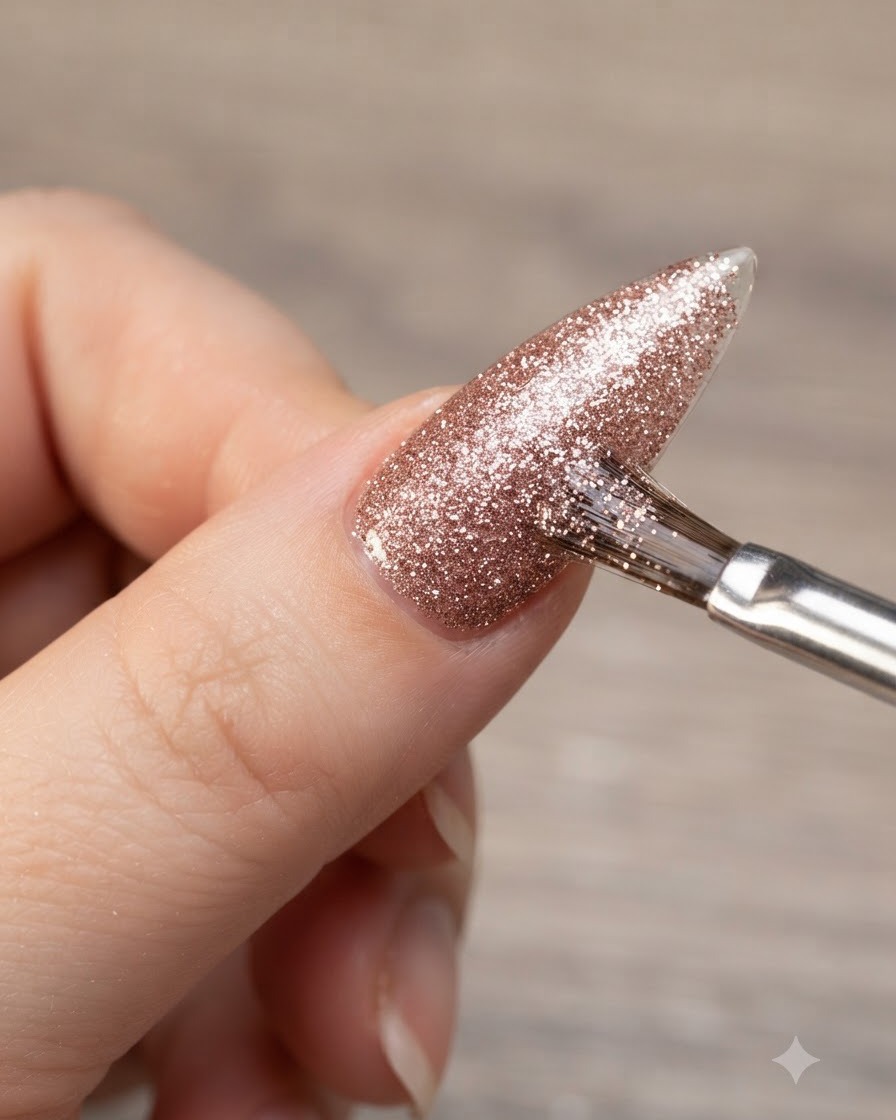
Dip a fine nail brush into the jar and apply an even layer of shimmering cat-eye gel onto the surface of a clear nail display standcite: 1. Make sure the coat is smooth and covers the desired area uniformly before moving on to the magnetic effect.
Tip: Apply an even, moderate thickness of gel to ensure the magnetic particles have enough fluid medium to move freely when the magnet is applied. - 3Activate magnetic shimmer effect
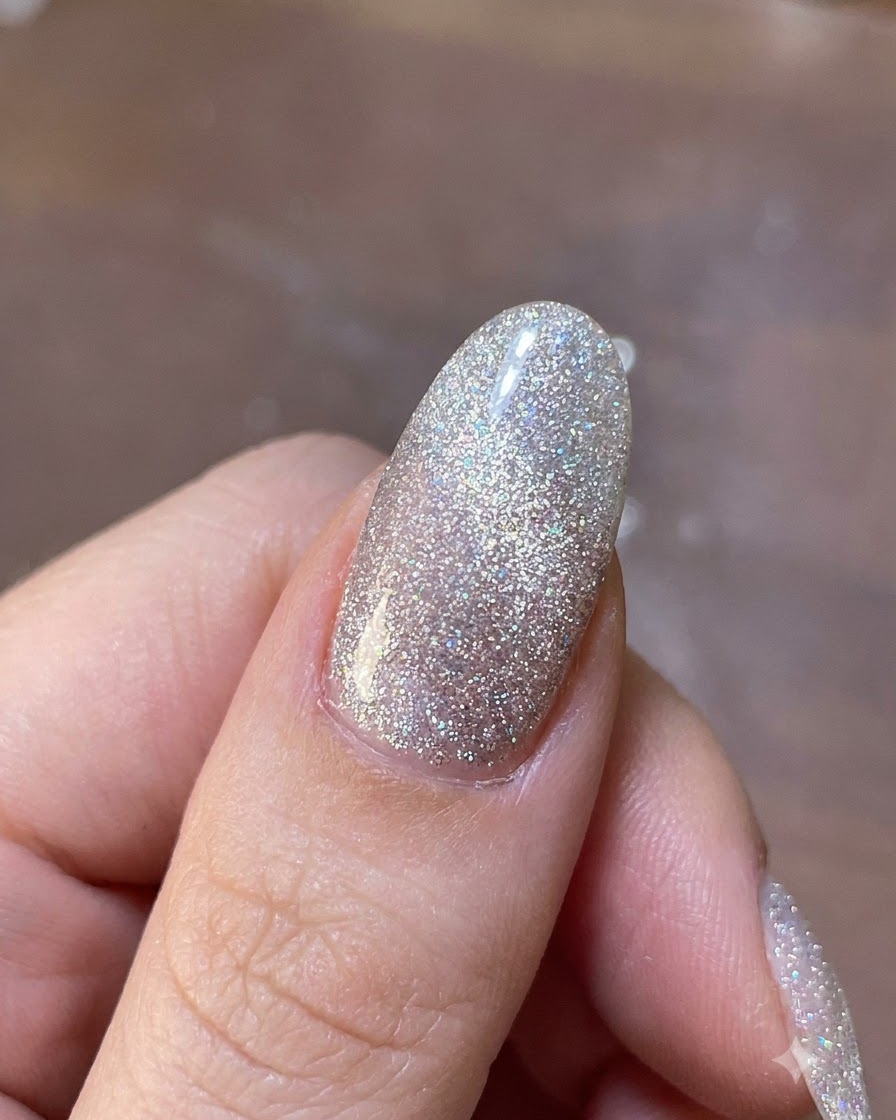
Hold a magnetic tool closely over the uncured gel polish without touching the surfacecite: 1. Hover it steadily to draw the metallic particles into a concentrated band, creating the signature glowing cat-eye dimensional effect.
Tip: Do not let the magnet touch the wet gel, and hold it completely still for five to ten seconds to achieve a crisp, sharp cat-eye line. - 4Cure the gel layer
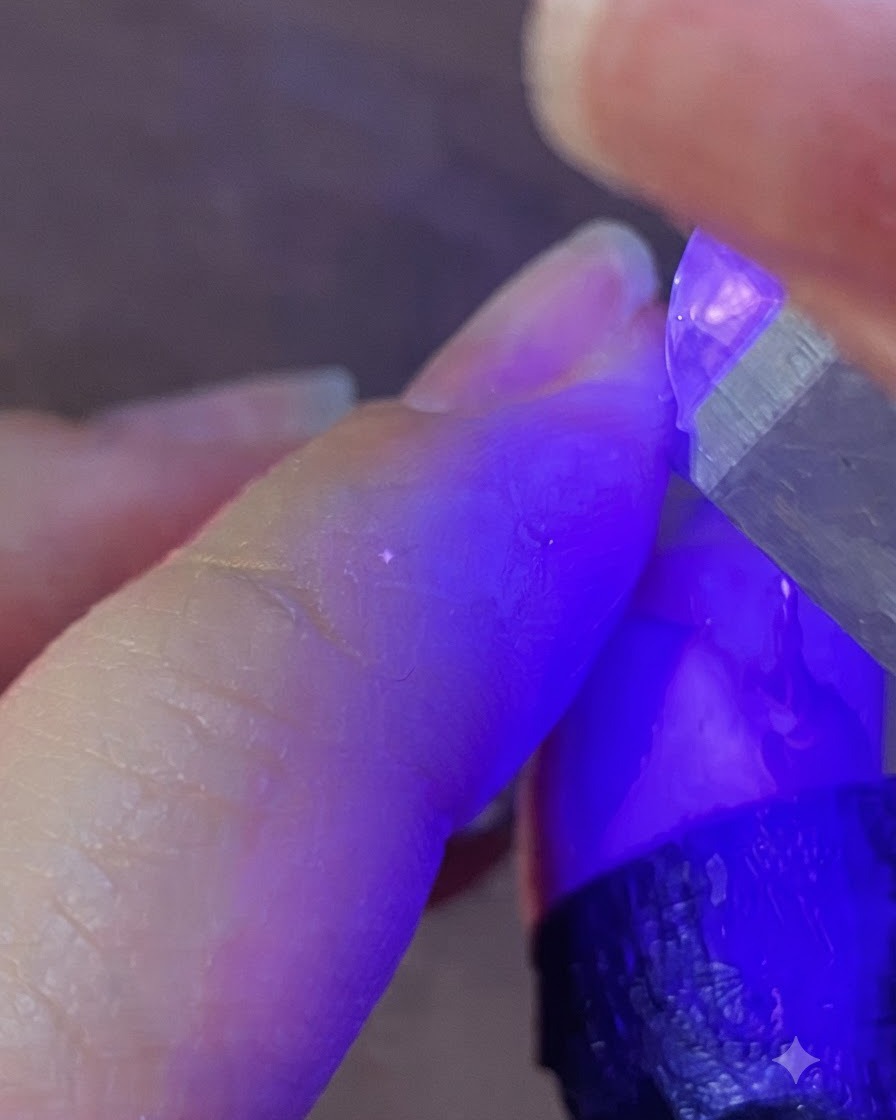
Place the finger under a portable UV or LED nail lamp to cure the applied gel layer. Hold or position the lamp directly over the nail to ensure even light distribution. Proper curing hardens the product, locking the design in place and creating a durable foundation for the next steps.
Tip: Make sure your hand remains completely steady under the portable lamp to prevent the gel from shifting before it sets. - 5Select a holographic star sticker
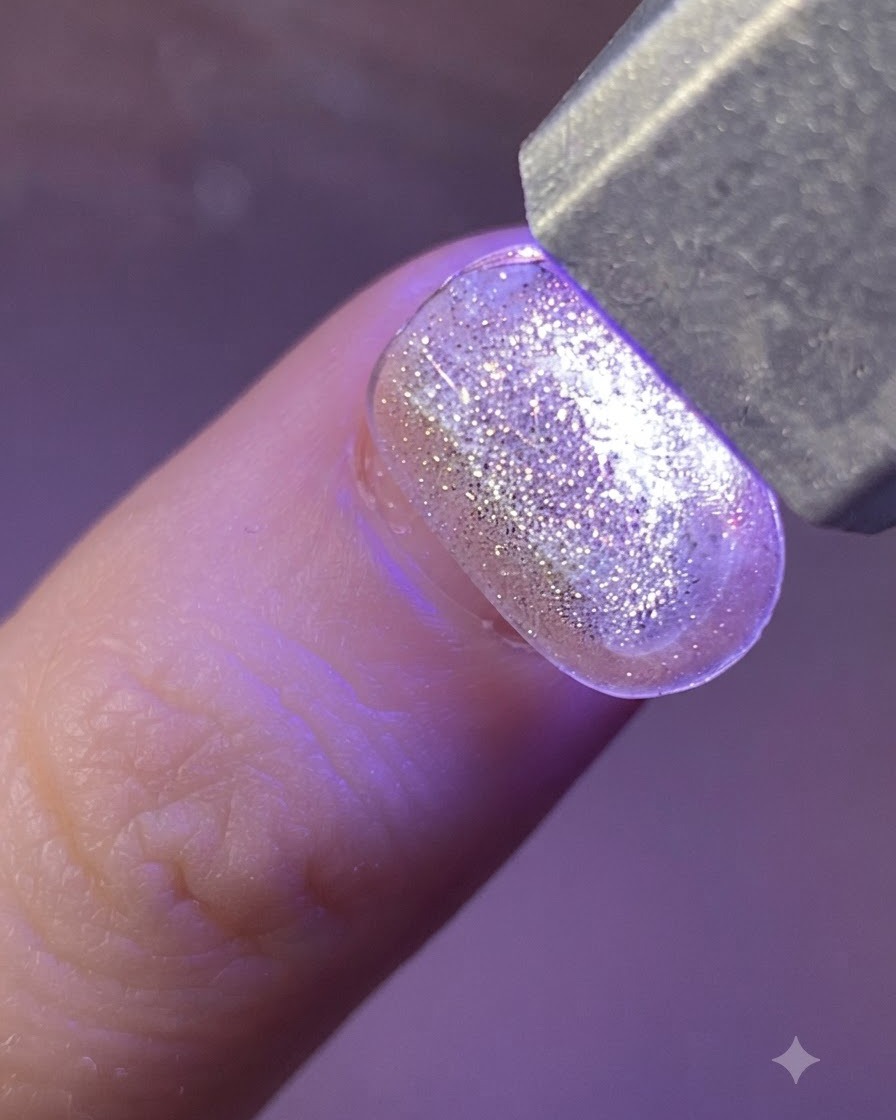
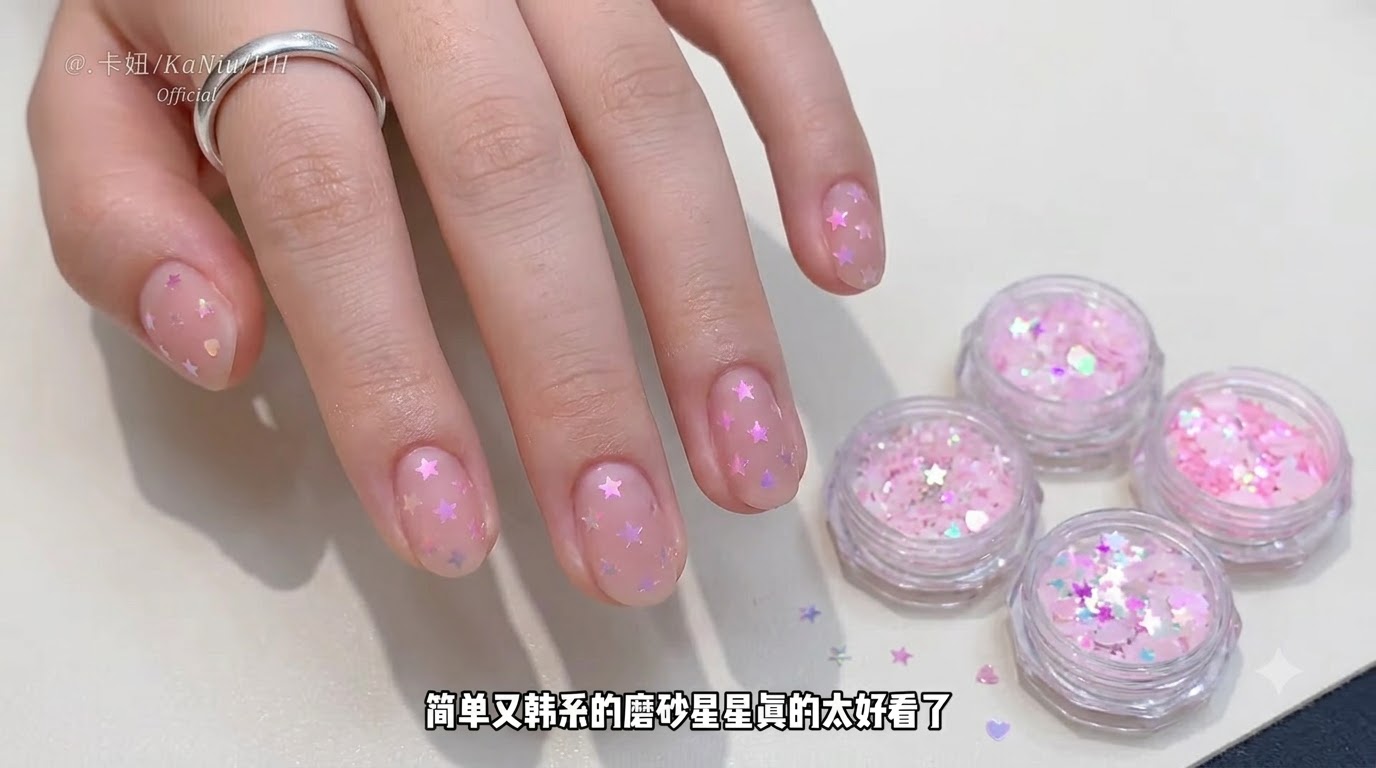
Using precision tweezers, gently peel a holographic star sticker off its transparent backing sheet. Handle the sticker carefully by its edges to avoid bending or folding the delicate material. Lifting it cleanly ensures the adhesive backing remains intact for smooth placement.
Tip: Fine tweezers give you much better control than fingers when handling small, delicate nail stickers. - 6Place holographic star sticker
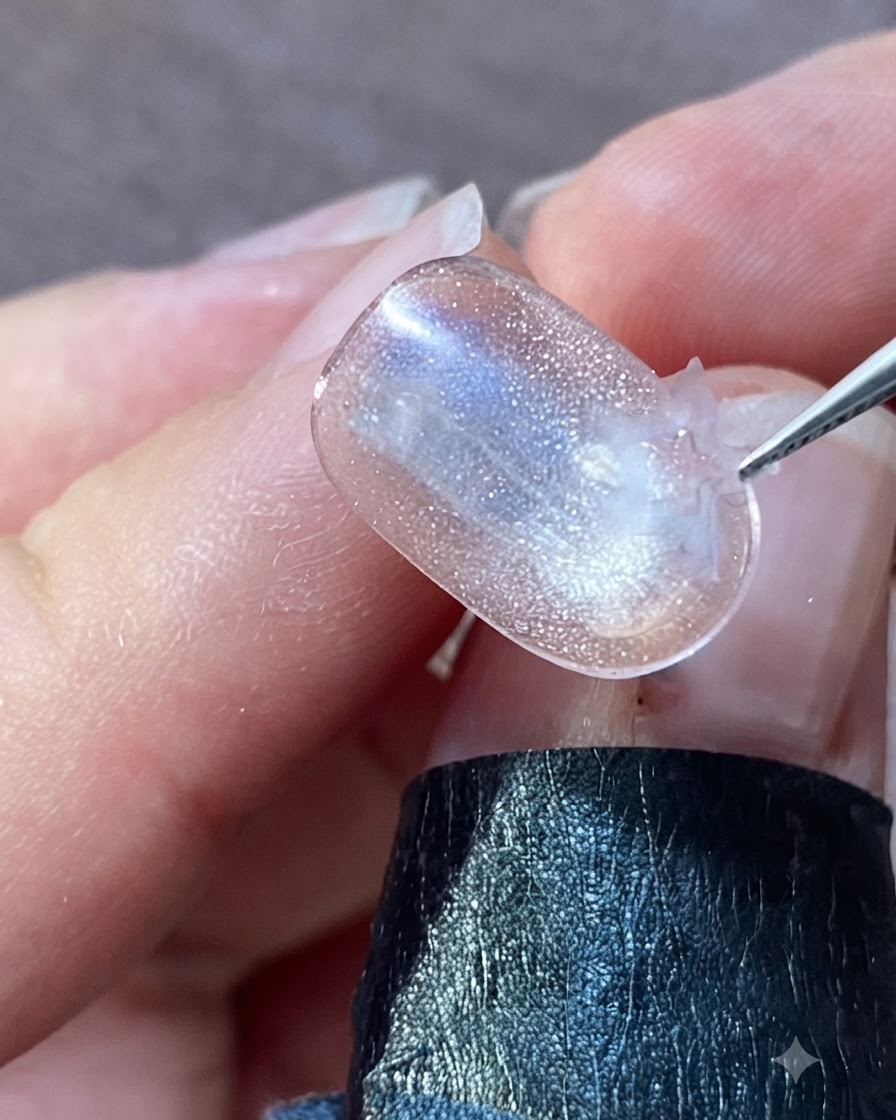
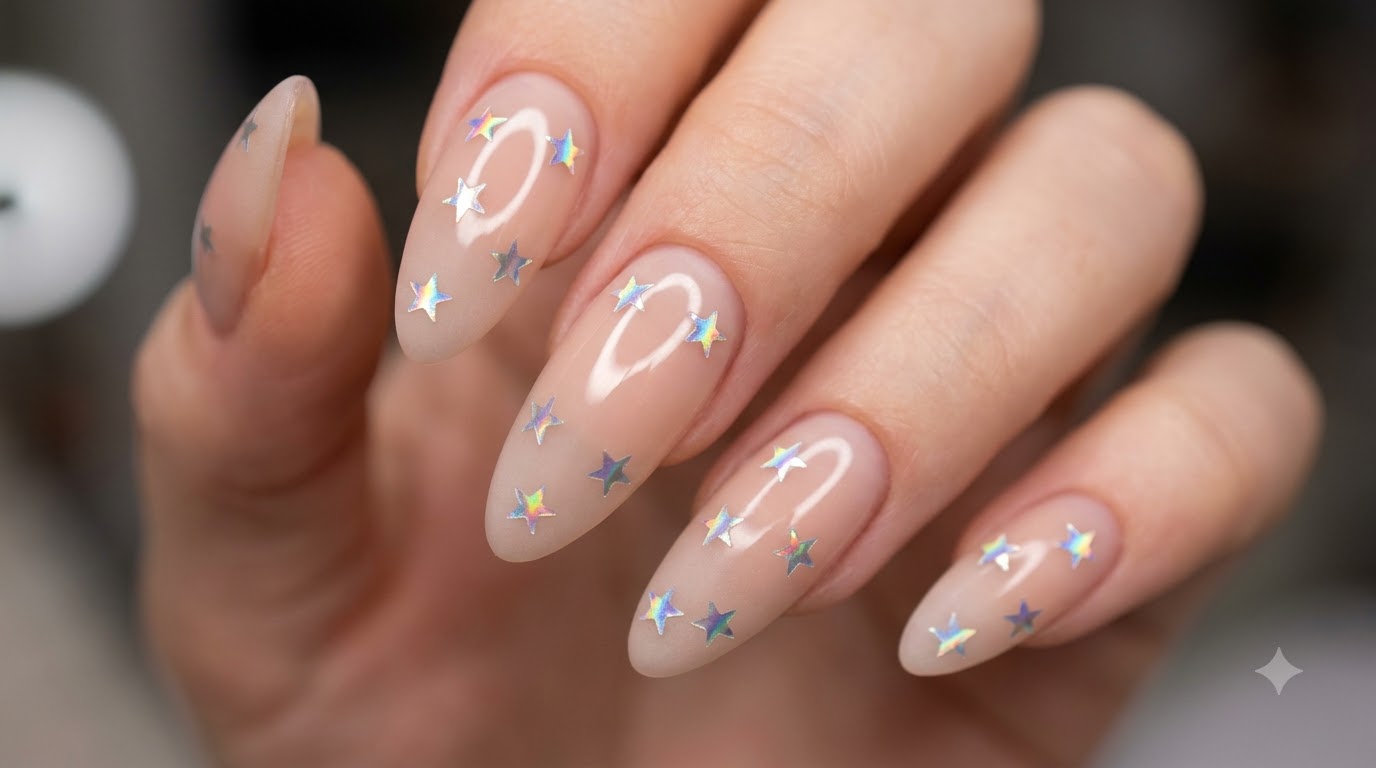
Use precision tweezers to pick up a holographic star sticker and gently place it onto the center of the nail plate over the cured base layercite: 1. Press down firmly around the edges to ensure complete adhesion.
Tip: Press down the edges of stickers carefully with a silicone tool to eliminate any air bubbles and prevent lifting under the top coat. - 7Outline the star with pink gel
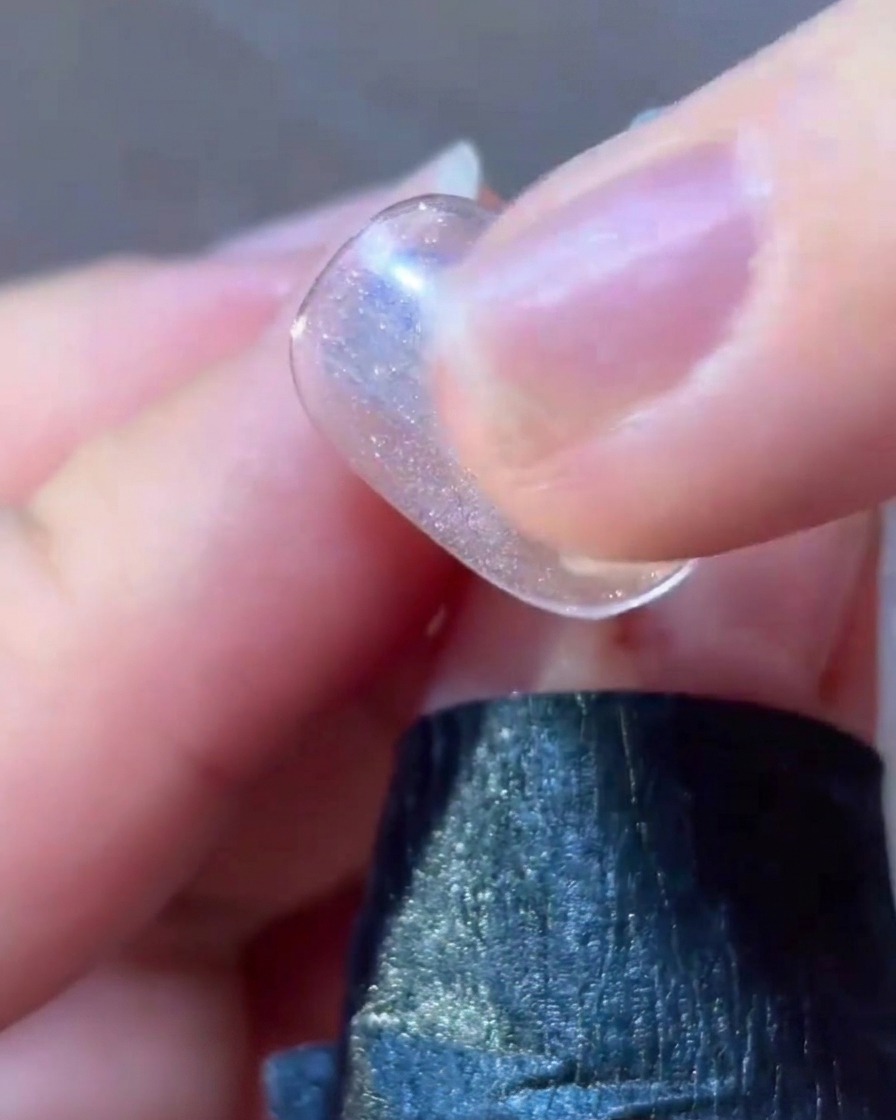
Take a fine liner brush loaded with pink gel and carefully trace around the borders of the star design. This technique adds depth and creates a soft, colorful halo effect framing the sticker element. Keep your strokes light and controlled to maintain clean lines.
Tip: Wipe excess gel off your liner brush on a palette before outlining to prevent blobs around fine details. - 8Press and adjust the gel details
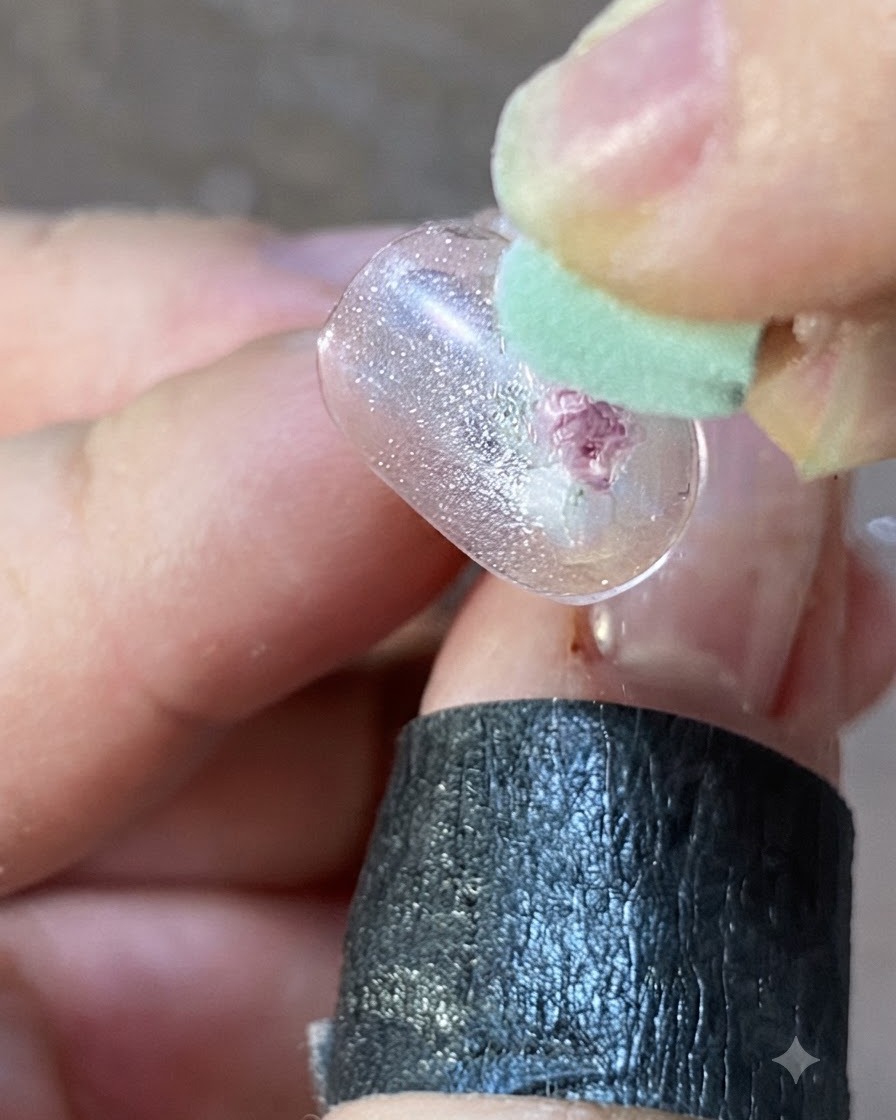
Using a silicone dotting and smoothing tool, gently press and shape the applied pink gel around the star sticker to ensure clean lines and proper adhesion. This tool helps smooth out any uneven textures and sharpens the firework candy effect before curing.
Tip: Keep your silicone tool clean by wiping it with alcohol if the gel starts sticking or losing its defined shape. - 9Draw radiating firework lines
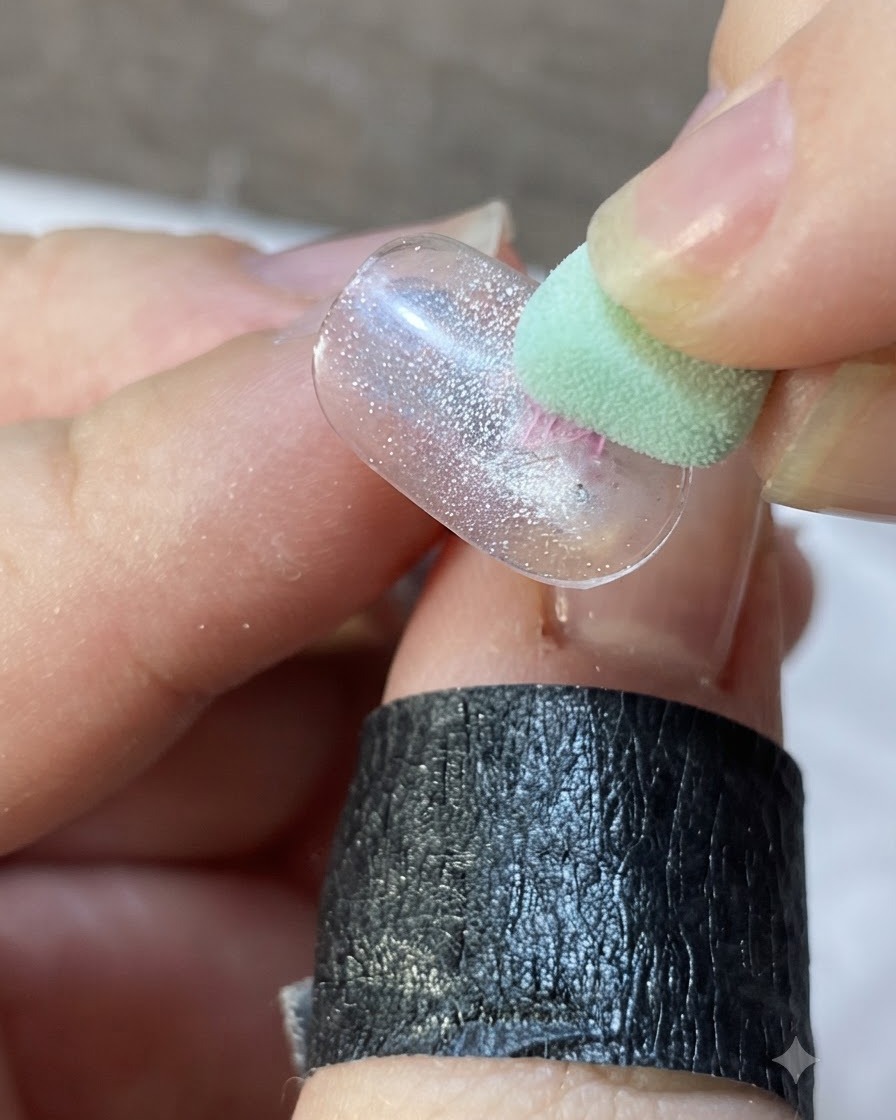
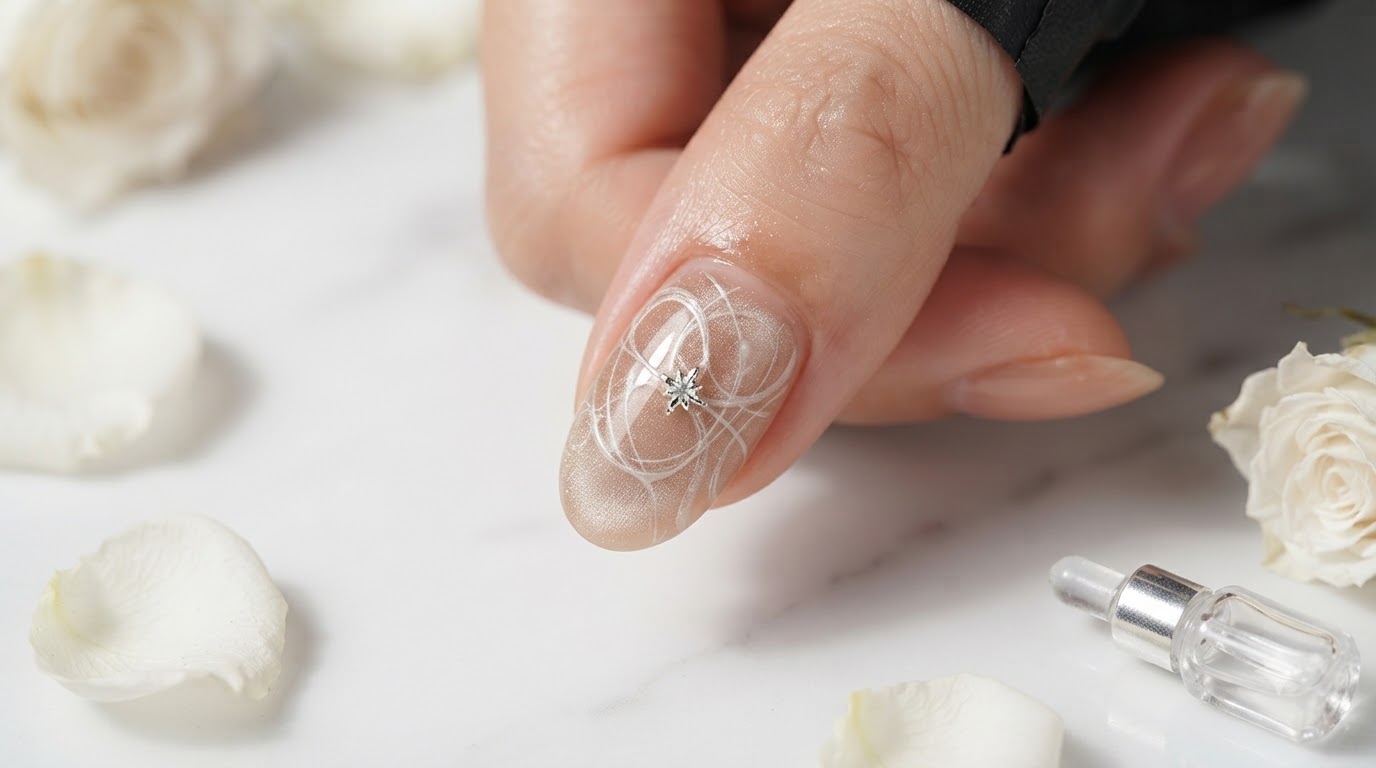
Using a fine liner brush dipped in pink gel, draw delicate, small radiating lines outward from the center star motif. These fine lines create the signature star firework candy look, adding dimension and intricate detail to the nail design.
Tip: Use light pressure on your liner brush to keep the radiating lines sharp, thin, and evenly spaced. - 10Cure the star nail art
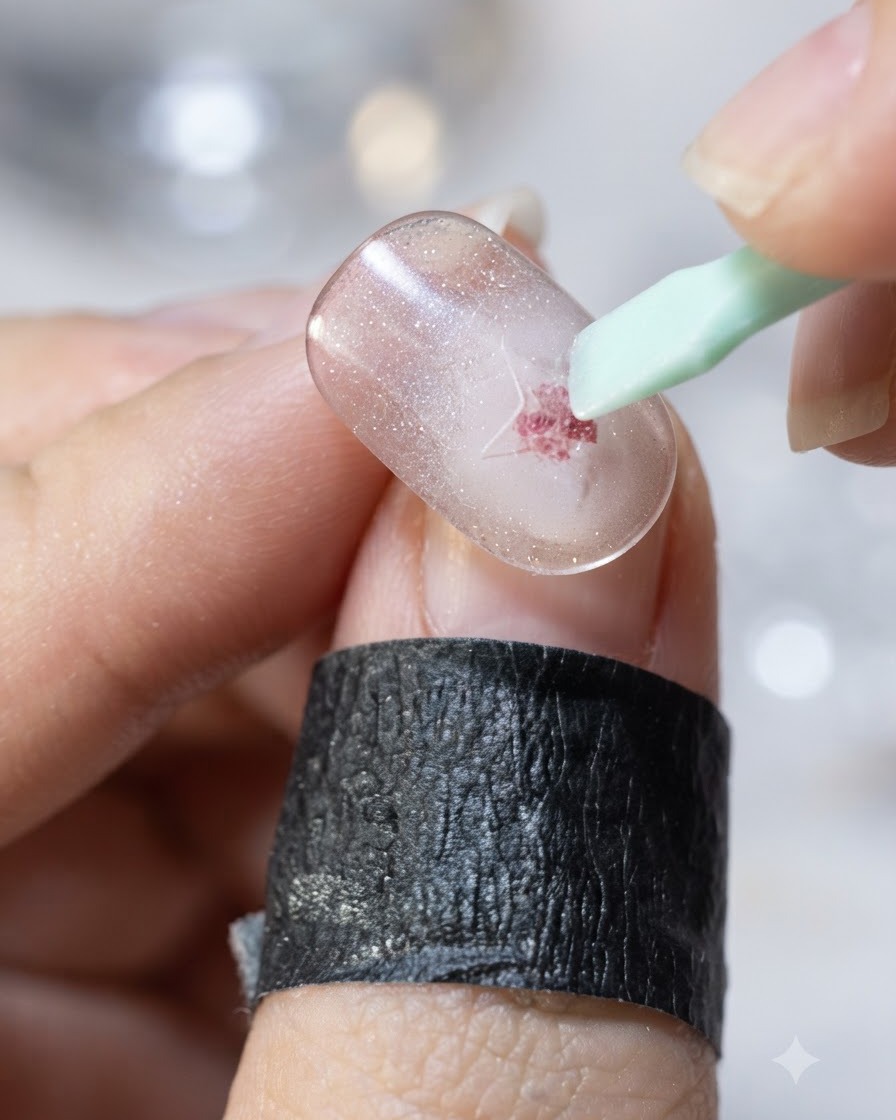
Place the nail under a UV or LED lamp to cure the freshly painted star details and pink gel lines. Curing locks the design in place, preventing any smudging or shifting before the final top coat application.
Tip: Ensure your hand or nail tip is positioned directly under the light source for an even cure across all painted details. - 11Adjust the nail art elements
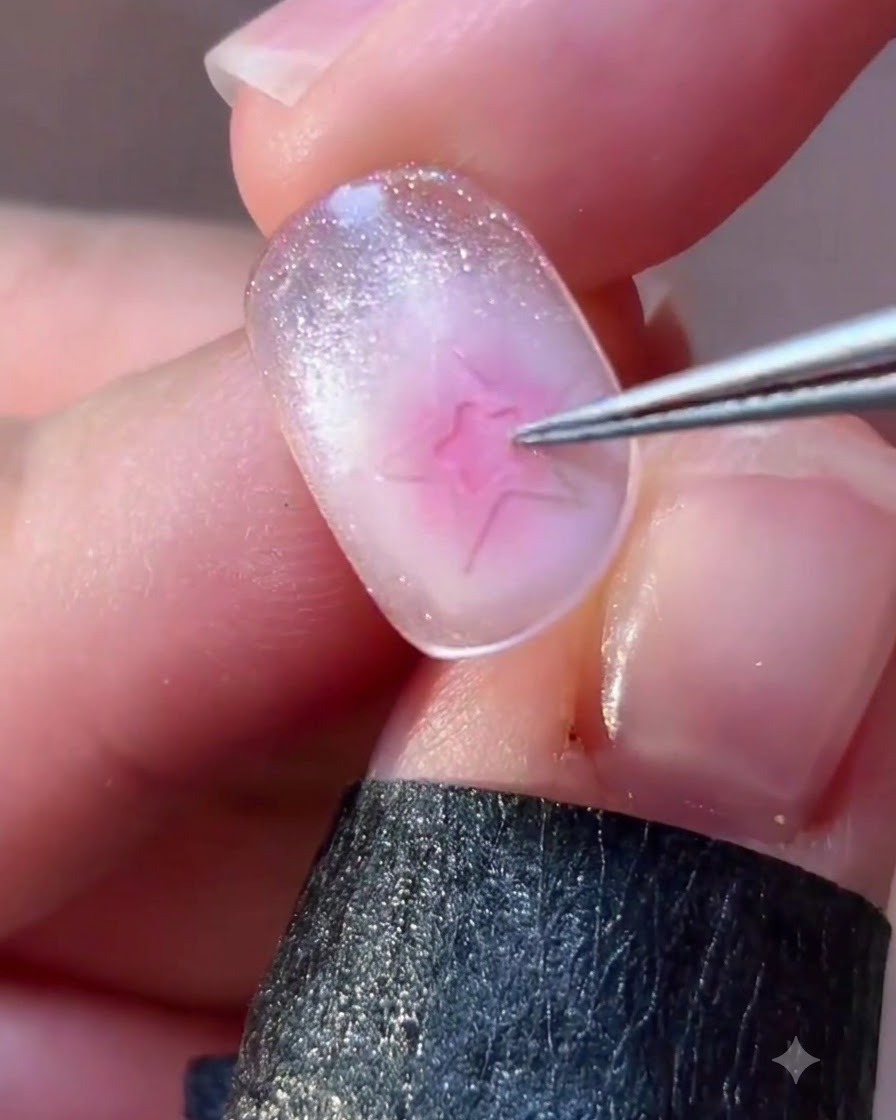
Use your tweezers to nudge, reposition, or press down on the star sticker and surrounding art elements to ensure they sit flat against the nail surface. Smooth out any potential bumps or air pockets before moving on to the sealing stage. Precision placement guarantees a polished final look.
Tip: Press gently from the center outward to eliminate any trapped air underneath sticker elements. - 12Apply clear top coat
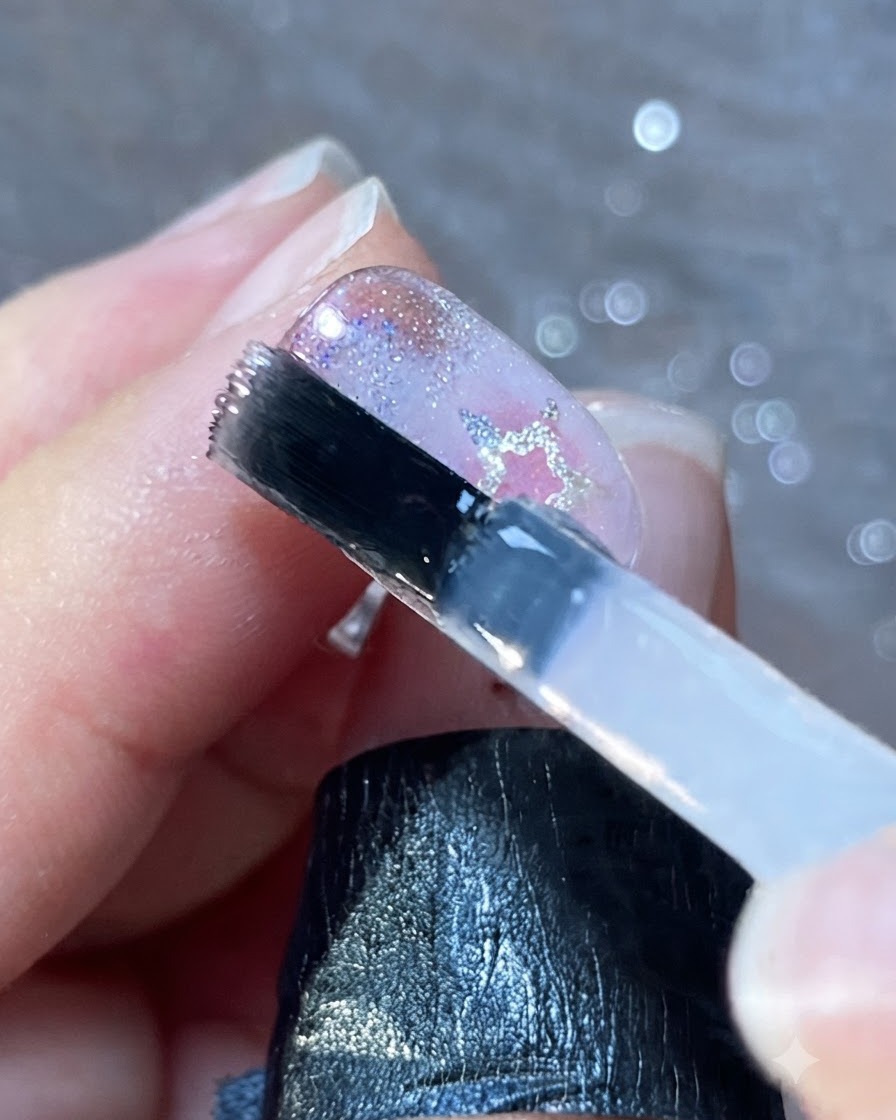
Dip the brush into a clear top coat and apply a smooth, even layer over the entire nail surface, fully encapsulating the nail art and stickers. Cap the free edge to seal the design and prevent chipping or peeling over time. This step delivers a high-gloss finish and long-lasting protection.
Tip: Always cap the free edge with top coat to lock in all layers and extend the wear time of your manicure. - 13Open the iridescent flakes jar
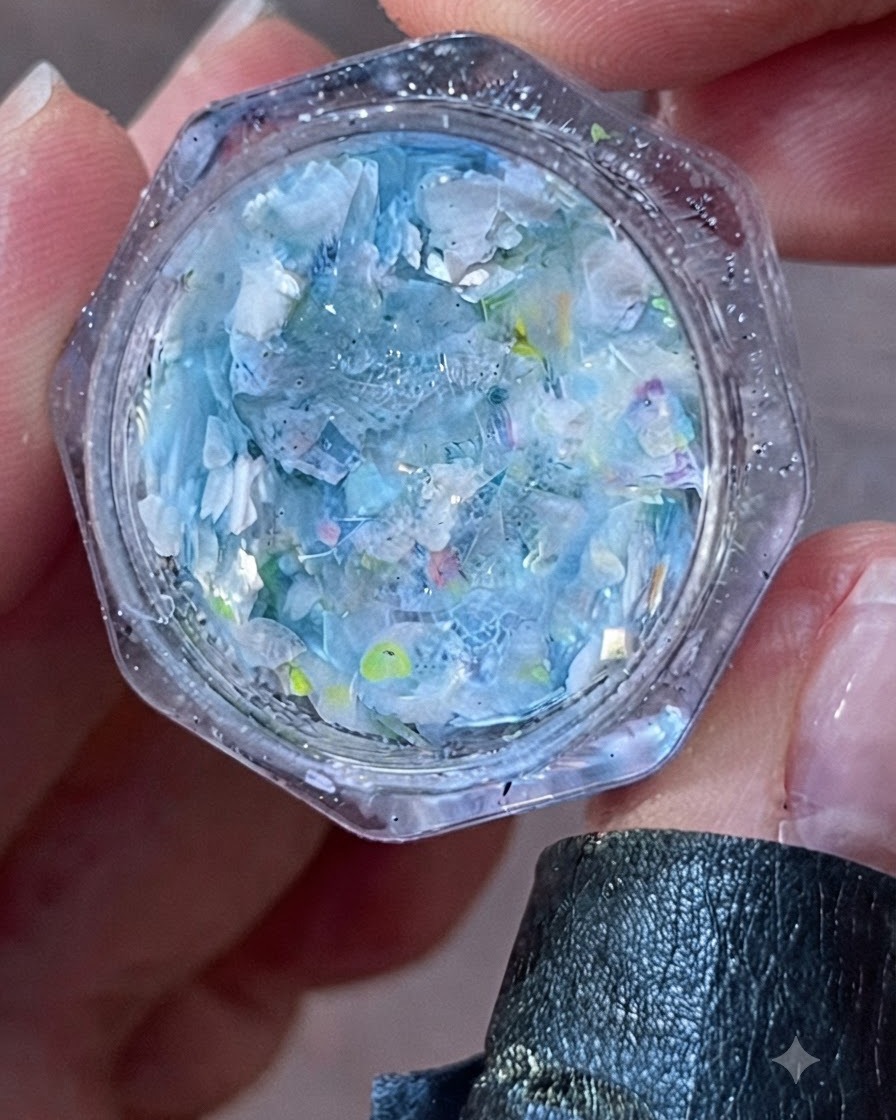
Unscrew and remove the lid from a small jar containing iridescent blue and white flakes and glitter. Inspect the contents to ensure easy access for upcoming embellishment steps. Having your decorative materials open and ready streamlines the nail art workflow.
Tip: Keep jar lids nearby but out of the way of your working hand to prevent accidental spills. - 14Place iridescent confetti flakes
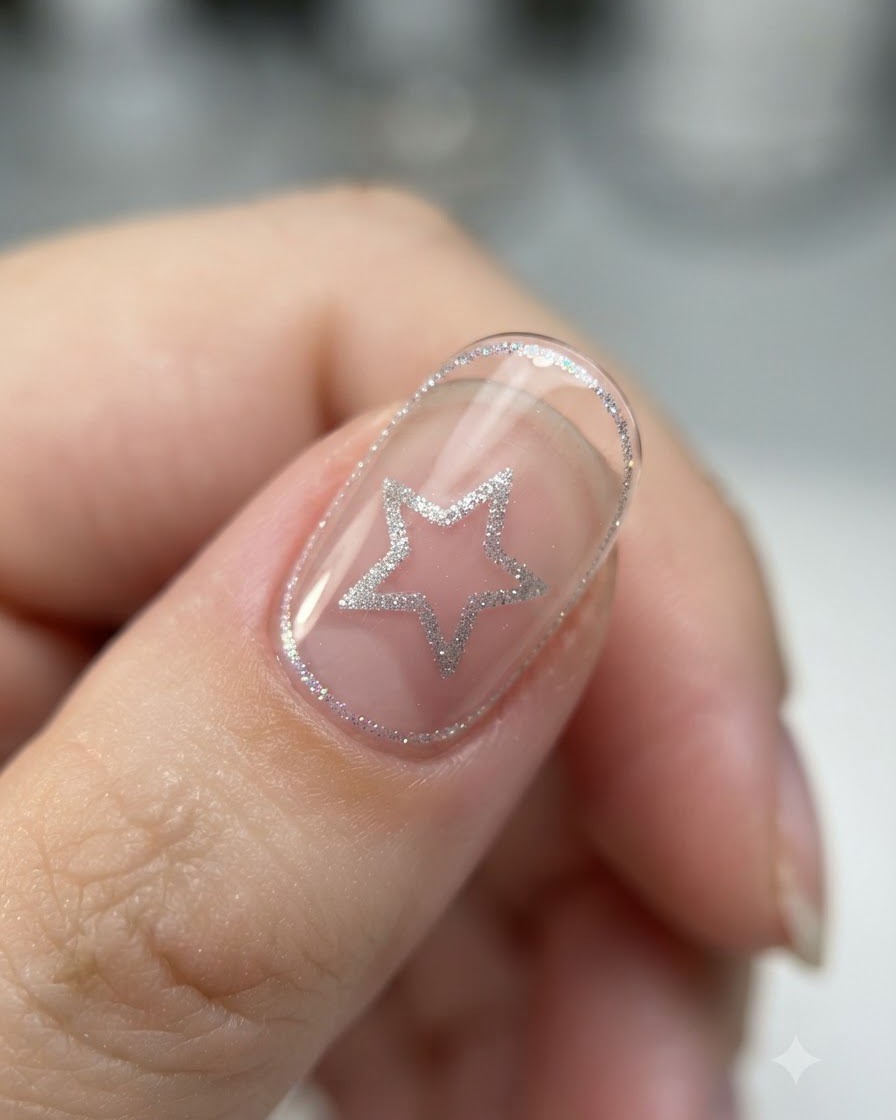
Using a fine detail brush, carefully pick up individual iridescent confetti flakes and place them onto the tacky layer of the nail. Distribute the flakes artistically around the star design to create a magical, shimmering background effect.
Tip: Tap each flake gently into place with the tip of your brush to ensure it lays flat against the gel surface without lifting. - 15Arrange colorful confetti dots
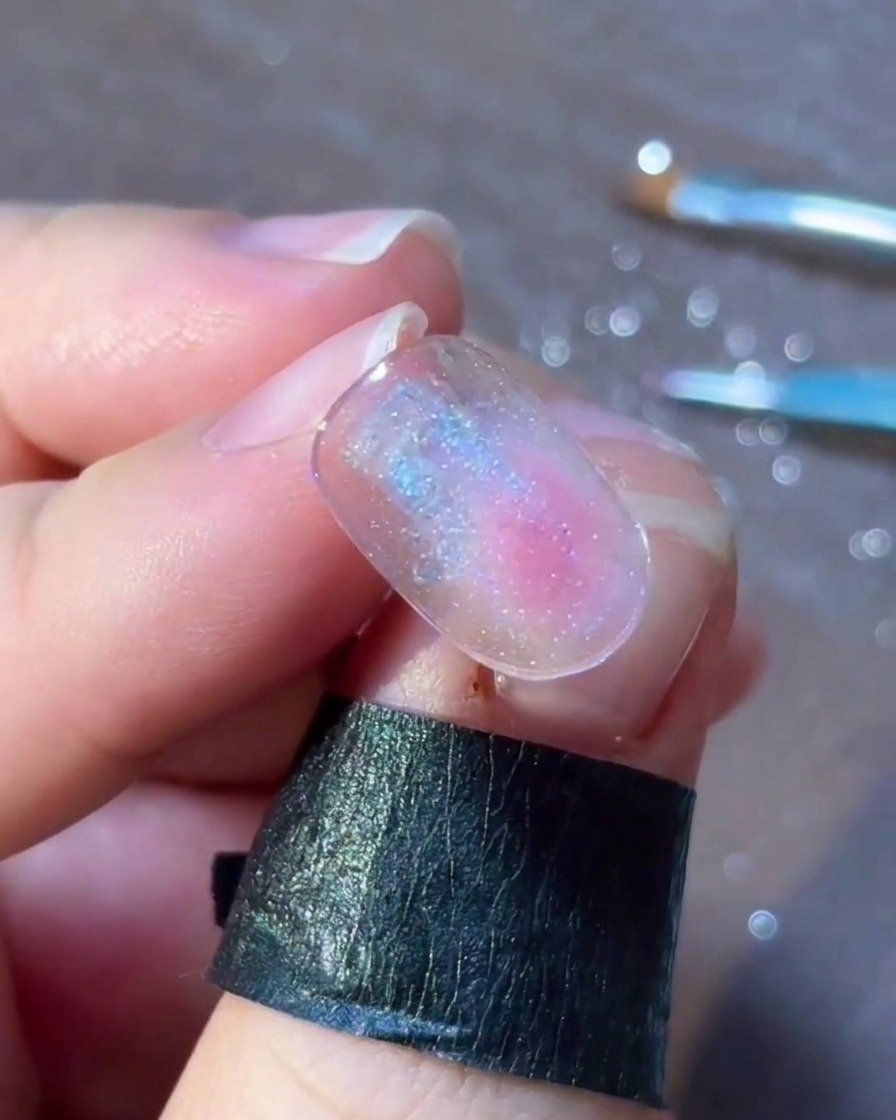
Continue decorating the nail by placing small colorful confetti dots and shifting flakes around the main star design. Balance the placement to add depth and vibrant pops of color across the nail surface.
Tip: Work in small sections and cure briefly if needed to keep elements from shifting before you are satisfied with the layout. - 16Cure the flake layer
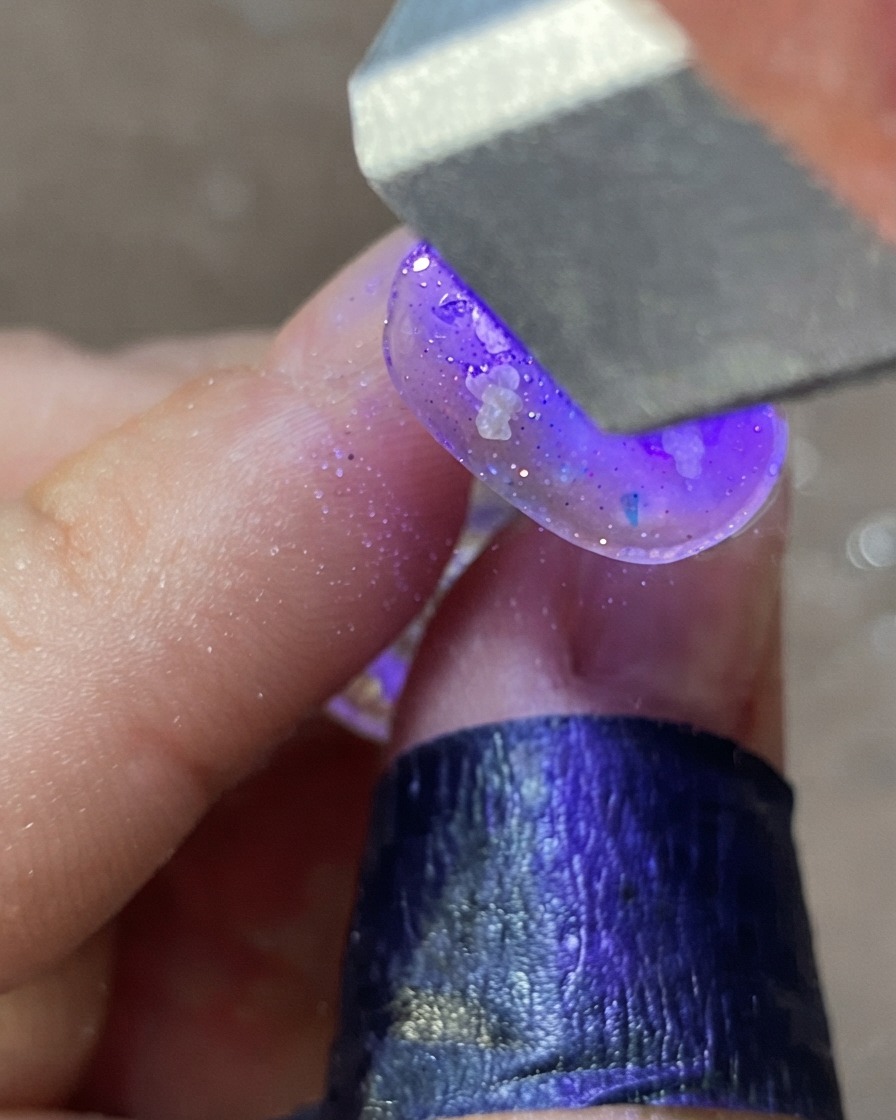
Place the hand under a UV or LED lamp to fully cure and lock all the placed confetti flakes and dots into position. Ensure the entire nail surface is exposed to the light so every piece is securely anchored.
Tip: Make sure your hand stays completely flat inside the lamp to prevent any loose confetti pieces from drifting out of place before curing. - 17Prepare paints for accent strokes
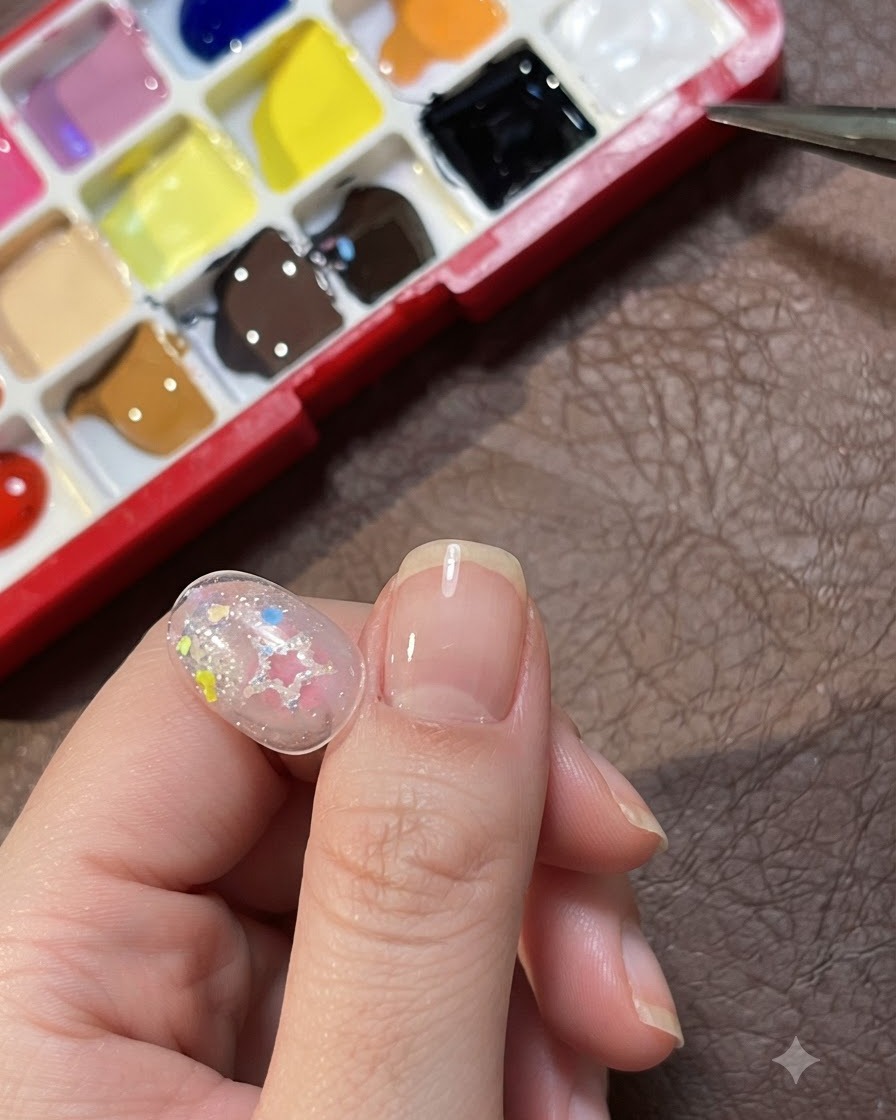
Set up a palette with various colored paints alongside a fine liner brush to prepare for adding final hand-painted accent strokes. Load just a small amount of paint onto the tip of your brush for maximum precision.
Tip: Keep a paper towel nearby to wipe your brush clean and reshape the tip whenever you switch colors. - 18Paint firework accent lines
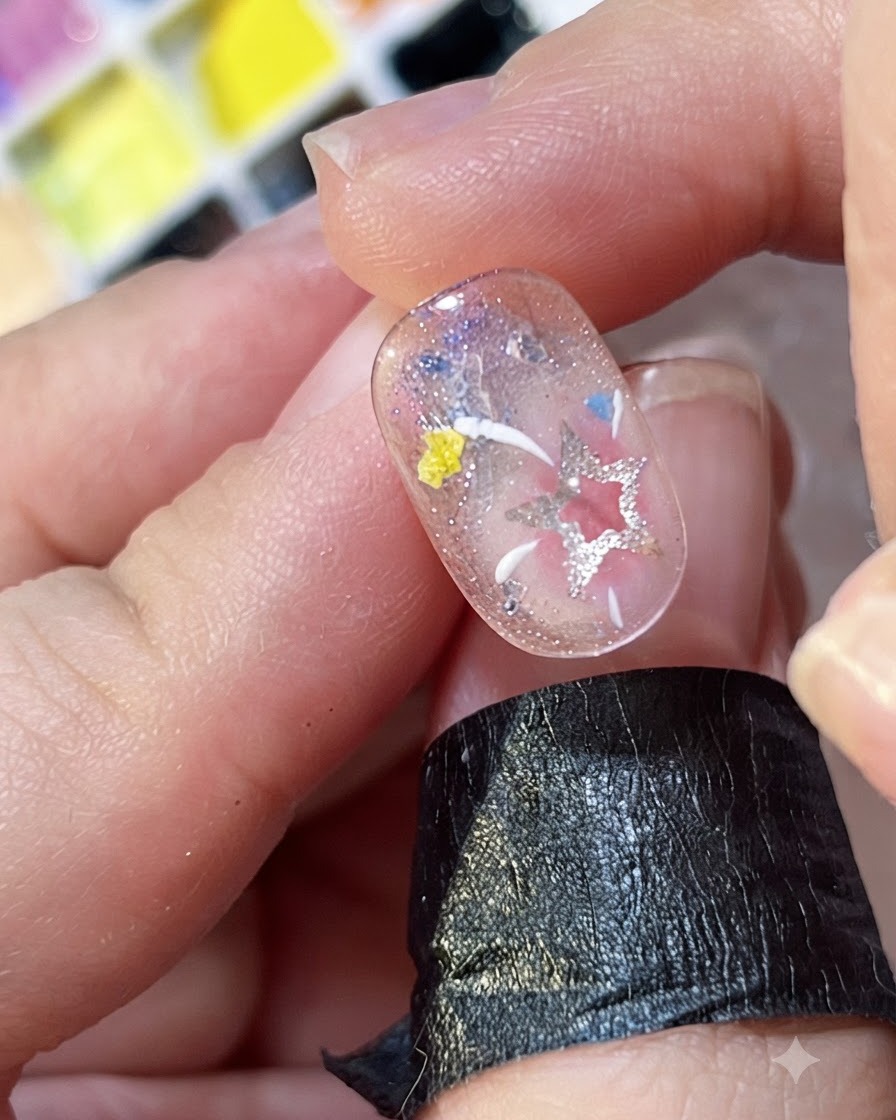
Using the fine brush and chosen paint colors, carefully paint tiny yellow and blue accent lines radiating outward from the design elements. These delicate strokes tie the entire piece together to complete the vibrant firework effect.
Tip: Use a light touch with the very tip of the brush to keep the radiating lines sharp, clean, and tapered at the ends. - 19Apply final sealing top coat
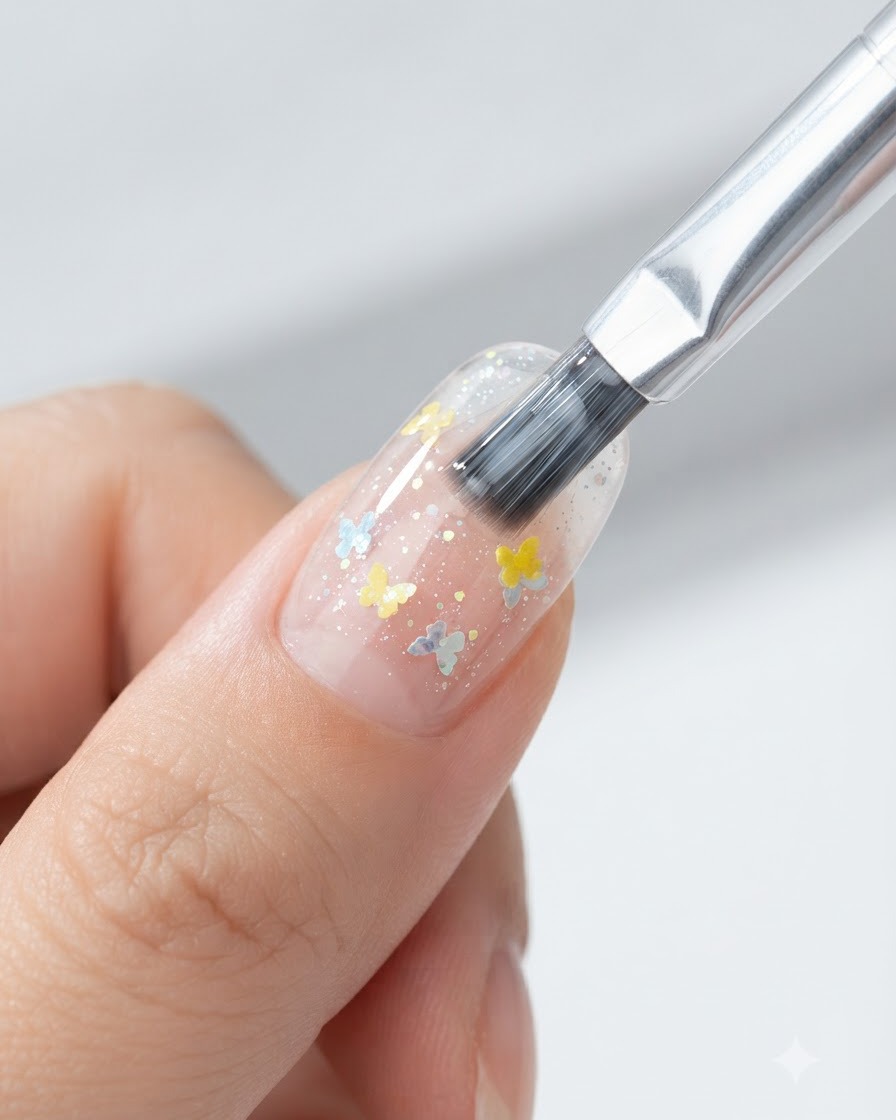
Apply a generous yet even layer of sealing top coat over the entire nail to protect the hand-painted details and embedded confetti. Cap the free edge securely and cure under the UV/LED lamp for a long-lasting, high-gloss finish.
Tip: Float the top coat gently over the textured elements so you do not drag or smudge the hand-painted accent lines underneath.