Starry Cat Eye
Glitter Gradient Nail Art — Step-by-Step Tutorial
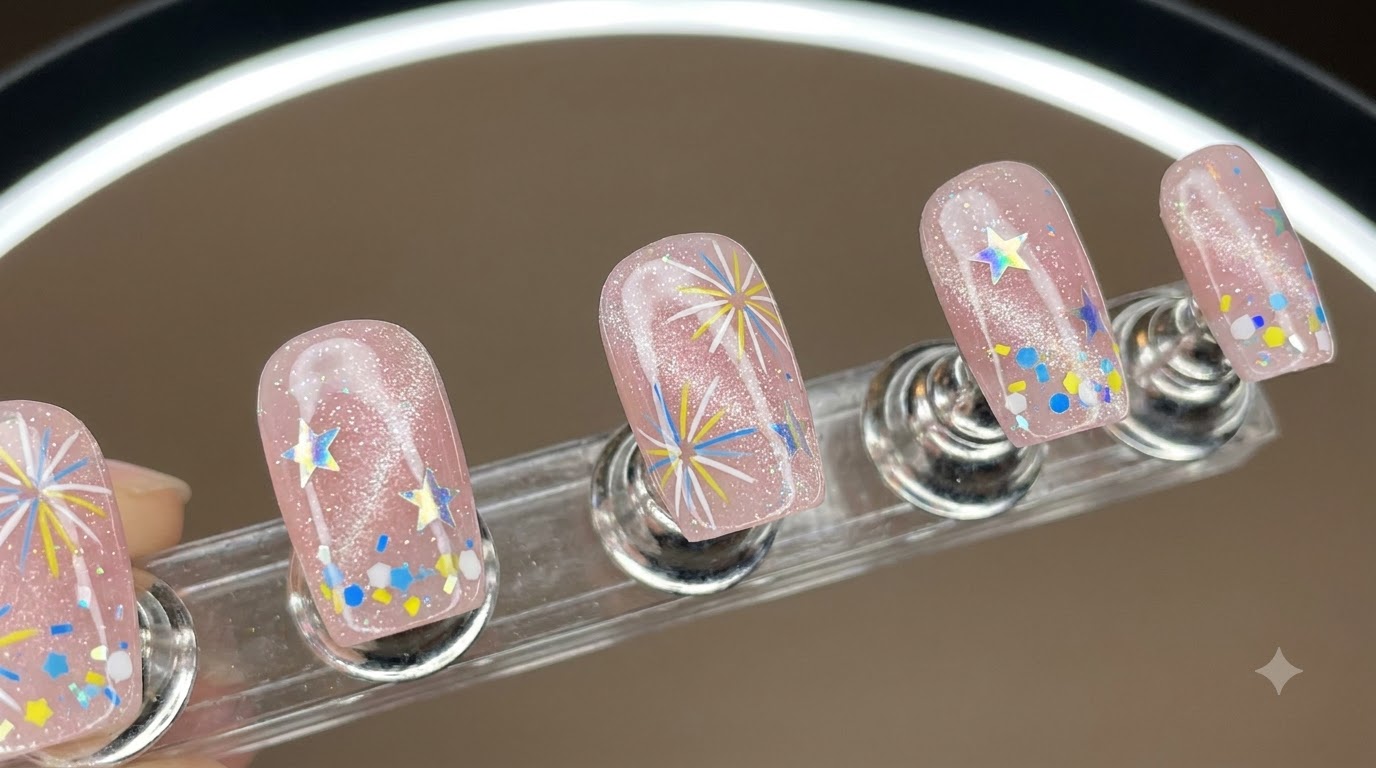
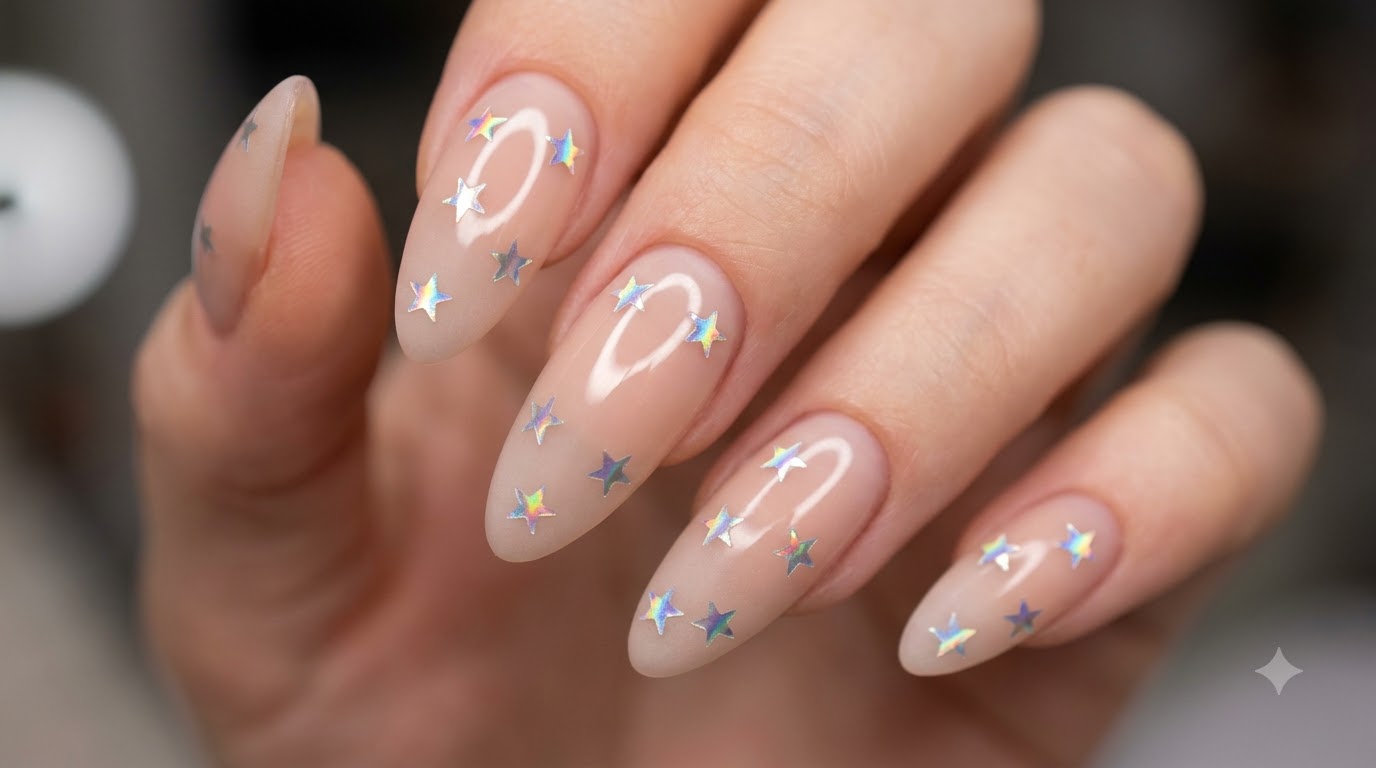
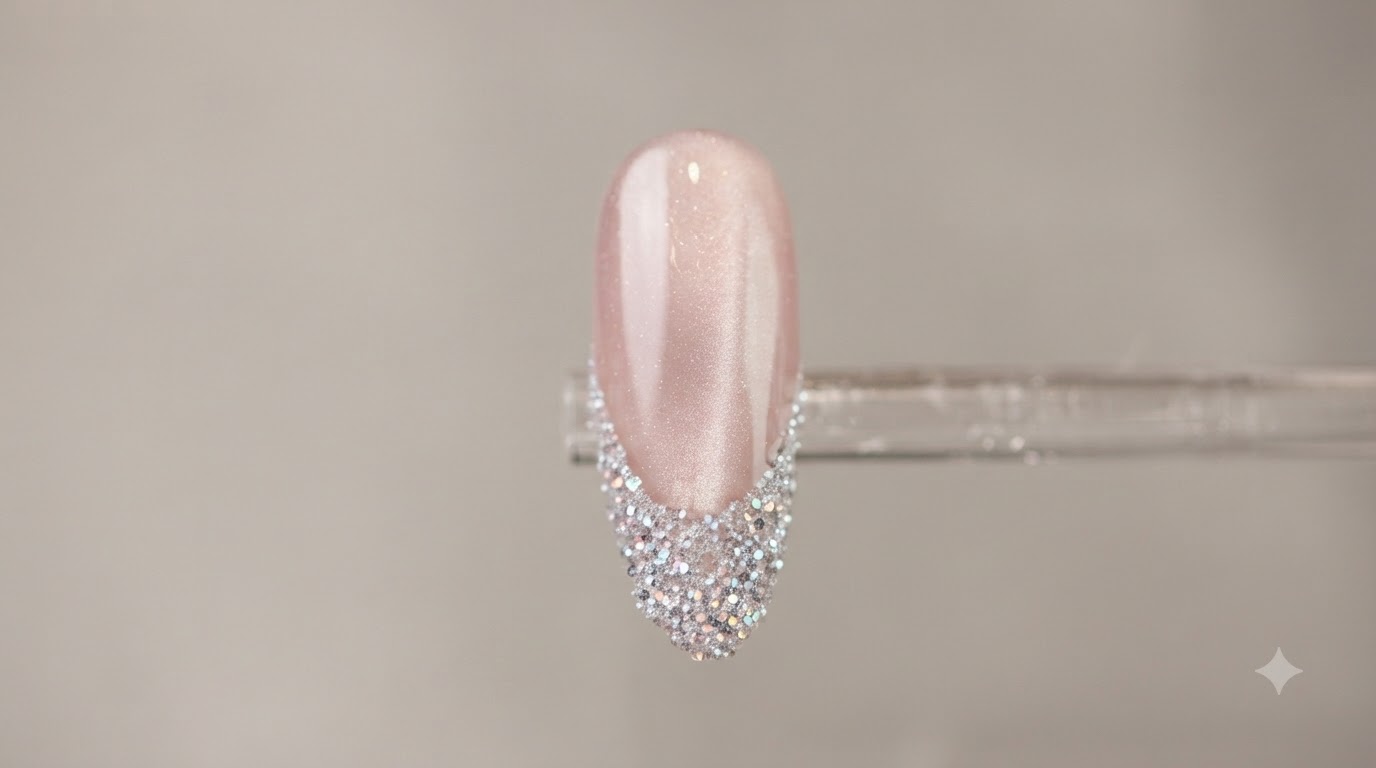
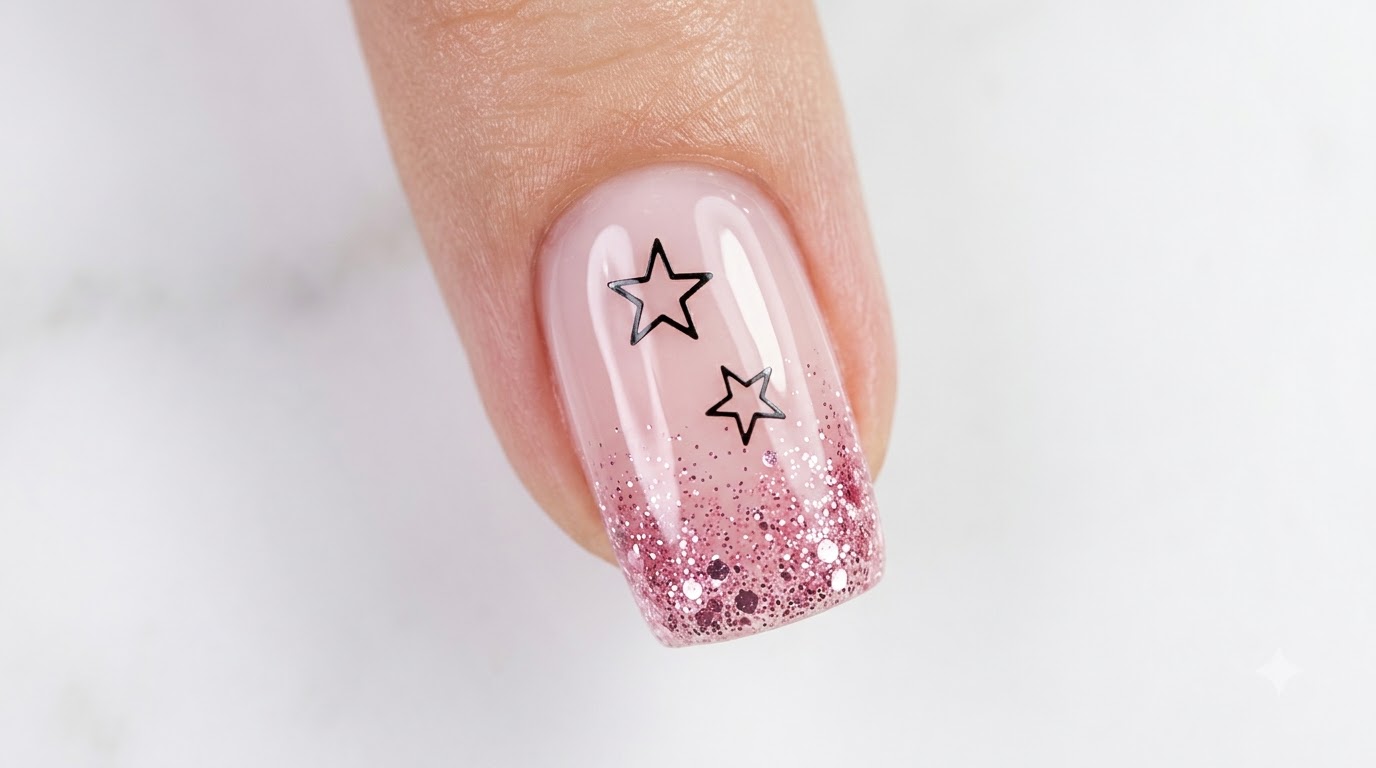
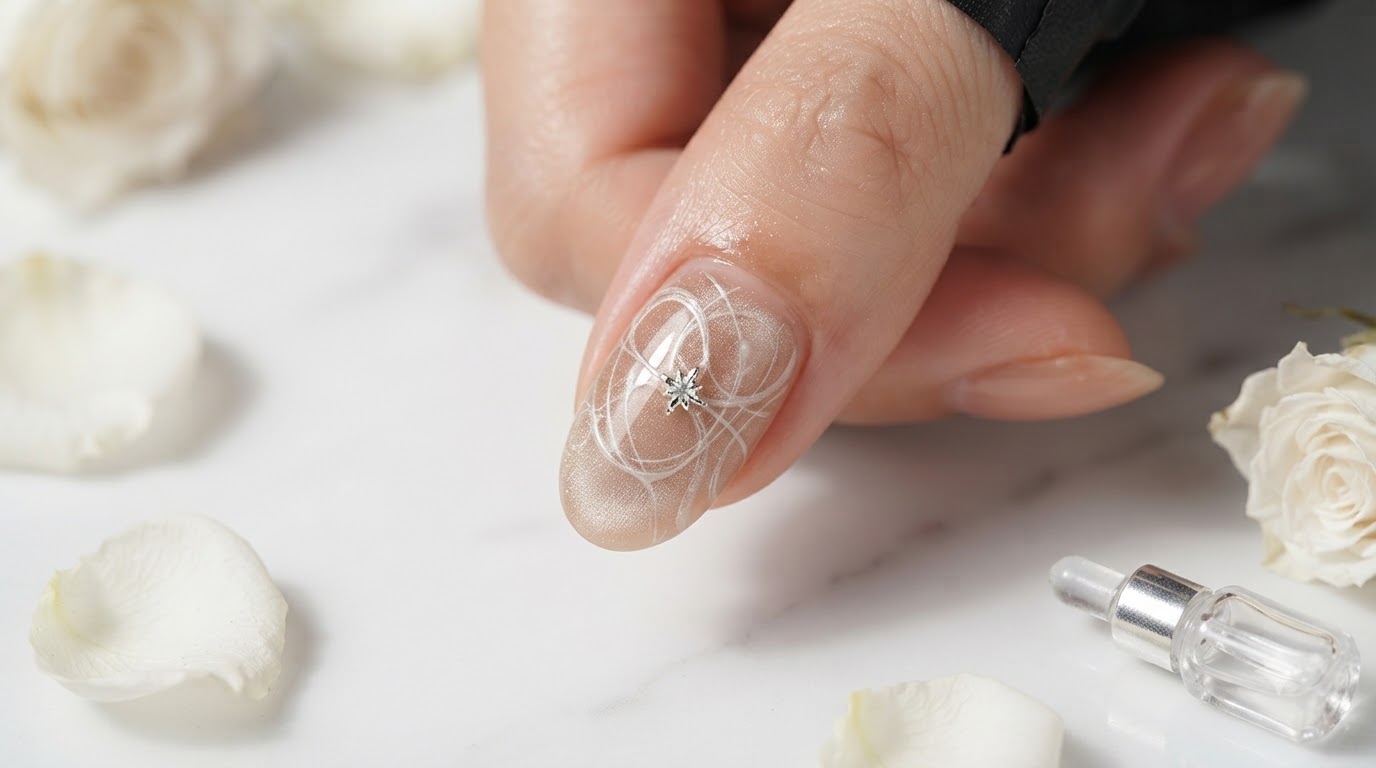
Create an affordable alternative starry night nail look featuring sparkling coarse magnetic cat-eye gel, delicate pulled gel threads, and a silver star rhinestone.
Cat eye nails require proper structuring, and achieving a smooth, rounded surface is half the success. This tutorial shows how to use zero-base coarse magnetic powder to create stunning depth, paired with fine pulled gel lines and scattered glitter for a three-dimensional starry night effect.
Steps
- 1Clean and prep cuticles with electric drill
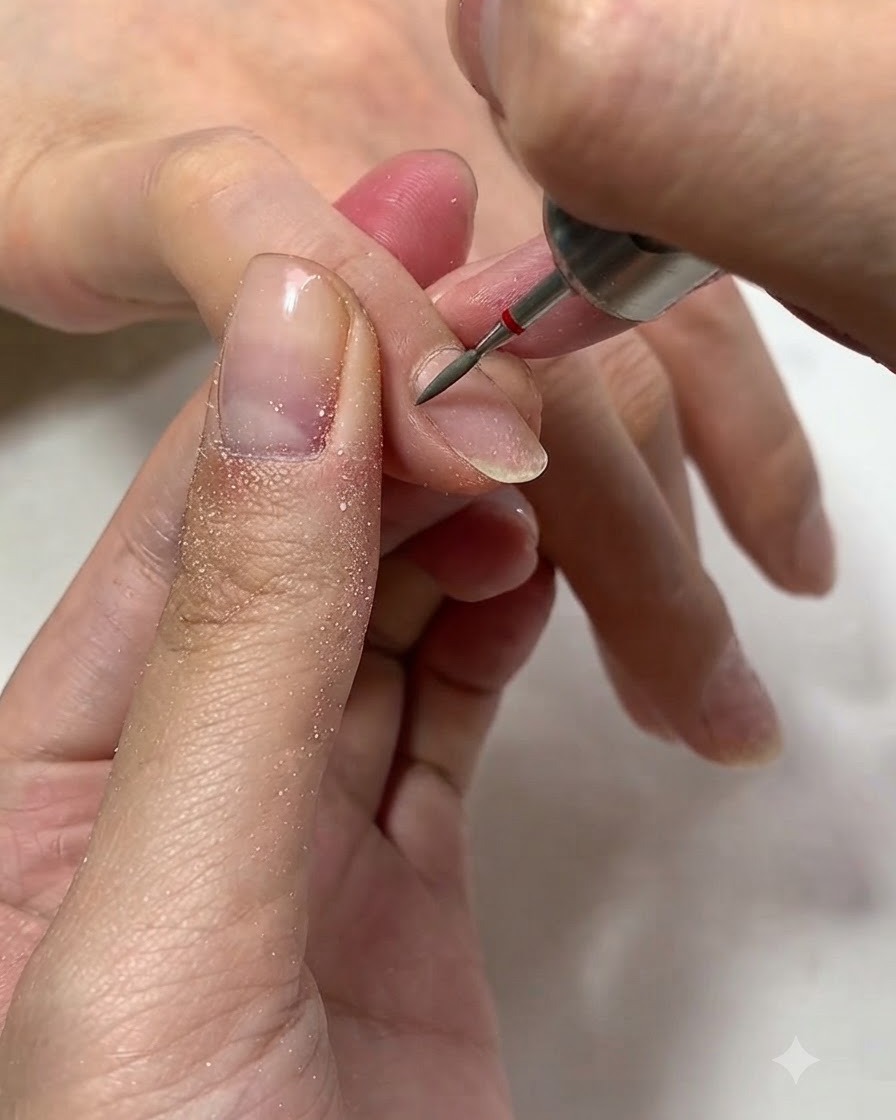
Using an electric nail drill equipped with a fine ceramic bit, carefully clean and push back the non-living tissue around the cuticle area. Maintain a gentle touch and move the drill smoothly along the nail plate to avoid damaging the natural nail surface. This ensures clean adhesion zones for the upcoming gel layers.
Tip: Keep the drill speed low to medium and use a light sweeping motion to prevent friction burns on the nail plate. - 2Apply gel base coat
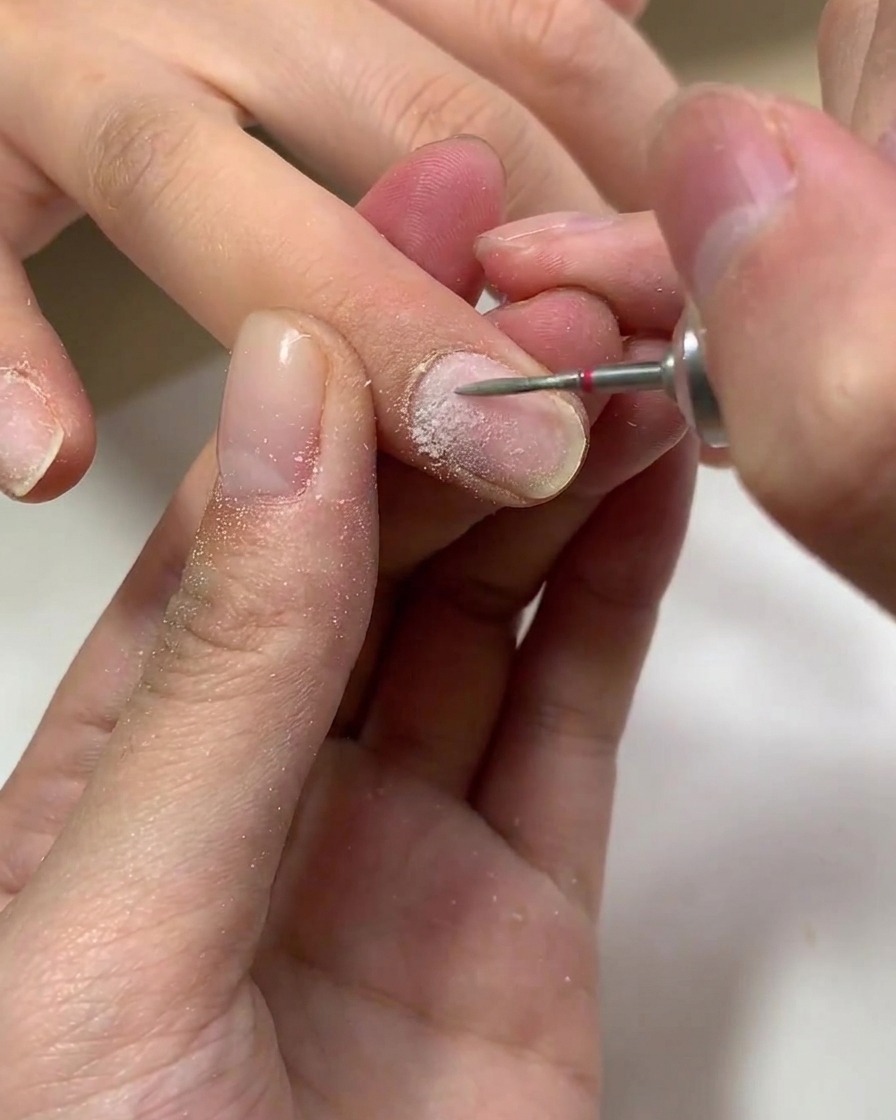
Take a brush with a small amount of gel base coat and apply an even, thin layer over the prepped natural nail surface. Ensure complete coverage while leaving a tiny gap around the cuticle and skin boundaries to prevent future lifting. Cap the free edge of the nail cleanly.
Tip: Applying base coat too thickly can cause it to wrinkle or pull away during curing. Keep layers thin and controlled. - 3Sculpt the nail apex with builder gel
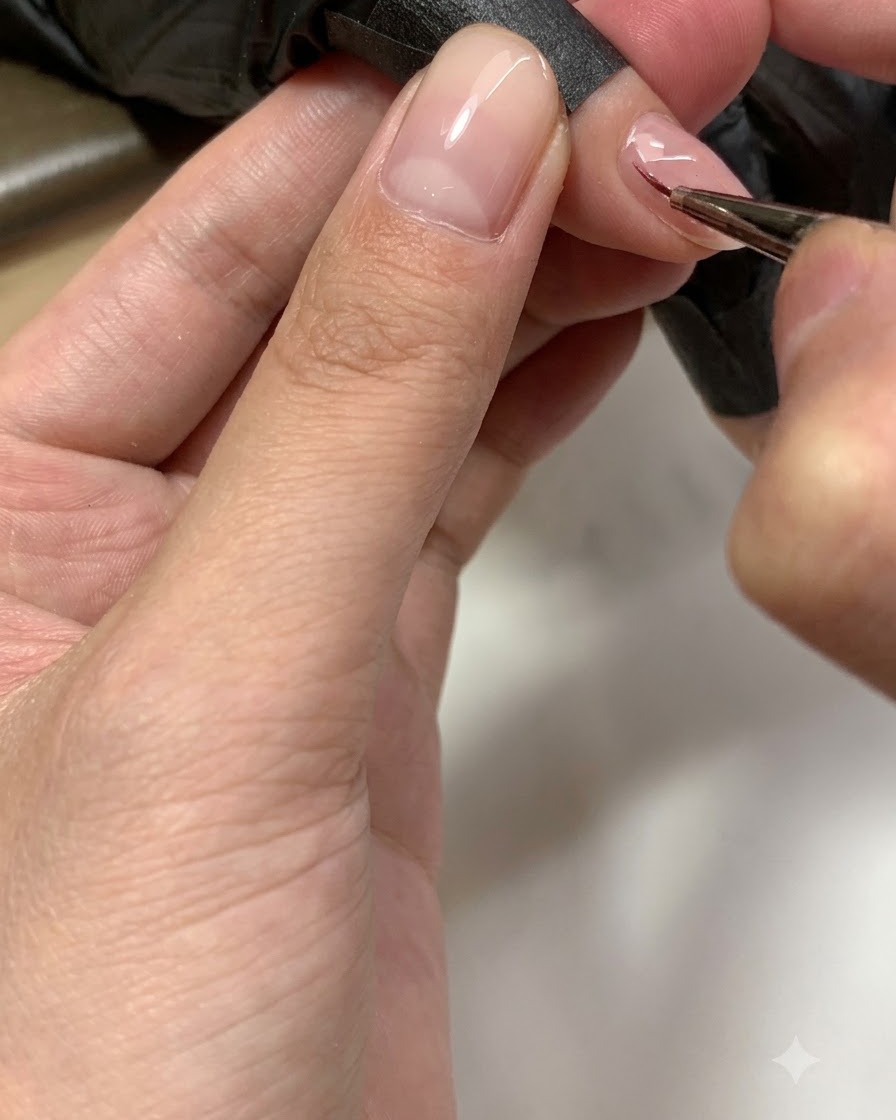
Using a fine liner brush dipped in clear or nude builder gel, carefully build and sculpt a smooth, rounded apex structure over the nail. Proper structuring adds structural strength and gives the nail a graceful arch. Work gently to keep the surface self-leveling and free of bumps.
Tip: A smooth, rounded apex structure is essential for durability, especially for cat-eye or specialized magnetic designs. - 4Cure builder gel under UV/LED lamp
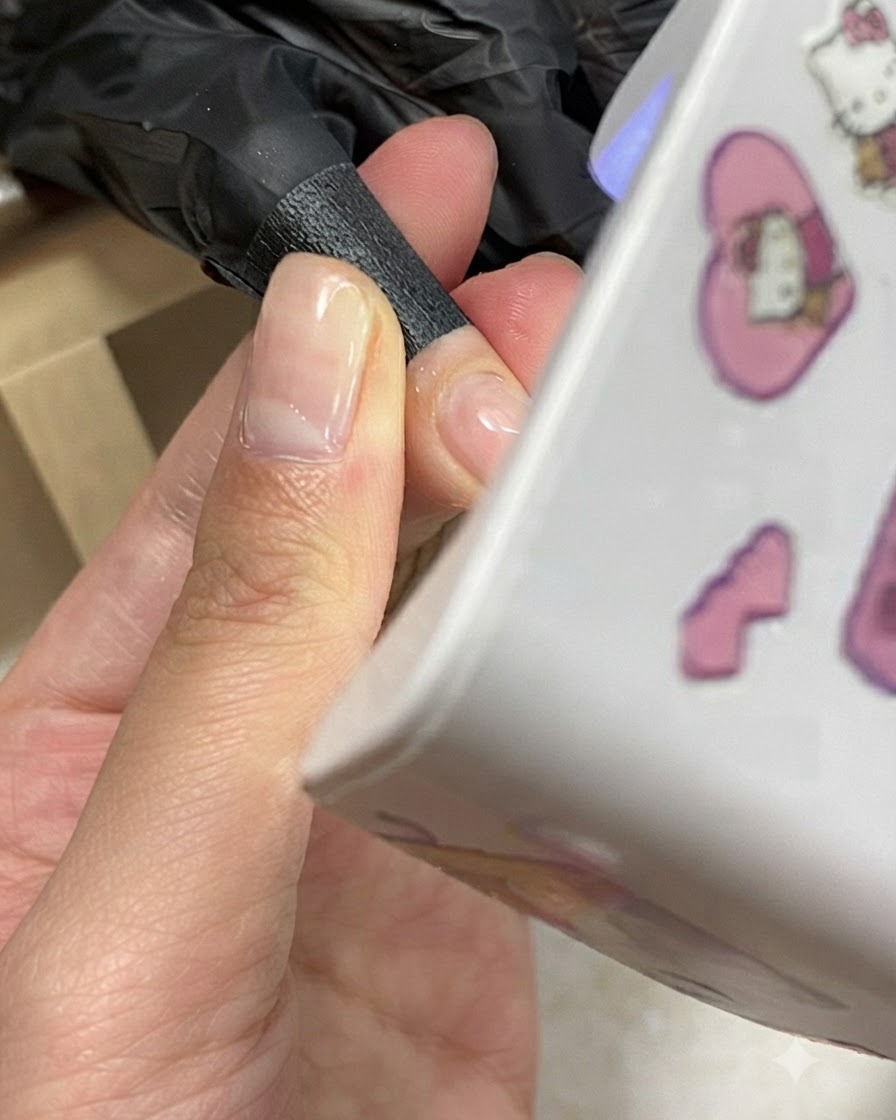
Place the clients hand underneath a mini UV/LED nail lamp to fully cure the newly built gel structure. Hold the hand steady in the proper curing position for the manufacturer-recommended duration to ensure the gel hardens completely without shifting.
Tip: Ensure the hand is placed directly under the light source so the apex cures evenly without shrinking or shifting. - 5Apply second layer for structural perfection
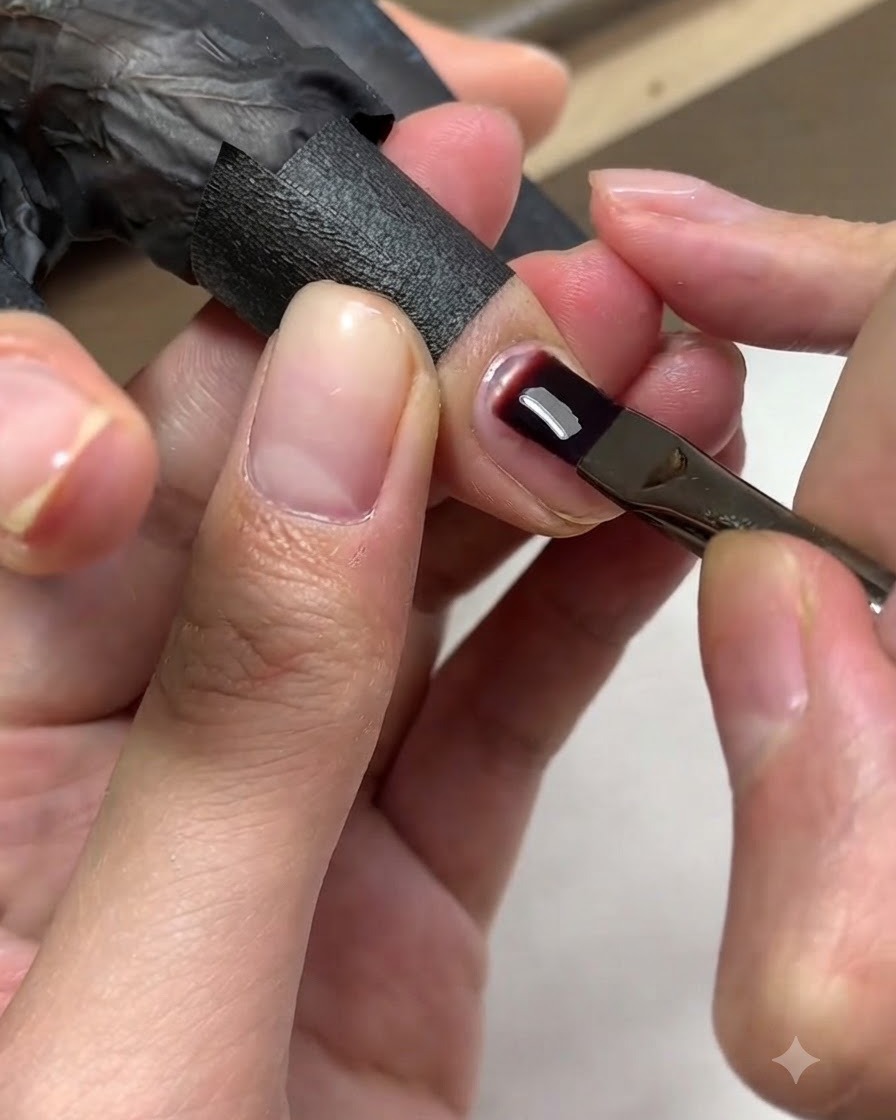
Apply a second layer of gel around the nail plate to refine the thickness, smooth out any minor imperfections, and achieve structural perfection. Work carefully around the cuticle zone to maintain a clean edge and uniform thickness across the entire nail architecture.
Tip: Check the light reflection on the nail surface to ensure a smooth, distortion-free curve before curing. - 6Cure the structural gel layer
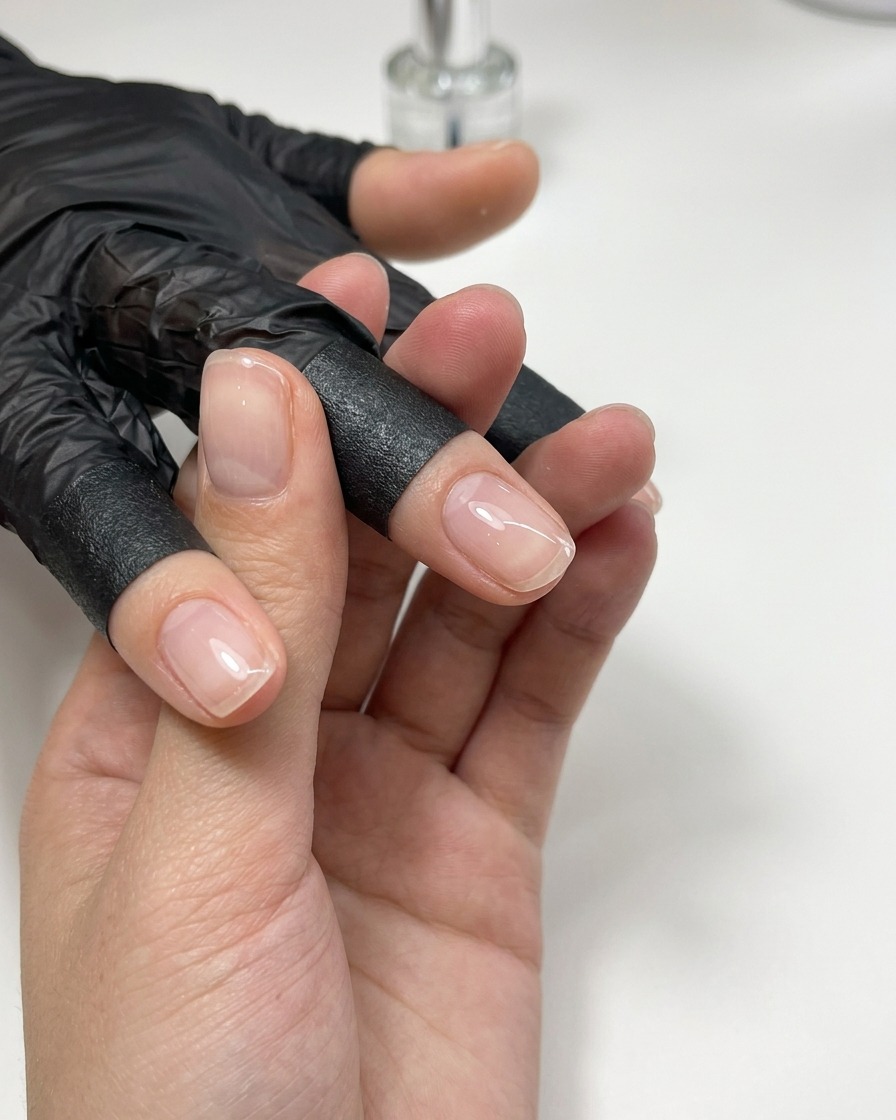
Place the hand back under the mini UV/LED nail lamp to cure this second structural layer. Allow the lamp to run through its full cycle to ensure the gel hardens completely and safely sets the underlying shape.
Tip: Do not rush the curing cycle; complete curing prevents uncured gel from causing irritation or premature lifting. - 7Apply coarse magnetic cat-eye gel
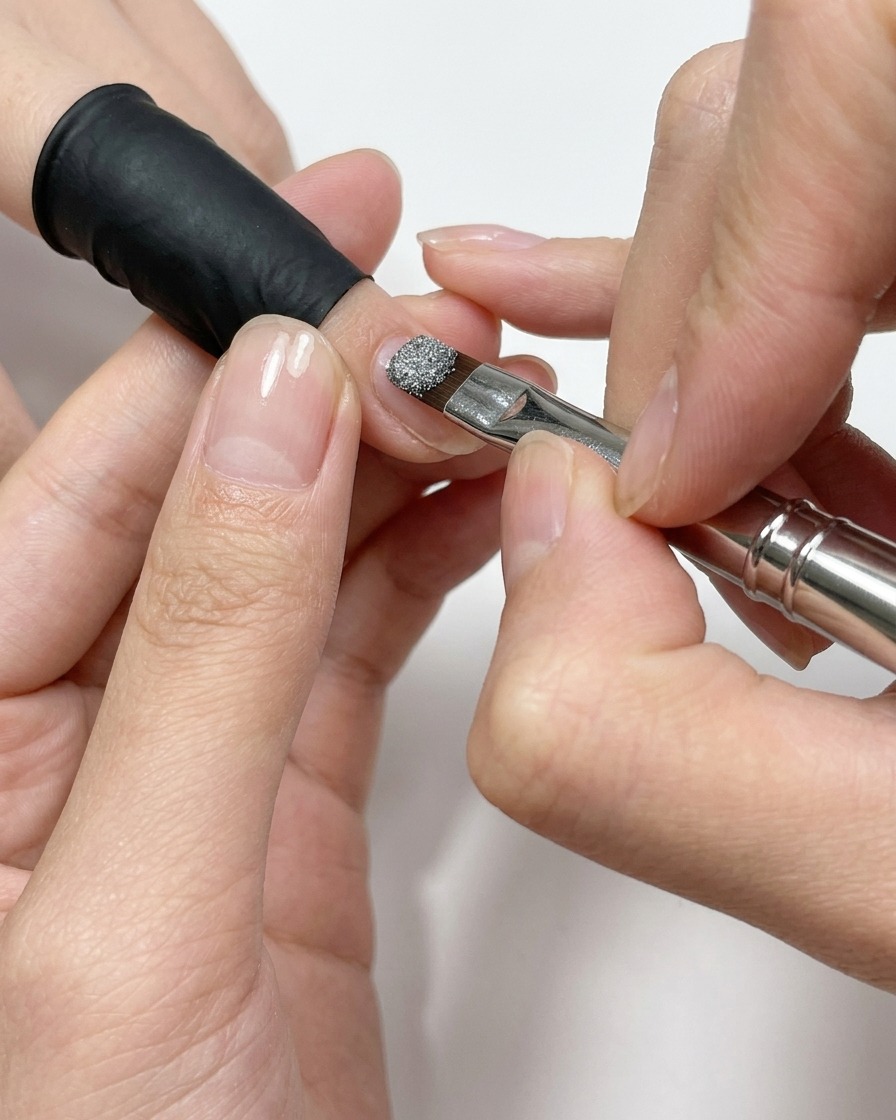
Apply a coat of coarse magnetic cat-eye gel polish onto the prepped nail surface, ensuring an even distribution to serve as the color base. A smooth and rounded structure at this stage is essential for creating the ideal depth and sparkling effect.
Tip: Building a smooth, rounded gel structure is half the success for cat-eye nails. - 8Magnetize the cat-eye gel
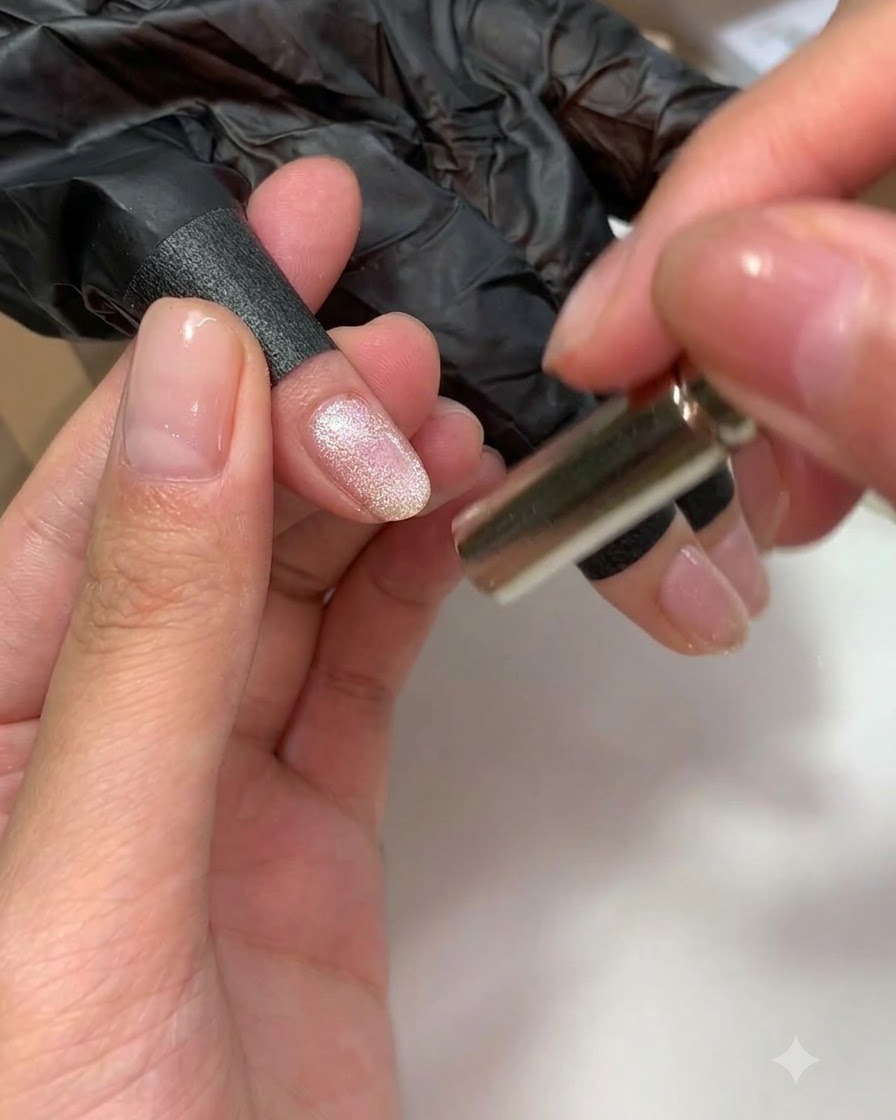
Hold a magnetic wand close to the wet cat-eye gel polish to attract and shift the magnetic particles, instantly forming a rich, three-dimensional shimmery effect. This zero-base coarse magnetic powder easily magnetizes with just a quick touch.
Tip: Keep the magnet steady and close to the nail without touching the wet surface to achieve a crisp line or glow. - 9Cure under UV/LED lamp
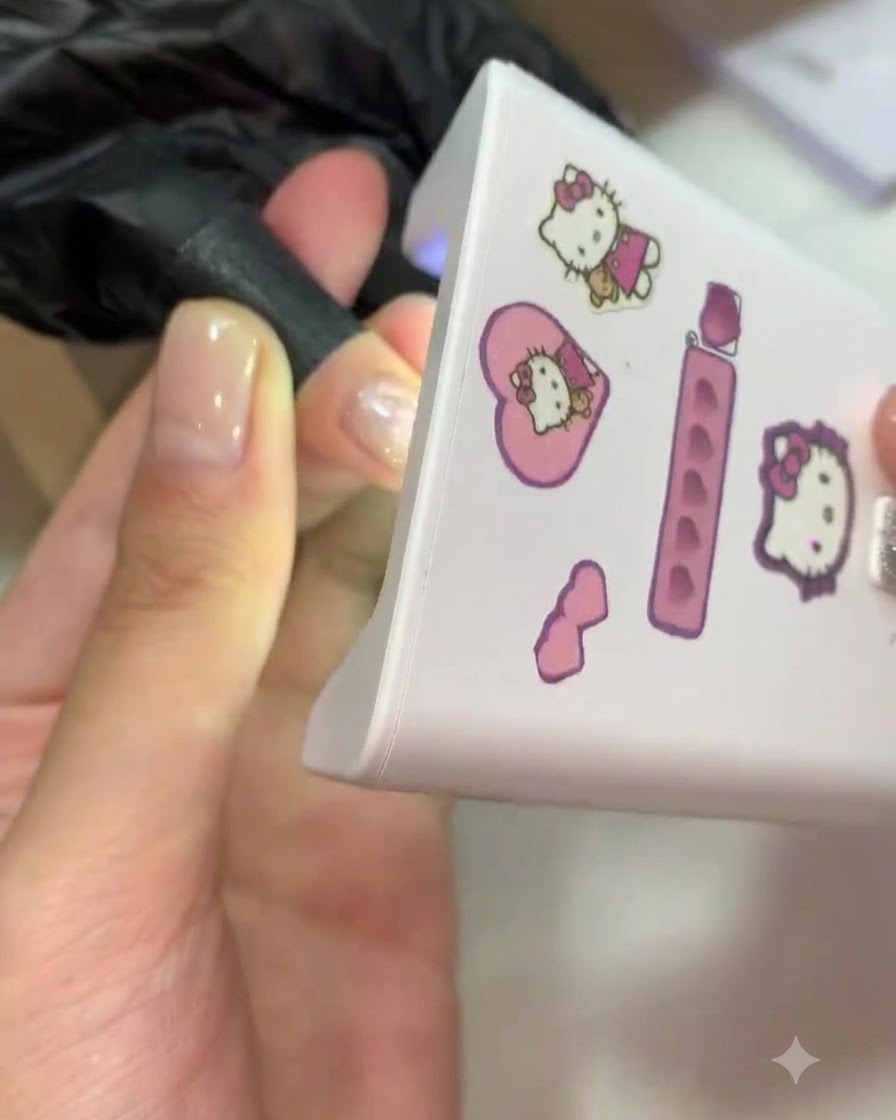
Place the finger under a portable UV/LED lamp to fully cure the cat-eye gel layer and lock the magnetic pattern in place. Ensure proper curing time to prevent shifting or wrinkling of the gel surface.
Tip: Always cure immediately after achieving your desired magnetic effect so the particles do not disperse. - 10Draw fine threads with pulling gel
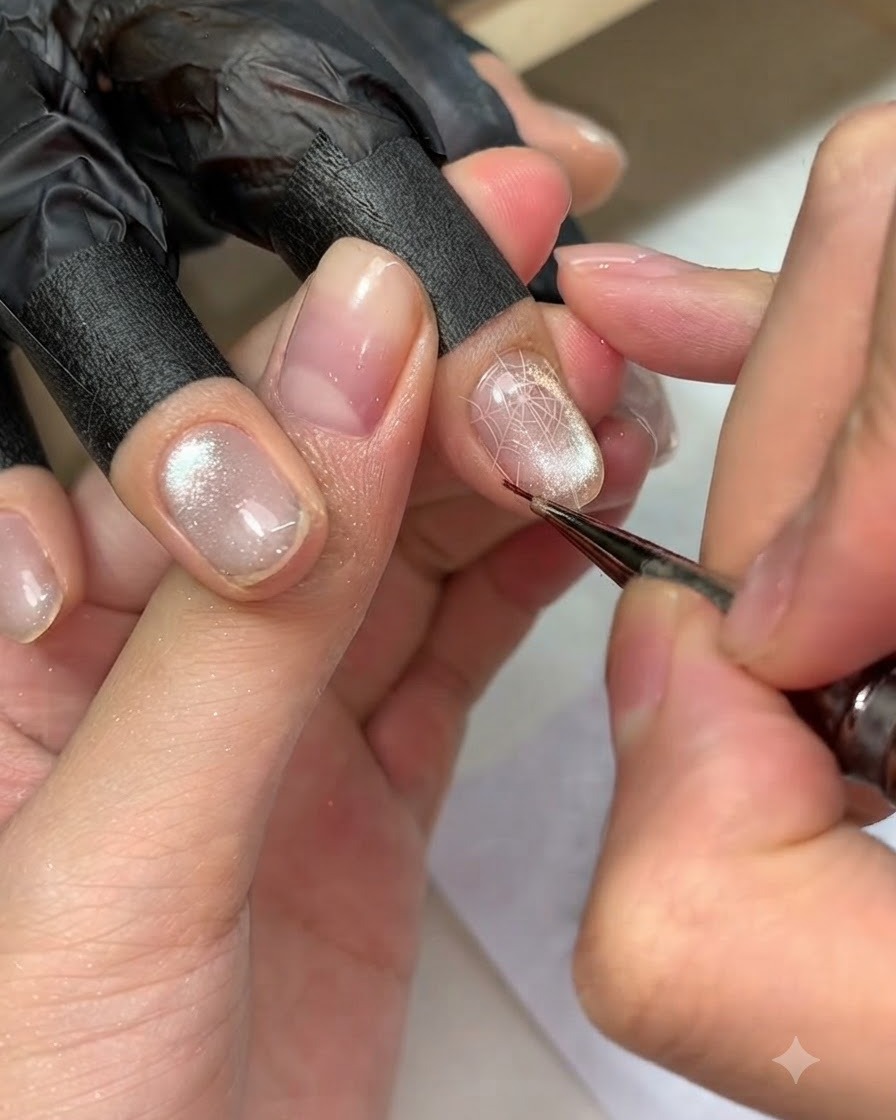
Using a fine liner brush dipped in transparent pulling gel, draw delicate lines and spider-web-like threads across the cured cat-eye nail surface. Do not cure under the lamp yet, as the sticky wet lines are needed to hold the loose glitter powder.
Tip: Keep your hand steady when pulling threads to ensure fine, crisp lines across the nail. - 11Sprinkle glitter powder
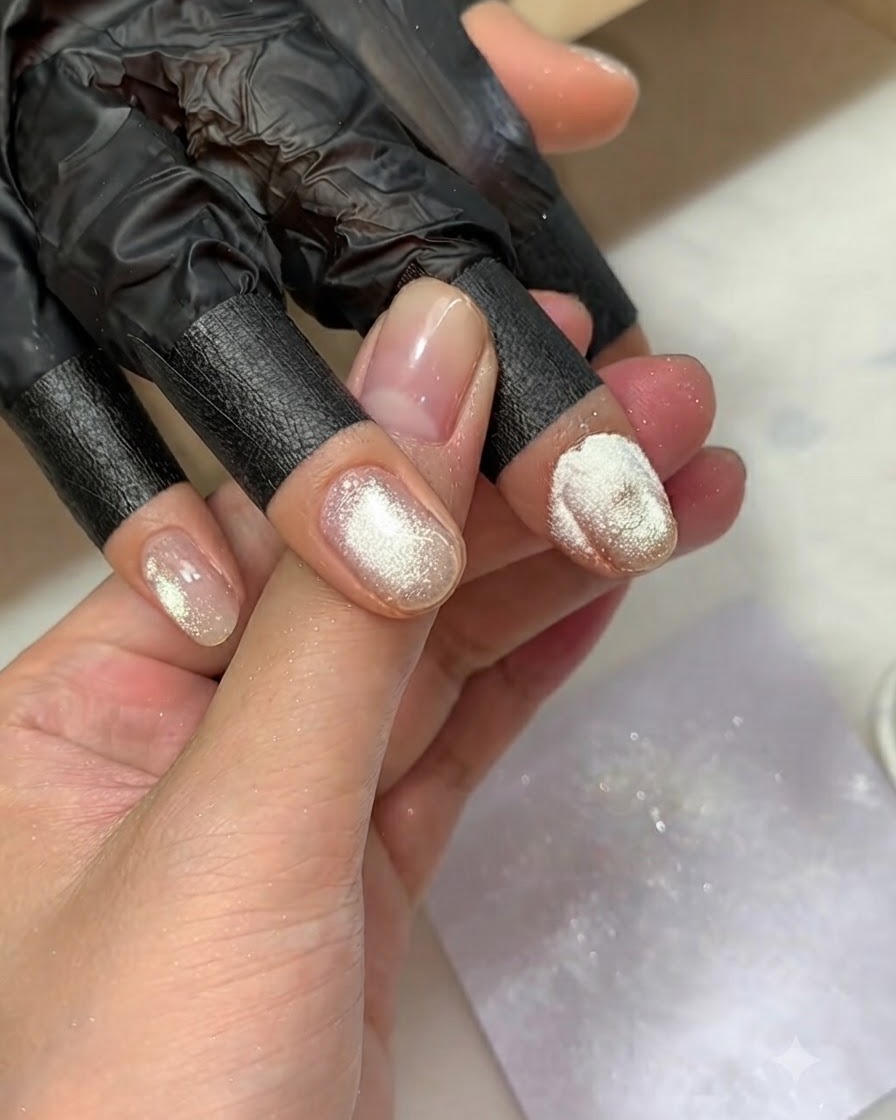
Sprinkle extra fine silver glitter powder directly over the uncured pulled gel lines. Shake off any excess powder before curing under the lamp to create a sparkling, three-dimensional starry texture.
Tip: Shake off the excess powder gently to keep the surrounding nail clean and highlight only the pulled lines.