Pink Glitter Gradient
Star Decals — Step-by-Step Gel Nail Tutorial
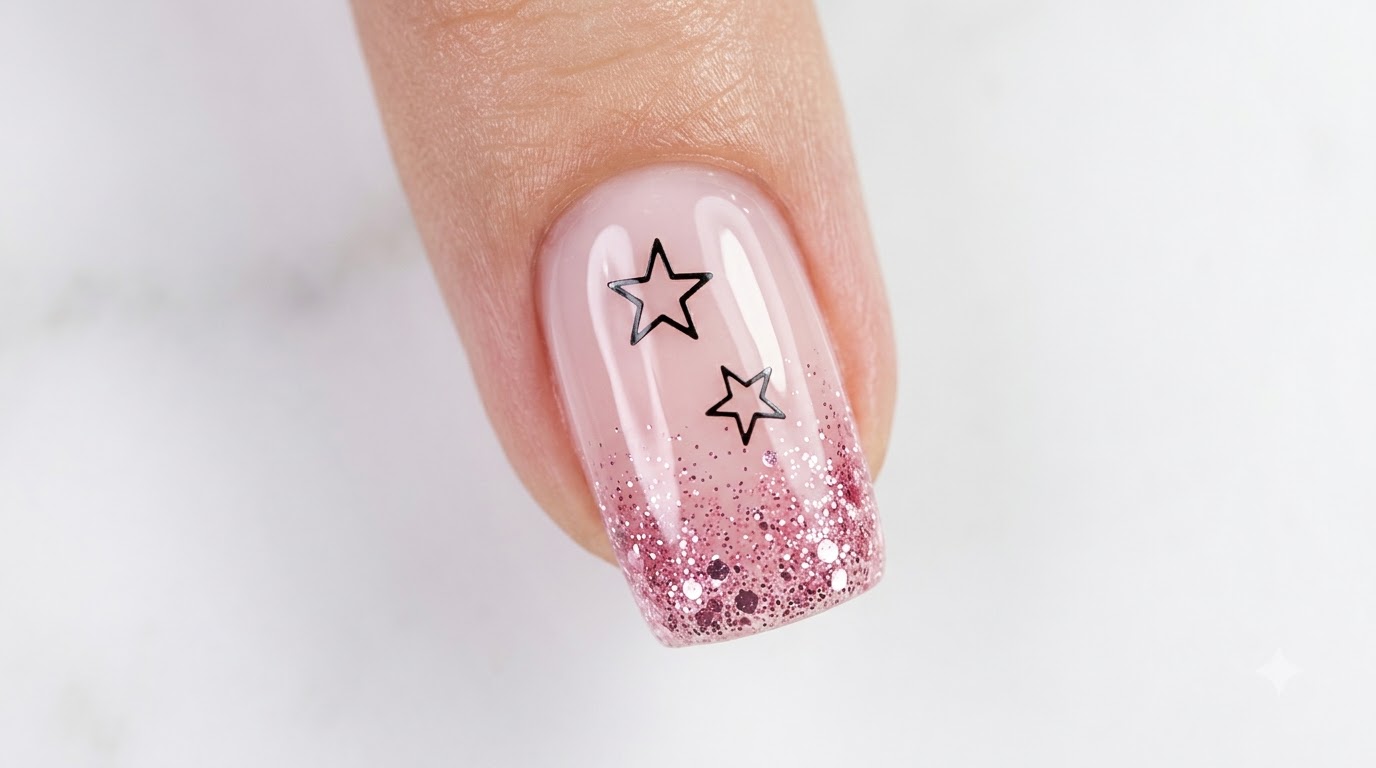
Create a stunning pink glitter gradient gel manicure featuring minimalist black outline star stickers and a high-gloss structured apex.
Combining a shimmering glitter ombre fade with delicate celestial elements creates an eye-catching yet wearable nail look. This tutorial guides you through building a smooth architectural apex over textured glitter and layering crisp stickers for a flawless salon-quality finish.
Steps
- 1Apply light pink glitter
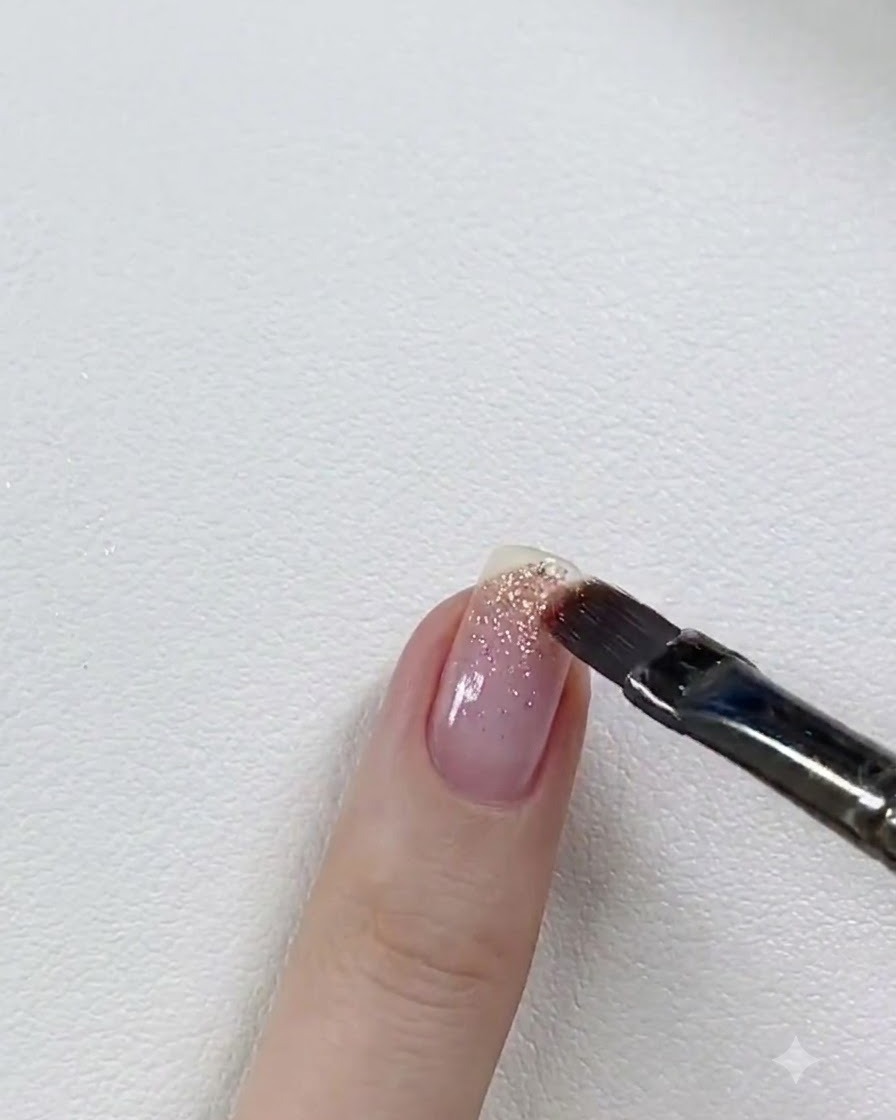
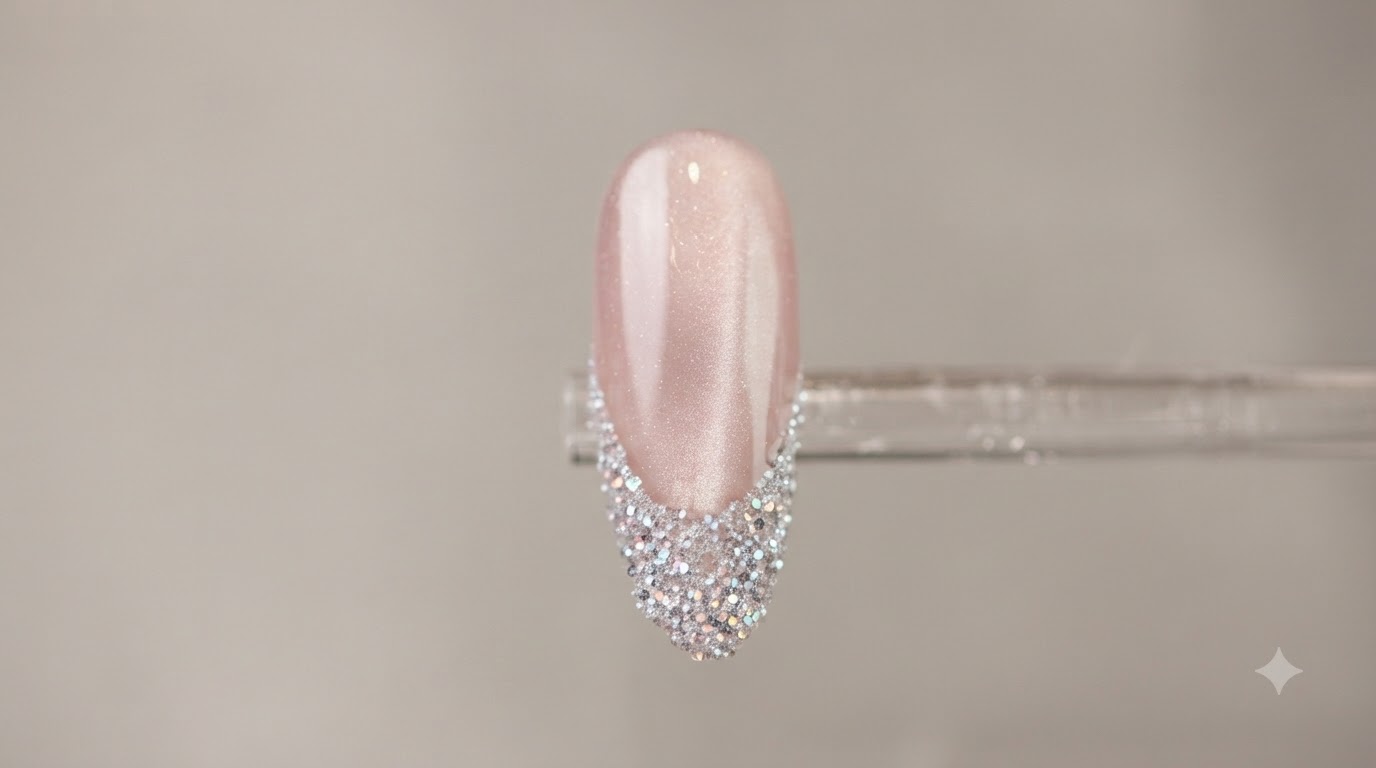
Using a flat gel brush, apply a light pink glitter gel directly to the tip of the nail. Lightly feather and blend the glitter upwards toward the center of the nail plate to create a soft, seamless gradient effect.
Tip: Wipe off any excess gel from your brush before blending upwards to ensure the fade looks natural and isnt too thick. - 2Intensify the gradient
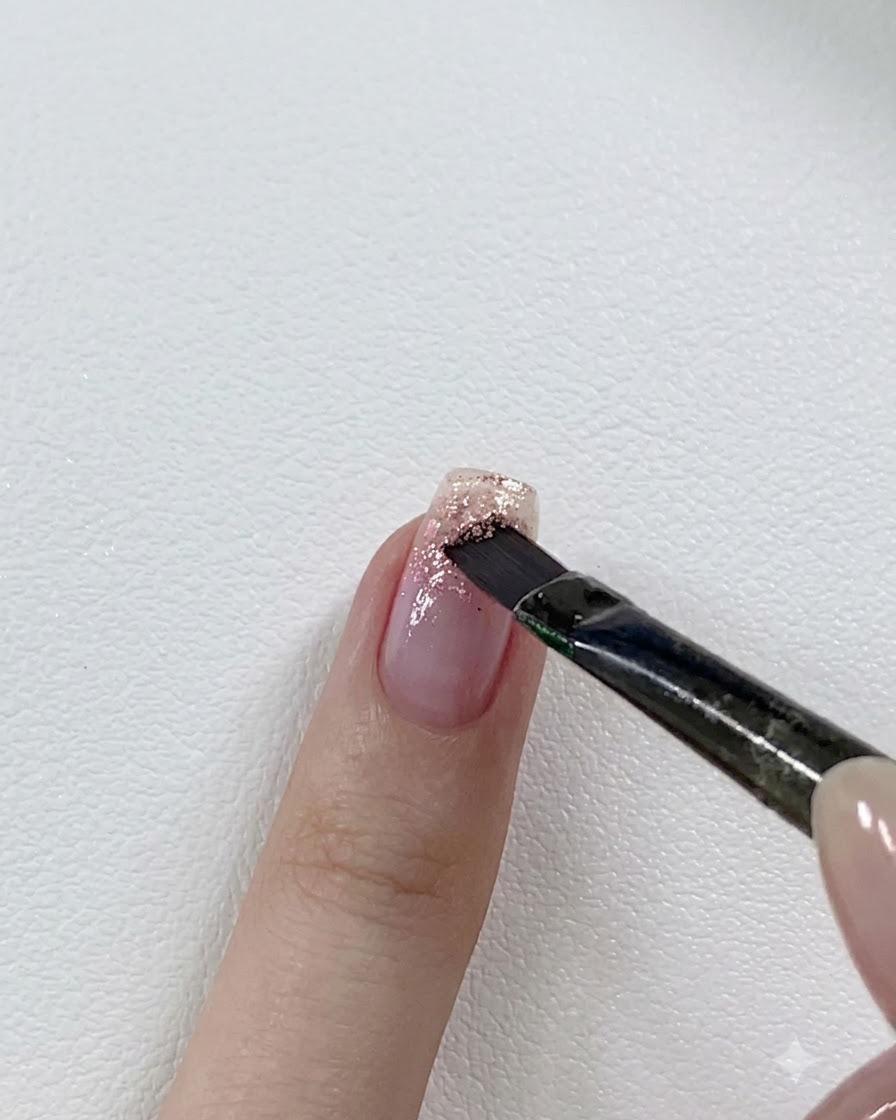
Layer a slightly deeper shade of pink glitter gel right at the free edge. Concentrating this darker color at the very tip will intensify the ombre effect and add beautiful depth to the color transition.
Tip: Keep this second layer of glitter strictly at the tip so you dont overwhelm the soft fade you created in the previous step. - 3Cure glitter gel under portable UV/LED lamp
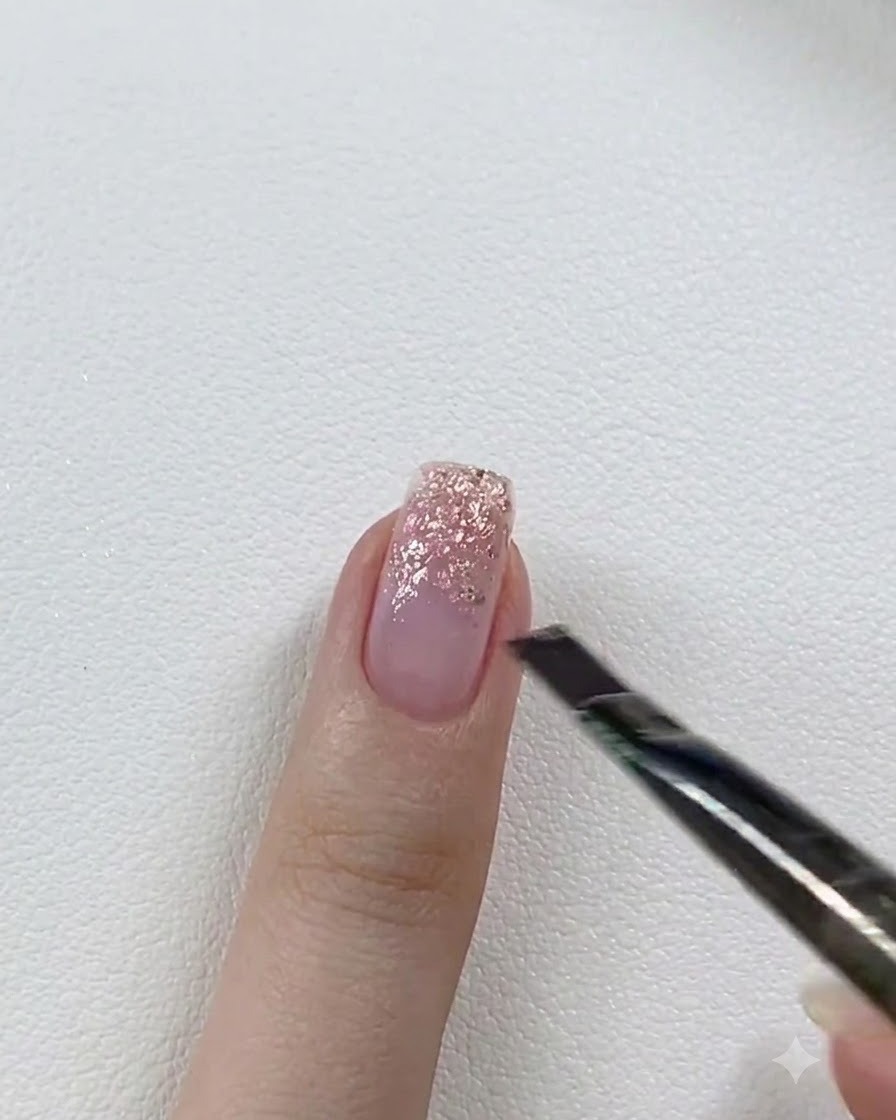
Position the finger underneath a mini portable UV or LED flashlight lamp to cure the freshly applied glitter gel layers. Hold the light steady for the recommended curing time to ensure the glitter is fully set and secured to the nail surface without shifting.
Tip: Mini portable flashlights are ideal for quickly flash-curing detailed gel art or small sections to prevent product migration before a full cure. - 4Inspect the nail side profile
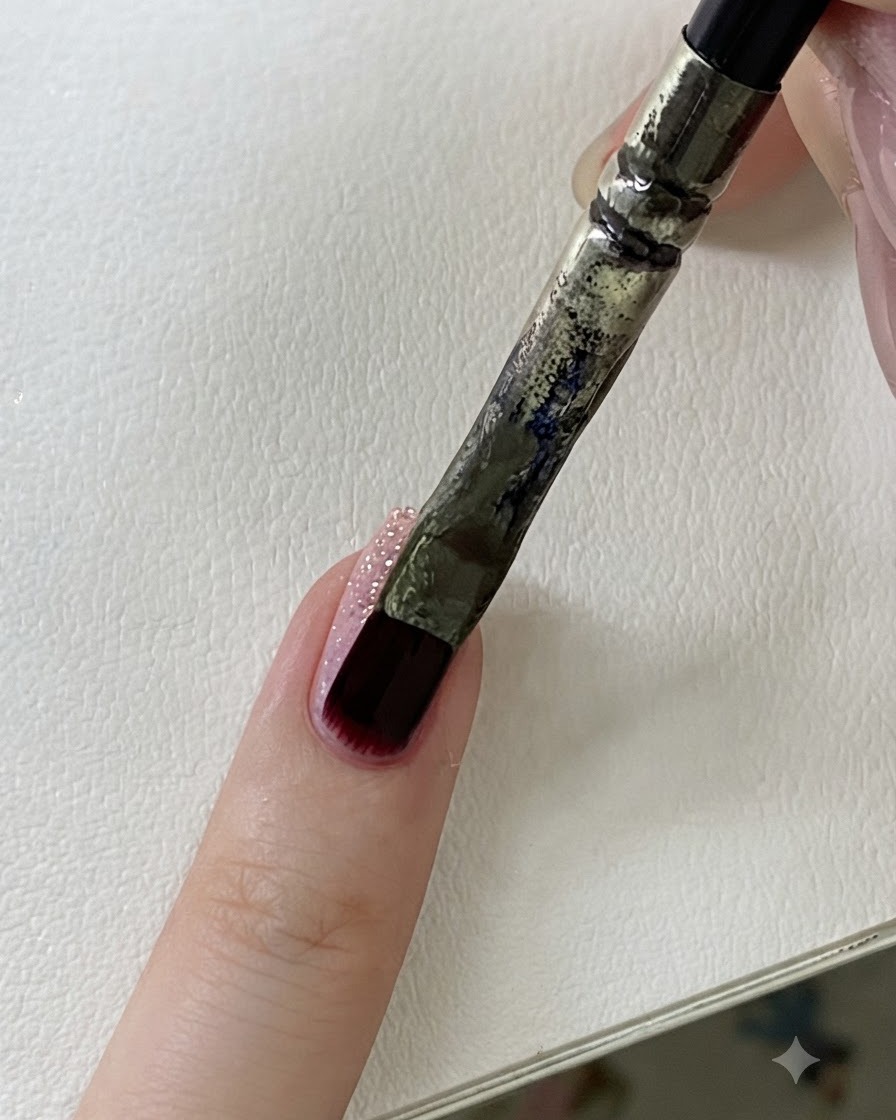
Examine the side profile of the nail to check the surface texture. The embedded glitter particles often create bumps and an uneven surface topography that must be smoothed out prior to adding nail art and finishing.
Tip: Checking the profile view is essential for identifying low spots and areas where builder gel is needed to level the nail plate. - 5Apply a slip layer of clear builder gel
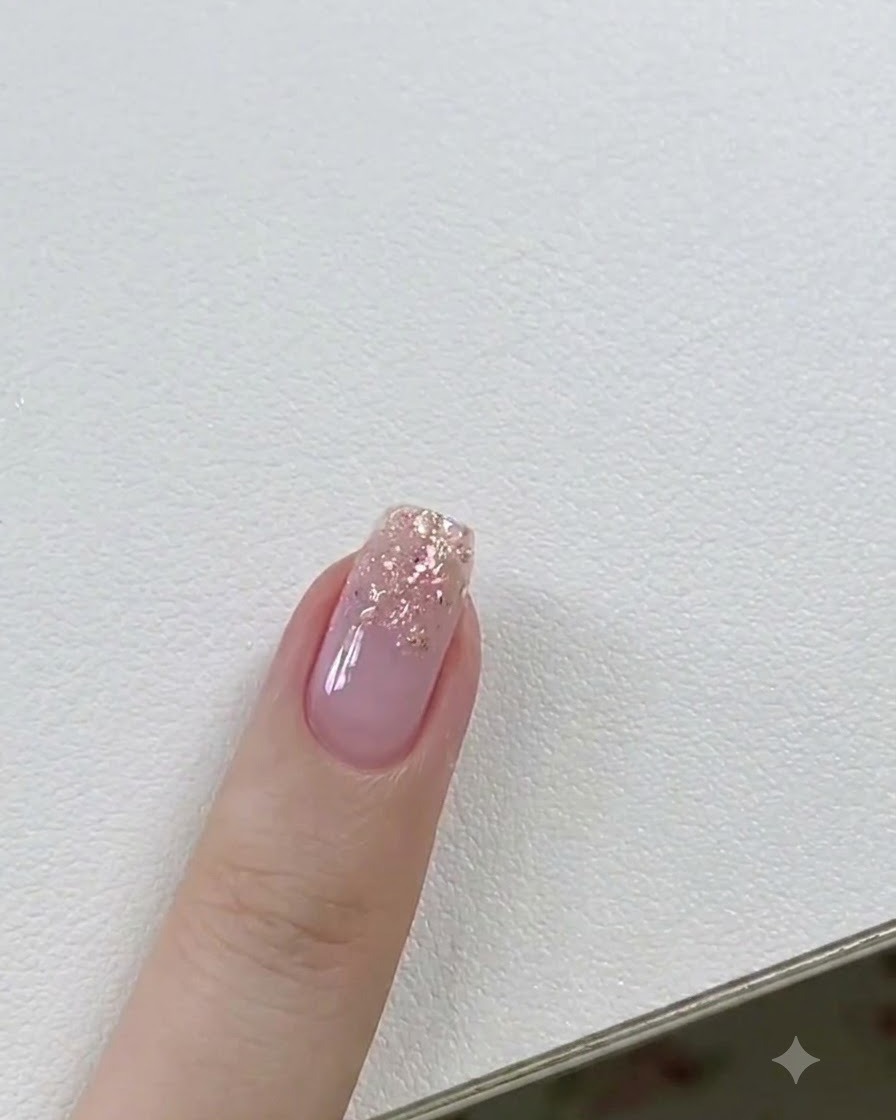
Using a clean gel brush, brush a thin, even slip layer of clear builder gel across the entire nail plate. This uncured slip layer acts as a base that helps subsequent builder gel beads flow smoothly and self-level without pooling.
Tip: Do not cure this slip layer yet; leaving it wet allows the builder gel bead to glide effortlessly across the surface. - 6Place the builder gel bead
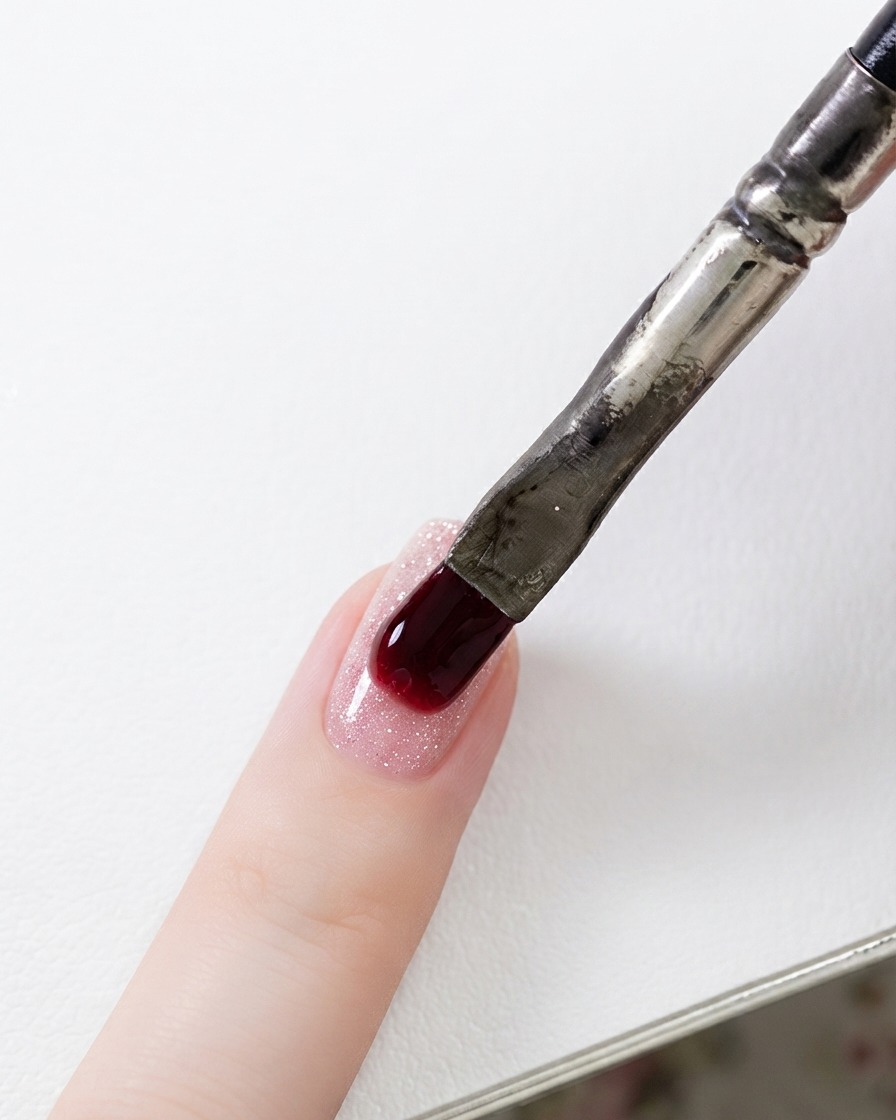
Pick up a suitable bead of clear builder gel with your brush and place it gently onto the nail plate. This bead is essential to build structural integrity, form an apex, and completely smooth out the uneven, bumpy texture created by the glitter particles.
Tip: Allow the gel to self-level for a few seconds. You can briefly invert the hand upside down to help gravity pull the gel into a perfect natural curve. - 7Invert finger to self-level and cure builder gel
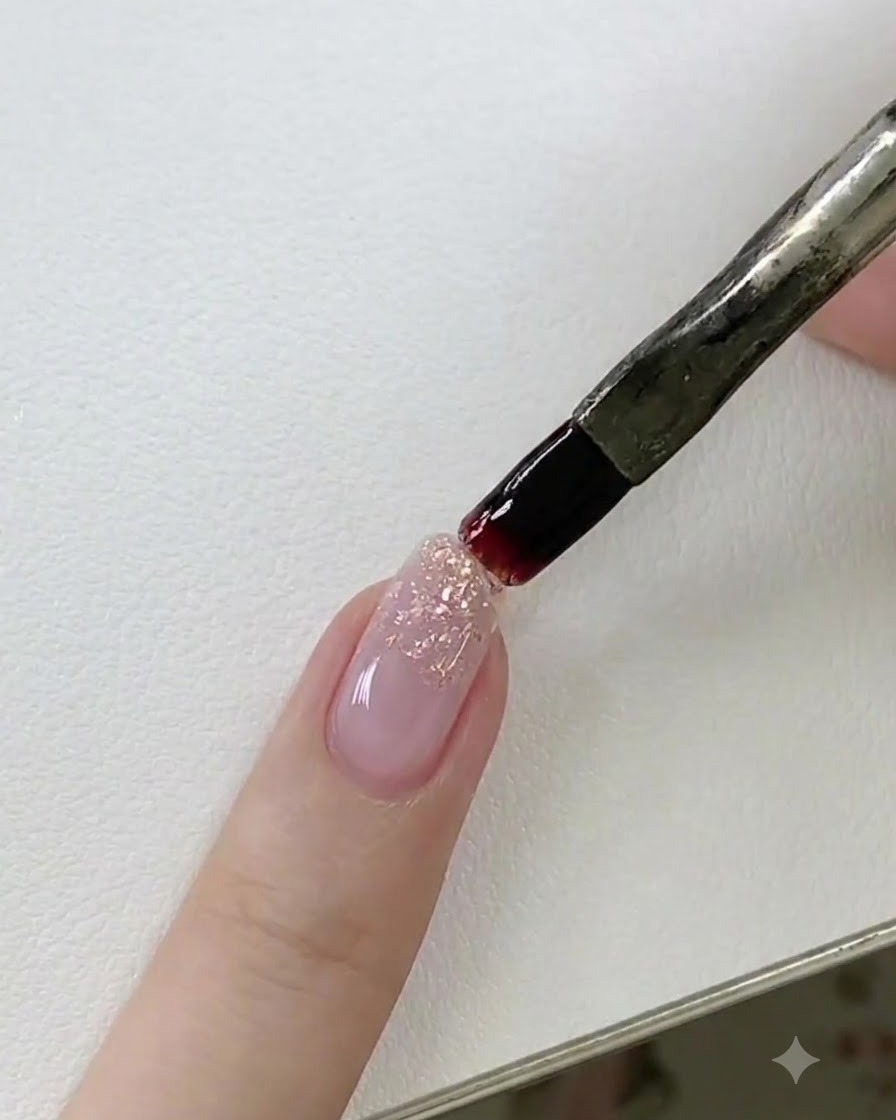
Briefly turn or invert the finger upside down so gravity pulls the builder gel into a smooth, self-leveled apex structure. Once the natural curvature and smooth arch form correctly, place the hand under the UV or LED lamp to cure.
Tip: Inverting the hand for just a few seconds helps center the gel and creates a flawless high-gloss structure before curing. - 8Wipe away the sticky inhibition layer
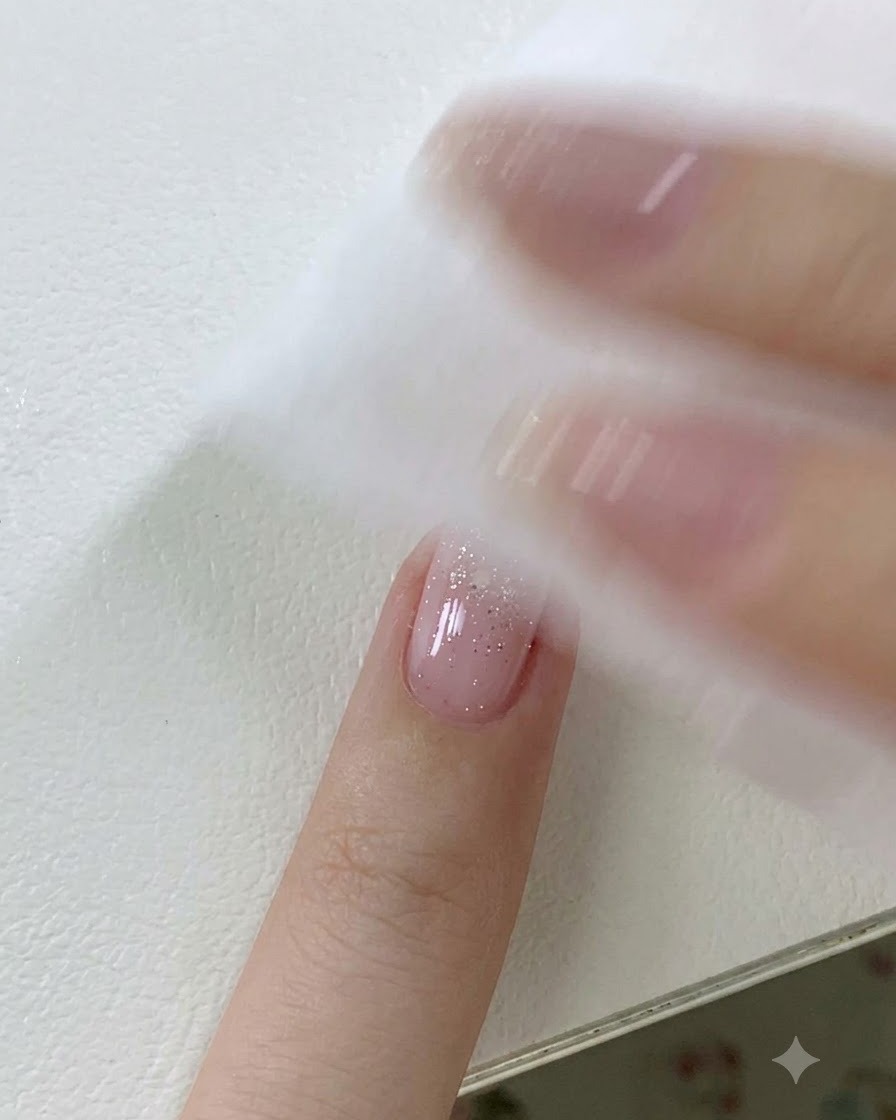
Take a lint-free wipe saturated with cleanser and thoroughly wipe down the cured builder gel surface. This removes the tacky inhibition layer left behind after curing, leaving a clean, smooth base ready for sticker placement.
Tip: Always ensure the inhibition layer is completely removed so that stickers and subsequent layers adhere properly without sliding. - 9Place a black star sticker on the nail
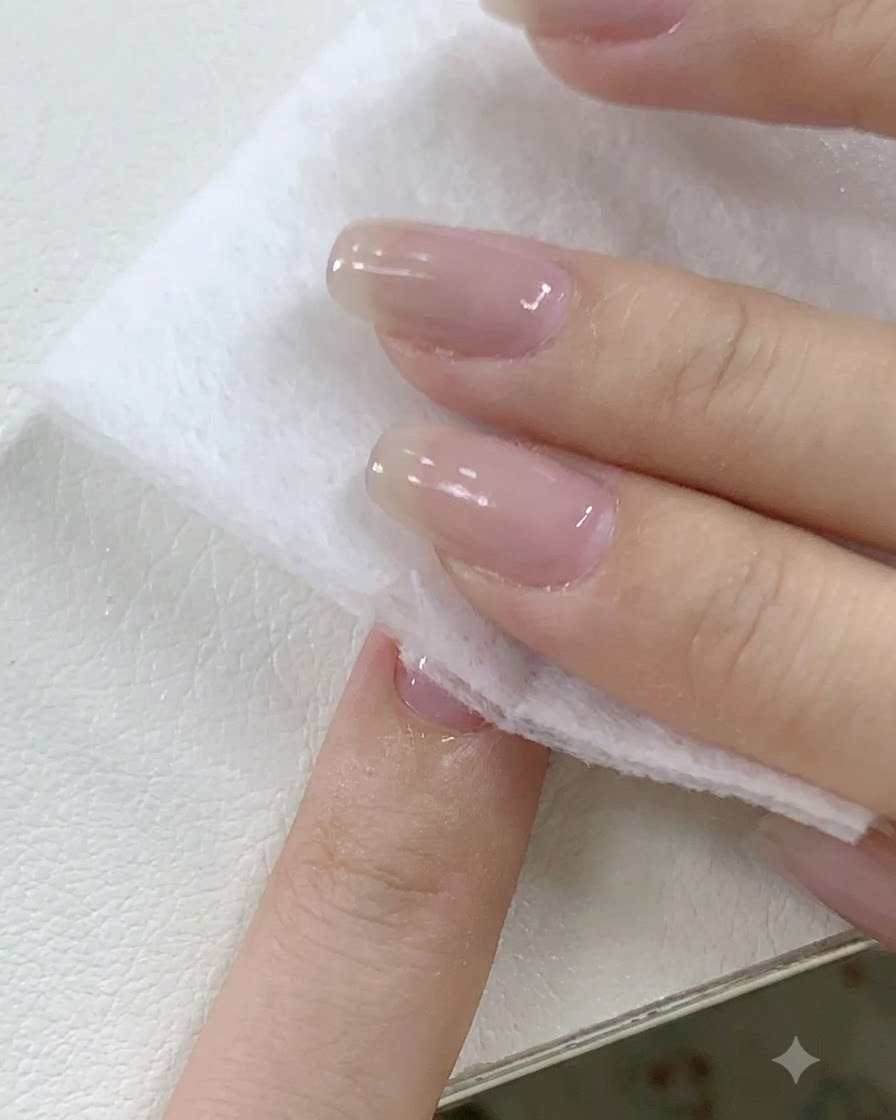
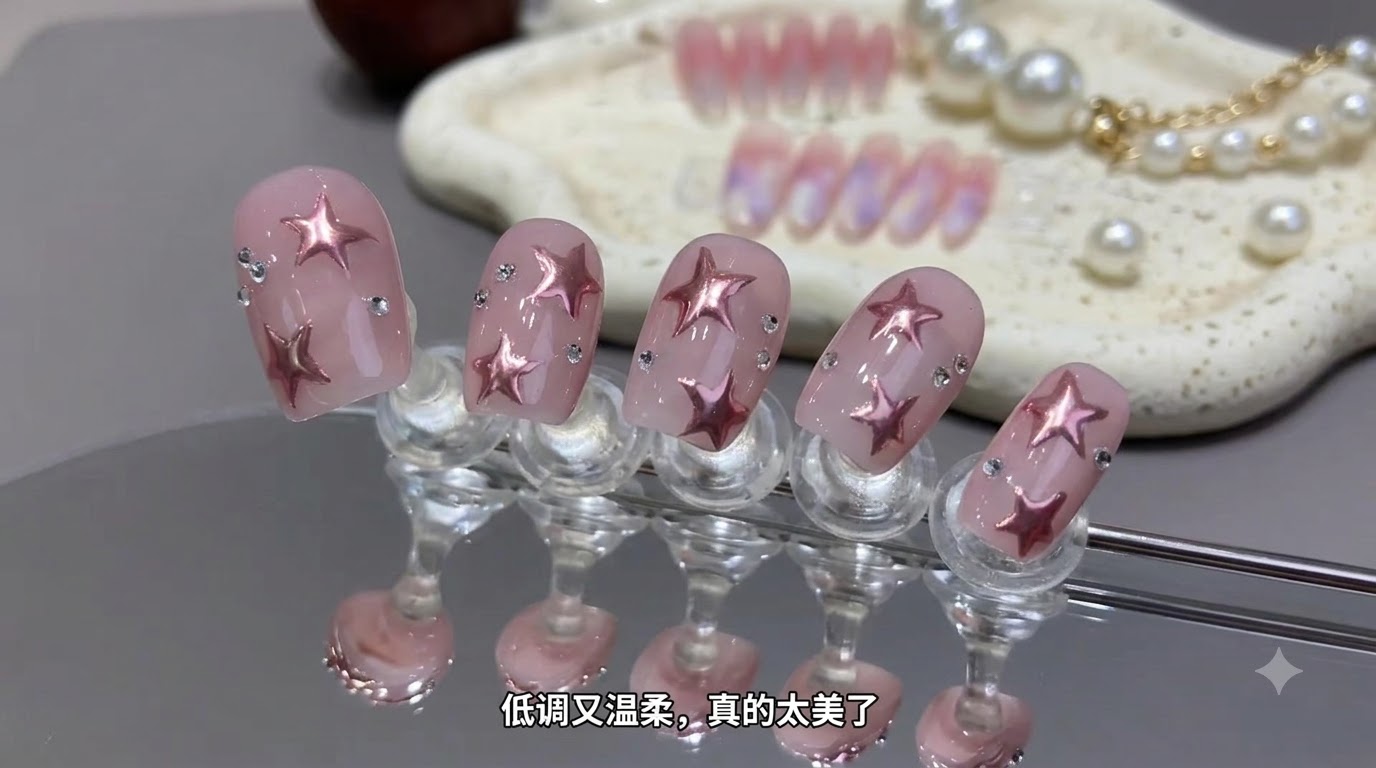
Using a pair of precision tweezers, pick up a black star sticker from the sheet and carefully position it onto the desired spot on the nail surface. Press down gently on the edges of the sticker to ensure it lies flat against the nail.
Tip: Tweezers give you maximum control and prevent skin oils from contaminating the adhesive backing of the sticker. - 10Dab Pink Gel Around Sticker
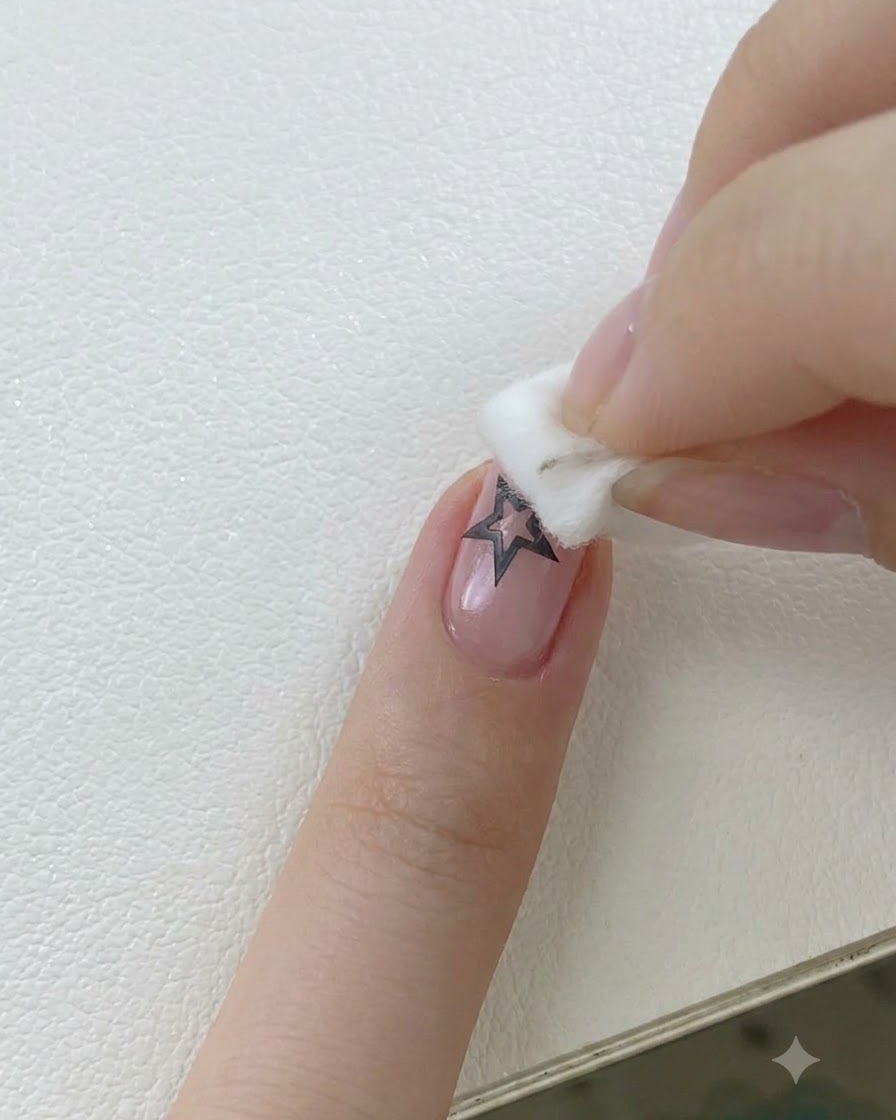
Using a sponge or soft dabber, lightly pat a sheer light pink gel around the edges of the black star sticker. This creates a soft, diffused halo effect that blends the sticker seamlessly into the base color. Take your time to build the color gradually without completely covering the star design.
Tip: Use a very light hand when dabbing to ensure a smooth, airbrushed gradient rather than harsh patches of color. - 11Cure and dab with light pink gel
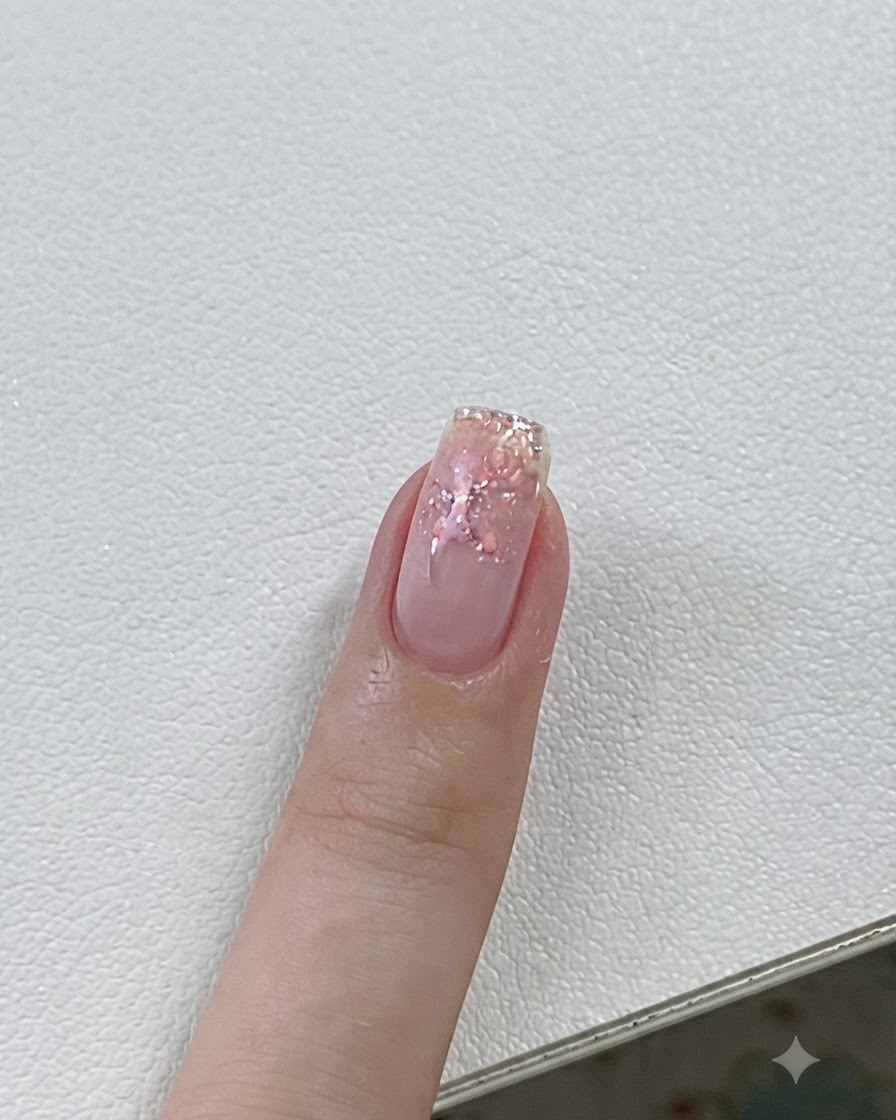
Place the nail under the UV/LED lamp to cure the previous light pink gel application. Once cured, take the light pink gel color and dab gently around the star sticker a second time to build more depth and dimension, then cure again under the lamp.
Tip: Building color depth in layers prevents pooling and keeps your nail art neat and controlled. - 12Place a second star sticker
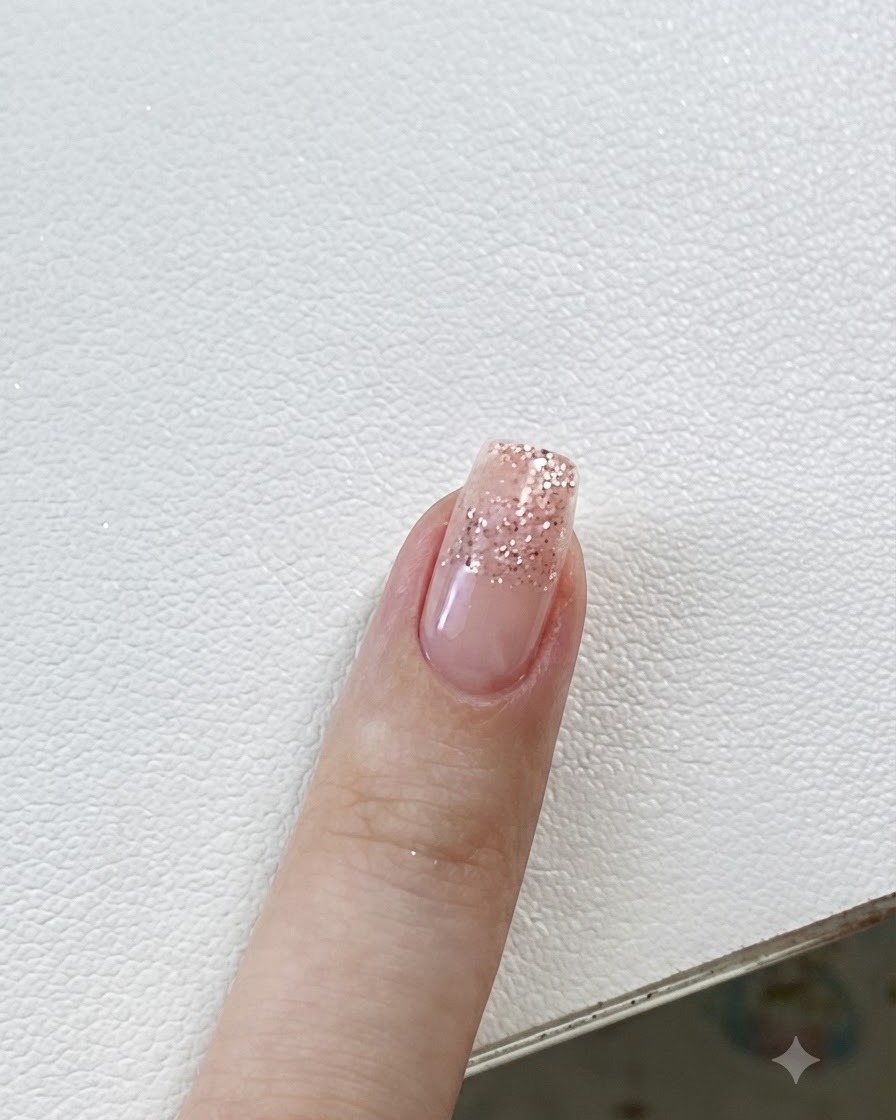
Using a pair of precision tweezers, pick up another smaller star sticker element and place it carefully right next to the first star on the nail surface. Press it down gently to ensure the edges are flat against the gel layer before adding more color.
Tip: Tweezers give you precise control for placing small nail stickers exactly where you want them. - 13Apply Glossy Top Coat
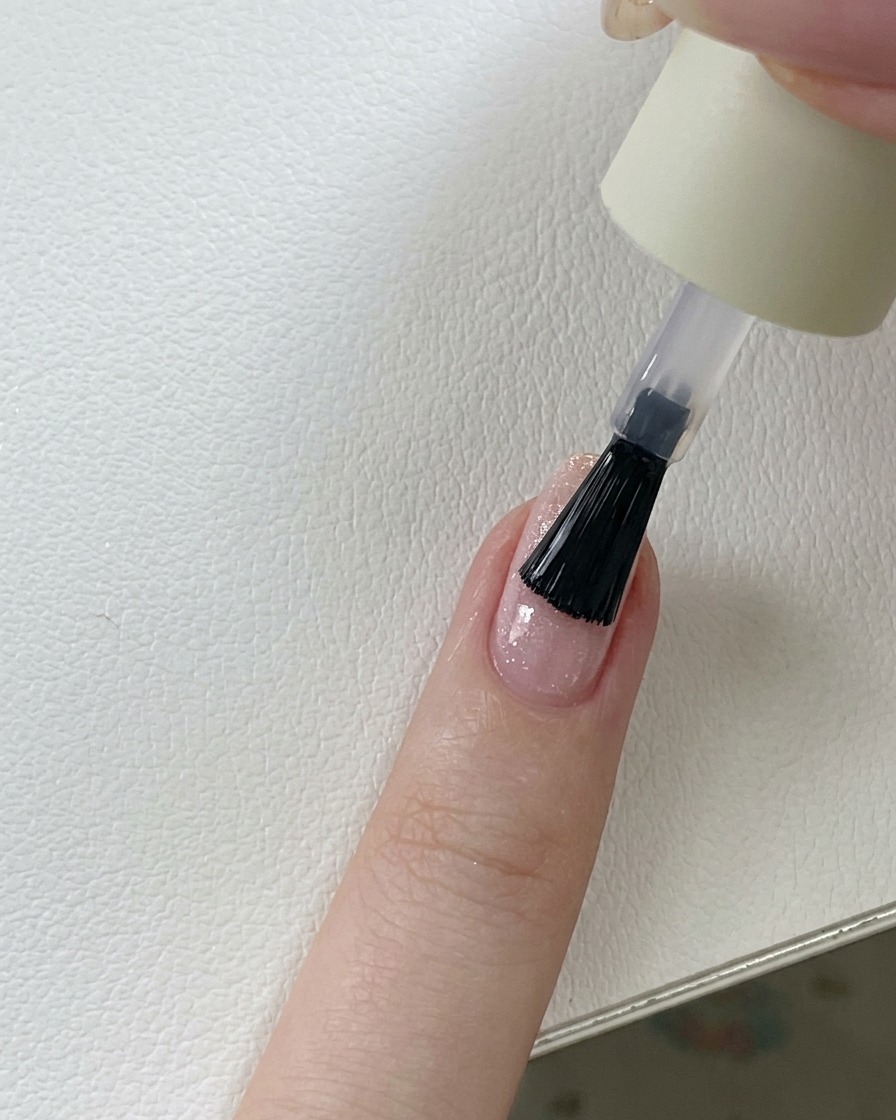
Apply a generous, even layer of glossy top coat over the entire nail to seal in the stickers and smooth out any remaining texture from the glitter or gel dabbing. Make sure to cap the free edge to prevent the layers from peeling and to ensure a long-lasting, high-shine manicure.
Tip: Float the top coat brush gently over the nail to avoid disturbing the unset pink gel or shifting the stickers. - 14Cure and wipe final top coat
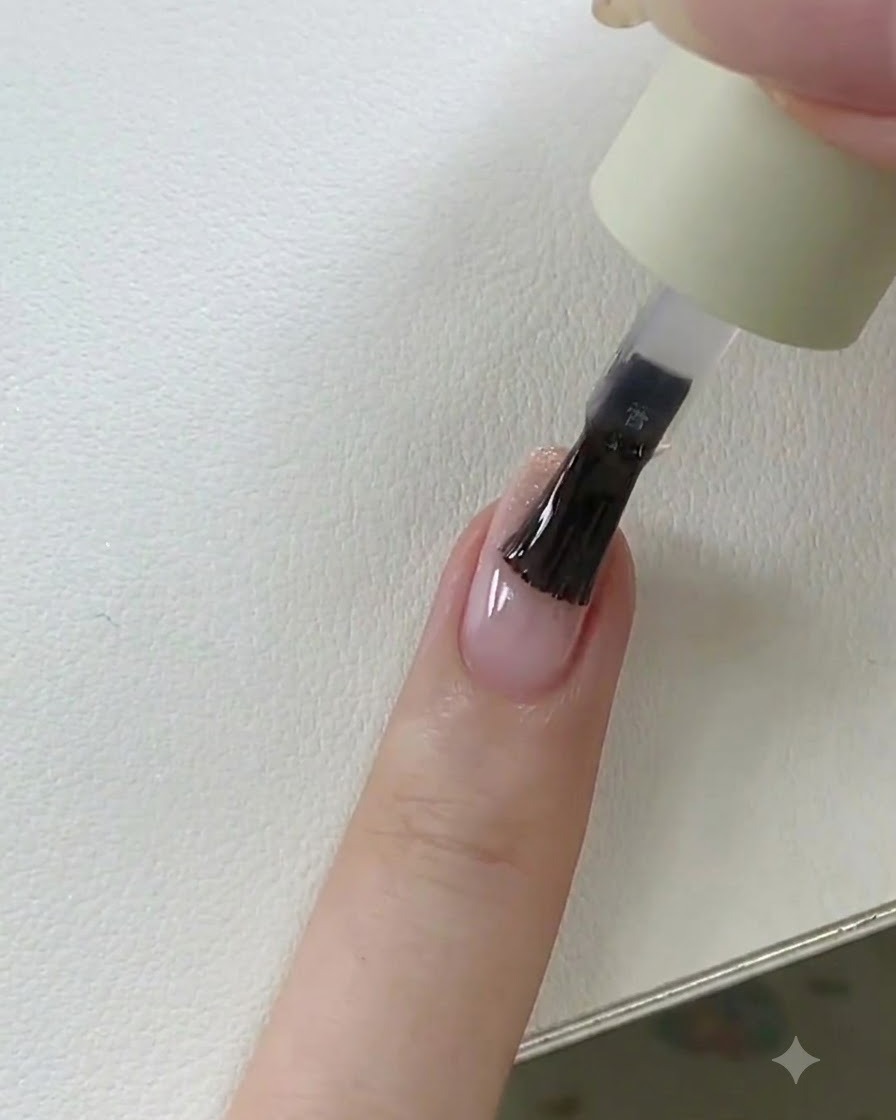
Place the hand under the UV or LED lamp to fully cure the final top coat layer according to the gel manufacturers instructions. Once cured, wipe the nail surface with a lint-free wipe soaked in rubbing alcohol or cleanser to remove the sticky inhibition layer and reveal a high-gloss finish.
Tip: Do not wipe the nails immediately after removing them from the lamp; let them cool for a few seconds to ensure maximum gloss shine.